

My frame rail solution


Thread Starter
Elite Member
iTrader: (2)
Joined: Aug 2009
Posts: 3,145
Total Cats: 175
From: Dover, FL
I was tired of looking at my beat up and worthless frame rails, and decided that I would do something about it. Instead of going with a frame rail cap like from Flyin Miata or V8 Roadsters, I thought I would make my own.
I wanted something that I could tie my roll cage into, and also use as a potential mounting point for a transmission cross member should I choose to do so. I decided that the cap method was not the way to go, but instead install new 2x2 inch square tubing. This is how I did it.
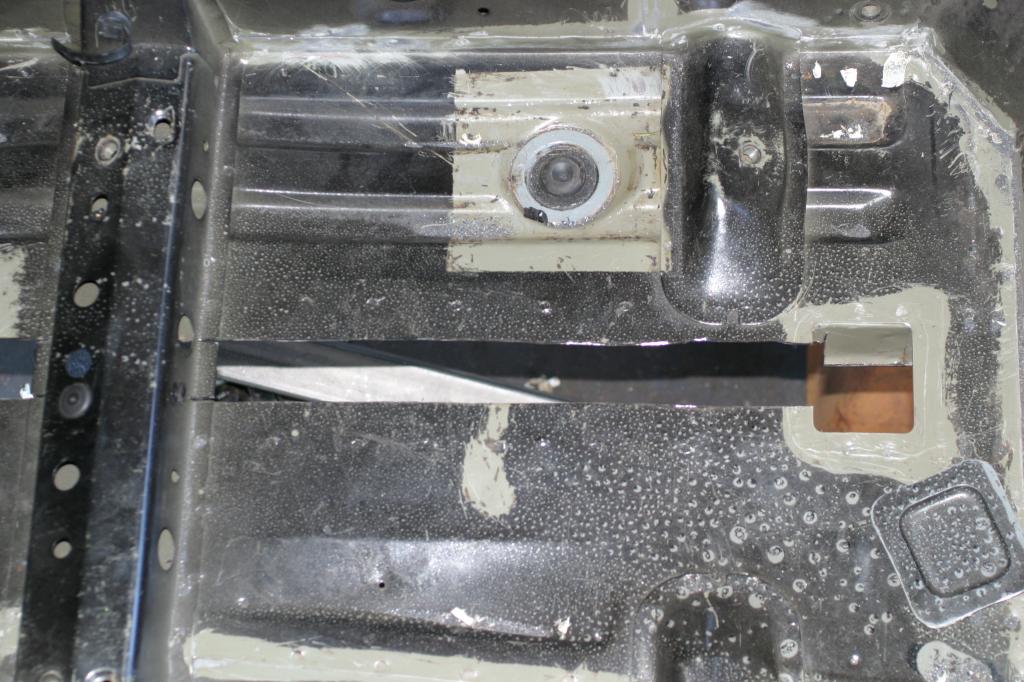
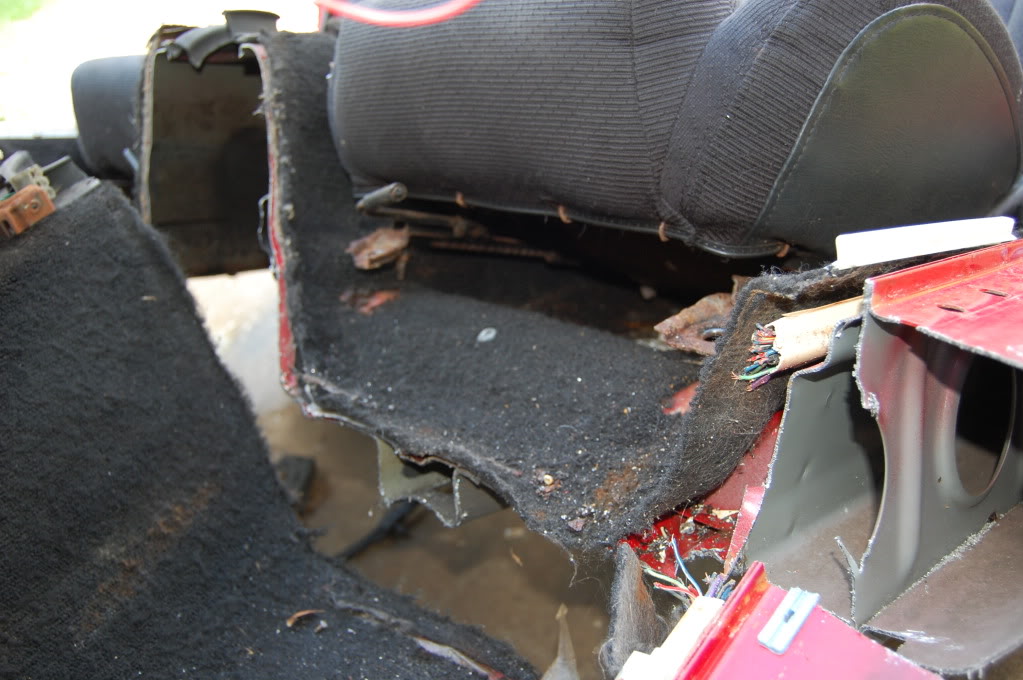
First I removed these square access holes, one in front of the seats and one to the back of the seats.
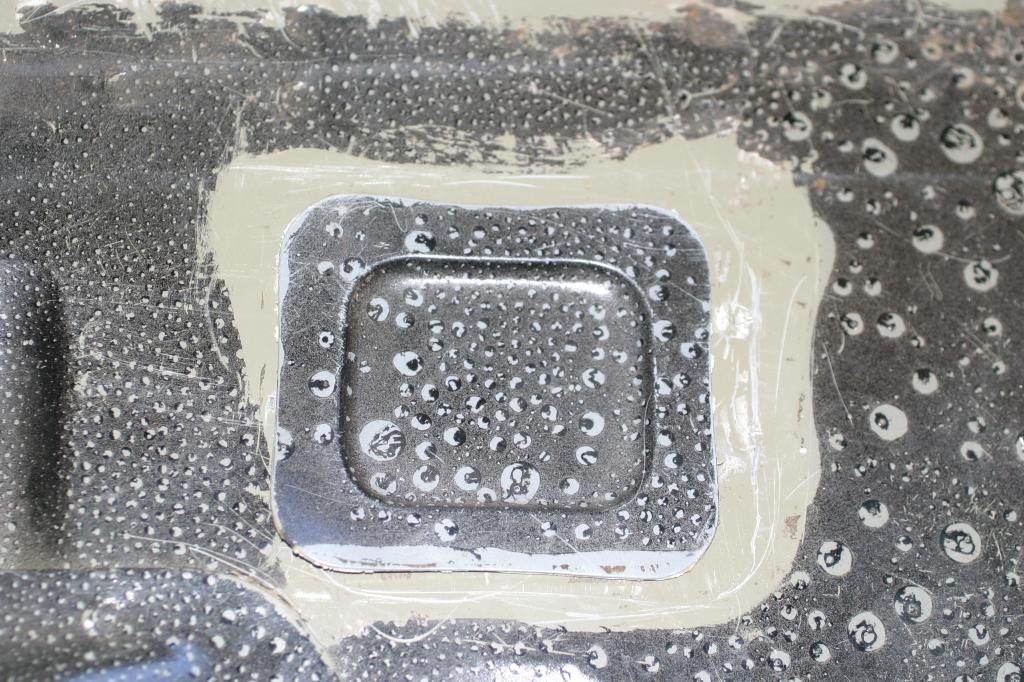
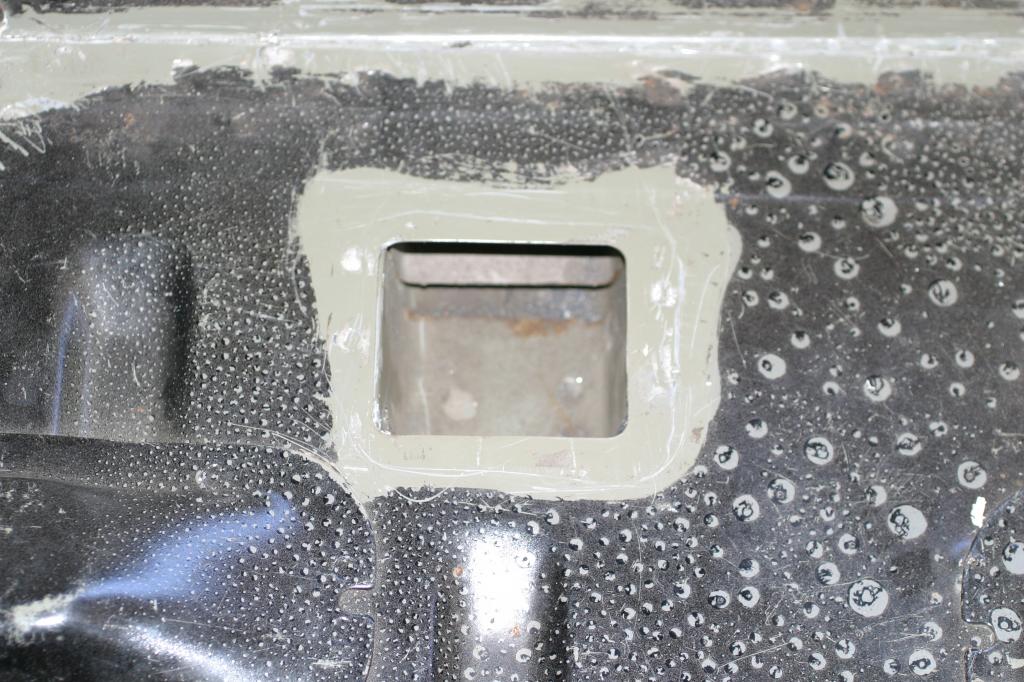
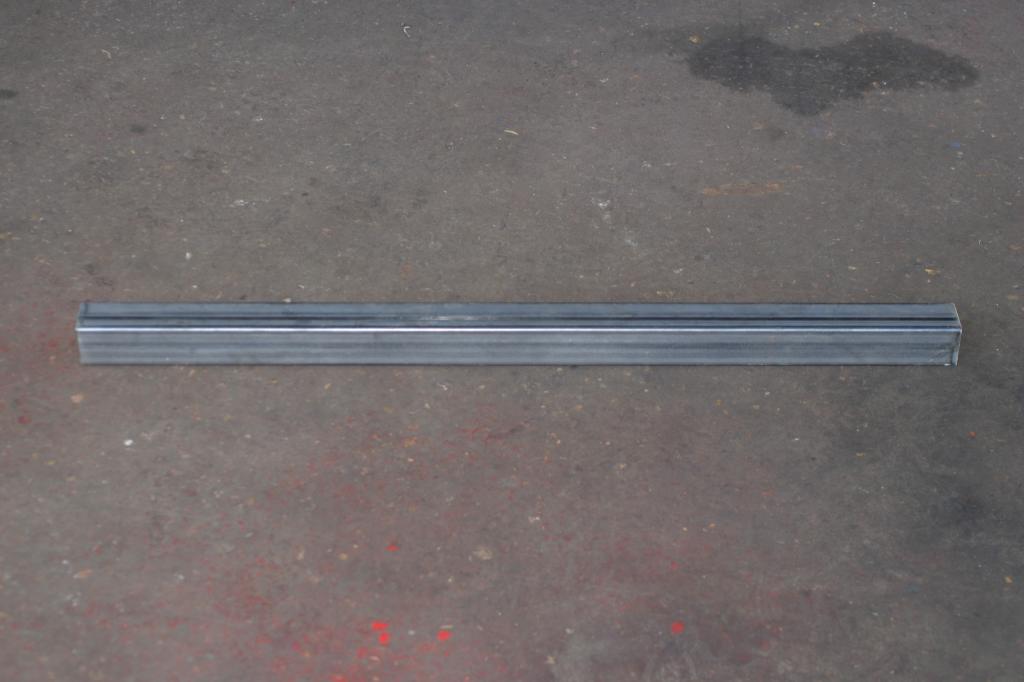
I measured the distance between the two, and added �”. I cut a piece of 14 gauge square tubing which ended up at 37” long.
Next, I cut a strip out of the floor and did a rip cut on the lower section of the thin sheet metal portion of the rail. The floor cut should be a tad narrower than the tubing you are installing.
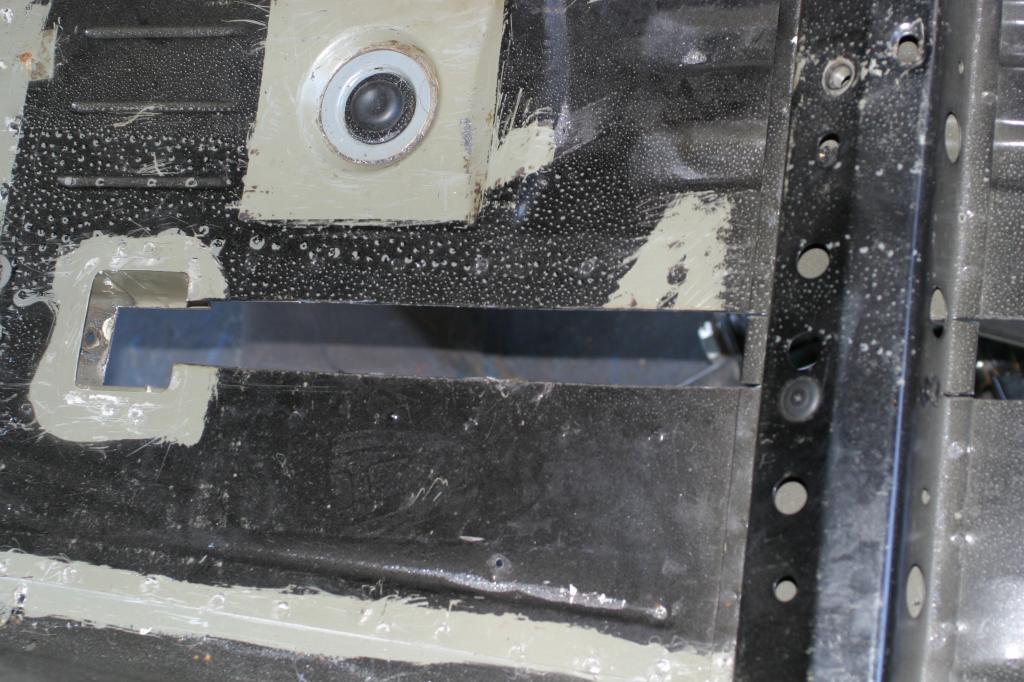
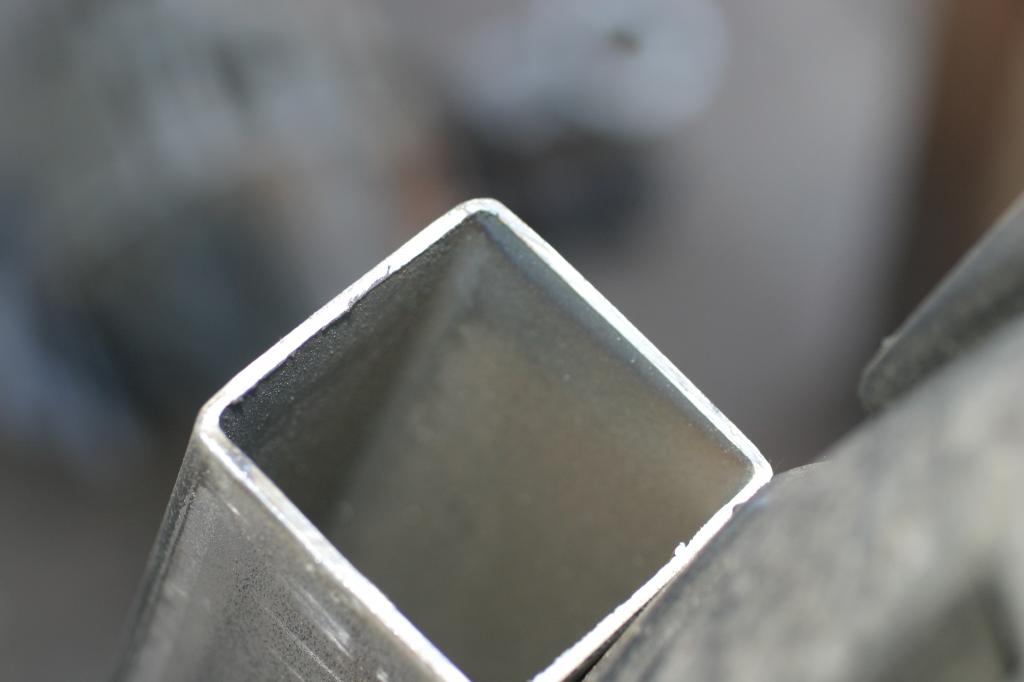
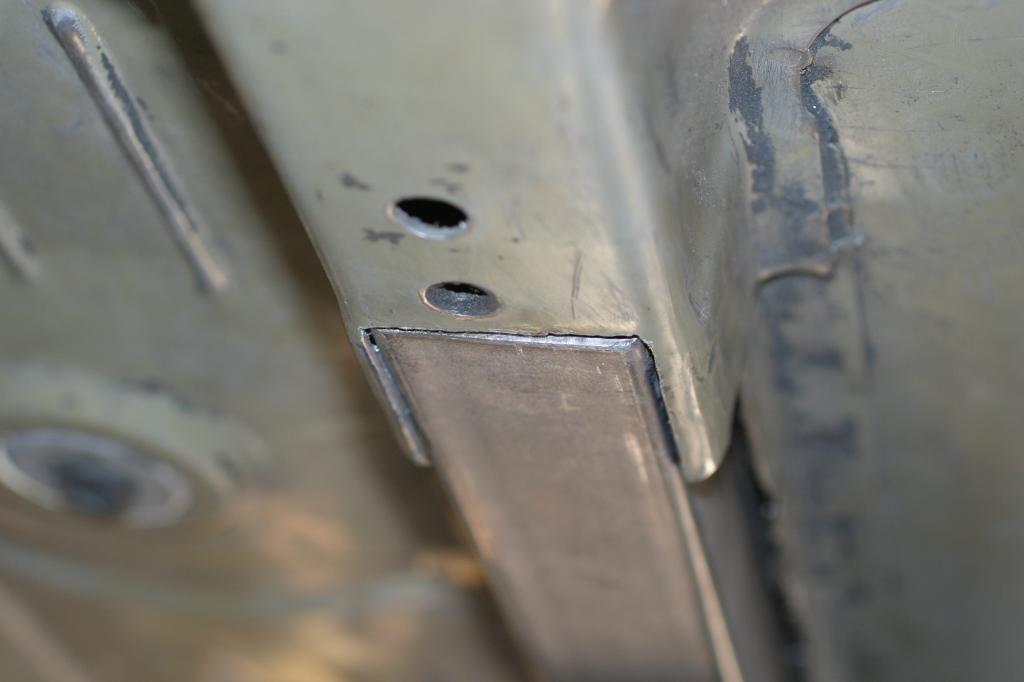
The heavy portion will only get a slot cut out of the bottom so you can slide the tubing in place. You will then have to clearance a section of the rear sub frame so you can slide the new tubing in place without obstruction. Make sure it is not touching the rail to keep from having an annoying rattle.
Slide the new rail in place. Note that the floor was cut just a tad narrower than the tubing, and that the tubing will overlap at the ends. This gives you a place to weld to with no gaps.
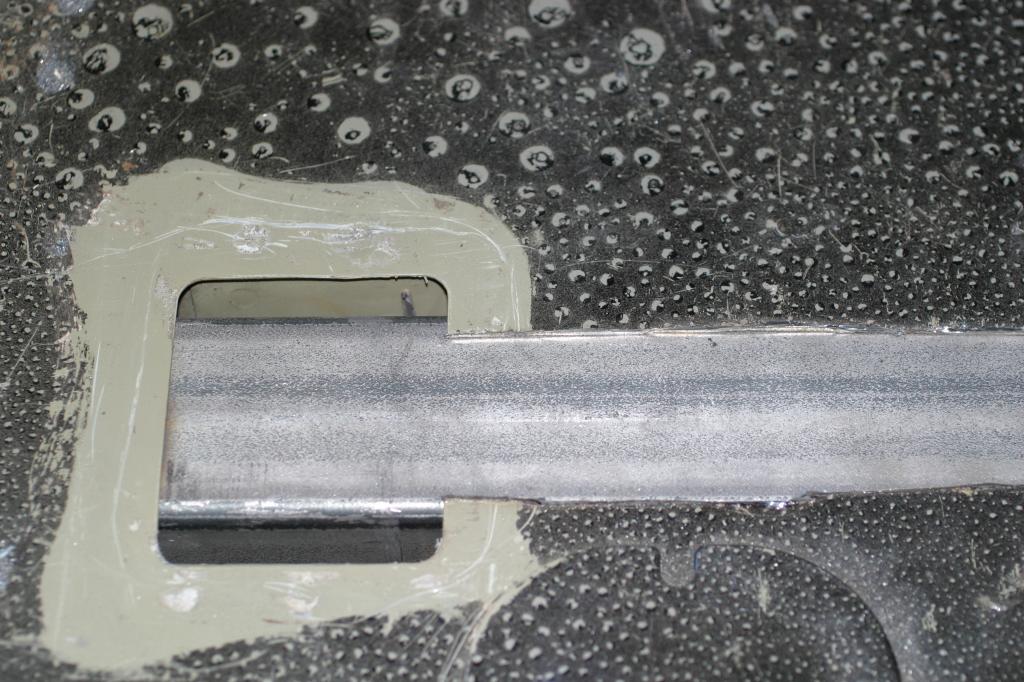
You will also note that it fits nearly perfectly on the bottom of the old frame rail.
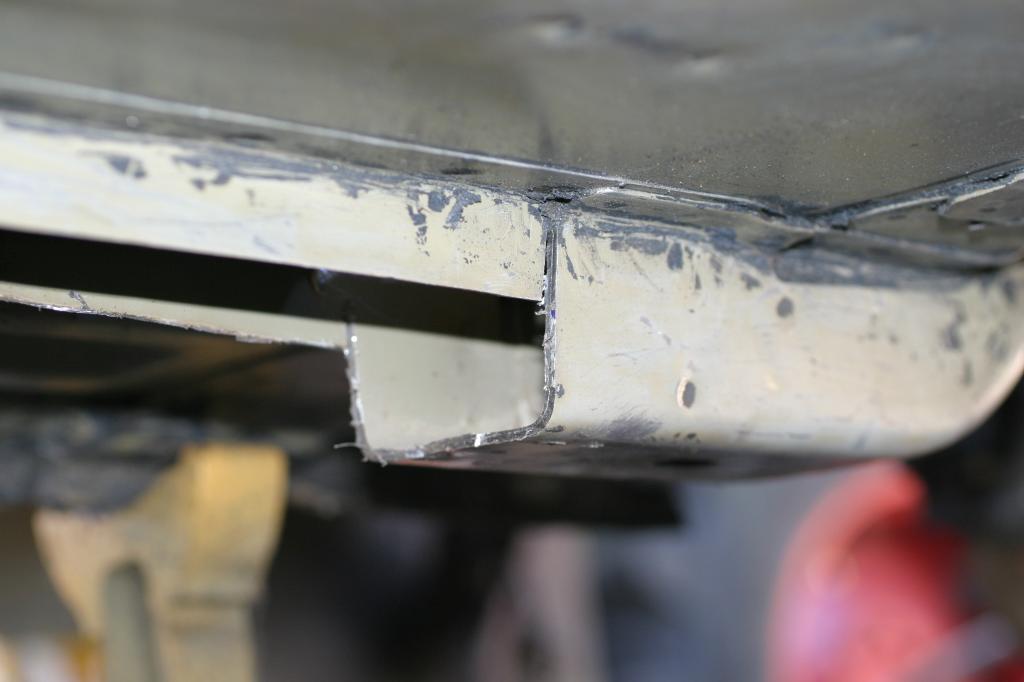
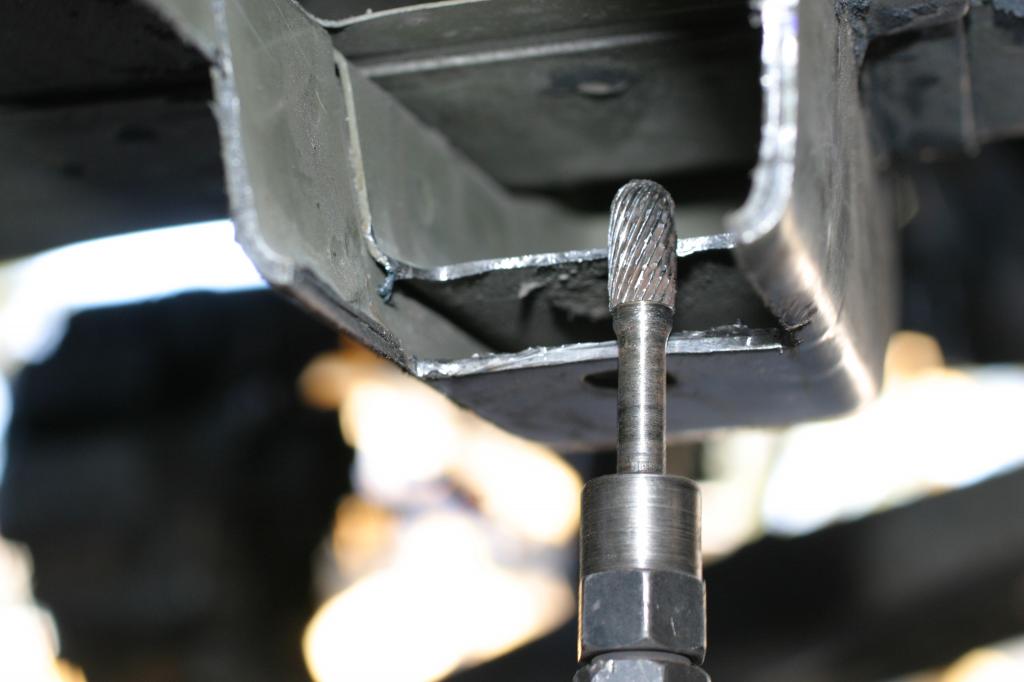
Next I cut pieces of metal to fill the gaps at the access plugs that were removed earlier. I then welded the floor to the top of the new tubing. I then fully welded the bottom of the beefed up front and rear portions of the rail as well as stitch weld the old thin half to the new tubing.
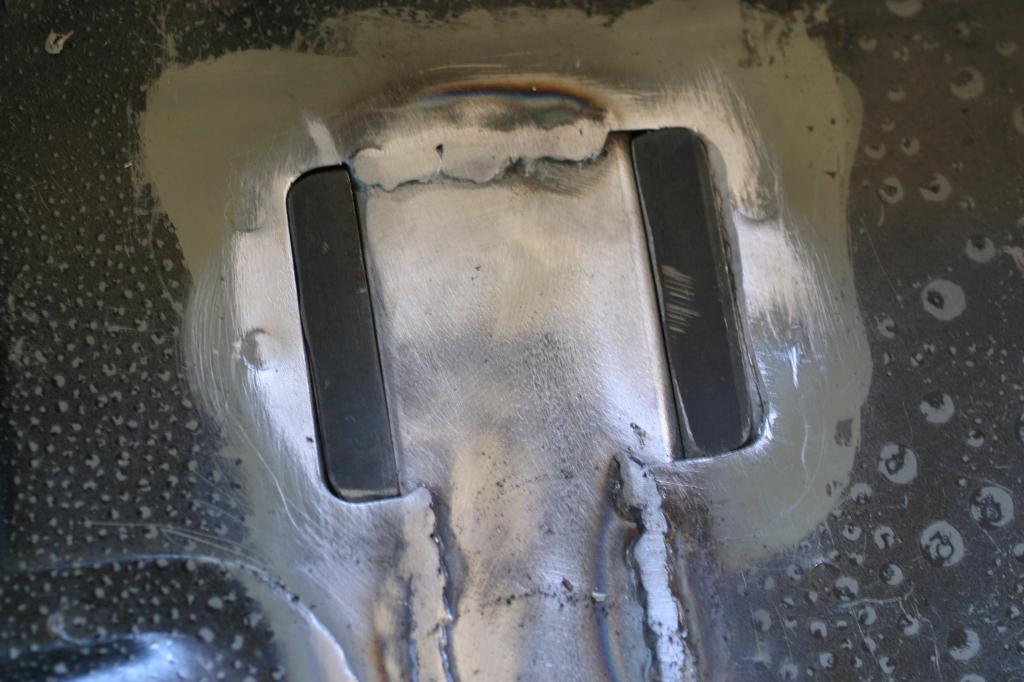

I will say that welding under the car is a bit of a challenge. Having a lift sure would have been nice, but I got it done. I got better as I progressed through the project. I had to do a lot of clean up grinding to make it not look so bad, but I re-welded any areas that looked suspect. I finally wised up and went to a much finer wire (.023”) to do the thin stuff.
I wanted something that I could tie my roll cage into, and also use as a potential mounting point for a transmission cross member should I choose to do so. I decided that the cap method was not the way to go, but instead install new 2x2 inch square tubing. This is how I did it.
First I removed these square access holes, one in front of the seats and one to the back of the seats.
I measured the distance between the two, and added �”. I cut a piece of 14 gauge square tubing which ended up at 37” long.
Next, I cut a strip out of the floor and did a rip cut on the lower section of the thin sheet metal portion of the rail. The floor cut should be a tad narrower than the tubing you are installing.
The heavy portion will only get a slot cut out of the bottom so you can slide the tubing in place. You will then have to clearance a section of the rear sub frame so you can slide the new tubing in place without obstruction. Make sure it is not touching the rail to keep from having an annoying rattle.
Slide the new rail in place. Note that the floor was cut just a tad narrower than the tubing, and that the tubing will overlap at the ends. This gives you a place to weld to with no gaps.
You will also note that it fits nearly perfectly on the bottom of the old frame rail.
Next I cut pieces of metal to fill the gaps at the access plugs that were removed earlier. I then welded the floor to the top of the new tubing. I then fully welded the bottom of the beefed up front and rear portions of the rail as well as stitch weld the old thin half to the new tubing.
I will say that welding under the car is a bit of a challenge. Having a lift sure would have been nice, but I got it done. I got better as I progressed through the project. I had to do a lot of clean up grinding to make it not look so bad, but I re-welded any areas that looked suspect. I finally wised up and went to a much finer wire (.023”) to do the thin stuff.
Reply
 2
2

2


Nice!
On my MG, I welded a second frame rail in beside the original. I needed the new ones (which extended into the engine bay to provide mounts for the new suspension) to be a bit further apart, so I laid the new square tube along beside the old and welded them together. I like the idea of the slot in the floor, that would have worked well.
On my MG, I welded a second frame rail in beside the original. I needed the new ones (which extended into the engine bay to provide mounts for the new suspension) to be a bit further apart, so I laid the new square tube along beside the old and welded them together. I like the idea of the slot in the floor, that would have worked well.
Reply
0
0
Thread Starter
Elite Member
iTrader: (2)
Joined: Aug 2009
Posts: 3,145
Total Cats: 175
From: Dover, FL
Nice!
On my MG, I welded a second frame rail in beside the original. I needed the new ones (which extended into the engine bay to provide mounts for the new suspension) to be a bit further apart, so I laid the new square tube along beside the old and welded them together. I like the idea of the slot in the floor, that would have worked well.
On my MG, I welded a second frame rail in beside the original. I needed the new ones (which extended into the engine bay to provide mounts for the new suspension) to be a bit further apart, so I laid the new square tube along beside the old and welded them together. I like the idea of the slot in the floor, that would have worked well.
Reply
0
0

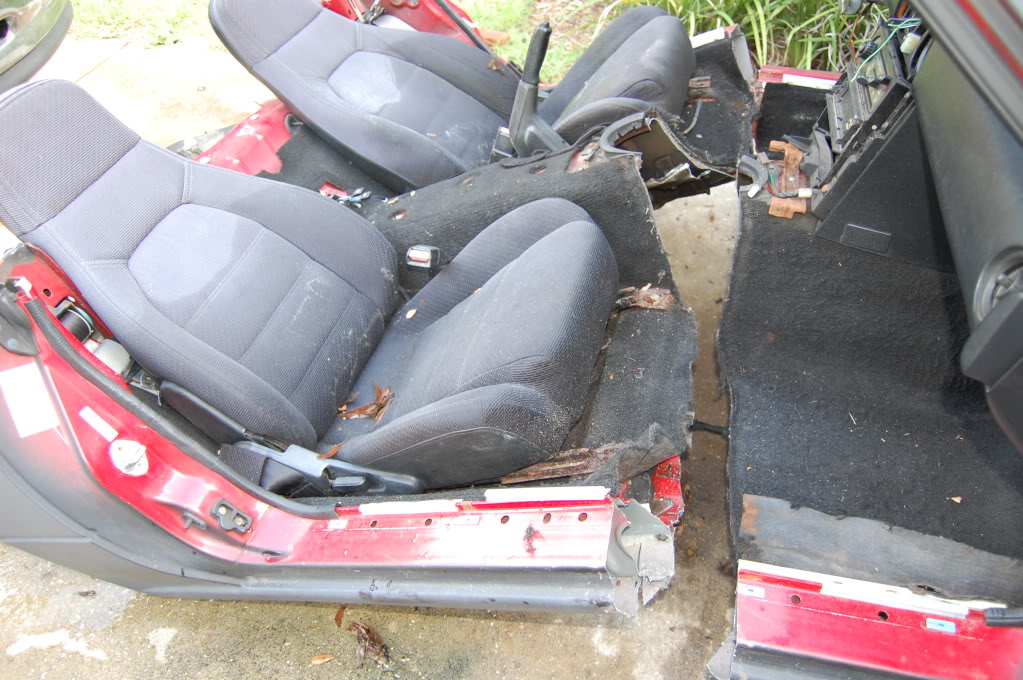
Mine are so badly mangled/squished, they'd have to be cut out and replaced - like this. But another question - in a 6pt caged car, are they even necessary? Meaning do they reinforce the car so much that removing them would cause buckling/twisting? I really can't imagine mine giving any substanial re-inforcement the way they are now.
Nice clear pics
Nice clear pics
Reply
0
0


Reply
0
0
Reply
0
0
Absolutely! AAMOF you should tie them in to your cage mount points and then devise a brace to bolt in across the bottom (under the trans tunnel.) You'd be linking up the entire structure that way.
Reply
0
0

I think I know how I'm going to replace my flattened out frame rails now. Great idea. I was thinking of just having new rails formed up to replace the damaged sections, but I like this idea better.
Reply
0
0
I'm post a pic later of my rails... it'll make you wonder how I tracked the car as long as I did! Like I said - I've got to replace them - badly.
Reply
0
0
Thread Starter
Elite Member
iTrader: (2)
Joined: Aug 2009
Posts: 3,145
Total Cats: 175
From: Dover, FL
In saying that, it is known that beefing up that chintzy rail does stiffen the car significantly. I was hoping I could eliminate some of the excess tubing I so often see in roll cages in order to meet my power to weight goals.
Reply
0
0

Junior Member
Joined: Sep 2011
Posts: 433
Total Cats: 17
From: finger lakes NY
Is it wrong that I enjoy watching Miatas get cut up? Seems a little morbid, but I can't look away...
Brian, sorry about your car. One of the great thing about Miatas is that when you wreck one you can remove the awesome parts, then put them on another one you bought for peanuts.
Brian, sorry about your car. One of the great thing about Miatas is that when you wreck one you can remove the awesome parts, then put them on another one you bought for peanuts.
Reply
0
0
No worries. I bought the wreck from the POs insurance and used the drive train in my current '90 track car. I did tear up a little as I was producing the video last winter. The tub folded in the tunnel from the impact so there was no saving it. It even crumpled a bit behind the door so even the rear clip was suspect. The rest of the parts funded most of the build and everything useable went to good homes. Best of a bad situation... 
Reply
0
0

My understanding is that the frame rails are there to reduce the 'drumming' noise an otherwise flat bottom would incur. They're not meant to be strengthening devices.
Though as said overlaying them with stainless frame rail stiffeners does improve the rigidity markedly.
Though as said overlaying them with stainless frame rail stiffeners does improve the rigidity markedly.
Reply
0
0


