

How to Inspect an Oil pump

Thread Starter
Senior Member
iTrader: (1)
Joined: Mar 2012
Posts: 588
Total Cats: 205
From: Pensacola Fla.
How to Inspect an Oil pump
Mazda BP 1.8L
First thing is to have the oil pump off the engine.

Some of the tools needed

Impact driver with a #3 phillips bit
#3 phillips screwdriver
Hammer
Needle nose pliers
Start by using the impact driver and hammer and loosen the oil pump back plate screws.

Once all the screws are loose, use the screwdriver and remove the screws.

Now lift away the oil pump back plate.
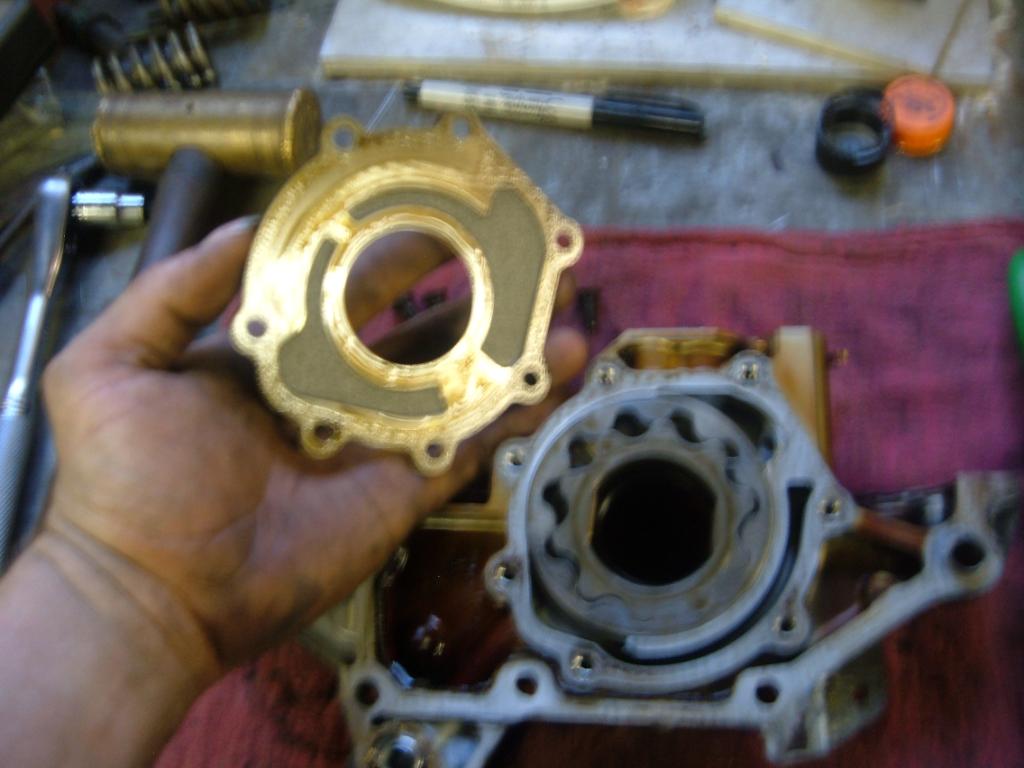
Look for scoring and excessive wear on the plate.

This one looks good with just a minimal amount of wear.
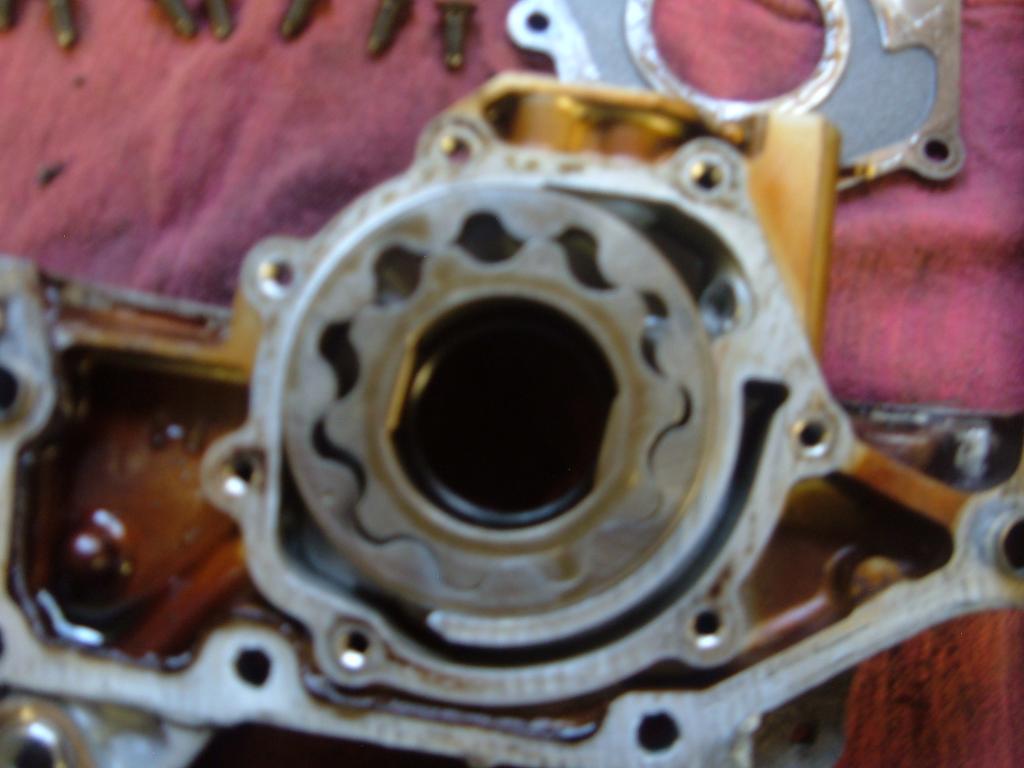
Now look for wear and scoring on the back of the gears.
Now reach in a remove the oil pump drive gear.

Flip it over and inspect the front.

Now reach in and remove the driven gear.
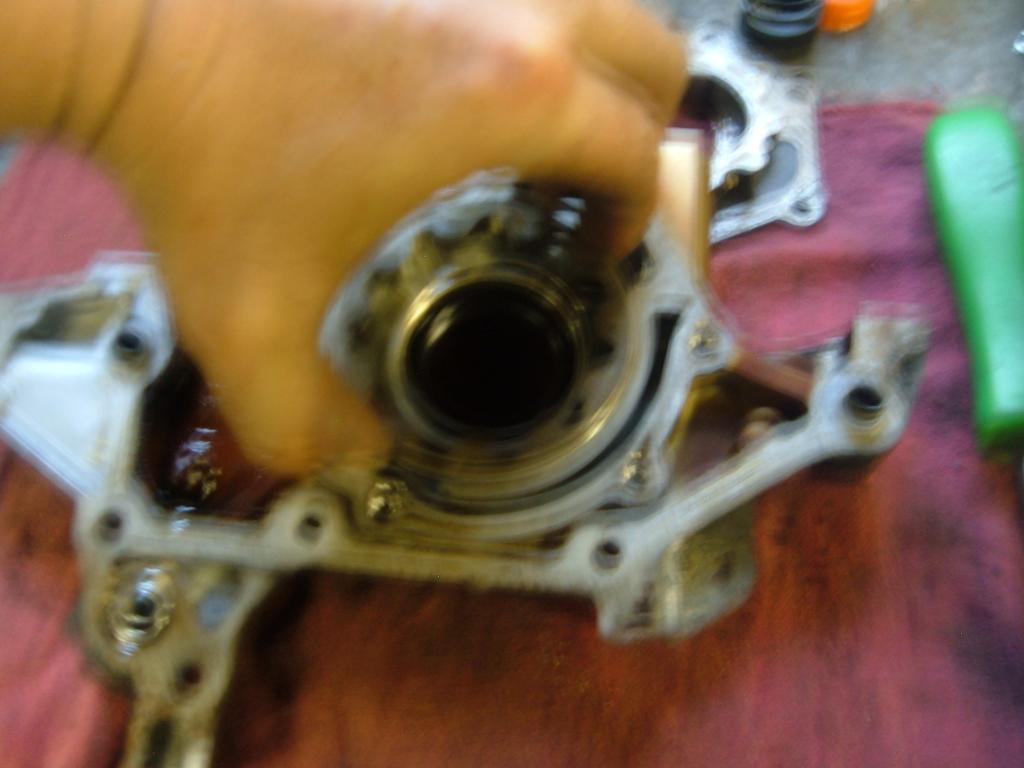
Now flip it over and look for wear and scoring.

Now inspect the pump housing.
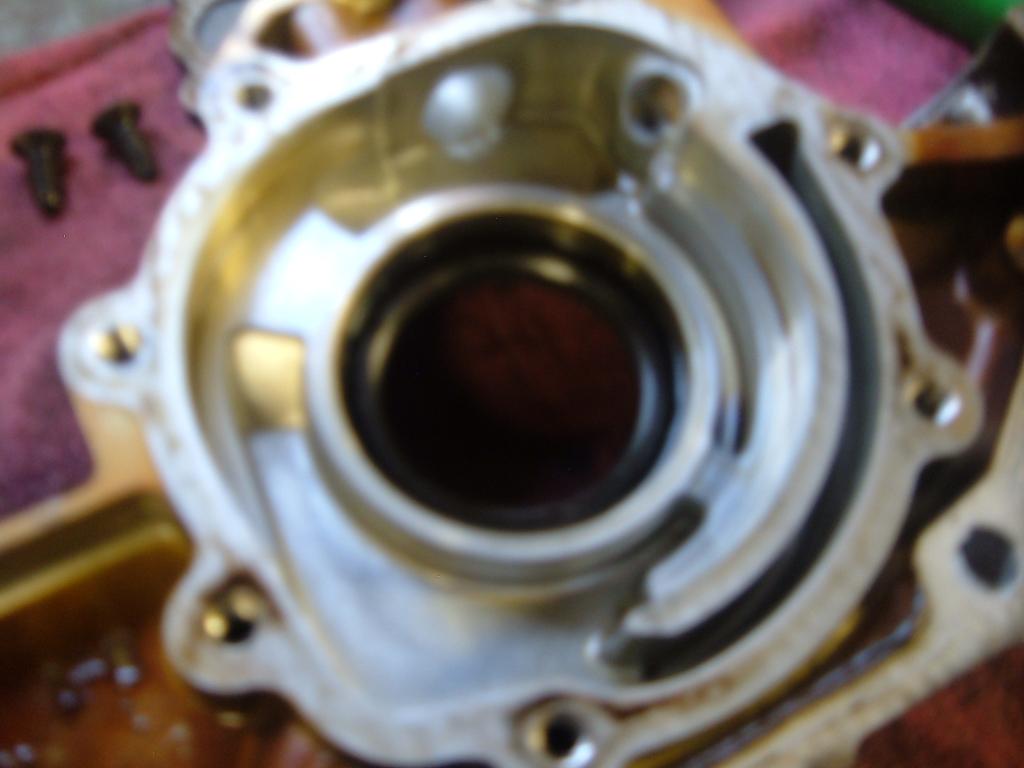
So far this oil pump looks good. No scoring, and minimal wear lines have been found.
Now time to check the oil bypass

First is to straighten the cotter pin.

Use the needle nose pliers.
To remove the cotter pin, use the needle nose pliers and press down on the spring seat.
The cotter pin should pull out with your fingers.
Try not to let the spring seat and spring fly out!
Remove the spring seat and spring.

Now remove the plunger valve.

Inspect the plunger for wear.
This one had wear on the same side as the bypass hole in the oil pump housing.

Inspect the plunger bore in the housing.
I did not see any wear, even below the bypass hole in the oil pump housing.
I measured the plunger. .628 dia.

The bore in the oil pump housing measured .6295
So the clearance is .0015
Any amount of grit or trash in the oil pan stands a good chance of locking the plunger valve.
I did not notice any strange wear patterns on the bypass spring ends.

The bypass spring, by my math, holds the plunger closed with a installed pressure of 10lbs @ 1.430� and 20lbs @ 1.130
Free length is 1.770
Dia. of the spring is .440

Mazda BP 1.8L
First thing is to have the oil pump off the engine.
Some of the tools needed
Impact driver with a #3 phillips bit
#3 phillips screwdriver
Hammer
Needle nose pliers
Start by using the impact driver and hammer and loosen the oil pump back plate screws.
Once all the screws are loose, use the screwdriver and remove the screws.
Now lift away the oil pump back plate.
Look for scoring and excessive wear on the plate.
This one looks good with just a minimal amount of wear.
Now look for wear and scoring on the back of the gears.
Now reach in a remove the oil pump drive gear.
Flip it over and inspect the front.
Now reach in and remove the driven gear.
Now flip it over and look for wear and scoring.
Now inspect the pump housing.
So far this oil pump looks good. No scoring, and minimal wear lines have been found.
Now time to check the oil bypass
First is to straighten the cotter pin.
Use the needle nose pliers.
To remove the cotter pin, use the needle nose pliers and press down on the spring seat.
The cotter pin should pull out with your fingers.
Try not to let the spring seat and spring fly out!
Remove the spring seat and spring.
Now remove the plunger valve.
Inspect the plunger for wear.
This one had wear on the same side as the bypass hole in the oil pump housing.
Inspect the plunger bore in the housing.
I did not see any wear, even below the bypass hole in the oil pump housing.
I measured the plunger. .628 dia.
The bore in the oil pump housing measured .6295
So the clearance is .0015
Any amount of grit or trash in the oil pan stands a good chance of locking the plunger valve.
I did not notice any strange wear patterns on the bypass spring ends.
The bypass spring, by my math, holds the plunger closed with a installed pressure of 10lbs @ 1.430� and 20lbs @ 1.130
Free length is 1.770
Dia. of the spring is .440
Reply
 1
1

1


Joined: Jun 2005
Posts: 19,338
Total Cats: 574
From: Fake Virginia
you know if you hold the button half way down, it'll focus without taking a picture. then you can snap the picture by pressing it the rest of the way. dont just jab down all at once.
also that .0015 clearance... you mention easily locking up the plunger. Guess what, that happens a lot (at least anecdotally).
also that .0015 clearance... you mention easily locking up the plunger. Guess what, that happens a lot (at least anecdotally).
Reply
0
0

I love your threads/posts soo much, but ---- those pictures actually hurt my eyes!!! 
We need to do something about this camera situation. lol
Really though, awesome threads. I look forward to learning a lot from you.
We need to do something about this camera situation. lol
Really though, awesome threads. I look forward to learning a lot from you.
Reply
0
0


------- awesome information with useless pics!
damnit!
my pump is sitting on my builder's desk and i think he's gonna do something similar disassembling it.
288 miles with a pressure relief valve failure and low oil pressure.
damnit!
my pump is sitting on my builder's desk and i think he's gonna do something similar disassembling it.
288 miles with a pressure relief valve failure and low oil pressure.
Reply
0
0


What can be done at home to make the bypass valve more reliable/not stick? Is it recommended to polish the plunger with say 1500 grit so it move in the bore easier. I'm no expert but this was my first thought.
Reply
0
0

you know if you hold the button half way down, it'll focus without taking a picture. then you can snap the picture by pressing it the rest of the way. dont just jab down all at once.
also that .0015 clearance... you mention easily locking up the plunger. Guess what, that happens a lot (at least anecdotally).
also that .0015 clearance... you mention easily locking up the plunger. Guess what, that happens a lot (at least anecdotally).
I am your champion SVO
All you need to do is post your paypal email and I will send you full body pics plus paypal cash.
But
Still
It hurts me the blurry
Reply
0
0

Good question, is like an answer to this also. Mine has some wear on the side by the hole, should I try to polish it, or spin it around so the smooth side is against the hole again?
Reply
0
0


Getting the BE gears on the pump tonight and assembled the pump with plastigauge, the pump to gear clearance was 0.005 on the side clearance, I faced the pump housing with sandpaper on a surface plate and it is now closer to the min specs on the outer gear but a little loose on the inner gear.
Has anyone plastigauge their pump before puting it on the car, look at the photos, any suggestions?
Thanks


Has anyone plastigauge their pump before puting it on the car, look at the photos, any suggestions?
Thanks
Reply
0
0


Thread
Thread Starter
Forum
Replies
Last Post
stoves
Suspension, Brakes, Drivetrain
5
Apr 21, 2016 03:00 PM


