90 FE-dohc (FE3) Turbo
 05-06-2014, 12:35 PM
#161
Elite Member
iTrader: (8)

Join Date: Dec 2008
Location: Kingston, Ontario
Posts: 2,910
Total Cats: 51
I would use a pressure bleeder for that.
Sometimes I have noticed that all kinds of bends beyond stock (like the one to the left front wheel in the picture) can cause a headache with bleeding.
Good idea bending them up and out of the way though.
Sometimes I have noticed that all kinds of bends beyond stock (like the one to the left front wheel in the picture) can cause a headache with bleeding.
Good idea bending them up and out of the way though.

Reply
 0
0

0

 05-06-2014, 12:40 PM
#163
Elite Member
Thread Starter
iTrader: (5)
Join Date: Jan 2005
Location: Atlanta
Posts: 7,486
Total Cats: 372
It's all bled- pedal is rock hard. I use a vacuum pump- pull instead of push? I could have actually cut/flared that line and reduced the turns from stock, as it has a crazy number of bends for such a short line. I assume the vacuum pump makes the difference when it comes to pulling out any air trapped in bends.
Reply
0
0
05-06-2014, 01:03 PM
#164
Elite Member
Thread Starter
iTrader: (5)
Join Date: Jan 2005
Location: Atlanta
Posts: 7,486
Total Cats: 372
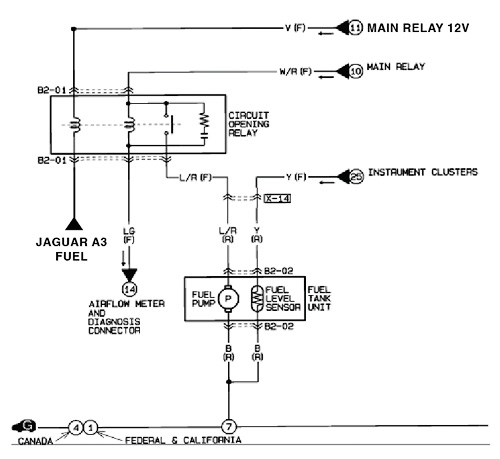
Yes- it needs a smarter solution. Wait- was this in reference to the AFM ground signal or the removal of the OE Starter/ECU 12v signal? I planned to use an oil pressure switch for the AFM ground- though not sure if that's ideal. The Jaguar will initially produce a ground signal with key ON (prime) and then ground signal with rpm.
Last edited by m2cupcar; 05-06-2014 at 02:20 PM.
Reply
0
0
05-08-2014, 11:12 PM
#165
Newb

Join Date: Mar 2009
Posts: 10
Total Cats: -8
Awesome build! I used to own a 626GT with a genuine Mazda Fe3 swapped in. Was a ton of fun. I actually test fitted and had the first set of FE3 Fidanza cam gears as i was the only FE3 running near Ryan who owns CP.com that set up the bulk buy with Fidanza.
Reply
2
2
05-09-2014, 09:05 AM
#166
Elite Member
Thread Starter
iTrader: (5)
Join Date: Jan 2005
Location: Atlanta
Posts: 7,486
Total Cats: 372
thanks- recognize your name from mx6.com/fe-dohc. <Spent some time there for my original build. Don't let the kia cam cover fool you- it's genuine. 
Last edited by m2cupcar; 05-18-2014 at 02:40 PM.
Reply
0
0
05-18-2014, 02:40 PM
#167
Elite Member
Thread Starter
iTrader: (5)
Join Date: Jan 2005
Location: Atlanta
Posts: 7,486
Total Cats: 372
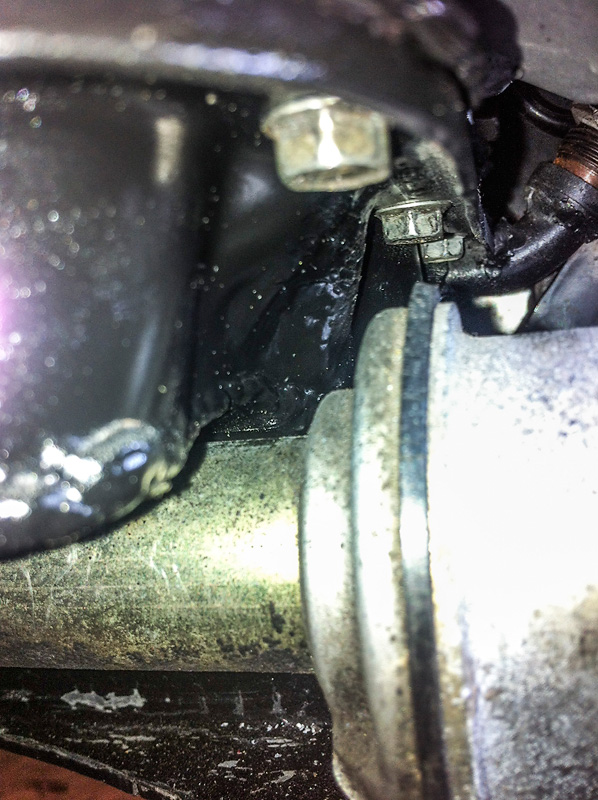
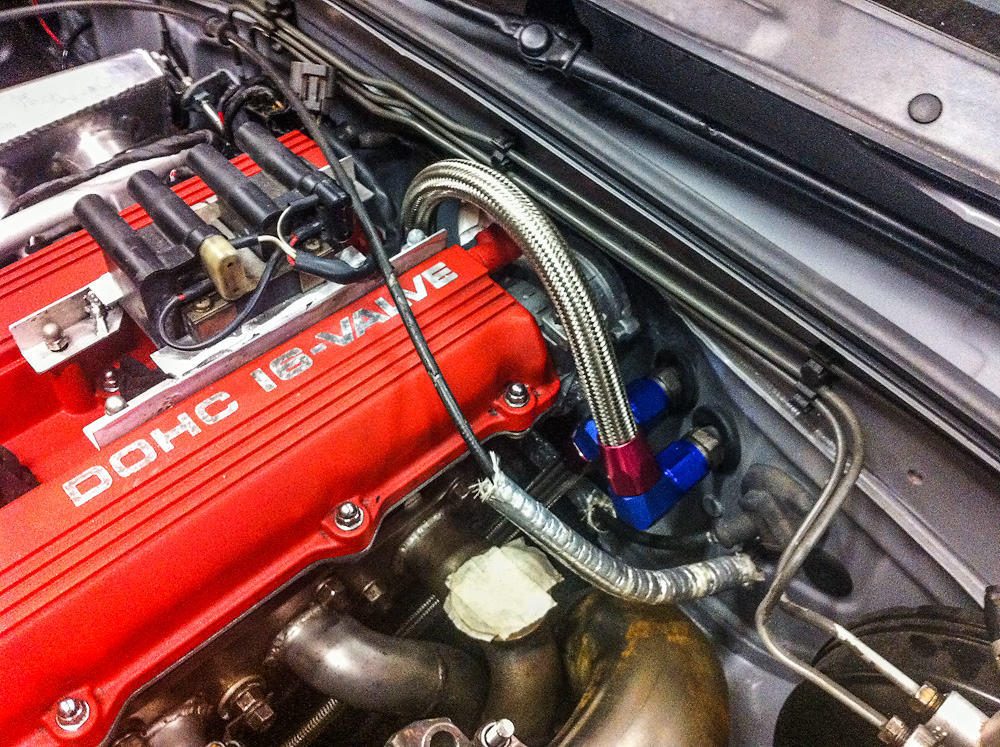
Engine is in properly on the second try. First time around there was some interference that required pulling the engine to fix. Biggest issue was a stock contour in the oil pan that bumped outward right at the aluminum collar on the steering rack. That required pulling the pan, cutting, reshaping with a torch and hammer and then welding back. No leaks first try ftw. Scraping rtv off the windage tray while laying on my back while the engine hung from the hoist ftl. Still not as bad as pulling the flywheel and putting it back on the engine stand. The firewall bracket for the clutch line junction was hitting the tail end of the manifold plenum. Fortunately it's huge so I took about �" out of it and round off the corners. Coolant host from the back of the head was hitting a bump in the firewall so I tapped in the bump and swapped out for a tighter bend hose. Need to rebuild the turbo oil drain hose as my effort to get away from the turbo manifold put it into the steering u joint.
before:
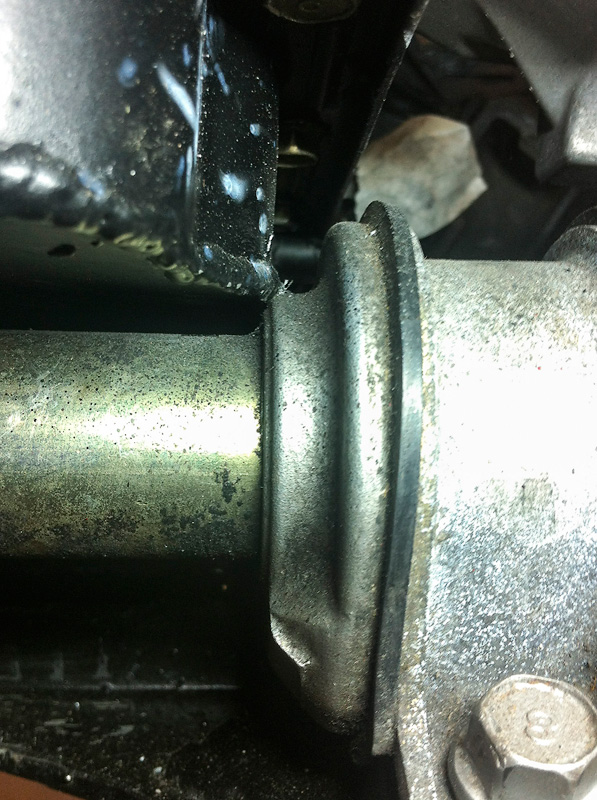
after:
my best effort of keep the motor mount cups out of the way while dropping the engine in:
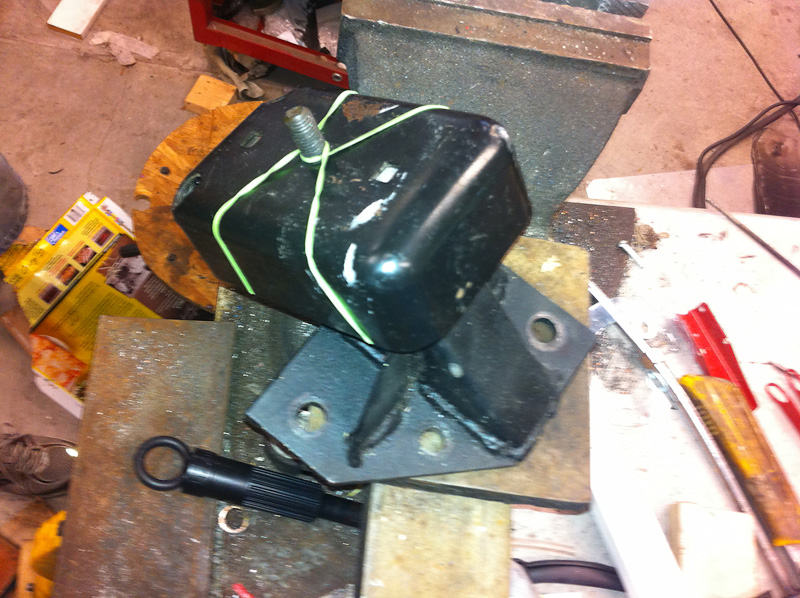
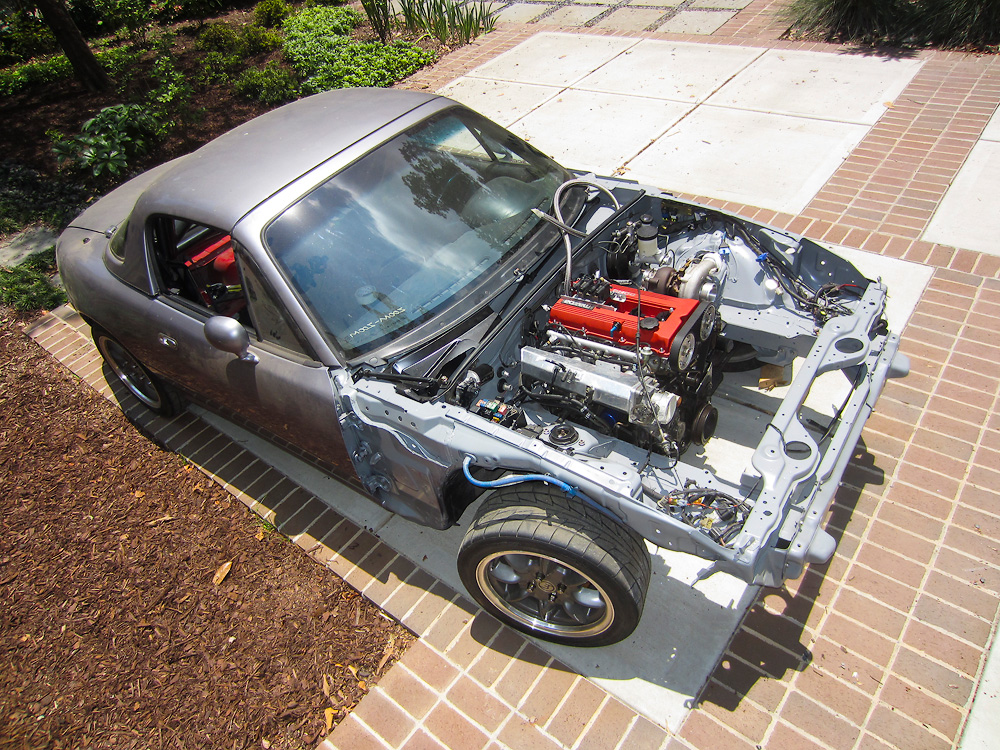
engine in- no transmisson, so the no rear tilt:
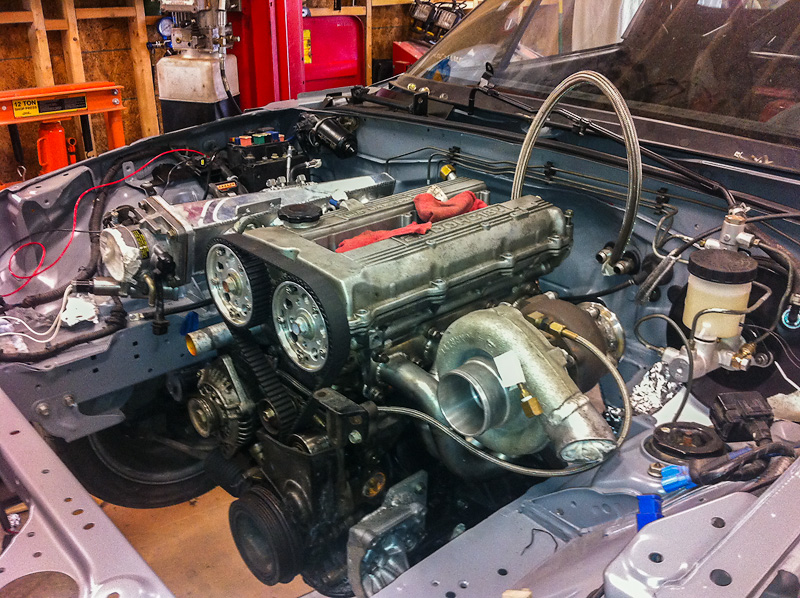
Next up is typical fuel/vacuum/connectors and just a little bit of soldering. I need to build a FreeEMS settings file for the Jaguar A3 to suit my setup- Ford TPS and idle valve, Miata CAS and other sensors. I'm going to build a preluber since the engine has sat for so long, but at that point it should be ready for a first start. If that's a go I'll move on to the cooling system and exchangers.
before:
after:
my best effort of keep the motor mount cups out of the way while dropping the engine in:
engine in- no transmisson, so the no rear tilt:
Next up is typical fuel/vacuum/connectors and just a little bit of soldering. I need to build a FreeEMS settings file for the Jaguar A3 to suit my setup- Ford TPS and idle valve, Miata CAS and other sensors. I'm going to build a preluber since the engine has sat for so long, but at that point it should be ready for a first start. If that's a go I'll move on to the cooling system and exchangers.
Reply
0
0
08-18-2014, 10:05 AM
#168
Elite Member
Thread Starter
iTrader: (5)
Join Date: Jan 2005
Location: Atlanta
Posts: 7,486
Total Cats: 372
Completed all the wiring and other connections needed to fire up the engine. More work than I realized (naturally.) I'm now in the process of building all the files I need to run this on FreeEMS and the Jaguar A3 hardware. Also got a chance to compare the longitudinal engine position against a 1.8 Miata - the same. 

Reply
0
0

 08-22-2014, 02:06 PM
#172
Elite Member
Thread Starter
iTrader: (5)
Join Date: Jan 2005
Location: Atlanta
Posts: 7,486
Total Cats: 372
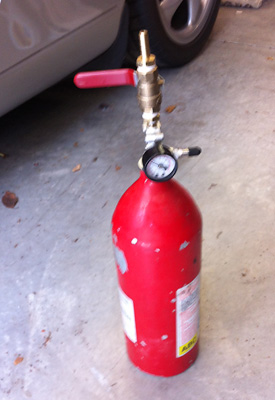
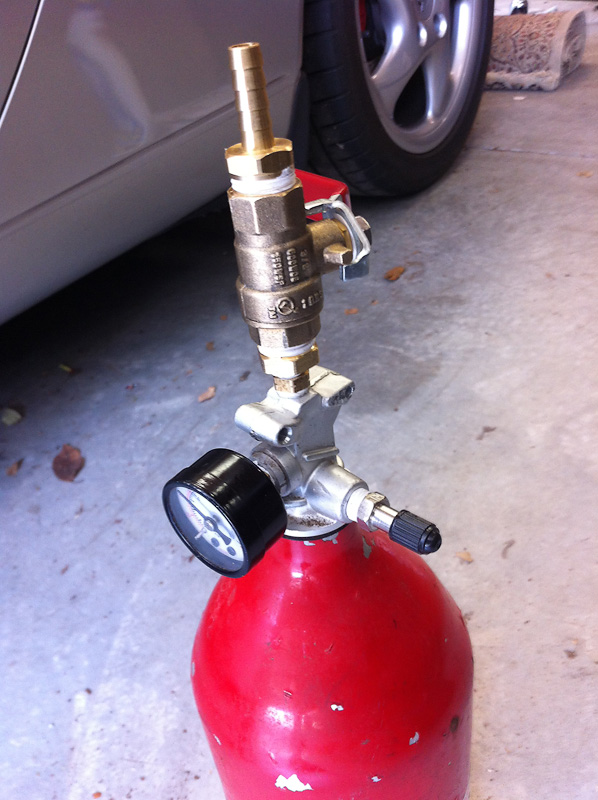
Engine preluber. The last one I had used a gas grill propane tank- wanted some more manageable. Was pleasantly surprised that the original extinguisher head worked well for the conversion with minor drilling and threading. Entire head unscrews for filling and reseals with o-ring.
Next up is figuring the CAS offset from TDC, calibrating battery voltage and loading settings to the ECU. Should be ready to crank after that.
Next up is figuring the CAS offset from TDC, calibrating battery voltage and loading settings to the ECU. Should be ready to crank after that.
Reply
0
0


 10-23-2014, 08:23 AM
#180
Elite Member
Thread Starter
iTrader: (5)
Join Date: Jan 2005
Location: Atlanta
Posts: 7,486
Total Cats: 372
What Brain said. The truck coils are a significantly more robust spark solution. Afaik COPs were never designed for batch, which is where they'll be when I first transition from the stock coils. Theoretically speaking, the COPs get fired double the expected OE duty in batch at a given rpm. Although they generally seem to handle it ok.
Reply
0
0


