93' Miata stolen and flipped build thread

 01-24-2014, 10:18 AM
#923

I don't know why I keep coming into this thread, and keep having my mind blown.
I should be prepared for it by now you would think.
Also, thank you for the painting of the rotors. The slight imperfections in the tape job prove that you are actually human, I was beginning to worry.
Dude, serious props, this is so nice. This motivates me to get my arms and suspension bits powder coated

Reply
 1
1

1


 01-24-2014, 12:27 PM
#926
Good lord, that powdercoated stuff looks tasty.
DEFINITELY attend to the grounding on your dash frame. After I POR-15'd mine, I didn't even think of the grounding. I went in a year later and built a grounding network for it.
There's grounds at both ends of the frame, both sides of the instrument cluster (I just mentioned one ground twice because it's both at the end of the frame and on the left of the instrument cluster), and grounds in the center for the radio and HVAC. At least, those were the grounds for my 95 harness when plugged into my NA6 dash frame.
And as for stickers on the door guard, I could probably produce some as soon as now...
Reply
2
2
 01-24-2014, 03:06 PM
#930
Supporting Vendor


iTrader: (1)
Join Date: Sep 2010
Location: Lake Forest, CA
Posts: 7,956
Total Cats: 1,008
By the way, it looks like you bought everything more or less separately, but now you're putting it all together? Did you built the engine first or did it come all together or separately?
Reply
1
1


 01-24-2014, 04:18 PM
#934
Elite Member

Join Date: Oct 2013
Location: Cedar City, UT
Posts: 2,764
Total Cats: 951
 Do it! After spending the time grinding a couple of the control arms and painting them myself the time vs. money spent to powder coat them is well worth it to just hand them off to the pros.
There's grounds at both ends of the frame, both sides of the instrument cluster (I just mentioned one ground twice because it's both at the end of the frame and on the left of the instrument cluster), and grounds in the center for the radio and HVAC. At least, those were the grounds for my 95 harness when plugged into my NA6 dash frame.
And as for stickers on the door guard, I could probably produce some as soon as now...
Do you happen to have any pictures of the ground location by the headlight cluster?Also does anyone know where the factory ground locations in the engine bay are?

Every time I think I have a vision about how awesome your car is going to be, you take that vision and make it more awesome. Which is awesome.
By the way, it looks like you bought everything more or less separately, but now you're putting it all together? Did you built the engine first or did it come all together or separately?
By the way, it looks like you bought everything more or less separately, but now you're putting it all together? Did you built the engine first or did it come all together or separately?

The engine was fully built when I bought the car with:
Built ’95 1.8L with forged internals.
Bored block with 84 mm 9.0:1 forged supertech pistons
M-tuned connecting rods with ARP2000 hardware
ARP Head studs
ACL race bearings
Balanced rotating assembly
Billet oil pump gear
’99 miata head, ported, polished, 3 angle valve job, backcut valves
’99 miata intake manifold with active VICs controlled by the megasquirt computer
750cc RC injectors
Please don't, you'll regret it!
Thanks again for the compliments guys, you think I inspire you but you guys have really helped the momentum keep going by pushing the positive energy back into me when sometimes I just want to curl into my bed and turn the master breaker switch off for 3-4 days.

Reply
0
0
01-24-2014, 04:42 PM
#935
Supporting Vendor
iTrader: (1)
Join Date: Sep 2010
Location: Lake Forest, CA
Posts: 7,956
Total Cats: 1,008
LOL sorry Jeff, I do remember that the car was built before you bought it. Was making a reference to this thread: https://www.miataturbo.net/build-thr...3/#post1095327
Reply
0
0
01-24-2014, 04:50 PM
#936
Elite Member
Join Date: Oct 2013
Location: Cedar City, UT
Posts: 2,764
Total Cats: 951
LOL sorry Jeff, I do remember that the car was built before you bought it. Was making a reference to this thread: https://www.miataturbo.net/build-thr...3/#post1095327
Reply
0
0
01-24-2014, 06:30 PM
#937
EDIT: It looks like those manuals were removed from the site. Bummer. PM Brain or one of the other mods to see if they still have a link. Worst case, I can put the copy I have on a file exchange place for you.
Last edited by hornetball; 01-24-2014 at 06:47 PM.
Reply
0
0
 01-24-2014, 09:08 PM
#939
Mellens is OK, but not quite the Mazda FSM
I just put the 90-93 Mazda FSM (~90MB) in a shared Dropbox folder. If any of you want it, you'll need to join Dropbox (www.dropbox.com) and then PM me your Dropbox ID so I can link you to it.
I just put the 90-93 Mazda FSM (~90MB) in a shared Dropbox folder. If any of you want it, you'll need to join Dropbox (www.dropbox.com) and then PM me your Dropbox ID so I can link you to it.
Last edited by hornetball; 01-25-2014 at 01:18 AM.
Reply
1
1
01-24-2014, 11:16 PM
#940
Elite Member
Join Date: Oct 2013
Location: Cedar City, UT
Posts: 2,764
Total Cats: 951
Spent most of today tracking wiring paths down, I think I almost have where the cut wires belong figured out.
Also polished some of the yellow out of the dash lights
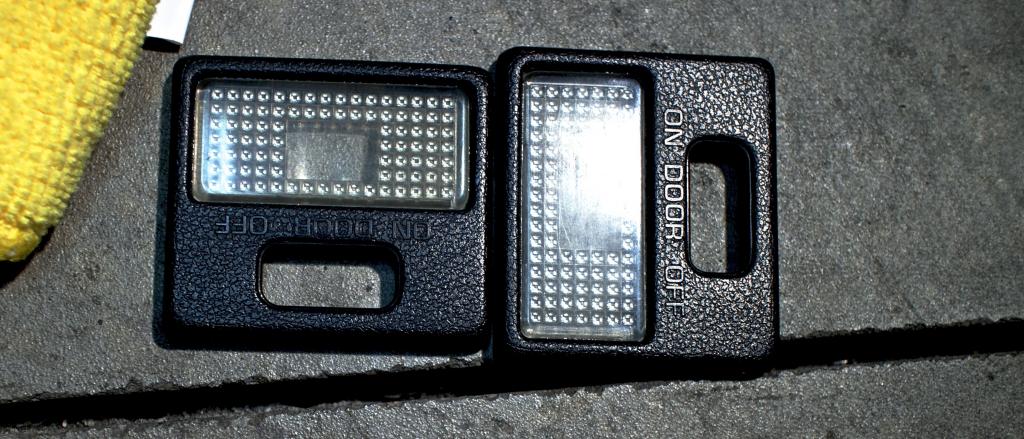
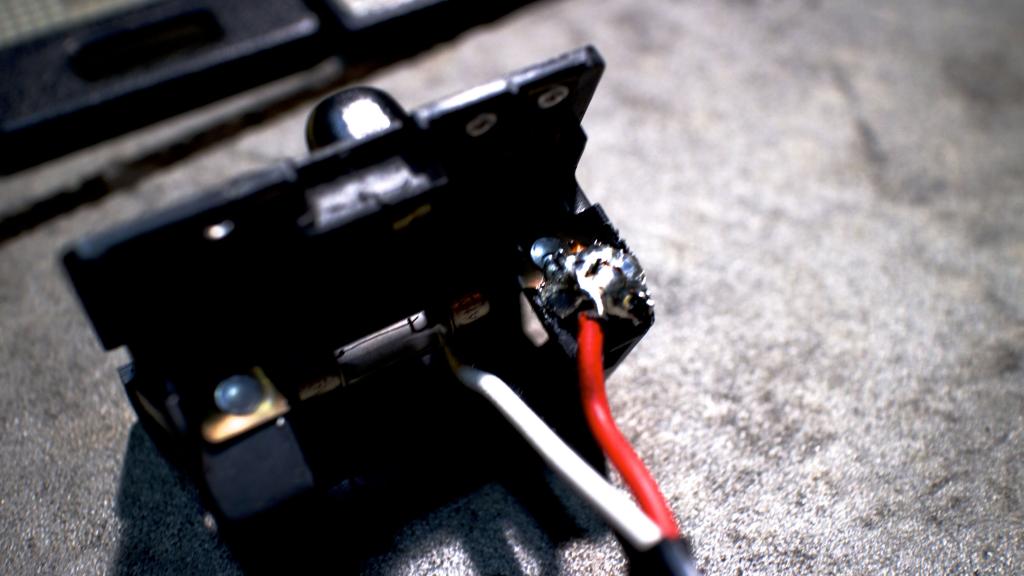
I suck with a soldering iron...
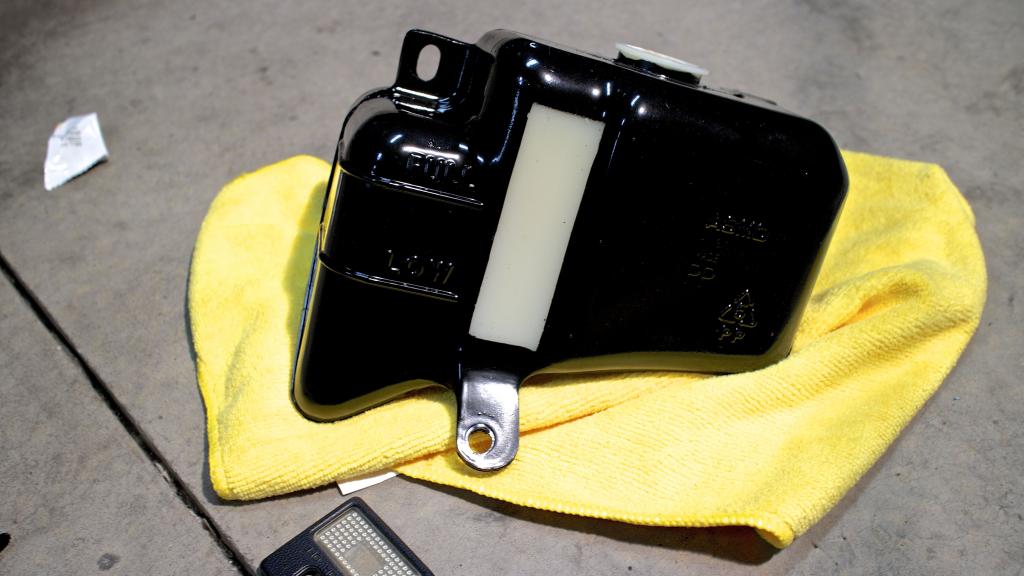
Couldn't get the yellow out of the coolant overflow tank, so I decided to paint it instead.

The front portion of the dash was dented, so I'm switching it from the CO car's dash. I would just use the CO dash but its cracked really bad on the top.

Also polished some of the yellow out of the dash lights

I suck with a soldering iron...

Couldn't get the yellow out of the coolant overflow tank, so I decided to paint it instead.


The front portion of the dash was dented, so I'm switching it from the CO car's dash. I would just use the CO dash but its cracked really bad on the top.

Reply
1
1


