Aidan's loose oily bunghole actually runs a track lap
 10-29-2014, 10:32 AM
#81
SADFab Destructive Testing Engineer


Thread Starter
iTrader: (5)
Join Date: Apr 2014
Location: Beaverton, USA
Posts: 18,642
Total Cats: 1,866
Got a couple more things done yesterday:
Stacked up my coolant reroute spacer:
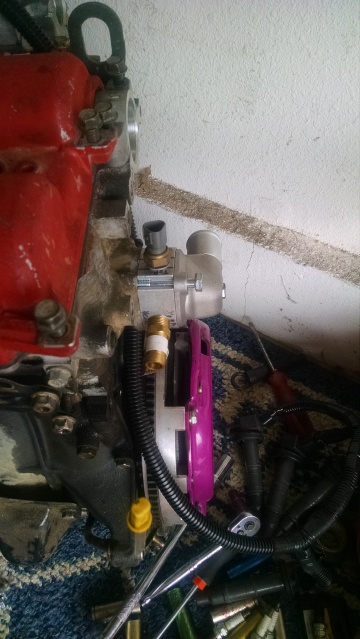
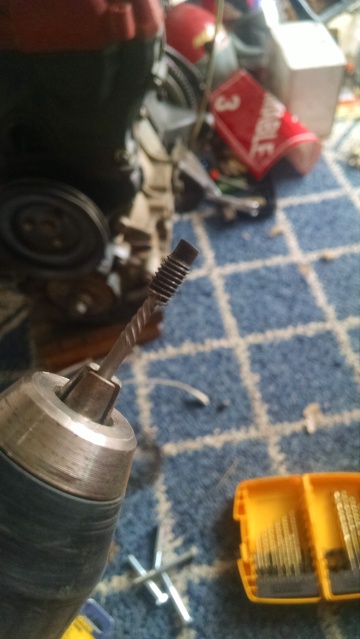
Got my broken bolt removed:
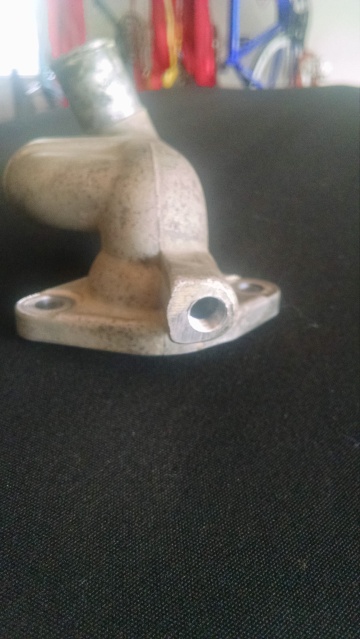
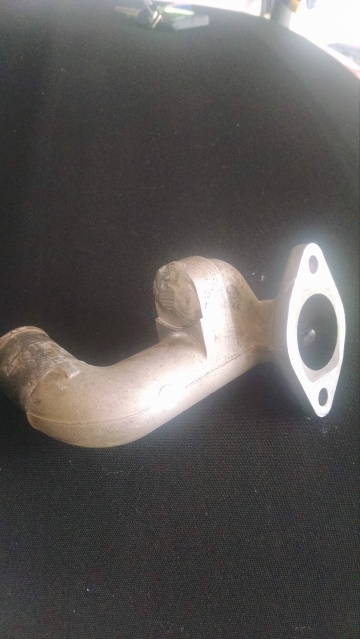
Got my mixing manifold welded and tapped for a 1/8 NPT fitting
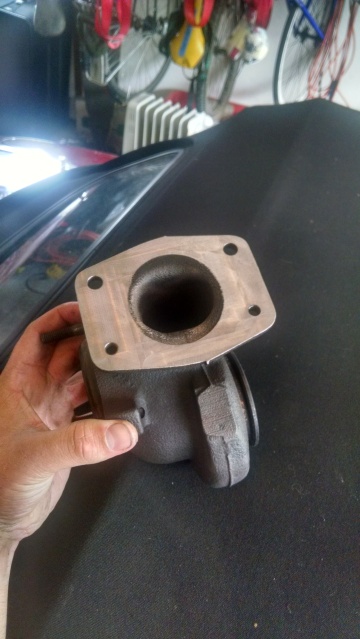
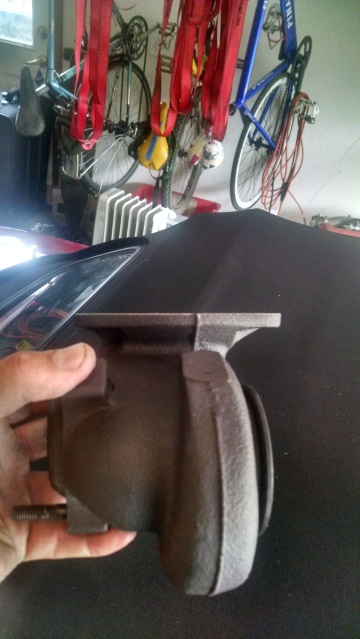
And got the turbo machined down to fit a T3 flange. I'm a little worried it is too thin now, but nothing I can do about it now, hopefully it doesn't crack:
Stacked up my coolant reroute spacer:
Got my broken bolt removed:
Got my mixing manifold welded and tapped for a 1/8 NPT fitting
And got the turbo machined down to fit a T3 flange. I'm a little worried it is too thin now, but nothing I can do about it now, hopefully it doesn't crack:

Reply
 0
0

0

 11-01-2014, 03:27 PM
#83
Junior Member

Join Date: Oct 2012
Posts: 138
Total Cats: 5
My car is from Detroit, where they pave the roads with rock salt. After 13 years of exposure to that crap, the metal part of the bushing had "become one" with the diff so I had to heat / pound / lubricate (sounds like a **** script) for about 2 hours before the damned thing would even budge.
Extreme cases of exposure to road salt may be more of a challenge, even with an air hammer, but the air hammer will make the job much easier in any case.
Reply
0
0
 11-02-2014, 08:37 PM
#85
SADFab Destructive Testing Engineer
Thread Starter
iTrader: (5)
Join Date: Apr 2014
Location: Beaverton, USA
Posts: 18,642
Total Cats: 1,866
Got some more parts in the mail.
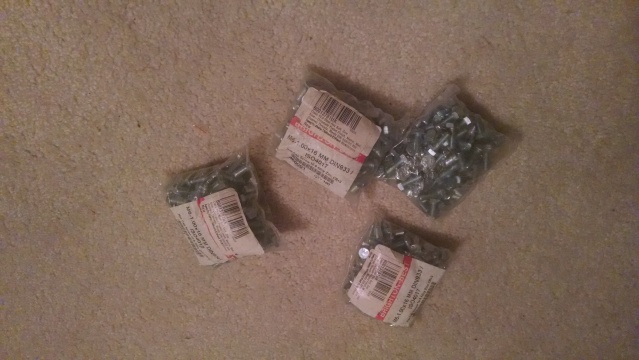
Tried to buy 4 bolts, ended up with 400. Oops.
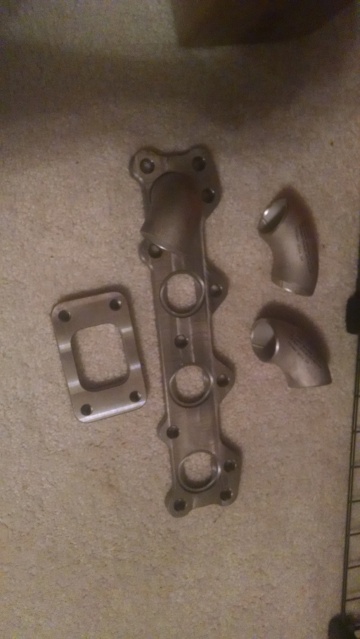
Flanges and Weld-els
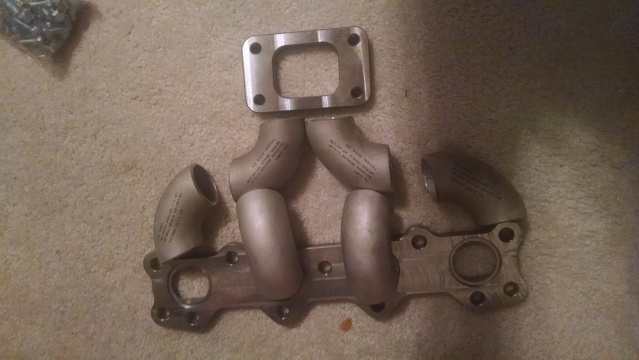
My idea for my manifold, hopefully it works out. I'll be using a buddies TIG in december to put it all together.
Tried to buy 4 bolts, ended up with 400. Oops.
Flanges and Weld-els
My idea for my manifold, hopefully it works out. I'll be using a buddies TIG in december to put it all together.
Reply
0
0
11-04-2014, 03:28 PM
#86
SADFab Destructive Testing Engineer
Thread Starter
iTrader: (5)
Join Date: Apr 2014
Location: Beaverton, USA
Posts: 18,642
Total Cats: 1,866
Got my new thermostat in the mail and put together the rear end of the coolant reroute:
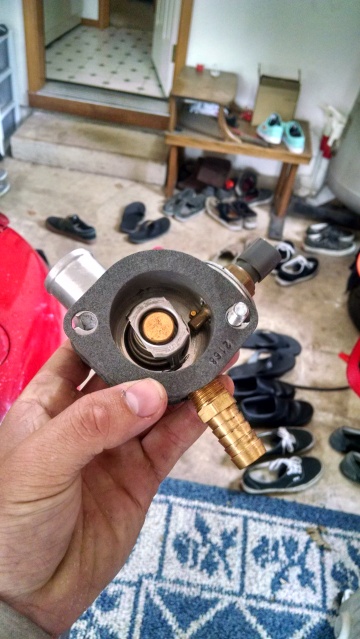
Also here's a picture of the mixing manifold and my hose routing from the throttle body. That will eventually be the turbo feed then return.
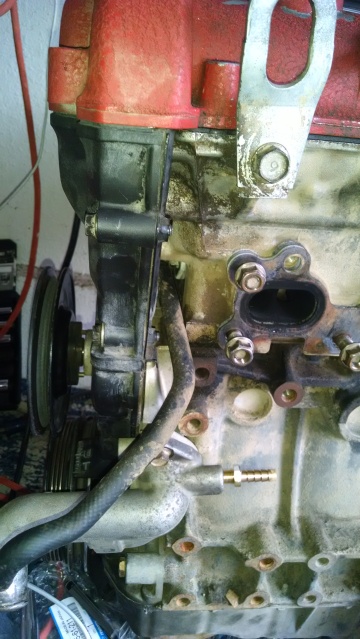
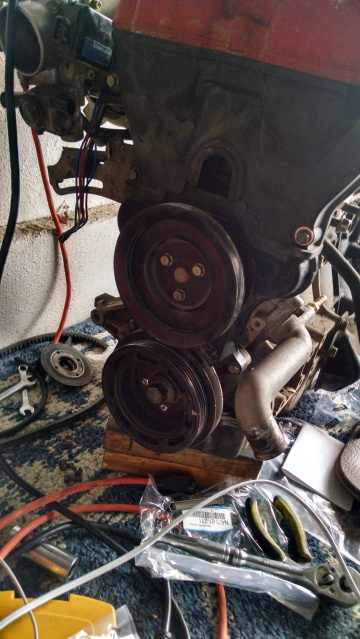
Got the crank pulley on:
Also here's a picture of the mixing manifold and my hose routing from the throttle body. That will eventually be the turbo feed then return.
Got the crank pulley on:
Reply
0
0
 11-14-2014, 01:07 PM
#90
SADFab Destructive Testing Engineer
Thread Starter
iTrader: (5)
Join Date: Apr 2014
Location: Beaverton, USA
Posts: 18,642
Total Cats: 1,866
Small Update:
CX Racing radiator came in:
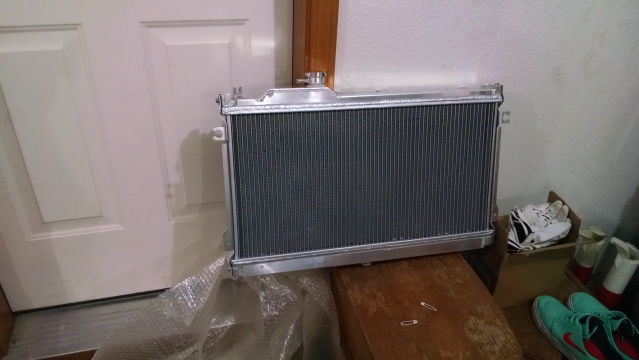
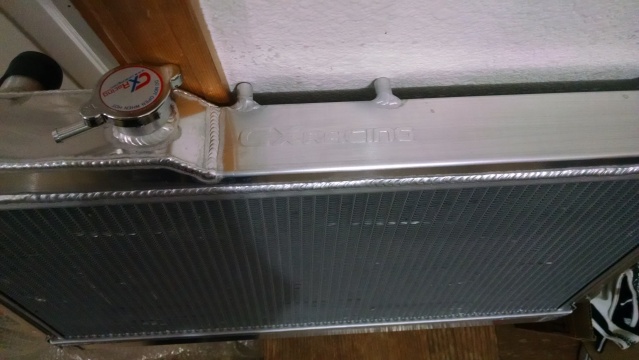
Seems well built, others have had good experience with it.
Also found a good source for T-bolt clamps. Fastenal has some well built ones for about 2.50$ a piece. I got enough for my coolant reroute.
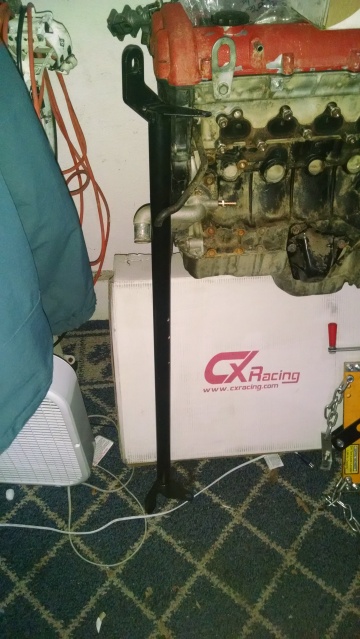
Also picked up some threaded rod to mount my engine to the engine stand, I should be doing the swap next weekend.
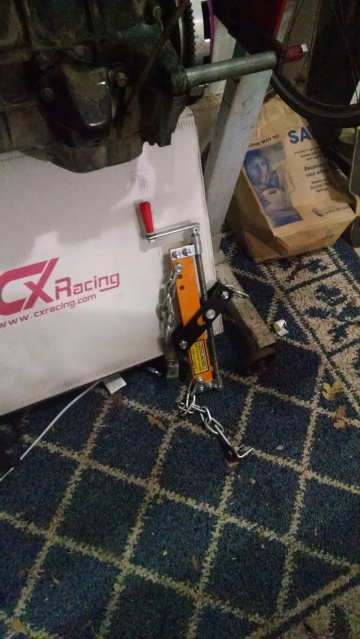
Picking up a harness bar and springs from curly and oregonmon this weekend. Hopefully borrowing curly's load leveler too. Also possibly looking at a shell + hardtop.
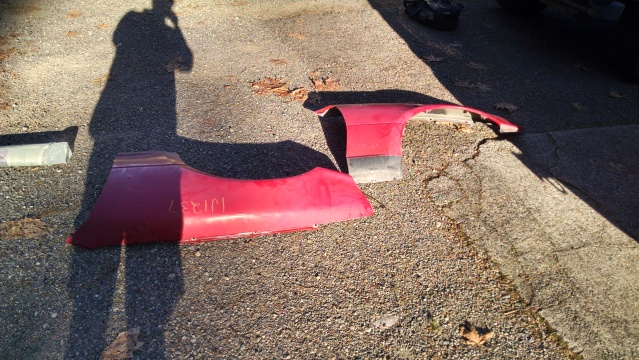
Found some fenders in Washington that are red and in decent condition, having a friend pick them up for me if they look good enough.
CX Racing radiator came in:
Seems well built, others have had good experience with it.
Also found a good source for T-bolt clamps. Fastenal has some well built ones for about 2.50$ a piece. I got enough for my coolant reroute.
Also picked up some threaded rod to mount my engine to the engine stand, I should be doing the swap next weekend.
Picking up a harness bar and springs from curly and oregonmon this weekend. Hopefully borrowing curly's load leveler too. Also possibly looking at a shell + hardtop.
Found some fenders in Washington that are red and in decent condition, having a friend pick them up for me if they look good enough.
Reply
0
0
11-17-2014, 10:26 AM
#91
SADFab Destructive Testing Engineer
Thread Starter
iTrader: (5)
Join Date: Apr 2014
Location: Beaverton, USA
Posts: 18,642
Total Cats: 1,866
Had a solid shopping weekend.
Found some fenders in a junkyard in Seattle. No dents at all:
Picked up a harness bar from curly and borrowed his load leveler:
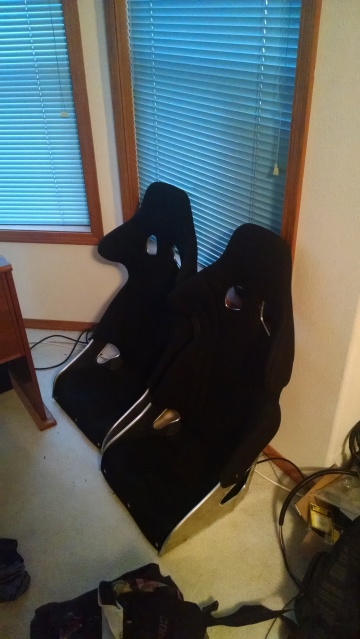
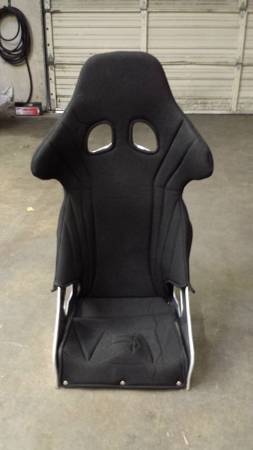
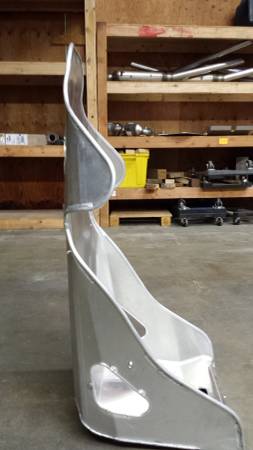
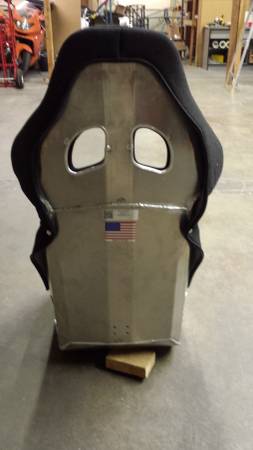
And the real treat. I found a pair of 16" Ultra Shield Rally Sport seats on craigslist for 125 each.
Found some fenders in a junkyard in Seattle. No dents at all:
Picked up a harness bar from curly and borrowed his load leveler:
And the real treat. I found a pair of 16" Ultra Shield Rally Sport seats on craigslist for 125 each.
Reply
0
0
11-18-2014, 08:12 AM
#92
Retired Mech Design Engr
iTrader: (3)
Join Date: Jan 2013
Location: Seneca, SC
Posts: 5,009
Total Cats: 857
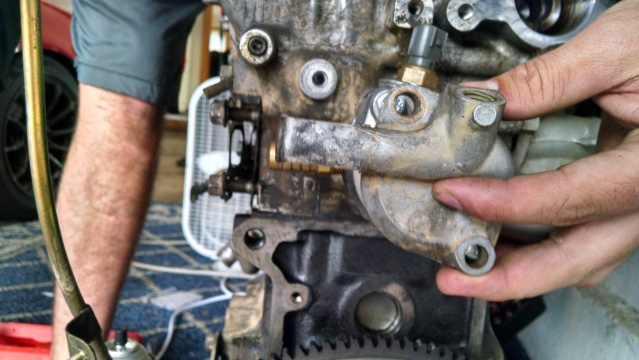
Looks like you had to add some spacers under the temp sensor.
Do you have a close-up, or could you elaborate on what you did there?
Are you satisfied with the results, or do you wish you had welded a boss?
Do you have a close-up, or could you elaborate on what you did there?
Are you satisfied with the results, or do you wish you had welded a boss?
Reply
0
0
11-18-2014, 10:16 AM
#95
SADFab Destructive Testing Engineer
Thread Starter
iTrader: (5)
Join Date: Apr 2014
Location: Beaverton, USA
Posts: 18,642
Total Cats: 1,866
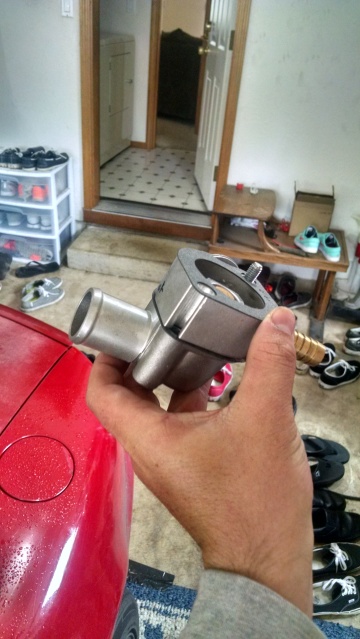
Also because of the design of the Jackson racing spacer it has a flat spot on one edge. The coolant temp sensor seals not with threads but with the aluminum washer. Because of the flat spot I could drill and tap without needing a boss. I haven't finalized the spacers. Those are just fender washers for mockup.
Reply
0
0
11-20-2014, 03:31 PM
#96
SADFab Destructive Testing Engineer
Thread Starter
iTrader: (5)
Join Date: Apr 2014
Location: Beaverton, USA
Posts: 18,642
Total Cats: 1,866
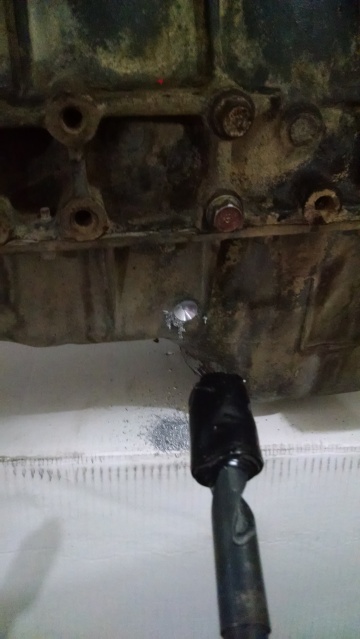
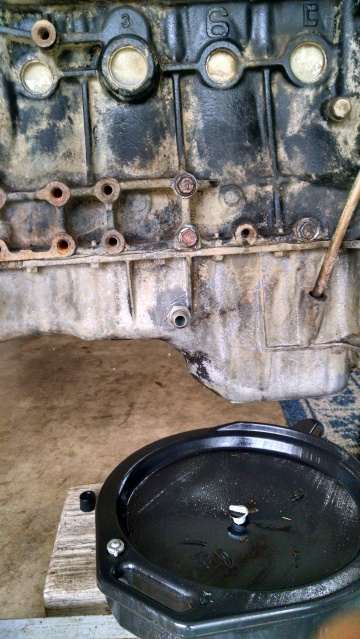
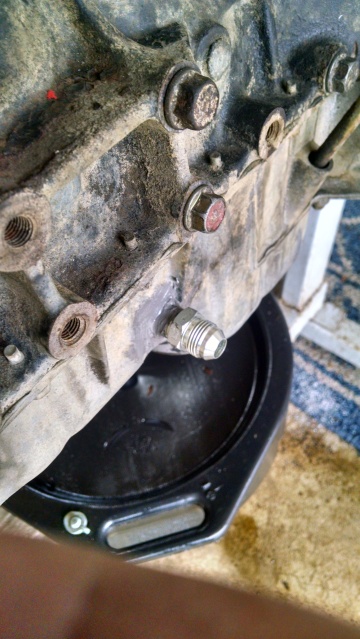
Got around to tapping the pan yesterday. Planning on doing the swap this weekend, so any pointers or advice are appreciated.
Now picture time:
Pilot hole

Taped up
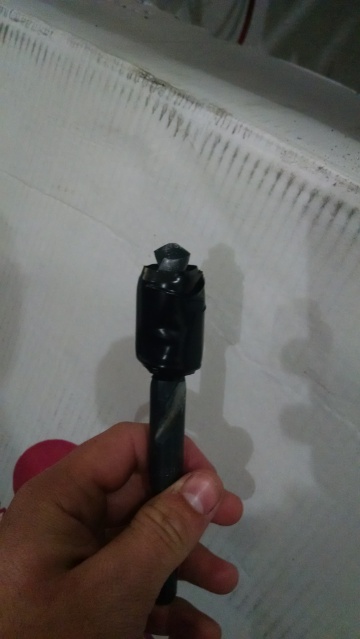
**** takes forever
JB welded
Now picture time:
Pilot hole
Taped up
**** takes forever
JB welded
Reply
0
0
11-20-2014, 03:58 PM
#97
Cpt. Slow
iTrader: (25)
Join Date: Oct 2005
Location: Oregon City, OR
Posts: 14,190
Total Cats: 1,135
You're not going to take a hose to this thing? Soap and water would go a long way, followed by a little tape and paint.
Under body stuff is the most annoying, start there. Engine mount nuts, ppf, cat, reverse and neutral switch, speedo, and drain tranny. Driveshaft will fall out as you pull the engine, but unbolt it to put it back in. Much easier than aligning as you install.
Under body stuff is the most annoying, start there. Engine mount nuts, ppf, cat, reverse and neutral switch, speedo, and drain tranny. Driveshaft will fall out as you pull the engine, but unbolt it to put it back in. Much easier than aligning as you install.
Reply
0
0
 11-21-2014, 10:59 AM
#100
SADFab Destructive Testing Engineer
Thread Starter
iTrader: (5)
Join Date: Apr 2014
Location: Beaverton, USA
Posts: 18,642
Total Cats: 1,866
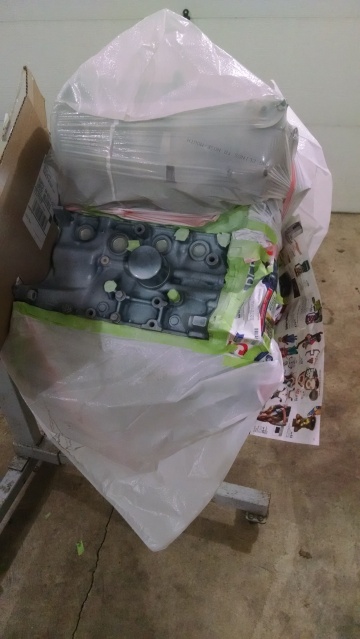
On another note got to cleaning and painting yesterday (should make curly happier)
Toothbrush for the tight spots:
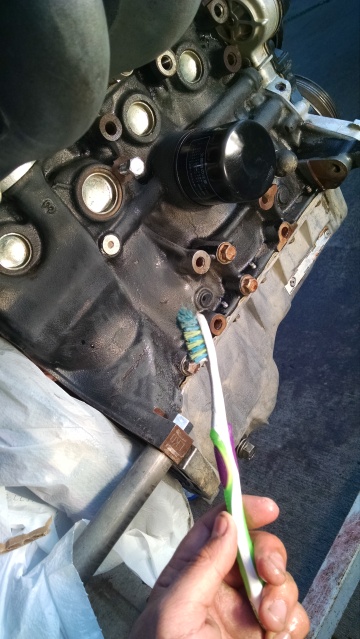
Looking better:
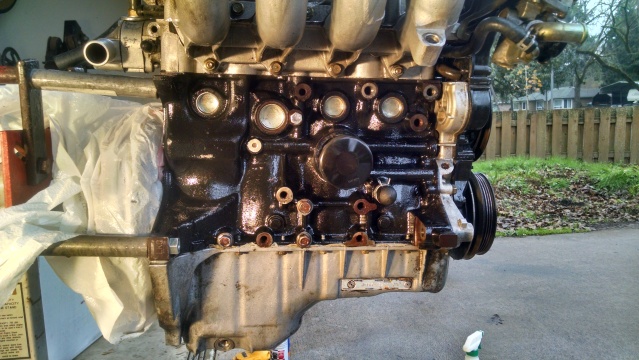
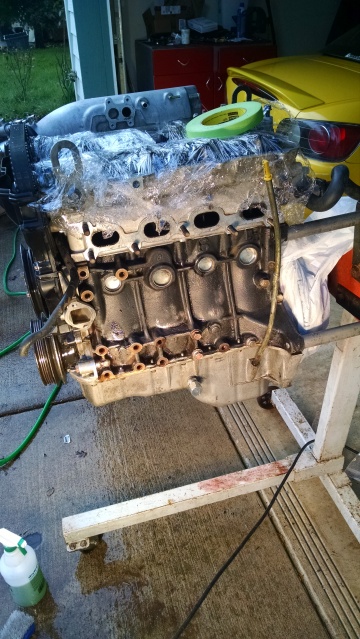
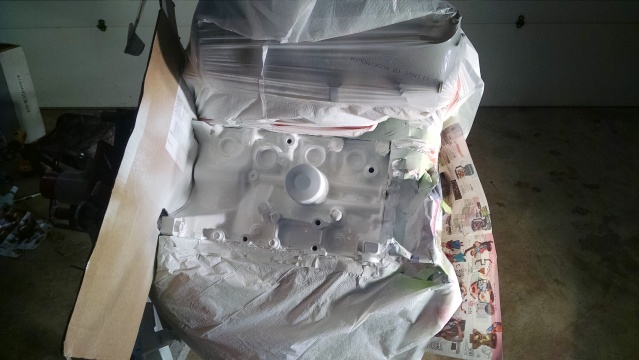
Painting time:
Reply
0
0


