build thread (TII drivetrain swap, built motor, cage, widebody, blah blah)
 04-04-2010, 09:38 PM
#242
Newb

Join Date: Apr 2010
Posts: 1
Total Cats: 0
hello i am also doing the tii trany swap i have everything already bolted up but i am not gening enough clutch travel did you have any problems with the clutch fork not pushing the clutch enough? gears will go in but with dificulty and the tires will start moving even when i press the clutch.

Reply
 0
0

0
04-05-2010, 05:49 PM
#243
Senior Member
Thread Starter
iTrader: (9)

Join Date: Jun 2007
Location: NH
Posts: 1,013
Total Cats: 21
hello i am also doing the tii trany swap i have everything already bolted up but i am not gening enough clutch travel did you have any problems with the clutch fork not pushing the clutch enough? gears will go in but with dificulty and the tires will start moving even when i press the clutch.
Reply
0
0
04-11-2010, 06:35 PM
#244
Senior Member
Thread Starter
iTrader: (9)
Join Date: Jun 2007
Location: NH
Posts: 1,013
Total Cats: 21
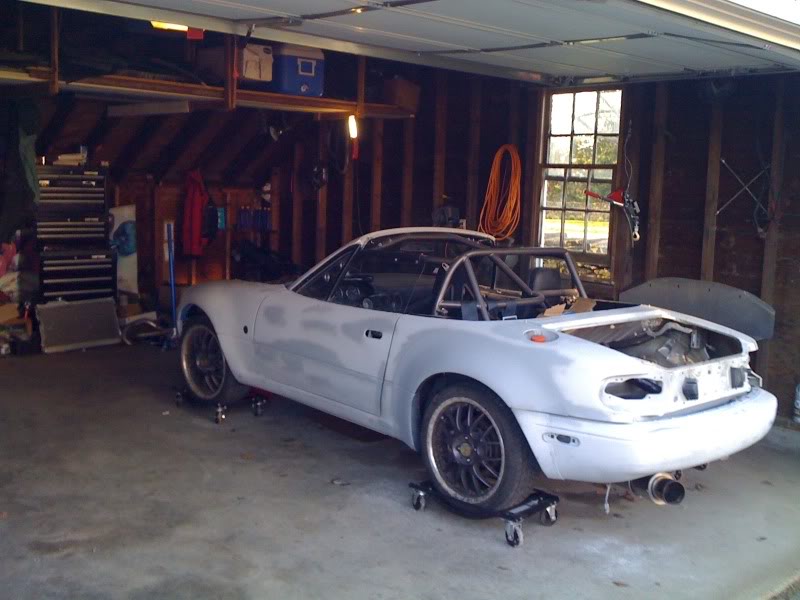
More progress this past weekend! Crappy iphone pics too!
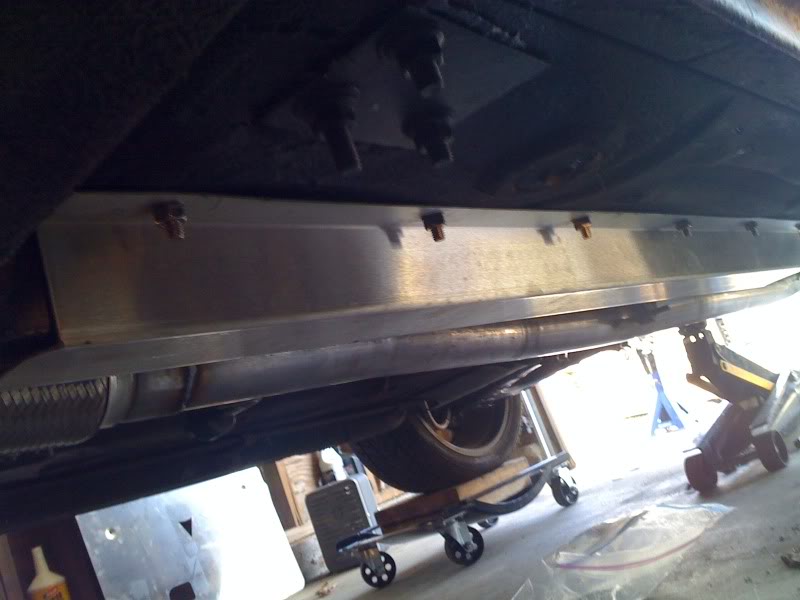
Got my new frame rail stiffeners/skid plates finally installed:
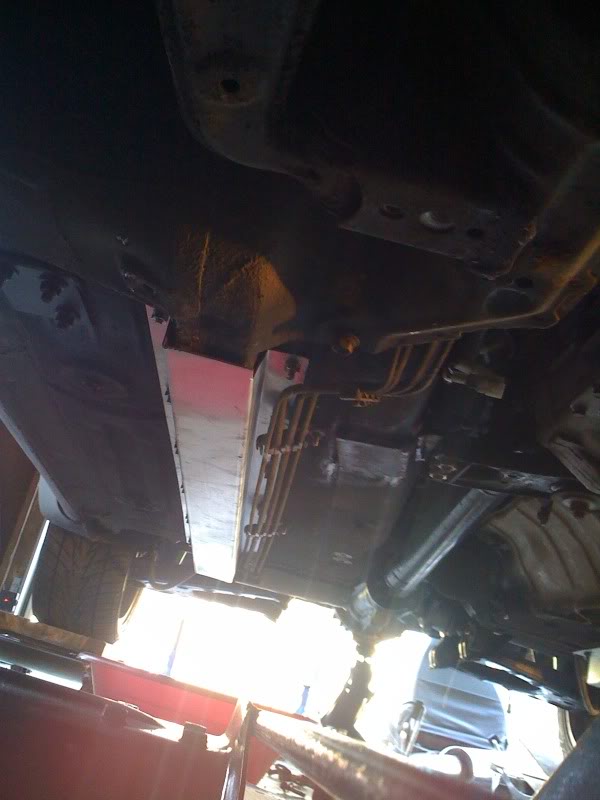
I flipped the hard line bracket around and bent it up so the lines sit below the frame rails, but off the bolts sticking through
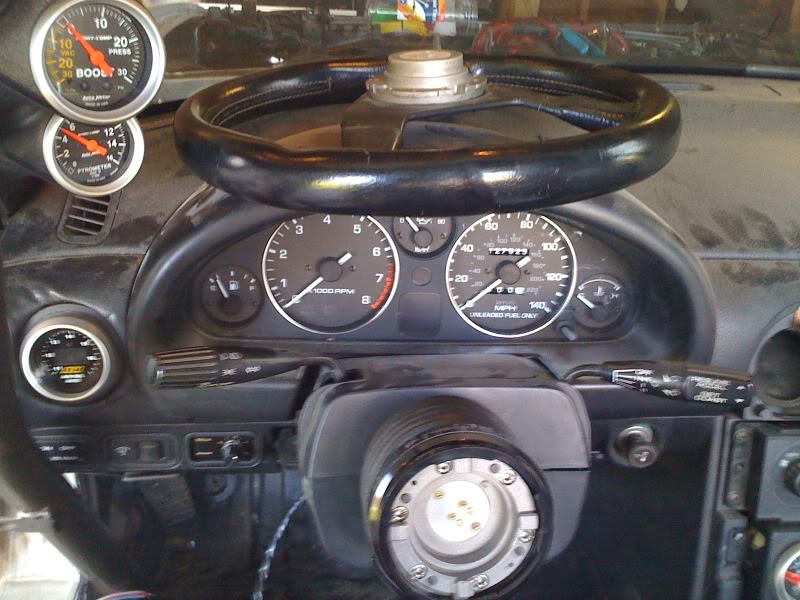
I filled the tranny with fluid, filled the power steering system with fluid- no leaks! I had to remove the back half of the exhaust to get the fluid in the tranny as the fill on the TII is on the same side as the exhaust now. Next I removed the radiator so I can start building a shroud for it Lastly, I installed the wideband o2 sensor. I stuck it in the driver's side air vent.
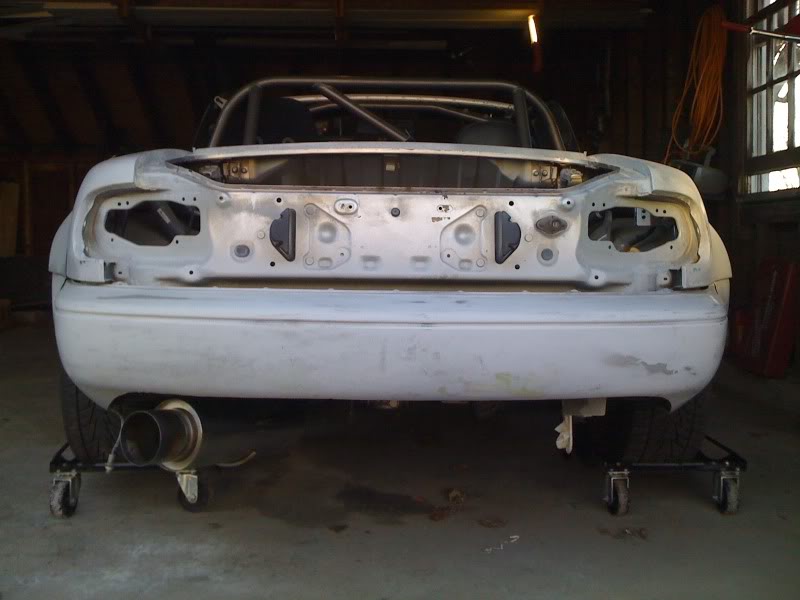
I also took a better shot of my exhaust and rear bumper cutout:
Lastly, a shot of my garage after I cleaned it up and put everything away:
Got my new frame rail stiffeners/skid plates finally installed:
I flipped the hard line bracket around and bent it up so the lines sit below the frame rails, but off the bolts sticking through
I filled the tranny with fluid, filled the power steering system with fluid- no leaks! I had to remove the back half of the exhaust to get the fluid in the tranny as the fill on the TII is on the same side as the exhaust now. Next I removed the radiator so I can start building a shroud for it Lastly, I installed the wideband o2 sensor. I stuck it in the driver's side air vent.
I also took a better shot of my exhaust and rear bumper cutout:
Lastly, a shot of my garage after I cleaned it up and put everything away:
Reply
0
0


 I see that muffler and want to drop by and fix it. It looks like it is just before falling off. Maybe an extra large rear wing will offset the appearance?
  04-19-2010, 07:21 PM
#249
Senior Member
Thread Starter
iTrader: (9)
Join Date: Jun 2007
Location: NH
Posts: 1,013
Total Cats: 21
So one of the hard lines going into my power steering rack is cracked, and thus leaked out all the fluid I just put into the system  . I'm debating on just yanking all the power steering stuff out and dealing with it some other time if I feel like I want/need it back. Thoughts?
. I'm debating on just yanking all the power steering stuff out and dealing with it some other time if I feel like I want/need it back. Thoughts?
Reply
0
0

 05-08-2010, 09:36 AM
#251
Senior Member
Thread Starter
iTrader: (9)
Join Date: Jun 2007
Location: NH
Posts: 1,013
Total Cats: 21
Ordered paint last night. I also fixed the PS leak, mounted the fan, remounted the radiator/intercooler and filled up the PS fluid again- let's hope it doesn't leak this time. Heading out to the garage now, more updates later today.
Reply
0
0
 05-08-2010, 05:21 PM
#253
Senior Member
Thread Starter
iTrader: (9)
Join Date: Jun 2007
Location: NH
Posts: 1,013
Total Cats: 21
I need some help. Back when I did the wire tuck, I cut off the old AFM connector and hid the wires. I was going to install the IAT sensor, and looks like I shouldn't have done that  . Per the megasquirt PnP directions, I'm supposed to hook into the 1st and 6th pins on the connector- What colors are these wires? I have a 1990 miata for reference.
. Per the megasquirt PnP directions, I'm supposed to hook into the 1st and 6th pins on the connector- What colors are these wires? I have a 1990 miata for reference.
Reply
0
0
05-08-2010, 07:05 PM
#254
Elite Member

Join Date: Dec 2008
Location: Colorado
Posts: 1,642
Total Cats: 36
Wish I could help you there, but I cant.
What I do know is that in some cases you can really help with clutch travel by 'shiming' the ball that the fork pivots on with a washer or two. This effectively changes the fulcrum point a bit which can get you some more disengagement. A washer 1MM thick is often enough, since a small change there can equate to a pretty large change in the movement of the bearing.
What I do know is that in some cases you can really help with clutch travel by 'shiming' the ball that the fork pivots on with a washer or two. This effectively changes the fulcrum point a bit which can get you some more disengagement. A washer 1MM thick is often enough, since a small change there can equate to a pretty large change in the movement of the bearing.
Reply
0
0


