f20c engine conversion
 09-23-2010, 02:41 PM
#241
Senior Member
Thread Starter
iTrader: (2)

Join Date: Jan 2010
Location: Denver
Posts: 904
Total Cats: 14
I just have the external pump. I really didn't see a need to put a pusher in the tank. The external is designed to pull fuel over a certain distance before getting to the pump. I wrestled with the notion of putting a pusher in tank. But couldn't justify it, I believe most of the setups that use pusher pumps, also use the stock line to supply the main pump.
What flows more, a swizzle stick or a regular straw? A regular straw of course. The supply line to the pump is -8, then -8 from the pump through the fuel rail to the regulator, -6 for return to the tank. The stock supply line on a miata may be a tick over -4 if at all greater. I feel comfortable that my set up will have no problem supplying my fuel needs, even the additional 30% required by E85.
What flows more, a swizzle stick or a regular straw? A regular straw of course. The supply line to the pump is -8, then -8 from the pump through the fuel rail to the regulator, -6 for return to the tank. The stock supply line on a miata may be a tick over -4 if at all greater. I feel comfortable that my set up will have no problem supplying my fuel needs, even the additional 30% required by E85.

Reply
 0
0

0
09-23-2010, 02:45 PM
#242
Senior Member
Thread Starter
iTrader: (2)
Join Date: Jan 2010
Location: Denver
Posts: 904
Total Cats: 14
My friend had the same thing happen with some older OBX flanged V-bands. He dremeled off a hair and they worked fine after that.
When I did the OBX flanged Vband on mine, I made sure to have it all clamped together through All the welding. It fits perfectly... of course they might have enlarged the tolerances since my friend used them last.
When I did the OBX flanged Vband on mine, I made sure to have it all clamped together through All the welding. It fits perfectly... of course they might have enlarged the tolerances since my friend used them last.
Reply
0
0

 09-24-2010, 04:43 AM
#245
Senior Member
Thread Starter
iTrader: (2)
Join Date: Jan 2010
Location: Denver
Posts: 904
Total Cats: 14
It Lives!! Albeit with an exhaust leak at the vband between the manifold and the turbo...****. I have to take this damn thing apart for the millionth time. I am going to take the manifold to a machinist and have them true the flange.
I will be headed to the dyno in roughly two weeks for tuning.
Okay, this is actually a second start video. First start took about a minute of bumping the starter before it hit. Leading up to start up, I took the valve cover off and poured oil on the cams, rocker assembly, and drizzled some oil on the timing gears and chain. To prime the oil pump I removed the feed line from the turbo and shot oil down it using a 20 cc syringe. then I cranked the engine with no plugs in it and had 20 lbs of oil pressure within a couple of seconds. Then I buttoned every thing up and started the little beast.
http://www.youtube.com/watch?v=eOlgLBXpOQc
Just watched the video, it sucks, no audio so I will post up another using my phone.
Reply
0
0

 09-29-2010, 04:03 AM
#248
Senior Member
Thread Starter
iTrader: (2)
Join Date: Jan 2010
Location: Denver
Posts: 904
Total Cats: 14
Took my manifold to an amazing machinist, who cleaned up the warped flange. According to his measurements the flange was out .012". The guy was amazing, even let me hang out and watch his work. When I got the manifold back home and bolted everything back together the leak was gone!! Here are some before and after shots.
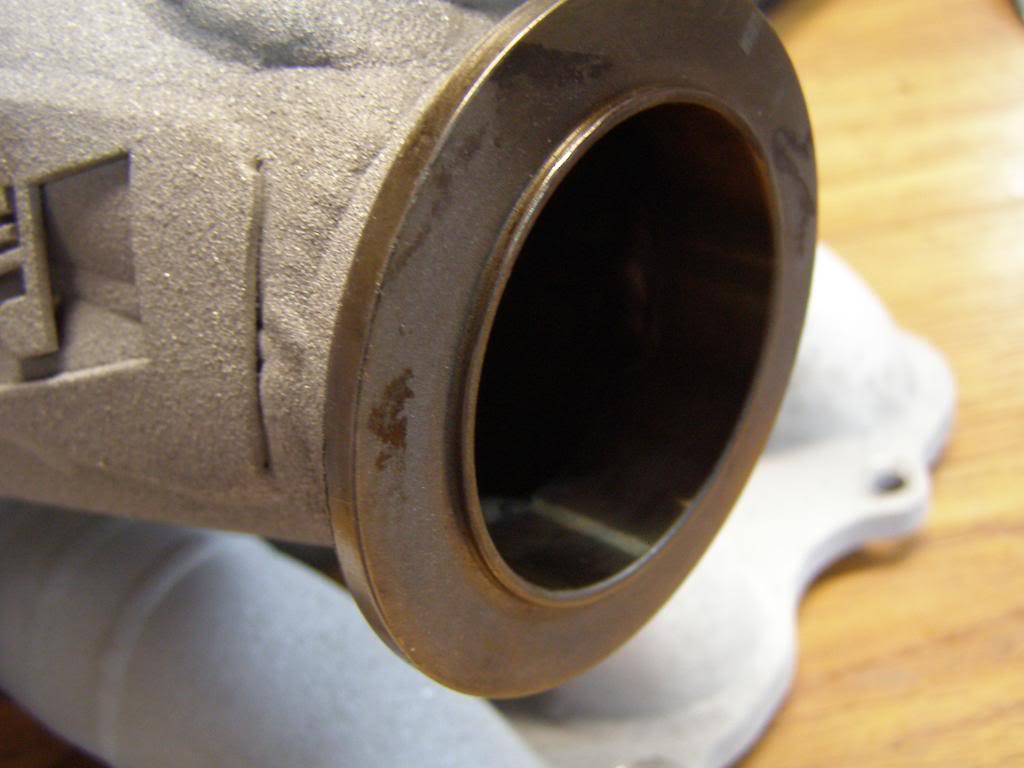
Before surfacing
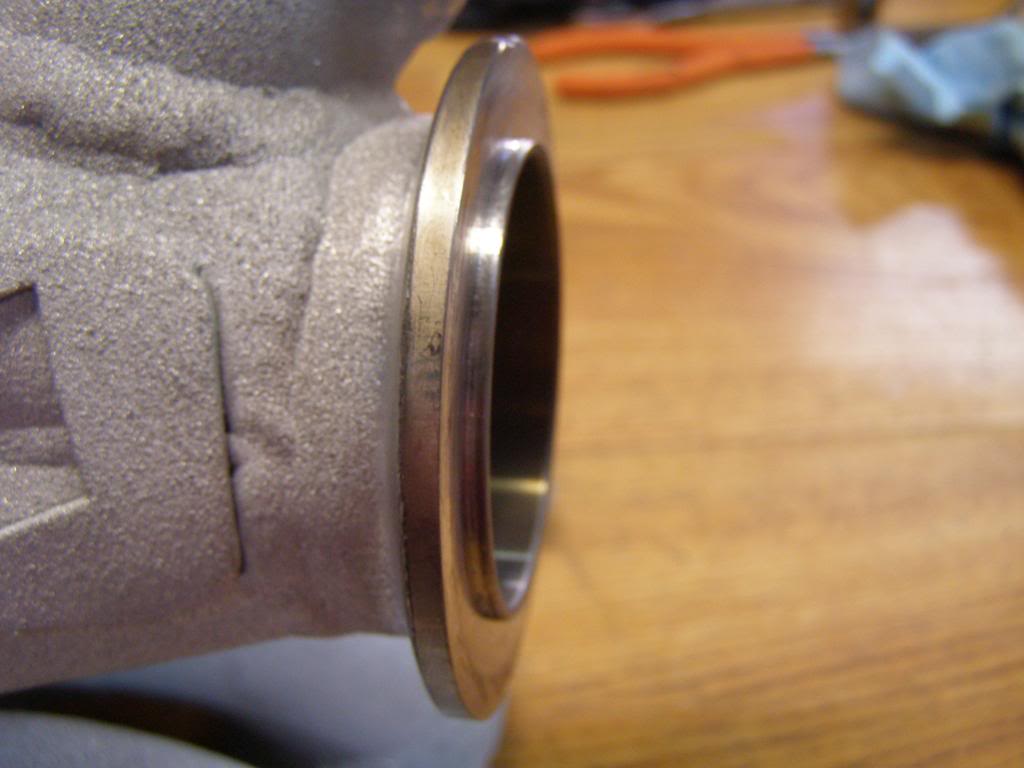
After surfacing, because of how deep the female groove is to receive the ring we decided not to remove any material from the ring.

The flanges mate nice now!

Soon to be my air intake, 4" aluminum mandrel bend.
My pre dyno punch list is getting short. I need to build a support to keep the aluminum water line off of the blow off valve. I need to wire up my boost control, install my UEGO, and I need to get a catch can built, mounted, and plumed. My remote oil filter and oil cooler can wait until after the dyno day.
I will post up a few shots of machining on the bridgeport later today.
Before surfacing
After surfacing, because of how deep the female groove is to receive the ring we decided not to remove any material from the ring.
The flanges mate nice now!
Soon to be my air intake, 4" aluminum mandrel bend.
My pre dyno punch list is getting short. I need to build a support to keep the aluminum water line off of the blow off valve. I need to wire up my boost control, install my UEGO, and I need to get a catch can built, mounted, and plumed. My remote oil filter and oil cooler can wait until after the dyno day.
I will post up a few shots of machining on the bridgeport later today.
Last edited by hingstonwm; 09-29-2010 at 04:02 PM.
Reply
0
0

 09-29-2010, 04:02 PM
#251
Senior Member
Thread Starter
iTrader: (2)
Join Date: Jan 2010
Location: Denver
Posts: 904
Total Cats: 14
^^^yeah that is what I meant, to tired last night when I posted so that is the way it came out. When you have two high spots that are .012" higher than the surrounding material it makes for a big leak.
Edited the above post.
Edited the above post.
Reply
0
0
09-29-2010, 04:21 PM
#252
Senior Member
Thread Starter
iTrader: (2)
Join Date: Jan 2010
Location: Denver
Posts: 904
Total Cats: 14

I looked at the autokonexion site, will most likely be ordering a carbon extractor hood from your shop.
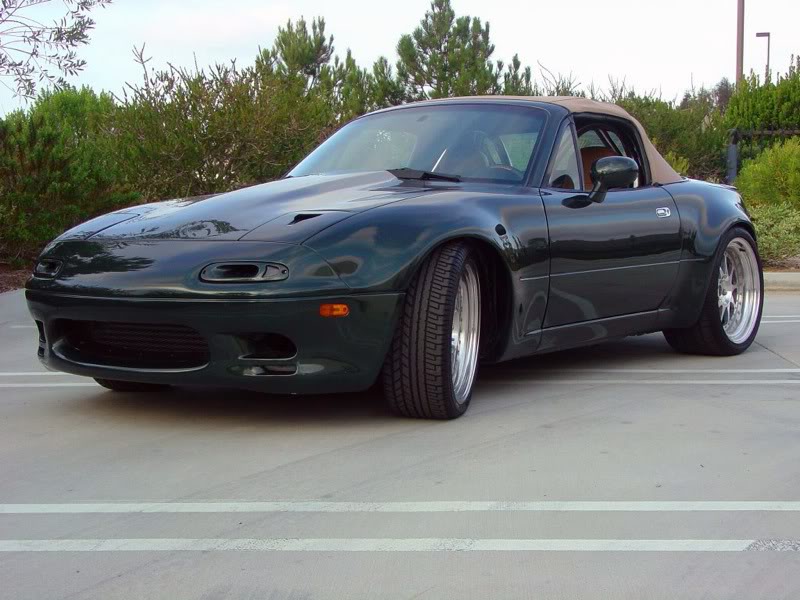
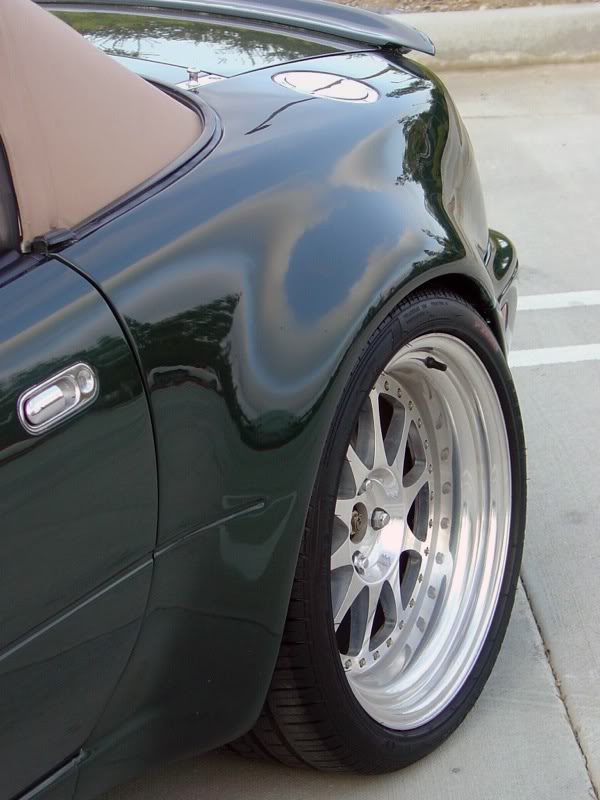
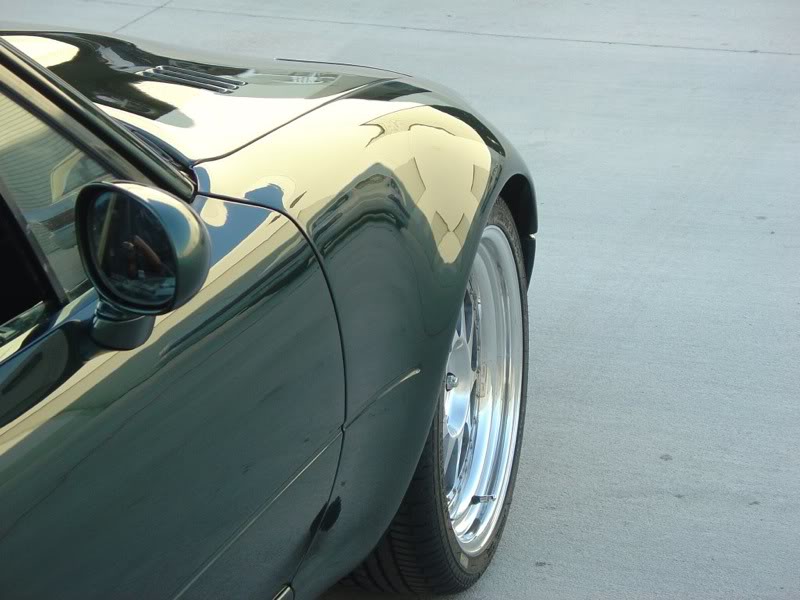
Bumpers will be Racing Beat type II, and the flares will be from AWR. Here is a shot of the flares, they are blister fronts and bonded rears. I like the autokonexion fastback hard top, but I don't care for the bumpers or the fender flares. They are nice looking pieces, but just a touch to boy racer looking for my taste, no offense intended.
Here are a couple of pics of the flares I plan on using.
Reply
0
0


 09-29-2010, 06:29 PM
#259

Thanks for the props!
I looked at the autokonexion site, will most likely be ordering a carbon extractor hood from your shop.
Bumpers will be Racing Beat type II, and the flares will be from AWR. Here is a shot of the flares, they are blister fronts and bonded rears. I like the autokonexion fastback hard top, but I don't care for the bumpers or the fender flares. They are nice looking pieces, but just a touch to boy racer looking for my taste, no offense intended.
Here are a couple of pics of the flares I plan on using.
That is so ******* pimp.
__________________
Best Car Insurance | Auto Protection Today | FREE Trade-In Quote
Reply
0
0


