Prepping for turbo build
 01-31-2014, 09:04 PM
#221
Senior Member

iTrader: (2)

Join Date: Oct 2013
Location: Goleta, Southern California
Posts: 520
Total Cats: 27
Make sure to measure the journal for roundness. Mine knocked hard under boost for less than a second before I let off. It didn't have a rod knock at idle after. Pulled it apart and the #3 bearing looked just like that. #4 looked a little worse. Both rod journals were out of round about .004"... Regrind required.
Hope yours is better than mine!
Hope yours is better than mine!

Reply
 0
0

0
01-31-2014, 09:17 PM
#222
Elite Member
Thread Starter
iTrader: (5)

Join Date: Aug 2011
Location: South Jersey
Posts: 1,512
Total Cats: 30
Make sure to measure the journal for roundness. Mine knocked hard under boost for less than a second before I let off. It didn't have a rod knock at idle after. Pulled it apart and the #3 bearing looked just like that. #4 looked a little worse. Both rod journals were out of round about .004"... Regrind required.
Hope yours is better than mine!
Hope yours is better than mine!
Reply
0
0
02-06-2014, 02:45 PM
#223
Elite Member
Thread Starter
iTrader: (5)
Join Date: Aug 2011
Location: South Jersey
Posts: 1,512
Total Cats: 30
FM Stg1 clutch kit ordered this morning, with a upgraded beefier TOB and a SS Clutch line on the side!!!
I am seriously getting sick of ordering parts that end up sitting in the garage at work. I should take a pictures of all the parts I have piled up...
The clutch should go in sooner than later though... Swapping in my 6speed and the clutch at the same time.
I am seriously getting sick of ordering parts that end up sitting in the garage at work. I should take a pictures of all the parts I have piled up...
The clutch should go in sooner than later though... Swapping in my 6speed and the clutch at the same time.
Reply
0
0

 02-14-2014, 02:17 AM
#225
Newb

Join Date: Feb 2014
Location: Vancouver,BC
Posts: 17
Total Cats: -26
Wow, just finished reading this whole thread. Great to see the progress, and is great to see. I plan to turbo my Miata when I buy it. Reading build threads like your helps, also love your positive attitude, keep it up man!
Reply
0
0

 02-23-2014, 09:54 AM
#228
Elite Member
Thread Starter
iTrader: (5)
Join Date: Aug 2011
Location: South Jersey
Posts: 1,512
Total Cats: 30
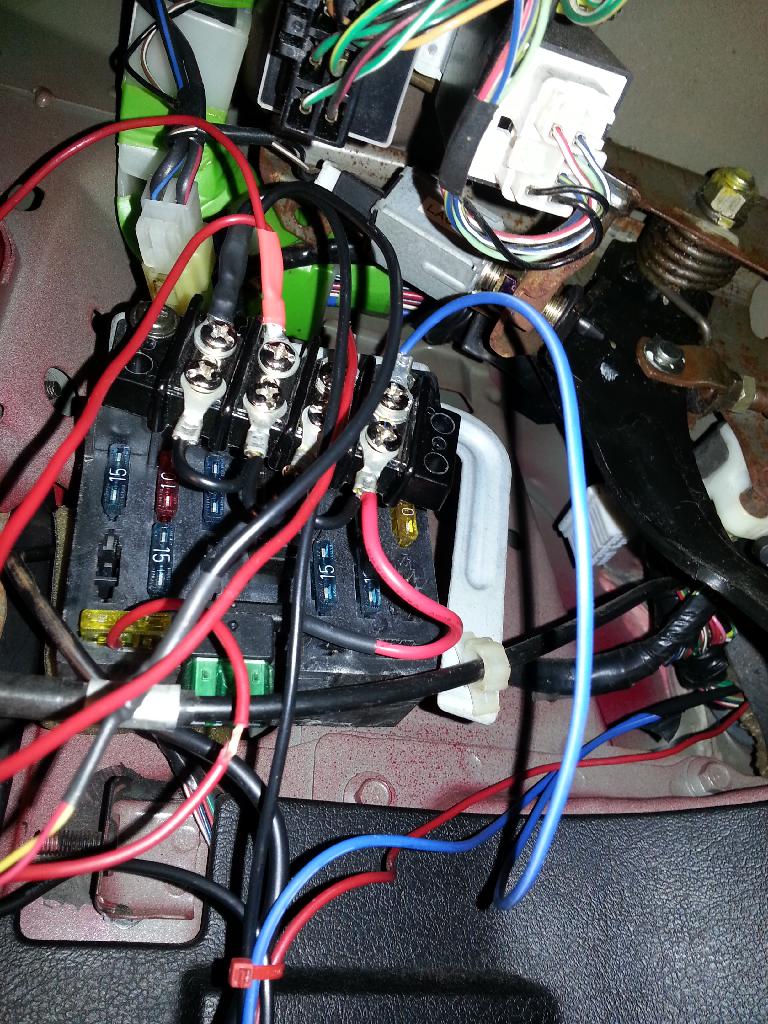
One of my biggest dislikes as far as working on cars is concerned, is wiring. I always end up with wires running all over the place, wrapped around fuses for power, etc.... Not this time!
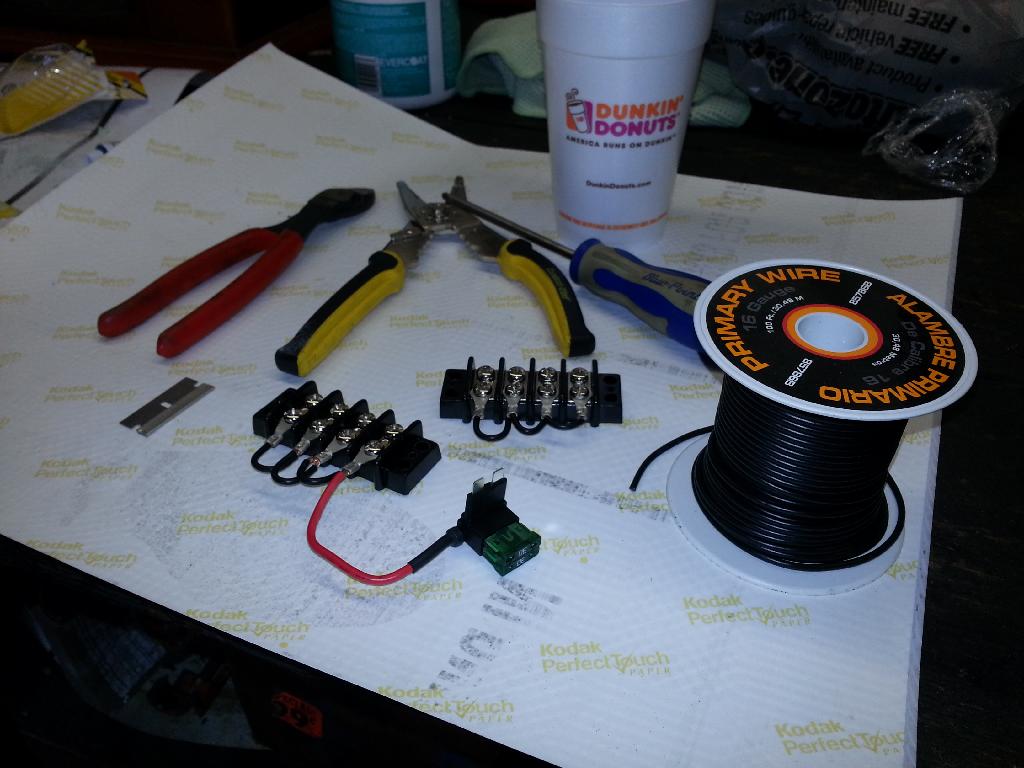
I am currently installing my gauges in preparation for my MS3x install coming in a few weeks. I wired up my boost gauge yesterday, and started doing it the "wrong" way. Decided I didn't want to be ghetto, and started searching for something that could make life easier.. Came up with this and it's so simple I dont know why I never did it before!
Power/ Ground distribution blocks... Also got one of those fuse taps and I will use it on an Acc. power circuit. Nothing ground-breaking or exciting, but I am excited to have clean wiring for once in my life and not have wires wrapped around fuses lol
Now I will have an easy power/ground for any wiring I need to do! Wideband install will be next weekend most likely..

Reply
0
0
02-25-2014, 08:18 PM
#229
Elite Member
Thread Starter
iTrader: (5)
Join Date: Aug 2011
Location: South Jersey
Posts: 1,512
Total Cats: 30
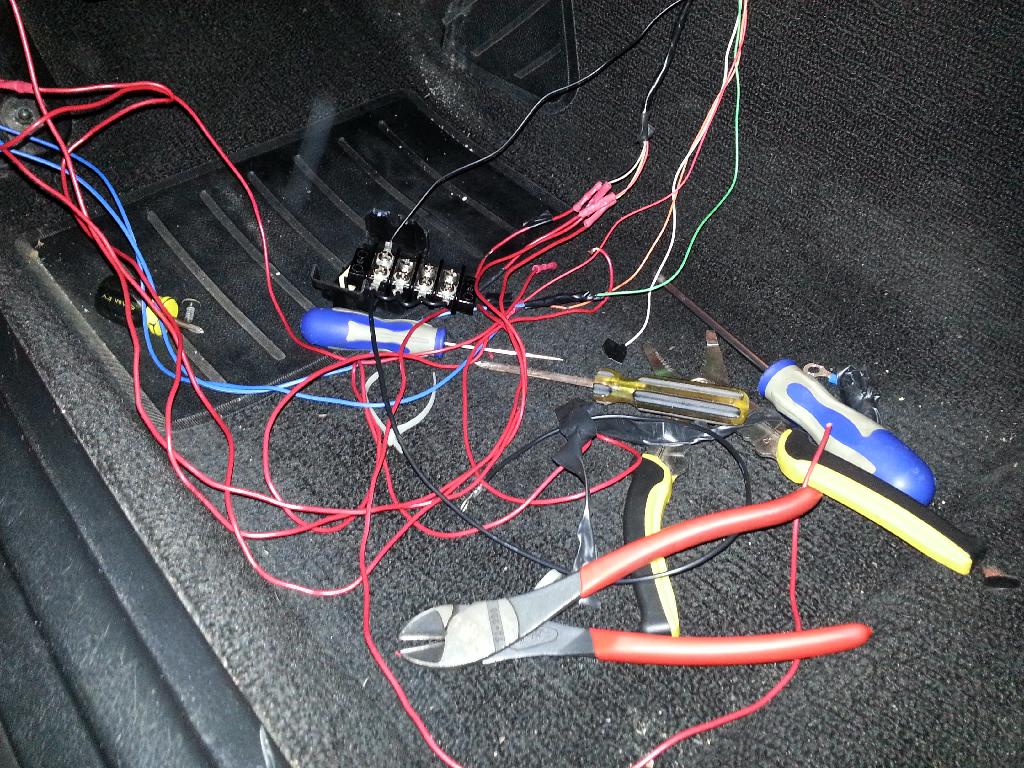
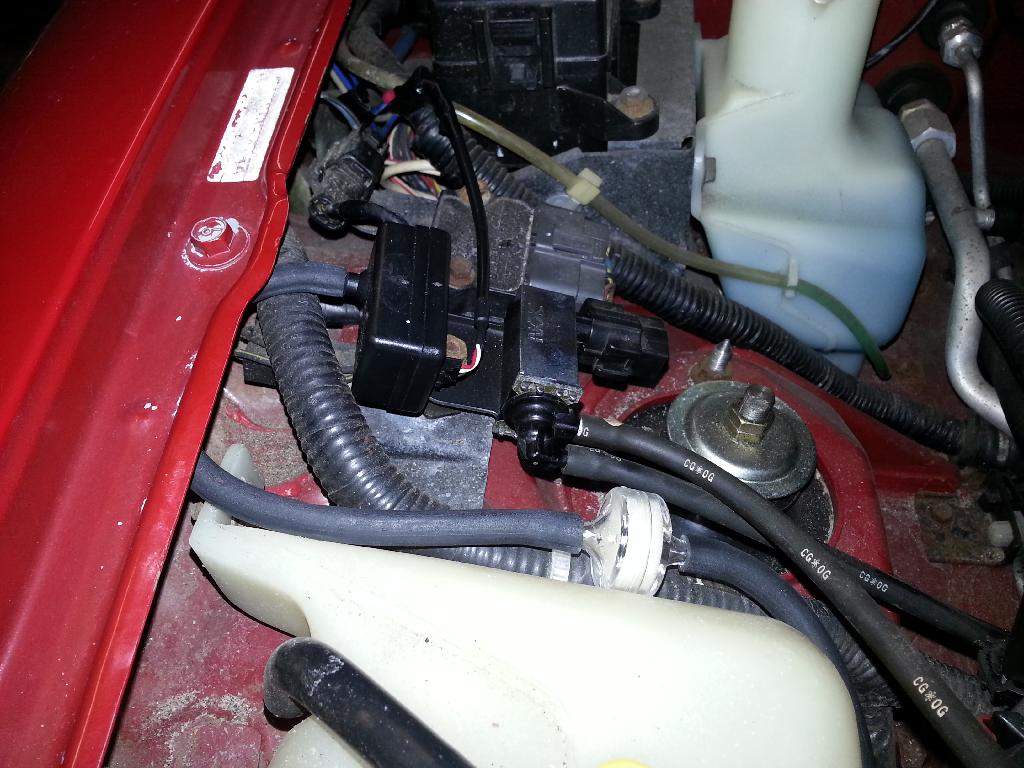
Started cleaning up this rats next this afternoon on my 1/2 day off. Have a full day off tomorrow also so I will be finishing it up as well as installing my wide band. Can't get that fully installed until I'm running on megasquirt though

Reply
0
0

 Nice solution!
02-26-2014, 04:29 PM
Nice solution!
02-26-2014, 04:29 PM
#231
Elite Member
Thread Starter
iTrader: (5)
Join Date: Aug 2011
Location: South Jersey
Posts: 1,512
Total Cats: 30
Thanks it's 1000 times more organized already! Got some finishing up on the lc-2 wideband but that will be tomorrow. I also need to go back and solder/heat shrink my connections for the first 2 gauges.
Also threw in my new shift boot that came in the mail today. The 23 year old stock one was crumbling apart lol
Also threw in my new shift boot that came in the mail today. The 23 year old stock one was crumbling apart lol

Reply
0
0
02-27-2014, 05:21 PM
#232
Elite Member
Thread Starter
iTrader: (5)
Join Date: Aug 2011
Location: South Jersey
Posts: 1,512
Total Cats: 30
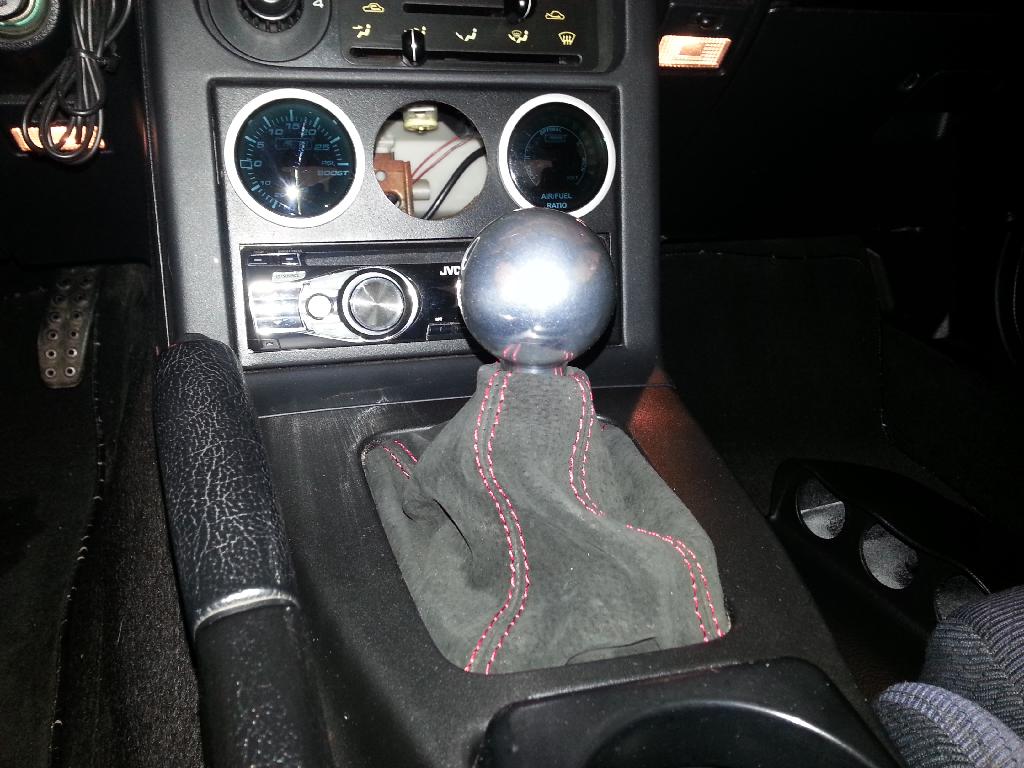
Much better! Still have to dig back into the harness again when I get a chance.... I wanted my boost gauge to light up blue but I must have wired up white instead of orange... really wish I checked it before buttoning it all up... Oh well
Ground block is double sided taped to the bottom on the metal steering column panel plate... thing
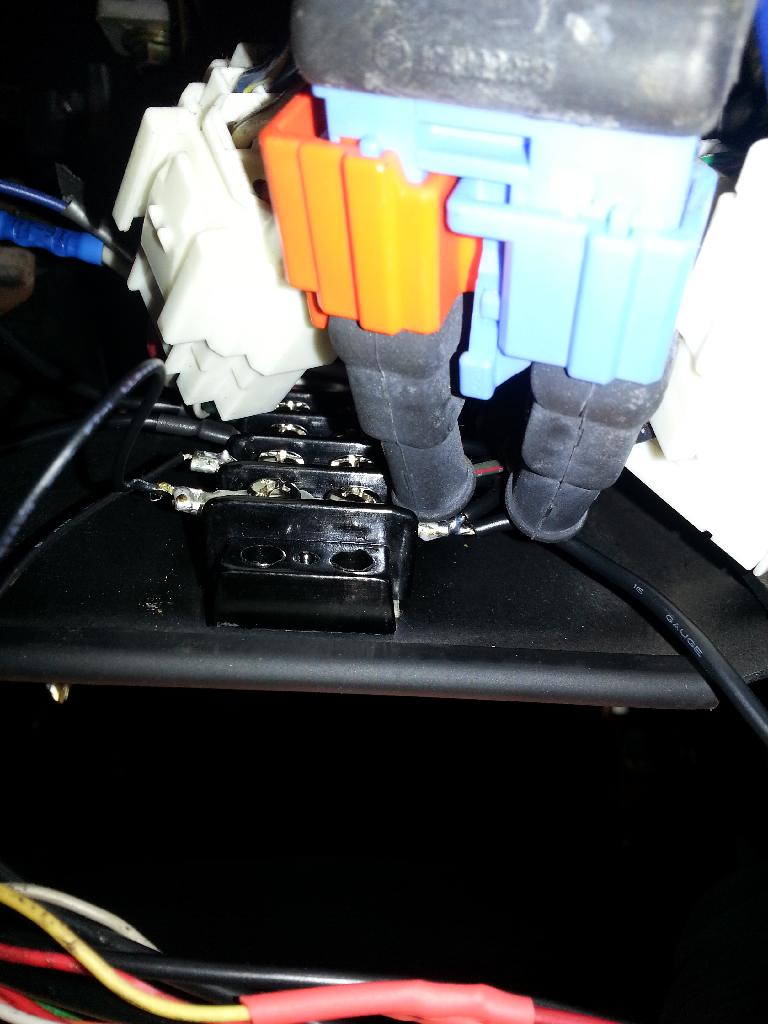
Acc power is tapped into a random fuse.. Screwed the block using a factory screw for the fuse panel
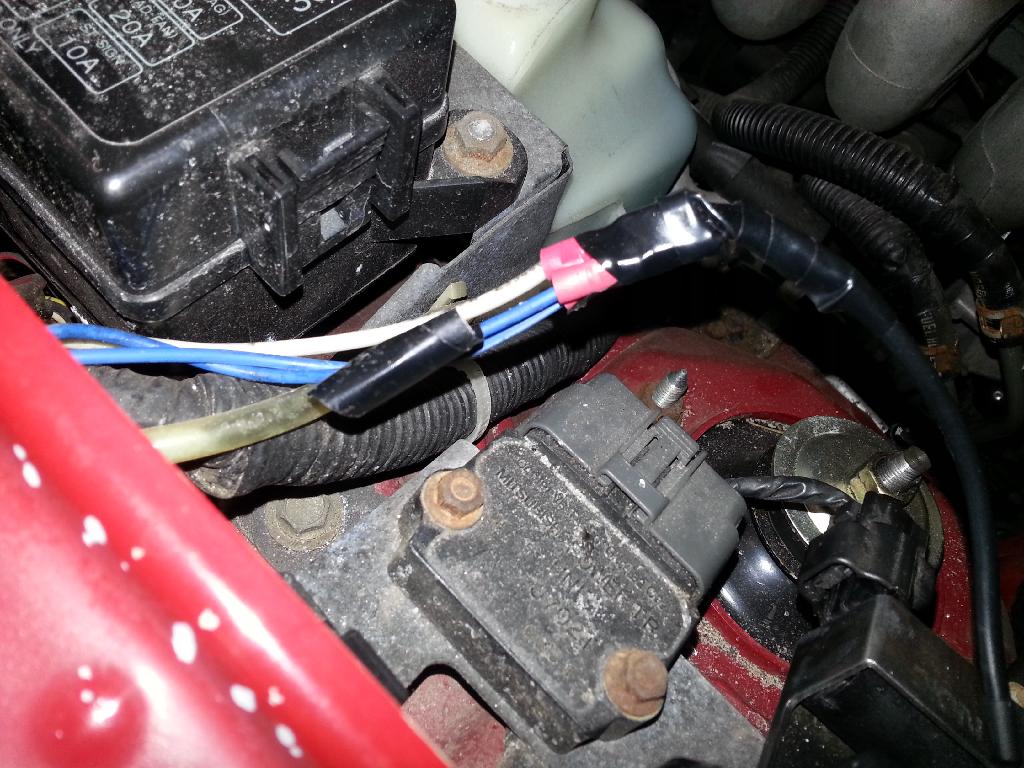
Boost (Errrrr Vacuum for now) source
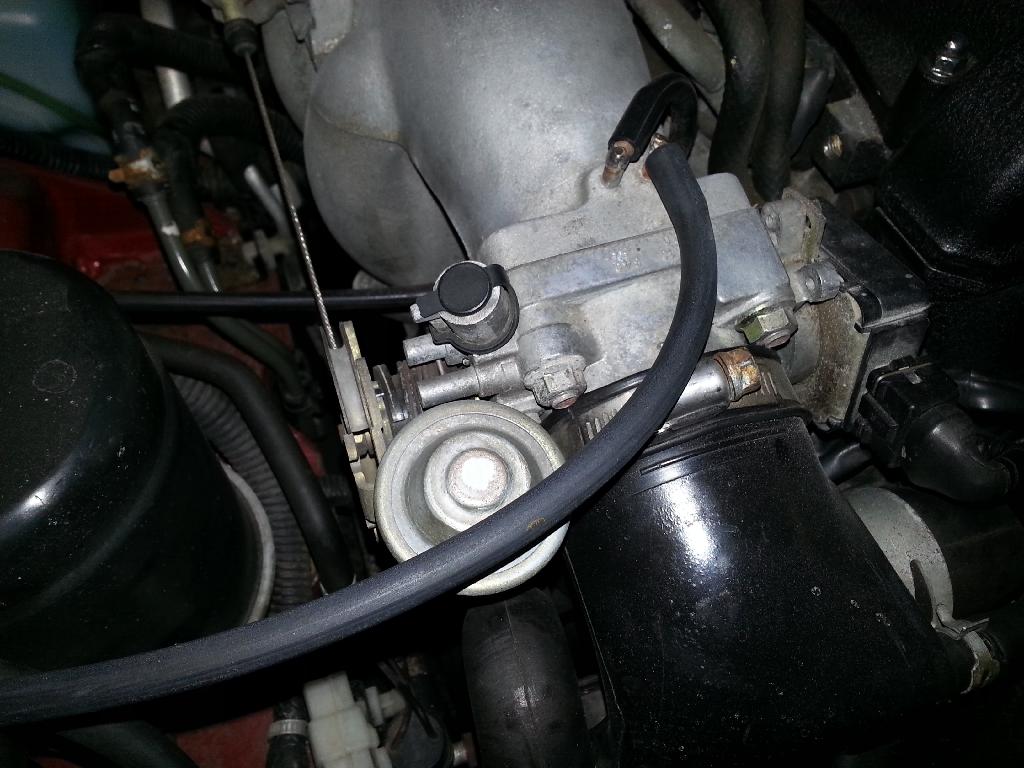
Sender mounted... Filter installed in-line (No idea if its needed or actually does anything but I figured why not...
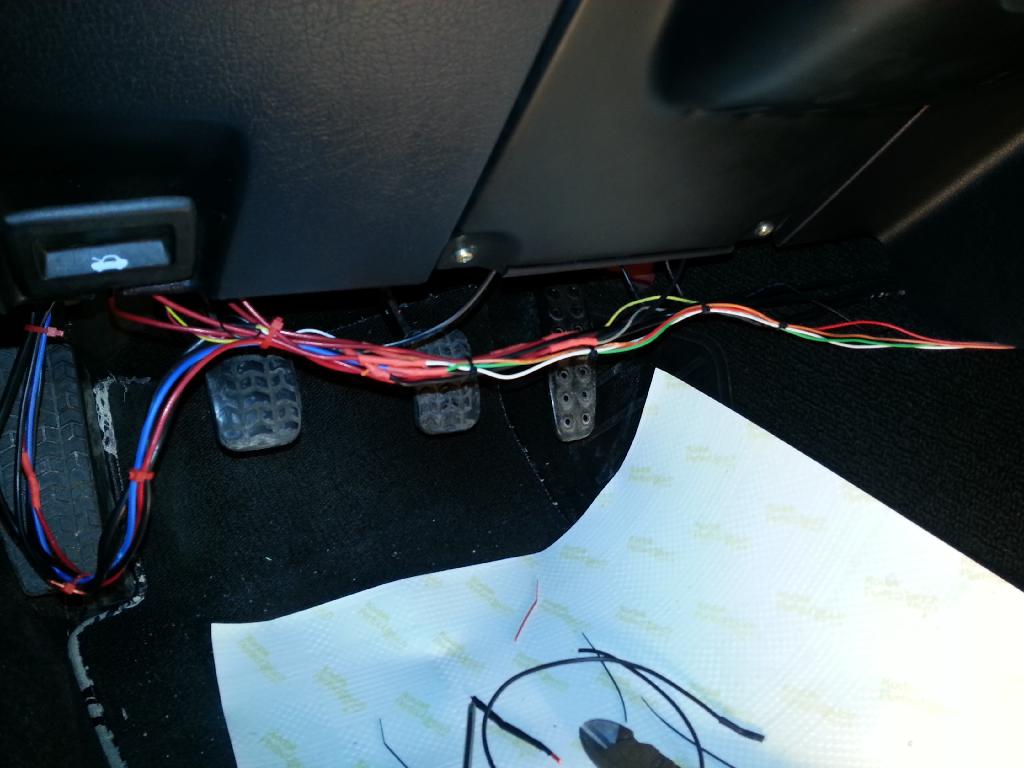
Still need to eliminate the butt connectors here but I will do that whenever I get around to digging into the harness to fix the boost gauge color

Reply
0
0
 02-28-2014, 04:37 PM
#234
Elite Member
iTrader: (13)

Join Date: Dec 2006
Location: Taos, New mexico
Posts: 6,606
Total Cats: 566
Looking good! Good call on the fuel filter inline for your MAP source, i had noise issues with mine which were fixed right up with that simple mod.
Looks like you've really been doing your homework
Looks like you've really been doing your homework
Reply
0
0
02-28-2014, 04:48 PM
#235
Elite Member
Thread Starter
iTrader: (5)
Join Date: Aug 2011
Location: South Jersey
Posts: 1,512
Total Cats: 30
Question.... Would it be Ok to add a T fitting on that same vacuum line for the Map line to my Megasquirt? Just wondering for when I install that in a few weeks
Also... Had a little bit of an impulse buy last week...


I am sort of wishing I went for the clear projector lights... Maybe the black housing will grow on me i'm not sure. I have only seen these on a white car before and it looked great on that.... On red im not so sure
Reply
0
0
02-28-2014, 05:24 PM
#236
Elite Member
Thread Starter
iTrader: (5)
Join Date: Aug 2011
Location: South Jersey
Posts: 1,512
Total Cats: 30
Well... One thing positive came out of installing these headlights.... I am now 100% sure which pulley is squeaking in my car. Ordered an alternator and it will be here tomorrow morning. I have been thinking that is where it was coming from but now I am certain. Squeak gets wayy worse as soon as the lights are turned on lol
Reply
0
0
 02-28-2014, 05:34 PM
#238
Senior Member
iTrader: (7)
Join Date: Oct 2011
Location: Horse and Buggy, PA
Posts: 704
Total Cats: 21
Well... One thing positive came out of installing these headlights.... I am now 100% sure which pulley is squeaking in my car. Ordered an alternator and it will be here tomorrow morning. I have been thinking that is where it was coming from but now I am certain. Squeak gets wayy worse as soon as the lights are turned on lol
Reply
0
0
02-28-2014, 05:51 PM
#240
Elite Member
Thread Starter
iTrader: (5)
Join Date: Aug 2011
Location: South Jersey
Posts: 1,512
Total Cats: 30
Any idea's on stripping the yellow paint from the marker lenses without damaging the plastic? Will paint thinner work ok? I feel like the yellow is killing the look of the lights .... Not that I was crazy about the yellow lights to begin with
Reply
0
0


