sean's cheap thrills, 90 1.6 with subaru td04

 07-31-2015, 03:08 PM
#522
SadFab CEO

Thread Starter
iTrader: (3)
Join Date: Sep 2012
Location: your mom's house phoenix, AZ
Posts: 4,560
Total Cats: 1,142
Boys, its arts and crafts time.
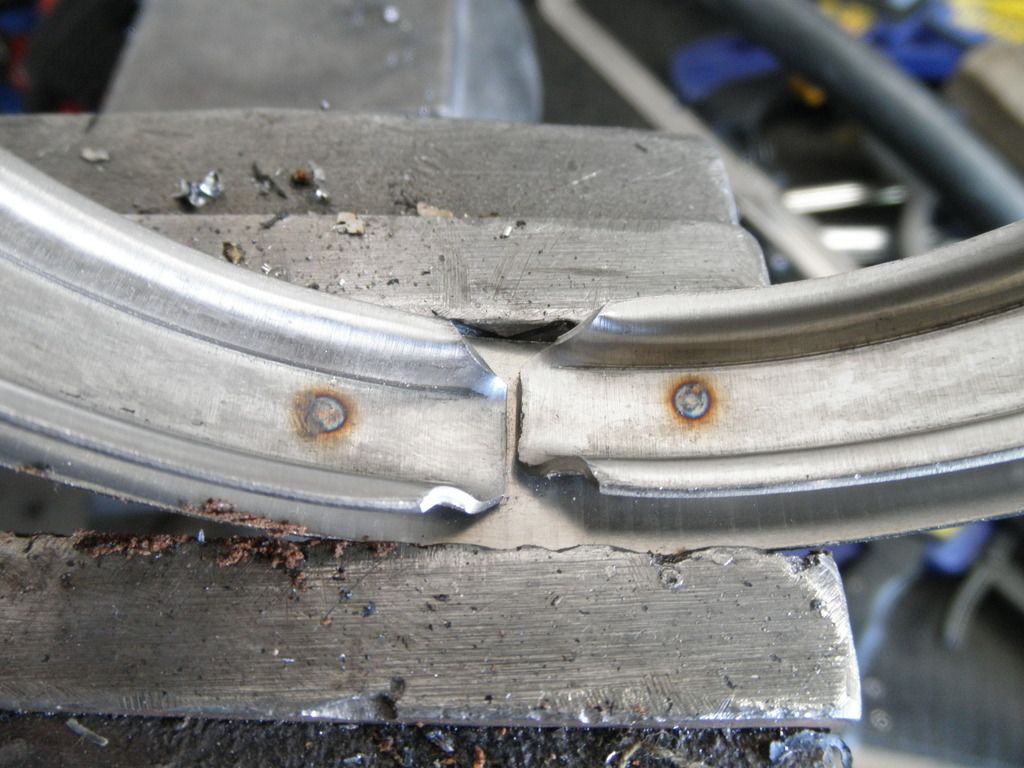
This was funny. I chucked this piece up on the nut so as the bit grabbed the piece, it would tighten. That is of course assuming you cut in front of the spindle centerline. I had that boring bar already mounted and being a left handed tool I had to turn from the back side and run in reverse. Which means the bolt instantly loosened and bent and threw the piece lol.
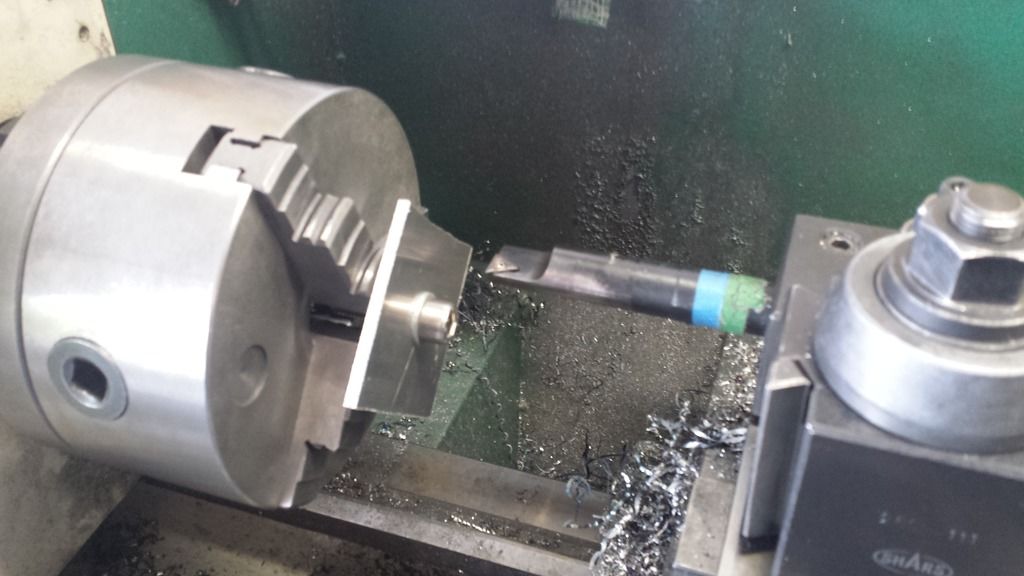
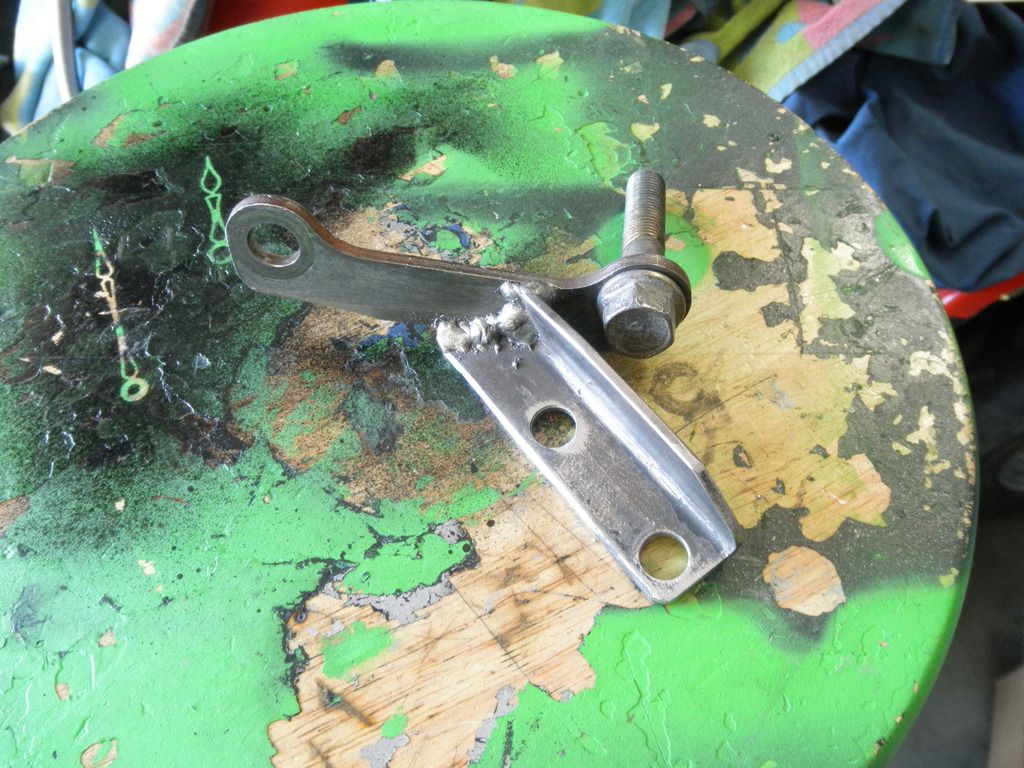
I cut a land in the back side and "brushed" the front.
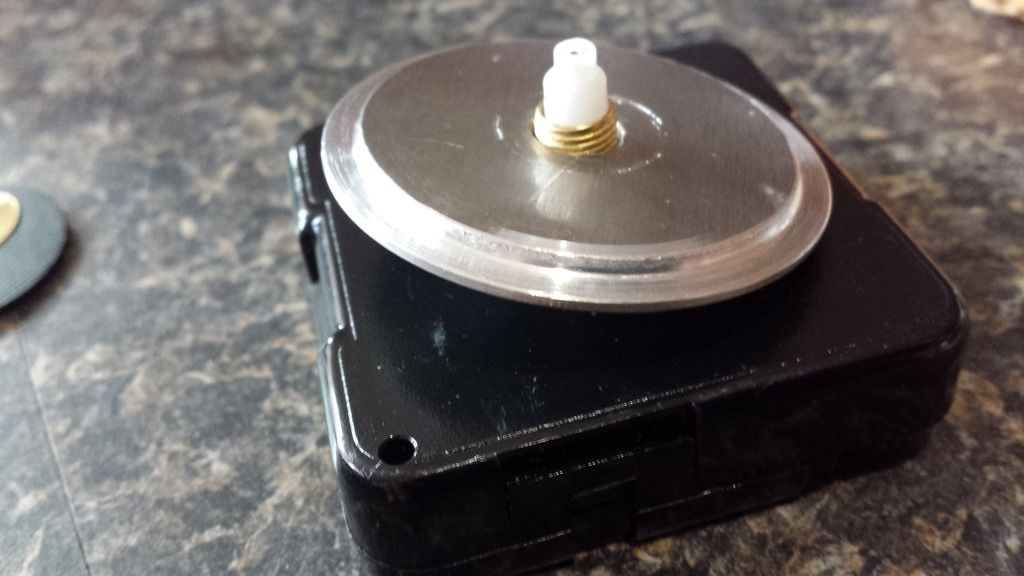
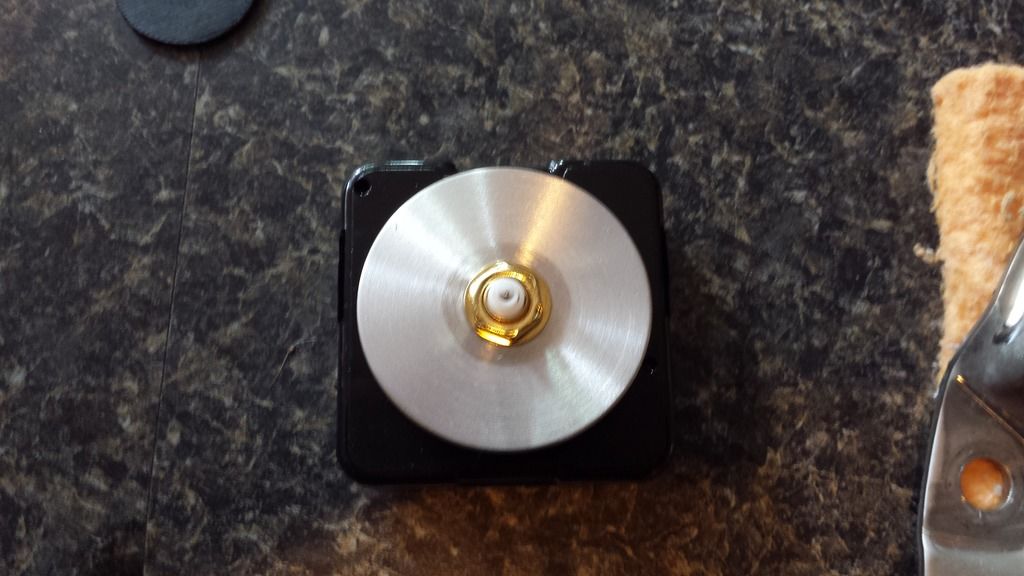
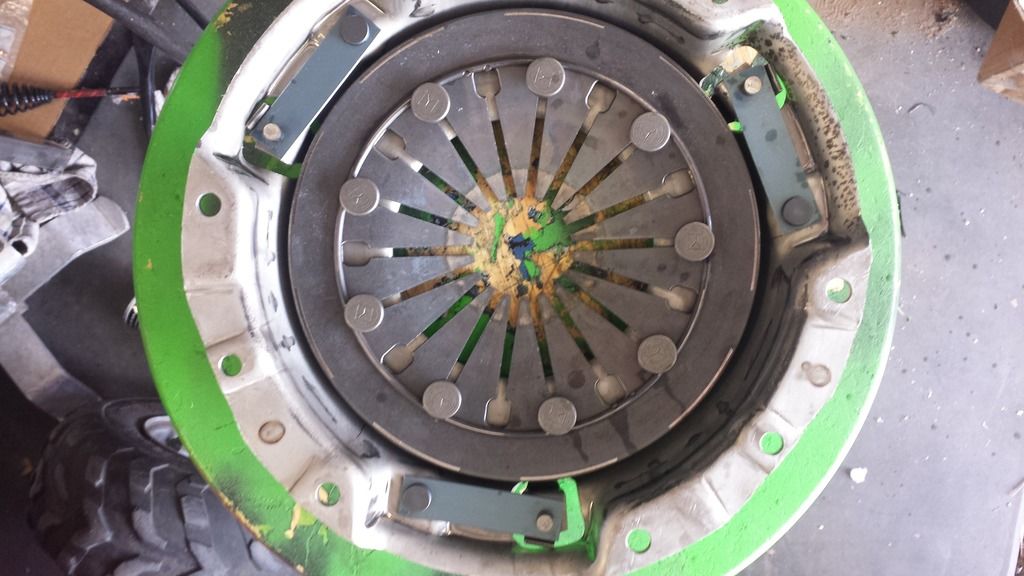
Painted the gold hands black. I hate gold. The color, not the metal. This is the stock replacement exedy that came with the car.
This was funny. I chucked this piece up on the nut so as the bit grabbed the piece, it would tighten. That is of course assuming you cut in front of the spindle centerline. I had that boring bar already mounted and being a left handed tool I had to turn from the back side and run in reverse. Which means the bolt instantly loosened and bent and threw the piece lol.
I cut a land in the back side and "brushed" the front.
Painted the gold hands black. I hate gold. The color, not the metal. This is the stock replacement exedy that came with the car.

Reply
 0
0

0

 07-31-2015, 03:36 PM
#524
SadFab CEO
Thread Starter
iTrader: (3)
Join Date: Sep 2012
Location: your mom's house phoenix, AZ
Posts: 4,560
Total Cats: 1,142
yay, I have approval from all 4 parties I can install it now!
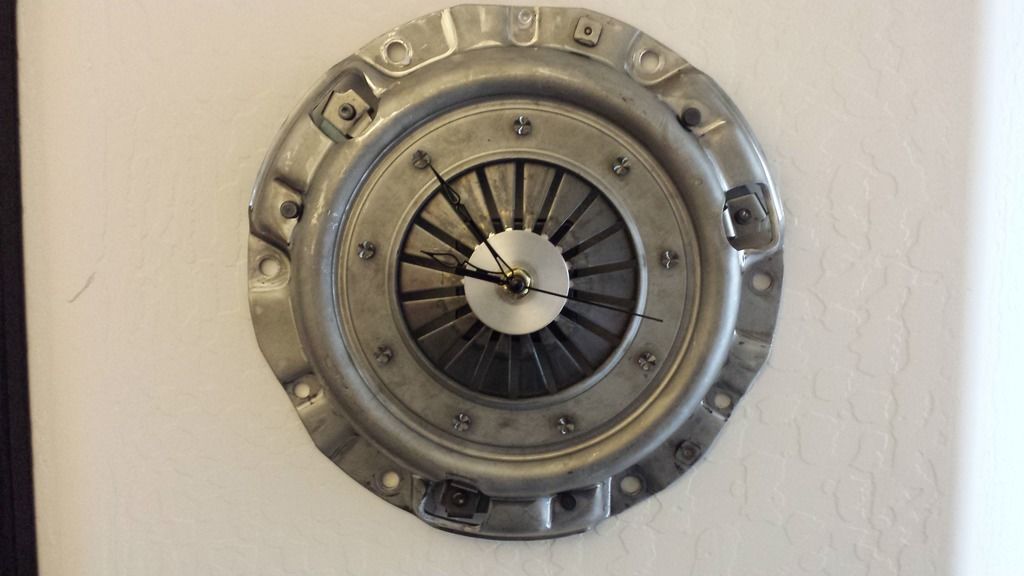
I removed the friction ring from the PP, because its heavy. Pushpin and drywall is what I was after.
So pics, since I know some of you dont dissect your clutch after replacement
Back side of friction ring. You can see a balancing drill spot right near the "5L" lettering.
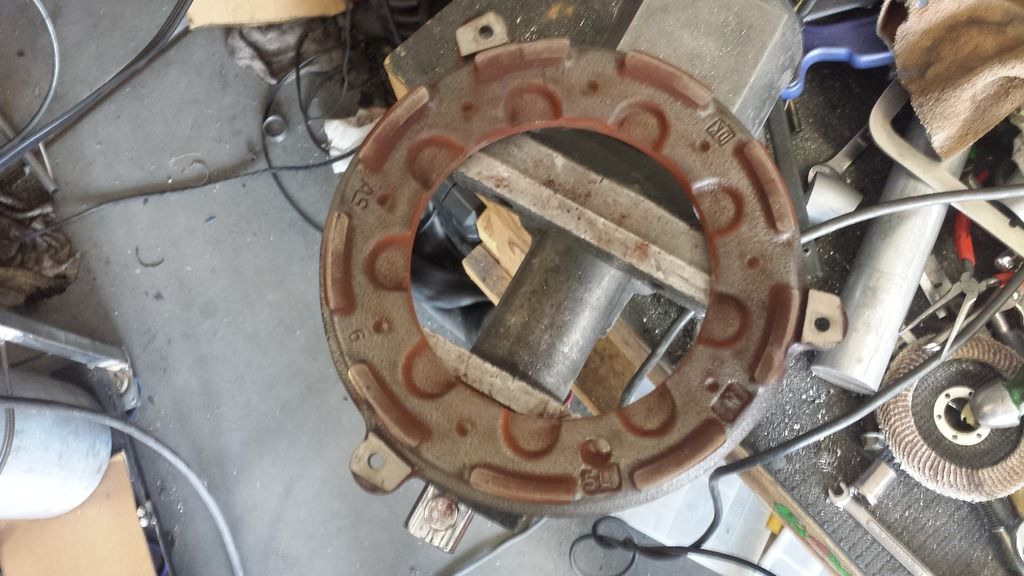
Ill pull my F1 apart when it gets removed here soon and see if they get the same treatment.
This is interesting construction to me. The spring pivots on that wire hoop held in by the riveted pins.
I removed the friction ring from the PP, because its heavy. Pushpin and drywall is what I was after.
So pics, since I know some of you dont dissect your clutch after replacement
Back side of friction ring. You can see a balancing drill spot right near the "5L" lettering.
Ill pull my F1 apart when it gets removed here soon and see if they get the same treatment.
This is interesting construction to me. The spring pivots on that wire hoop held in by the riveted pins.
Reply
0
0
08-04-2015, 11:15 PM
#525
SadFab CEO
Thread Starter
iTrader: (3)
Join Date: Sep 2012
Location: your mom's house phoenix, AZ
Posts: 4,560
Total Cats: 1,142
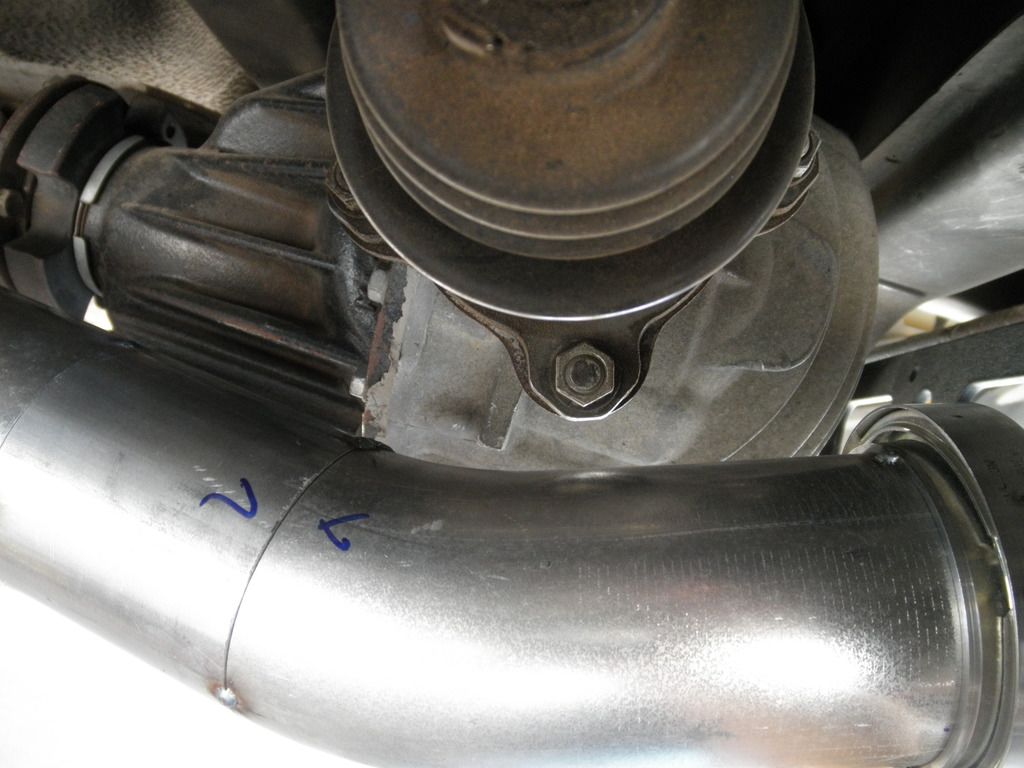
chinese/ebay v bands FTW!
I got the right size band clamp in. I cut down the stock exhaust brace and welded a piece of 1" angle to it, holes, etc.
It works great.
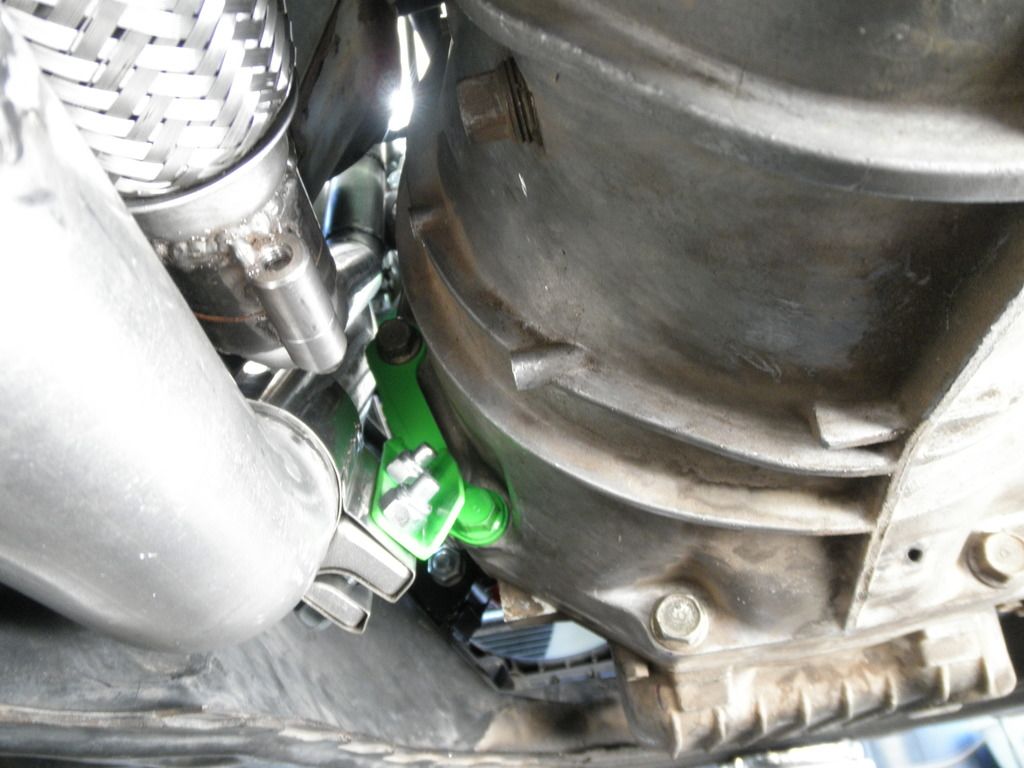
when I go to wrap the dp, should I just stop at the band clamp? or should I clamp over the wrap with a larger clamp?
I also got to bend my hood prop back into a straight line! For those just joining us, I had to bend it around the DIY NA intake I had made for it. Its nice to get those few extra "s back.
I wasnt able to fit the IAT into the intercooler end tank. There is just no room the way I have it mounted. So I drilled and tapped the aluminum 45 right after the silicone 90 elbow coming out of the intercooler. The sensor is just outside the flow path of the air exiting the rad, but we will have to see how heat soak does.
I got the right size band clamp in. I cut down the stock exhaust brace and welded a piece of 1" angle to it, holes, etc.
It works great.
when I go to wrap the dp, should I just stop at the band clamp? or should I clamp over the wrap with a larger clamp?
I also got to bend my hood prop back into a straight line! For those just joining us, I had to bend it around the DIY NA intake I had made for it. Its nice to get those few extra "s back.
I wasnt able to fit the IAT into the intercooler end tank. There is just no room the way I have it mounted. So I drilled and tapped the aluminum 45 right after the silicone 90 elbow coming out of the intercooler. The sensor is just outside the flow path of the air exiting the rad, but we will have to see how heat soak does.
Reply
0
0
 08-04-2015, 11:30 PM
#528
SADFab Destructive Testing Engineer

iTrader: (5)
Join Date: Apr 2014
Location: Beaverton, USA
Posts: 18,642
Total Cats: 1,866
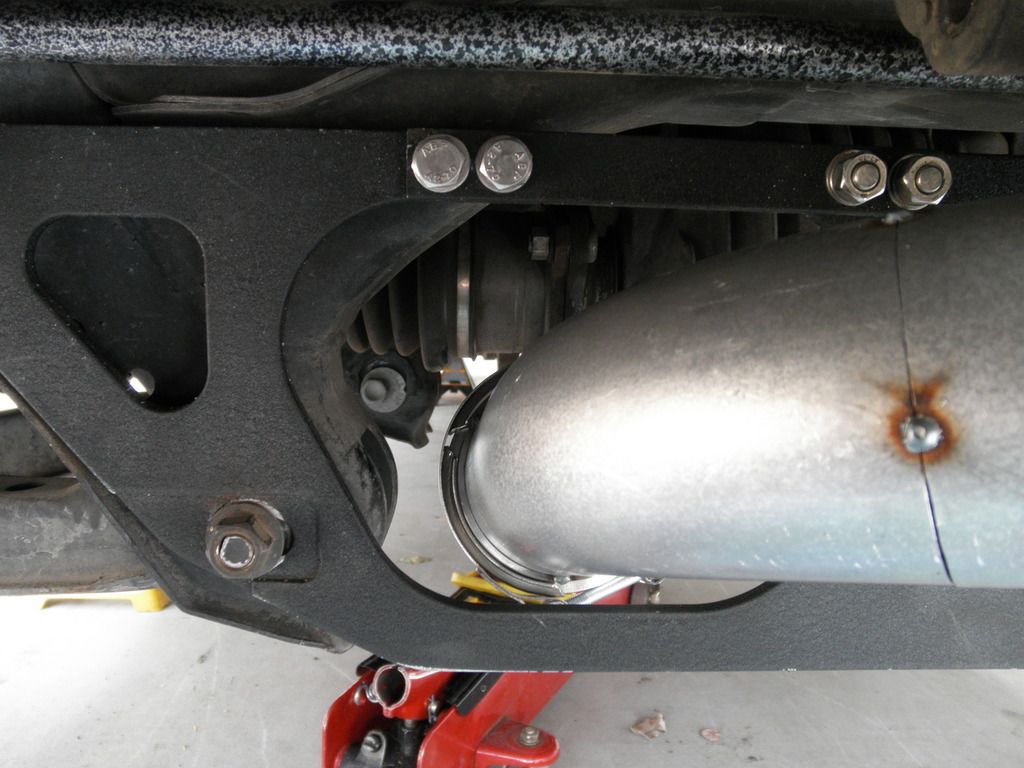
<p>Kind of. Those top bolts are im-*******-possible to reach. So the brace never gets disconnected from the downpipe. The design was good, just not enough room.</p>
Reply
0
0
08-04-2015, 11:34 PM
#530
SadFab CEO
Thread Starter
iTrader: (3)
Join Date: Sep 2012
Location: your mom's house phoenix, AZ
Posts: 4,560
Total Cats: 1,142
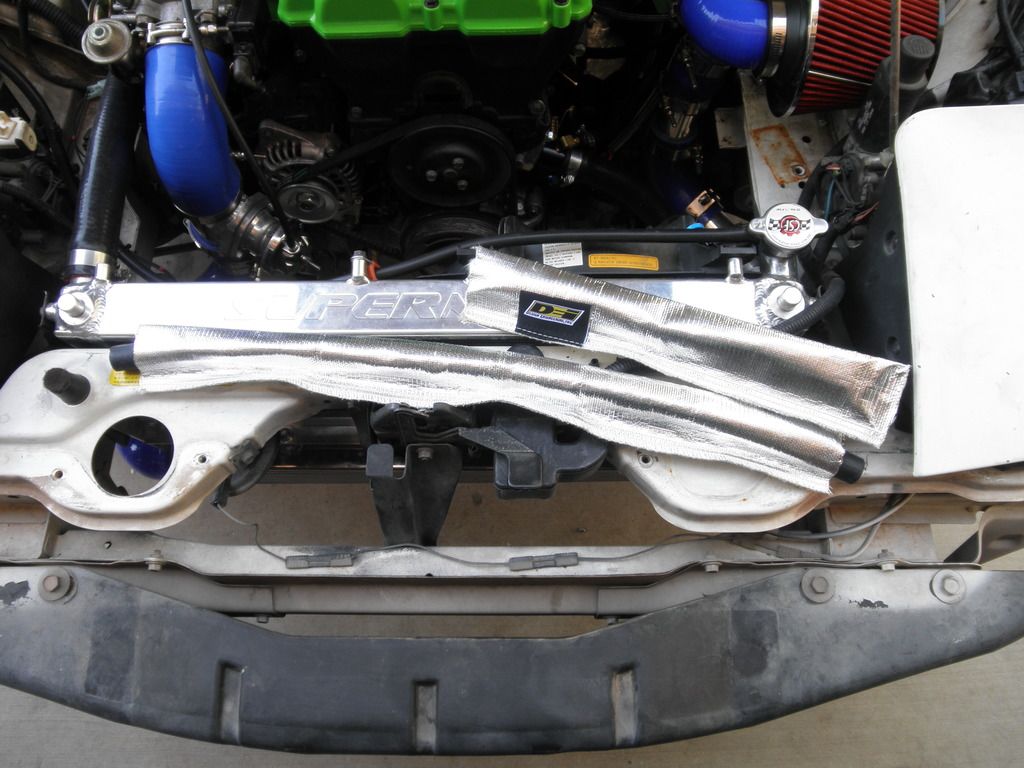
Yes.
The most recent Nissan I built.
Reply
0
0
08-06-2015, 06:35 PM
#532
SadFab CEO
Thread Starter
iTrader: (3)
Join Date: Sep 2012
Location: your mom's house phoenix, AZ
Posts: 4,560
Total Cats: 1,142
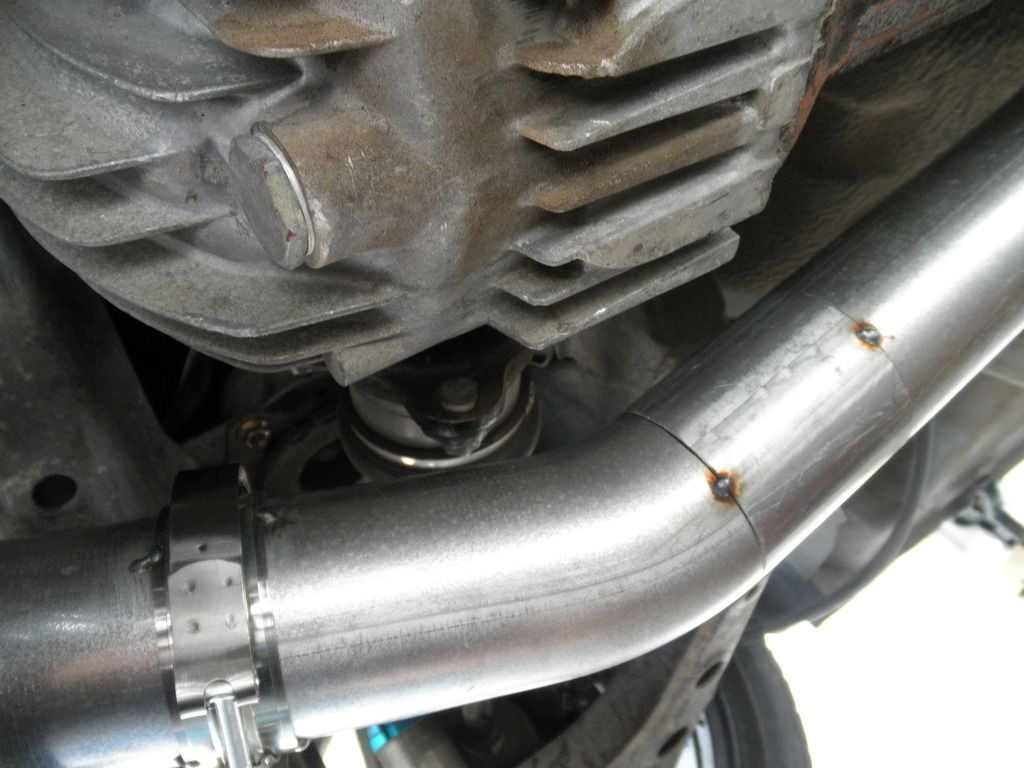
3" mid pipe bitches
Diff and brace clearance is perfect. I was worried about this part, but it came out really well. The lowest part of the exhaust where it dips down to clear the axle flange is at the same height as the PPF bolts, and just a little above the frame rail plane. Which means very little chance of ever scraping.
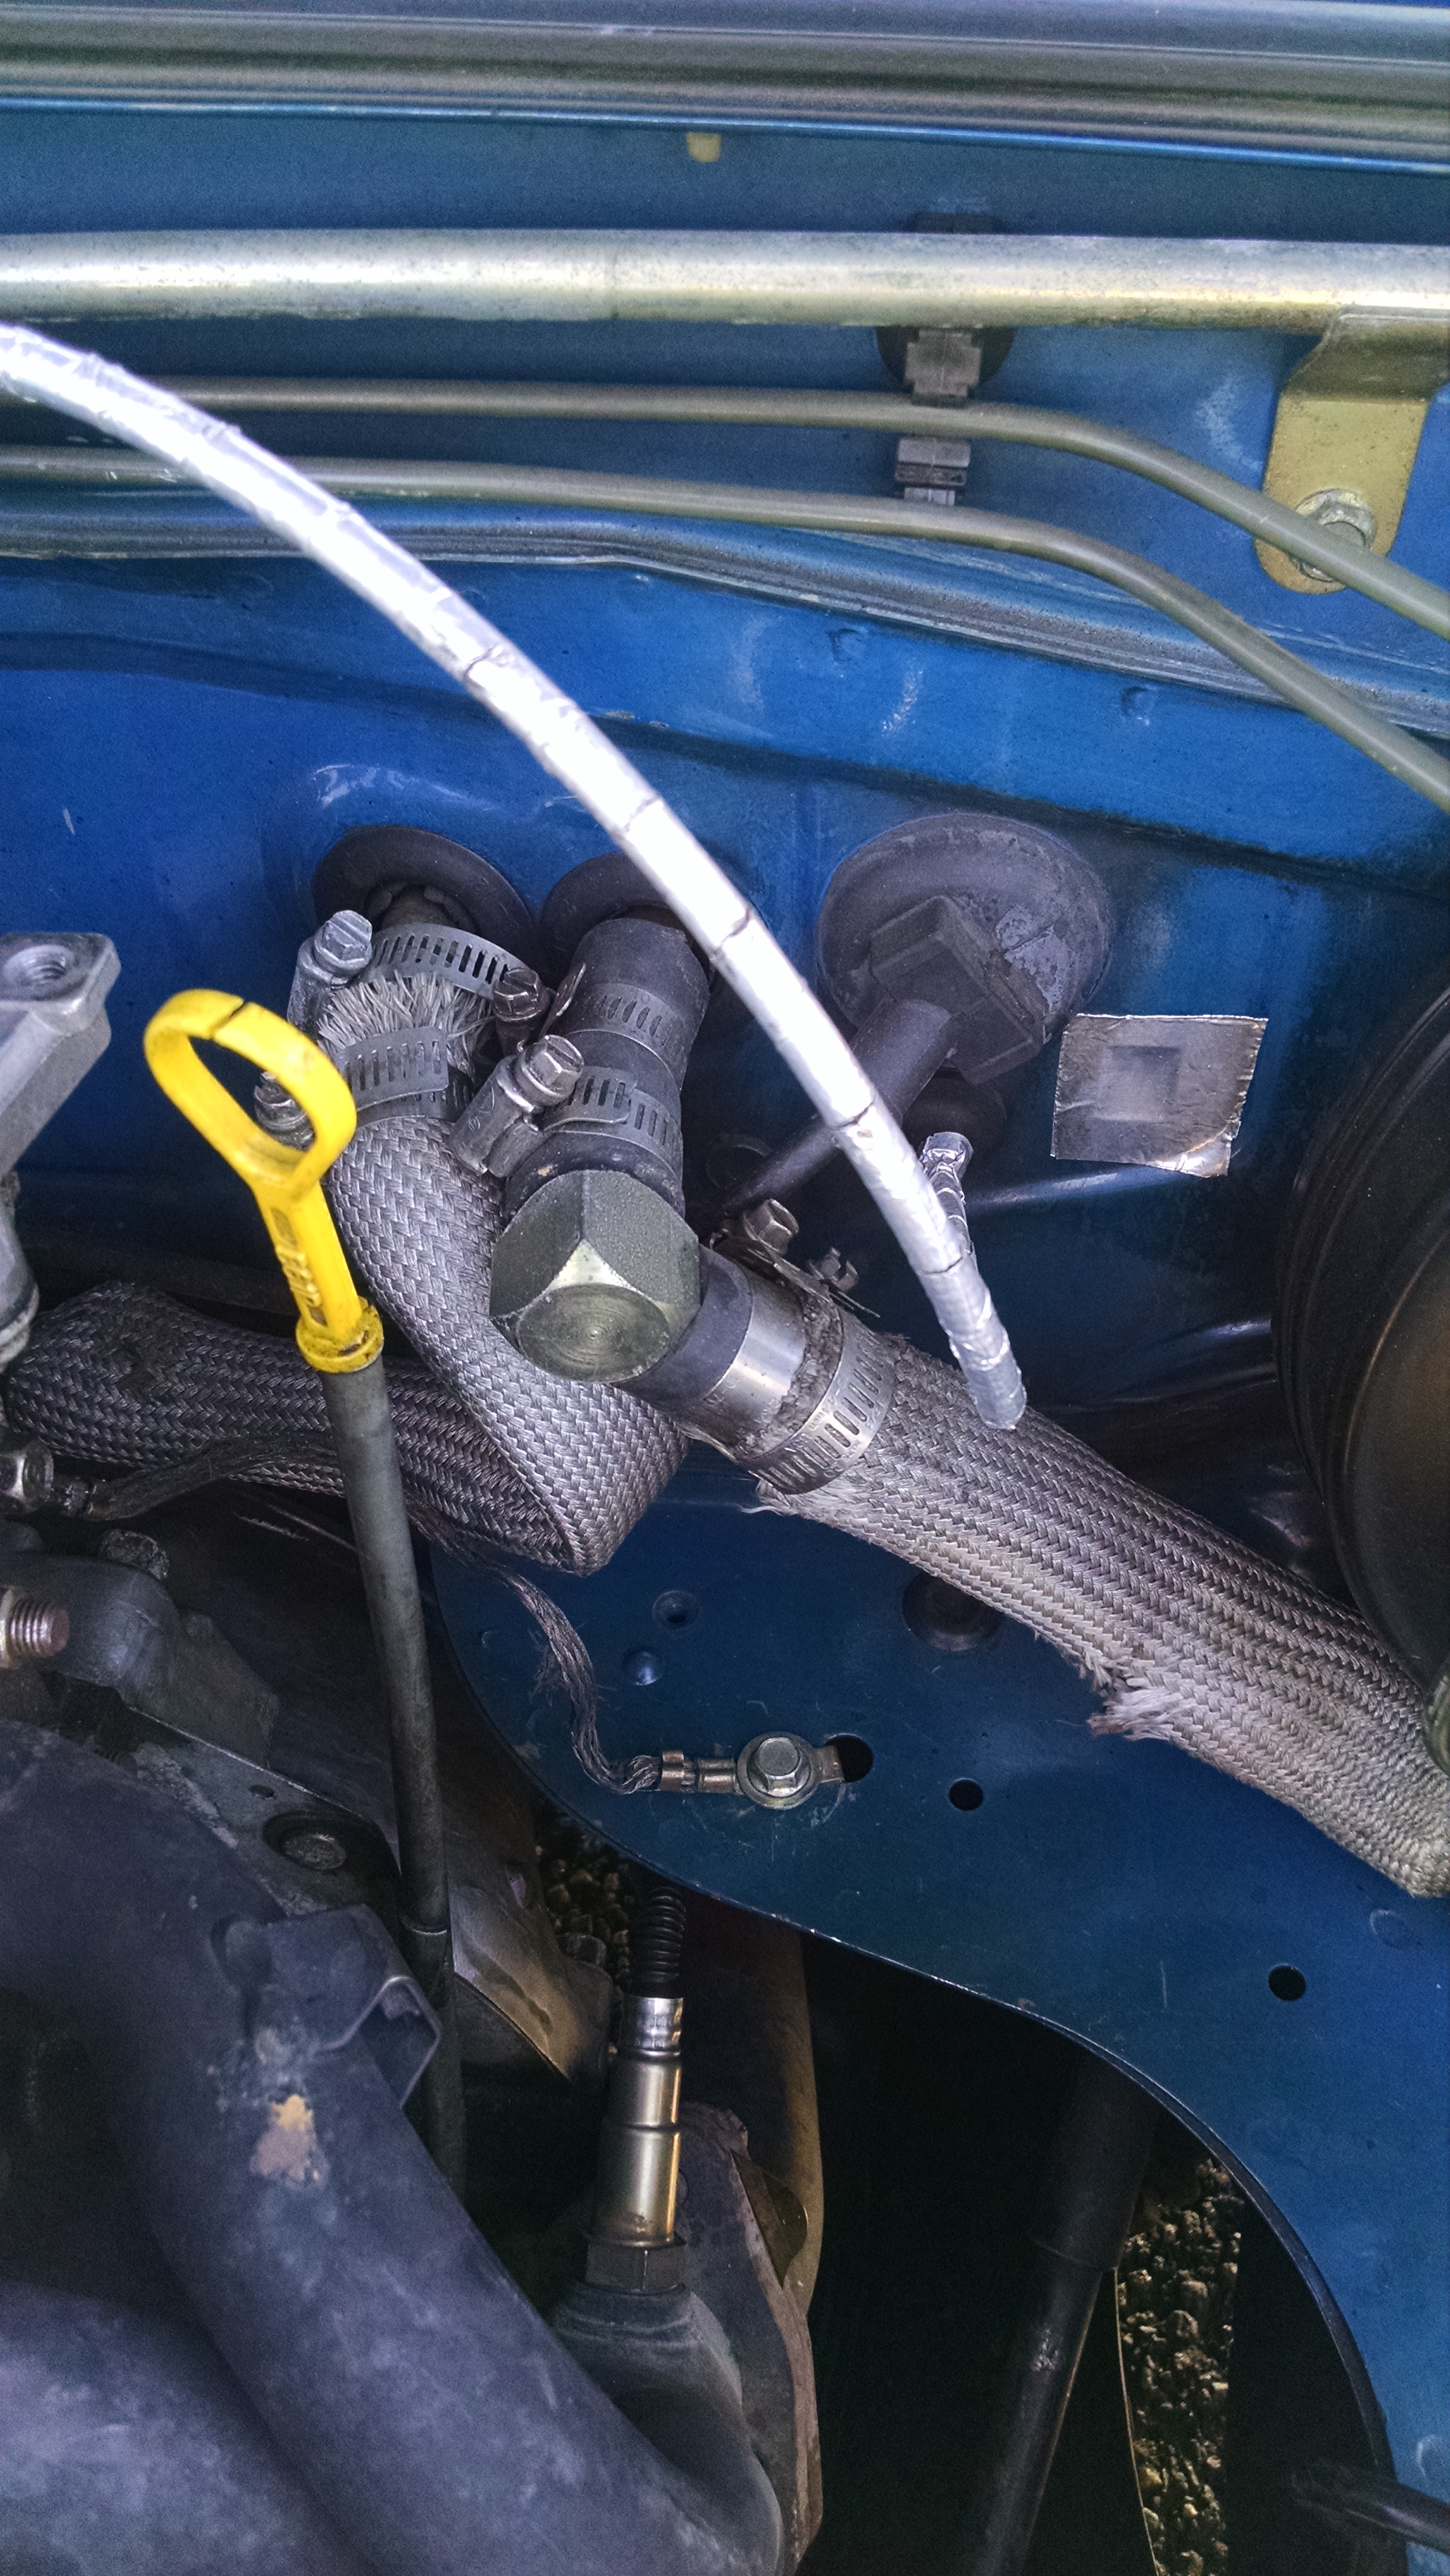
With the heat sleeve on the heater hose, it now kinks coming off the firewall the way I have to make it bend. Routing it around the other side of the turbo near the fenderwell is so unclean to me. I have an elbow im going to try and splice in and see if I can keep the routing I want.
Still need to finish weld everything rear of the flex coupler, weld on hangers using the stock mounts, hopefully, and weld on the muffler and a tip. Then I can rewire the IAT at the boomslang, and tune.
edit- received my 35ft of 2" titanium wrap from ebay, need to do that too.
Diff and brace clearance is perfect. I was worried about this part, but it came out really well. The lowest part of the exhaust where it dips down to clear the axle flange is at the same height as the PPF bolts, and just a little above the frame rail plane. Which means very little chance of ever scraping.
With the heat sleeve on the heater hose, it now kinks coming off the firewall the way I have to make it bend. Routing it around the other side of the turbo near the fenderwell is so unclean to me. I have an elbow im going to try and splice in and see if I can keep the routing I want.
Still need to finish weld everything rear of the flex coupler, weld on hangers using the stock mounts, hopefully, and weld on the muffler and a tip. Then I can rewire the IAT at the boomslang, and tune.
edit- received my 35ft of 2" titanium wrap from ebay, need to do that too.
Reply
0
0
 08-06-2015, 08:47 PM
#536
SadFab CEO
Thread Starter
iTrader: (3)
Join Date: Sep 2012
Location: your mom's house phoenix, AZ
Posts: 4,560
Total Cats: 1,142
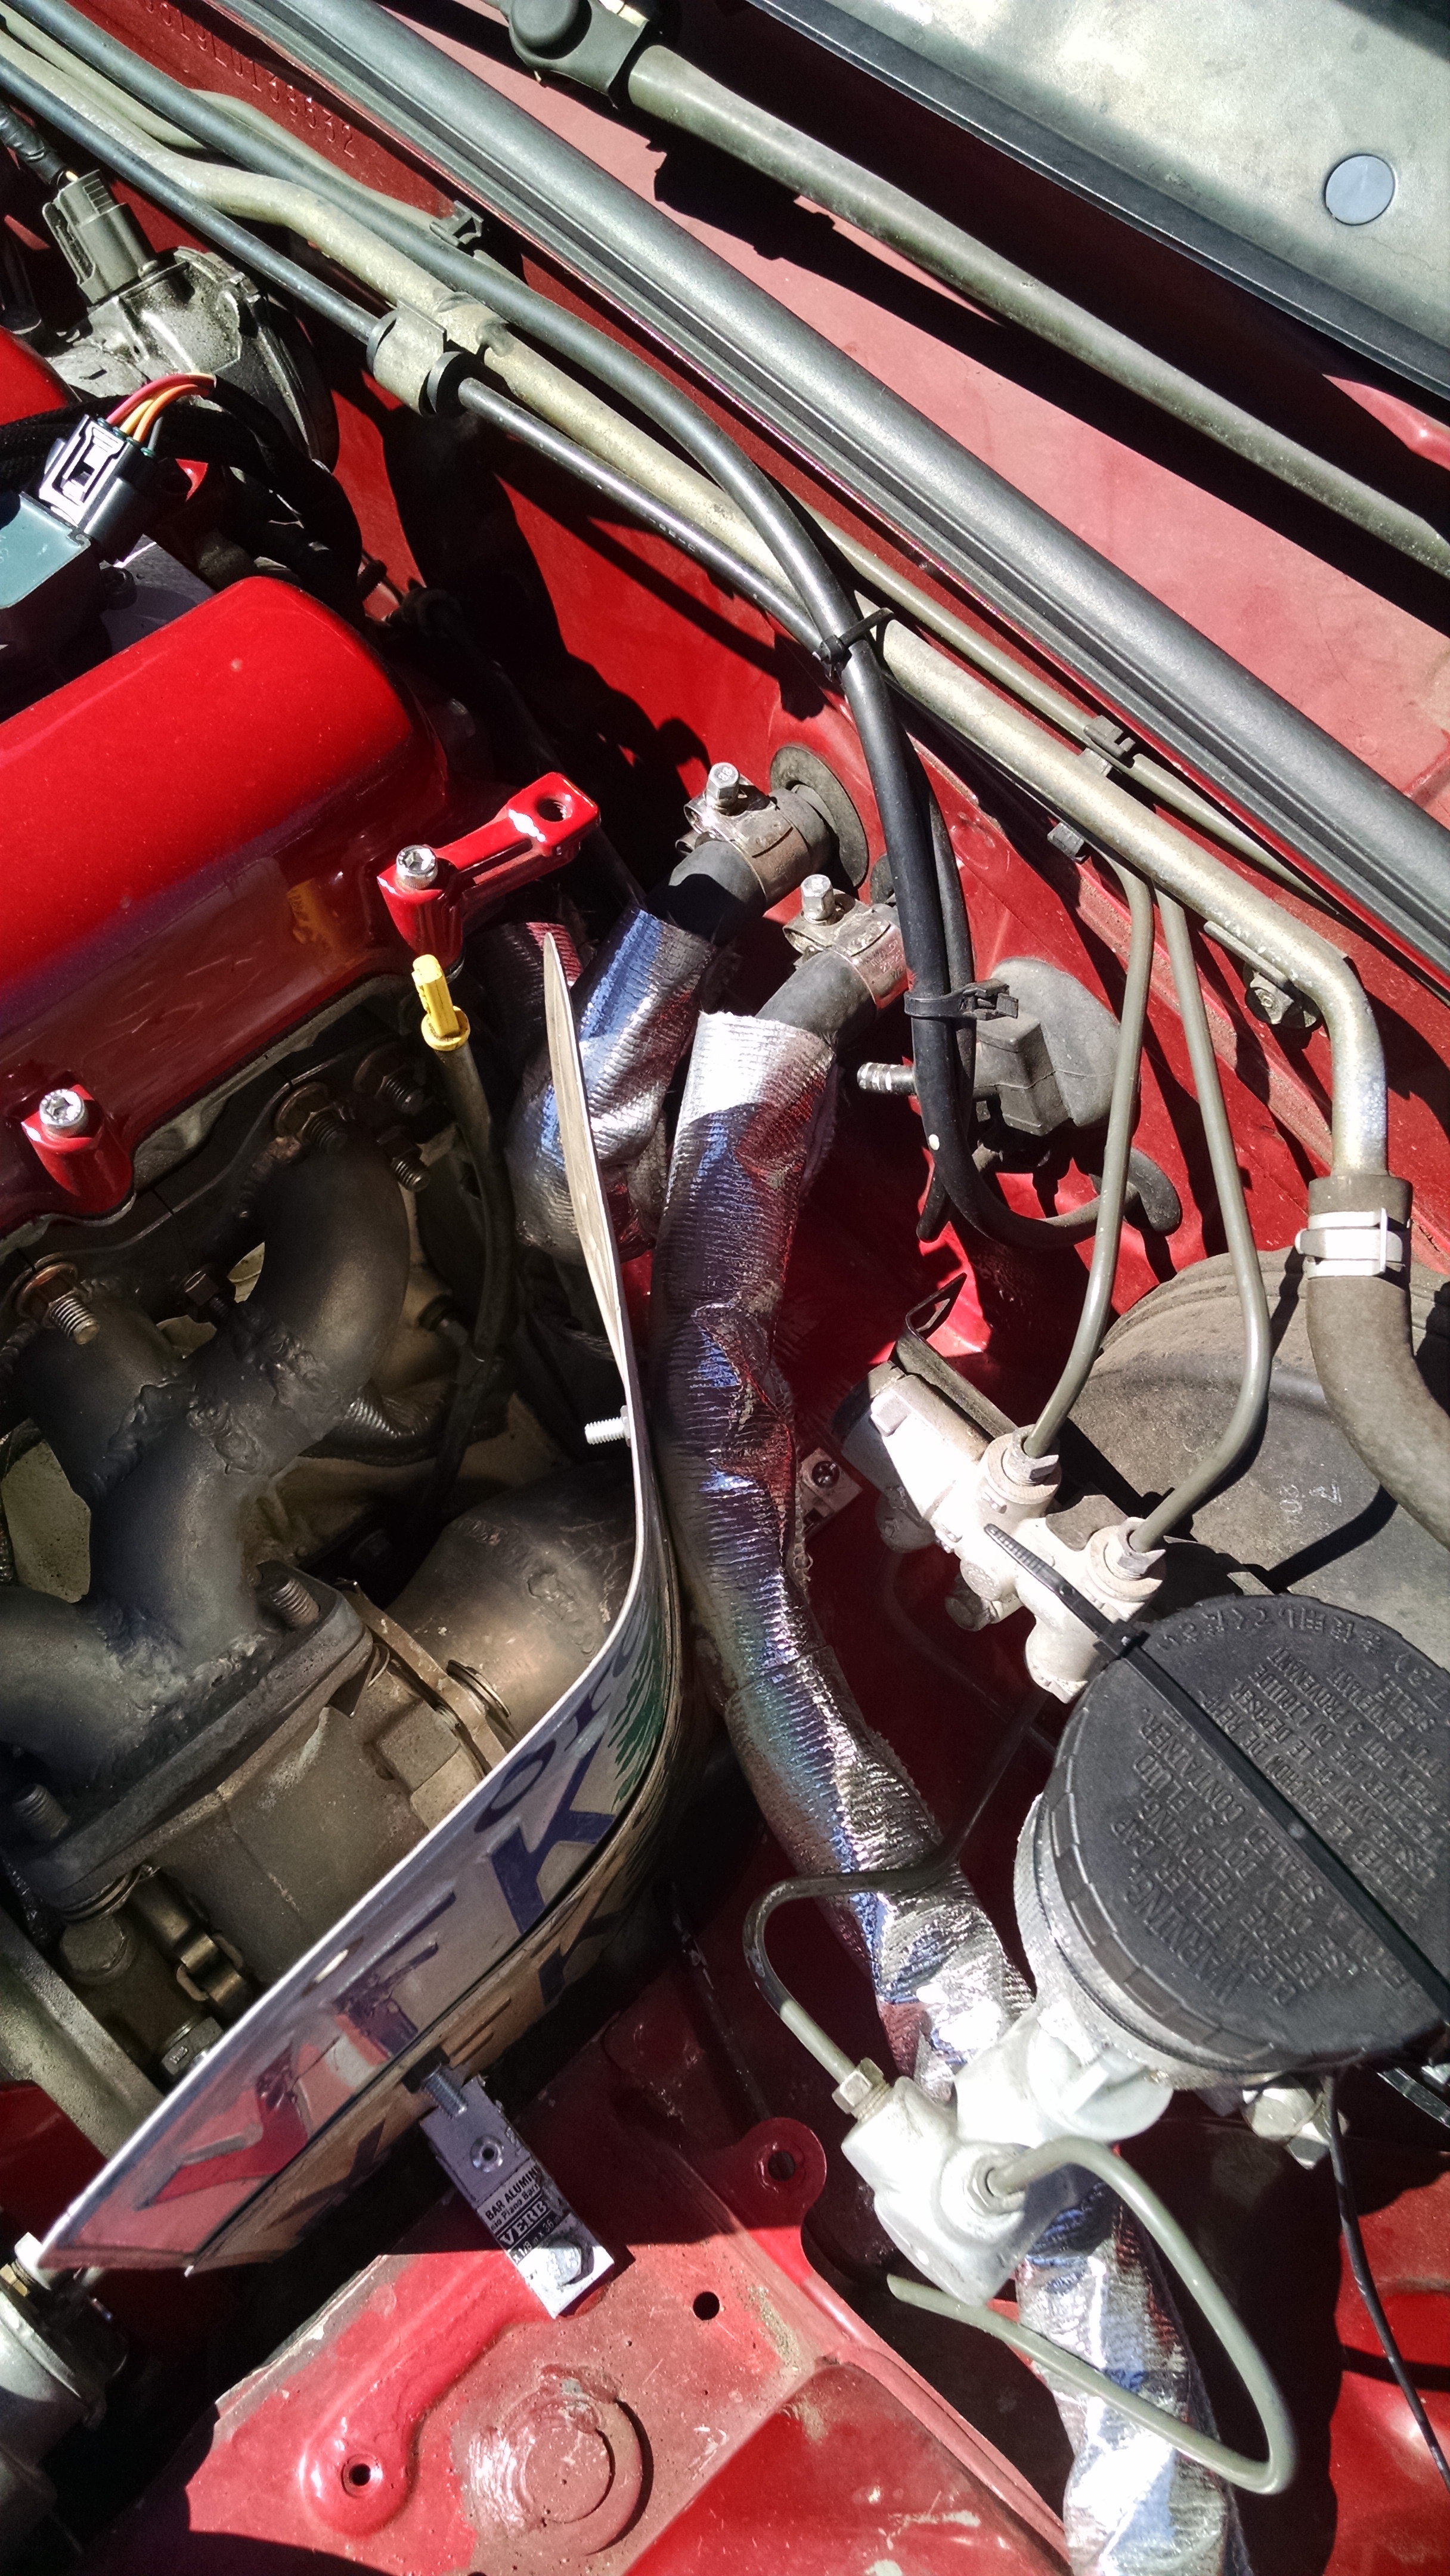
Ive already mocked it up, it would return right under the turbo and become part of the octopus. I have a few old hoses laying around with 90s in them, ill come up with something. luckily I went way oversize on the heat sheath at 1-1/4" so it should fit over any hose clamps too.
Reply
0
0
08-06-2015, 08:54 PM
#537
SadFab CEO
Thread Starter
iTrader: (3)
Join Date: Sep 2012
Location: your mom's house phoenix, AZ
Posts: 4,560
Total Cats: 1,142
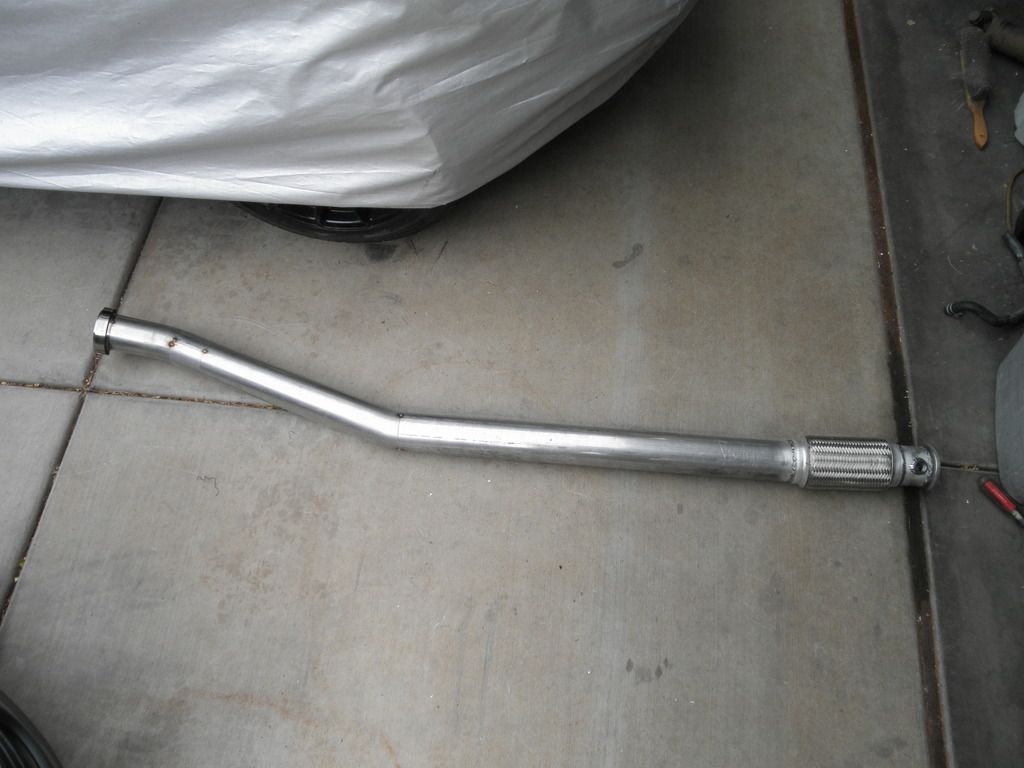
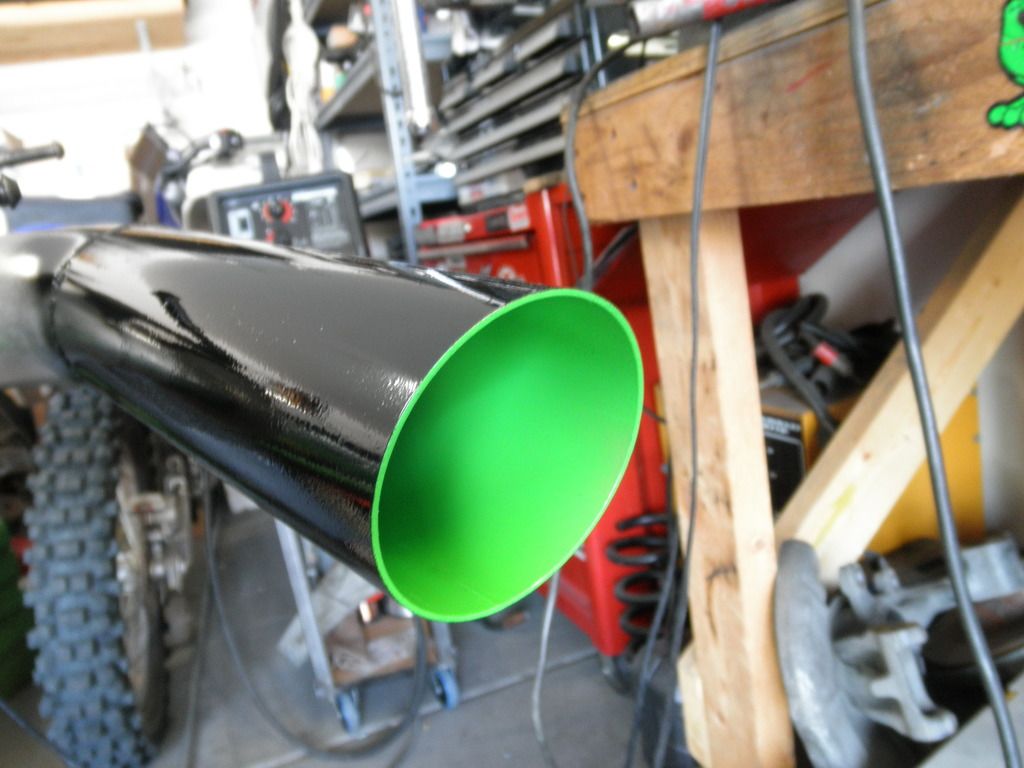
Also, I just got home from driving around for an hour and a half looking for these things:
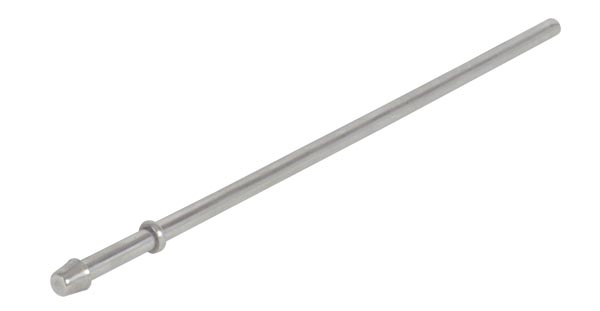
I thought they would be common, apparently not. Im going to see if one of the exhaust shops around has any they can hook me up with. If not, im going to go buy some 5/16"(or whatever size it is) rod and just bend the ends like this one:
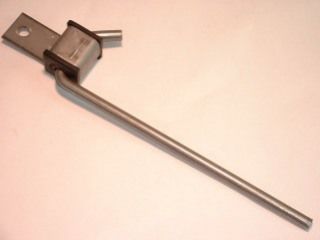
I thought they would be common, apparently not. Im going to see if one of the exhaust shops around has any they can hook me up with. If not, im going to go buy some 5/16"(or whatever size it is) rod and just bend the ends like this one:
Reply
0
0
 08-07-2015, 03:15 PM
#540
SadFab CEO
Thread Starter
iTrader: (3)
Join Date: Sep 2012
Location: your mom's house phoenix, AZ
Posts: 4,560
Total Cats: 1,142
This is just for you Aidan.
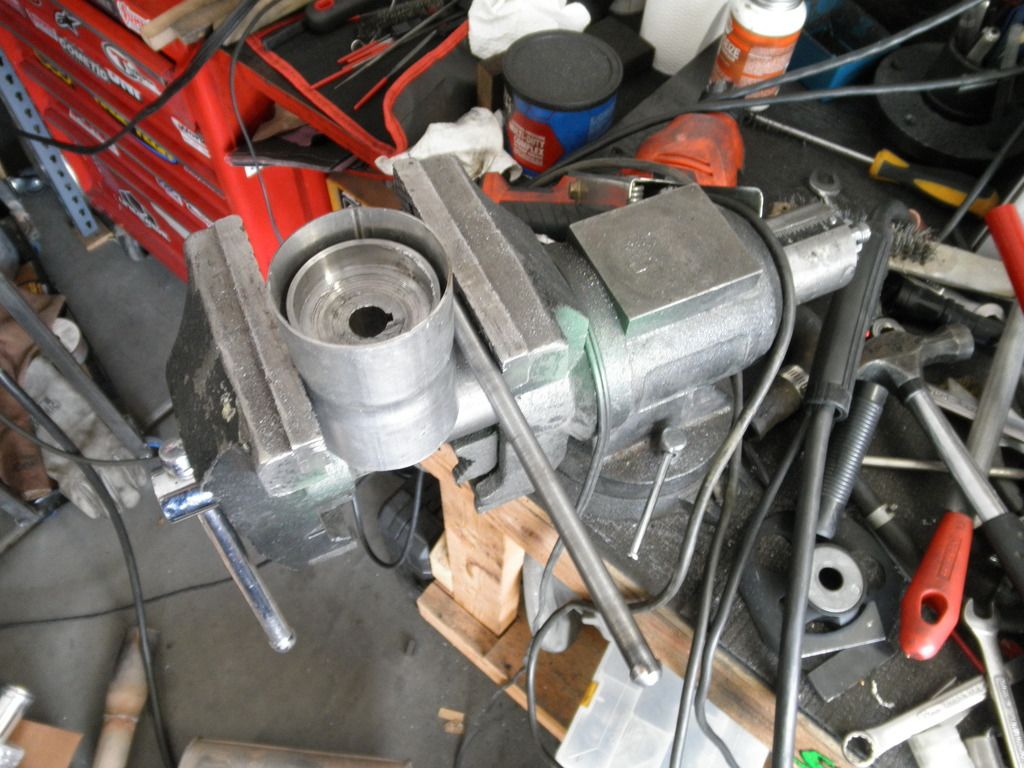
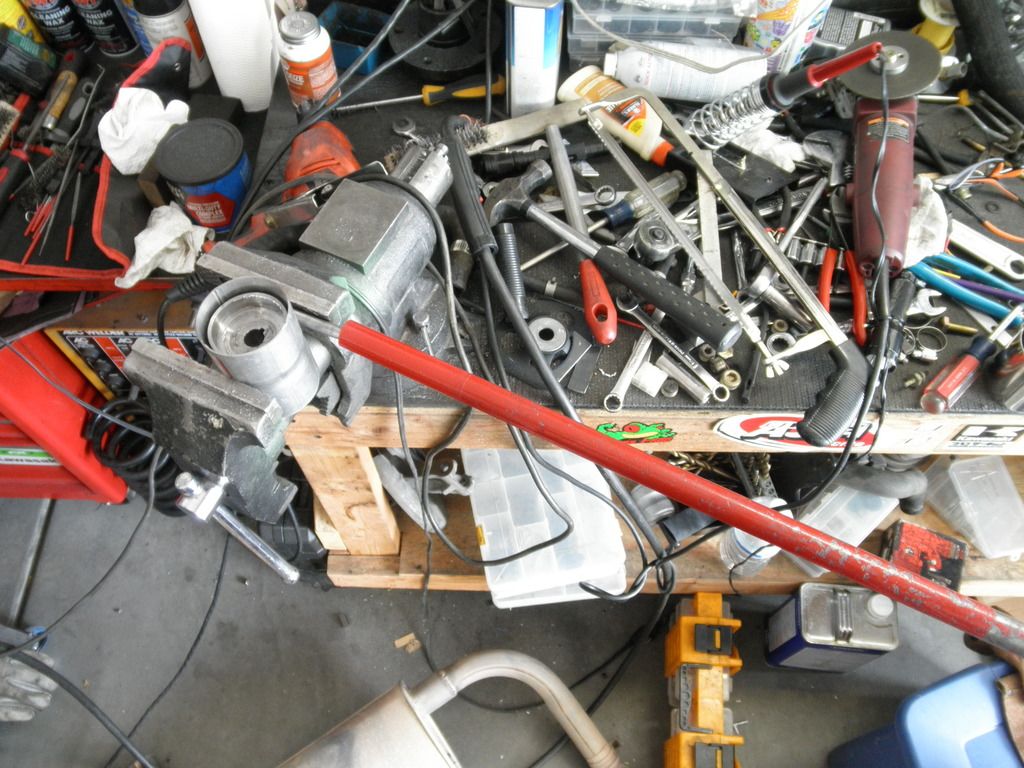
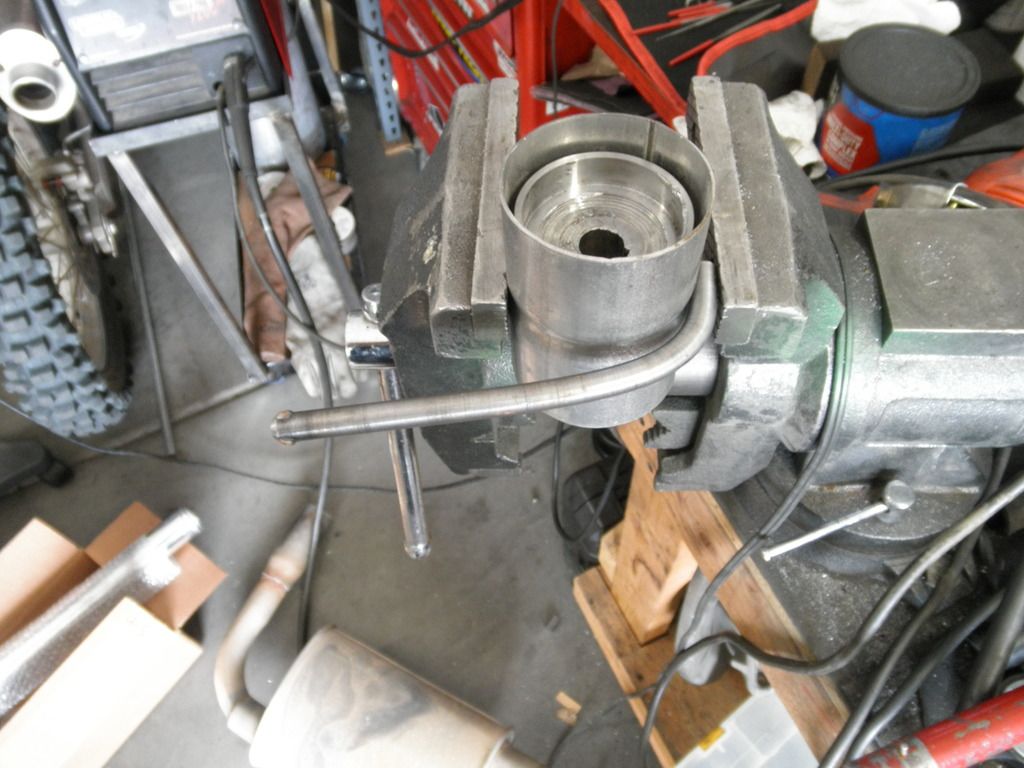
I managed to reuse the stock muffler hanger, and ended up making one more. All I had on hand was some 5/8"" stock laying around, so i turned an 8" length down to 3/8", welded on some blobs, cleaned up and chamfered on the lathe.
I made a bender die lol
Wrapping the DP next, then im going to "permanently" install everything.
Reply
0
0


