NB JR Intake Box Homebuild
 09-04-2010, 11:46 AM
#1
Junior Member
Thread Starter

Join Date: Aug 2010
Posts: 55
Total Cats: 0
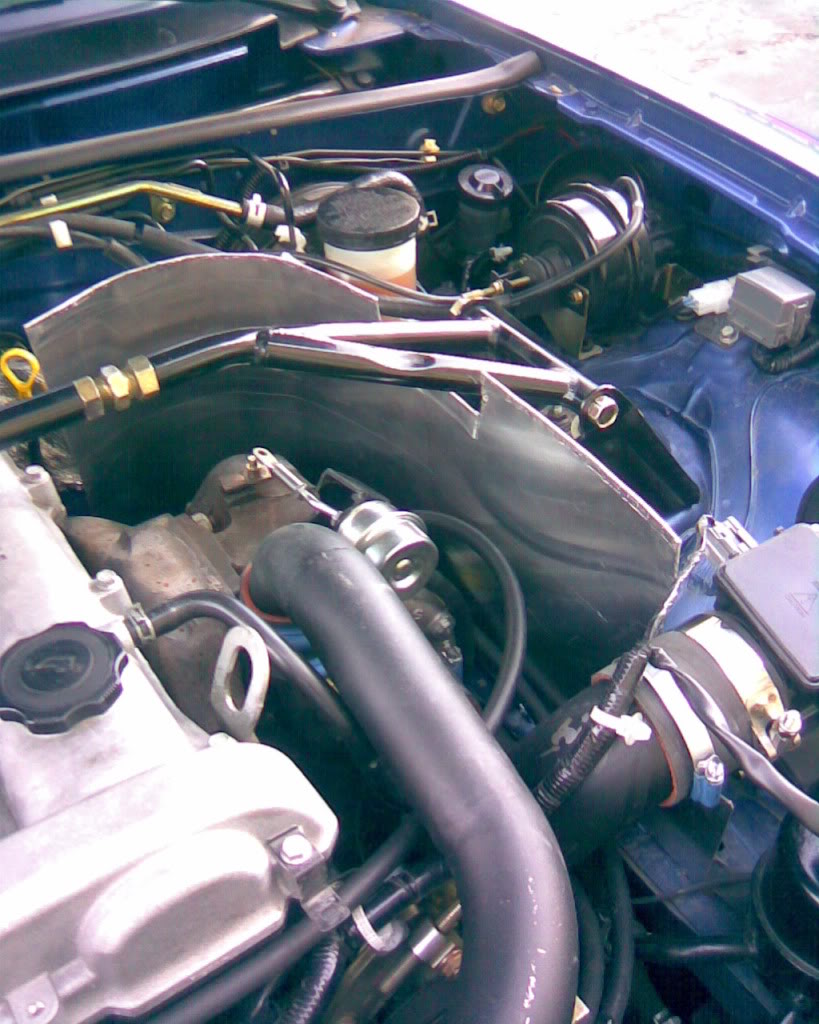
Hi all, I recently purchased a 1999 Supercharged NB and have been tinkering a bit; thus, I want to share my current project with you and get some feedback and opinions.
I have decided to build a custom intake box in my engine bay to help improve air quality and density for the intake. I know that with the JRS, engine bay temps can get quite high and i want to make the most of the powerband, so this is my solution.
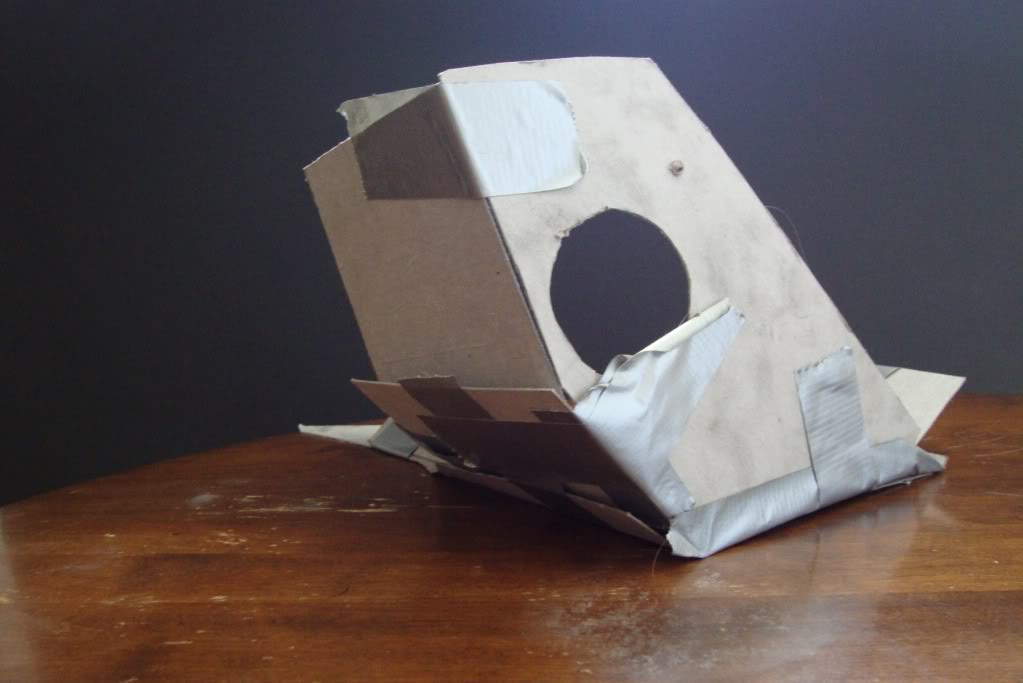
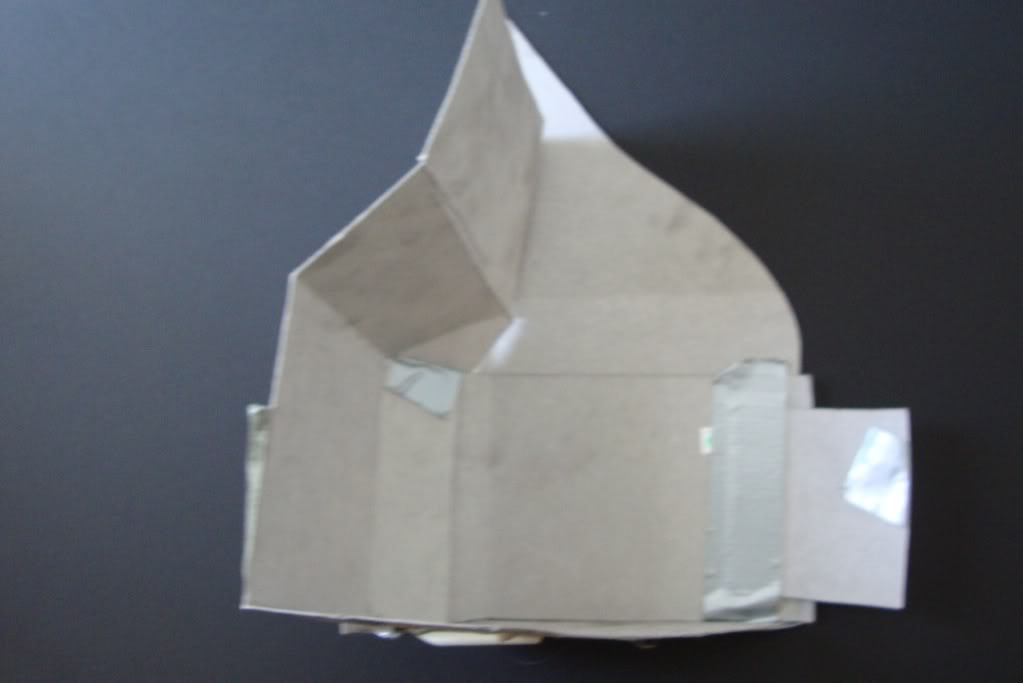
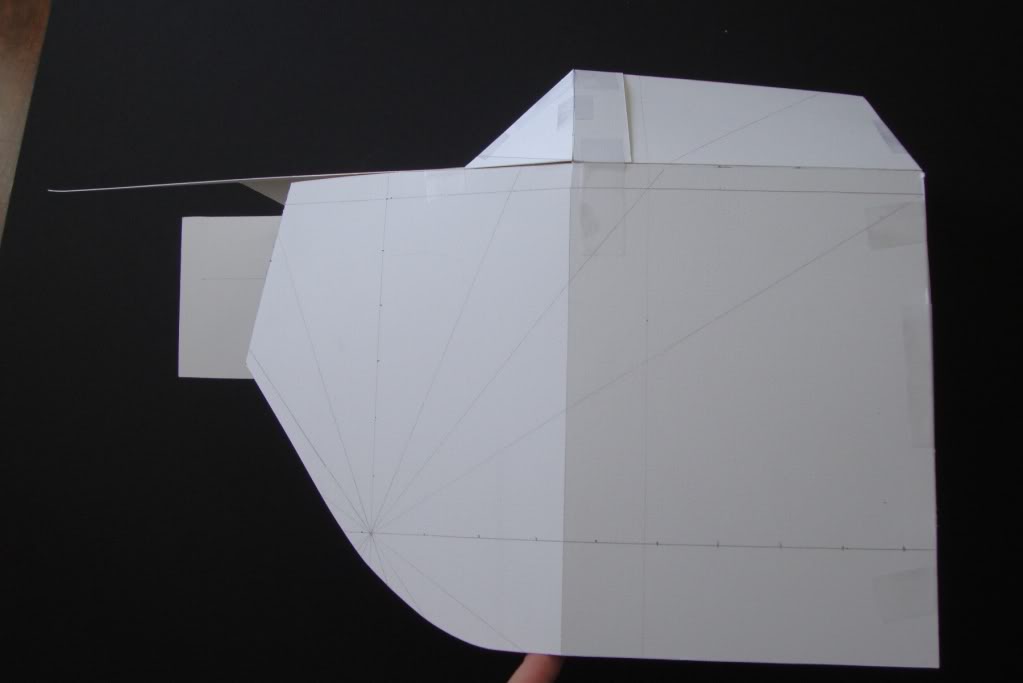
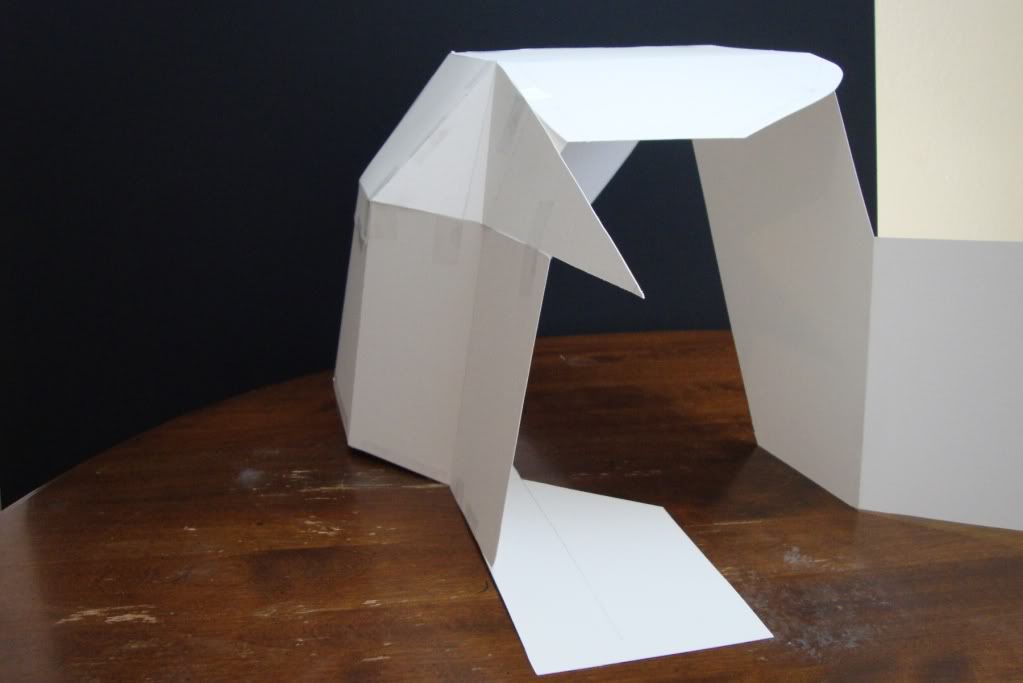
I have measured and cut, cut and measured my way to my 2nd cressent board model of the box. I am in process of determining the 3rd model cuts and bends and fine tuning the dimensions.
here are a few pictures of where i am at.
question for you all: should i make the final box out of polished/stainless steel or aluminum. I know that aluminum is much lighter and works great for blocking heat, but i don't quite know if i want to spend 48 dollars on a sheet of aluminum from Lowes.
also, any tips on making the bends without a sheet bender?
thanks
I have decided to build a custom intake box in my engine bay to help improve air quality and density for the intake. I know that with the JRS, engine bay temps can get quite high and i want to make the most of the powerband, so this is my solution.
I have measured and cut, cut and measured my way to my 2nd cressent board model of the box. I am in process of determining the 3rd model cuts and bends and fine tuning the dimensions.
here are a few pictures of where i am at.
question for you all: should i make the final box out of polished/stainless steel or aluminum. I know that aluminum is much lighter and works great for blocking heat, but i don't quite know if i want to spend 48 dollars on a sheet of aluminum from Lowes.
also, any tips on making the bends without a sheet bender?
thanks

Reply
 0
0

0
09-04-2010, 01:04 PM
#2
Junior Member

Join Date: Apr 2008
Posts: 349
Total Cats: -2
Hopefully, you live near a big enough city that you can find an industrial metal yard. There's one near where I work that sells rems for something like $5 for any and all rems up to a certain number of pounds. A sheet of .040 aluminum can be pretty big and fit under that. Another advantage of an industrial source is the grade of the material. You can usually count on "generic" level material being 6061 T6 or T6511, whereas the hardware stores usually have dead soft 1100 series or some other crap that is buttery, smeary and hard to fabricate with. The heat treated grades can be easily annealed locally if needed, and after cutting.
For bending thin sheet, a couple of chunks of 2x2 with sharp milled edges and clamps works well to hold it. You can use another chunk as a press to bend uniformly.
For bending thin sheet, a couple of chunks of 2x2 with sharp milled edges and clamps works well to hold it. You can use another chunk as a press to bend uniformly.
Reply
0
0
09-04-2010, 02:04 PM
#4
Elite Member
iTrader: (16)

Join Date: Oct 2006
Location: Las Cruces, NM
Posts: 1,647
Total Cats: 524
I make cold air boxes for Miatas. One thing to consider when making the design is how hard will it be to fabricate. My first box had lots of bends, the second design has much less and is easier to make. I used a Harbor Freight metal brake with custom dies to make the bends. The smaller bends can be done with the wide welders pliers. Stainless is better than aluminum, but much harder to bend. I use .64 6062 aluminum for the boxes. If you are going to powder coat the box, then no need to get stainless.
Here is an image of the box. This version is water jet cut.

Here is an image of the box. This version is water jet cut.
Last edited by 99mx5; 09-07-2010 at 01:22 AM. Reason: Better image added
Reply
0
0
09-04-2010, 06:21 PM
#5
Junior Member
Thread Starter
Join Date: Aug 2010
Posts: 55
Total Cats: 0
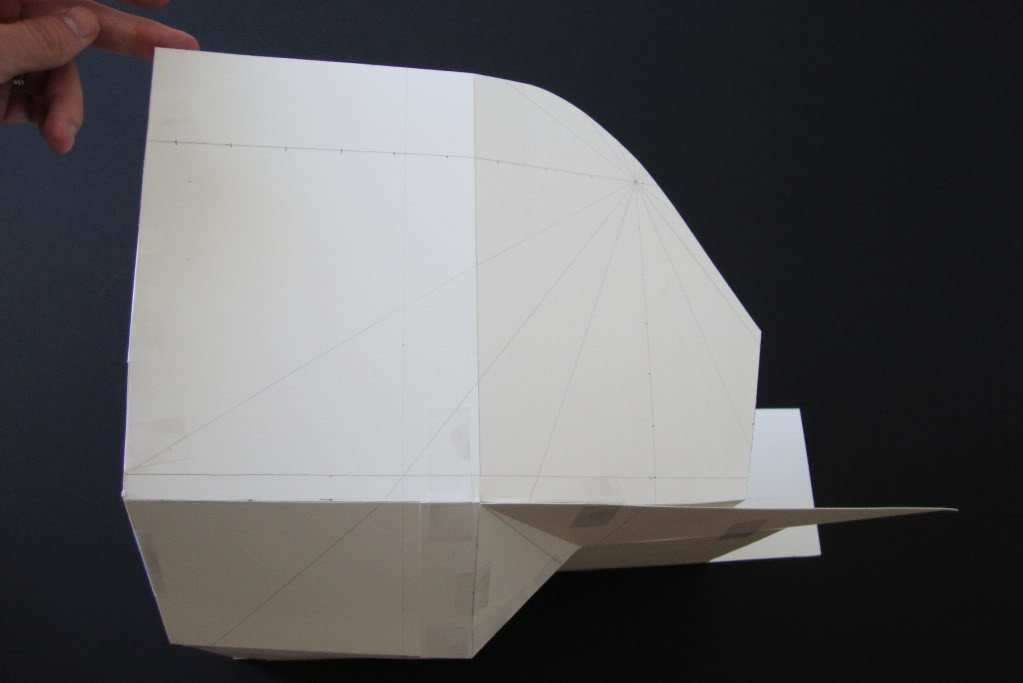
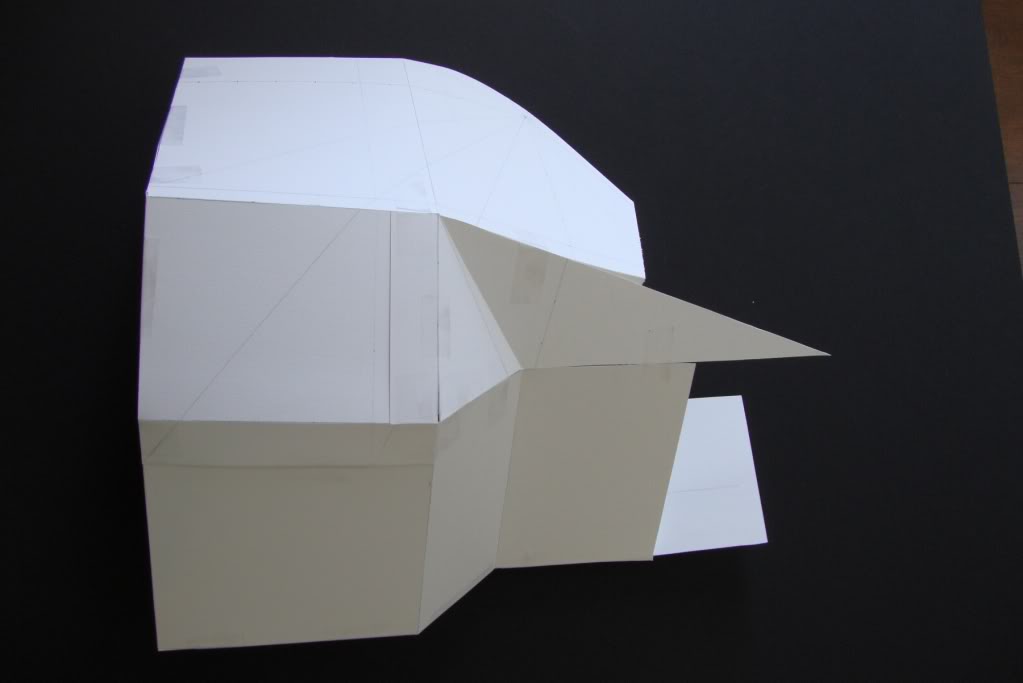
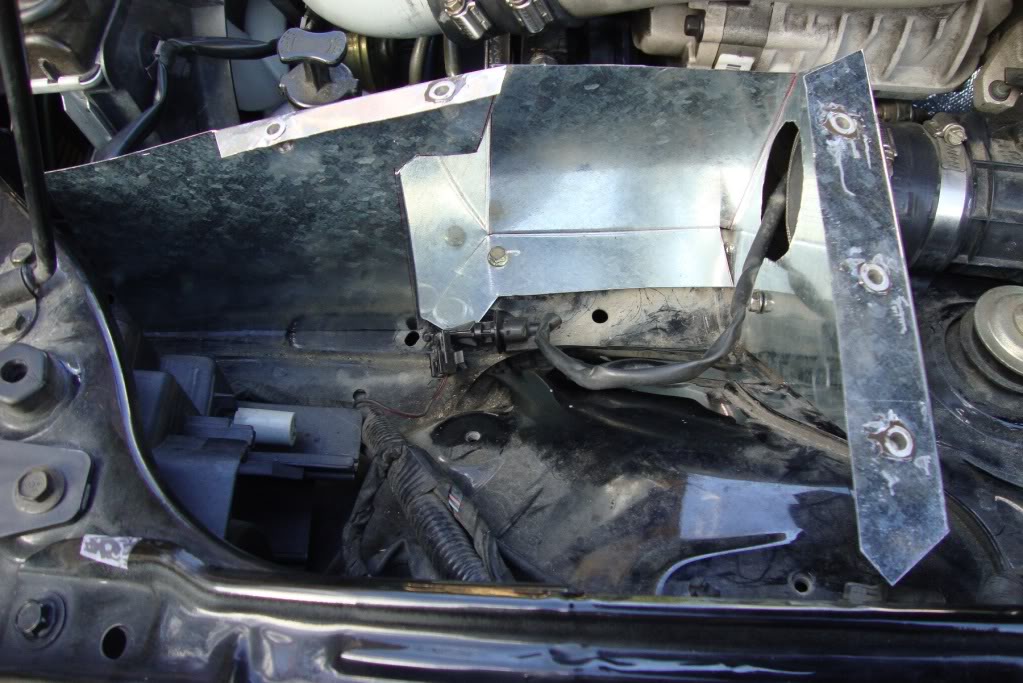
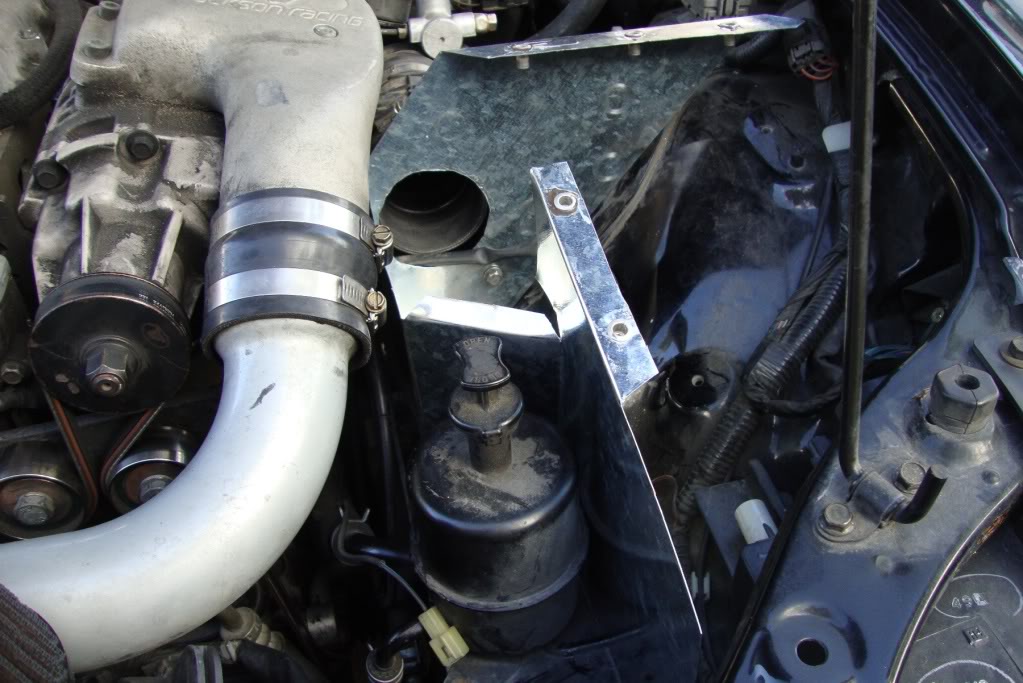
stage 3 in the process is complete. everything fits to a T. i am pumped about getting to the metal-working stage next.
it is a two piece box.
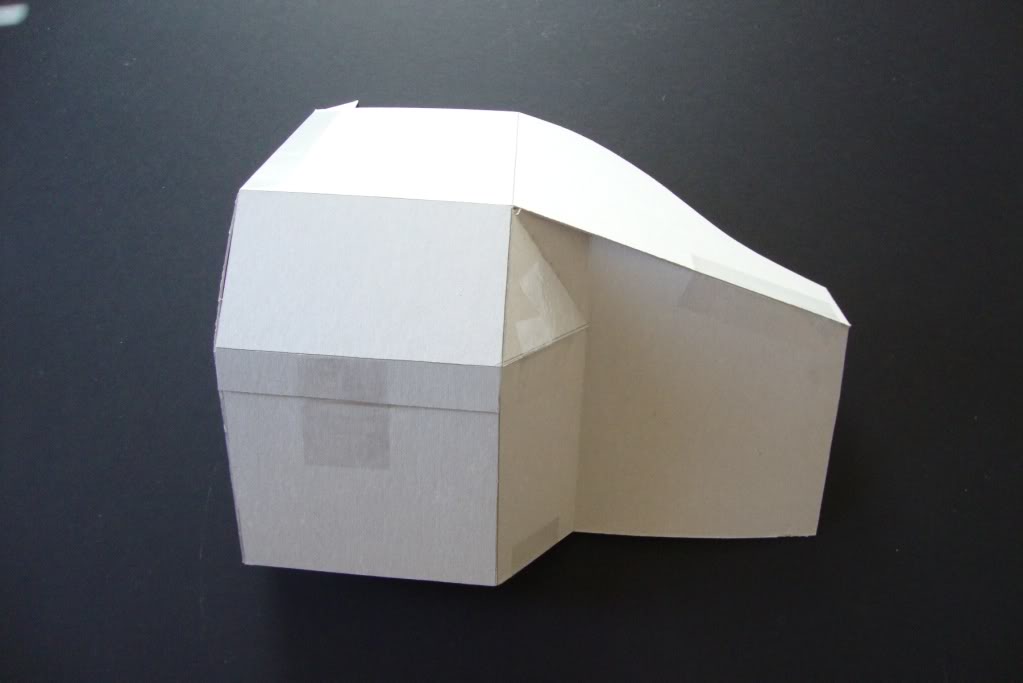

Here is how it fits.
http://i813.photobucket.com/albums/z...C00728copy.jpg
it is a two piece box.
Here is how it fits.
http://i813.photobucket.com/albums/z...C00728copy.jpg
Reply
0
0
09-05-2010, 12:06 AM
#8
making origami? :P
remove the top cover and make the walls of your cover touch the hood, you can use weather window foam to glue to the hood so you can get solid seal. Simply use the hood as your friend, remember the hood is outside and unless there is inside heat heating it up it will stay cold at that spot thats blocked off with the walls.
my box goes around my turbo, for yours make urs go around the filter obviously.

Reply
0
0
 09-06-2010, 01:11 AM
#11
Junior Member
Thread Starter
Join Date: Aug 2010
Posts: 55
Total Cats: 0
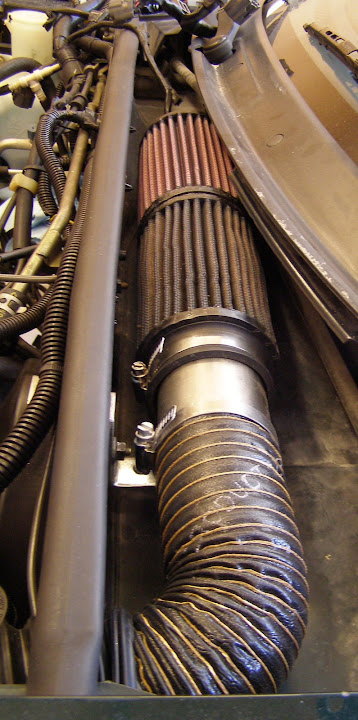
wow, you have like 2 yards of duct in that engine bay. too much pressure drop for me, i need the filter as close to the Throttle Body as possible for max effect.
For example, have you ever noticed when using a vacuum with the hose extension that as the hose gets longer, the suction pressure drops? well, that is what is likely happening when you use too much duct in your bay. you get cold, dense air, but is it enough to make up for the extra load on your engine to suck it in?
plus if you aren't using smooth duct, there is a mess of turbulence going on inside the duct work causing even more problems.
remember, short and smooth is always better when it comes to duct work.
Reply
0
0
09-06-2010, 01:24 AM
#12
Elite Member
iTrader: (1)

Join Date: May 2009
Location: Jacksonville, FL
Posts: 5,155
Total Cats: 406
wow, you have like 2 yards of duct in that engine bay. too much pressure drop for me, i need the filter as close to the Throttle Body as possible for max effect.
For example, have you ever noticed when using a vacuum with the hose extension that as the hose gets longer, the suction pressure drops? well, that is what is likely happening when you use too much duct in your bay. you get cold, dense air, but is it enough to make up for the extra load on your engine to suck it in?
plus if you aren't using smooth duct, there is a mess of turbulence going on inside the duct work causing even more problems.
remember, short and smooth is always better when it comes to duct work.
For example, have you ever noticed when using a vacuum with the hose extension that as the hose gets longer, the suction pressure drops? well, that is what is likely happening when you use too much duct in your bay. you get cold, dense air, but is it enough to make up for the extra load on your engine to suck it in?
plus if you aren't using smooth duct, there is a mess of turbulence going on inside the duct work causing even more problems.
remember, short and smooth is always better when it comes to duct work.
This may or may not hold true with a turbo application where much more air is being pulled through making the pressure drop greater, but still, the cowl may be a good option.
also, +1 on the FMIC, the CAI is an important addition but not anywhere near as effective as an intercooler.
The CAI added to the IC will be good, but the CAI w/o an IC is accomplishing almost nothing.
Reply
0
0
09-06-2010, 01:36 AM
#13
Junior Member
Thread Starter
Join Date: Aug 2010
Posts: 55
Total Cats: 0
I understand that the cowl area is high pressure, but why not utilize it fully by using smooth duct work?
I would love to get a FMIC, however funds are going to other areas on the car right now. This CAI is my way of lowering temps a few, maybe 15-30 degrees, without spending hundreds of dollars.
so far the whole project has cost me around 55 dollars, and i am having fun building it.
it has been awhile since i had a car i could tinker with, which i love to do. (used to have a 89 TII rx7 w/full cage, coilovers, 3" exhaust, yadda yadda)
Reply
0
0
09-06-2010, 01:41 AM
#14
Elite Member
iTrader: (1)
Join Date: May 2009
Location: Jacksonville, FL
Posts: 5,155
Total Cats: 406
Believe it or not you can do a FMIC on an NB for about 150 bucks
Look at my old IC setup in my threads, its pretty simple, just 2 short pipes, 4 couplers, and an ebay IC
Look at my old IC setup in my threads, its pretty simple, just 2 short pipes, 4 couplers, and an ebay IC
Reply
0
0


 09-06-2010, 12:51 PM
#19

^^ Agreed
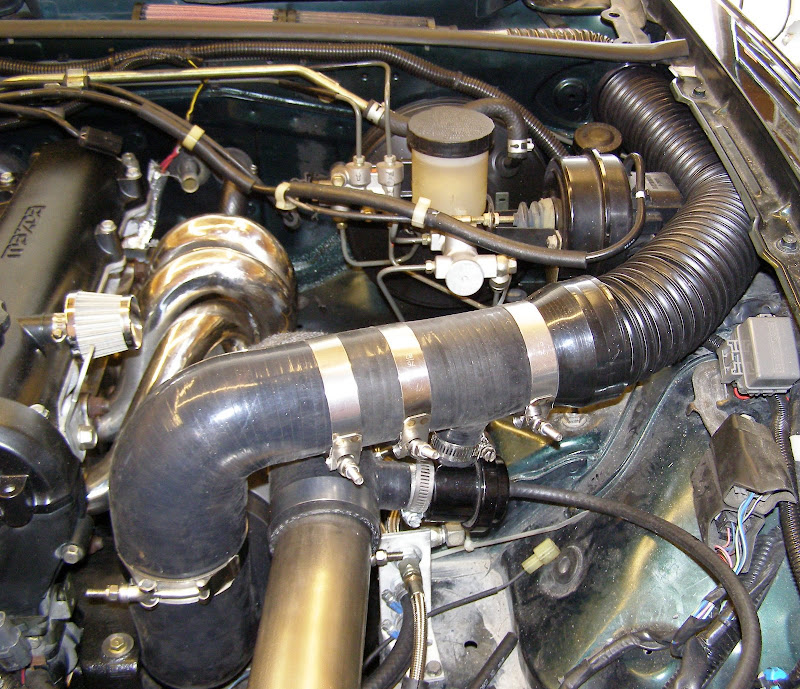
I run a M45 charger as well and was going to do the same thing. but i gave up after a few trial.
the supercharger is giving out alot of heat and will over come your cold air box and your intake piping; that's why you need the intercooler.
I have relocated the intake to a few locations, drilling a hole on the head light to add air flow, adding a heat shield, or relocated the air filter in the inner fender, i gave up.
the gain is not significant enough and it's too much work. add a intercooler like the trd one; or water to air intercooler; or water injection will solve ur problem.
Reply
0
0
09-06-2010, 08:22 PM
#20
Junior Member
Thread Starter
Join Date: Aug 2010
Posts: 55
Total Cats: 0
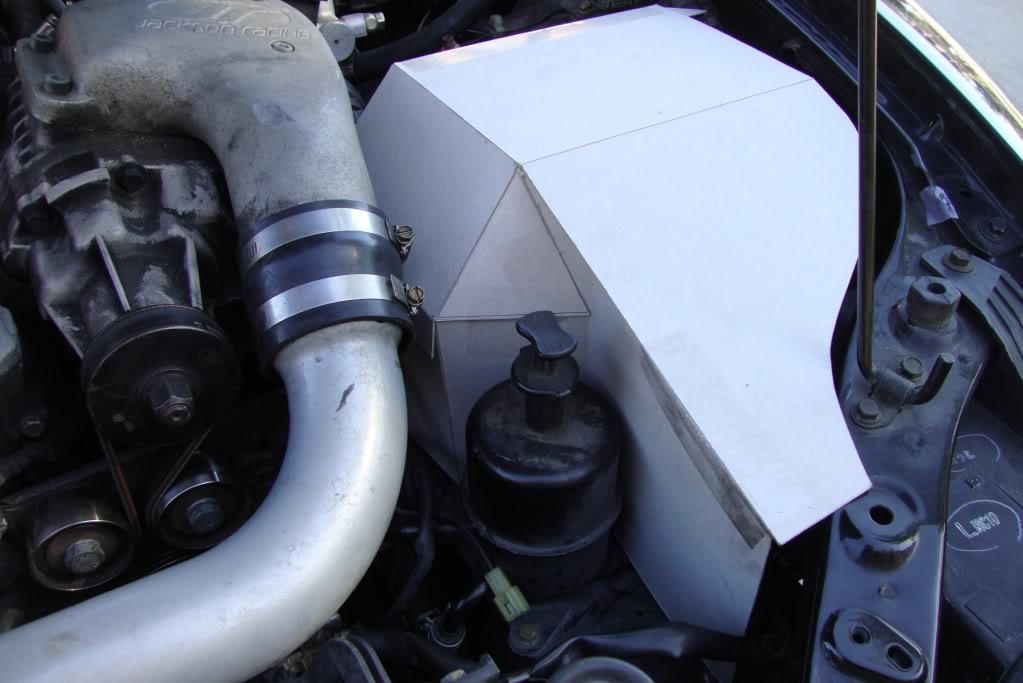
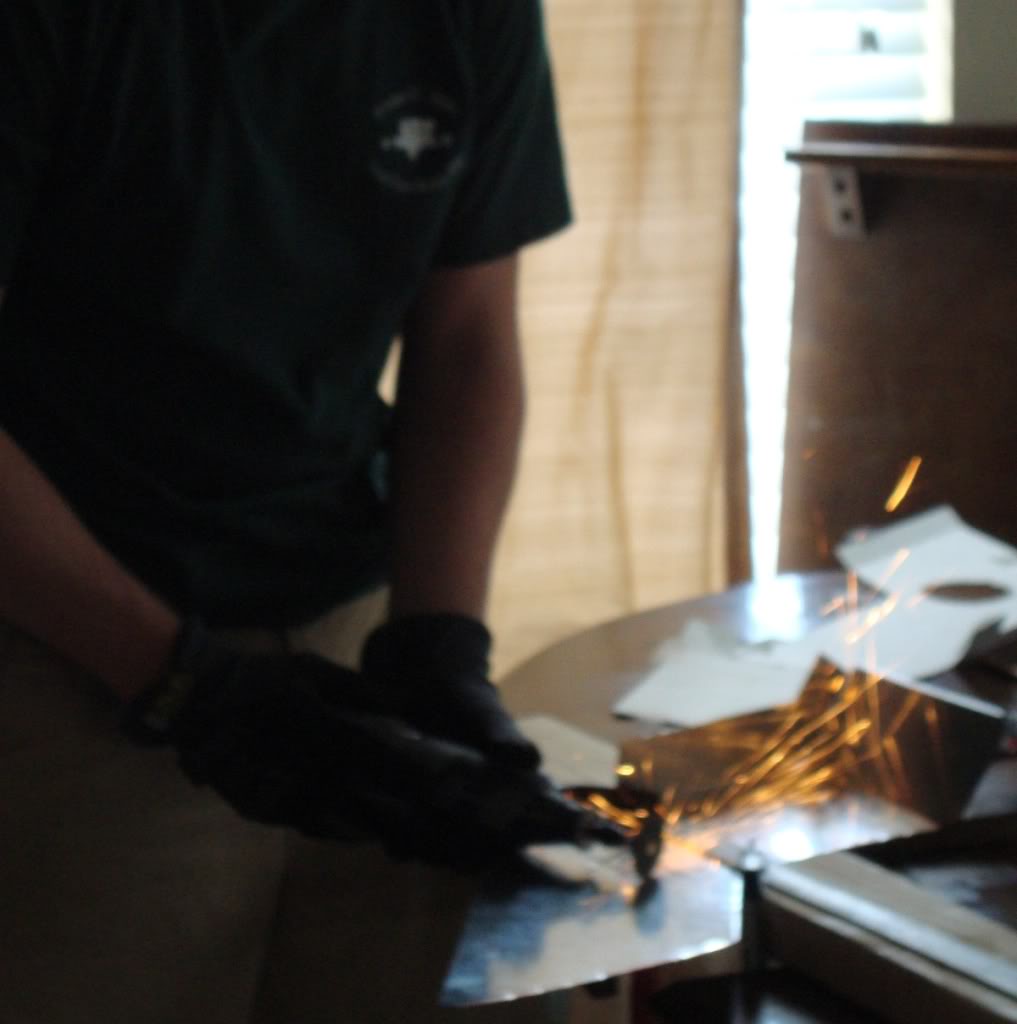
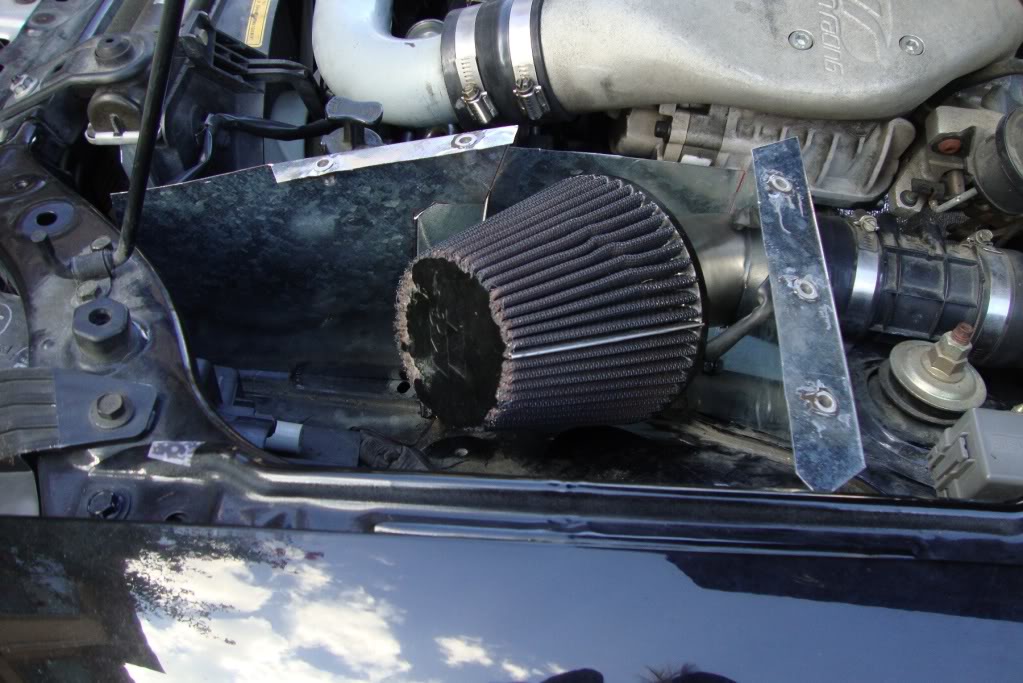
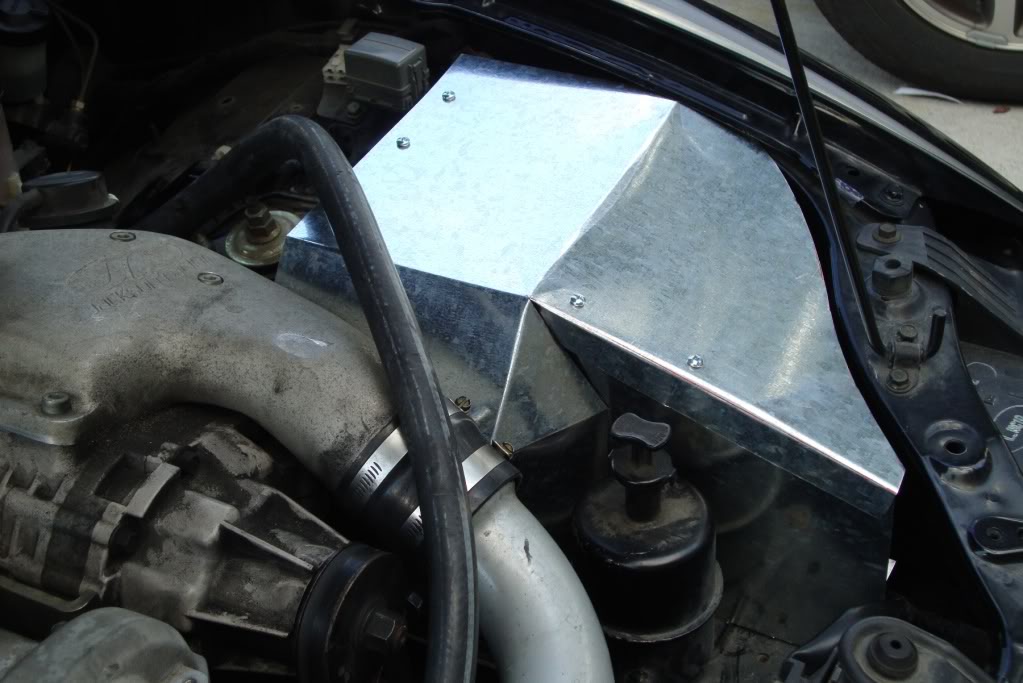
complete and installed. I am impressed that the box fit perfectly without any modifications from the initial cut. go me!
Whether or not it will be effective doesn't matter at this point. I had fun and am happy that i can move on to my other project (refinishing and re-upholstering my ethan allen dining chairs.)
Here is a picture recap of the process. I think there was another half model in the mix somewhere but these are the four i took photos of.
Reply
0
0


