Wanna be like me? Do this...
 11-09-2012, 03:42 PM
#1
Elite Member
Thread Starter
iTrader: (4)
Join Date: Dec 2009
Location: Reno, NV
Posts: 3,686
Total Cats: 95
Hey dooods!
Thought i'd put my watercooling build thread up in here too, since I know this is a car forum and all.
I am broke, and wanted a sweet looking USAF/Car themed water loop for a 100 dollar bill and some change left in my wallet.
straight to it---
Materials:
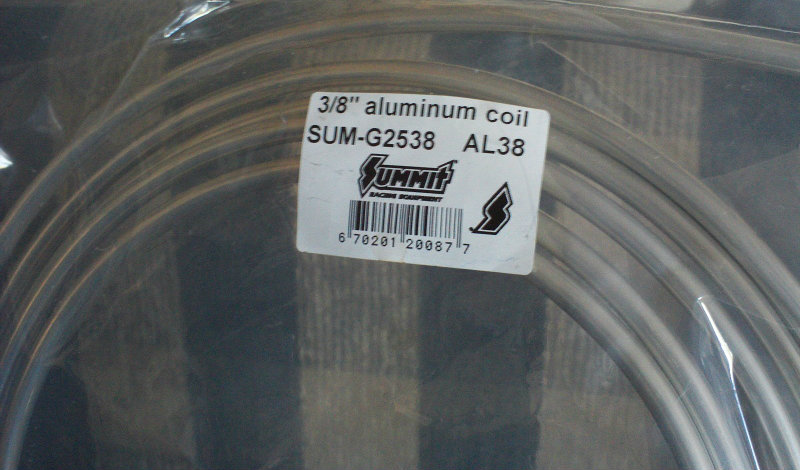
25ft of 3/8" Aluminum piping $15
Aluminum 1/4" NPT- 3/8" Press lock barbed fittings for reservoir $10

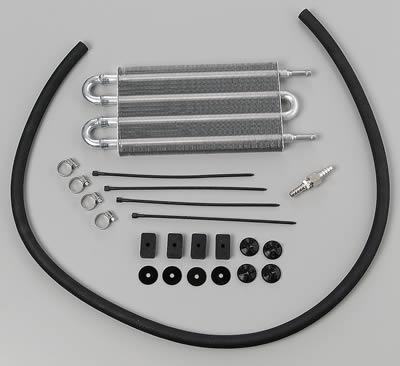
Aluminum automotive liquid cooler/radiator $25~
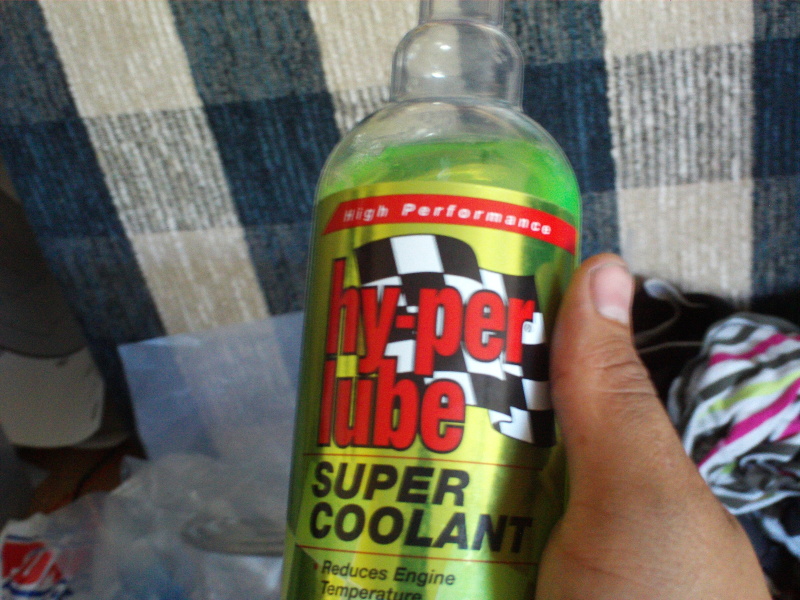
small 16 oz. bottle of racing coolant additive: $5~
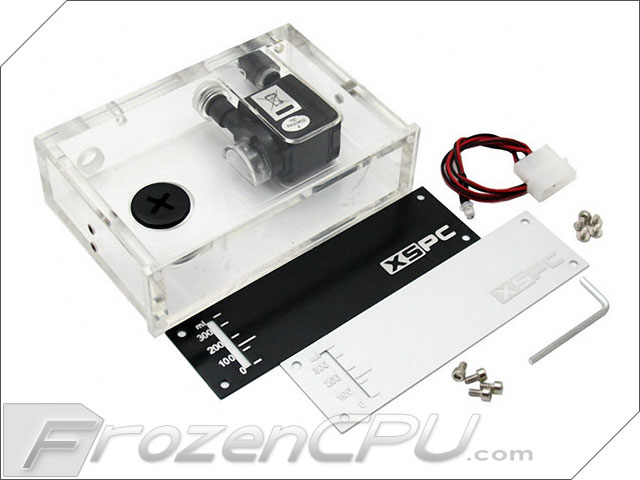
XSPC X20 200 reservoir and pump: $40~
Roswell 4-pk 80mm blue LED fan box $20~
High pressure rubber nylon reinforced tubing free* (usually comes with the liquid cooler)
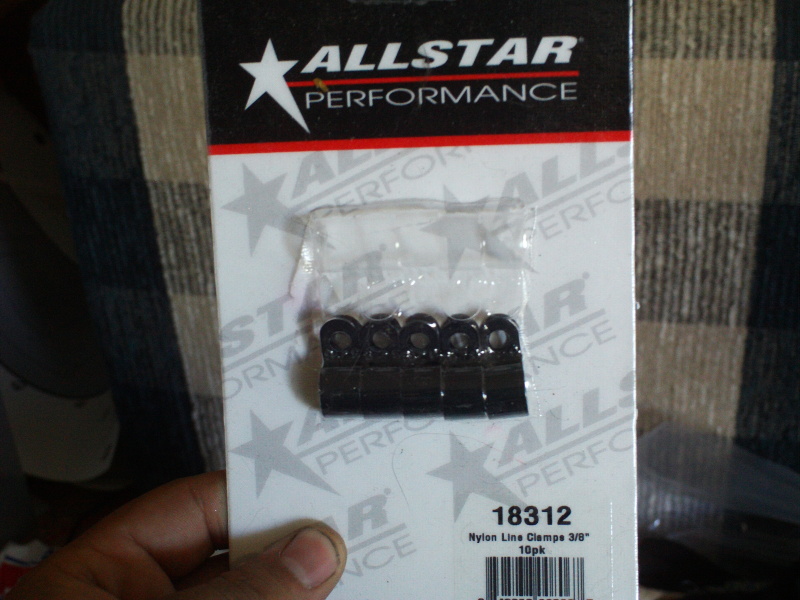
nylon mounting clamps $5~
small hose clamps: Free
AMD AM2/AM2+/AM3/AM3+ aluminum heat sink: free
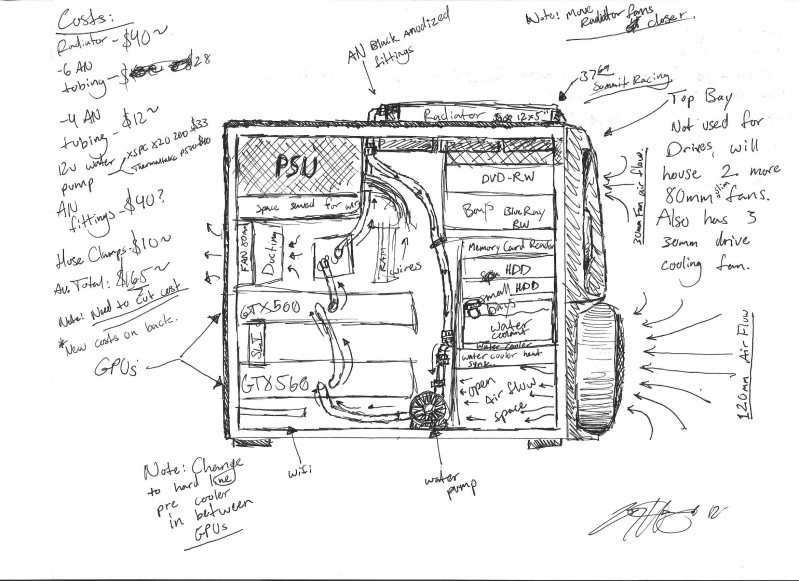
Plan:
This was my original idea that I had thought about for a long time, then got drunk one night and drew it out on paper, then re modified the next morning to get it cheaper in price.
My terrible first try without a cnc or even a drill press (it failed)

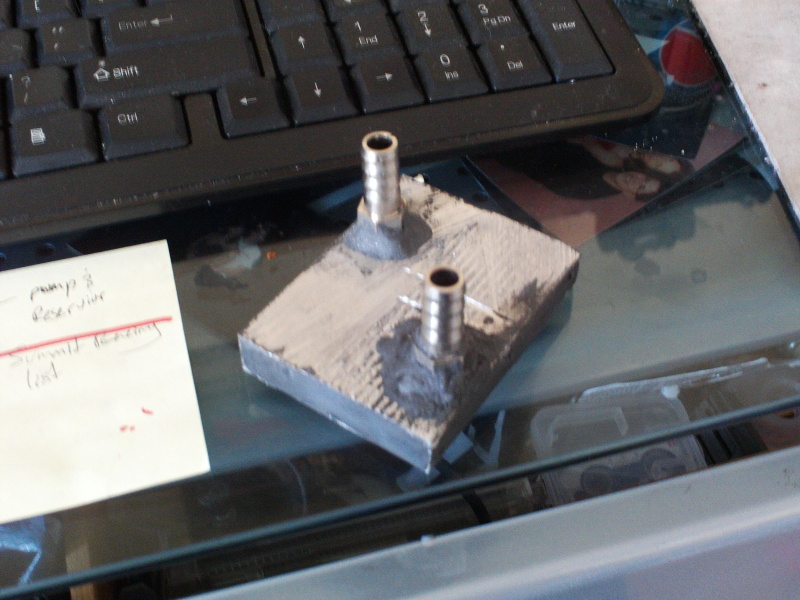
So here is how I unfailed the water block.
My solid piece waterblock (Search 6 dollar water block on Instructables.com, I am the author)
Pressure test using the most mature way ever... gases from baking soda and vinegar
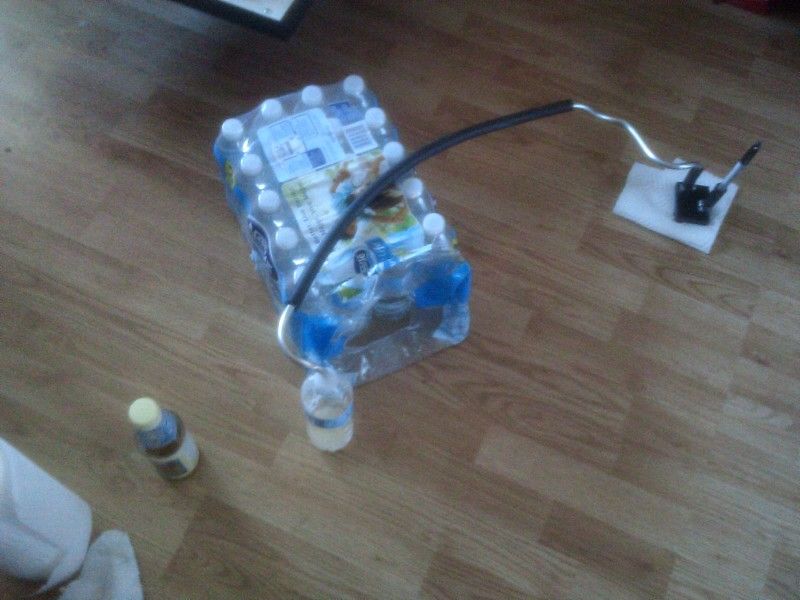
No UV green on the paper towel= no leak!
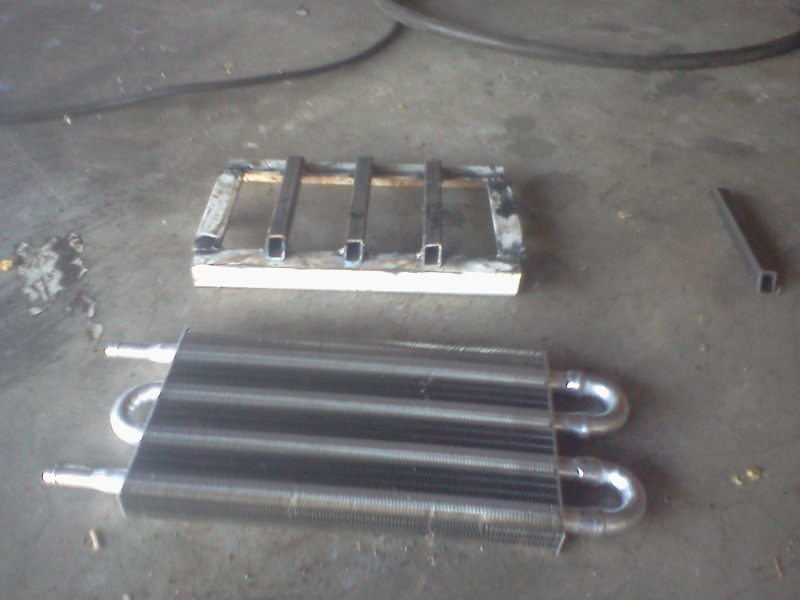
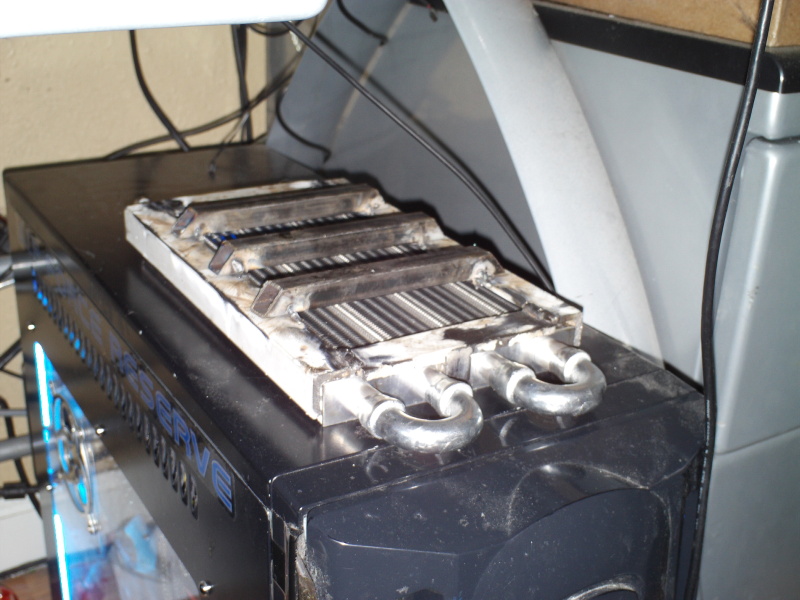
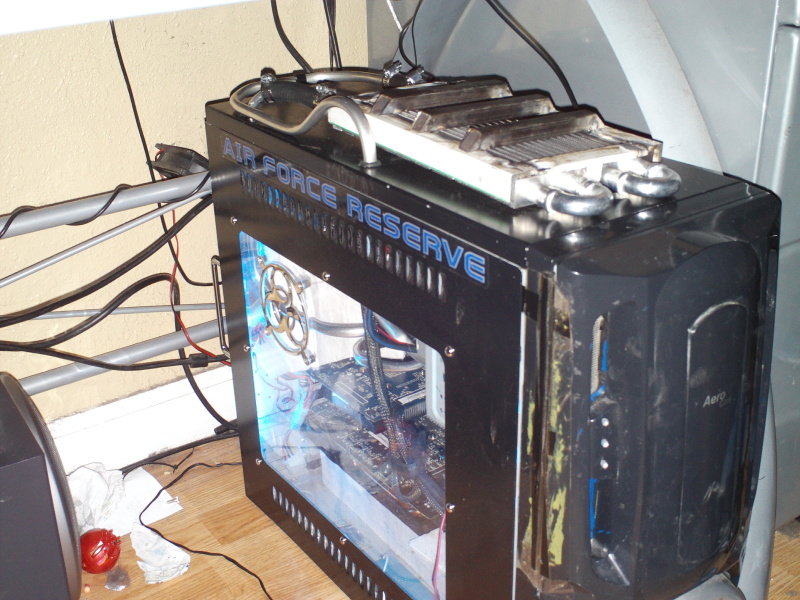
Radiator w/ protective steel bracket made from a junked yard sign and small diameter box tubing. I am going to make a better one someday, when I feel like it.
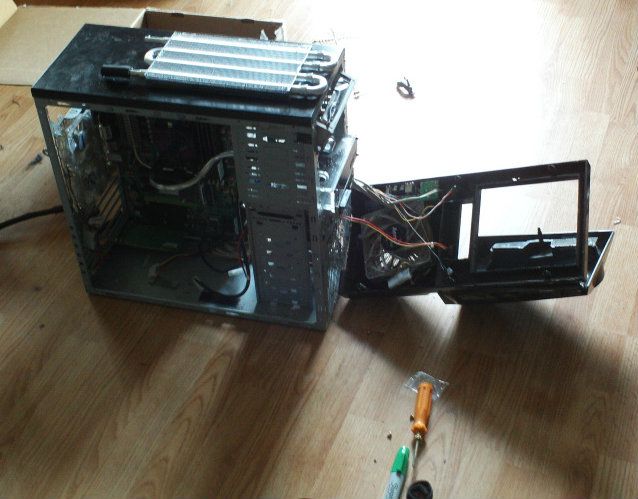
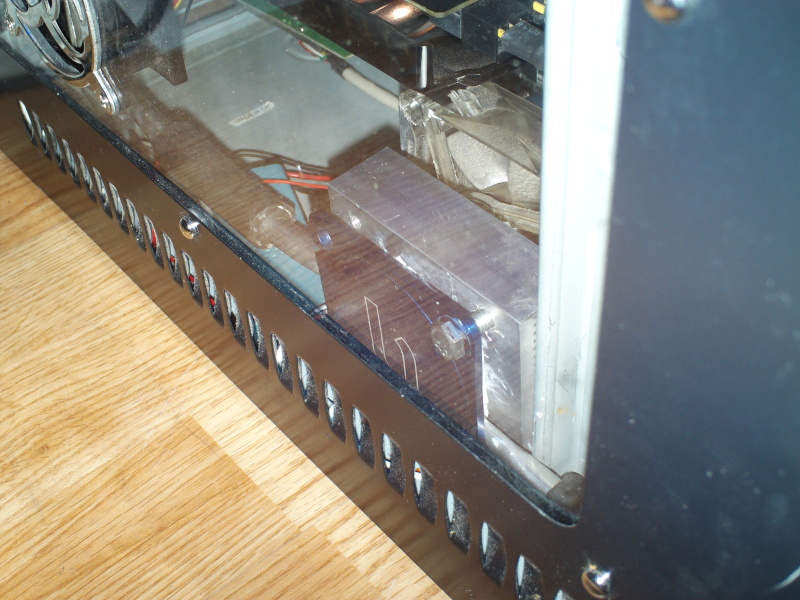
time to test fit and cut the case.

Thought i'd put my watercooling build thread up in here too, since I know this is a car forum and all.
I am broke, and wanted a sweet looking USAF/Car themed water loop for a 100 dollar bill and some change left in my wallet.
straight to it---
Materials:
25ft of 3/8" Aluminum piping $15
Aluminum 1/4" NPT- 3/8" Press lock barbed fittings for reservoir $10
Aluminum automotive liquid cooler/radiator $25~
small 16 oz. bottle of racing coolant additive: $5~
XSPC X20 200 reservoir and pump: $40~
Roswell 4-pk 80mm blue LED fan box $20~
High pressure rubber nylon reinforced tubing free* (usually comes with the liquid cooler)
nylon mounting clamps $5~
small hose clamps: Free
AMD AM2/AM2+/AM3/AM3+ aluminum heat sink: free
Plan:
This was my original idea that I had thought about for a long time, then got drunk one night and drew it out on paper, then re modified the next morning to get it cheaper in price.
My terrible first try without a cnc or even a drill press (it failed)
So here is how I unfailed the water block.
My solid piece waterblock (Search 6 dollar water block on Instructables.com, I am the author)
Pressure test using the most mature way ever... gases from baking soda and vinegar
No UV green on the paper towel= no leak!
Radiator w/ protective steel bracket made from a junked yard sign and small diameter box tubing. I am going to make a better one someday, when I feel like it.
time to test fit and cut the case.

Reply
 0
0

0
11-09-2012, 03:46 PM
#2
Elite Member
Thread Starter
iTrader: (4)
Join Date: Dec 2009
Location: Reno, NV
Posts: 3,686
Total Cats: 95
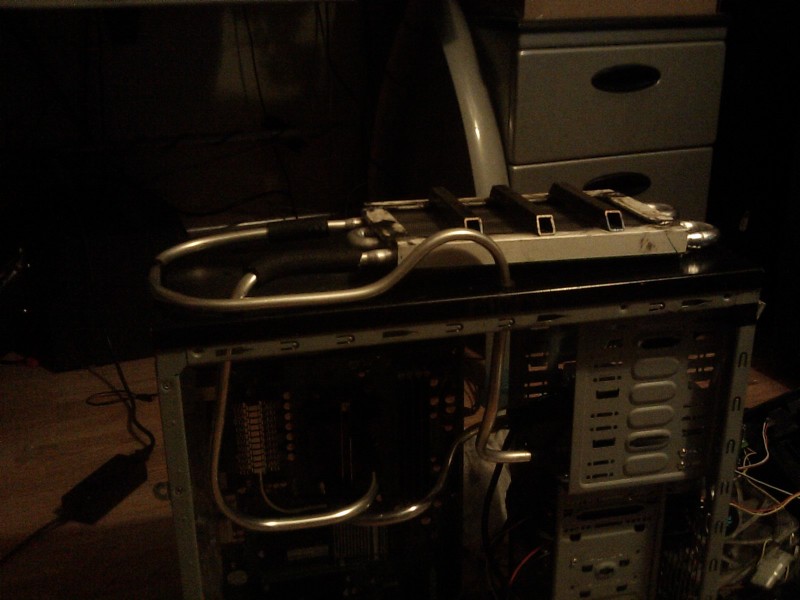
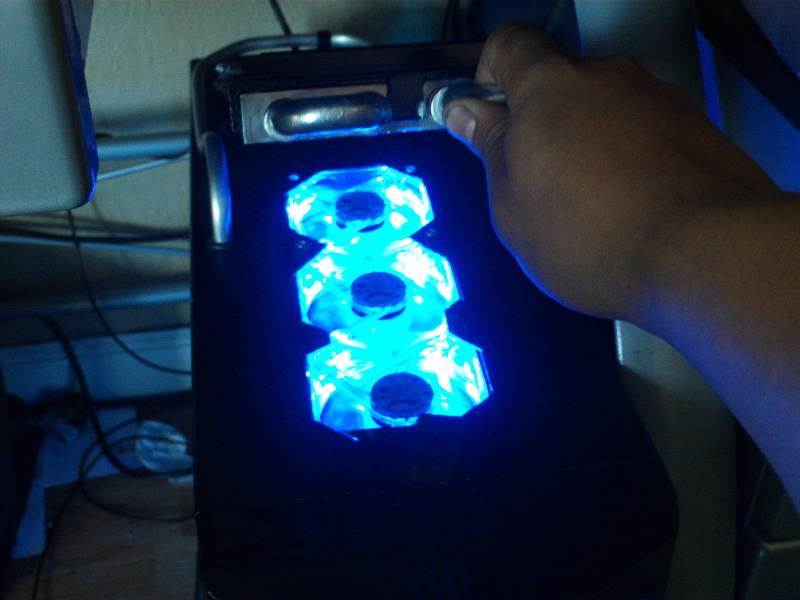
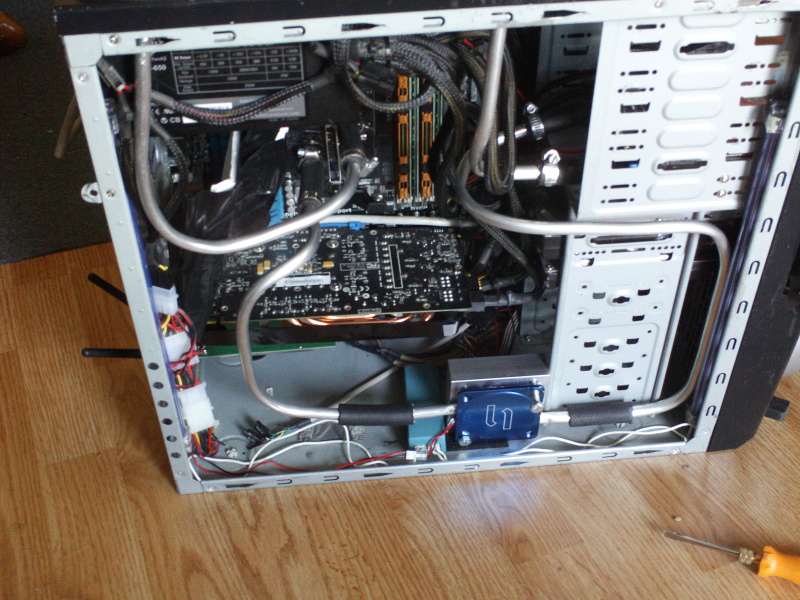
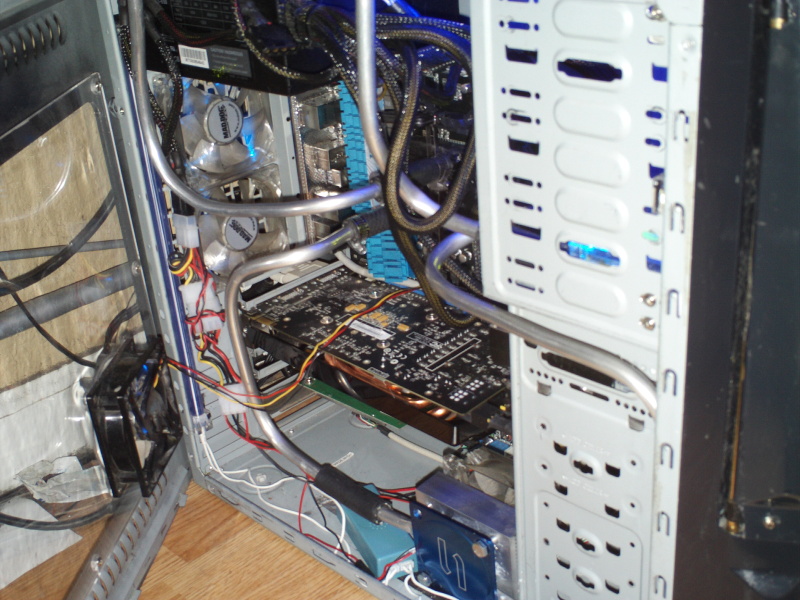
tube bending time to fit, along with chassis drilling and cutting of which I forgot to take photos (im a terrible log keeper)
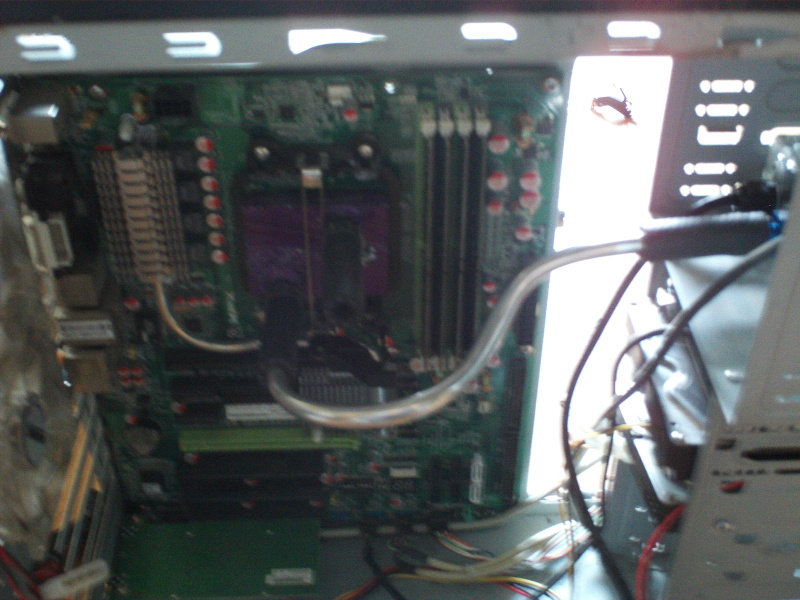

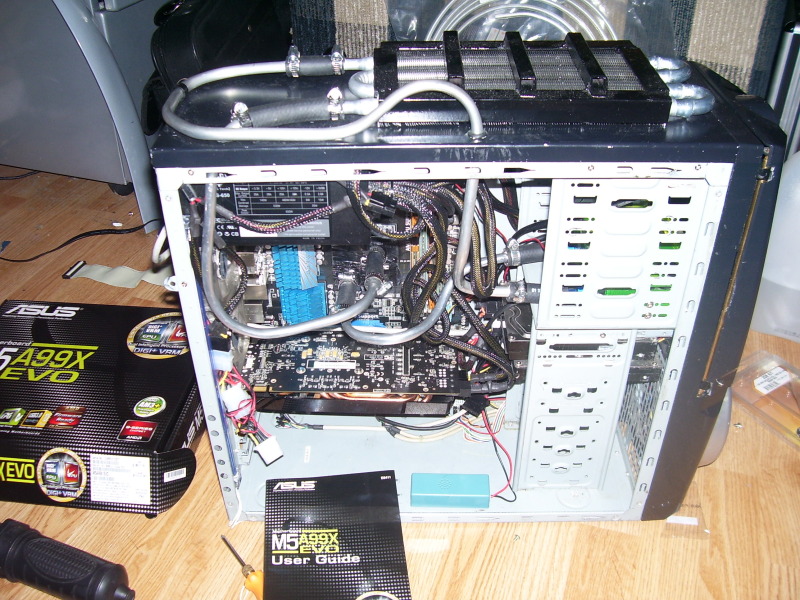
NEW MOOOBBOOO BOBOB AND CPURRRJEJEEEERAFDSA
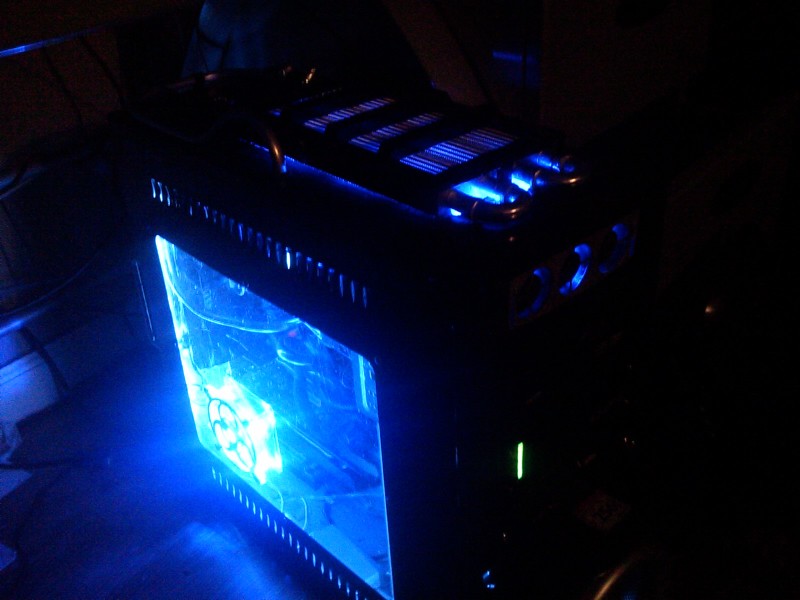
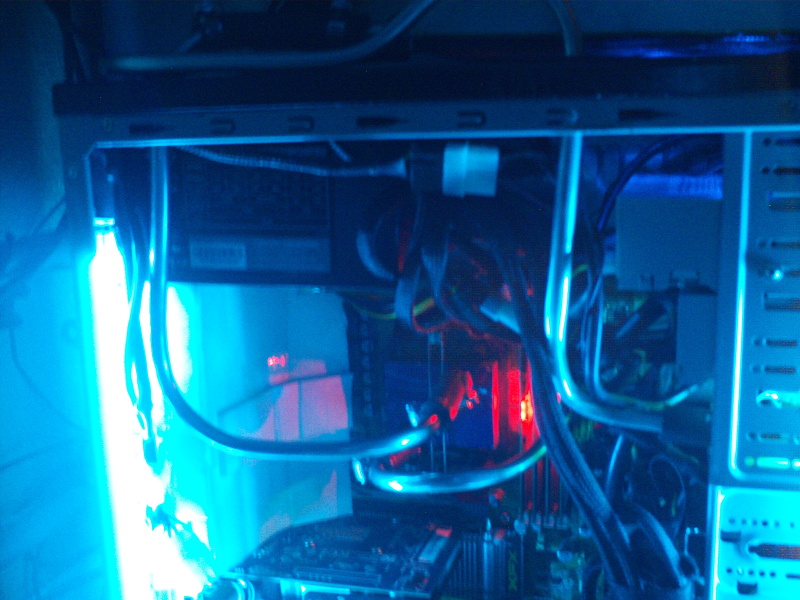
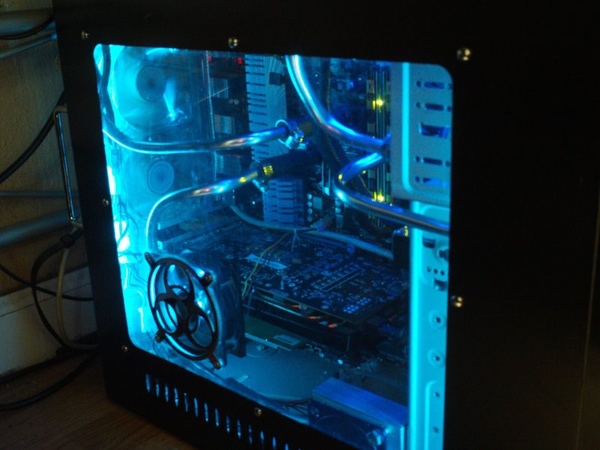
I decided that this fan was too bright
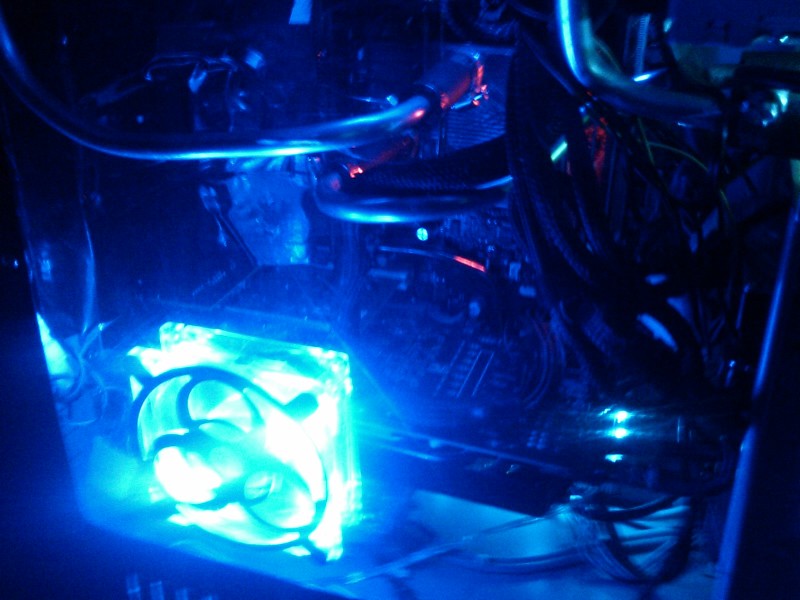
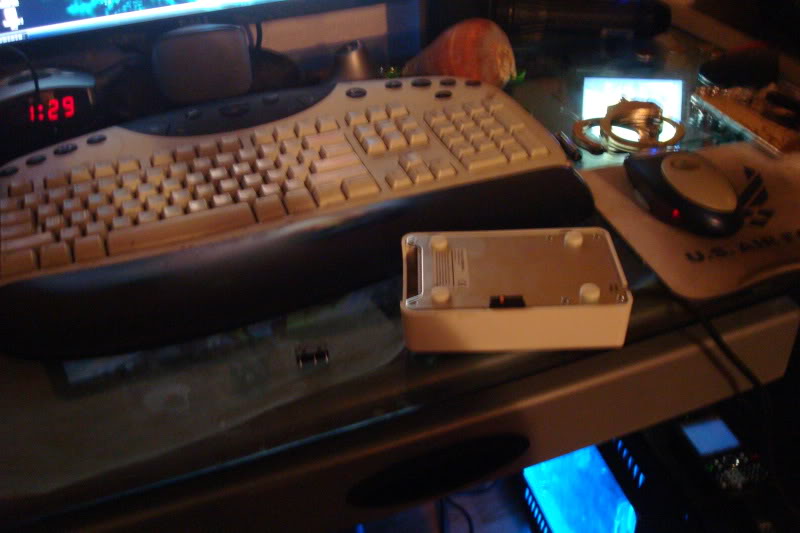
So i changed up to a less bright chrome bladed fan
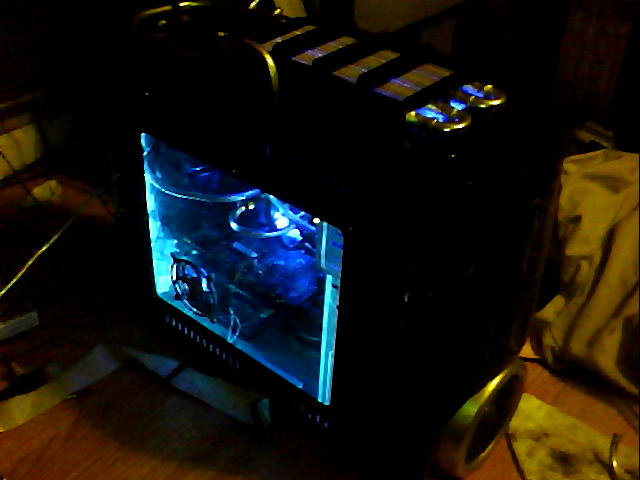
But this looked cool
NEW MOOOBBOOO BOBOB AND CPURRRJEJEEEERAFDSA
I decided that this fan was too bright
So i changed up to a less bright chrome bladed fan
But this looked cool
Reply
0
0
 11-09-2012, 03:57 PM
#5
Elite Member
Thread Starter
iTrader: (4)
Join Date: Dec 2009
Location: Reno, NV
Posts: 3,686
Total Cats: 95
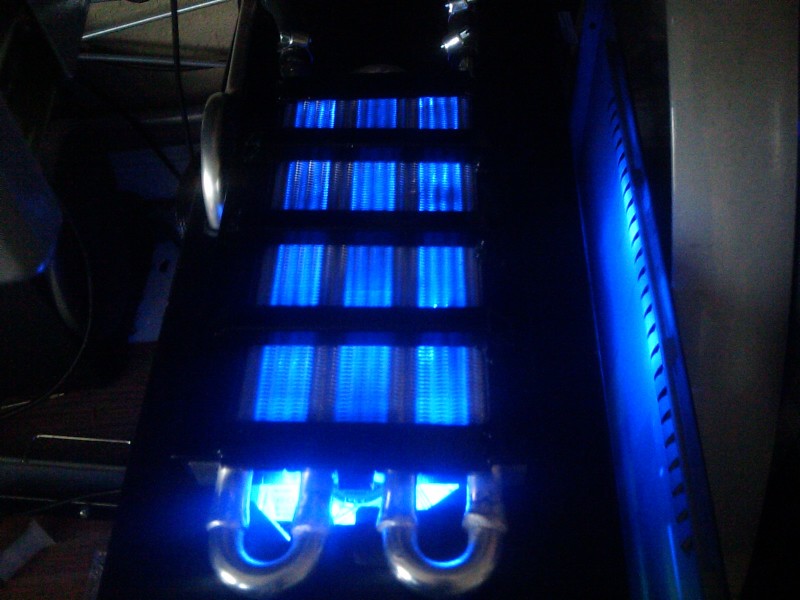
Now before y'all go "where is the fans for the radiator?!"
Its here.

Moar experimenting timez!
One issue that might make me OCD, is heat soak. I hate it on my turbo'ed cars, and I sure as hell hate it on my computers. Yeah, im loving the low idle temp and the very low full CPU load temps, but I really hate it when my pc is running for hours, and I keep our house temp at 75f in the summer to save power, that my processor will heat soak and stay @ 33-34c depending on how high the max. load temp was prior, how warm it's it is outside of the case(My wife's SLIed 550 Ti's pushes a lot of heat under our desks when she is gaming), and how long my computer has been running. I have soo many ideas to try out but very little resource and I am trying to keep this as cheap as possible. So far my totals for this project is 130 dollars including the coolant. I dont count my component upgrades in this because I was going to buy the motherboard and CPU to update my rig anyways.
All of this was just ideas, until something bad happened that I can benefit from...
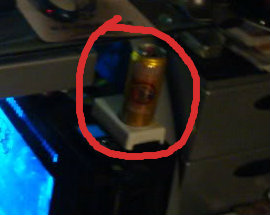
I have had this drink cooler for years now (yes, I put a micro switch on the bottom so I can leave it plugged into my USB, and just simply put it on its side to turn it off), and the fan inside finally died, so now I have a 5v peltier cooler to play with!! My idea is to combat heatsoak. I refuse to even think of putting it directly on any chip, due to the amount of condensation that I learned first had brings, I just cant risk it with my budget, so I was thinking of chilling the coolant just enough to fight heat soak. However, I do not want to cut up my pretty XSPC reservoir, so for now its going to be a pre-cooler to my CPU.
So this is what my first experiment is done: I took about 4-5 inches of aluminum pipe, bent it in an "S" shape, (I tried to make a dual pipe, but I dont have anything to couple the two pipes into one feed and lead), flattened it in a specific pattern with pliers just enough to have good flow but fit flush on the cooler, and used the original cooling surface to sandwich it all together. Then I simply just removed my pre-bent pump to CPU pipe, and bent up a new route to the CPU with the peltier cooler in the series.
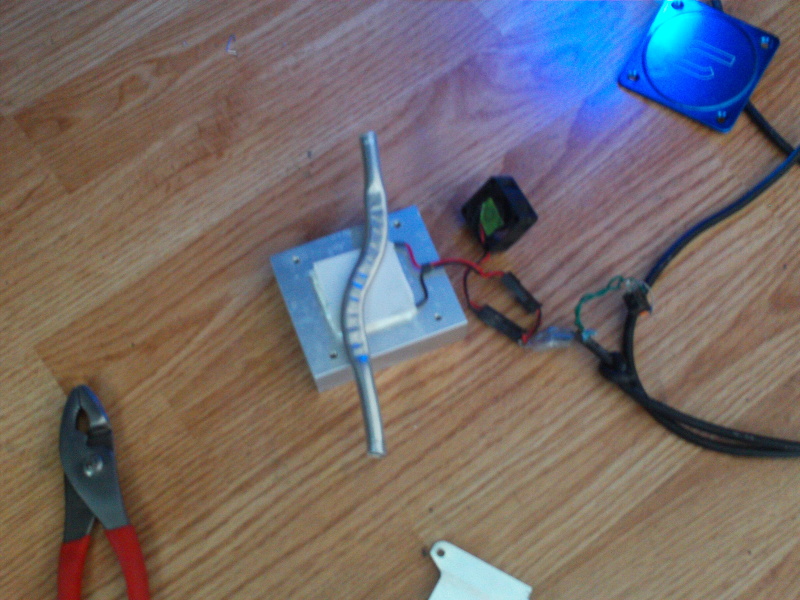
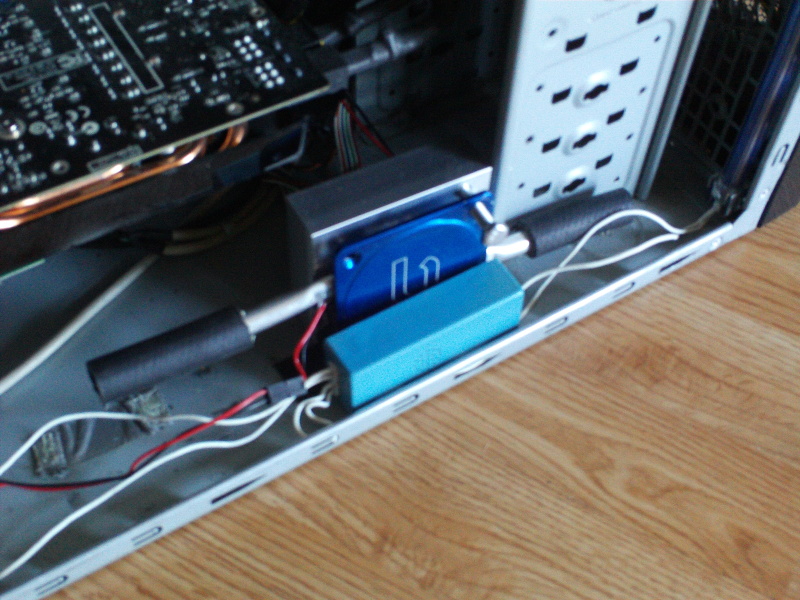
So far I have experimented on running 12v in the peltier, yes it rapidly cooled the coolant, but for about a minute until it got warm, due to the crappy 80mm scrap fan cooling the hotside. 5v does the job but not as quick, yet it will keep cooling to the lowest possible that my cheap block can do, 24c.
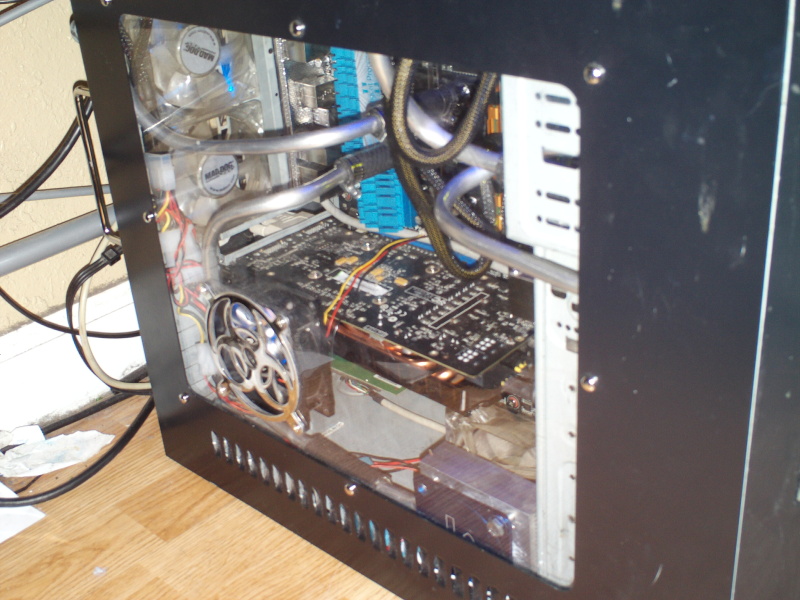
some polishing done.
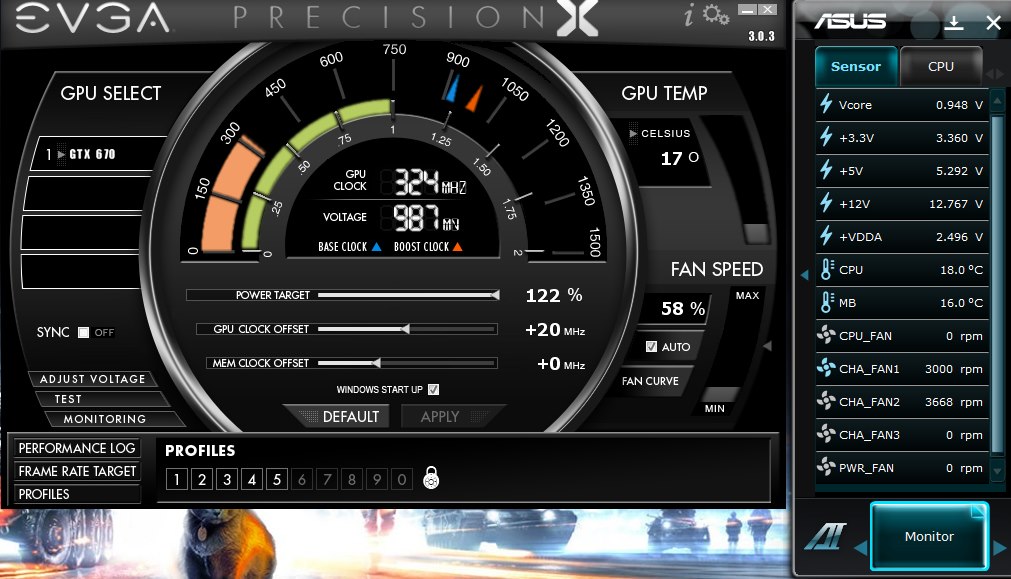
Idle temp in summer 75f room temp:

Here is my left-alone-for-about-4-hour idle temp in a 70F ambient temp living space:
quick test
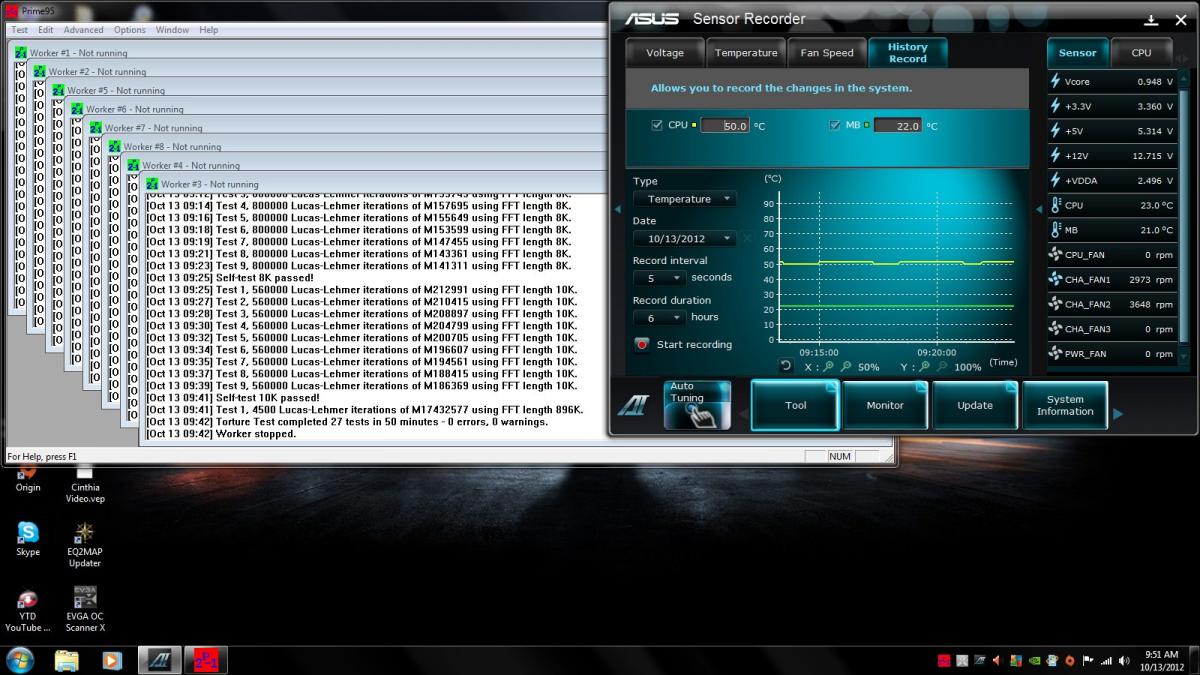
It never (knock on wood) gets higher than 60c @ 4.5ghz over clock, but I dont like staying at that so im happy with my 4.1ghz @ 50c average full load.
So far the JB weld is holding really, really well, the only leak so far was at the threads of the XSPC reservoir, which only needed to be tightened.
However, in a 82 F degree environment, like when my A/C broke for a while, its max temp was at 60c @ 4.1ghz after a couple hours of stressful benchtesting, and I owe all the thanks to my inline peltier assistance thingy.
I am thinking about making a peltier assisted reservoir, already have the CAD drawn out for it and a machinist willing to help me.
Its here.
Moar experimenting timez!
One issue that might make me OCD, is heat soak. I hate it on my turbo'ed cars, and I sure as hell hate it on my computers. Yeah, im loving the low idle temp and the very low full CPU load temps, but I really hate it when my pc is running for hours, and I keep our house temp at 75f in the summer to save power, that my processor will heat soak and stay @ 33-34c depending on how high the max. load temp was prior, how warm it's it is outside of the case(My wife's SLIed 550 Ti's pushes a lot of heat under our desks when she is gaming), and how long my computer has been running. I have soo many ideas to try out but very little resource and I am trying to keep this as cheap as possible. So far my totals for this project is 130 dollars including the coolant. I dont count my component upgrades in this because I was going to buy the motherboard and CPU to update my rig anyways.
All of this was just ideas, until something bad happened that I can benefit from...
I have had this drink cooler for years now (yes, I put a micro switch on the bottom so I can leave it plugged into my USB, and just simply put it on its side to turn it off), and the fan inside finally died, so now I have a 5v peltier cooler to play with!! My idea is to combat heatsoak. I refuse to even think of putting it directly on any chip, due to the amount of condensation that I learned first had brings, I just cant risk it with my budget, so I was thinking of chilling the coolant just enough to fight heat soak. However, I do not want to cut up my pretty XSPC reservoir, so for now its going to be a pre-cooler to my CPU.
So this is what my first experiment is done: I took about 4-5 inches of aluminum pipe, bent it in an "S" shape, (I tried to make a dual pipe, but I dont have anything to couple the two pipes into one feed and lead), flattened it in a specific pattern with pliers just enough to have good flow but fit flush on the cooler, and used the original cooling surface to sandwich it all together. Then I simply just removed my pre-bent pump to CPU pipe, and bent up a new route to the CPU with the peltier cooler in the series.
So far I have experimented on running 12v in the peltier, yes it rapidly cooled the coolant, but for about a minute until it got warm, due to the crappy 80mm scrap fan cooling the hotside. 5v does the job but not as quick, yet it will keep cooling to the lowest possible that my cheap block can do, 24c.
some polishing done.
Idle temp in summer 75f room temp:
Here is my left-alone-for-about-4-hour idle temp in a 70F ambient temp living space:
quick test
It never (knock on wood) gets higher than 60c @ 4.5ghz over clock, but I dont like staying at that so im happy with my 4.1ghz @ 50c average full load.
So far the JB weld is holding really, really well, the only leak so far was at the threads of the XSPC reservoir, which only needed to be tightened.
However, in a 82 F degree environment, like when my A/C broke for a while, its max temp was at 60c @ 4.1ghz after a couple hours of stressful benchtesting, and I owe all the thanks to my inline peltier assistance thingy.
I am thinking about making a peltier assisted reservoir, already have the CAD drawn out for it and a machinist willing to help me.
Reply
0
0
11-09-2012, 03:59 PM
#6
Elite Member
Thread Starter
iTrader: (4)
Join Date: Dec 2009
Location: Reno, NV
Posts: 3,686
Total Cats: 95
Yes, yes it does run crysis, too bad my screen capture program suxors. I am a Crysis 3 Closed Alpha tester.
Here is my PC @ max settings in 1600x900 resolution
No sound, wifey sleeping and my 5.1 sound system tends to wake her.
Here is my PC @ max settings in 1600x900 resolution
No sound, wifey sleeping and my 5.1 sound system tends to wake her.
Reply
0
0
11-09-2012, 04:10 PM
#8

Thats an interesting way to check for leaks. I like the static pressure method better. Just get a long hose and connect it, hold it vertical and fill it with water. You can make an intense amount of pressure that way, its how they test do the burst testing for ship fuel tanks, among other things. Theres a simple math equation that you just take the density of the fluid (water in this case) and the height of the vertical water column and it'll give you the pressure.
Reply
0
0
11-09-2012, 04:13 PM
#9
Elite Member
iTrader: (37)

Join Date: Apr 2010
Location: Very NorCal
Posts: 10,441
Total Cats: 1,899
My first water cooled rig used a 12v eBay peltier directly on the CPU die of an Intel P3 Katmai or Coppermine Slot 1 chip, an ABit BX6R2 motherboard, a fish tank recirculation pump and the heater core out of my 1965 Mustang.
I really wish I still had pics, epic mess was epic. And yes, **** condensation
I really wish I still had pics, epic mess was epic. And yes, **** condensation
Reply
0
0
11-09-2012, 04:39 PM
#10
Elite Member
Thread Starter
iTrader: (4)
Join Date: Dec 2009
Location: Reno, NV
Posts: 3,686
Total Cats: 95
this is my 3dmark score for one GTX 670 and a 4.1ghz CPU
NVIDIA GeForce GTX 670 video card benchmark result - AMD FX-8120,ASUSTeK COMPUTER INC. M5A99X EVO score: P8439 3DMarks
NVIDIA GeForce GTX 670 video card benchmark result - AMD FX-8120,ASUSTeK COMPUTER INC. M5A99X EVO score: P8439 3DMarks
Reply
0
0
11-09-2012, 08:15 PM
#11

Badass build sir. I plan on watercooling for my next build and this has certainly intrigued me. I especially appreciate the $130 price of it as I am a cheapskate.
Any future plans for watercooling the GPU? Waterblocks for those tend to be pricey, though I suspect you could just put a small block on the GPU itself and some stick-on heatsinks for the memory and maybe a big ***, slow fan to keep them cool.
Any future plans for watercooling the GPU? Waterblocks for those tend to be pricey, though I suspect you could just put a small block on the GPU itself and some stick-on heatsinks for the memory and maybe a big ***, slow fan to keep them cool.
Reply
0
0
11-09-2012, 08:41 PM
#12
Elite Member
Thread Starter
iTrader: (4)
Join Date: Dec 2009
Location: Reno, NV
Posts: 3,686
Total Cats: 95
I do plan on watercooling the GPUs the cheapest way I know how: Fabrication trial and error. I have a few inch thick aluminum plates that will make good candidates.
If not, there is a watercooling company that does make a universal gpu block kit.
If not, there is a watercooling company that does make a universal gpu block kit.
Reply
0
0
11-09-2012, 11:20 PM
#14
Elite Member
Thread Starter
iTrader: (4)
Join Date: Dec 2009
Location: Reno, NV
Posts: 3,686
Total Cats: 95
- I used the old AMD heatsink.
-copper is more expensive over all: the tubing, fluid cooler, and copper block.
-If i mix anything with the aluminum and copper, it will cause massive electrolysis in a computer loop.
-copper is more expensive over all: the tubing, fluid cooler, and copper block.
-If i mix anything with the aluminum and copper, it will cause massive electrolysis in a computer loop.
Reply
0
0

Thread
Thread Starter
Forum
Replies
Last Post
gotxqss
DIY Turbo Discussion
3
06-13-2007 07:51 AM


