Painting Valve Cover Advice Technique
 03-26-2008, 06:36 PM
#1
Elite Member

Thread Starter
iTrader: (7)
Join Date: Apr 2006
Location: VaBch, VA
Posts: 6,451
Total Cats: 322
Along with my COP converion, the valve cover is getting painted... and I'm pretty set on what I want, just looking for the BEST method.
This thread was great and was the inspiration for this idea:
https://www.miataturbo.net/forum/showthread.php?t=11601
I love the black crinkle finish, so that's what I want. I spent about an hour with a wire brush and some SimpleGreen hitting the whole thing real good... then some 400grit wet. I've stopped well short of "polishing" it, so it's still got some texture to it, which I think will help whatever I spray on bond a little better.
So, what's the BEST way to spray this thing. I don't mind doing it RIGHT, so please don't just say "don't bother prepping, just hit it" cause I want it to last forever.
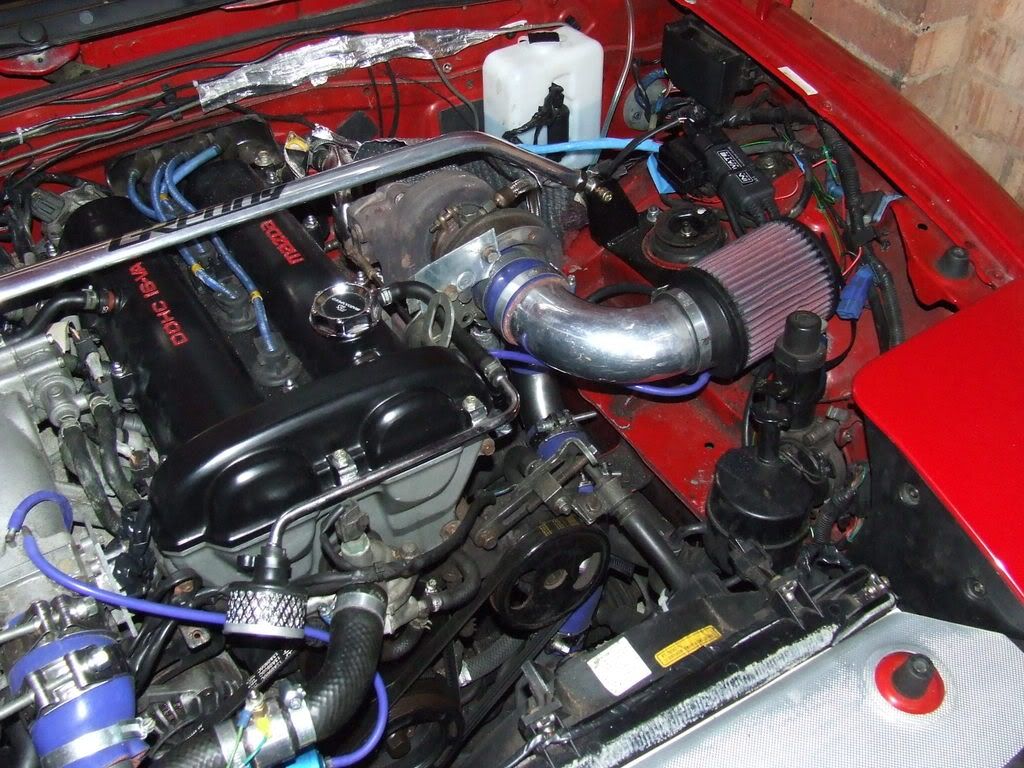
I was thinking of a ceramic primer of some sort for heat... maybe 2 light coats of that, and then a layer of the crinkle... then maybe a top coat of some sort, like a flat-black hi-temp... whatcha think is the BEST way to get my valve cover to look like this and last forever:

My valve cover currently drying:
This thread was great and was the inspiration for this idea:
https://www.miataturbo.net/forum/showthread.php?t=11601
I love the black crinkle finish, so that's what I want. I spent about an hour with a wire brush and some SimpleGreen hitting the whole thing real good... then some 400grit wet. I've stopped well short of "polishing" it, so it's still got some texture to it, which I think will help whatever I spray on bond a little better.
So, what's the BEST way to spray this thing. I don't mind doing it RIGHT, so please don't just say "don't bother prepping, just hit it" cause I want it to last forever.
I was thinking of a ceramic primer of some sort for heat... maybe 2 light coats of that, and then a layer of the crinkle... then maybe a top coat of some sort, like a flat-black hi-temp... whatcha think is the BEST way to get my valve cover to look like this and last forever:
My valve cover currently drying:

Reply
 0
0

0
 03-26-2008, 06:50 PM
#3
Elite Member
Thread Starter
iTrader: (7)
Join Date: Apr 2006
Location: VaBch, VA
Posts: 6,451
Total Cats: 322
That photo sucks... and that post is exactly what I didn't want to hear.
Please, just post if you know how to get me a perfect crinkle.
EDIT: That photo is better and it looks good, but still not what I want. On a side note, how did you do the lettering?
Please, just post if you know how to get me a perfect crinkle.
EDIT: That photo is better and it looks good, but still not what I want. On a side note, how did you do the lettering?
Last edited by samnavy; 03-26-2008 at 07:01 PM.
Reply
0
0
 03-26-2008, 07:14 PM
#5
Junior Member

Join Date: Oct 2004
Location: Leicestershire, UK
Posts: 57
Total Cats: 0
From seeing ones done in the same way as I did mine the crinkle paint will sit perfectly on a base coat of normal high temp paint and you can give it a coat of high temp lacquer over the top to give it some protection.
Reply
0
0


 03-26-2008, 07:29 PM
#8
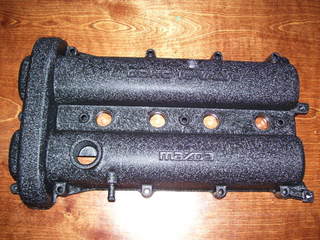
I bead blasted this one, but it's not necessary. Cleaned it with mineral spirits. Then i gave it two coats of Rustoleum Professional Series Primer. Let that dry an hour I think, then 3 light coats, one every 15 minutes of black wrinkle finish. Two coats would fit my taste better, but this one turned out fine. Sold it to someone on mt.net a while back.
Reply
0
0
03-26-2008, 07:33 PM
#9

i wrinkle painted mine too, came out great and holds up to anything..that stuff is beastly! absolutely a pain and near impossible to get off even with aircraft stripper.
i had to use a chisel and tons of stripper to finally get most of it off, then lots of sand paper.
i had to use a chisel and tons of stripper to finally get most of it off, then lots of sand paper.
Reply
0
0

 03-26-2008, 08:43 PM
#11
Senior Member
iTrader: (10)

Join Date: Feb 2007
Location: South Eastern Wisconsin
Posts: 1,274
Total Cats: 0
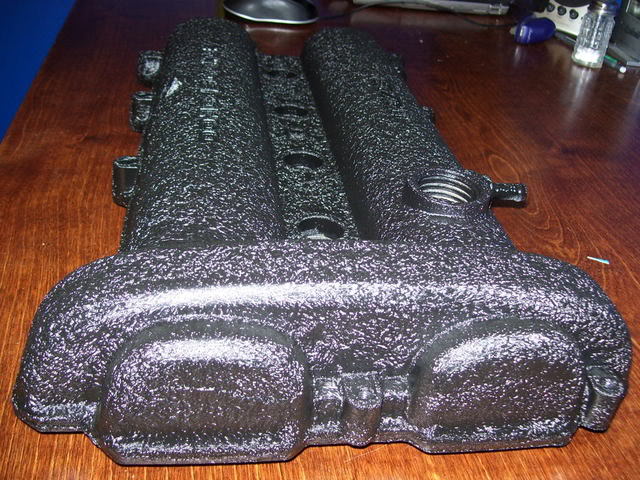
Look for VHT Wrinkle paint. I got mine off Ebay since I couldn't find it locally, came up to about $10 per can. It actually calls for no primer, so you don't have to worry about finding a ceramic primer. You have control over the final finish too, if you heat it after paint the wrinkles will be nice, tight and deep, or if you prefer a duller wrinkle effect you can just let it dry on its own.
Sorry this is kinda a big picture but this is the VHT paint when heated with spot lights while drying. I degreased it, bead blasted it, then layed on the paint in three thick layers.
Sorry this is kinda a big picture but this is the VHT paint when heated with spot lights while drying. I degreased it, bead blasted it, then layed on the paint in three thick layers.
Reply
0
0
03-26-2008, 09:03 PM
#12
Elite Member
Thread Starter
iTrader: (7)
Join Date: Apr 2006
Location: VaBch, VA
Posts: 6,451
Total Cats: 322
Brian's looks the business... I like Ben's too, but that's a lot of work when others say just clean it and spray it. Who the hell has a bead blaster at home???
Pats, yours looks too wrinkly, like RhinoLiner... still trying to decide on the perfect look, so far Brian is winning.
Thanks for all the photos and thanks Ben for the thread link.
Pats, yours looks too wrinkly, like RhinoLiner... still trying to decide on the perfect look, so far Brian is winning.
Thanks for all the photos and thanks Ben for the thread link.
Reply
0
0
03-26-2008, 09:08 PM
#13
I'm Miserable!

Join Date: Mar 2008
Location: Aston, PA
Posts: 8
Total Cats: 0
You can also block off the letters with vaseline before painting and then wipe off with q-tips when the paint is still wet and then polish the letters with a demel to get the desired effect.
Reply
0
0

 03-26-2008, 09:50 PM
#16
Elite Member
Thread Starter
iTrader: (7)
Join Date: Apr 2006
Location: VaBch, VA
Posts: 6,451
Total Cats: 322
I've been looking for an excuse to buy a heatgun... trip to NorthernTool might be in order. I'm really getting excited about this thing. I've never really done anything to the car for "looks" before except keep it clean... but a valve-cover done right really looks ****.
Reply
0
0


