When you click on links to various merchants on this site and make a purchase, this can result in this site earning a commission. Affiliate programs and affiliations include, but are not limited to, the eBay Partner Network.
Yes, my intake is on te right of my car. The reason is that I have a 2001 engine and I take air flow from open turn signal
Hood is not raised and Midteen is right BMW 3.0CSL is inspiration
Sorry for my poor English
Marc
Hi, I've been lurking and was wondering if anyone had done anything regarding interior aero drag with a hardtop installed. All race organizations I'm aware of require running with the windows down, and it feels like a tornado inside the cabin above 60mph with the hardtop and windows down.
I've seen a couple guys with lexan rear windows add vents, and that might work, but that requires ripping out my perfectly fine glass rear window to test. My thinking is that smoothing out the airflow through the cabin will reduce drag, as the entire cabin turns into a high pressure area. Air is being forced in the windows and then has no where to exit; the air eventually stalls as the pressure neutralizes and then it backflows back out the side windows. This causes buffeting/turbulence in the cabin as air is constantly changing direction. I don't know that it will noticeably improve lap times, but it would increase comfort/reduce fatigue.
I've had a couple ideas about using a spoiler on the leading edge of the side windows to create a low pressure area just behind the front 1/4 windows. Another option is to use it for rear brake cooling (which isn't an issue), or dump it out the back through the diffuser (which may create an in-cabin CO problem at lower speeds or with the windows closed).
I wouldn't want my brakes ducted from the cabin in case the air reversed course at certain speeds. You would likely do better opening up the cowl area to flow into the cabin and out the windows.
Yes, my intake is on te right of my car. The reason is that I have a 2001 engine and I take air flow from open turn signal
Hood is not raised and Midteen is right BMW 3.0CSL is inspiration
Sorry for my poor English
Marc
Hey fellas, haven't posted in a while. Last time I posed I believe I hadn't even started anything on my aero. Since then, I've done a few things to the car as far as aero is concerned. Here are some of the projects I've done over the past few months. I still need to finish my DIY side skirts and finish up the flat under panel but it's hard to find time when I'm working 50+ hours a week as well as going to school. Sometime in the near future I plan on finishing up my underbody so i'll post updates when that happens. For the time being, here's what I have so far.
DISCLAIMER: Sorry for the huge pictures, i'm not tech savvy enough to figure out how to resize them. I apologize for this inconvenience. Also, my car is filthy in all these pictures (as usual) so please ignore that too. I barely have time for DIY mods which means I have absolutely zero free time to wash the car, I'm a lazy ***** like that. Get over it.
PS. Sorry for not following the template on what I used/how long it took/how functional each mod is, but feel free to ask questions, i'm more than happy to answer them all to the best of my knowledge. Happy new year to everyone!
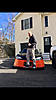
This is from the night I finished my canards. Yes, I know the splitter is minuscule but I'm running stock power for now and don't want TOO much drag. Basically just built this to get rid of the understeer I was seeing at previous track days after switching to my Xidas. This is from the day after I finished the canards, sitting in the parking lot at the shop. Again, the splitter is tiny but always remember...it's not the size of the ship, it's the motion of the ocean! The day I finally finished putting on the lotus diffuser. I got it off a buddy whos lotus had caught on fire at the track, so he sold it to me for dirt cheap and I sanded it down, repainted it, and figured out how to make it work. Good as new! Just another angle of the diffuser/whole car. Ignore my dad's mustang in the background. FYI, it's a full on track car and is actually surprisingly quick! He's had it since he was 18. The old fart is now 54! Another angle of the diffuser, taken at Sears Point (Sonoma Raceway) in between sessions. Splitter in the making. I made some ghetto brackets for extra structural rigidity and made a cutout for the oil drain plug because i'm too lazy to take it off every time I change the oil. It's still my daily driver so I change the oil fairly often. How it looks sitting underneath. Again, I still need to finish the flat underbody once I find time to get around to it. Once I finish this, i'll post more pics. Made these DIY turn signal intakes because all the other options are dog **** ugly and **** paying hundreds for the zest TSIs. Really happy with how these came out but like most of my other DIY stuff, I would never do it again with how much work it takes although I don't regret doing it if that makes sense. Where the tiny little air dam meets the splitter. I made it go up into the wheel well a bit to block off air from hitting the wheel which will hopefully reduce unwanted turbulence. Another shot of how the splitter mounts in the wheel well. Please ignore my filthy wheels, recently had a track day and didn't have time to clean off the brake dust!
I also recently did the hood vents but those are nothing special and aren't really 100% DIY so I didn't have any pictures of those besides the ones showing off the canards. I know most of these mods could be fine tuned, but i'm super busy with school and work so I don't have time to fully racecar this thing out just yet. Plus it's still my daily driver! Hope you guys enjoy and again, happy new year to you all.
I finally made the splitter, however due to poor resin flow planning by me, I managed to destroy a vacuum pump and as a result the part was not perfect. I will be remaking this, and the first one will end up on my dads car I would say.
However, pictures attached of both one of the new side skirts, and the splitter. Track testing will happen sometime in March at the latest I hope.
John just added these brake ducts to the undertray on Bullet, our Supermiata S2 car. We route the 2.5" hose behind the shock and aim it at the caliper. High pressure air mass in front of the rad is a good source.
Just wanted to get some opinions on a mounting idea for a splitter. I like the idea of having it able to breakaway in case of an off track adventure, so my idea is to use the tube frame of the V8roadsters subframe as a pivot point. I could take shaft collars that are slightly oversized for the tubes, make delrin bushings that give just a bit of clearance so they are not clamped, and mill a flat with a drilled and tapped hole on the shaft collars. So the whole splitter could rotate up and down. Then use 4 mounting provisions on the front, 2 of them are small diameter rods (could be a tie rod with rod ends, or fixed), but make them weak enough that they would buckle before any damage occurs to any other part of the chassis. Then the other 2 mounting provisions be cables that can withstand a decent amount of tension force. The bolts that hold the rear of the splitter to the shaft collars could be rather small, like #10 bolts. There shouldn't be a whole lot of load at this point, since most of the pressure differential is in front of the air dam, which means that the majority of the force will load into the rods/cables at the front. I can't imagine the pressure differential over the portion behind the engine bay is great enough to snap 2 #10 screws. However, a front end collision would easily shear these bolts. Below is a picture of the idea.
My second point is related to balancing aero. I will likely have 3-4" of splitter exposed in front of the air dam (the picture below is modeled for 2"). I will have a Lotus Elise diffuser mounted around 7 degrees off horizontal, with a small gap between the top of the diffuser and the bumper. I will start with a flat portion between the splitter and the front of the diff (essentially covering the whole U-brace that connects suspension points). Eventually I may go towards a flat floor. I have read that the lowest pressure underneath a diffuser is right at the point that it deviates from horizontal, which I estimate will be a few inches rear of the rear axle centerline. Will a Blackbird lexan spoiler be a good try at balancing the center of pressure? Do you think I'd need even more rear downforce, such as an APR wing? It will be LS swapped, with a decent amount of front weight saved over the typical swaps, but want the center of pressure to be slightly rearward of the CG due to scariness of 400 whp on track. I know Passey has been through a similar sized air dam and splitter, and has had an Elise diffuser with and without a BFW (style) spoiler, but I'm not sure what combinations were testing and how they ended up.
Henry from KazeSpec Engineering has said that w/ a 3" splitter, airdam, BFW spoiler, and diffuser it feels balanced. Though the spoiler needed to be cranked up more than a normal SPM user would run it.
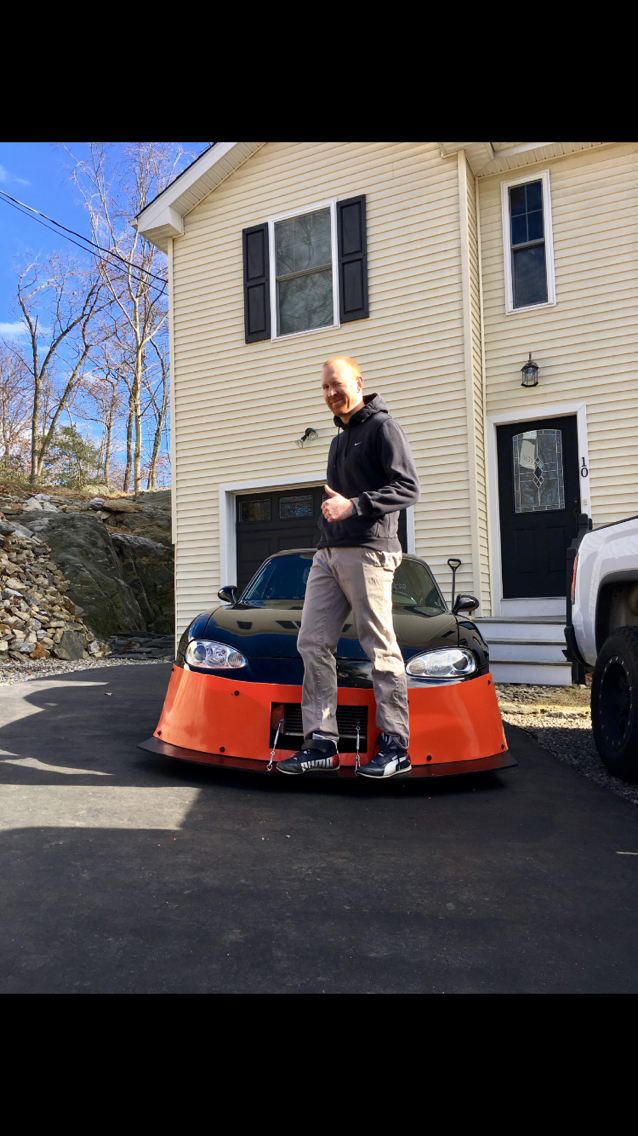
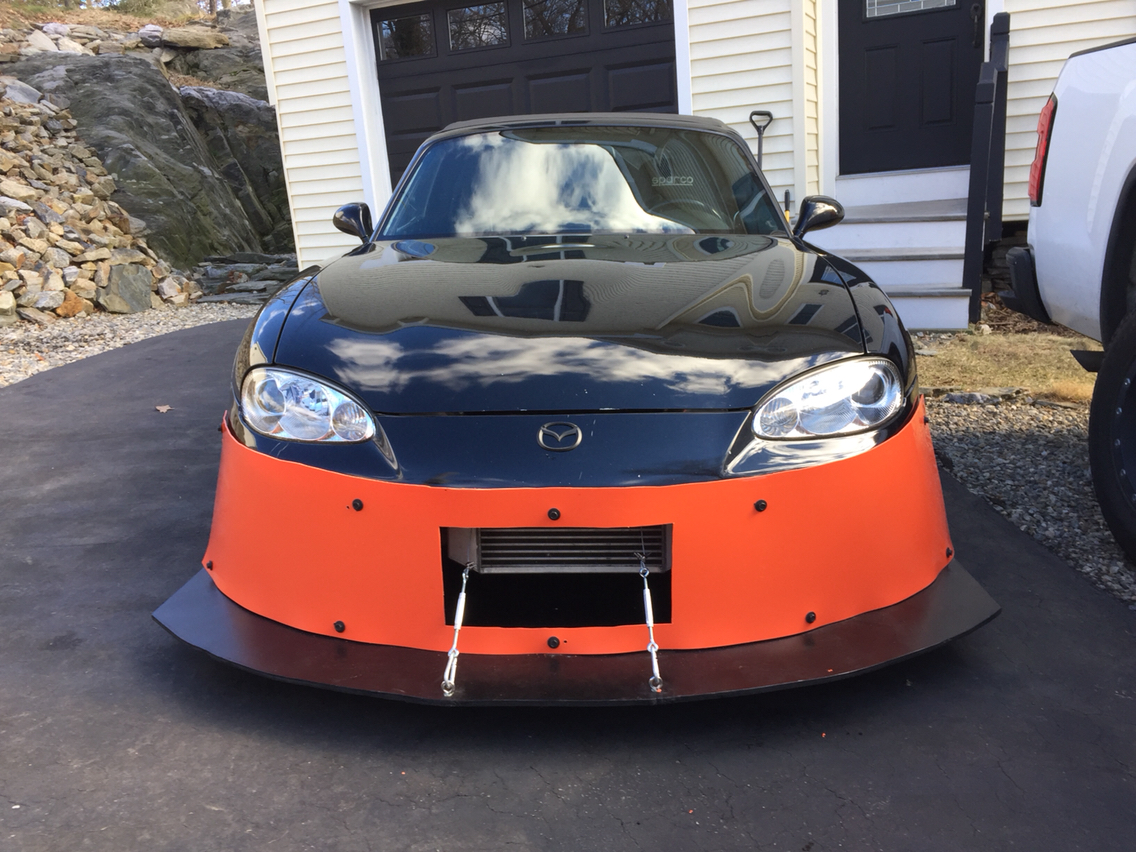
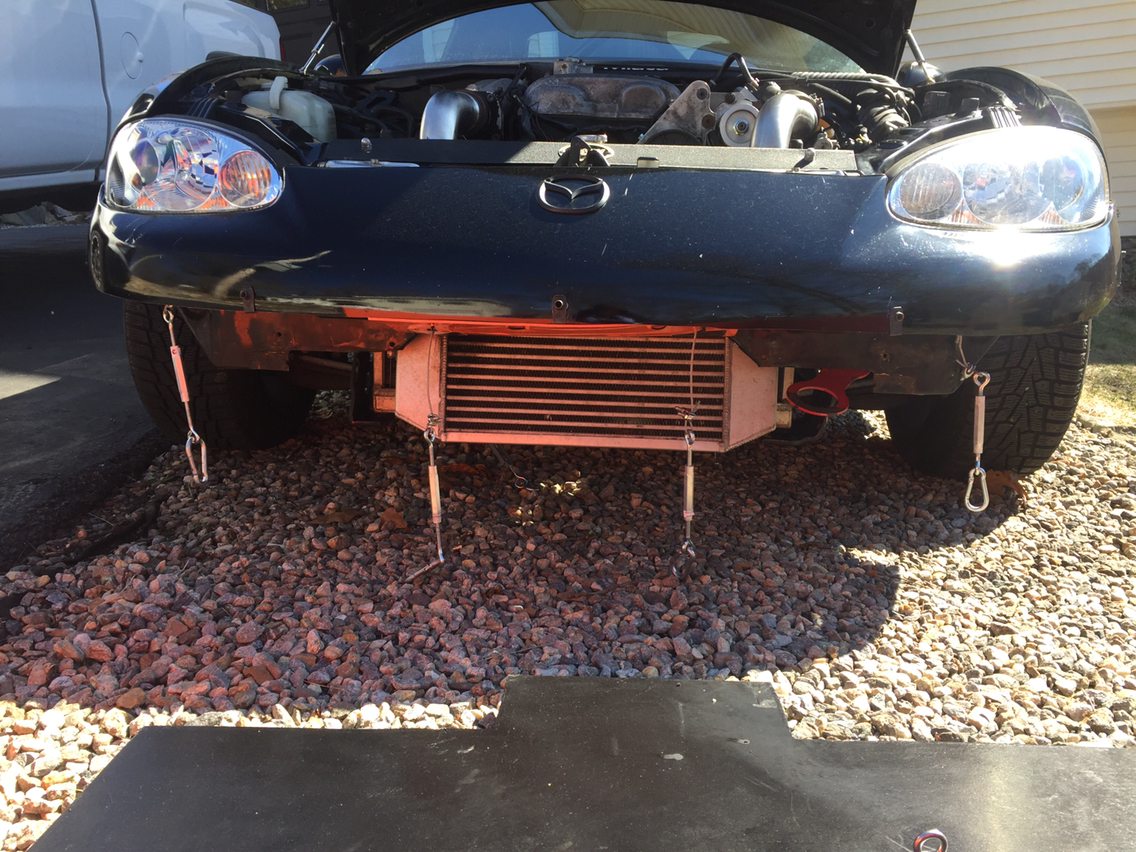
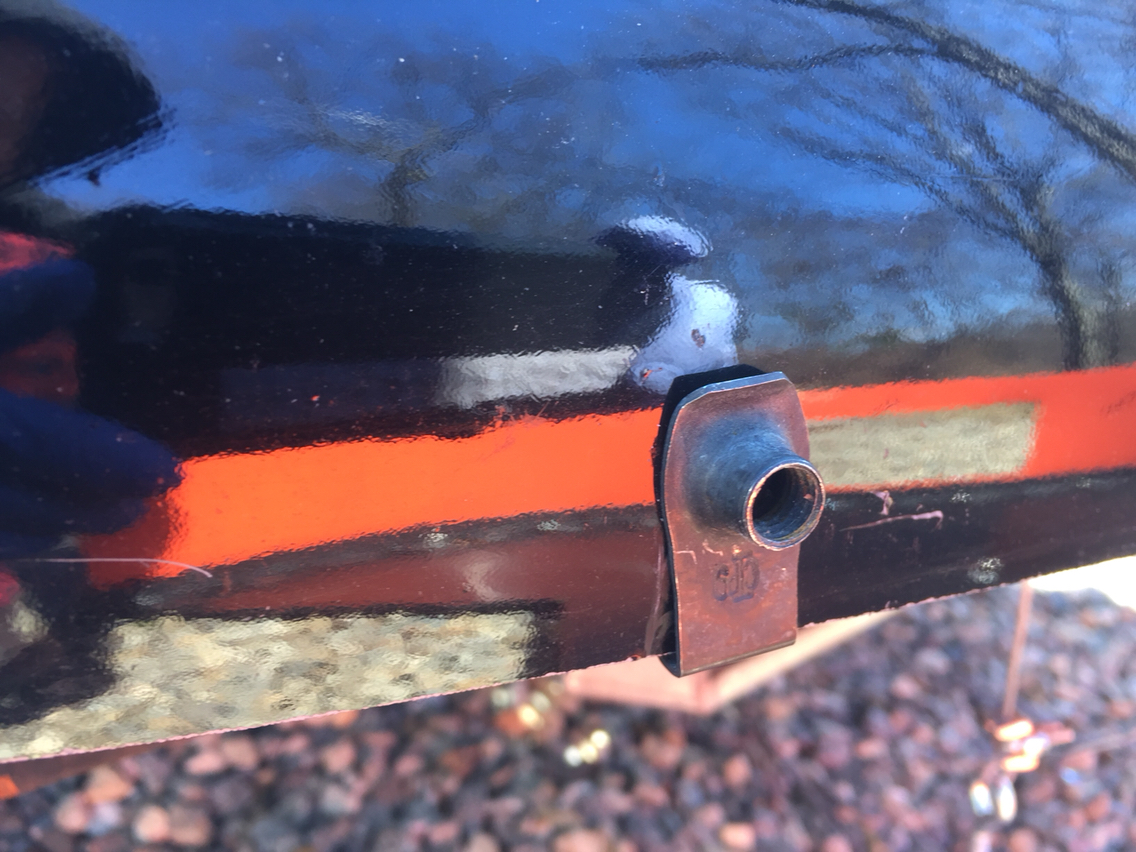
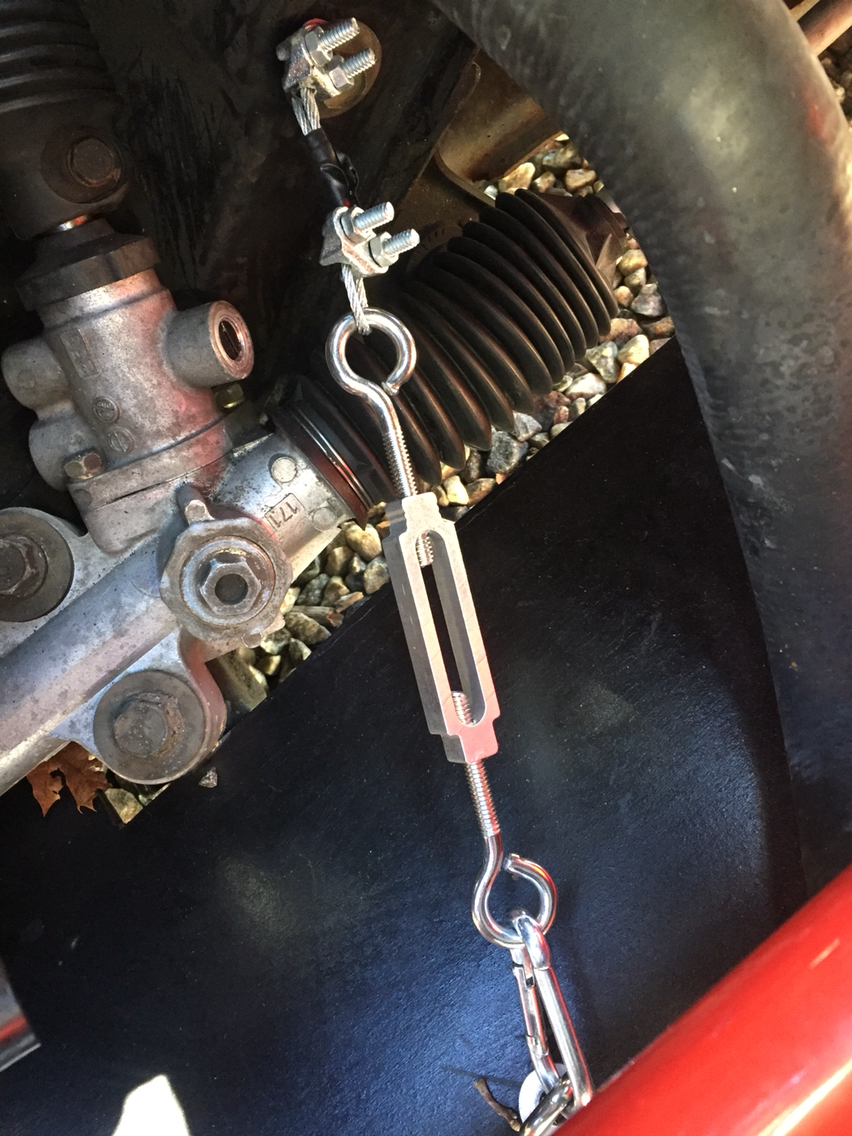
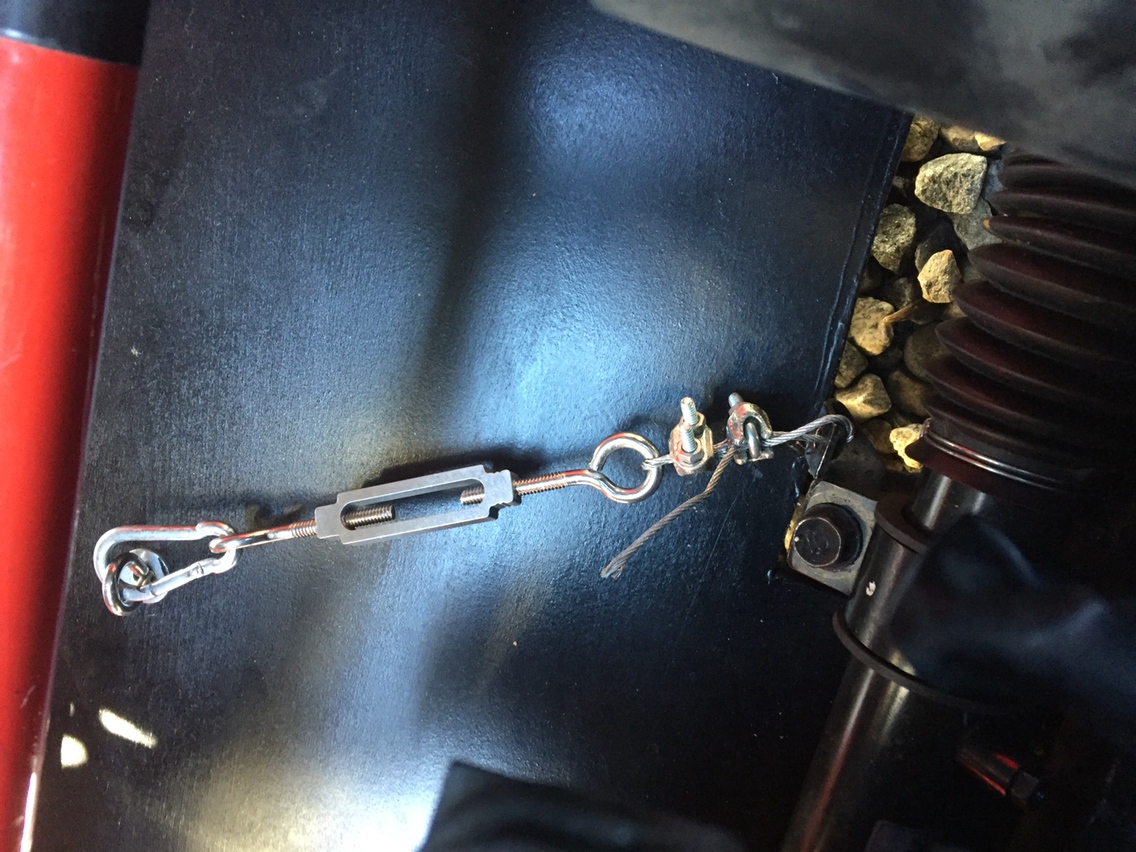
I wanted to add my contribution. I will start that the overall idea plays homage to a bit of everything in this thread. I thank everyone who documented their trials as my success is solely based off of that. I read this thread front to back at least three times. The only novel thing I may have done is use the captive inserts on the bumper/garden edging to hold the air dam and diagonal cables on the frame to hold it tight with zero side to side play while using overhead cables so that it could bottom out and give a little. The captive inserts and cables made it so it was completely removable in 9 minutes.
I also need to note, this design is also completely untested as I only put 12 street miles on it before I decided to part the car out.
I used the typical 1/2 inch birch ply and .1 HDPE. I used cables and hardware rated for 200 lbs. figuring I wouldn't make more downforce than that. It sticks out six inches past the air dam exactly. I planned on using a Singular APR GT250 wing/mounts/endplates.
I would recommend against securing the air dam to the splitter. angle iron behind the air dam is fine to prevent it from buckling, but in the event of an off you will tear that airdam off the bumper if the splitter breaks.
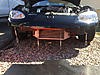
Been stalking this thread for a while, and I finally have something to post. I'm still adjusting and moving and bolting, unbolting, drilling and cutting... but it's coming along.
(idk what I'm doing, it's just an excuse to drink beer)
Been stalking this thread for a while, and I finally have something to post. I'm still adjusting and moving and bolting, unbolting, drilling and cutting... but it's coming along.
(idk what I'm doing, it's just an excuse to drink beer)
Could you share more information on your aerofoil setup? Looks like a decent budget setup.
Could you share more information on your aerofoil setup? Looks like a decent budget setup.
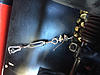
The wing itself is an older Kognition wing that I've had sitting around for a few years (serial number 002) with garage star wing mounts. The mounts are decently solid, but had to be ground down a lot in the top rear to get the wing to sit at a reasonably low AOA.
The splitter is half inch birch, ebay Honda splitter mounts, and the usual Home Depot racing paver edging and garden edging. Very easy on the budget.
I have finally been out to test the new setup. In short it worked.
Dollars spent: ~ $1,000
Hours spent: ~ 40
How effective: 3= big improvement
Materials used:
Carbon fibre with 3mm corecell
Size/thickness of materials:
Top and bottom layer 2x2 Twill, two 411 dual bias carbon, 3mm core cell between
Bracket location: to rails
Tracks tested on: Lakeside
Race/TT class built for: 2B CAMS Australia
I had a chance already to test the new Singular wing with the old splitter, and that showed a gain of 0.5 seconds straight up.
This weekend was the first race meeting for the year at Lakeside Park. My previous best time was 59.4, my best time for the weekend was a 57.89. For those of you not familiar with Lakeside to try and give some indication on how much of a gain that is, it has taken me 2 years to get into 59's from the 60 seconds. (there is a new engine in there, but I still think the gain is significant.)
Really the only difference between the two designs that I have changed is the location and direction of the diffuser section of the splitter, and the shape at the front, trying to follow the contour of the car and aiming for 80mm protrusion.
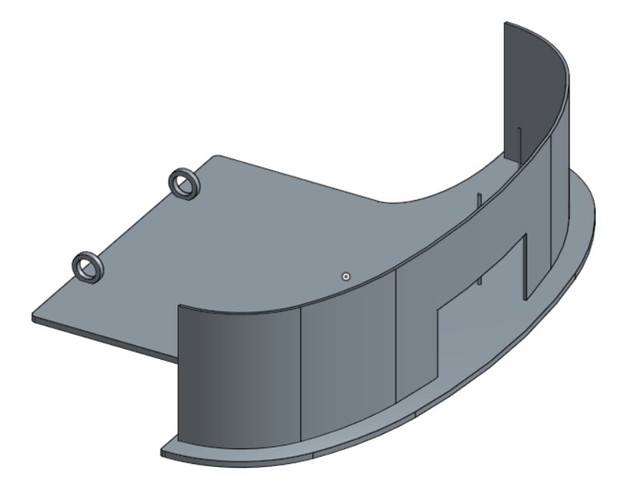
I've also included some picture of the radiator ducting, yes not the cooling thread, but I didn't have any cooling issues, so I was more hoping to steal a little extra down force in there. (I have no data that it worked, but I like to think it did.) And thank you to Emilio for the idea of brake ducts just going straight off the side of the ducting.
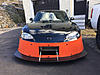
There was also the fender cuts, this was the second time they had been tested, but I'm sure they were all part of it going faster.
Below are photo's I had previously posted of the development of the spiltter, and then the last 3 photo's are of the old splitter for a comparison.


 0
0