When you click on links to various merchants on this site and make a purchase, this can result in this site earning a commission. Affiliate programs and affiliations include, but are not limited to, the eBay Partner Network.
Sealing the heat exchanger box for cheap - tons of pics.
Some time ago I noticed an issue with my Miata � a massive gap under the radiator that would let all that good fresh air shoot right by. I looked at a bunch of Miatas on my last track day, and all of them had the same �feature�. I did some research and found lots of turbo guys making completely custom shrouds and the like. Too much work. Let�s see how trashfab we can get without reinventing the wheel!
This is the view that inspired it all.
Step one is deal with the problems you can see. Find a dumpster with a nice big block of foam in it, cut it down to size, and jam it between that nice new condenser and the undertray.
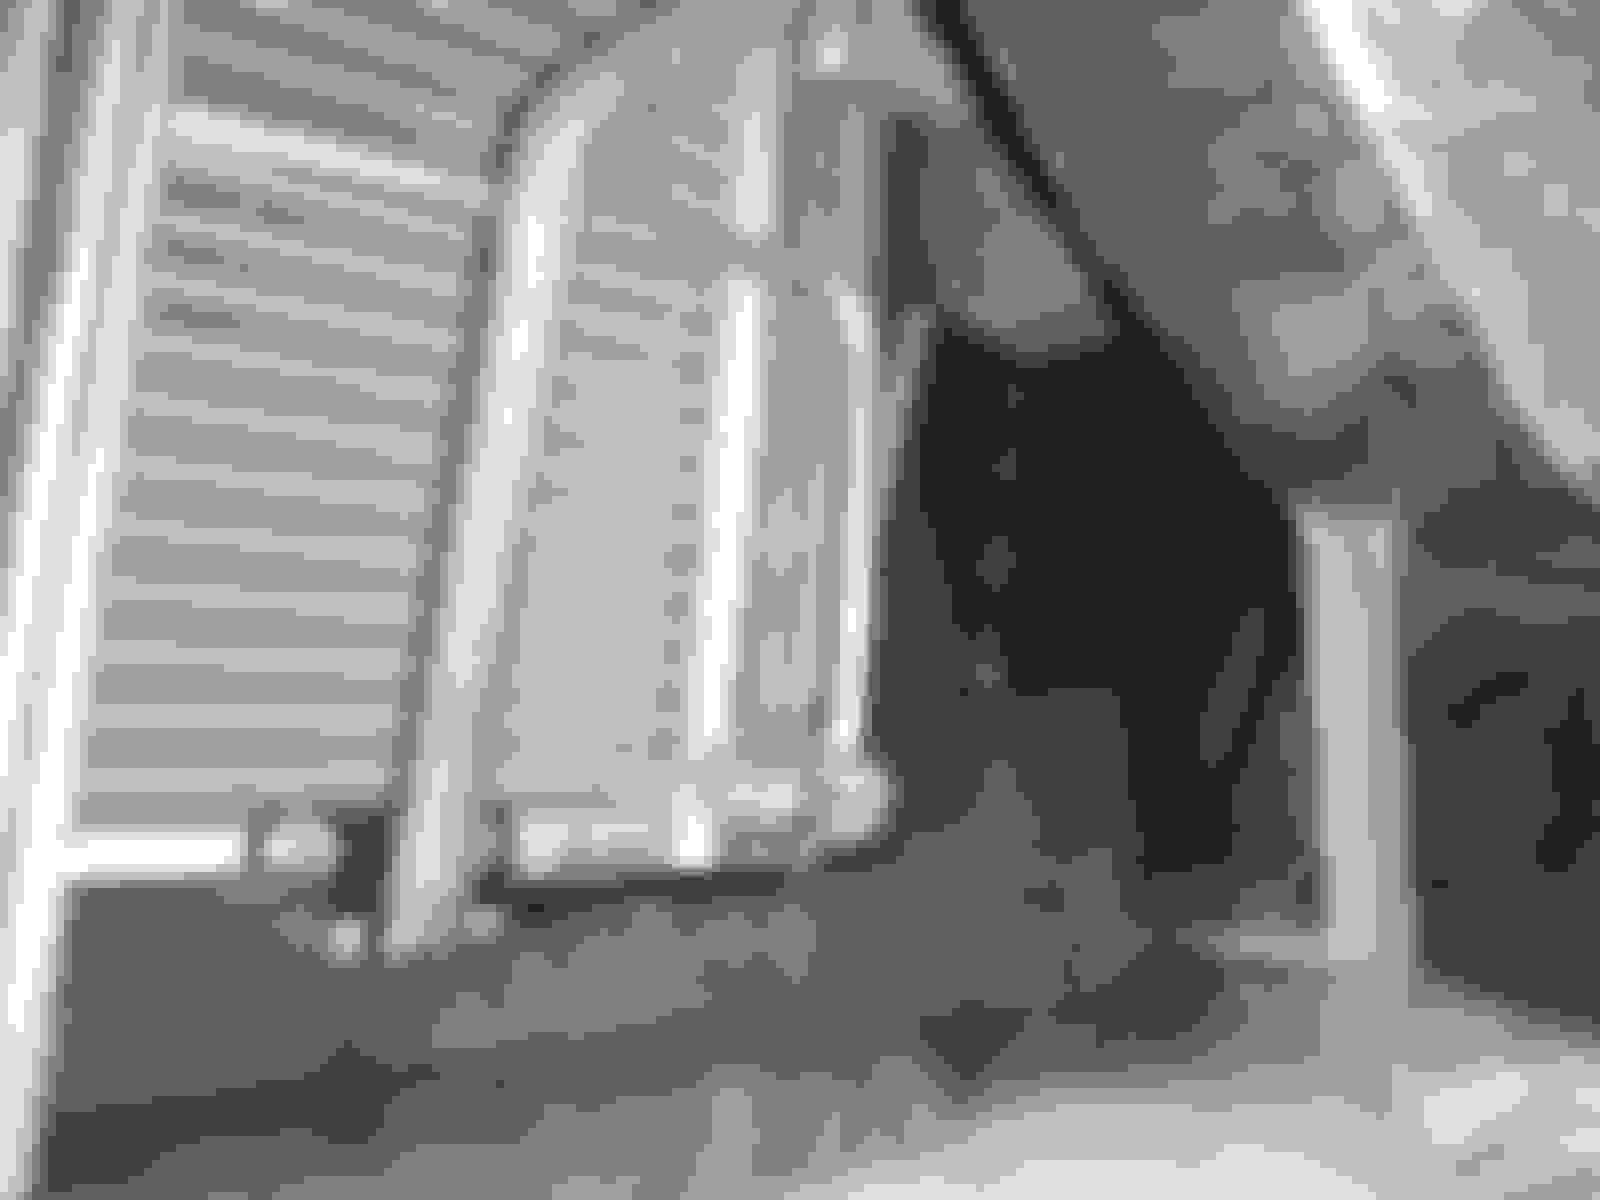
The sides of the radiator got the same treatment, and it worked well for the top half. But on the bottom, the sides of the radiator still have sizeable gaps below the frame rails. The factory undertray leaves a triangle sized gap between itself, the radiator, and the frame rail. This view is from underneath, looking forwards. The orange is sad empty space that air will use to bypass your radiator in the stock configuration.
Time for some CAD, Cardboard Aided Design. Make a template, transfer the design to plastic, and heat and bend it better than I did. Note the velcro and foam to help it seal and stay in place. The small hole in the top is for the stud that the stock undertray and shroud bolt to, we're sandwiching them all together. Install and marvel at how much less air/light leakage there is.
Repeat for the driver side, except Mazda made it funkier for some reason � I�ve highlighted it with an orange line. You can see the foam I�ve already jammed in here to give the next plastic part a backing stop.
Repeat the template, transfer, and heat forming of plastic. Add foam and Velcro (not pictured) to taste.
Much better.
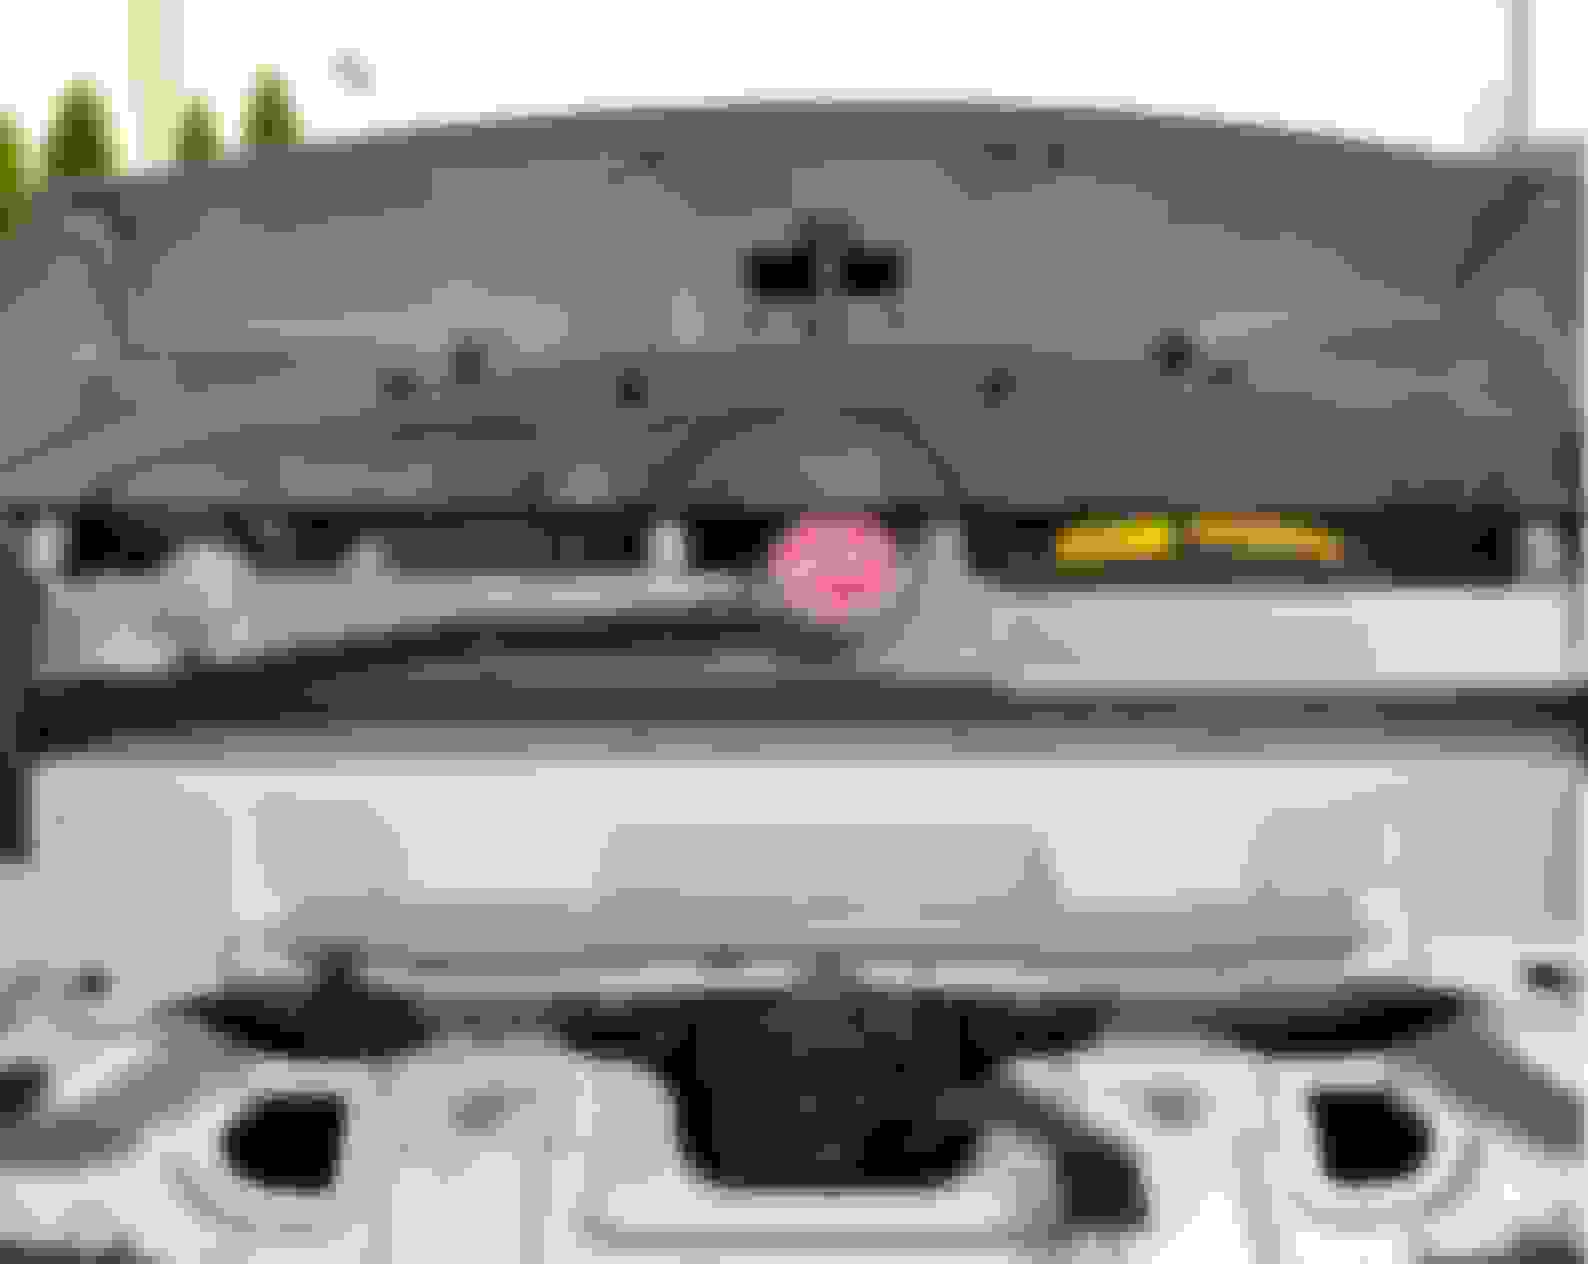
Enough working on our backs - lets go topside, where tons of companies offer blingy solutions to help.We can probably do it just as well for a lot cheaper, admittedly with less visual appeal. Lots going on here! The blue arrows are the witness marks of the hood bumpers - they're about a half inch tall. The red arrow is a dab of grease on some window sealing foam from Lowes Racing Supply. Closing the hood confirmed it made contact, an easy and cheap way to gauge clearance. The yellow arrow is that same foam sealing up the gap between the rad and its support. Mazda put this on the factory radiators, I�m not aware of a single aftermarket rad that does the same.
Stick that foam on the hood and body support structure. I wish I had put it all on the hood for a cleaner appearance, but it�s $4 for a 10� roll, and I'm sure it won't last forever. Next time.
For about $4 in materials not including the stuff I dragged out of the dumpster, and a pleasant Sunday afternoon, I feel like I�ve made a pretty good improvement in my cars aero and cooling capacity, but I won�t have any data to back this up. It�s also pretty straightforward from a service perspective � the side sealing plastic bits stay in place with the more forward factory shroud, and the foam stays in place when the undertray is removed. No random bits of tape that need to be redone if anything is removed. No impact to the hood closing or unlatching. I'll be the first to admit it could all be sealed up tighter, but this is a solid start in my opinion.
Thoughts and feedback welcome, otherwise I wouldn�t post.
Last edited by OptionXIII; Jul 12, 2020 at 09:05 PM.
BTDT. You did good though, even if you missed one of the biggest 'holes'. Check out the path forward of the radiator, where air moves from the intake mouth, into the front bumper skin, and out into the wheel wells. Air will always follow the path of least resistance, you need to make that the radiator. Seal that one and you can probably call it job done!
Now that I have said that, someone is going to point out another 'hole' ...
Thanks for pointing that out! I'll try to take the bumper off and seal that up next. Not like I'm done in there anyways - my oil cooler is behind the bumper beam completely out of the free stream airflow and needs some ducting to get fresh air across it. It's already designed, just got to get some larger plastic sheeting than what I had on hand.
A late thought. Check that the foam you are using actually stops the air moving through it. You need 'closed cell' foam, the open cell foam still allows air through and since a sealing job will never be 100%, ANY air seepage is to be avoided if feasible. I haven't done back-to-backs on closed vs open, but the open I first looked at was quite porous. Furniture upholster dumpsters would be a good starting place, someone on here used that to source the good stuff.
I also used adhesive backed rubber strip, and formed (slotted) rubber weatherproofing to seal sheeting edges, in various locations. We have a rubber/foam supply chain store that has all sorts of useful bits and bobs, I'm sure you would have something similar over there. The dumpster is cheaper, but sometimes spending a dollar is worth it.
You pretty much described where I got my foam haha, it's clearly some kind of packaging I got out of a dumpster. There's no way air is getting through the foam.
There are still some sizeable gaps around the tie down hooks/baby teeth. I'll probably stick some aluminum tape on that as well since it's not a regular service item.
In some of these larger areas, grab a trash bag, preferably new. Get a can of Great Stuff foam, holding the bag in the area you want to close, spray the foam inside the bag. Hold it there as the foam expands, add more if you need to. Tie off the bag and cut off he excess. The foam forms to the size of the hole and holds itself tight. If it has to be removed it does not stick to the metal/plastic. I did this on the hole on either side of my intercooler.
That's a fantastic idea, I can't believe it didn't occur to me as I've received a lot turbos at work that have been packed with similar form to fit expanding foam bags.


 3
3


