When you click on links to various merchants on this site and make a purchase, this can result in this site earning a commission. Affiliate programs and affiliations include, but are not limited to, the eBay Partner Network.
This section is getting specialized enough I though a thread devoted just to splitters and add-ons to splitters might make searching easier.
Share ideas, discuss. I'll start.
Decided to add some additional elements to the ends of the huge splitter on Vegas. Bullet's splitter had a higher degree of convergence between the air dam and huge end plates. Vegas end plates being curved along with the air dam being flared meant we lost some of that "choke point" we had on Bullet.
I felt like that air mass would just shoot through the gap over the back of the splitter without doing much. Low drag but a waste of all that surface area. So we came up with something we could quickly and easily fab using the (lack of) fab tools we have here. The Gurney on the trailing edge of the splitter will help keep flow attached on the underside of the wing element.
The throat under the element is slightly convergent then slightly diverges near the exit. How did I come up with dimensions for everything? Calculated guesses, some packaging and structural constraints.
The curved outer plates are intended to be optimized for turning. At high yaw rates the airflow will impinge on more of the element at a more homogenous pressure delta. When the car is going straight, there might be some separation at the leading edge of the plates. When the car is moving straight ahead, the air mass is moving laterally with good velocity. Because of that vector our curved end plate still works going straight. We probably won't have time to do string or DIY flow-viz tests.
Not sure this is within the bounds of what this thread is meant to be so if this feels a bit out of place I can remove it. I know having a central location for splitter builds/ideas would have helped me greatly when building this one. I put entirely too much time into researching with relatively little use when building this 2 years ago.
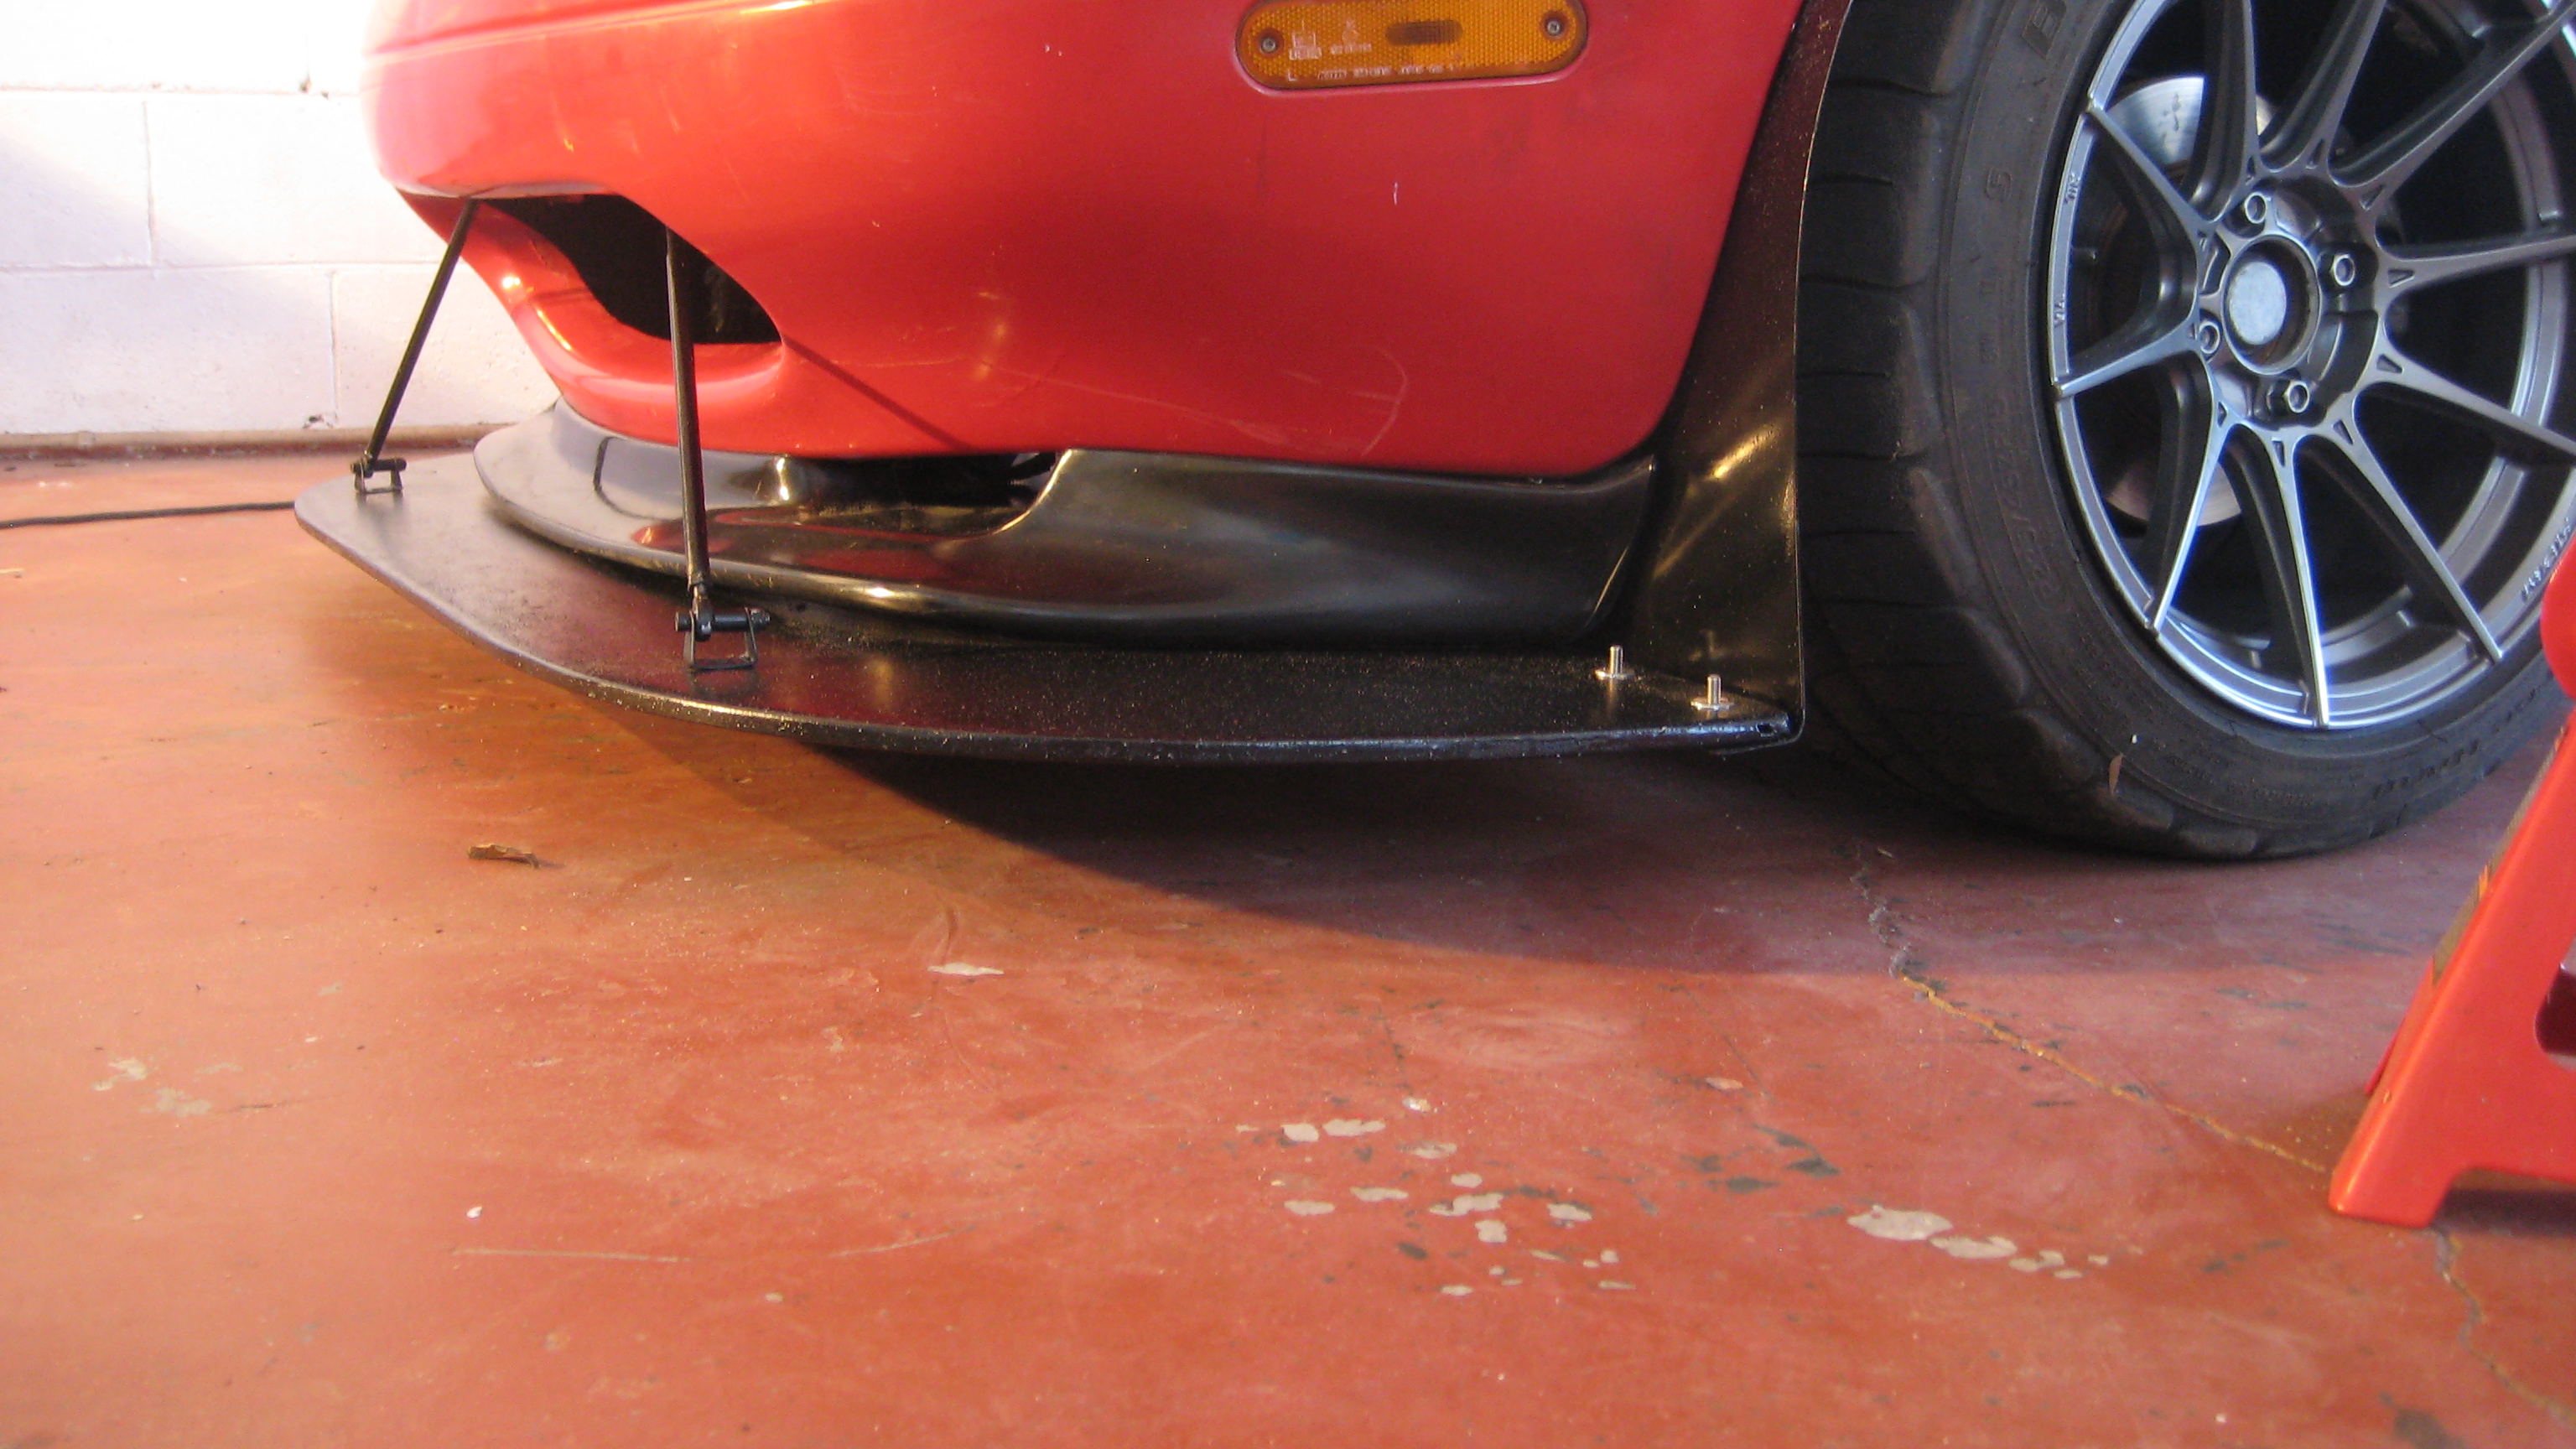
I run a 15x9 and 225 Rival S's on my NA most of the time. I've also run 275s on a 9" for autocross. Covering the exposed outter wheel was something I found to be pretty beneficial and I think my mounting solution was pretty simple. I try and make everything somewhat modular if I can. That way I can replace things quicker or modify smaller components without concerning myself so much with the whole.
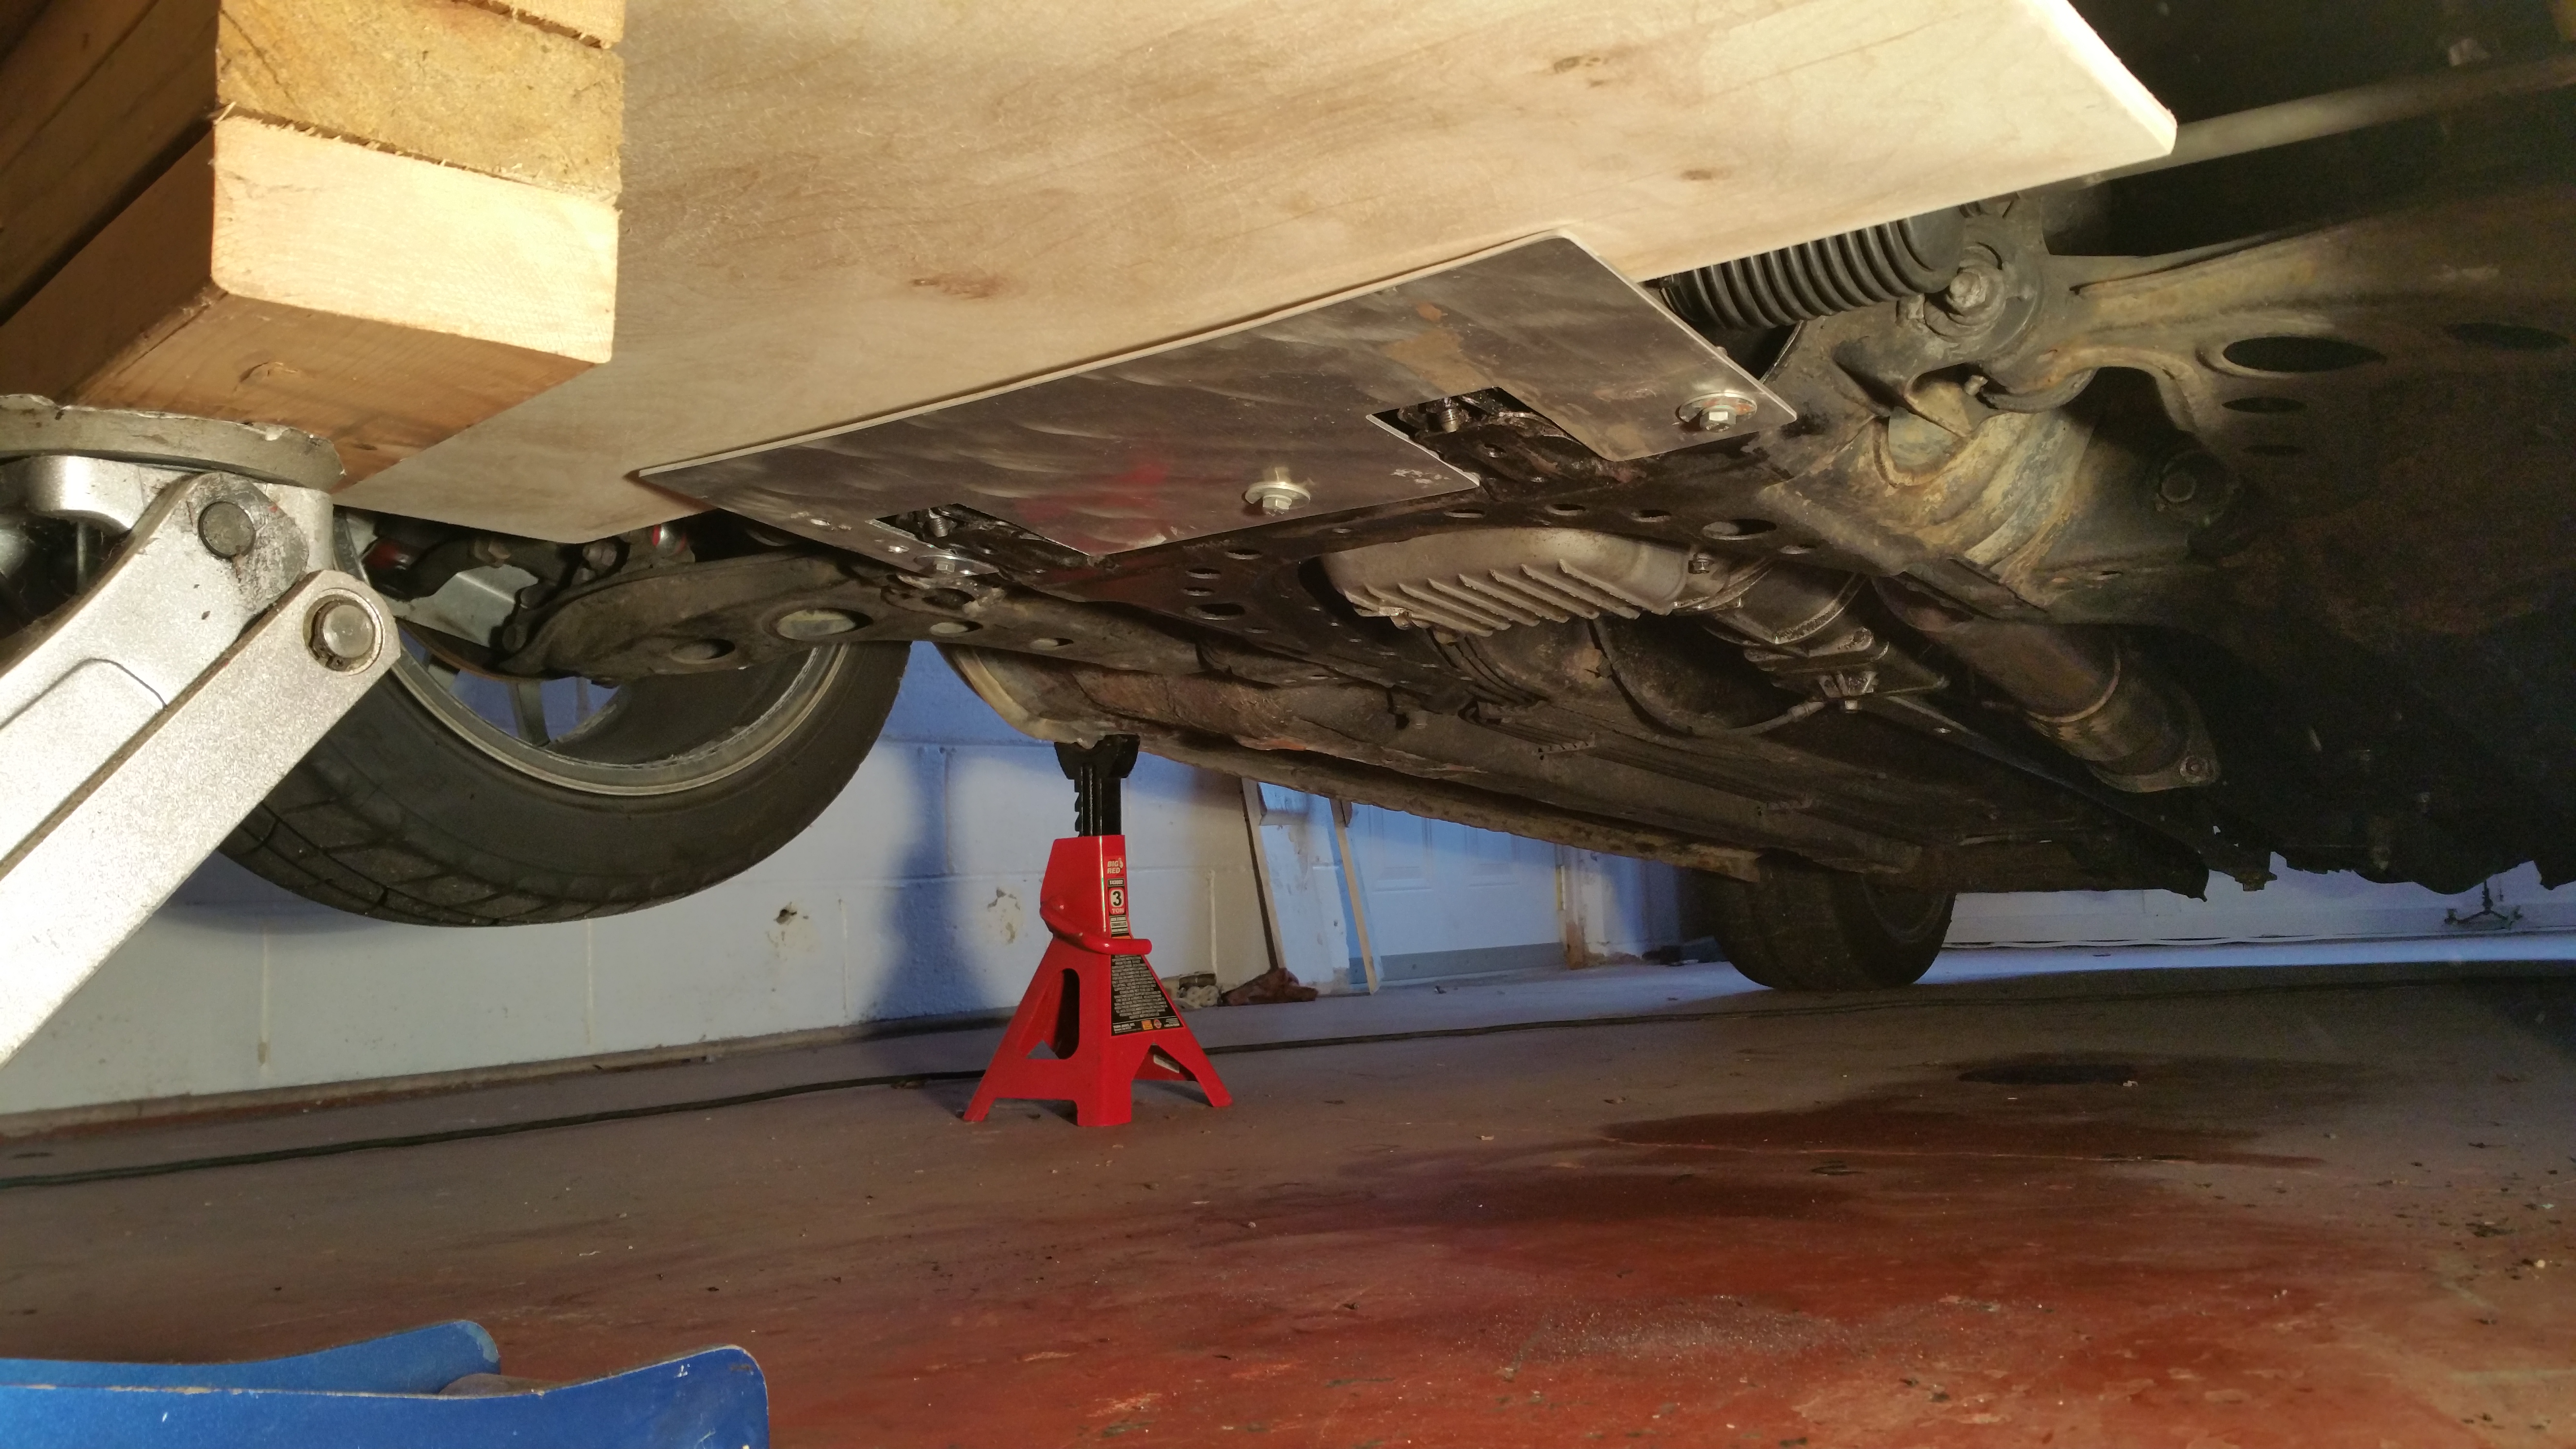
Using 1/2" Birch and drilling/tapping 3/16" rod for 1/4" heim joints. I used boxed section cut into triangles for the mounting pads and counter sunk machine screws with slide pins. Mostly for getting on and off a trailer when towed.
The bottom I countersunk in some 1/4" aluminum with a router and drilled to mount on the subframe. I used 3 machine bolts though the plywood and aluminum as well.
Measured out and drew my curve using straight lines at 1" intervals. This was the most accurate way I could think to get this cut.
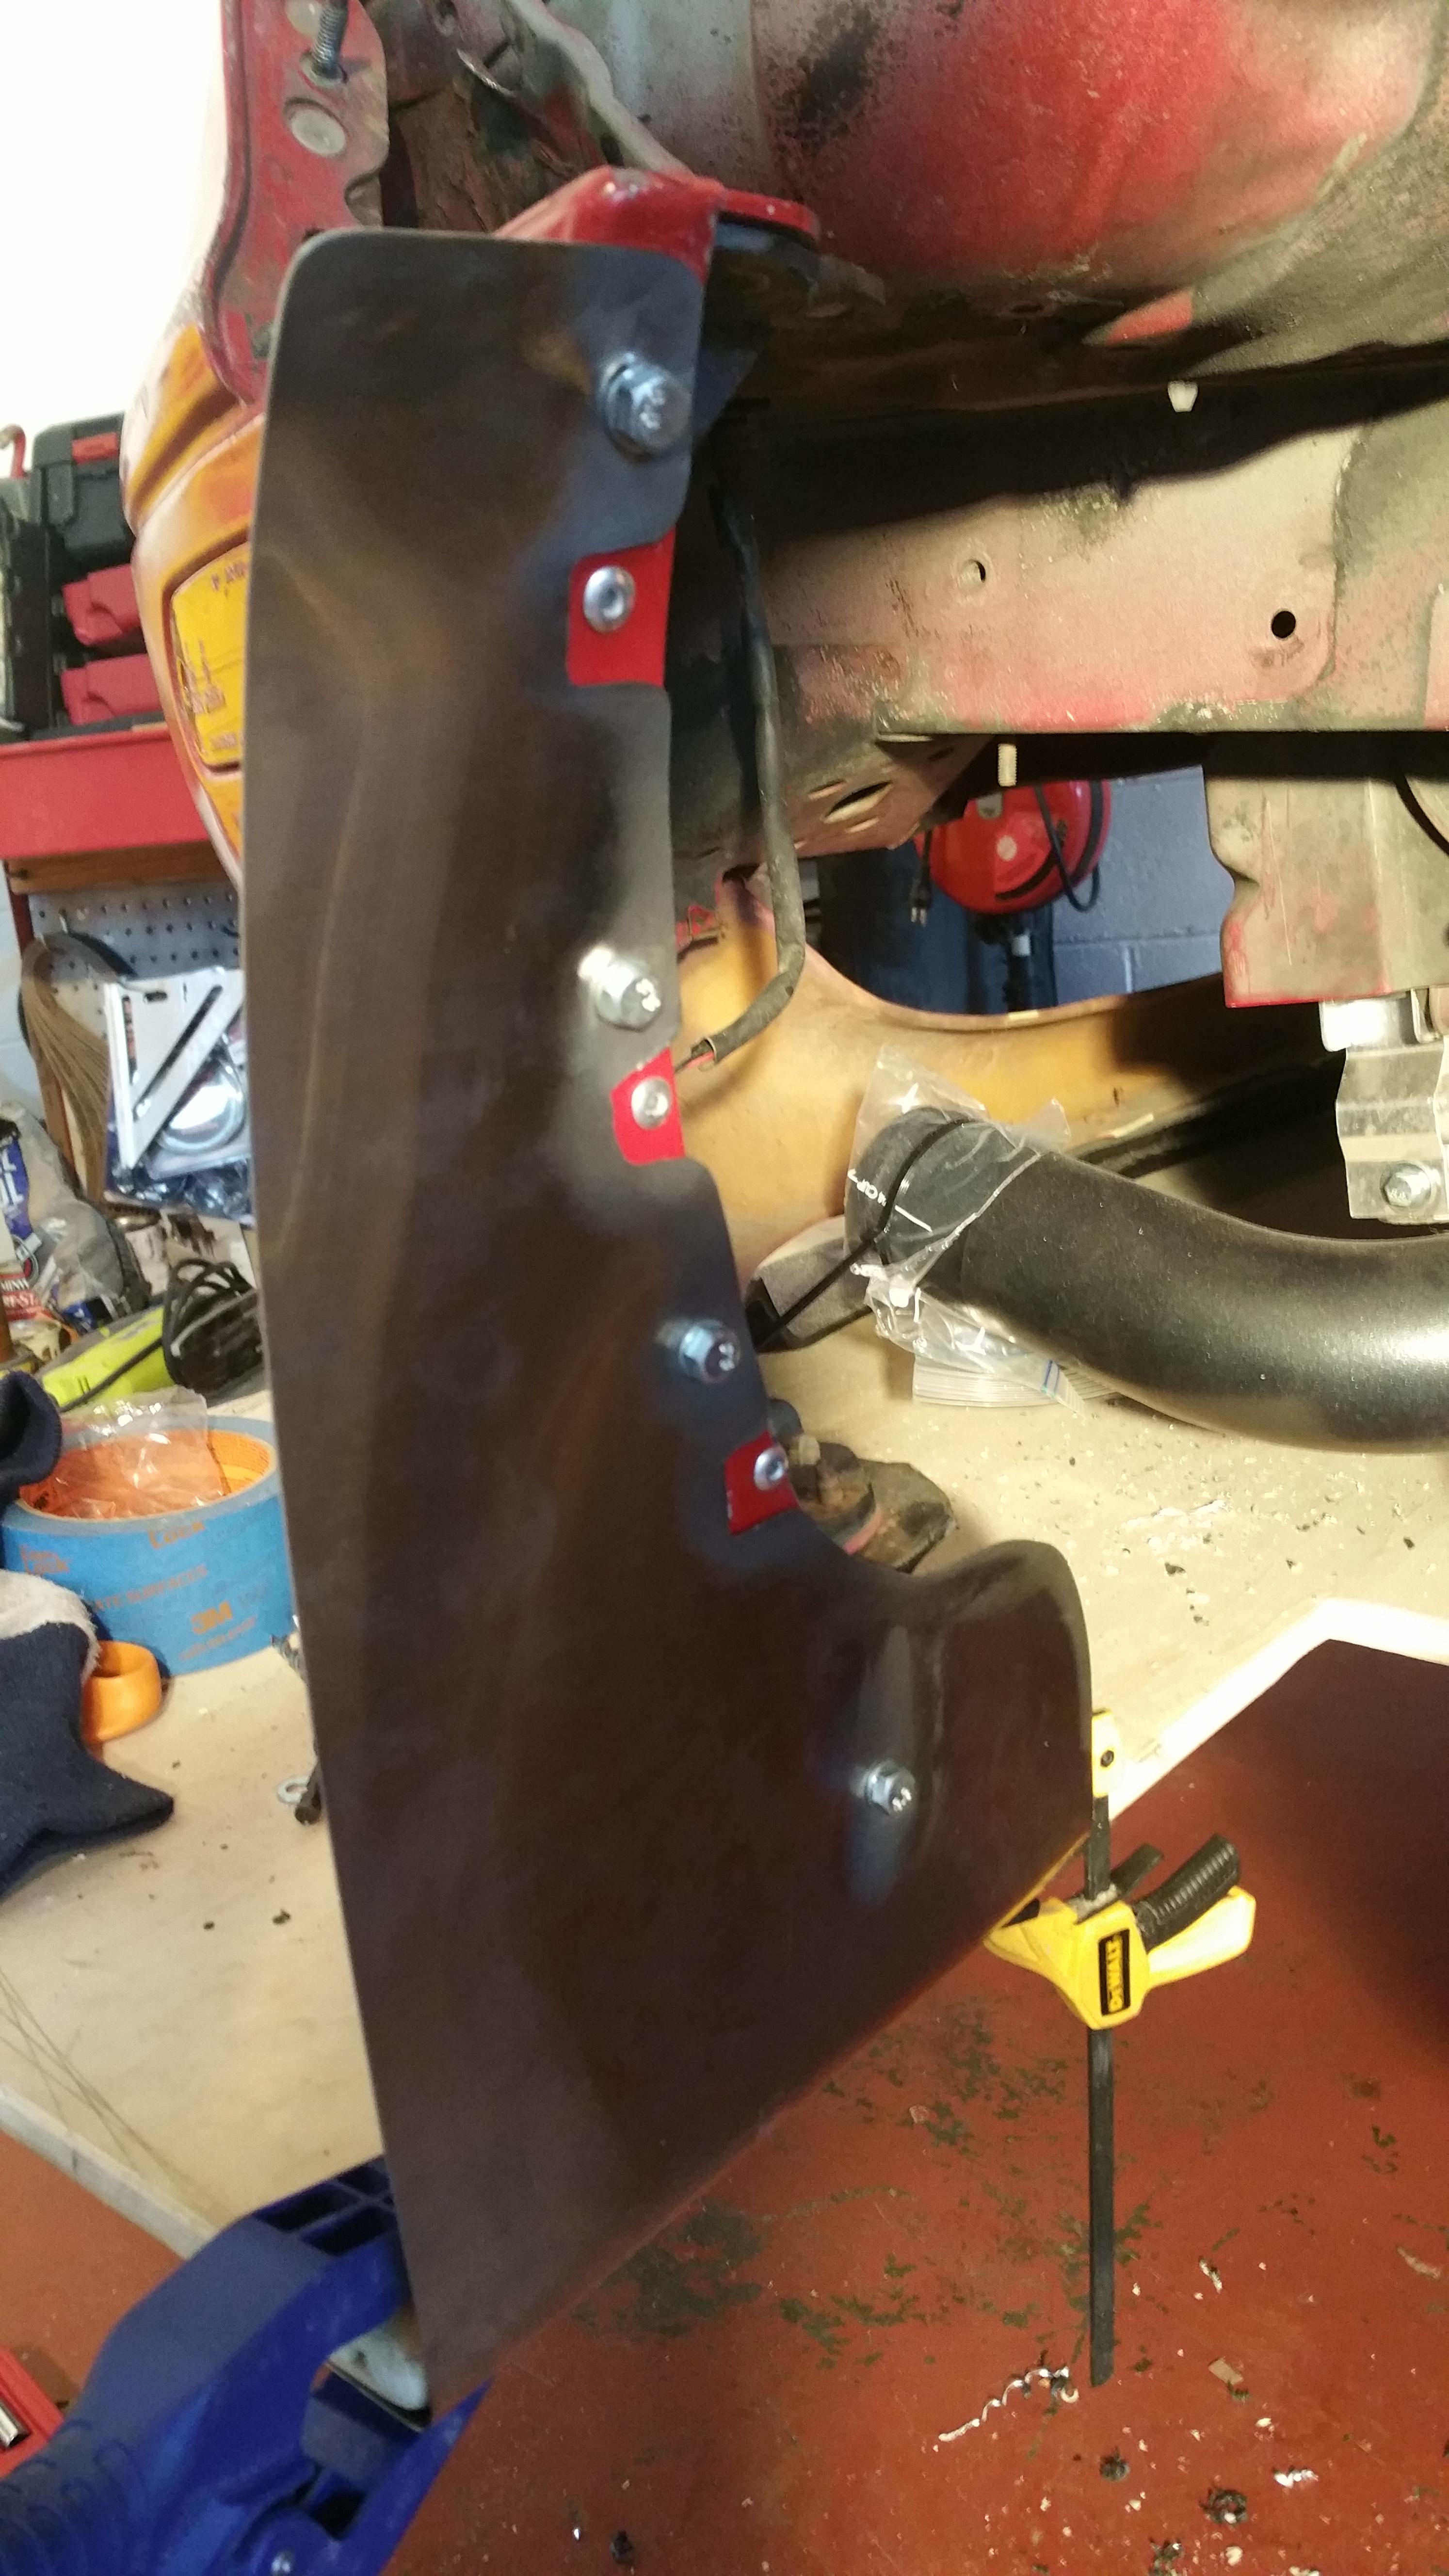
I riveted in some 1/4" aluminum bar behind the bumper skin and using Rivnuts secured the stainless steel leading edges to both the skin and the splitter. The splitter attachment points are T-bolts.
Finished it with 2 coats of brush on Rustolum black enamel and two coats of Poly.
I have since gone back and built a new bumper bar to help support the front a bit more. I used an adjustable threaded rod with a *** and some truck cable from a tail gate.
I've made some vlog type videos for the build on my Youtube page for those that might want more detail.
By no means is this as advanced as some, but I think it's a decent low cost option and easy enough to be replicated.
Last edited by 90civichhb; 10-27-2018 at 12:51 PM.
It looks like you've got brake vents coming from the flat portion of the splitter. That's a cool idea if it works. The section at the front under the car is low pressure right? Are those vents enough to pull the air up?
Not brake vents. Those are small diffusers. We have a straight shot 3 in brake ducts aiming straight at the Hub and inner caliper. I think I posted pictures of those in Vegas main build thread. And yes, if things are configured correctly it is very low pressure under the splitter.
New front aero is fully rebuilt and ready for Superlap Battle. Big thanks to Blackbird Fabworx. Pic from shakedown last weekend. Low speed track focused mostly on mechanical grip/balance and yet the new setup was still shining. SLB is in 2 days. We're ready.
Not as big as some of the others here, but it works well with my relatively mild rear aero (gtc200) and its mounted pretty much as strong as i could make it. about 4" lip
I'm planning out my build for a local, very casual time attack series (Speed SF). We get allotted points for base car + mods. My goal is a Supermiata S2 style car in the lowest class. Since a big wing would push me up a class, I wanted to run a Blackbird spoiler + front splitter,<3". My other option is to run a <52" wing, >4" below roofline for the same mod points. Power goal is 130-140whp. Car has the RB type 2 front bumper, which I think is about an inch lower than OEM.
My question is how much front splitter balances a spoiler? It looks like from S1, 4" splitter = GTC300. S2 runs just airdam + spoiler, but I wasn't sure if this was for simplified rules or to balance the aero. An extended undertray is a free mod, so I figure if I'm doing an undertray, why not go for the full 3" splitter, if I can balance it properly.
S1 is a 4" splitter, flat air dam (this matters) and GT 250. Not a higher drag GTC300. If you run the splitter on your RB nose, it will generate a bit more drag and bit less downforce.
S2 aero is very low drag and generates 50-100lbs @100mph as opposed to a stock body which generates 100 to 200 lbs of lift. Both S1 and S2 aero reduce overall drag.
Without looking at your entire rule set, based on what you wrote I would guess the S2 aero would be your best bet. Do not underestimate how critical aero drag is.
Standard aero caveat: Take care when following other cars closely a high-speed as it will adversely affect what little downforce you have.
I'm planning out my build for a local, very casual time attack series (Speed SF). We get allotted points for base car + mods. My goal is a Supermiata S2 style car in the lowest class. Since a big wing would push me up a class, I wanted to run a Blackbird spoiler + front splitter,<3". My other option is to run a <52" wing, >4" below roofline for the same mod points. Power goal is 130-140whp. Car has the RB type 2 front bumper, which I think is about an inch lower than OEM.
My question is how much front splitter balances a spoiler? It looks like from S1, 4" splitter = GTC300. S2 runs just airdam + spoiler, but I wasn't sure if this was for simplified rules or to balance the aero. An extended undertray is a free mod, so I figure if I'm doing an undertray, why not go for the full 3" splitter, if I can balance it properly.
You and me both! I've been thinking about doing a simple aero setup with a plastic air dam and BBFWx spoiler on my own miata. I've tracked with Speed SF for a majority of my track time now!
Thanks Emilio. I didn't realize I had the S1 wing wrong, which definitely shifts the aero balance I was expecting, and that the bumper itself is a consideration on the design/need for a splitter. Looking at S2 cars run at Buttonwillow, they are pulling hard towards 100+mph, where my car is puttering out around 95 mph.
The rule-set for the SpeedSF Challenge is laughable. It's just a list of cars' base points, common mods' points, and the points range for each class. I'm building towards S2 mostly so I can compare my progress towards the lap times S2 guys are putting down.
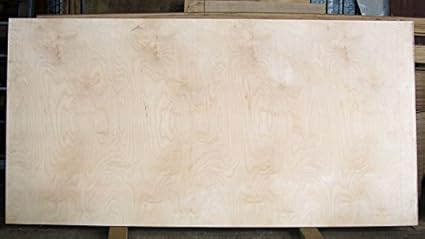
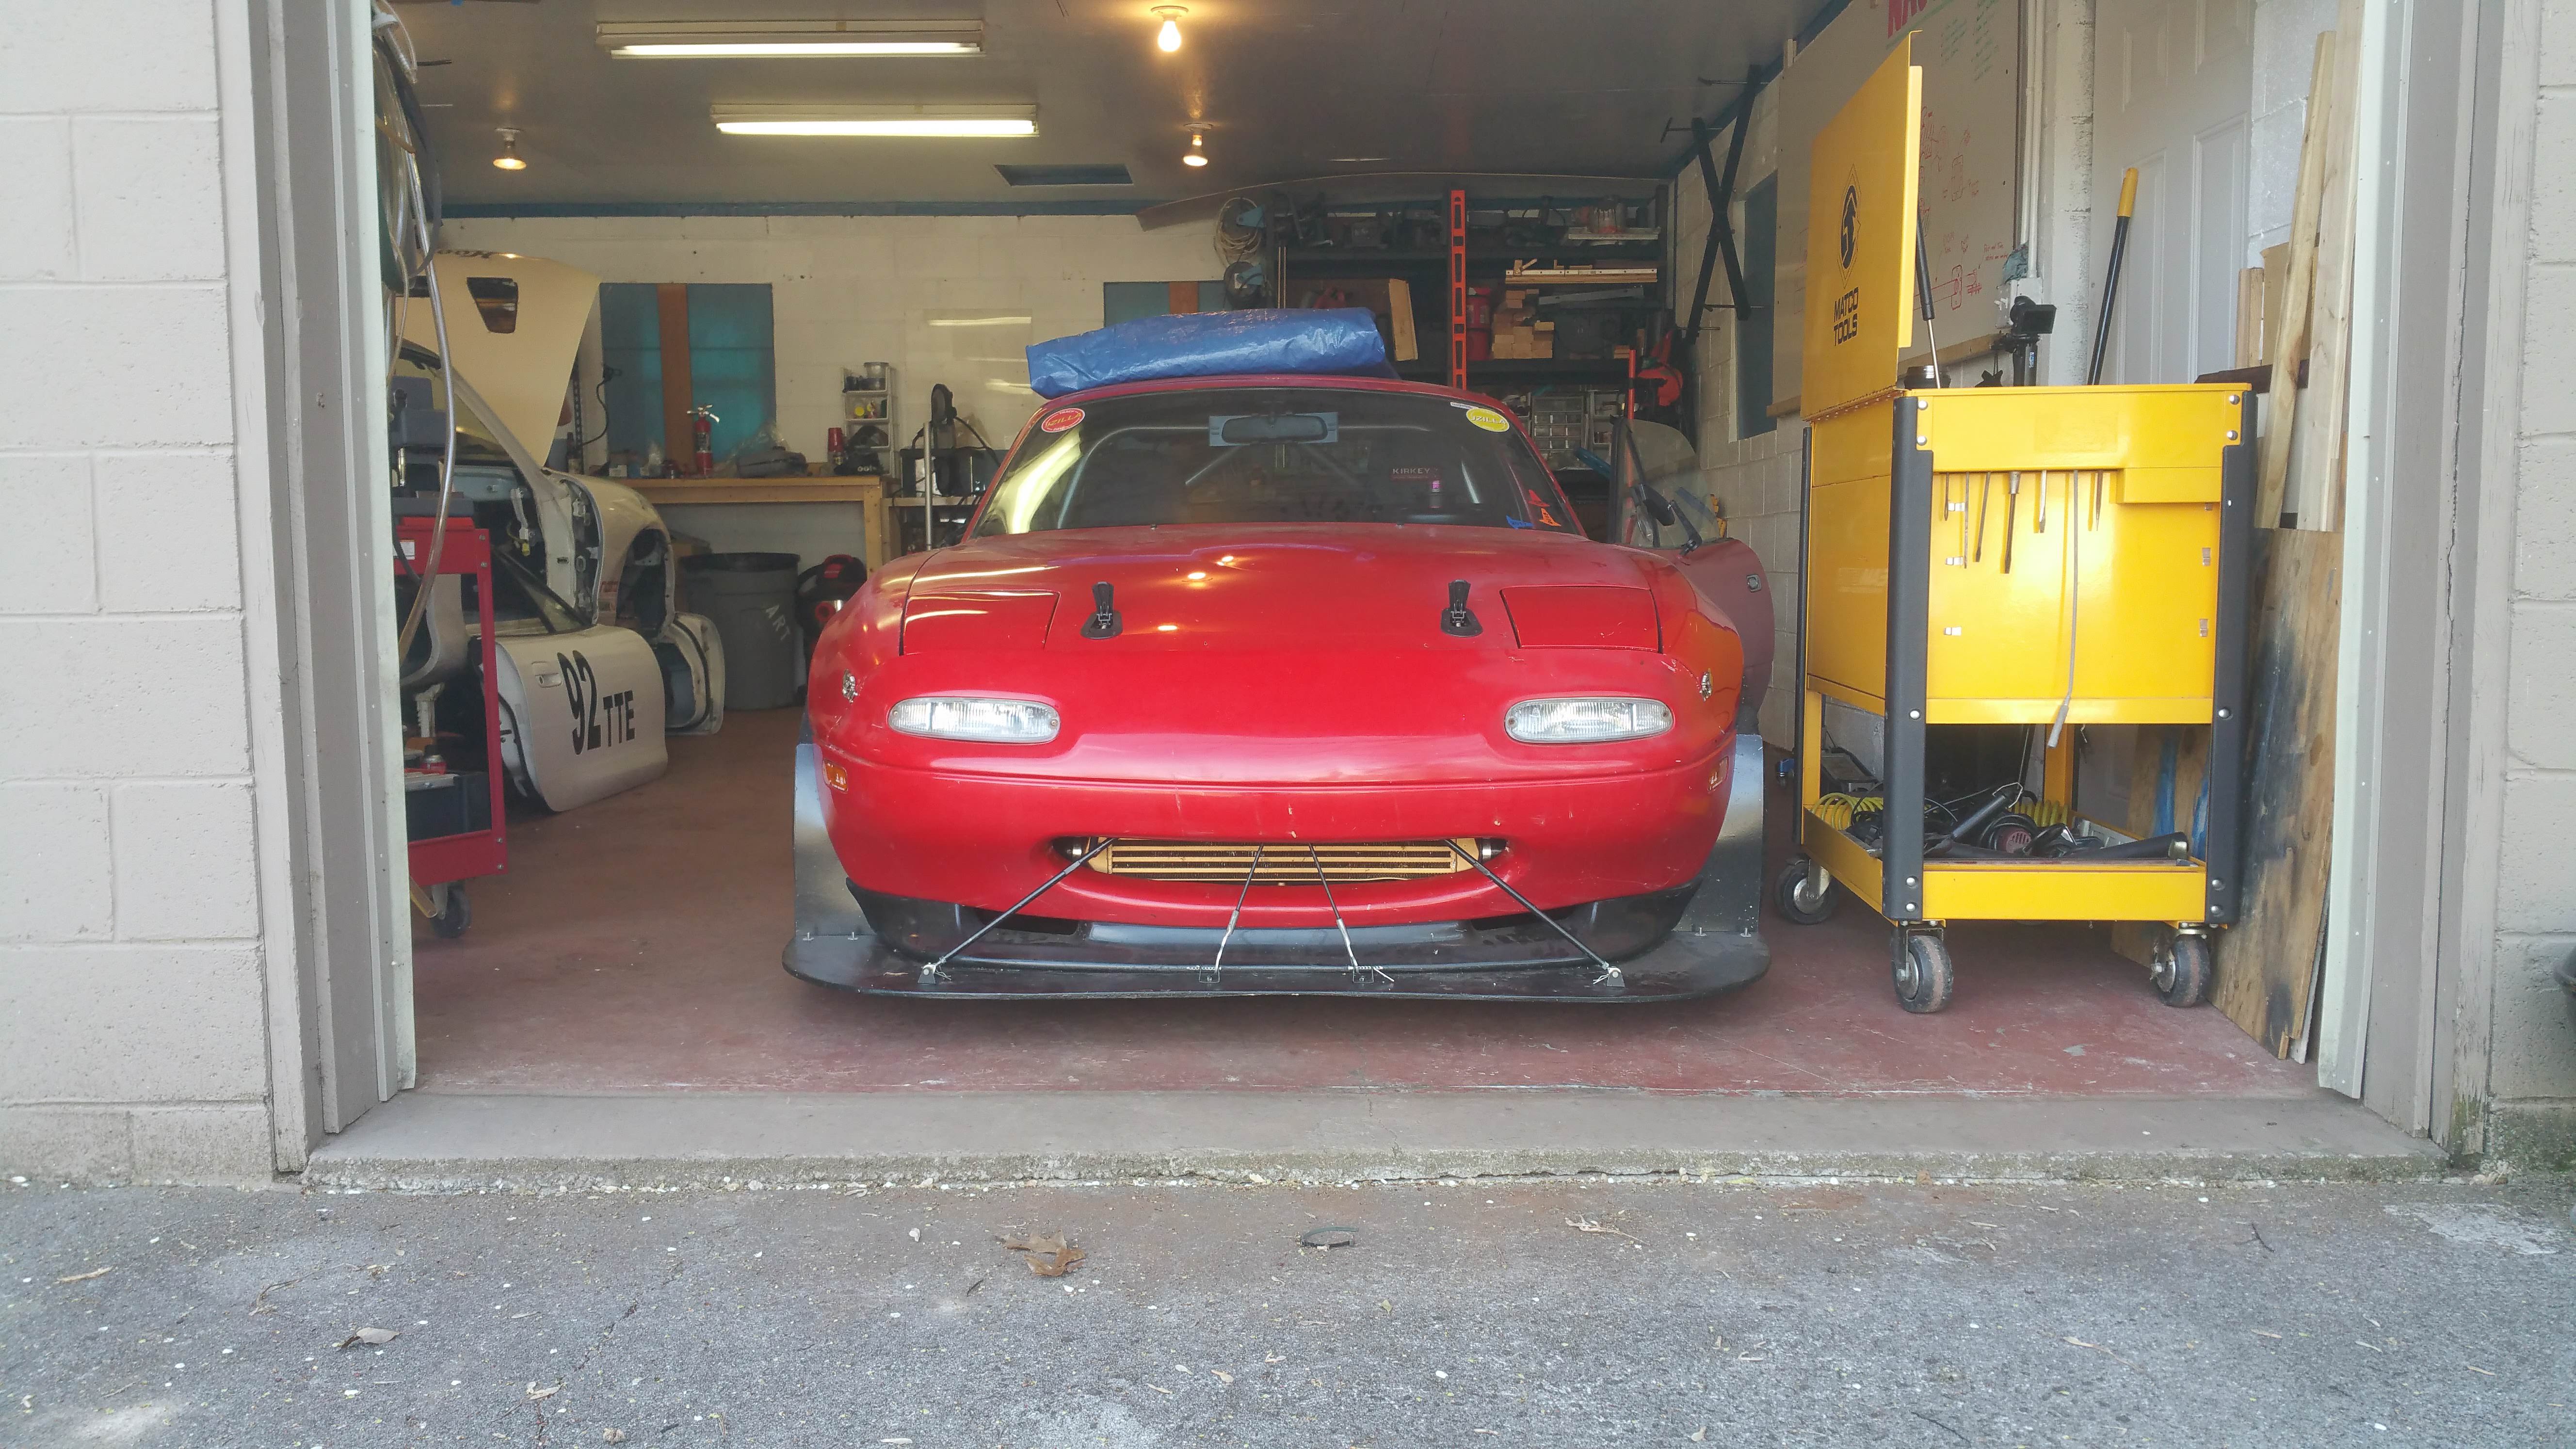
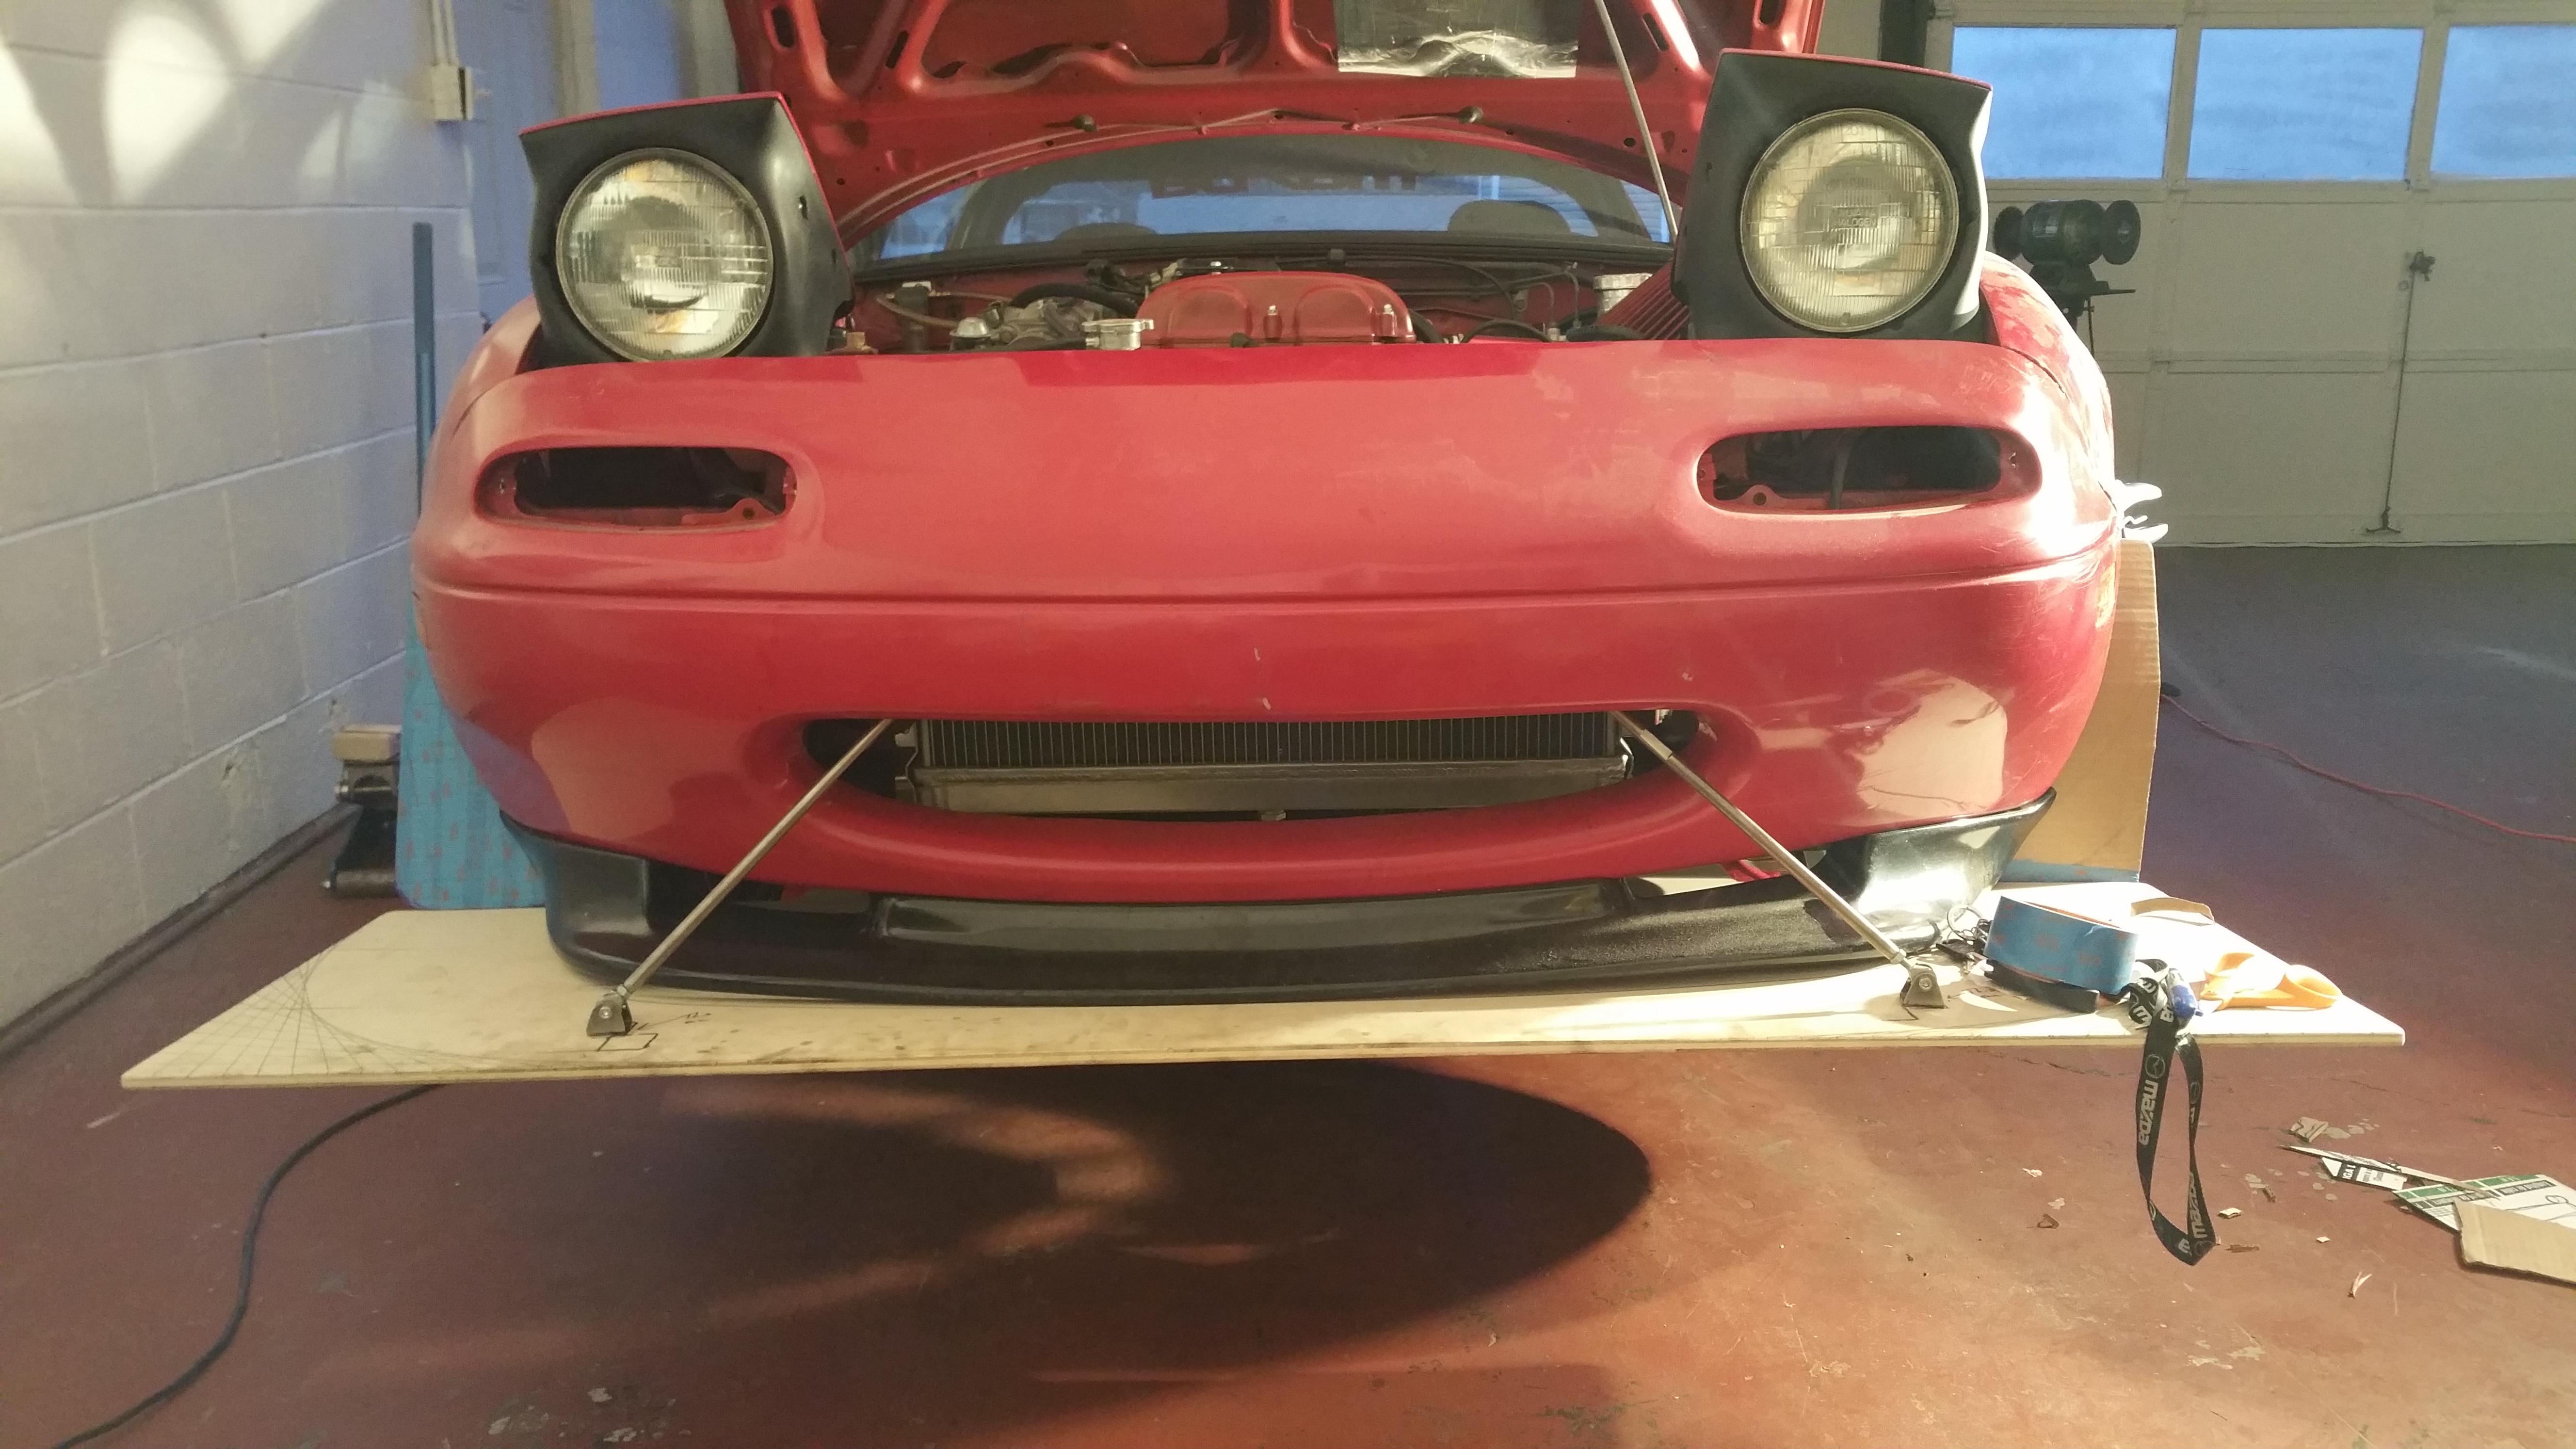
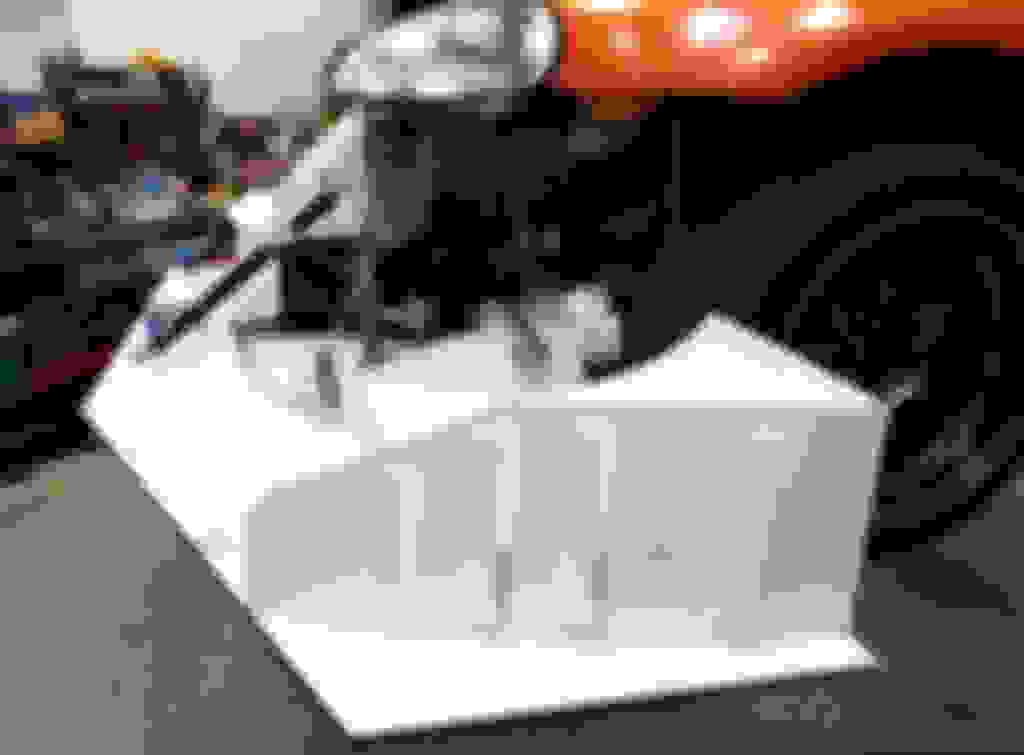
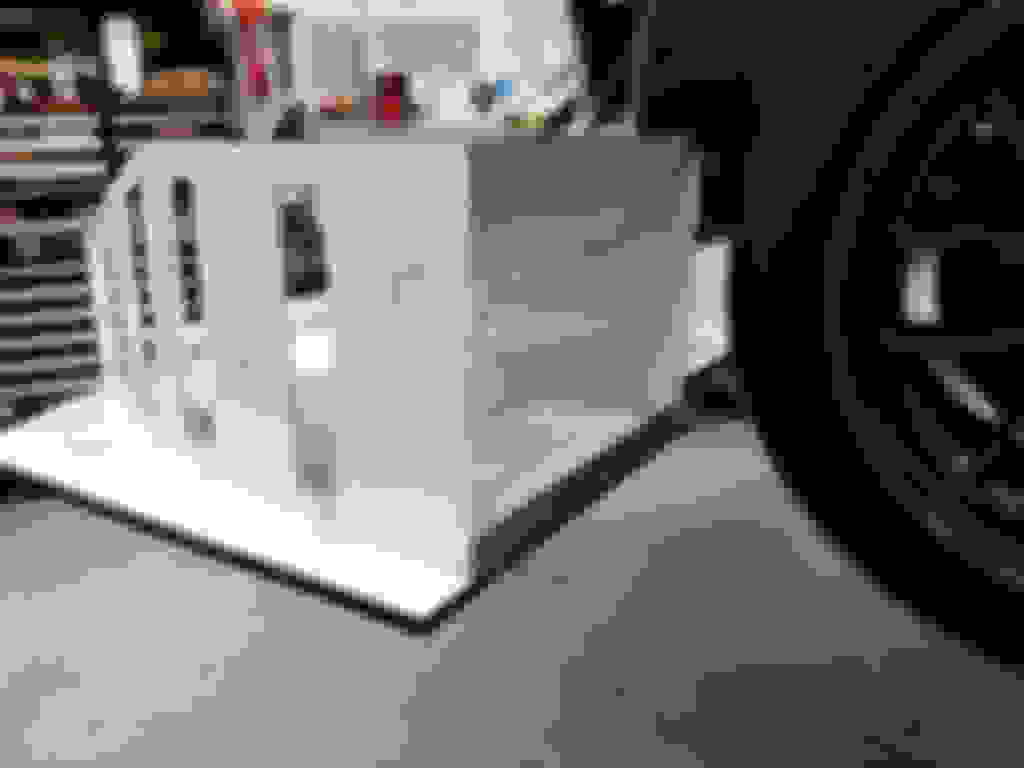
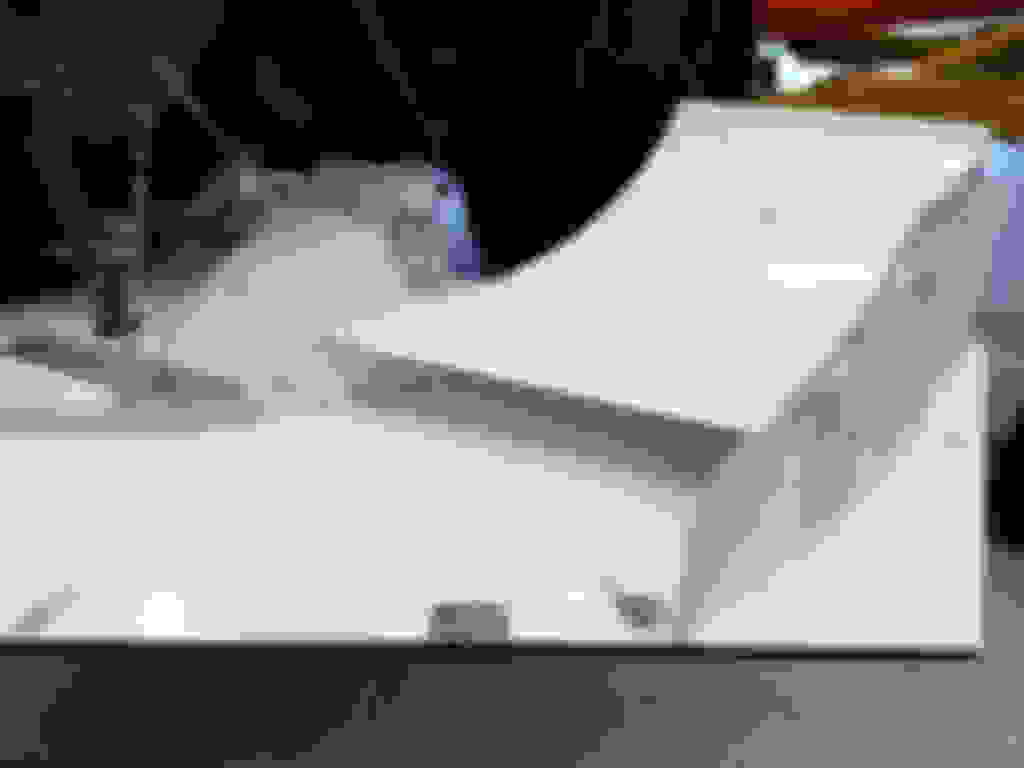
Working on my first aero project. Basic splitter based on lots of great information on this site. Below are pics of a small mock-up a made to test my concept. Really rough, free-hand, eye-balling it. Finished product will be much more precise. I got inspiration from the BMW GT4 adjustable splitter. Less about tweaking downforce in front and more about getting it on and off my trailer. I didn�t want to remove it every time or lug around extra-long ramps. Adjust-ability is a bonus. I will be pairing this with the Blackbird lexan trunk spoiler
Plan is to use 1/2� birch and create essentially two mirror image sections, one on top of the other. Albeit the adjustable lip (let�s call this the splitter) does not go as far back. Just the muffin tops are identical. The larger section (let�s call it the floor) will essentially act as a flat under tray, with the curved front edge just behind the stock spoiler. Nothing protruding in front. T-nuts inserted on the top side of the floor. The actual splitter section will be mounted underneath and will be have 6 equal length grooves cut and counter sunk so the washer and bolt head are flush.
Once installed, I just loosen the bolts and I can slide the splitter in or out. Front edge of splitter will be suspended by a couple of wire sections with turnbuckles. I painted the splitter edge black just for reference
My most pressing question is will the stair step on the underside of the splitter/floor create enough turbulence to negate the benefits of the added downforce. I plan to angle cut the rearward edge of the splitter section so that it is more like a 45 degree than a 90 degree angle.
Thanks for reading. Would love to get your reaction.

 10-24-2018, 05:07 PM


 2
2