When you click on links to various merchants on this site and make a purchase, this can result in this site earning a commission. Affiliate programs and affiliations include, but are not limited to, the eBay Partner Network.
Mad Scientist's Noob turbo NA build thread - Rip me a new one
I've spent the last few months reading hours upon hours of build threads, browsing the forum, as well as sourcing parts for my very first turbo build on my NA6 Miata. (Once it blows up, I'm swapping in a 1.8L)
This is my first time boosting a car and I'm real excited to see how it'll turn out. Even if I blow it to smithereens, it's been a hell of a learning experience so far.
I'll be tracking the progress of the whole build in this thread.
Parts list (feel free to make any recommendations on what to add, remove, or replace):
- Turbo, exhaust manifold, and downpipe from MKTurbo
- Full Torsen conversion pulled from an '02 (driveshaft, axles, diff)
- Begi coolant reroute kit bought from another user here
- SpeedyEFI ECU
- BMW 7 series TPS w/ 3D printed adapter
- GM IAT
- eBay intercooler piping
- Z-Line Mishimoto intercooler
- Innovate AFR gauge + wideband
- Magnaflow 12589 muffler
- ACT XT sprung clutch kit (rated for ~315ft-lb of torque)
- Blue RX8 injectors (forgot the part #)
Planned Parts List:
- Walbro 190 fuel pump
- Flow Force 640s (to replace blue RX8 injectors) - Supermiata clutch (to replace ACT XT)
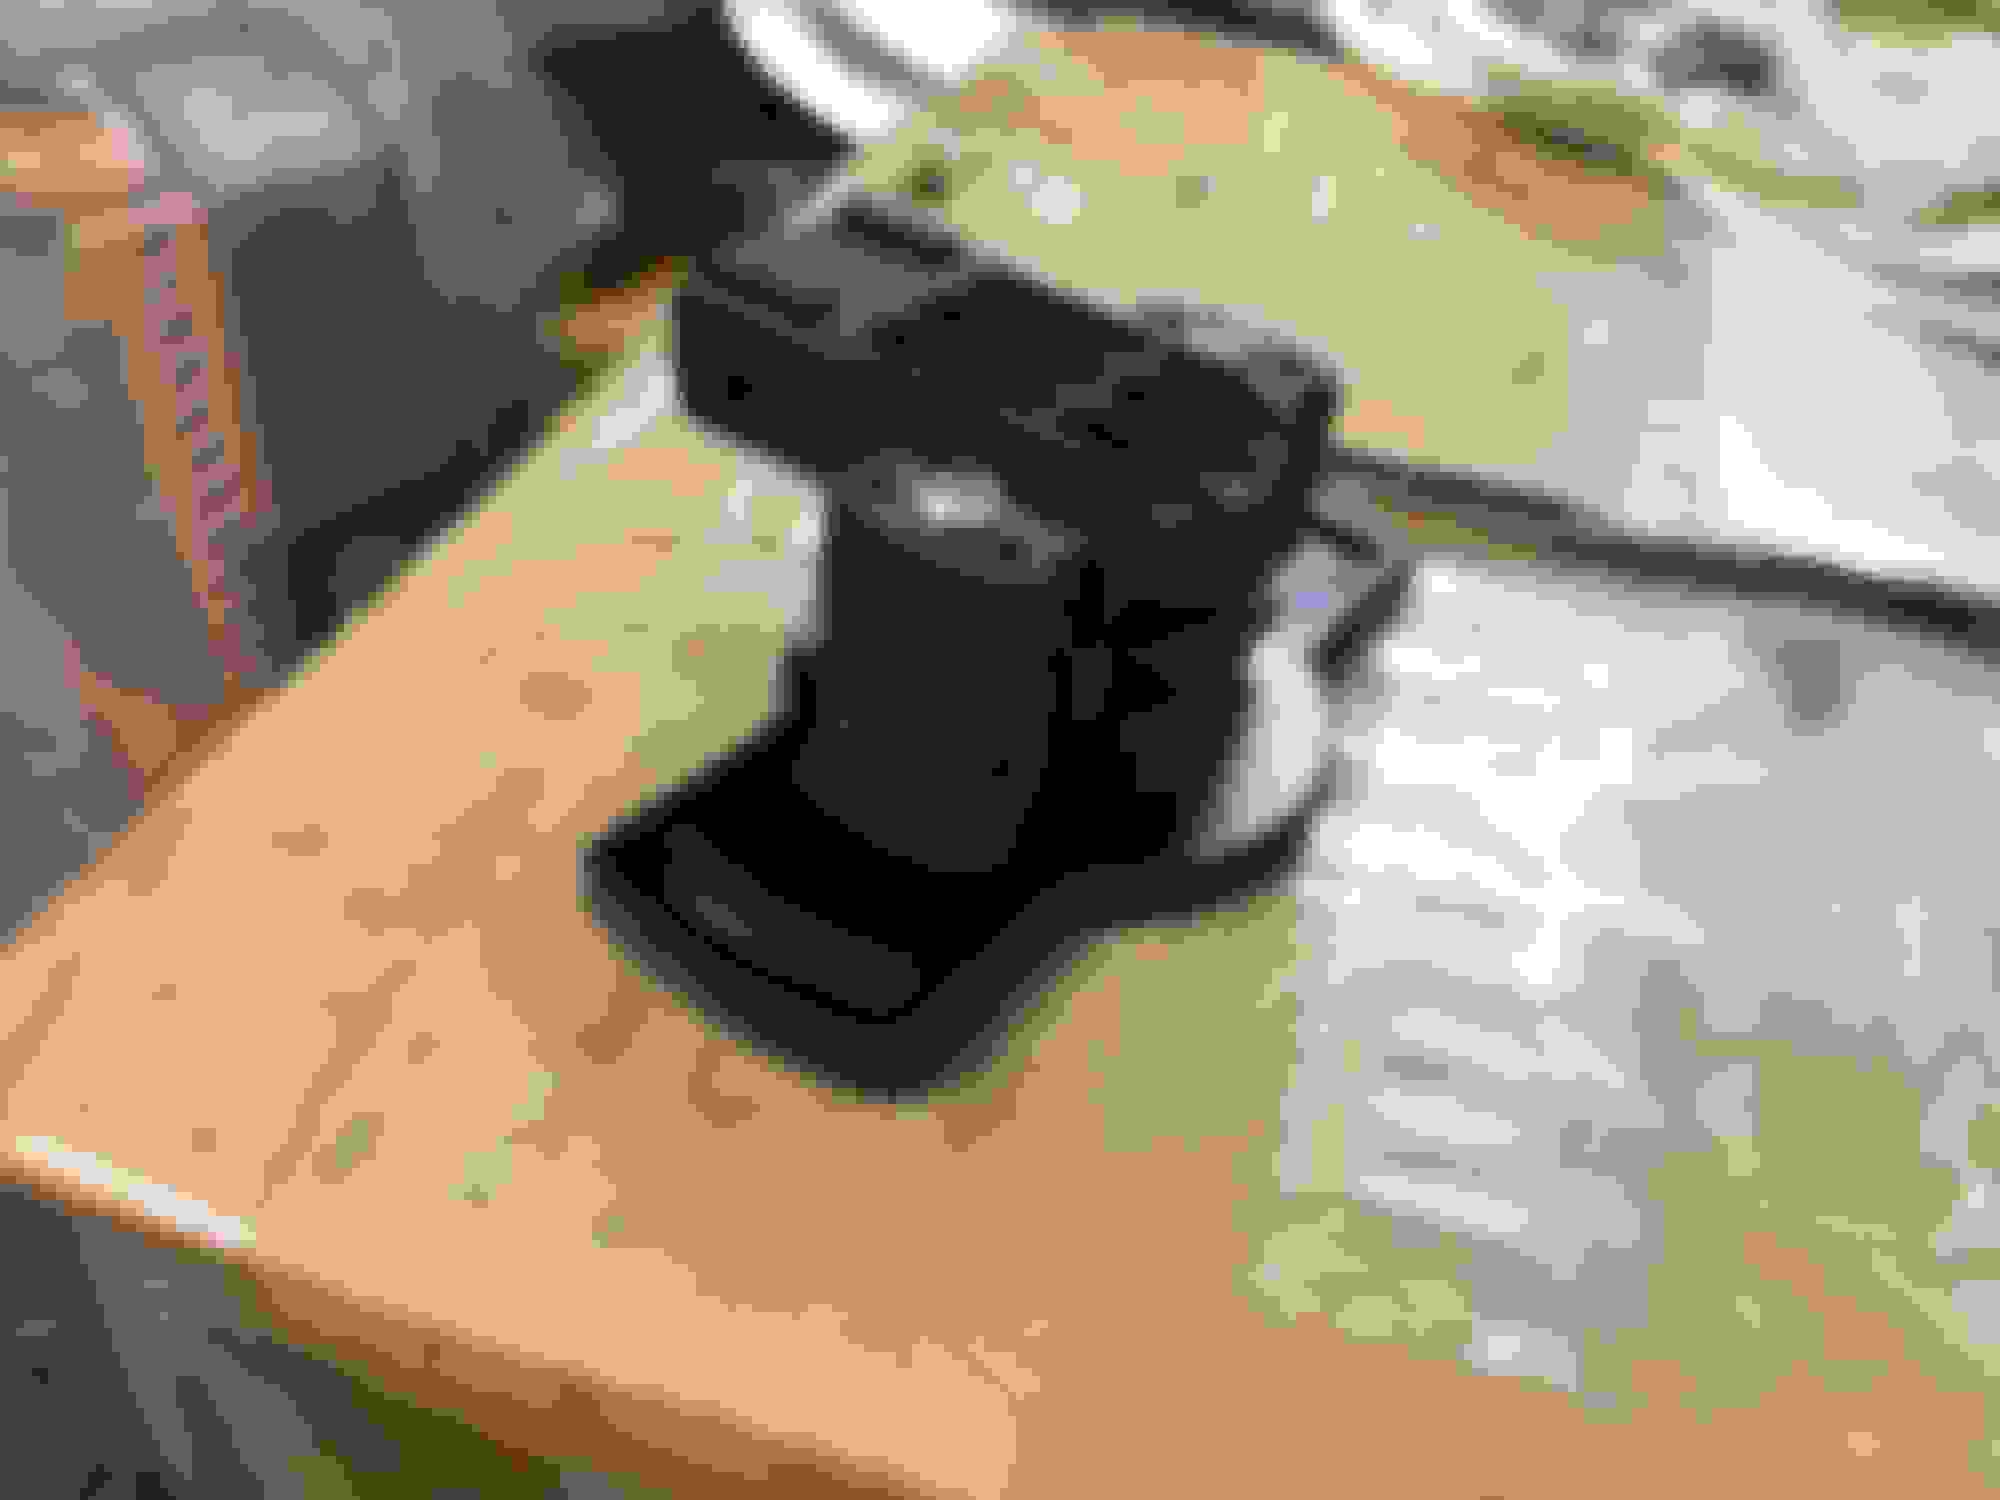
(08/07/2019 - Installing the ECU, making room in the engine bay for the new turbo + piping, and pulling the tranny)
By this point, I had already swapped out the diff, rear axles, and driveshaft.
Empty bay
Things are looking good
First time really seeing a car on a lift. Much easier to work on this VS jackstands.
Pulled out the tranny. This was really fun to learn how to do and also how all the components connect with each other and work in unison.
Last edited by Mad Scientist; 09-03-2019 at 01:10 PM.
Speeduino is cool, got one myself and it's getting pretty good with all the latest firmware updates.
If you go with the 1.6, you have to buy another exhaust manifold, when you switch to the 1.8. Maybe even a new DP. Don't know if the MK Turbo DP fits 1.6 AND 1.8.
Starting with a BP would be easier in the future, just my 0,02$.
You also need some bigger injectors (EV14?) and for safety reasons a new fuelpump. 190lph should be enough!
If you go with the 1.6, you have to buy another exhaust manifold, when you switch to the 1.8. Maybe even a new DP. Don't know if the MK Turbo DP fits 1.6 AND 1.8.
I use the same DP for both 1.6 and 1.8 setups. Only thing you have to change to upgrade is the manifold. I believe he already has a 1.8 manifold on hand if I remember correctly.
Speeduino is cool, got one myself and it's getting pretty good with all the latest firmware updates.
If you go with the 1.6, you have to buy another exhaust manifold, when you switch to the 1.8. Maybe even a new DP. Don't know if the MK Turbo DP fits 1.6 AND 1.8.
Starting with a BP would be easier in the future, just my 0,02$.
You also need some bigger injectors (EV14?) and for safety reasons a new fuelpump. 190lph should be enough!
Yeah I do already have a 1.8 manifold on hand so I don't have to worry about it later on. :-)
I actually forgot to add that I had replaced the fuel injectors already. I put blue RX8 injectors in there. I will definitely look into replacing the fuel pump with something better. I'll have to do more research on it and update the parts list. Do you have any model recommendations that won't make my wallet explode?
Originally Posted by shuiend
I use the same DP for both 1.6 and 1.8 setups. Only thing you have to change to upgrade is the manifold. I believe he already has a 1.8 manifold on hand if I remember correctly.
They are not bad if you have legit RX8 injectors. The problem is China started flooding the market a few years ago and its hard to guarantee you are getting real injectors that flow the correct amount.
Also you should be able to stay on your stock fuel pump for a while. I ran my stock one in my 94 at 220whp for years.
Thanks for the info on that. I bought it from Rockauto, which I've always assumed as a reputable dealer for parts. Hopefully I didn't get ripped off lol.
I'll take that fuel pump info into consideration. I remember seeing a formula in one of the stickied threads that tells you how much lph flow you'd need for a fuel pump based on certain variables.. I'll check it out and double check. Guess I'll have to do some maths to determine what I need.
So the vTPS that I got in the SpeedyEFI kit was shipped to me broken. We had to open it up and fix the internals to get it working again. Also, I got a present: a 3D printed TPS adapter with resin. Looks much better and should be able to withstand more heat. I'll post more pics of it here later.
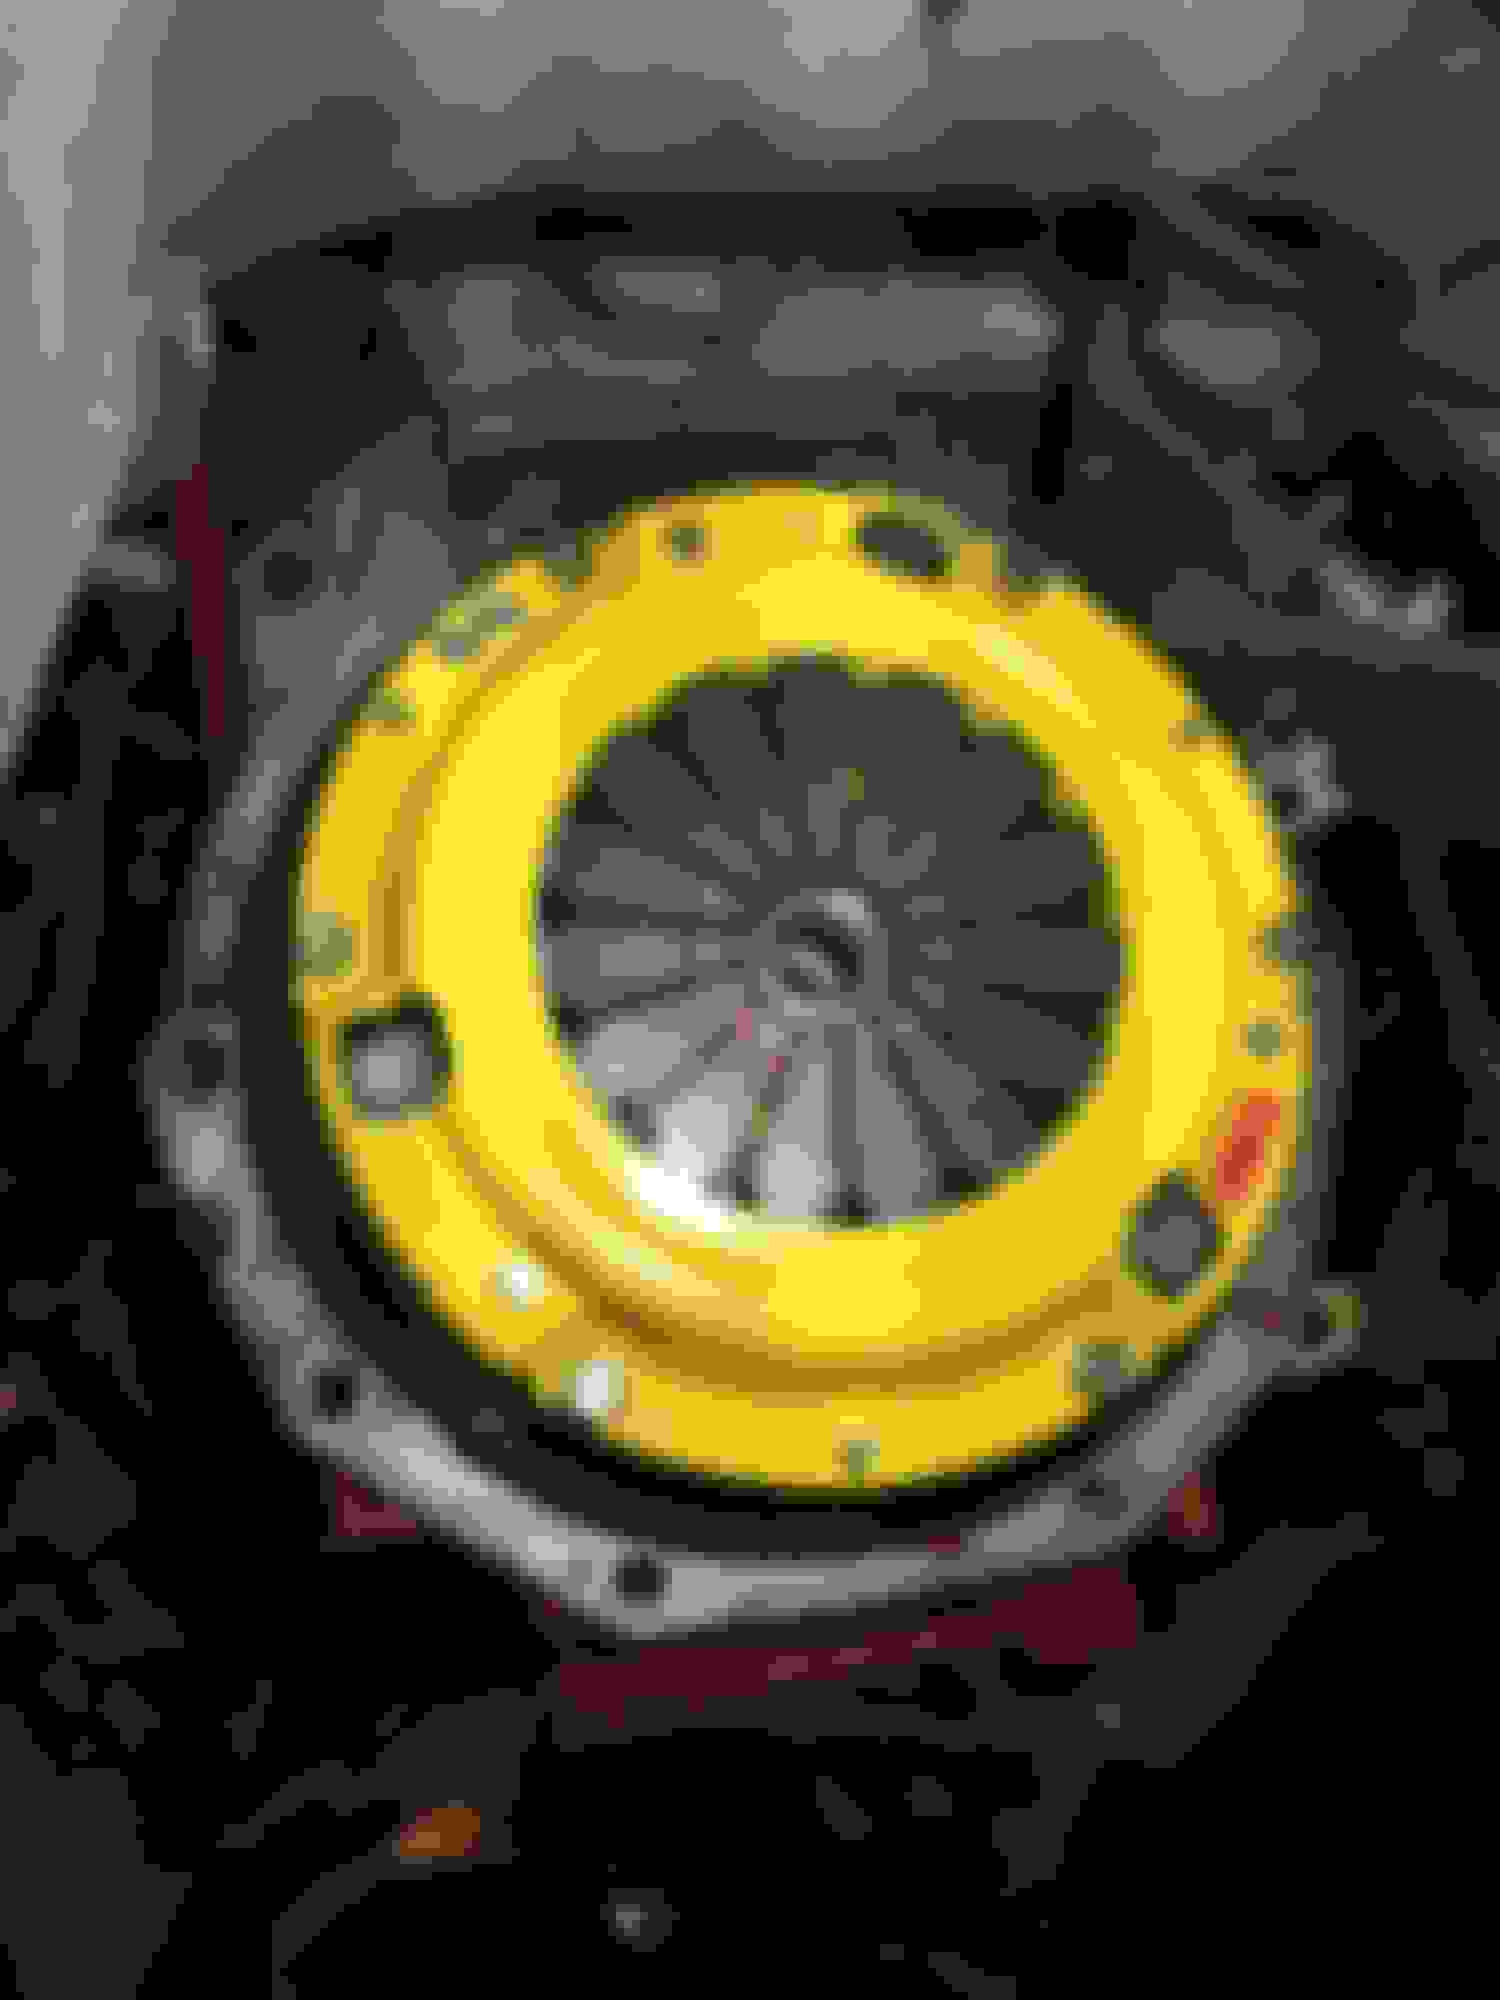
Turns out also that I was recommended the wrong clutch from the parts store that I bought it from. The clutch itself was ~9" and was too large to fit with my stock 1.6 flywheel. Big mistake on my end... I should have double checked with the parts store and do more due diligence. Welp... lesson learned there: never trust parts monkeys.
Heading out to the shop today to see what they can do. Wish me luck.
Last edited by Mad Scientist; 09-03-2019 at 01:10 AM.
Just to make sure.... the 1.8 clutch (with large diameter) won't work with the stock 1.6 flywheel, right? I've tried to search the forum, but I couldn't really find a clear cut answer.
No, you can’t mix and match. You can do a 1.6 clutch and flywheel in a 1.8 car, and 1.6 clutch and flywheel in a 1.8 car.. if you want. I read your original post, it says you were going to go with a SuperMiata clutch. What happened!? Return parts store clutch and buy from FM or SuperMiata and win.
They are not bad if you have legit RX8 injectors. The problem is China started flooding the market a few years ago and its hard to guarantee you are getting real injectors that flow the correct amount.
Also you should be able to stay on your stock fuel pump for a while. I ran my stock one in my 94 at 220whp for years.
Originally Posted by festersays
No, you can�t mix and match. You can do a 1.6 clutch and flywheel in a 1.8 car, and 1.6 clutch and flywheel in a 1.8 car.. if you want. I read your original post, it says you were going to go with a SuperMiata clutch. What happened!? Return parts store clutch and buy from FM or SuperMiata and win.
Thanks for clarifying that. The SuperMiata clutch was a suggestion from someone on this thread. I will definitely look into returning the store-bought ACT clutch if they will allow it. The thing is, I rented out a shop to boost the car and I don't want to effectively waste a couple more weeks waiting for parts while I'm paying for rent here lol. Planning on finishing the turbo build by the end of the month.
Haven't updated the thread in a couple of weeks... lots of stuff happening.
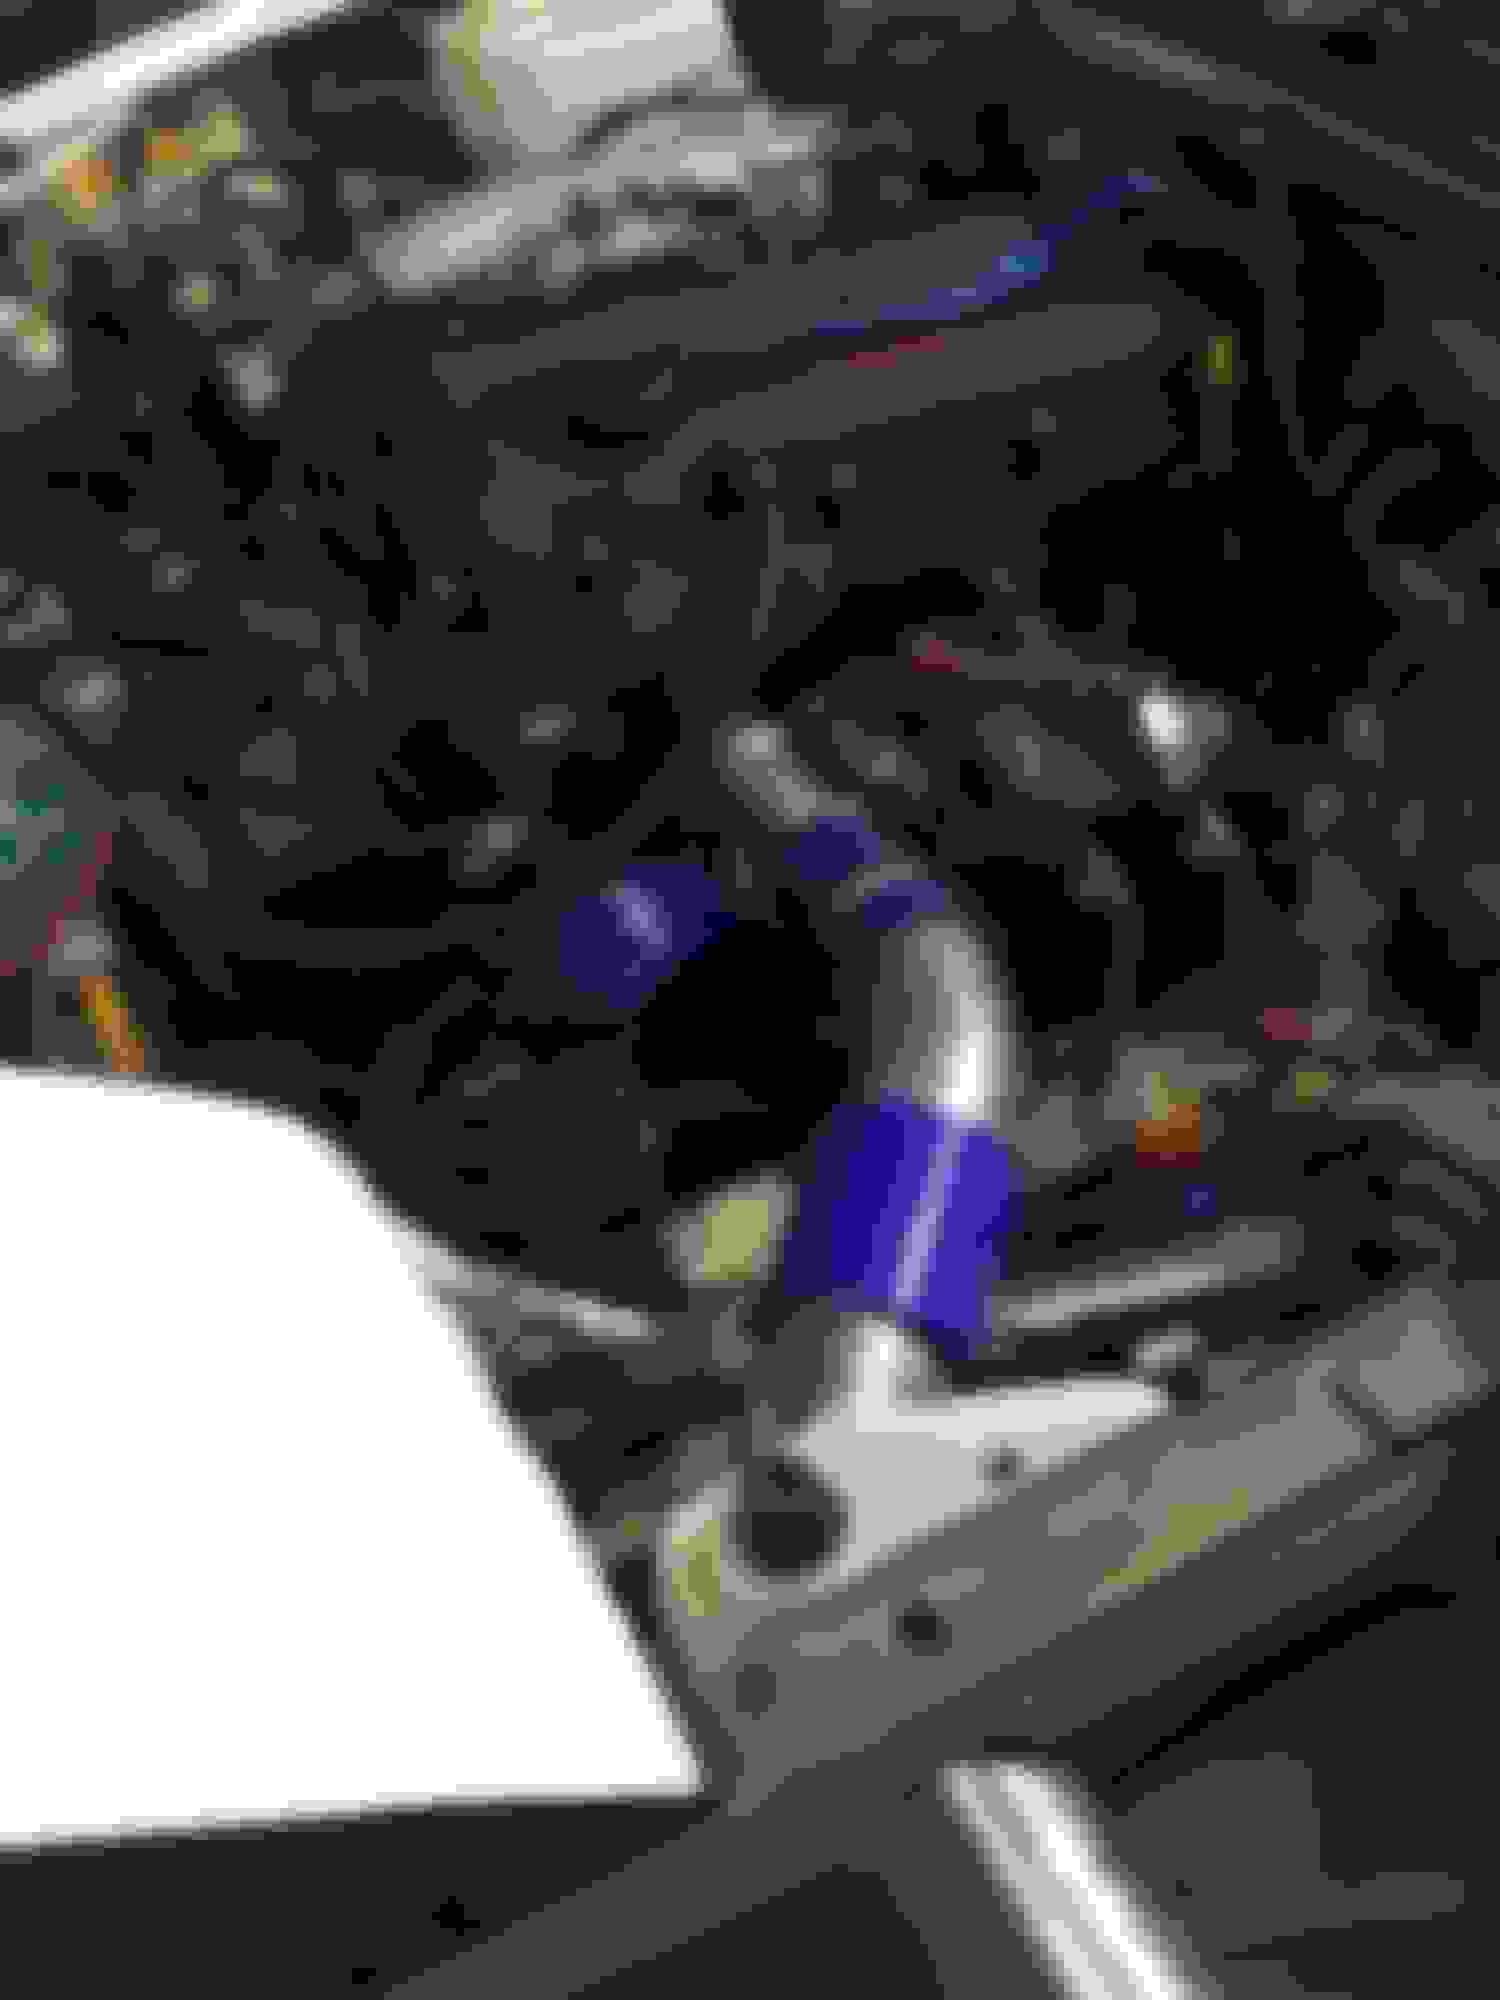
- Installed the new TPS
- powdercoated the valve cover
- powdercoated the oil pan
- installed new flywheel and clutch
- drilled oil pan
- installed oil feed and drain lines
- started on the intercooler piping
Decided to go right under the driver's side fender for the piping. Looks like there's way more room and looks cleaner than shooting it straight down. Thoughts on that?
If I'm not mistaken, all I need to do now is mount the intercooler, finish up the piping, figure out what to do for air intake, hook up and tap all the lines, wire up the gauges and I should be good to go.. Am I missing anything here?
For the air intake, I was planning on building an airbox right behind the master cylinder in the little cubby on the driver's side. I was told by a few mates that aftermarket air filters really suck for flow/filtering -- can anyone shed any light on this?
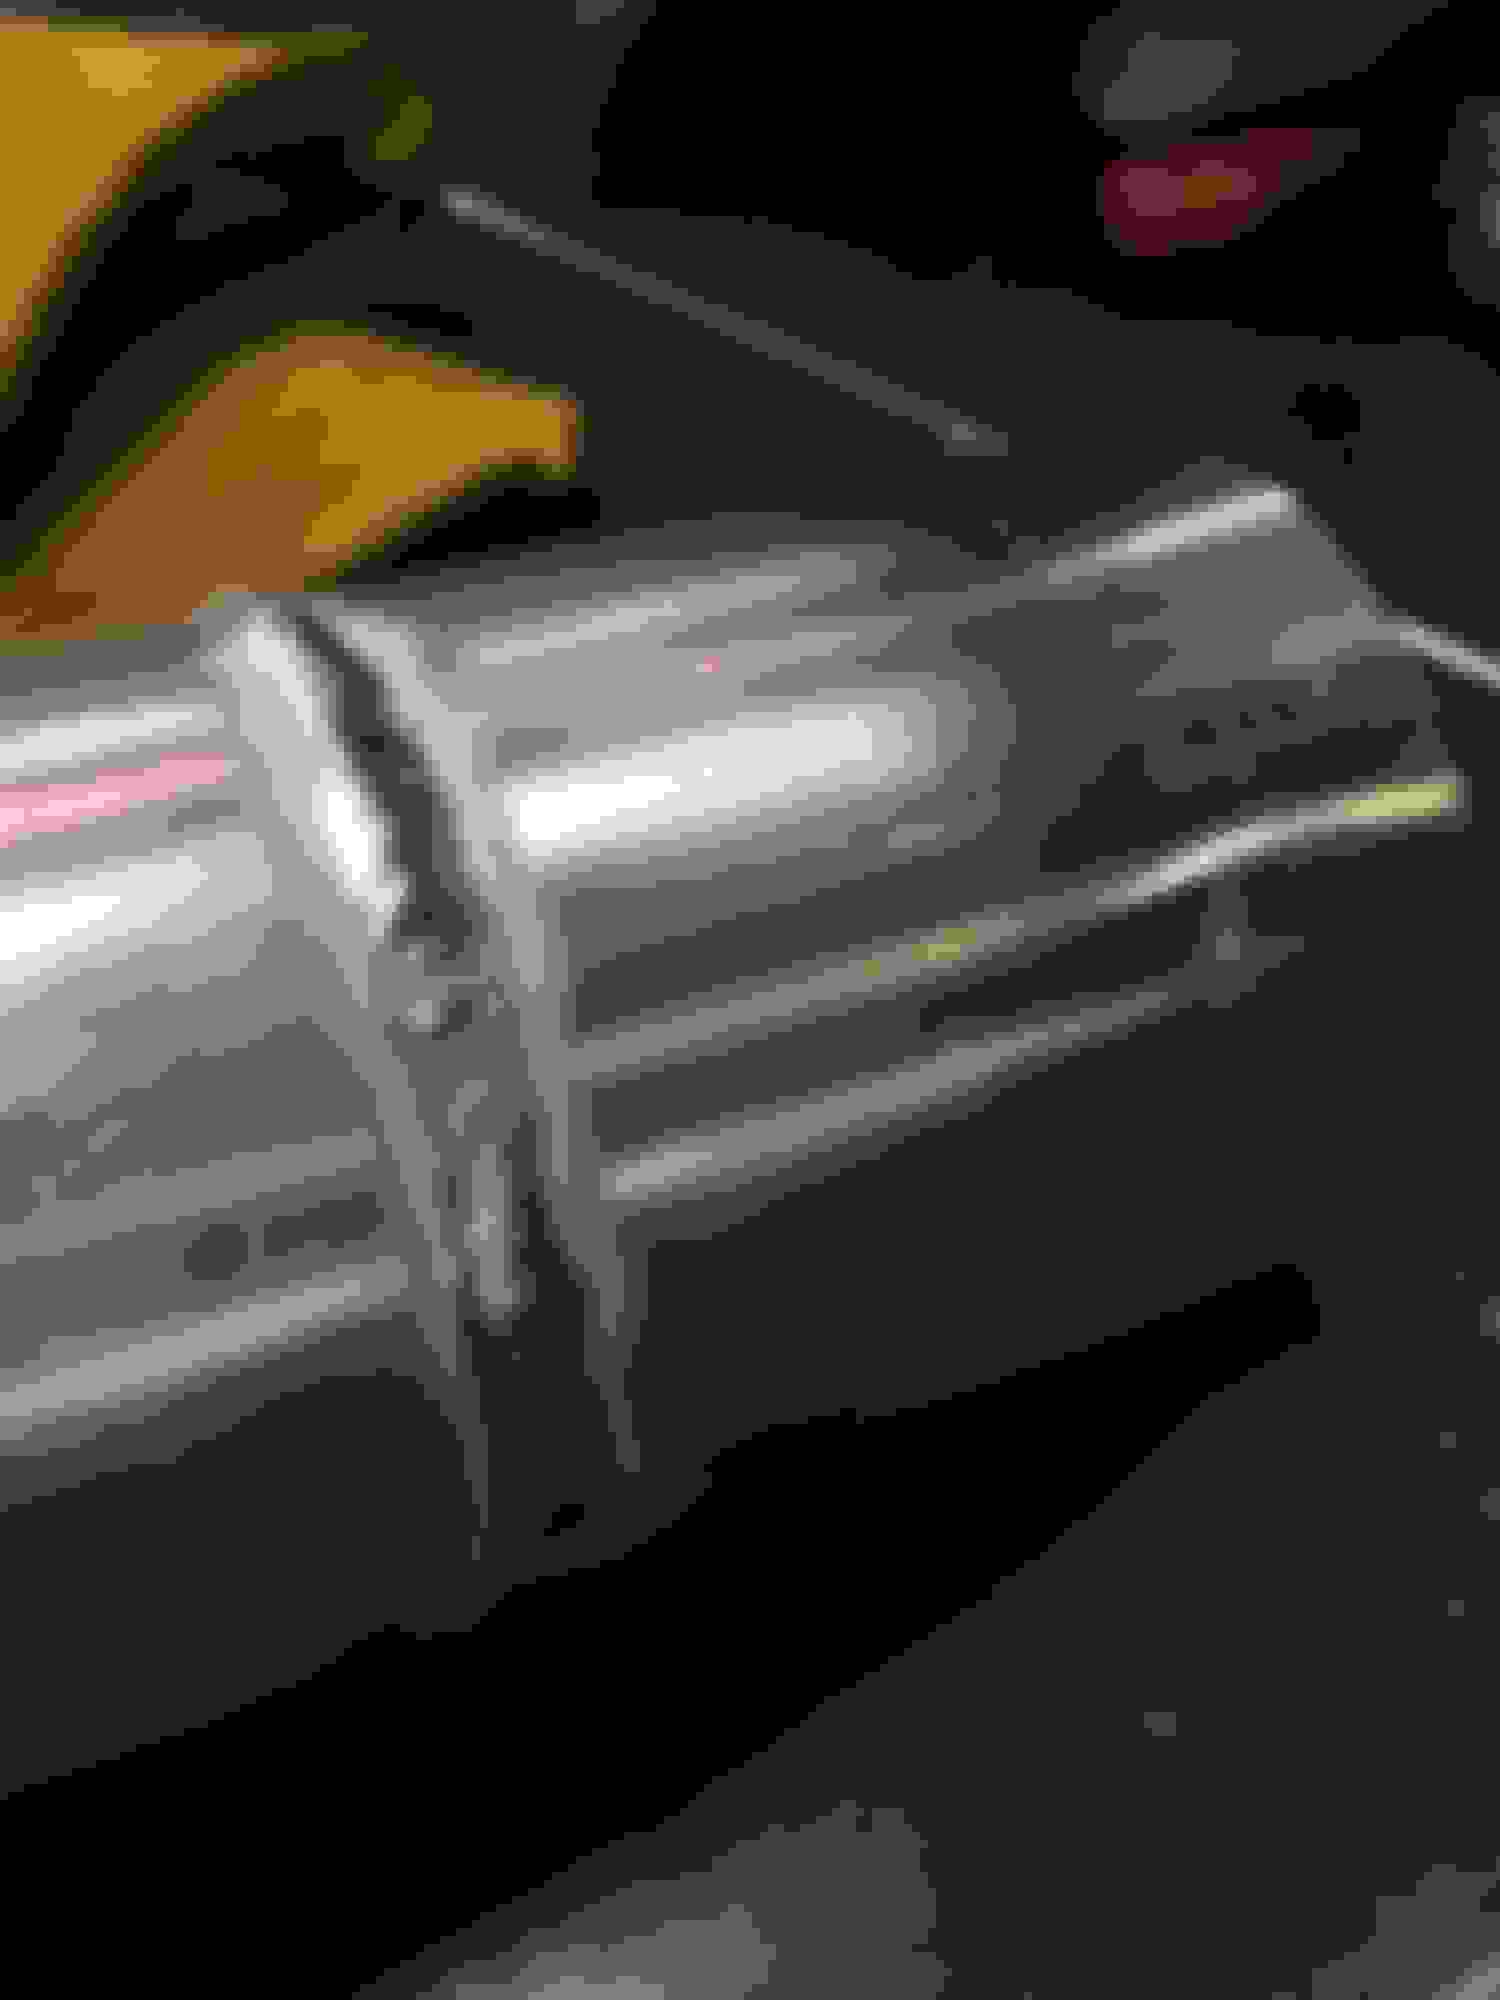
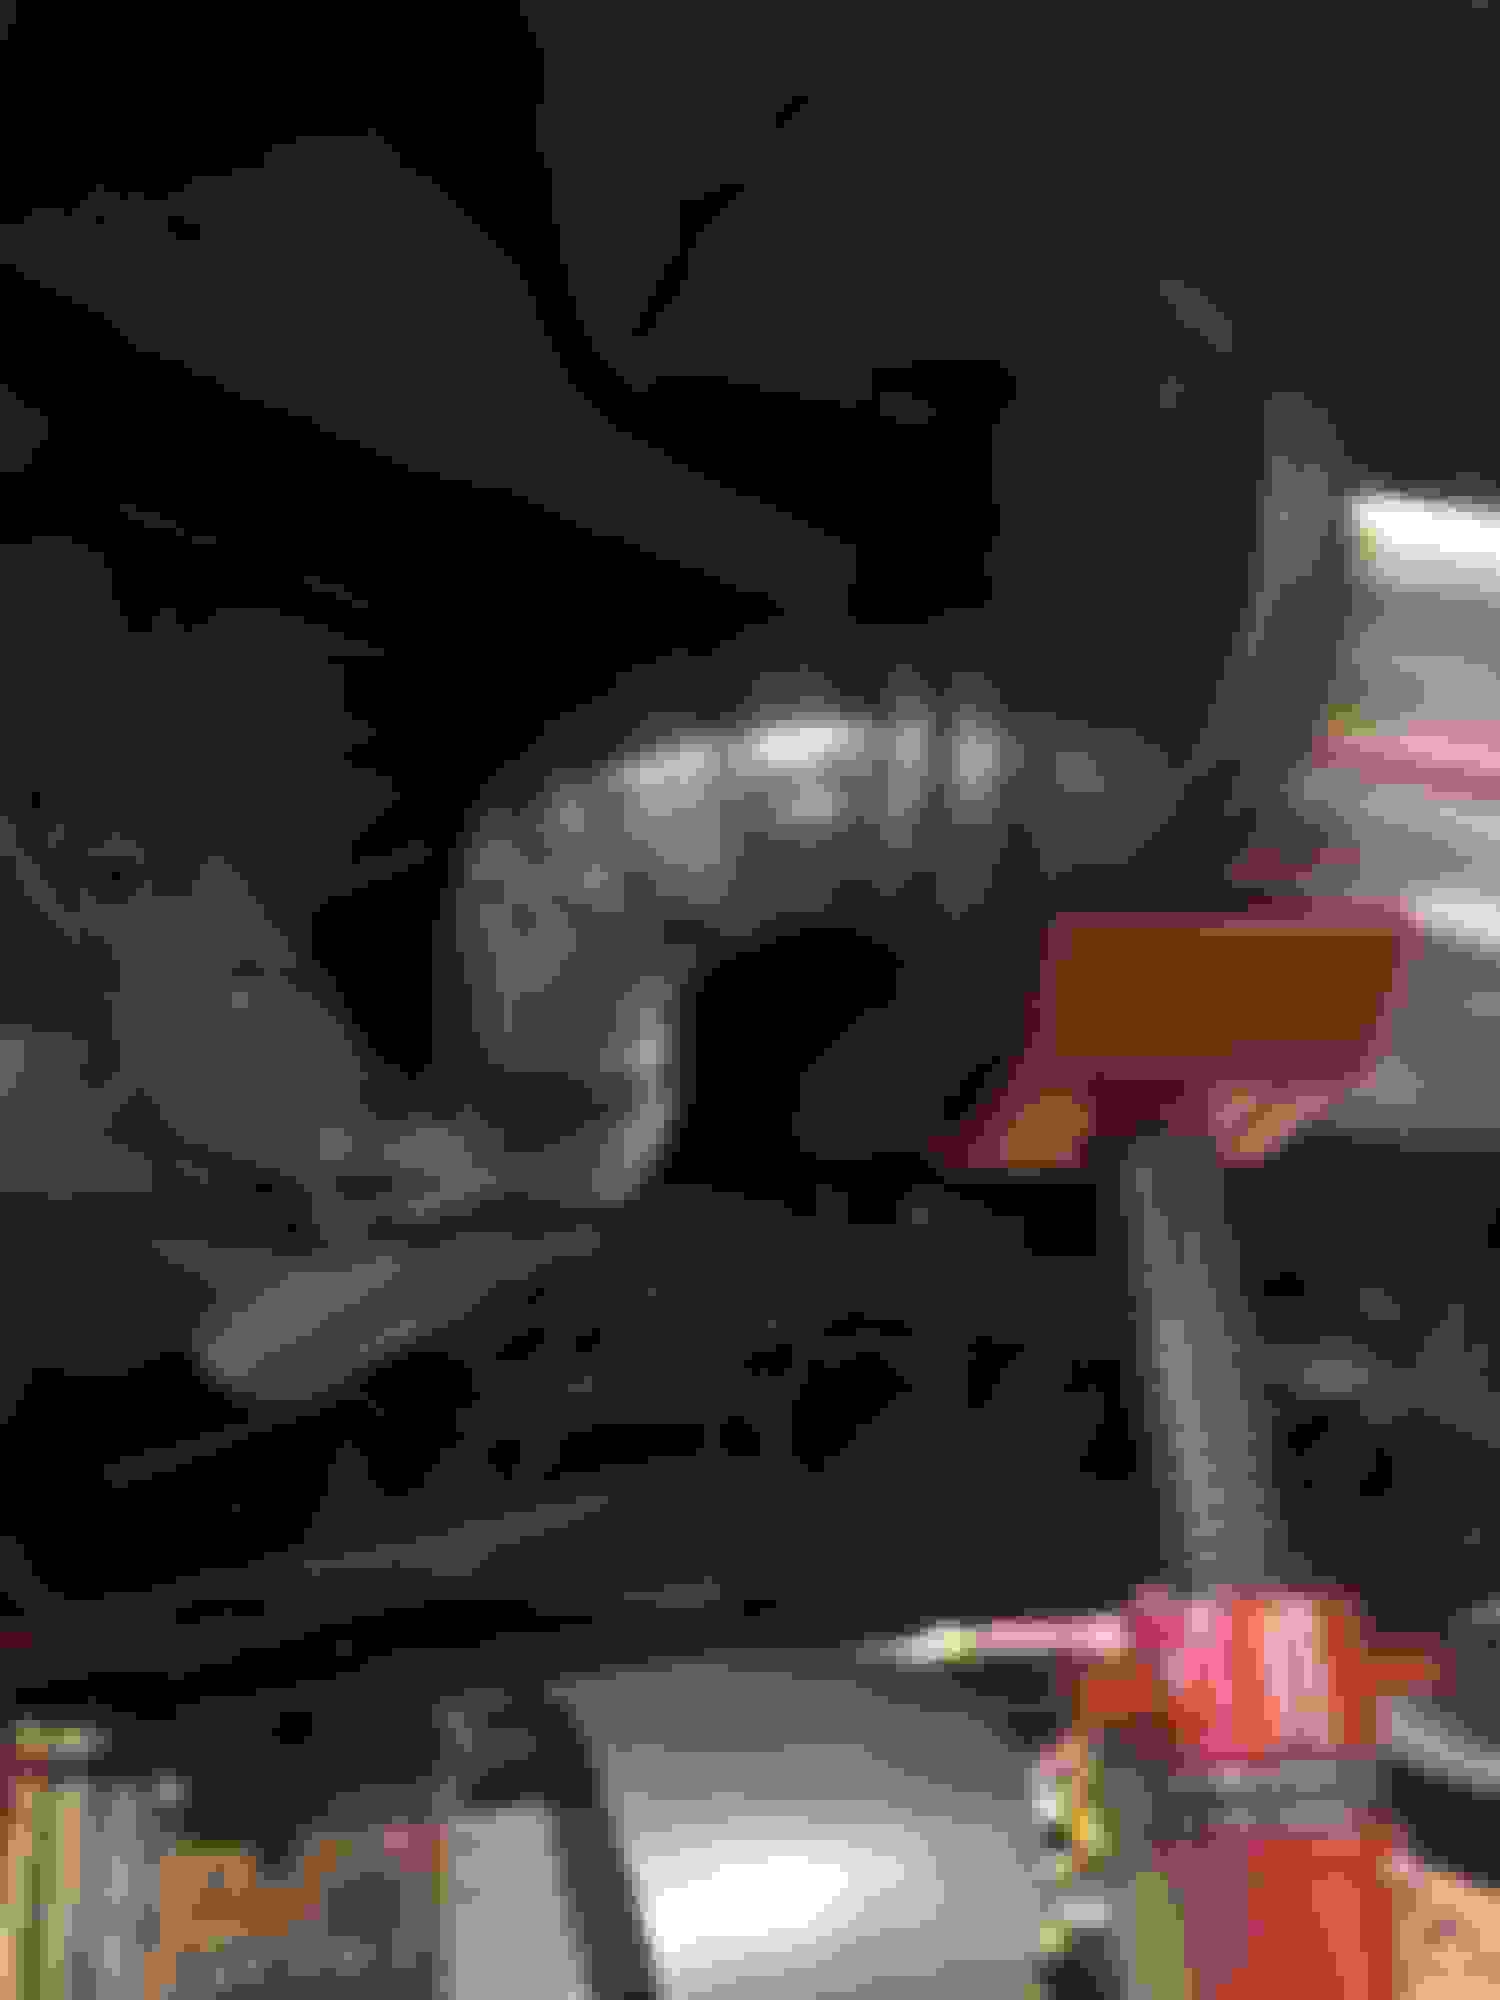
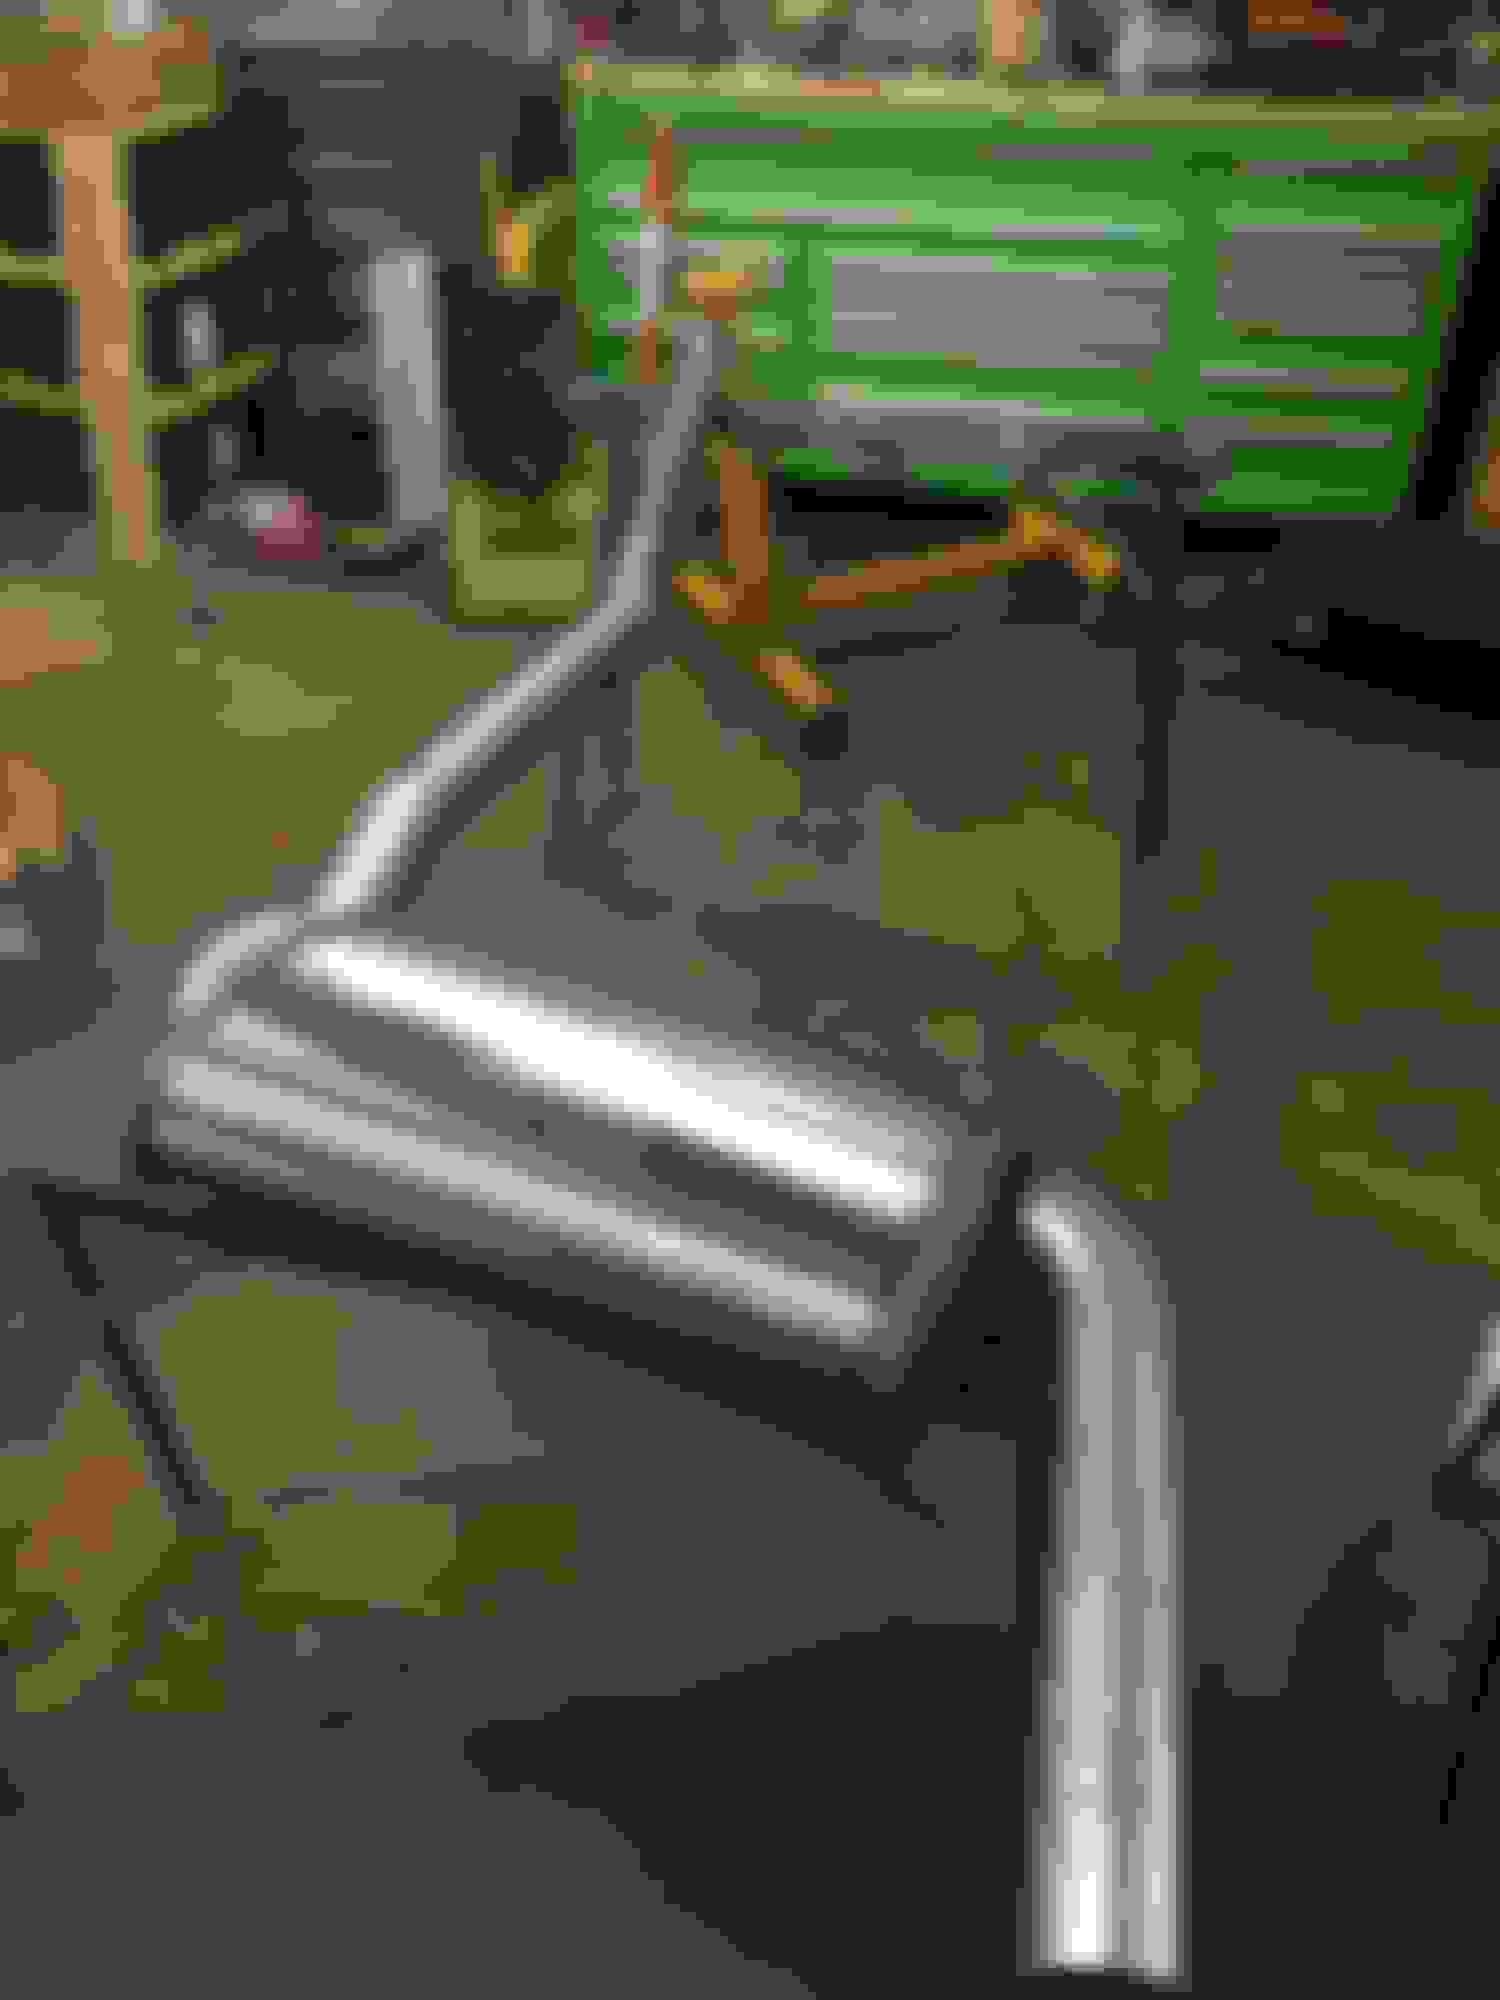
Can't wait to start driving it! New 3D printed TPS adapter. Looks so clean :-) New 3D printed TPS adapter. Looks so clean :-) Downpipe is in! Valve cover back on the motor. Getting started on the intercooler piping. Getting started on the intercooler piping. New powdercoated red oil pan. Had to end up dropping the subframe, which was.... fun... Loving the way it looks so far. New flywheel is in.... ... and the clutch + pressure plate. Finally got the tranny back in. Boy was this one a battle lol. Had the hardest time aligning the splines.
(09/23/2019 - More stuff happened - Car currently running)
So this will be a long post. I haven't updated this thread in forever due to my busy schedule, but we've been working on the car every weekend.
Short summary of what happened:
- Got the intercooler piping fabbed up
- Powdercoated the piping + compressor housing
- Fabbed up the exhaust system
- Got the car running
- For the first time in my life, I ended up driving a boosted car.
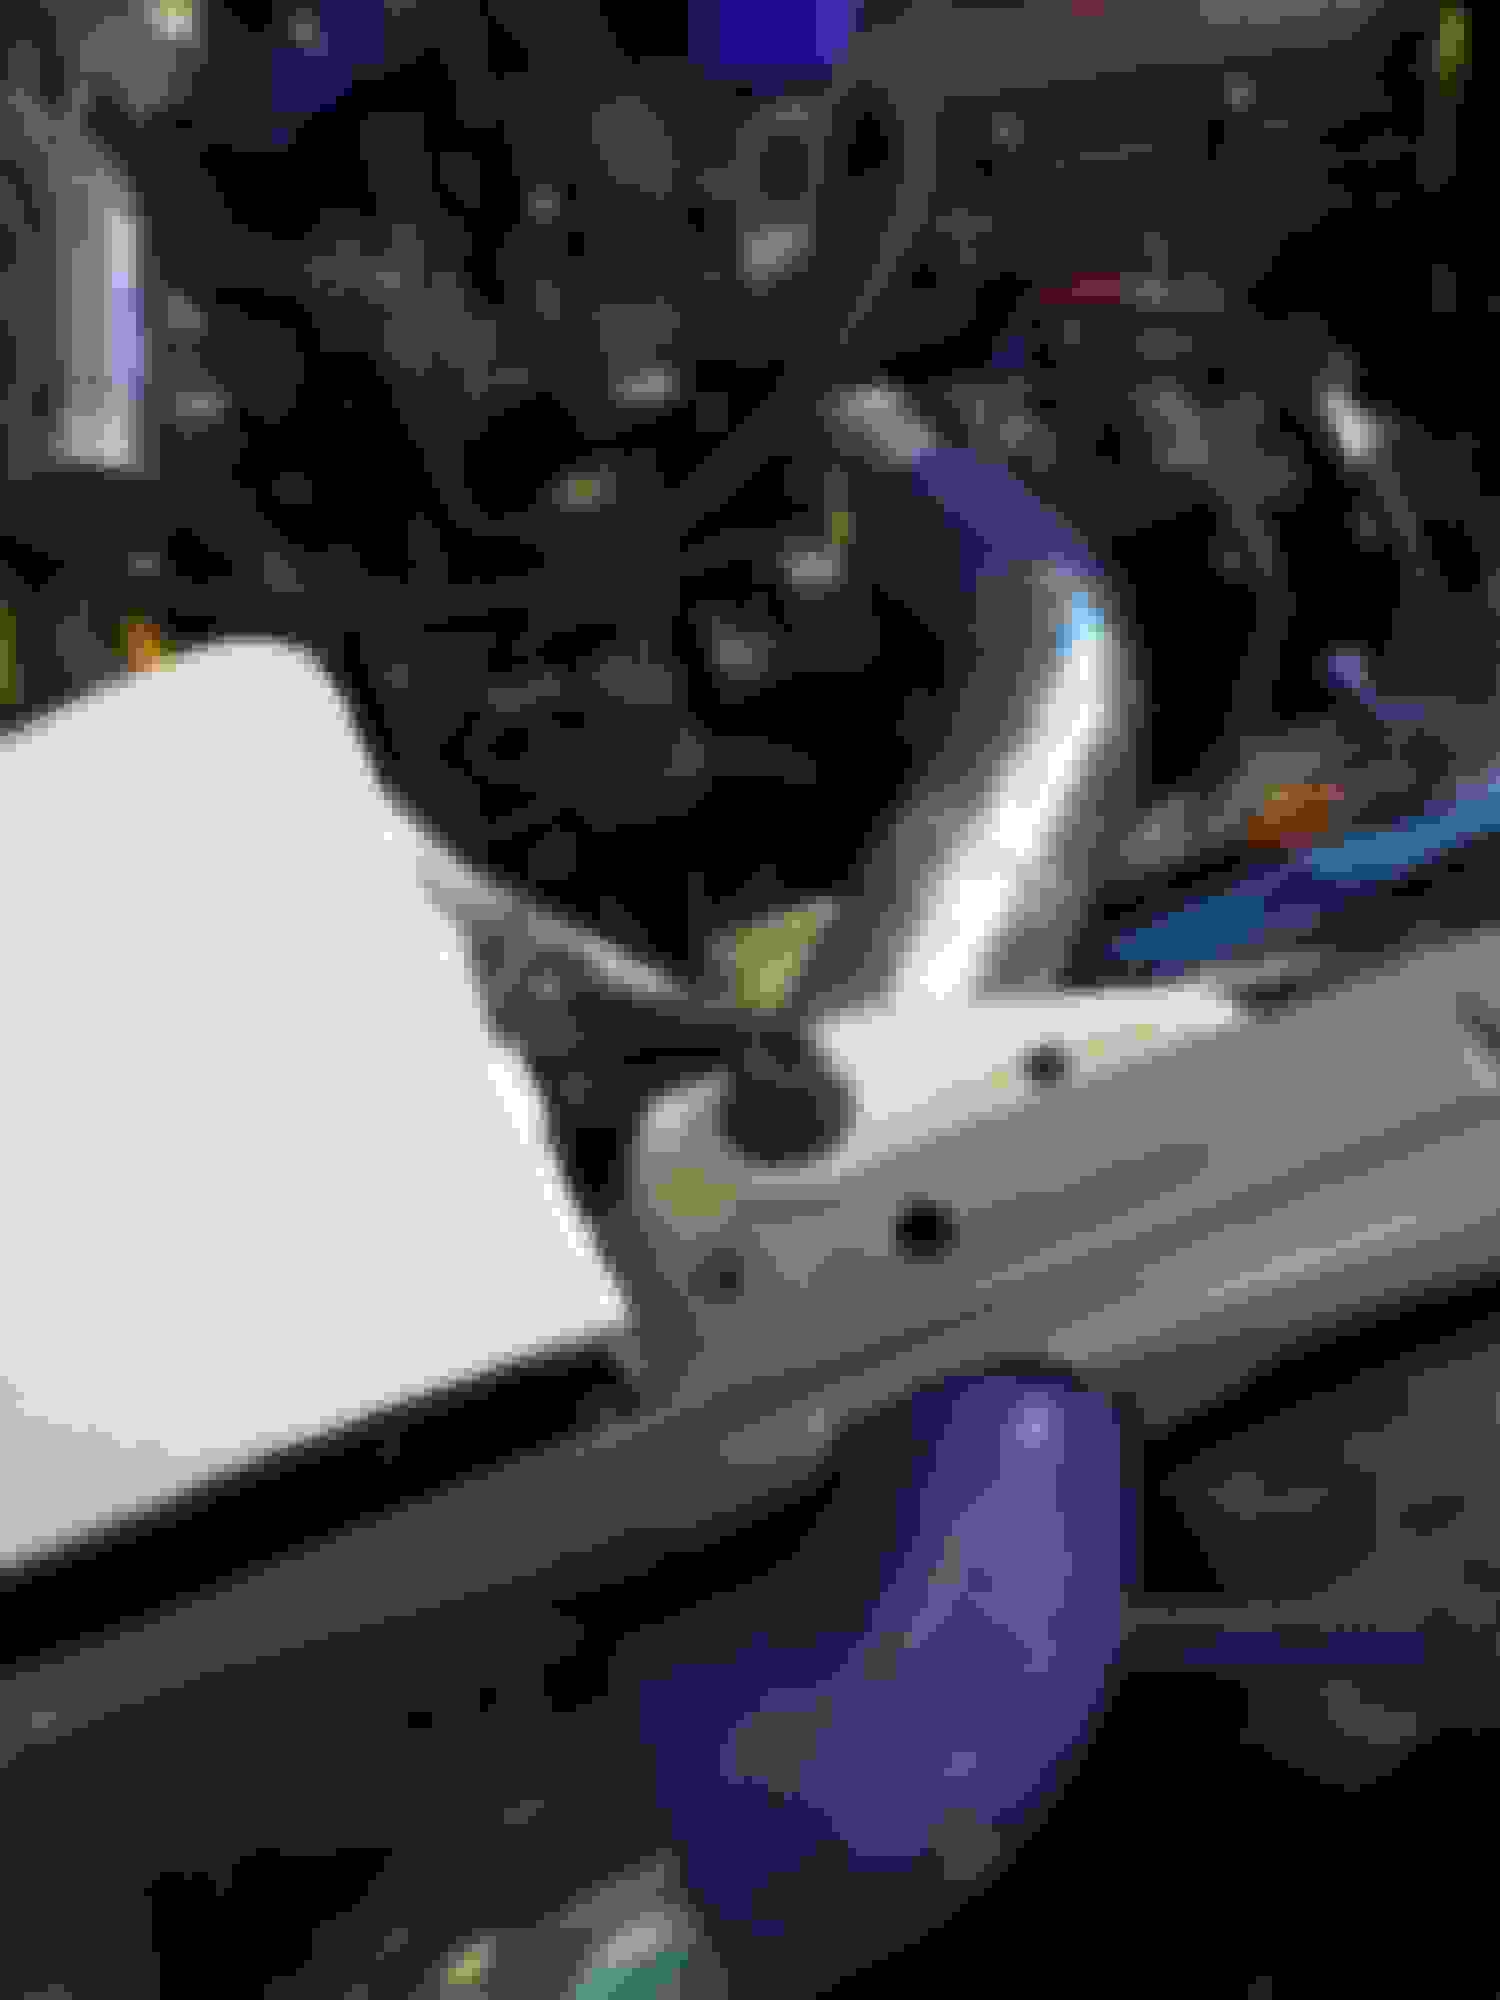
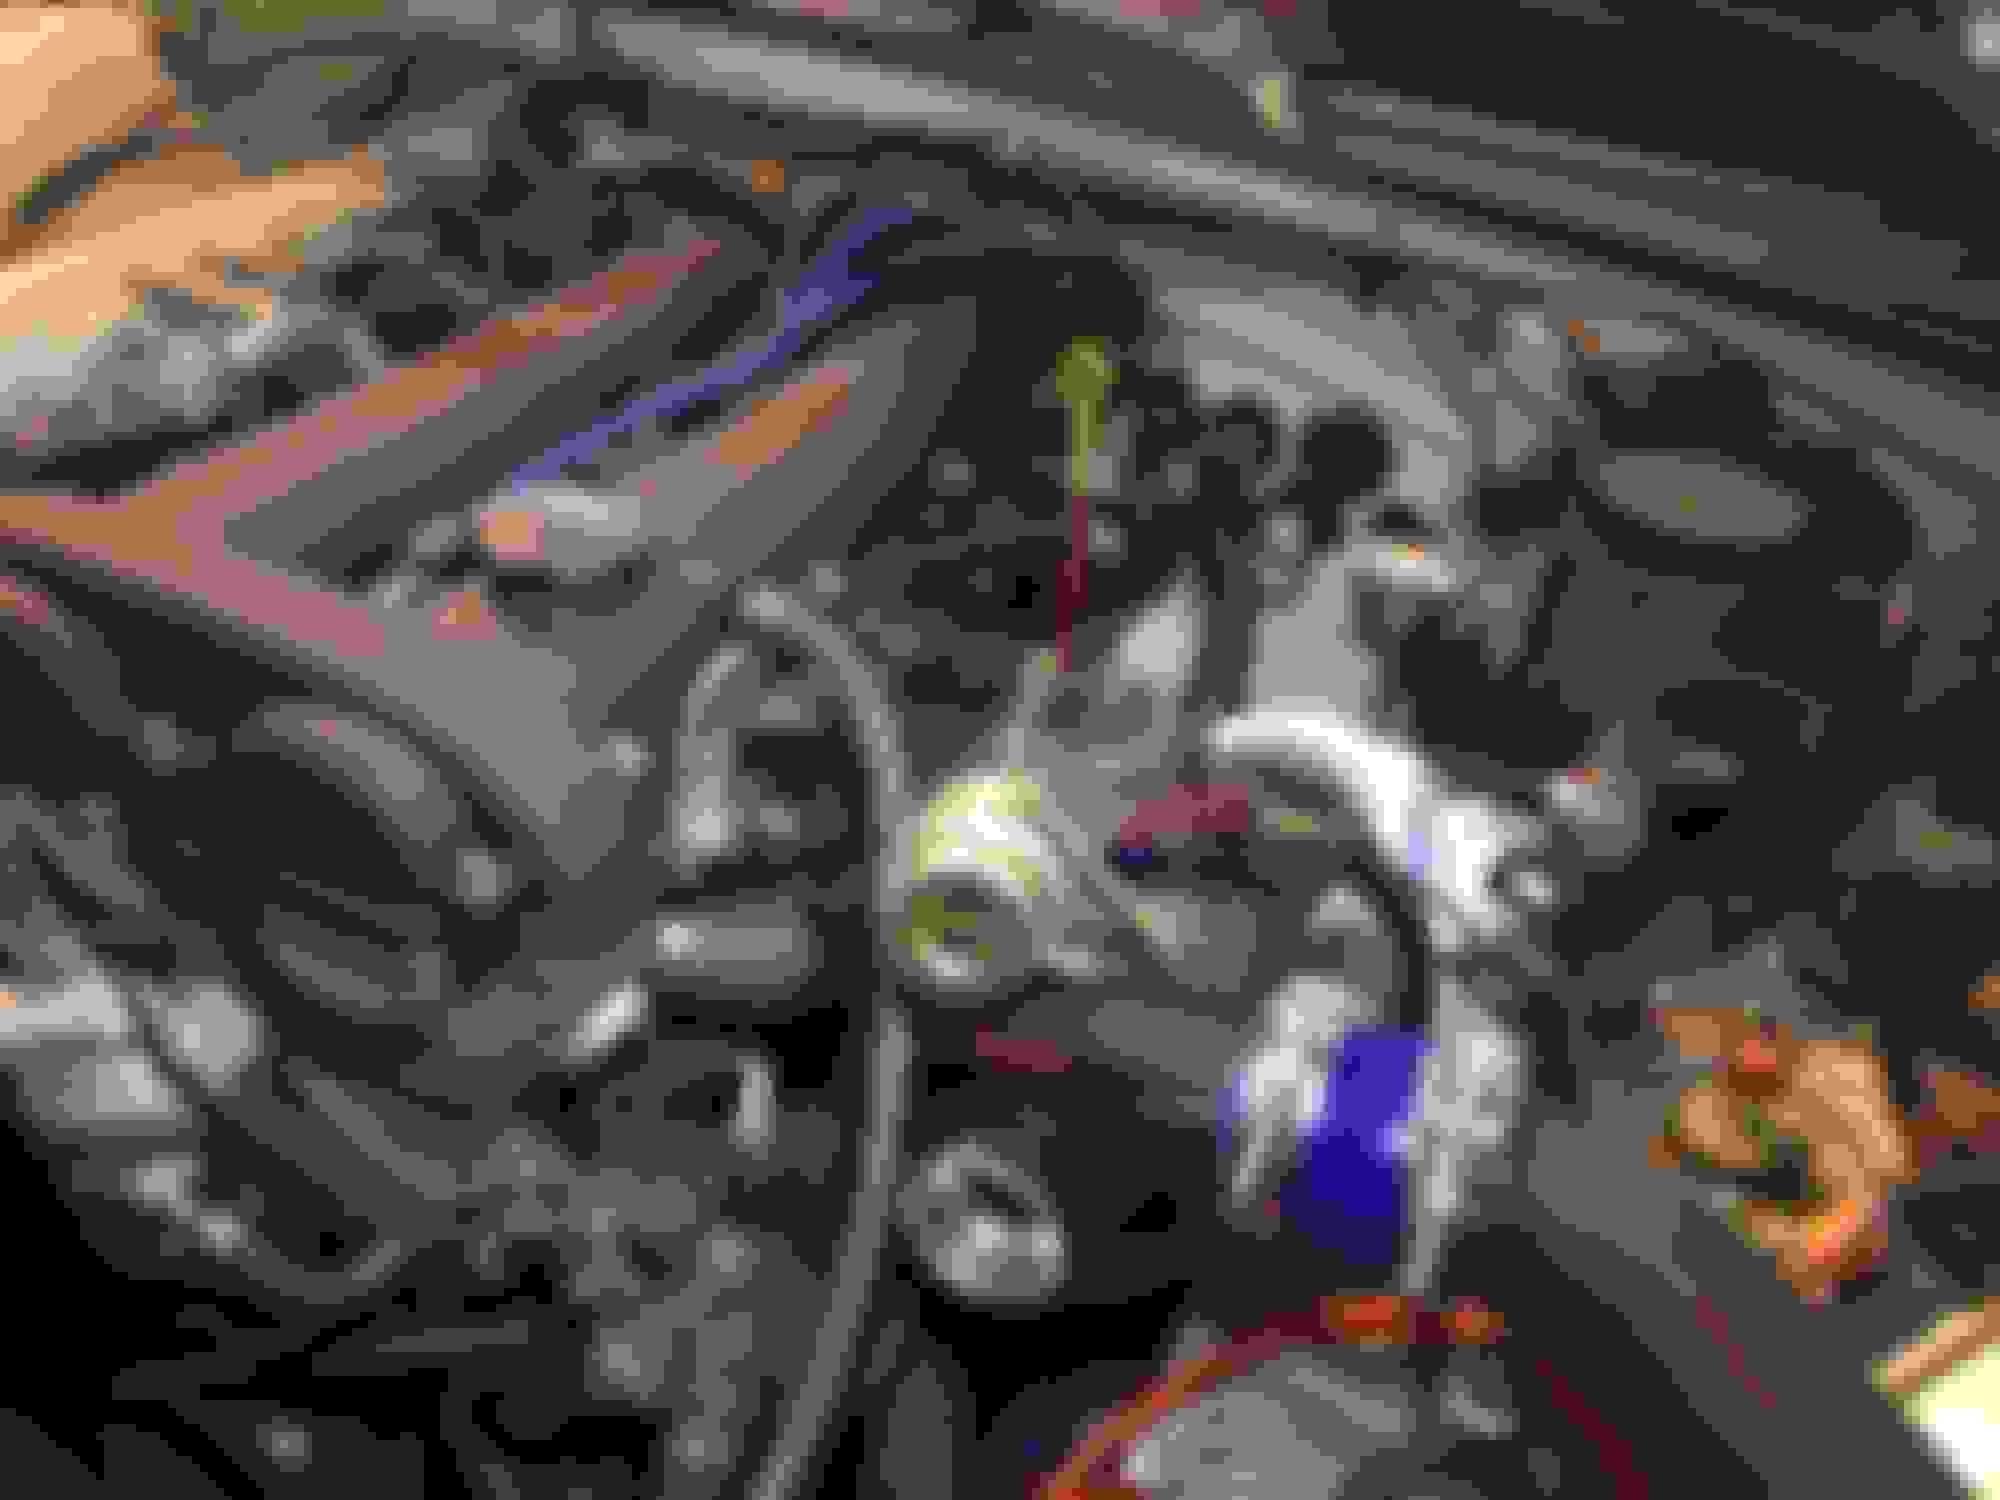
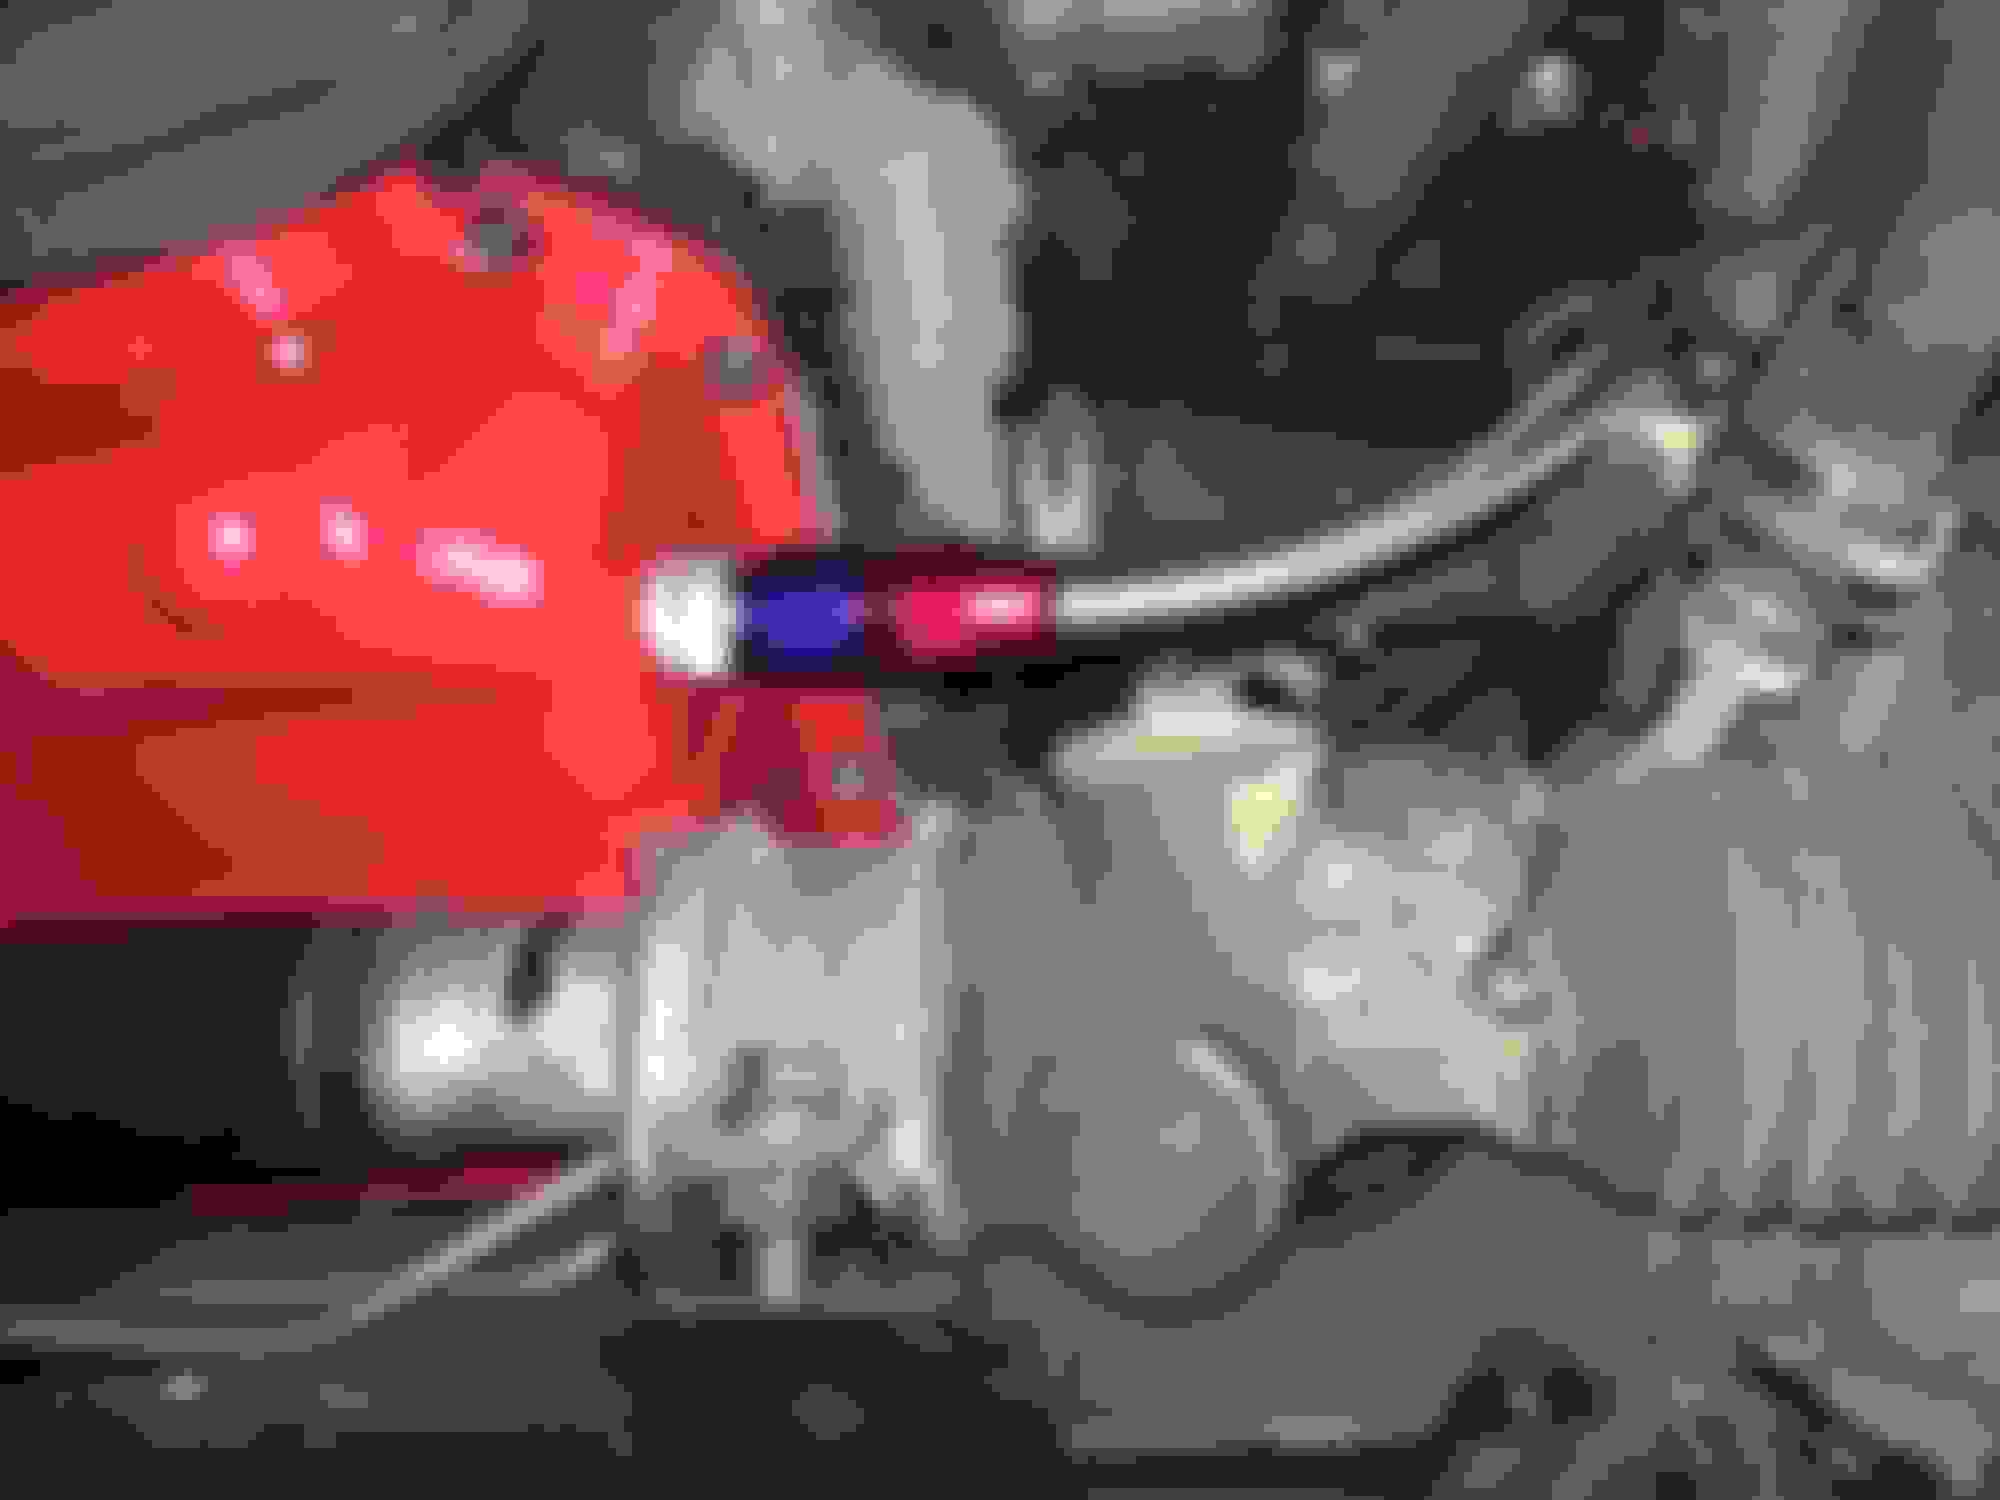
Quick look at progress so far.... More lookie looks :-) Initial mockup of the hot(ter) side of the intercooler piping. We decided to go right under the fender because it looked way cleaner and ended up having way less issues with clearance since the power steering wasn't in the way. Awwwww yeah... all mounted up in its glory Another view of the initial mockup All welded up!! Special thanks to my buddy for welding this up. Honestly don't know how I could have done this without help. Initial mockup of the cold(er) side of the intercooler piping. We went around the rad with a pretty tight 180, into *almost* a 90 going straight up to the throttle body. The BOV is mounted on the vertical part right before the throttle body. There were some clearance issues with my passenger side tire with the steering wheel maxed out to the left. Fixed that bad boy up with a good ol' hammer. All welded up, looking great so far! #dimes, baby Awwwwww ye... close up on the piping going inside the fender. All the intercooler piping DONE and mounted! No pics of it, but the mounting bracket for the IC was pretty strong that it held up my full body weight. Looking straight down from the TB. POWDERCOAT FTW! Went with wrinkle black to match the valve cover. A closer look... also powdercoated the compressor housing and injected the letters with some red enamel paint. Looking good so far. Also, this is when we prepared all of the oil lines. A view of the oil drain line going down to the oil pan. Started welding up the exhaust, thanks to my buddy for welding this up for me. We ended up having to mount the actual muffler on an angle to dodge any possible complications with the piping going around the diff. Another look at the bend into the muffler's inlet. Full view of the exhaust system, all welded up. Side-by-side comparison with the old exhaust. Gauges wired up and working!! Looks so seamless in those vents. Happy, happy car with a silly intake LOL. The engine bay with everything installed and ready to run... The intake is temporary for now while we figure out how to route the piping for the actual airbox we'll be putting in... more of that in my next update post. After hours and hours of troubleshooting a shitty "PLUG-N-PLAY" ECU (SpeedyEFI), my buddies finally ended up getting it running. This is me leaving the car right after I first drove it on the highway... GODDAMN was it amazing. This was my first time driving a boosted car, and man oh man, I gotta say that I love how it turned out so far.
Oh yeah... and those RX8 injectors I bought ended up being complete junk so I just reverted back to my stock injectors for now until I get a set of ID1050X's.
My next post will likely be about the airbox that we're making for the intake. It should turn out real nice when it's finished.
HUGE THANK YOU to my buddies that helped me along this build the whole way through. I KNOW YOU'RE READING THIS, so thank you Fi and Muf for all of your help throughout this whole process. It's been a freaking blast building this thing with your help. I've never thought I'd learn so much about cars in the process. Without your utmost generosity, I really don't know where I'd be in this build right now; so thank you thank you thank you!!!
 08-07-2019, 06:56 PM


 2
2


 Adding it to my planned parts list.