When you click on links to various merchants on this site and make a purchase, this can result in this site earning a commission. Affiliate programs and affiliations include, but are not limited to, the eBay Partner Network.
Hi everyone! First off, I know this isn't a Miata, but it has a Miata engine (sort of), a turbo, and it is still a Mazda so hopefully it counts.
This is my 1988 Mazda 323 GTX that I got recently. For those of you who may not know, it is an AWD Turbo version of the normal 323 that Mazda built for Group A rally homologation purposes in the 1980's. It uses a B6T engine which has the same block as the NA Miata 1.6, but with lower compression, different cams, and of course the turbo. The transmission is AWD and manual which is neat, but they break if you try to make more than around 200 horsepower and are tough to find replacements for. They only built 1243 of these cars for the United States, so you don't see too many around.
One of the biggest issues with the car is the body damage to the right rear in the second picture. Luckily it is just cosmetic damage, and I will absolutely be fixing it sometime in the future. The other good news is the body is otherwise in very nice shape. There is absolutely no rust anywhere, including the floor pans, rocker panels, and door bottoms, which is very common on these.
I am seriously very happy with how clean it is underneath. It will need some work, but it's in amazing condition compared to the other ones of these I have run across. Also, I am sure some of you are wondering, yes that trailer hitch is bolted right through the bottom of the spare tire pan. Not sure what compelled someone to go that route with installing it, but it will be coming off for sure.
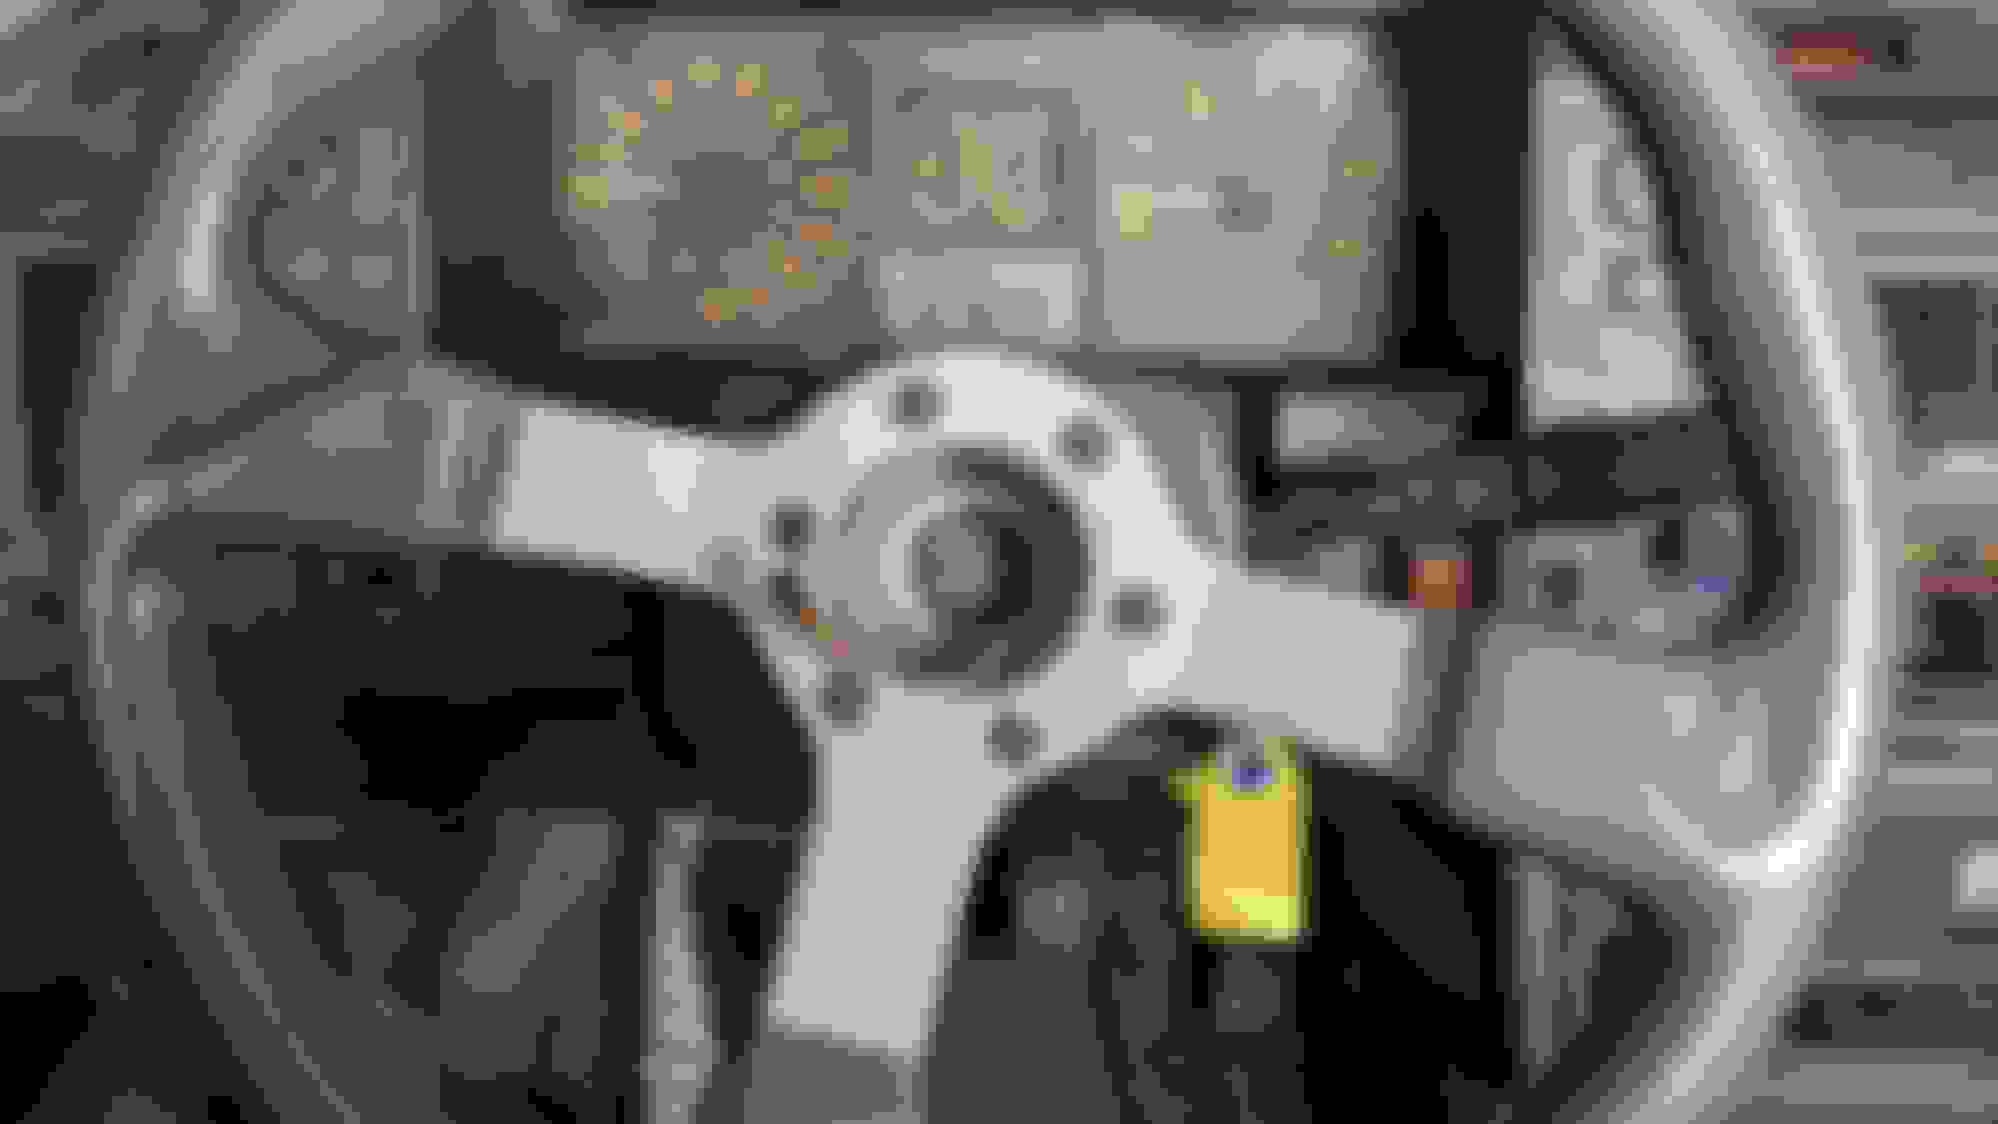
The interior is kind of rough but so cool looking! Mostly it just needs to be pulled apart and cleaned up, which I have actually already done and will be uploading some pics of later. The extra observant among you will probably have noticed the crack in the steering wheel hub adapter in that second picture. I have an OEM steering wheel from an RX7 that I will be replacing it with. It is a direct swap and fits the look of the car nicely I think.
The engine bay is a total mess of 1980's computerized engine control and emissions nonsense. I am going to be removing all of it and the end result should be an engine bay that is way cleaner and better looking.
I think that will be all for this "intro" part of this post. I have actually been working on this thing for a couple of months now, so I have a lot of progress and pictures queued up.
Some things I have already one, or plan to do to the car and upload in future post:
- Strip the interior
- Install sound deadening material
- Assemble interior with cleaned carpet and new seats
- Tear everything out of the engine bay because its all kind of broken but still somehow runs
- Clean and fix all of the engine parts / reassemble engine
- Replace the radiator with an Ebay one meant for a Honda
- Convert from original ECU to Speeduino with COP ignition and sequential injection
- Replace the sad broken struts with less sad new coilovers
- Upgrade the brakes with the so called "VR4" swap
- Probably other stuff I am forgetting or will find while taking it apart.
Anyways, I hope you all enjoy this, and maybe one of the 6 other people who still own these things will find it helpful someday.
Yeah that engine bay in the pic is all stock I think except for the air filter of course. Ripping all of that stuff out of there was so satisfying. The emissions stuff, wires, control modules, and all of the extra stuff that isn't going back in fills up 3 "bankers boxes". I have pictures of all of that stuff that I will compile together and post here in a bit while I wait for the machine shop to get the head finished.
I've always liked the 323GTX (and, sadly, they're even more rare in Canada). I vividly remember doing an Ice Dice (essentially a solo event on the same course that ice racers used - one plowed onto a frozen lake) in the '90s. I was in an Audi Ur-S4 on decent winter tires, thinking I was hot **** due to all the traction I was enjoying. My German O-boat was summarily lapped by someone who showed up in a GTX and it renewed my appreciation for lightness over road-hugging weight/plenty of power. Looking forward to following your restoration.
Hey! Welcome to the forum and thanks for making a thread. Your car (other than the body damage) is super clean! That lower wing with no rust bubbling is a real gem. I have 2 of these, both 88's (as well as my turbo miata). There are a few others that have them on here, and a really good build thread from toiyabe
Definitely be sure to join the FB group as well, lots of good info there. I highly recommend the galant brake upgrade (uses galant non-vr4 rotors, escort GT front calipers, miata rears). Quite a few are running around with hotbits suspension, which is a bit pricey, but nice and one of the few bolt on options.
Amazing project!! I really love the simplicity of these 323GTX. There are so few around and you are lucky to have found one with no rust. I remember working at the Mazda Dealer in the 80's and one of the techs dropped one of these off the lift because the lift arms weren't extended properly.
I have lurked on this forum for years, mostly watching Toiyabe build his GTX. Useful information for my GTX.
I want to follow this build thread, see how you progress and make it all work out. Do you plan to repaint the whole car when you get to pull that RR quarter? The car is a great clean starting canvas.
Look forward to the engine compartment photos when you post them, and how well it all pulls together and runs with all the "bankers boxes" full of stuff not going back in the car!
I have owned 4 of these, and currently purchased the last one this month. I hope I can be helpful if needed.
Steveracer, thanks for that google group link. I have been reading through it and have already found some very useful info. Also in response to Fireindc, the Galant brake upgrade is totally what I was thinking of. I already had the miata caliper adapters for the rear laser cut along with the tone wheels and sensor mounts for the new ECU. I will post those in a later update although it probably won't be for a while since the engine stuff is taking way more work than I expected. I found out today from the machine shop that all 8 exhaust valves are bad and need replaced. Ouch!
Oh also, I am located in Iowa. I have never seen another one of these things here, probably because the road salt they put down in the winter turned them all into dust.
Here is a sneak peak at the box of wires and control modules that are not going back in the car.
Goodbye 1989 scrapyard ECU and Mitsubishi knock control module.
I think my next full post on this project will be interior related, so stay tuned for that this weekend probably.
Last edited by SDryluth; Mar 31, 2022 at 04:07 PM.
Goodbye 1989 scrapyard ECU and Mitsubishi knock control module.
The knock box is a nice protective feature, that was well designed, and effective. I can see changing the ECU, but from what I read on this forum people have a fair amount of trouble creating a decent knock protection system with after market ECU's like MegaSquirt. Not impossible, but certainly tricky.
Why kill it off? Is it just too hard to make work with an aftermarket ECU?
I am ditching the stock knock box since it is designed to work with the original distributor setup, and I am switching over to coil on plug. You are definitely right that aftermarket knock control solutions are tricky at best. If the distributor on my car wasn't so damaged, I would be very tempted to just keep it.
This post is going to mostly focus on the interior of this thing and fixing some of the troubles it has. It won't be going all back together in this post for reasons I will explain later on, but we will make some good progress.
The interior of the 323 when I got it was pretty gross. That interior picture I posted shows some of the issues, but not others. The dash is badly cracked, the carpet is very gross, the driver's seat is a replacement that is too wide and not very comfortable the passenger's seat is the original but torn. The door panels have also had the pockets removed and some ugly Best Buy speakers bodged in. With all this, I figured the best first step would be to just take literally everything out.
Looking better already. I spent a solid hour just scrubbing the floor pans with soapy water between the first picture and the second picture. I know it still doesn't look perfect, but it is so much better and it smells a lot nicer too, which makes me happy.
This thing had some pretty serious NVH issues in its stock form that I wanted to address with this project. I know it won't ever be perfect on account of being a 2600 pound rally car from 1988, but I think we can do better than the factory did at least. Part of those efforts are the dynamat shown in the picture above. This stuff seriously helps a ton. Don't worry, the driver's side floor pans also got the top layer of open cell foam after this picture was taken. I also stuck some damping material inside the doors, in the hatch area, and in the rear quarters.
Carpet is back in now. I know it has a few stains still, but it was so much worse before. I spent hours using a carpet shampooer and drill brush to get it to this point so I really wish it was better, but I honestly just don't think it can get any cleaner than this. Luckily the seats cover up the really nice clean parts, so the dirty parts don't look so bad. Speaking of seats...
This is the part where I expect some people will disagree with my choices, but just give me a moment here to justify why I choose these seats. The original passenger side seat was badly torn and worn out, and the original drivers seat was missing entirely. If I had at least had the two original seats with torn fabric I would have just had them upholstered, but I had no luck at all finding a replacement GTX drivers seat. I ended up just wandering around the local pick n pull yard looking for seats that would fit nicely, and I decided to go with these from a 2002 Subaru Forester. I do wish they were a little darker, but I think they look really good. They look a bit high up in that first pic, but it's just a perspective thing from the camera angle, and lack of dashboard. I measured carefully to make sure they are in the exact same position the original seats were for both front to back position, and height. I find them to be very comfortable, decent looking, and they have a good bit of side bolstering. I also was able to keep the Subaru seat back and bottom adjustment stuff while using the GTX seat rails for forwards and backwards adjustment.
Also check out how bad the crack on this steering wheel hub adapter was! I have never seen anything like this before, and I can't even begin to imagine what caused it. You can sort of see the replacement RX7 steering wheel in that first seat picture. I will show it off more later.
I think that's all for now. The next post will probably focus more on engine stuff. The engine work has turned into a huge project on account of an incredible number of broken parts. This thing really lived a hard life before I got it.
Oh also the dashboard is still out right now so I can more easily run the new wires and stuff for the standalone ECM. We will go over fixing the cracked dashboard, door cards and putting the interior the rest of the way back together later.
Wow. I love the detail you are going into here, thanks for sharing. I also love the forester seats, they are super comfortable. Makes me want to put some in my DD GTX so I can run heated seats in it.
As for NVH, I find most of the NVH in mine is from the various plastic panels. So take some care putting those back in and shimming them so that they sit tight. I also though about using some hot glue on the backs of them to give them little pads to sit on so that they don't rattle as much. But then again I daily drive a 1988 economy car turned into a rally car, who am I to care about rattles?
My plan for the engine originally was to remove all of the 80's emissions and computer control junk, build a new engine harness for the speeduino, maybe clean up or replace any parts that looked really bad and call it a day. As you will see in a moment, things didn't entirely go my way. The theme of this post is "and then that was broken too"
This is after I pulled the intake off, and removed a bunch of the no longer needed vacuum stuff from the firewall. IF you compare this to the engine bay pic in my first post, I would say this is already pretty good progress. At this point I was feeling pretty good. Just pull the valve cover to paint it, make sure nothing else looks too messed up, and we are good to go! Oh also lets just pull the heat shield off the exhaust manifold real quick to make sure its not cracked, since people say that happens on these....
Well, that isn't good. That isn't just a little cracked, that is like really really cracked. People online say that this happens to literally every single one of these and so good used replacements don't exist. Nobody makes a replacement aftermarket one, and OEM ones are NLA. Just GTX things. Lets just pull this off for now and we will deal with it later. Maybe I can just weld up a tube header or something.
Okay now the exhaust manifold is off and oh wait this doesn't look good at all. See all of that oil in the cylinder 2 exhaust port? That really isn't supposed to be like that. The oil on the block under the cylinder 2 exhaust port was there before I pulled the exhaust manifold, so I figured probably just a leaking head gasket. If there was ever an excuse to pull the head and send it to the machine shop, this is probably it. Luckily I already had the intake and exhaust off, and I wanted to do the timing belt anyways, so actually not a ton of extra work.
It really only took like 10 minutes to get the head off. Not too bad if I do say so. You Miata 1.6 owners with good eyes may have noticed this has two extra exhaust studs compared to the Miata head. With that off I took it into the machine shop to have them check it for cracks, clean it, do a valve job,and deck it.
The machine shop usually takes about a week to get a head like this done, so when I got a call 2 days later, I was a bit nervous.
Well that isn't good. That is a pretty deep crack going from that oil port down through the exhaust valve seat. You can actually see the crack go all the way into the exhaust port if you look into it the right way. That is the exhaust valve on cylinder 2, which is the same one with all the oil in it when I took the exhaust manifold off. This is all making sense now. It still sucks though, because this head is not going to work.
This is where I got super lucky. I found someone just an hour drive from me selling a used but good Miata 1.6 head for a very good price. The head from a 1.6 Miata is nearly the same as the one on the GTX. I will need to use the GTX cams, and also the Miata puts the thermostat housing on the front of the head not the back, so I will need to block off that extra water port on the front of the head. I actually already took that new head into the machine shop, had them do all the work I was going to have them do to the GTX head. I have it back now and it is all good and crack free, so that is a huge relief.
That is all for this post. Next time we will paint an intake manifold, put the engine back together with some cool new parts, and clean some hydraulic "lifters".
Last edited by SDryluth; Apr 13, 2022 at 12:22 PM.
Wow, amazing carnage! I've never seen a head crack like that.
The exhaust manifolds are all cracked like that. Mines just as cracked as yours, and surprisingly really doesn't leak. I'd definitely drill a small hole at the end of the crack to terminate the crack, then have it welded up while you have it off though.
The 91 to 04 Capri XR2 manifold looks to be the same. https://shop.moderncapriparts.biz/ca...=13847&cid=148
I'd figure the Capri head would be the same as the GTX.
There are a couple of Facebook groups where you should be able to pick up a whole car or complete engine for what the NOS manifold would cost.
Let's take a look at some engine stuff.
The head from a 1.6 Miata is nearly the same as the one on the GTX. I will need to use the GTX cams, and also the Miata puts the thermostat housing on the front of the head not the back, so I will need to block off that extra water port on the front of the head. I actually already took that new head into the machine shop, had them do all the work I was going to have them do to the GTX head.
You can run with the Miata cams, since you are not using the original distributor. They probably have the connection on the back of the cam that the distributor needs, but later ones might not. So the reason to change is because you think the cams from the turbo head are a better choice than the cams from the Miata head. Given the low compression of the B6T block (7.9 or so if I recall, vs 9 of the Miata) the GTX cams may be better tuned to the compression stroke range. I don't know enough about cam timing lobes to judge which is best, although the information is available.
I know its been a while since I posted an update on this, but I have been working on it.
I was able to get a used cylinder head from someone locally and it ended up being in nice shape with no cracks, which was finally a step in the right direction. I had the machine shop clean it up, do a standard valve job, and deck it.
With the head and timing stuff back on, its finally starting to look better, but we still have a long ways to go. I am using the GTX cams in the Miata head since they are slightly better cams for this application than the Miata ones would have been.
The head also included the old Miata optical CAS. This as many of you probably know just bolts right up where the distributor would, meaning I can use either it or the original GTX distributor on this Miata head. I am going standalone so the CAS was the way to go.
On the left here we have the original optical CAS disk, and on the right is a new higher resolution one I made. I know the Miata (or really 4g63) cas disk is used plenty often by people running standalone ECM's, but I figured more resolution is more better, and I was getting some other stuff laser cut anyways so why not.
For my speeduino setup I will only have it reading the outer ring as a 24-1 cam speed crank wheel. The inner single tooth wheel is unused in my setup but is there in case I ever want to put a seperate crank signal on the crank and use that single tooth as the cam signal. Future proof, or something.
Here it is back in the CAS. Looks nice and original, not that anyone will ever actually see it with the cover on.
For my ECM I am running a speeduino. I designed and 3d printed this case which places both the speeduino and an idc 40 pin breakout board in the original 323 GTX ECM location. If anyone ever decides to do something like this, it is super important to know that the pin numbers printed on that breakout board (from Amazon) are entirely wrong. Guess how I found that one out?
I made up this new wiring harness including a new fuse / relay box. This was actually a kind of annoying process which involved laying everything in place in the engine bay, terminating all of the connections, then taking the whole thing out to wrap it up, then putting it back in again.
There is a lot going on in this picture. I have the wrapped harness installed, and I mounted the new fuse box on the left there where the knock control box would have gone originally. The CAS is installed, and so is the intake and intake accessories. I welded a bung onto the charge pipe for an air temp sensor and it turned out really nice. It ended up right where the throttle cable is supposed to mount, which isn't so nice. I will move the mount somewhere else. In the back of the pic I have installed a Haltech IAC, aftermarket fuel pressure regulator, and Subaru style fuel filter on the firewall.
Here is a closer pic of that IAC and fuel pressure regulator. setup against the firewall.
I think I am going to cut the post off here. There is still a lot more to do, but we are getting pretty close to a first start! I am actually just waiting on some specialty radiator hose elbows to show up and then I think we will be ready to try it out. The next post will probably focus on mounting the Honda Civic radiator, my new power steering pump which is from a Nissan Altima, and whatever else I find to include.


 12
12