When you click on links to various merchants on this site and make a purchase, this can result in this site earning a commission. Affiliate programs and affiliations include, but are not limited to, the eBay Partner Network.
I know it might be considered sacrilege to the MT.net gods, but I recently purchased a NC.
It was local, a steal, and effectively a deal I could not pass on. The owner was a very cool and was very transparent throughout the transaction. It was his track day toy and well prepped. At first, I was not a fan of the NC, but my tune soon changed after riding passenger in my friends NC1. It feels like a much more modern and larger car when compared with the NA/NB, yet their footprint is relatively similar. It does not have the same "toss-ability" I have grow to love of the previous generations but is still a small car. I am not a fan of the styling, but it should make for a fun car.
Here is my boat, affectionately named "Pebble".
When I first picked it up.
The car is quick and surprisingly light. I believe it is making around 185 torque at the wheels.
Firstly, I am going to clean up some of rough edges leftover from the previous owner and then begin onto some basic modifications.
Much like my previous build threads, I hope this will be a place where I can document the progress of my build, while sharing it with you all along the way.
Last edited by Bryan Z.; Jan 28, 2020 at 10:50 PM.
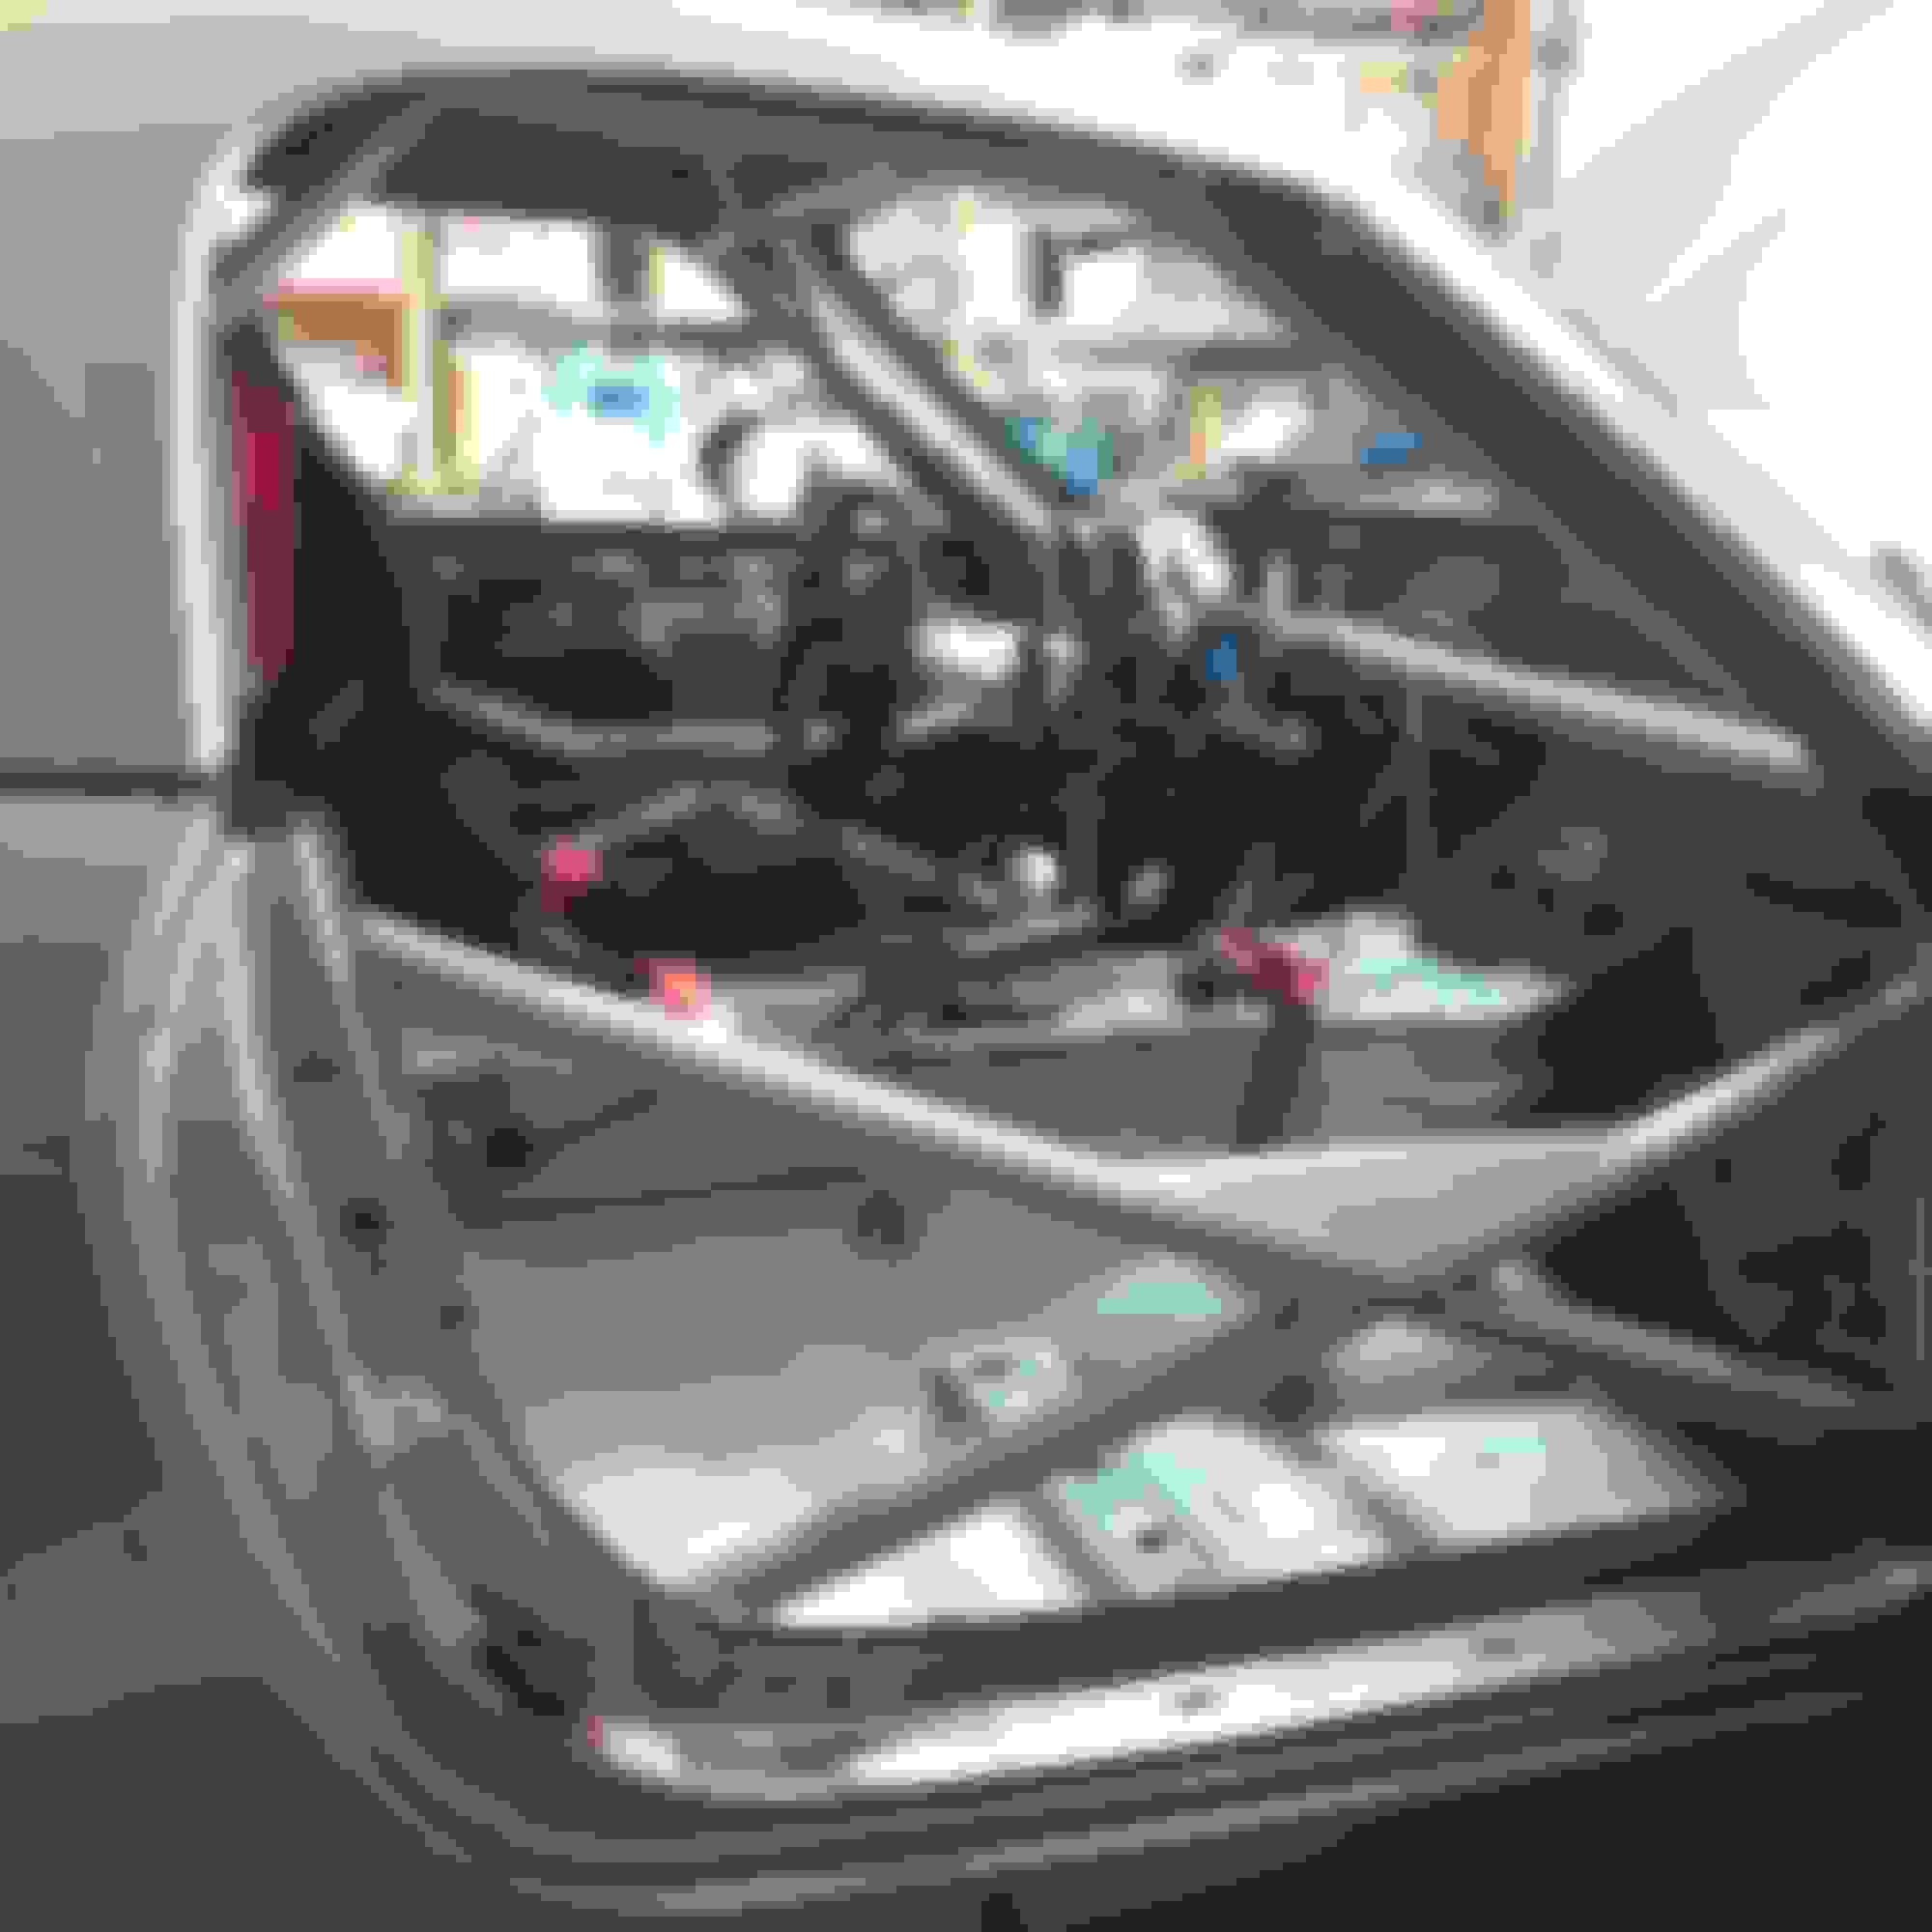
When I purchased the car, it was completely stripped of all interior plastics with just the gauge cluster zip tied to the straight dashbar. I prefer to have some interior pieces present, as it makes the car feel more streetable and familiar and also gives me a nice place to rest the steering wheel and gps.
A few days after getting the car, sans interior. Nice and beefy door bars.
I found various interior pieces at junkyards and through Craigslist. Dash skin, gauge hood, black trim and all in, it cost me around $150 for everything. I had to get creative with mounting the dash. All mounting tabs had been removed but nothing a few strategic zip ties couldn't fix.
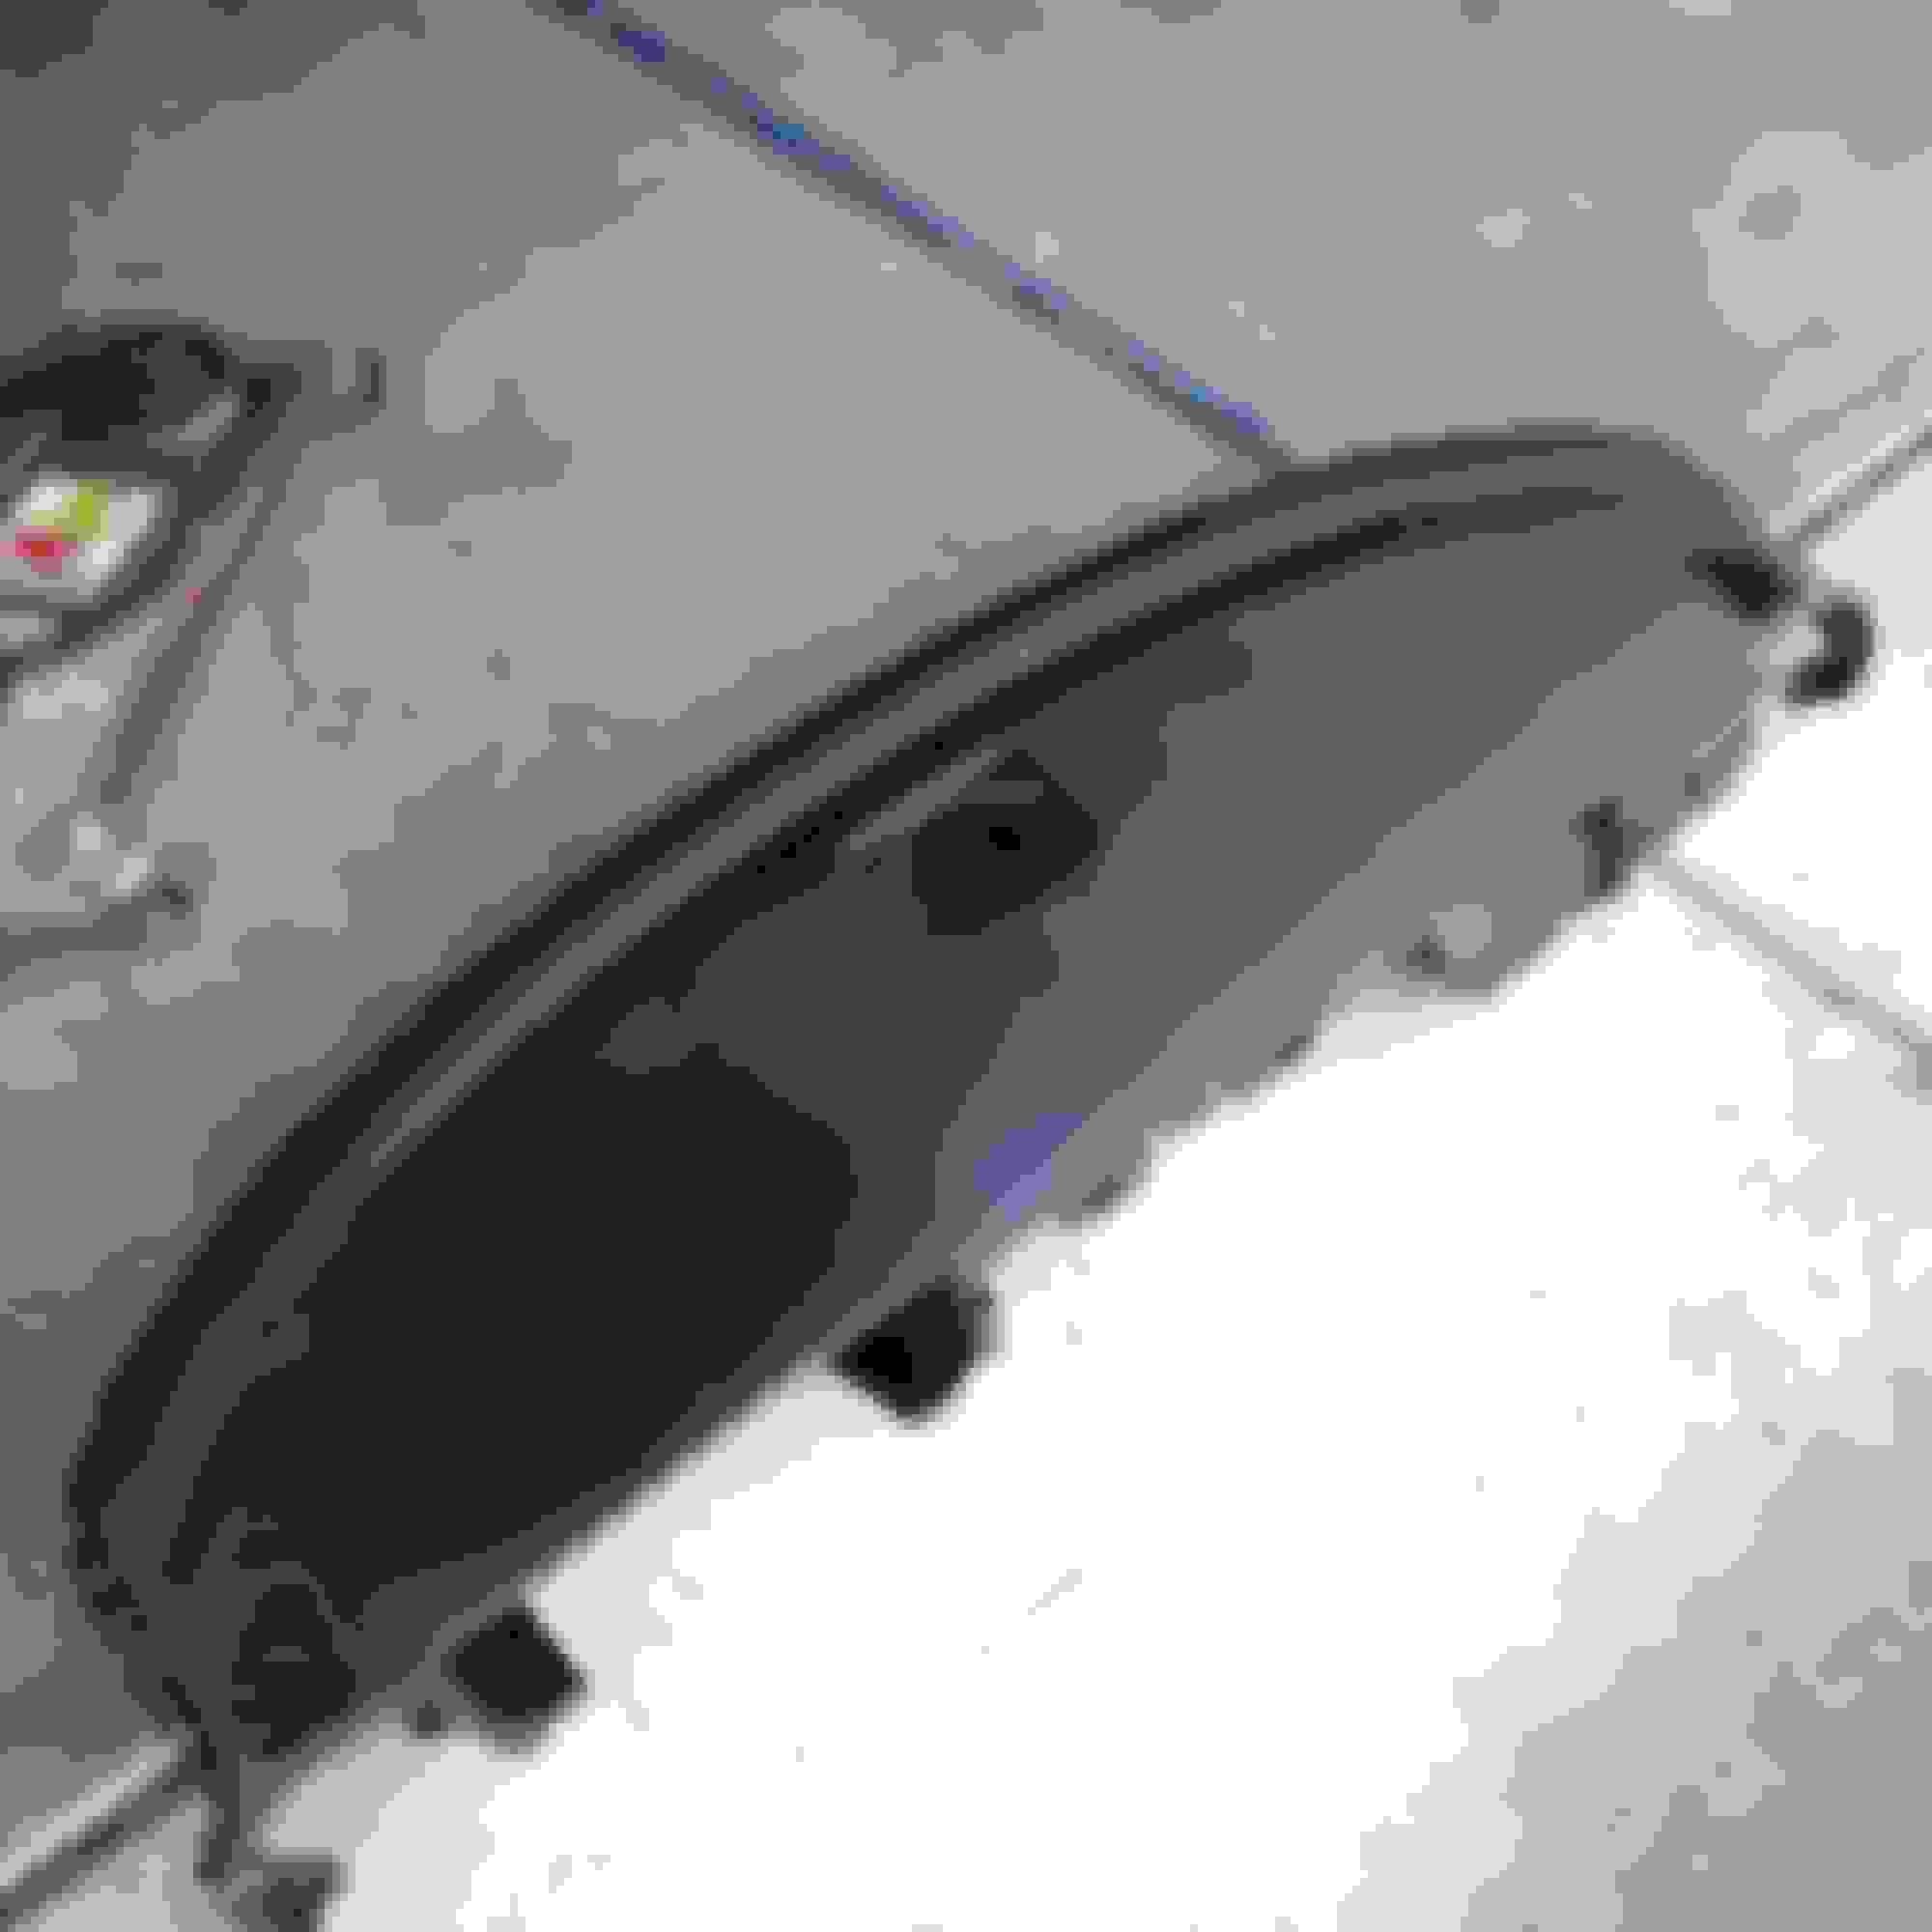
Entering and exiting the car with the oblong dashboard in hand soon got tiring.
Cutting and trimming to clear the cage. The plastics used for the NC dashboard are far superior to anything used on the NA/NB. It was not at all brittle, and did not feel like it was going to crack in half if you just so looked at it wrong.
Up next I wanted to adapt the seating position to better fit me. The car came with a nice Sabelt bucket seat mounted to a Planted bracket. I am somewhat vertically challenged, read I have really short legs, and no matter how I configured the bracket I could not get close enough to the pedals to comfortably heel-toe. The Sabelt seat was also a tad too large. It is crucial to find a comfortable seating position and can make or break driving any car.
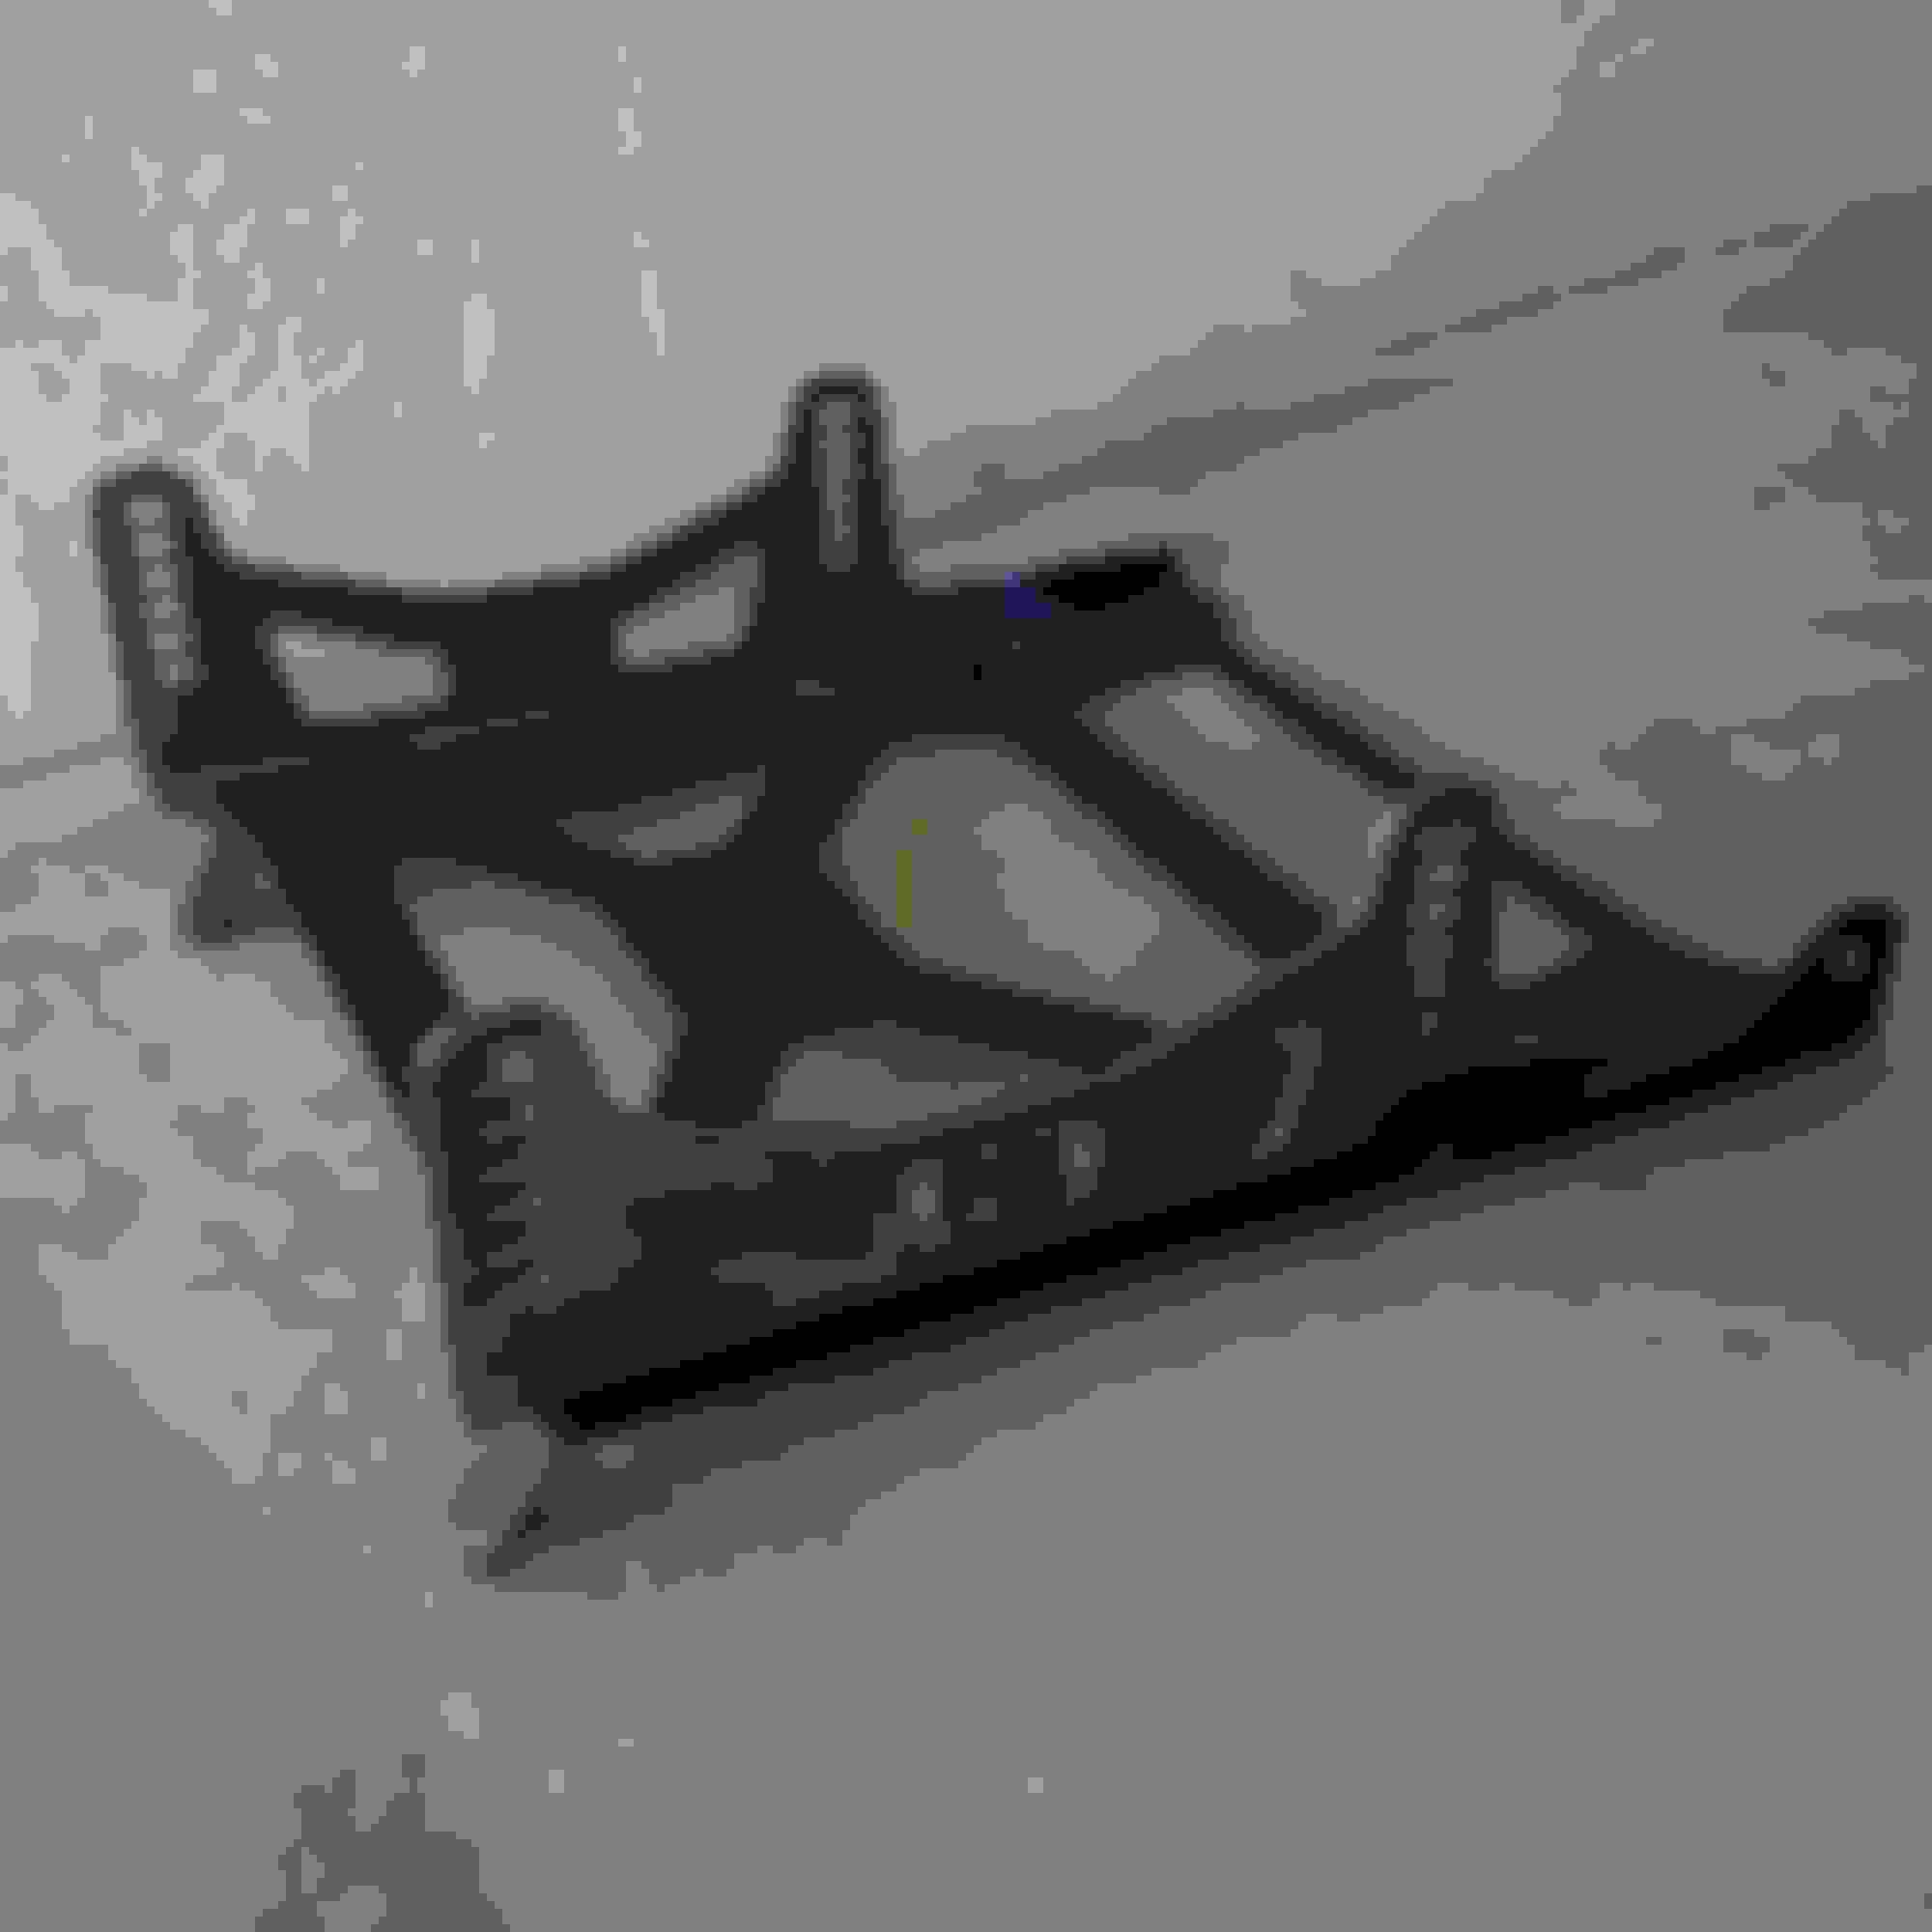
I loved the PCI two piece bracket in my NB and decided to go with the same model for Pebble.
The bracket is very adjustable, being able to flip the seat brackets to accompany a large array of seating positions and heights.
So many options.
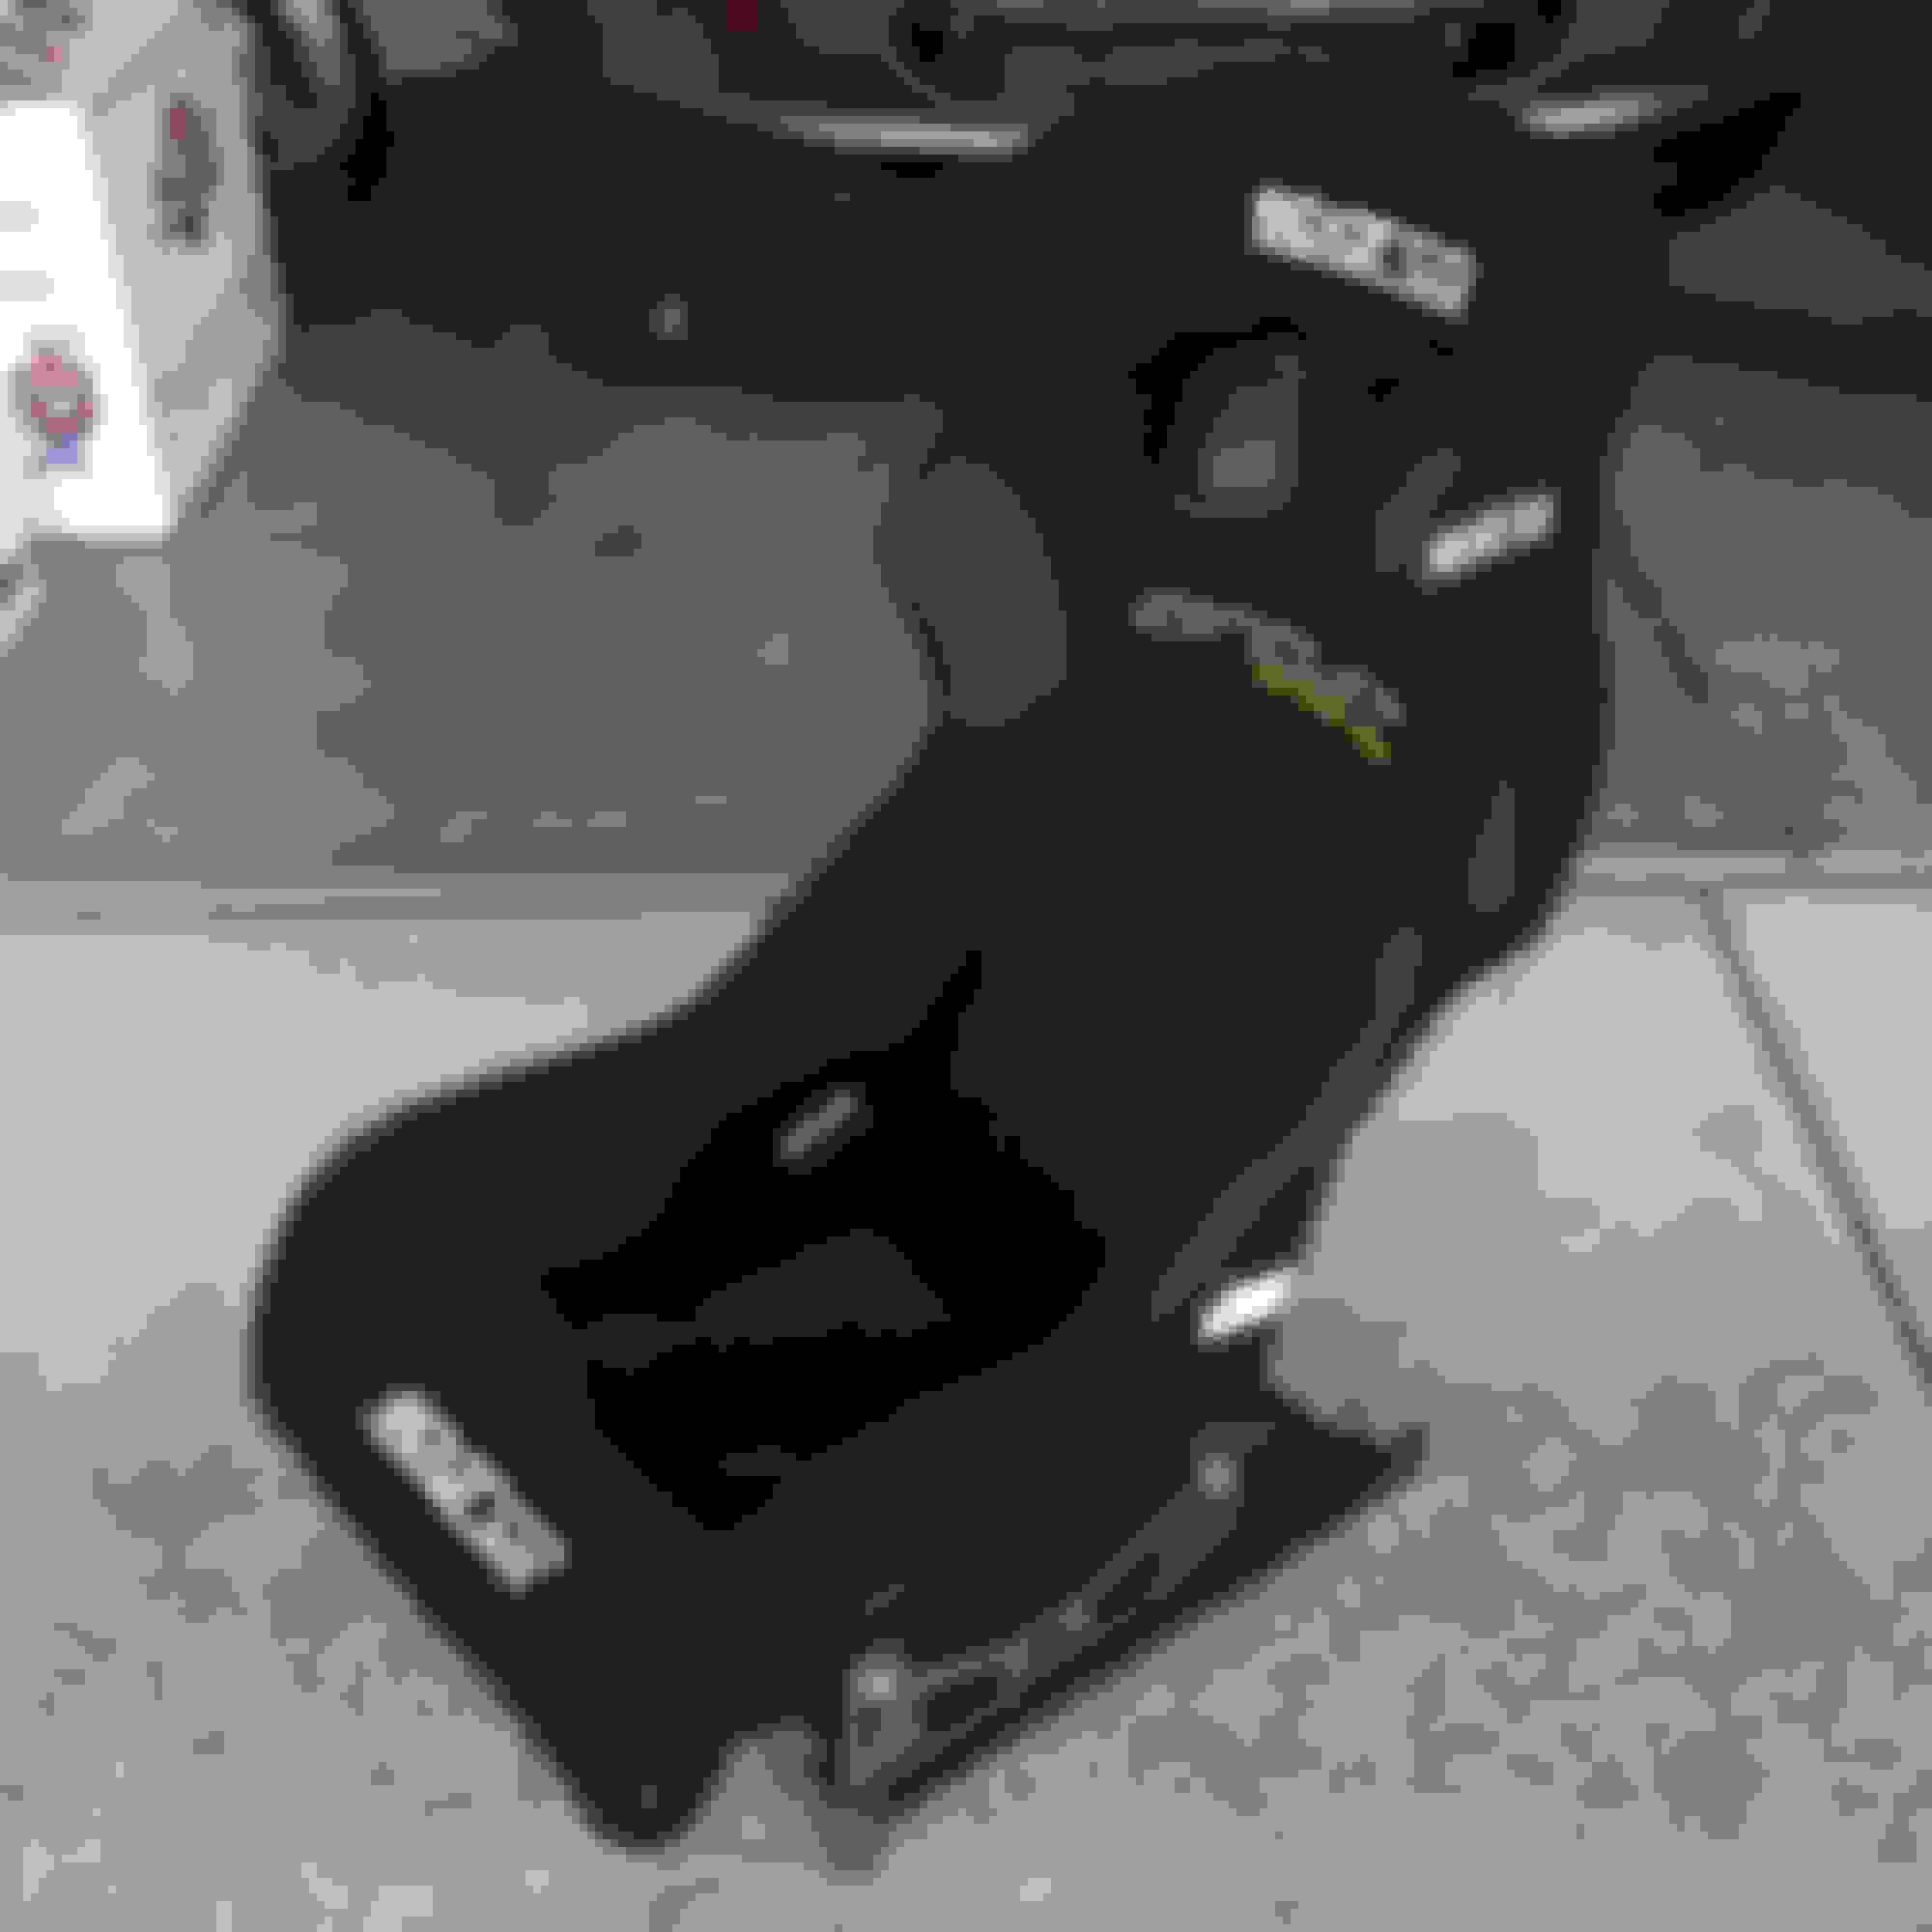
I also wanted to find another seat, something that would fit me better. Originally I wanted another OMP HTE-R. A few days later, I found someone willing to trade their new Sparco Circuit for the labor of installing a rollbar in a NB.
Win-win.
Sparco Circuit.
This would finish off the interior, and it finally felt much more car-like.
Track NC's are definitely cool. What class are you building for?
Thanks Arca.
I am currently not building for any one particular class, which I know will come back to bite me in the future.
As of now, I am looking to build a capable HPDE car, and may occasionally dabble in RoadsterCup, a time trial series based in Southern California.
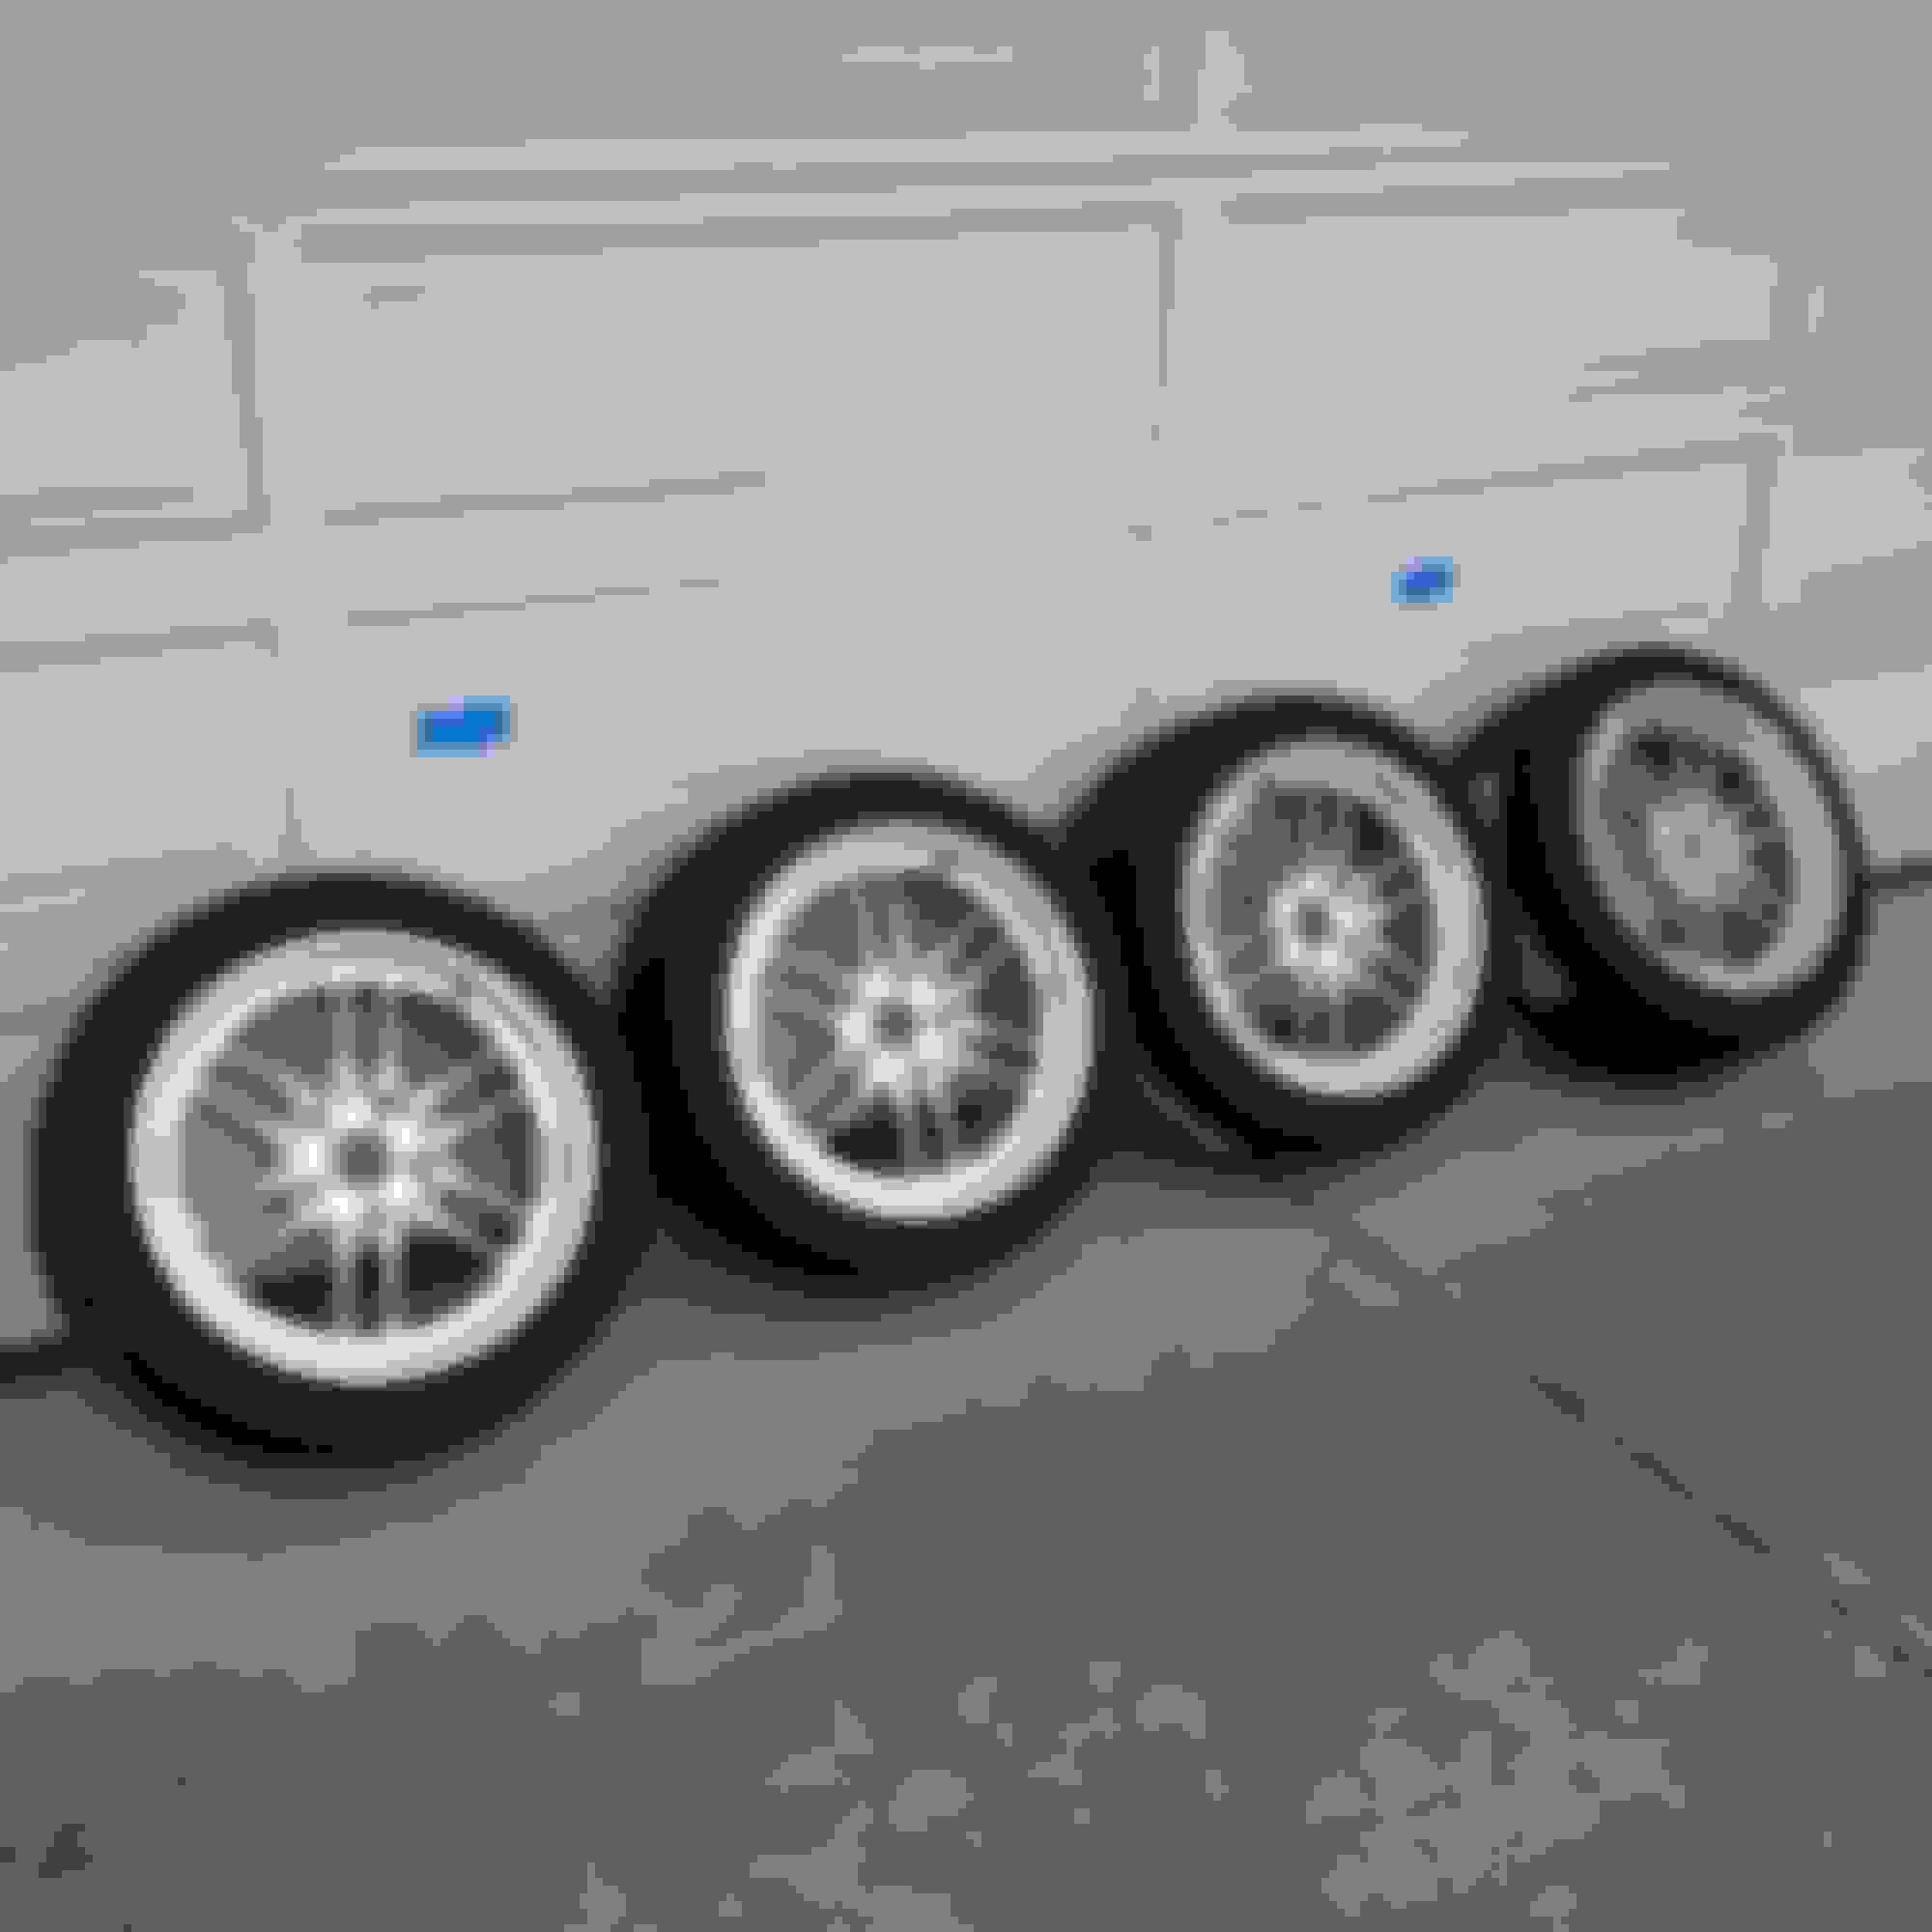
New rubber.
My next big purchase was new set of wheels and tires. Gone are the stock 17s and Starspecs. I plan on keeping them around used as a set of learner tires for my father.
I went with the tried and true RPF1. This will be by the far stickiest set of tires I have owned and cannot wait to try them out on track.
17x9 +45. 245 RE-71R
My friends tease me and refer to them as the pumpkin-spice-latte of wheels. Doesn't bother me in the slightest. I like them.
For giggles I decided to throw the car on the scales. I was curious as to what the car weighed. Please excuse the cross weights, the previous owner had set different pre-load at each corner.
I would maybe look into doing some HPDE and learning with Speed Ventures and eventually getting into NASA ST. The Roadstercup thing is run by an org that I will never go back to but that's another story.
Seems like this would be a killer ST5 setup.
My best advice is do the minimum required to get on track and turning laps, and then once you start talking to people at the track and getting a feel for everything you'll figure out what you want to build for. No sense in wasting money on mods right now that you might have to take off later for classing purposes.
I have read a few horror stories about coolant tanks exploding over on miata.net. The NC uses a plastic pressurized coolant tank that yellows, becoming brittle, and eventually failing after continuous heat cycles. This is something I wish to avoid at all costs so I replaced it with a fancy aluminum piece from Morosso. Many argue that the plastic OEM replacement will suffice, but worth it for the piece of mind and never having to replace it again. It is internally baffled and has a clear sight on the side to check coolant level.
Moroso Coolant Expansion Tank.
On the radiator.
Knowing that I am going to be tracking the car in the heat of summer, in SoCal no less, I wanted to maximize the cars cooling ability. The previous owner had replace the radiator with another OEM unit but I upgraded to a 32mm triple pass CSF aluminum unit. The NC utilizes a crossflow radiator stock, but extra capacity of the Goodwin unit is a welcomed addition. The radiator install was a cake walk thanks to all other auxiliaries already removed.
Goodwin Racing 32mm Triple Pass.
The upper radiator hose needed to be trimmed an 1'' or so to keep from binding the hose.
Section needed to be trimmed.
So shiny.
When I bought the car it was missing the front radiator grill. Now sporting a shiny new radiator I want to keep debris-to-heat-exchanger to a minimum. Hopefully Pebble will continue to remain it's nickname only. It was nothing a roll of fencing from home depot couldn't fix. I spray painted it with a rattle can of undercoating and then zipped tied it to the rear of the bumper skin to keep with the theme of the build.
Post trimming and spraying.
Last edited by Bryan Z.; May 27, 2019 at 02:21 PM.
Any early issue that arose with the car was a misfire that would trigger a flashing check engine light. I assumed the worst, but before jumping to any rash decisions wanted to investigate the issue further.
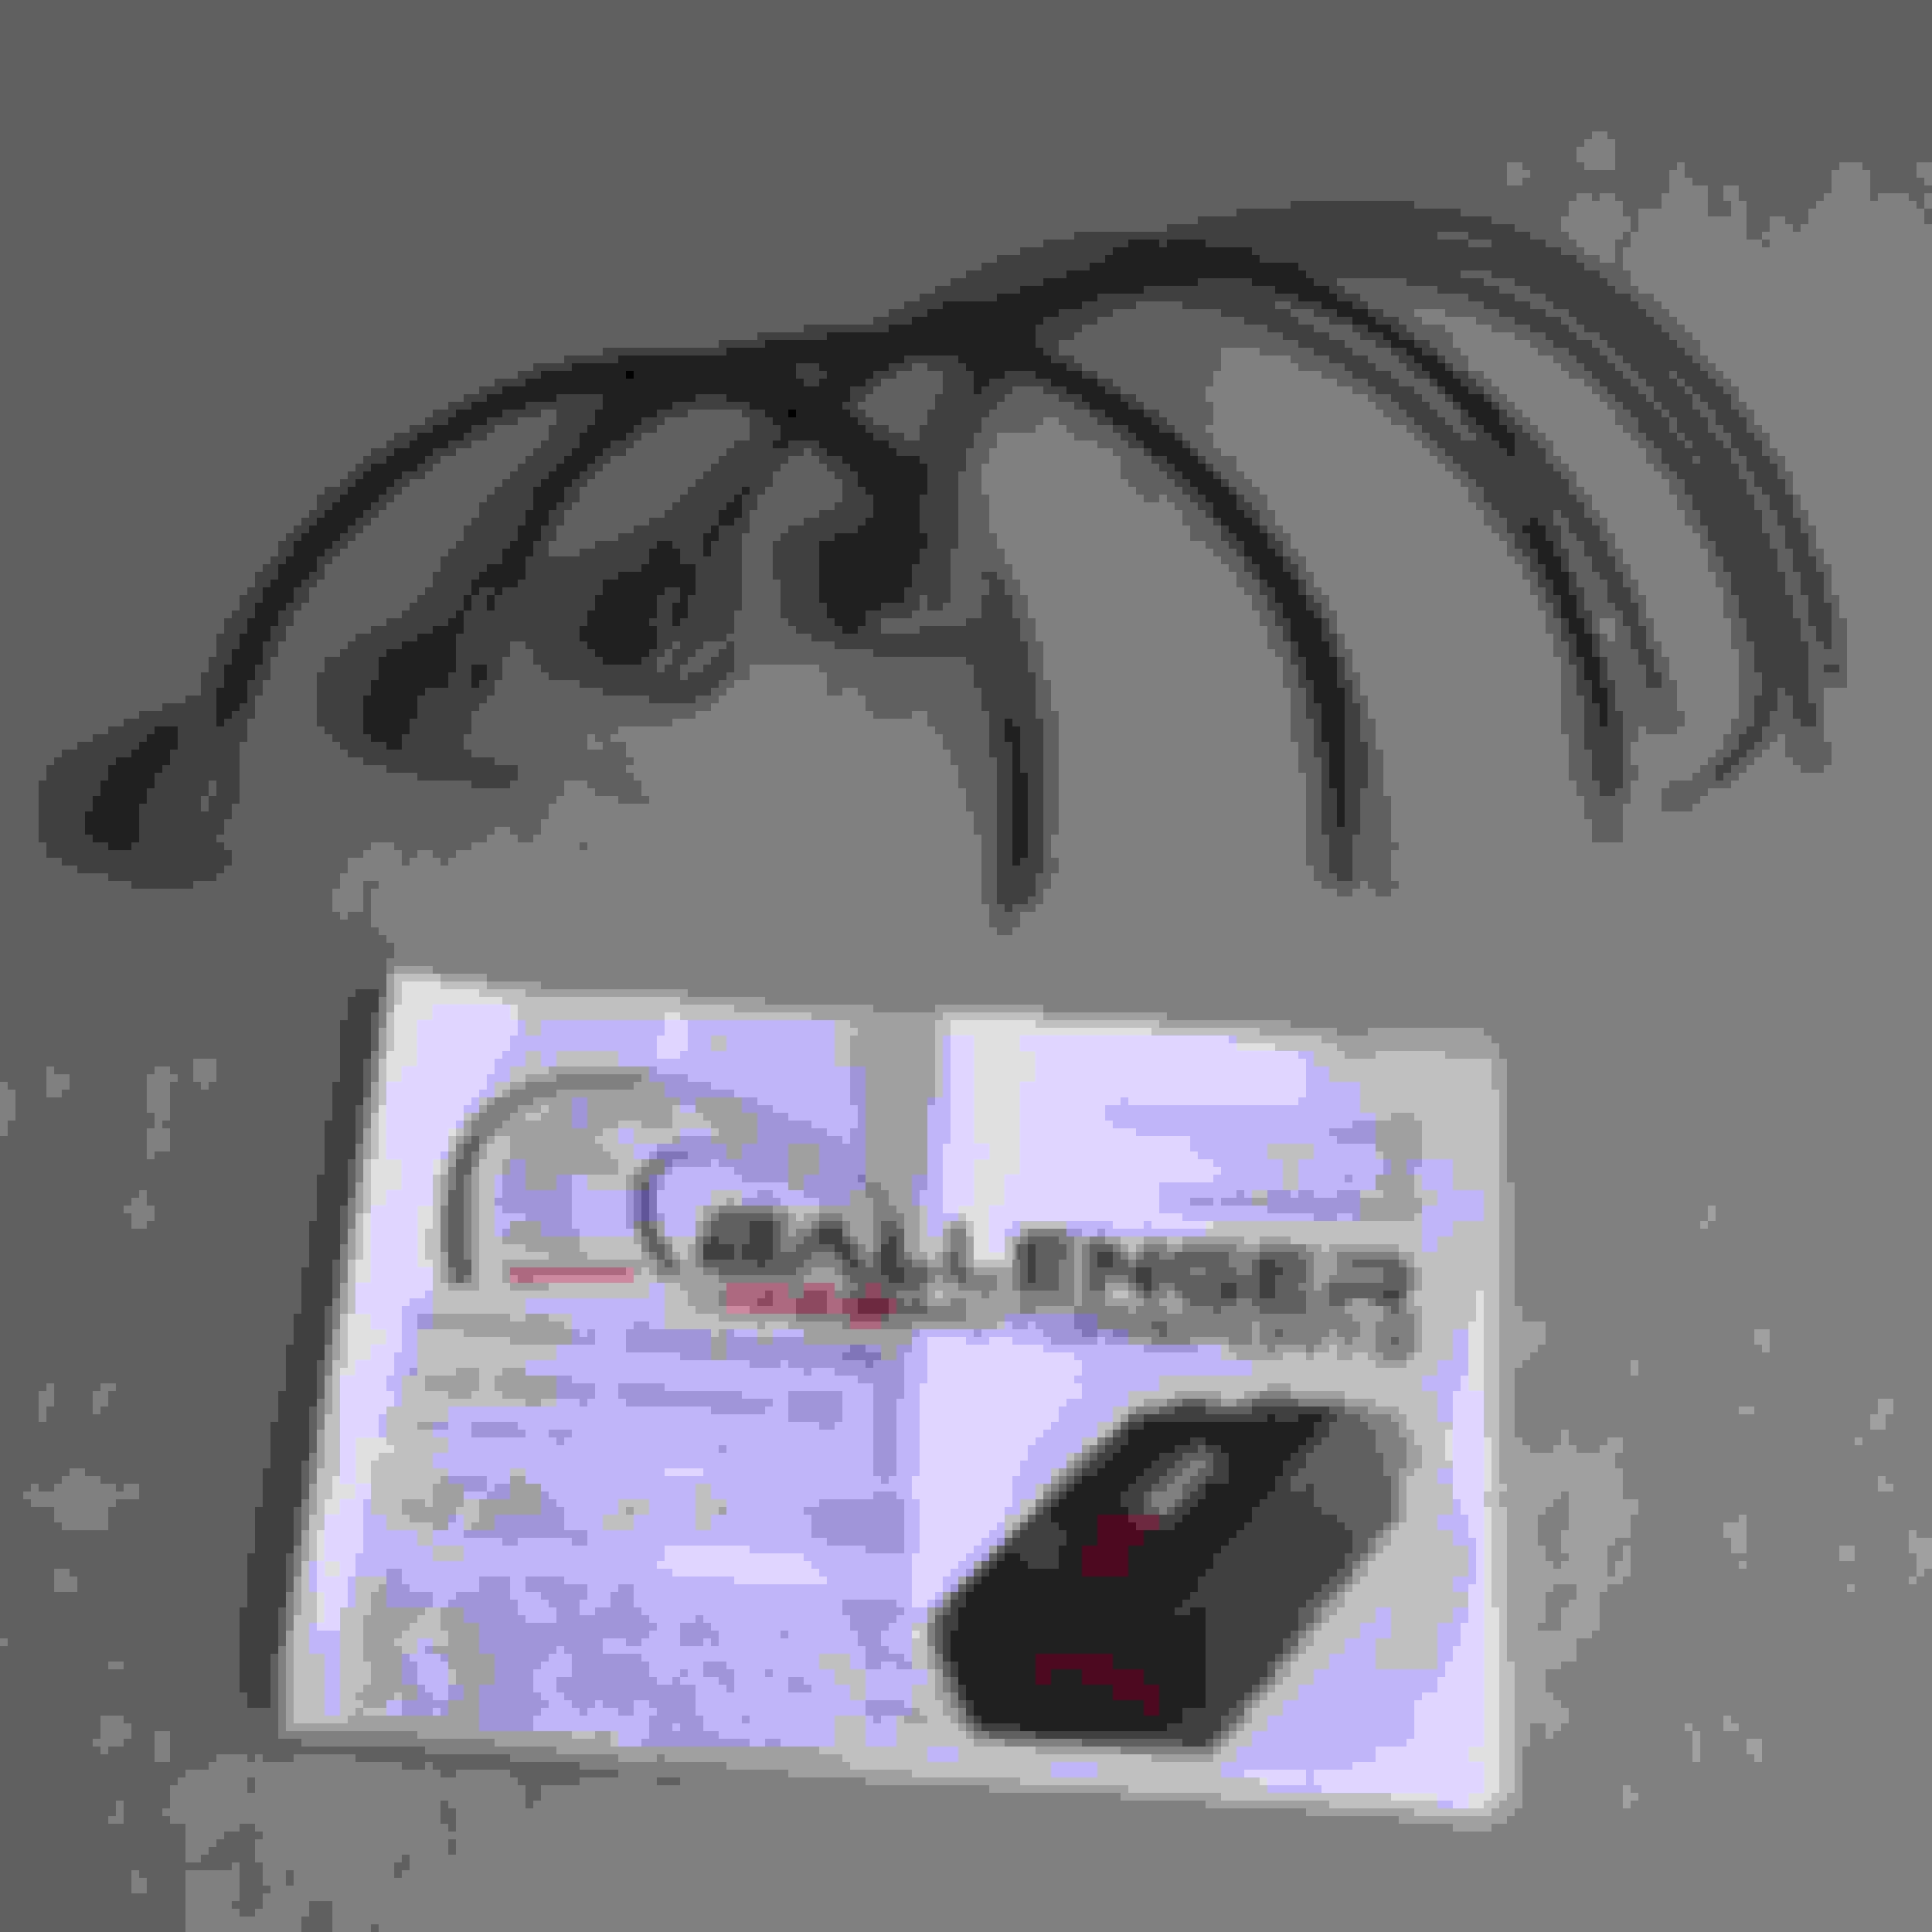
Most of the early NC1s have a similar misfire issue. The culprit being that Mazda used a very thin gauge wire near the coil on plug. The factory wire was too thin and was also strained against the valve cover fascia that would cause intermittent misfires on one, or in this case many, of the cylinders. Sometimes the issue is intermittent, with only a small break inside the wire and is very difficult to diagnose. Many of others that I spoke to had similar issues and they suggested to replace the engine harness.
Complete break in factory wiring near the COP connector.
I did a quick google search and found the break was only in the small section of wire leading up to the connector and was unnecessary to swap in the engine harness saving me a few hundred dollars. Instead I could cut and crimp on new connectors, while extending the wire to relieve strain, and the misfire issue would be resolved.
Ballenger Motorsports COP pigtails.
I carefully cut back the factory loom wrap with a razor blade to expose the harness, taking extra precaution to not damage the wires further. During the procedure I found the plastics and old wires were stiff and brittle from the heat and to no surprise why they failed in the first place.
Cuttin' and crimpin'.
Two down, two to go.
Ta-Da!
After splicing the new pigtails into the engine harness I wrapped them in electrical tape and trimmed pieces of conduit to further insulate the wire from excess heat and abrasion. This totally remedied the misfires and the engine now runs smoothly.
If only all electrical issues were resolved as easily.
It is a DG Motorsports fiberglass race top. It is attached with two flat brackets near the A pillar, and another two Blackbird Fabworx brackets on the sides. The rear lexan window was cracked from the previous owner when he tightened down the window hardware during installation. There is much to be desired when it comes to visibility, and I plan to fix that soon.
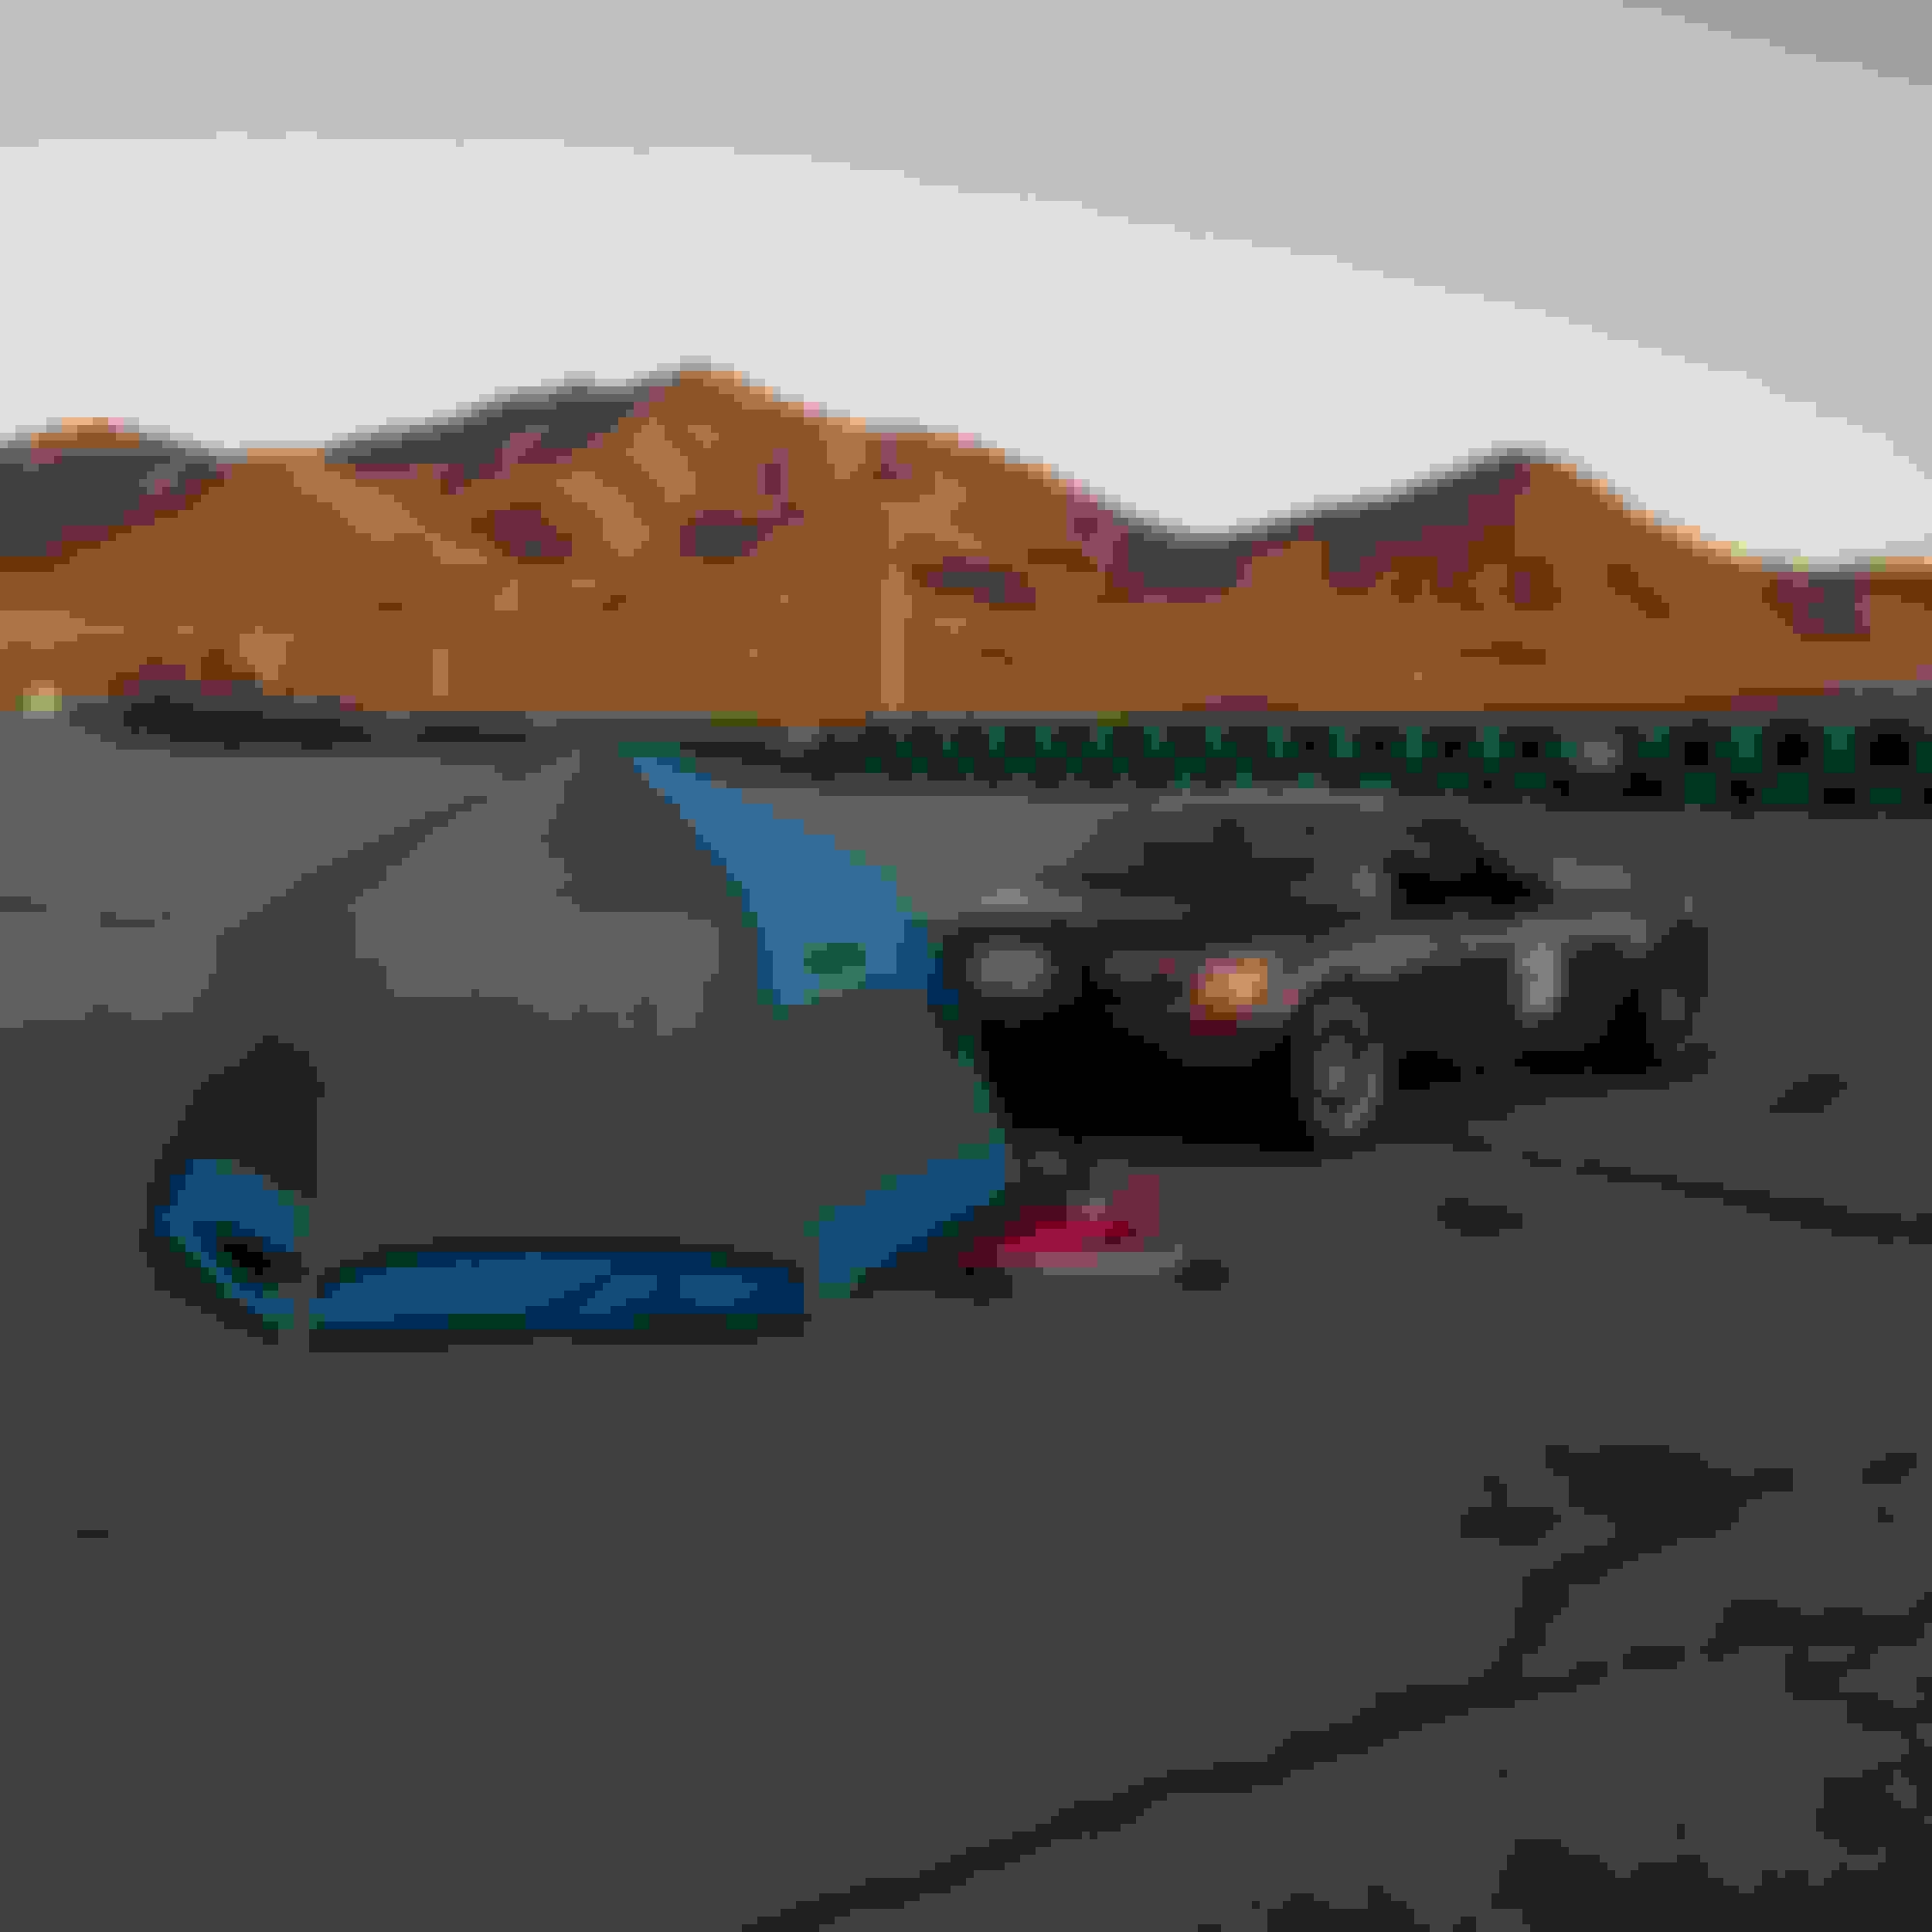
I signed up for SOW, which admittedly was a bit of a drive from home, but I really wanted to test the car. I have only been to the track a handful of times and have only ran the CCW configuration once before. Just before leaving I gave the car a last nut and bolt check and a final alignment. To my dismay when I tried to start to take it home it would not crank. I was heartbroken. Luckily we found a blown fuse that prevented the car from cranking. One 15amp fuse later I was back on the road. The car would blown the ST sign fuse every few starts. Not to let this stop me I continued with my original plans to attend the track day.
The drive was approximately 5 hours, and was not that unpleasant despite the fact I had limited creature comforts in my NC The ride was actually surprisingly comfortable and had ample amount of room in the car. It was just a tad hot and loud but something to be expected from a stripped track car. However the headphones were a must. I arrived late Friday night without any further starting problems. Nonetheless I brought many spare fuses as a precaution.
SOW at sundown.
I pitched my tent, and decided to call it a night early. It was another RoadsterCup event and I saw many familiar faces. I pitted with my friends and had a great time. As per usual we had snacks and music a plenty throughout the weekend. What I enjoy most about the RoadsterCup events is the general laid back environment and comradery between competitors.
Our HQ.
My tent and spot.
First session out I took it really easy not sure how the car was setup and how it would react to my inputs. I was glancing at my gauges checking temps during the entirety of the first session. Everything checked out and slowly began trusting the car. My goal for the weekend was to shake down the car, without breaking anything, and making the drive home. Throughout the day I was picking up time but still not pushing the car in the slightest.
The combination of the cage, de-powered rack and 2.5 swap made the car a peach to drive out on track.
The car was fast, much faster than my driving ability, but I did not care because I was having a blast just being back out on track in over a year. I was towards the back of the pack running low 1:34s.
Can't see the smile under the helmet, but Happy Bryan.
The next few sessions went smoothly, although I did have to replace a fuse or two, but in the back of my mind I was worried about the starting problem getting worse and my ability to make it home. I debated with myself whether or not to go out for the last session of the day, knowing that I only had a few fuses left and if swapping the fuses would always fix the problem.
I planned to sit the last one out, already packing for the drive home, but my other friend came up to me and convinced me to go out. I sat in pre grid for the final time and when we were signaled to go out I tried to start the car with no luck. I took this as a sign and pushed my car back to my tent. I had two fuses left at this point and did not want to risk my drive home. I knew I only had a few starts left, and I had to stop for gas at least once.
How I felt after the last session.
I was tired from the long weekend. I packed the car and began the long drive home. I stopped once for fuel in Willows worried the car wouldn't start if I stopped again. The car started right up and made it home before midnight.
Other than the starting issue the car did not miss a beat. The NC shakedown was a success and was a pleasure to drive on the way down, and most importantly on track. I am starting to grow more and more attached to the NC. Besides a few teething issues the car should be a potent HPDE toy and a lot of fun during the upcoming track season.
I like how that GV breaks up the bulbous front end of the NC1. How does it take a beating on the track?
Its amazing that even something simple as a lip can have a drastic change to the front profile of the car.
The NC is great on track, no overheating to speak of, and gobs of power compared with my NA/NB.
Feels like a much larger and more modern car.
Originally Posted by Scaxx
Not sure how I missed this thread. So which car is coming to WRLS?
I think this thread kind of slid under the radar, I'm glad you found it.
Hopefully both cars will make it to Laguna. I am trying to get my father hooked on the track addiction, and he will, if all goes to plan, be bringing the NA.
Marcus keeps talking me out of building because of reasons.
Tell him that you don't need that kind of negativity in your life and then do it anyways. Then add some ballast and go kick his *** in ST5 for good measure. Win all the purple crack.
After finishing up the radiator and coolant expansion tank I thought it would be best to add additional cooling capability. I had read that a 2.5 swapped car run hot, but that may be myth, but I was not one wanting to find out. One can't have enough cooling on a track car right?
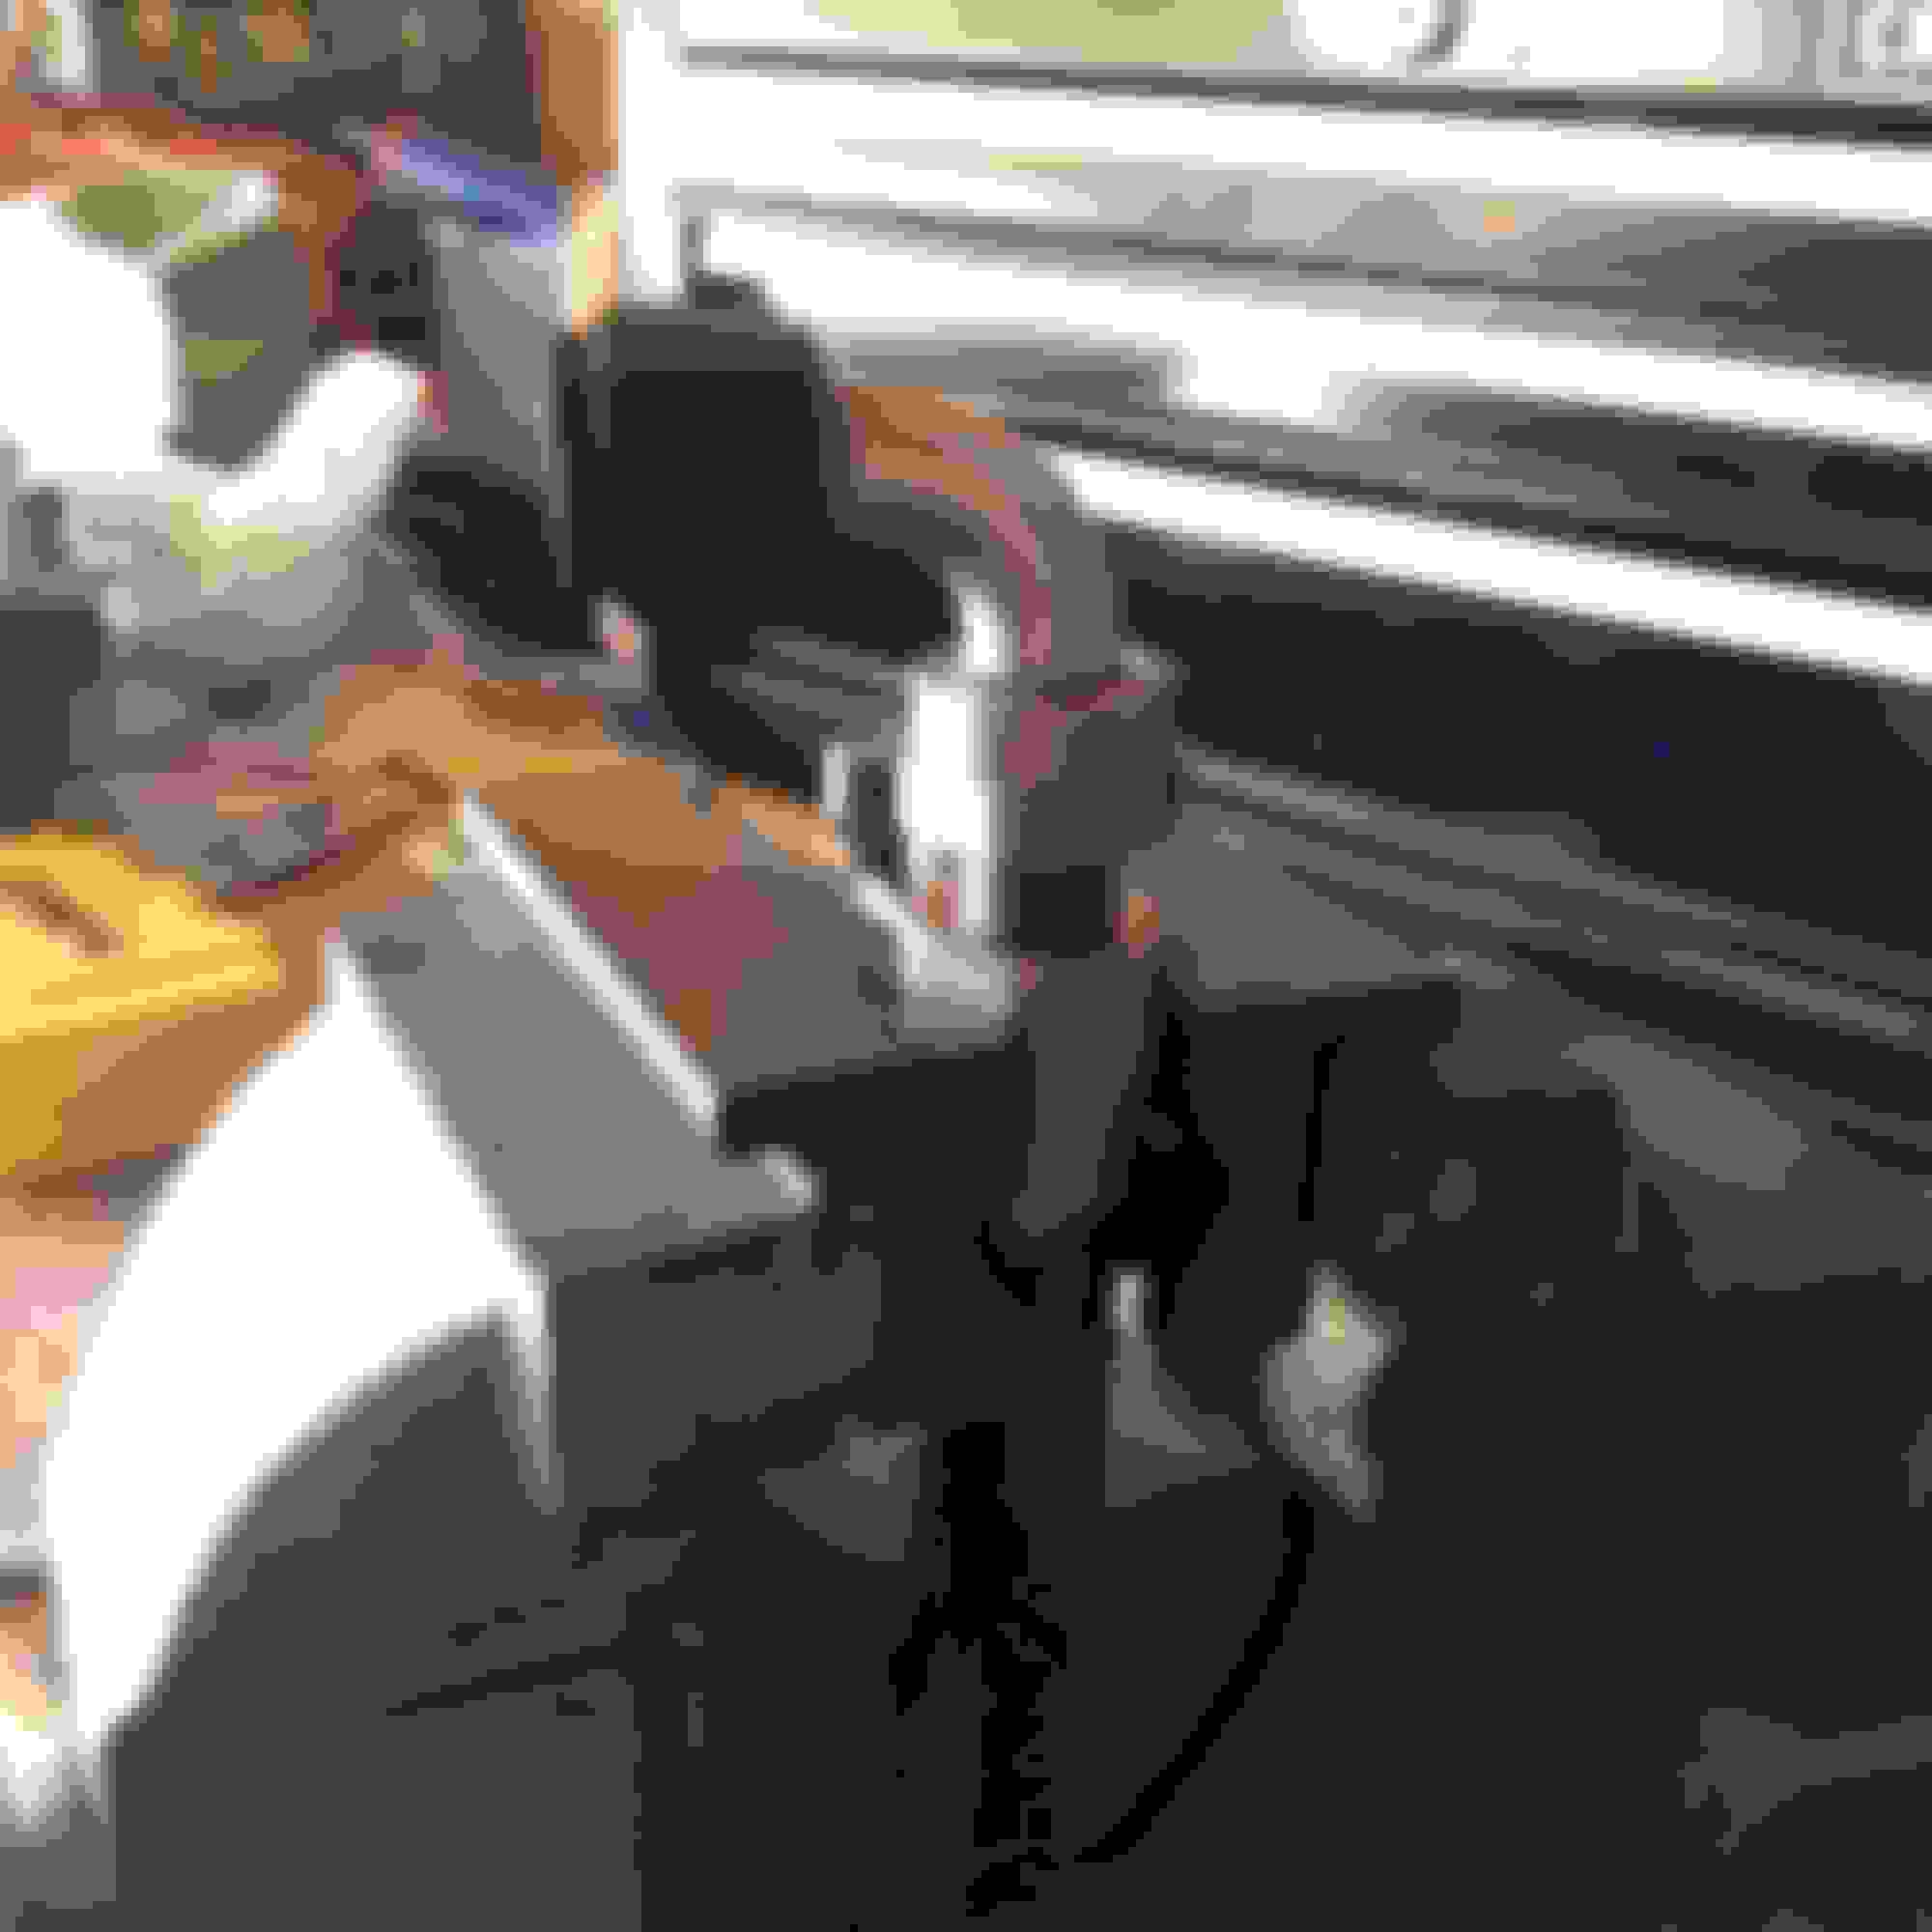
A few years ago I purchased a universal oil cooler from Track Speed Engineering, hoping to mount it to my then NB. Included in the kit was a 19 row Setrab core, Mocal thermostatic sandwhich plate and 10AN Nylon braided lines with various fittings. Quality components to be found throughout, and it was now up to me to find a decent way to mount everything. The lines came unassembled, perfect for determining length and routing of the hoses. It would be my first time building AN hose, and would be a welcome challenge.
I watched a few videos online and bought a pair of Vibrant soft jaws and aluminum wrenches to aid with assembly. Many videos warned in the proper way to cut the hose to length, not wanting to have any left over particulates contaminating your lines. I ruled out cutting discs, not wanting to accidentally use the wrong one, and settled with a pair of cutters from harbor freight. It allowed for a decently clean cut, free of any debris.
Hose pushed flush inside fitting.
Vibrant soft jaws really made the job that much easier. The fitting would securely hold the fitting when tightening and there was no risk of crushing the aluminum fi in the vice. And lastly an added bonus, it would prevent any unnecessary marring. I added a few drops of oil to help lubricate the threads when screwing the two pieces together. It seemed to work well and the lines were assembled in no time.
Good tools are worth every penny.
Tools and parts scattered throughout the garage.
With the lines finished, I then had to decide how to route the lines and fabricate mounts for the cooler core. I went through a few early revisions, using mounts directly found on the radiator, along the frame rail, but finally deciding to mount it directly behind the front crash beam. I bent a few pieces of steel in the vice and drilled various holes and viola, the Setrab was mounted. I then tucked the lines up underneath the frame rail, slowly making their way to the sandwich plate on the side of the engine.
Going smoothly.
This is where I started learning things.
Firstly, I was unaware that oil filters had different thread pitches. The NA/NB, which the kit was originally designed for, utilizes a M20x1.5 pitch, and to my dismay the NC filter would not screw on.
Doh!
The NC utilizes a 3/4-16 pitch. I promptly ordered a new adapter screw, and I thought I was in the clear.
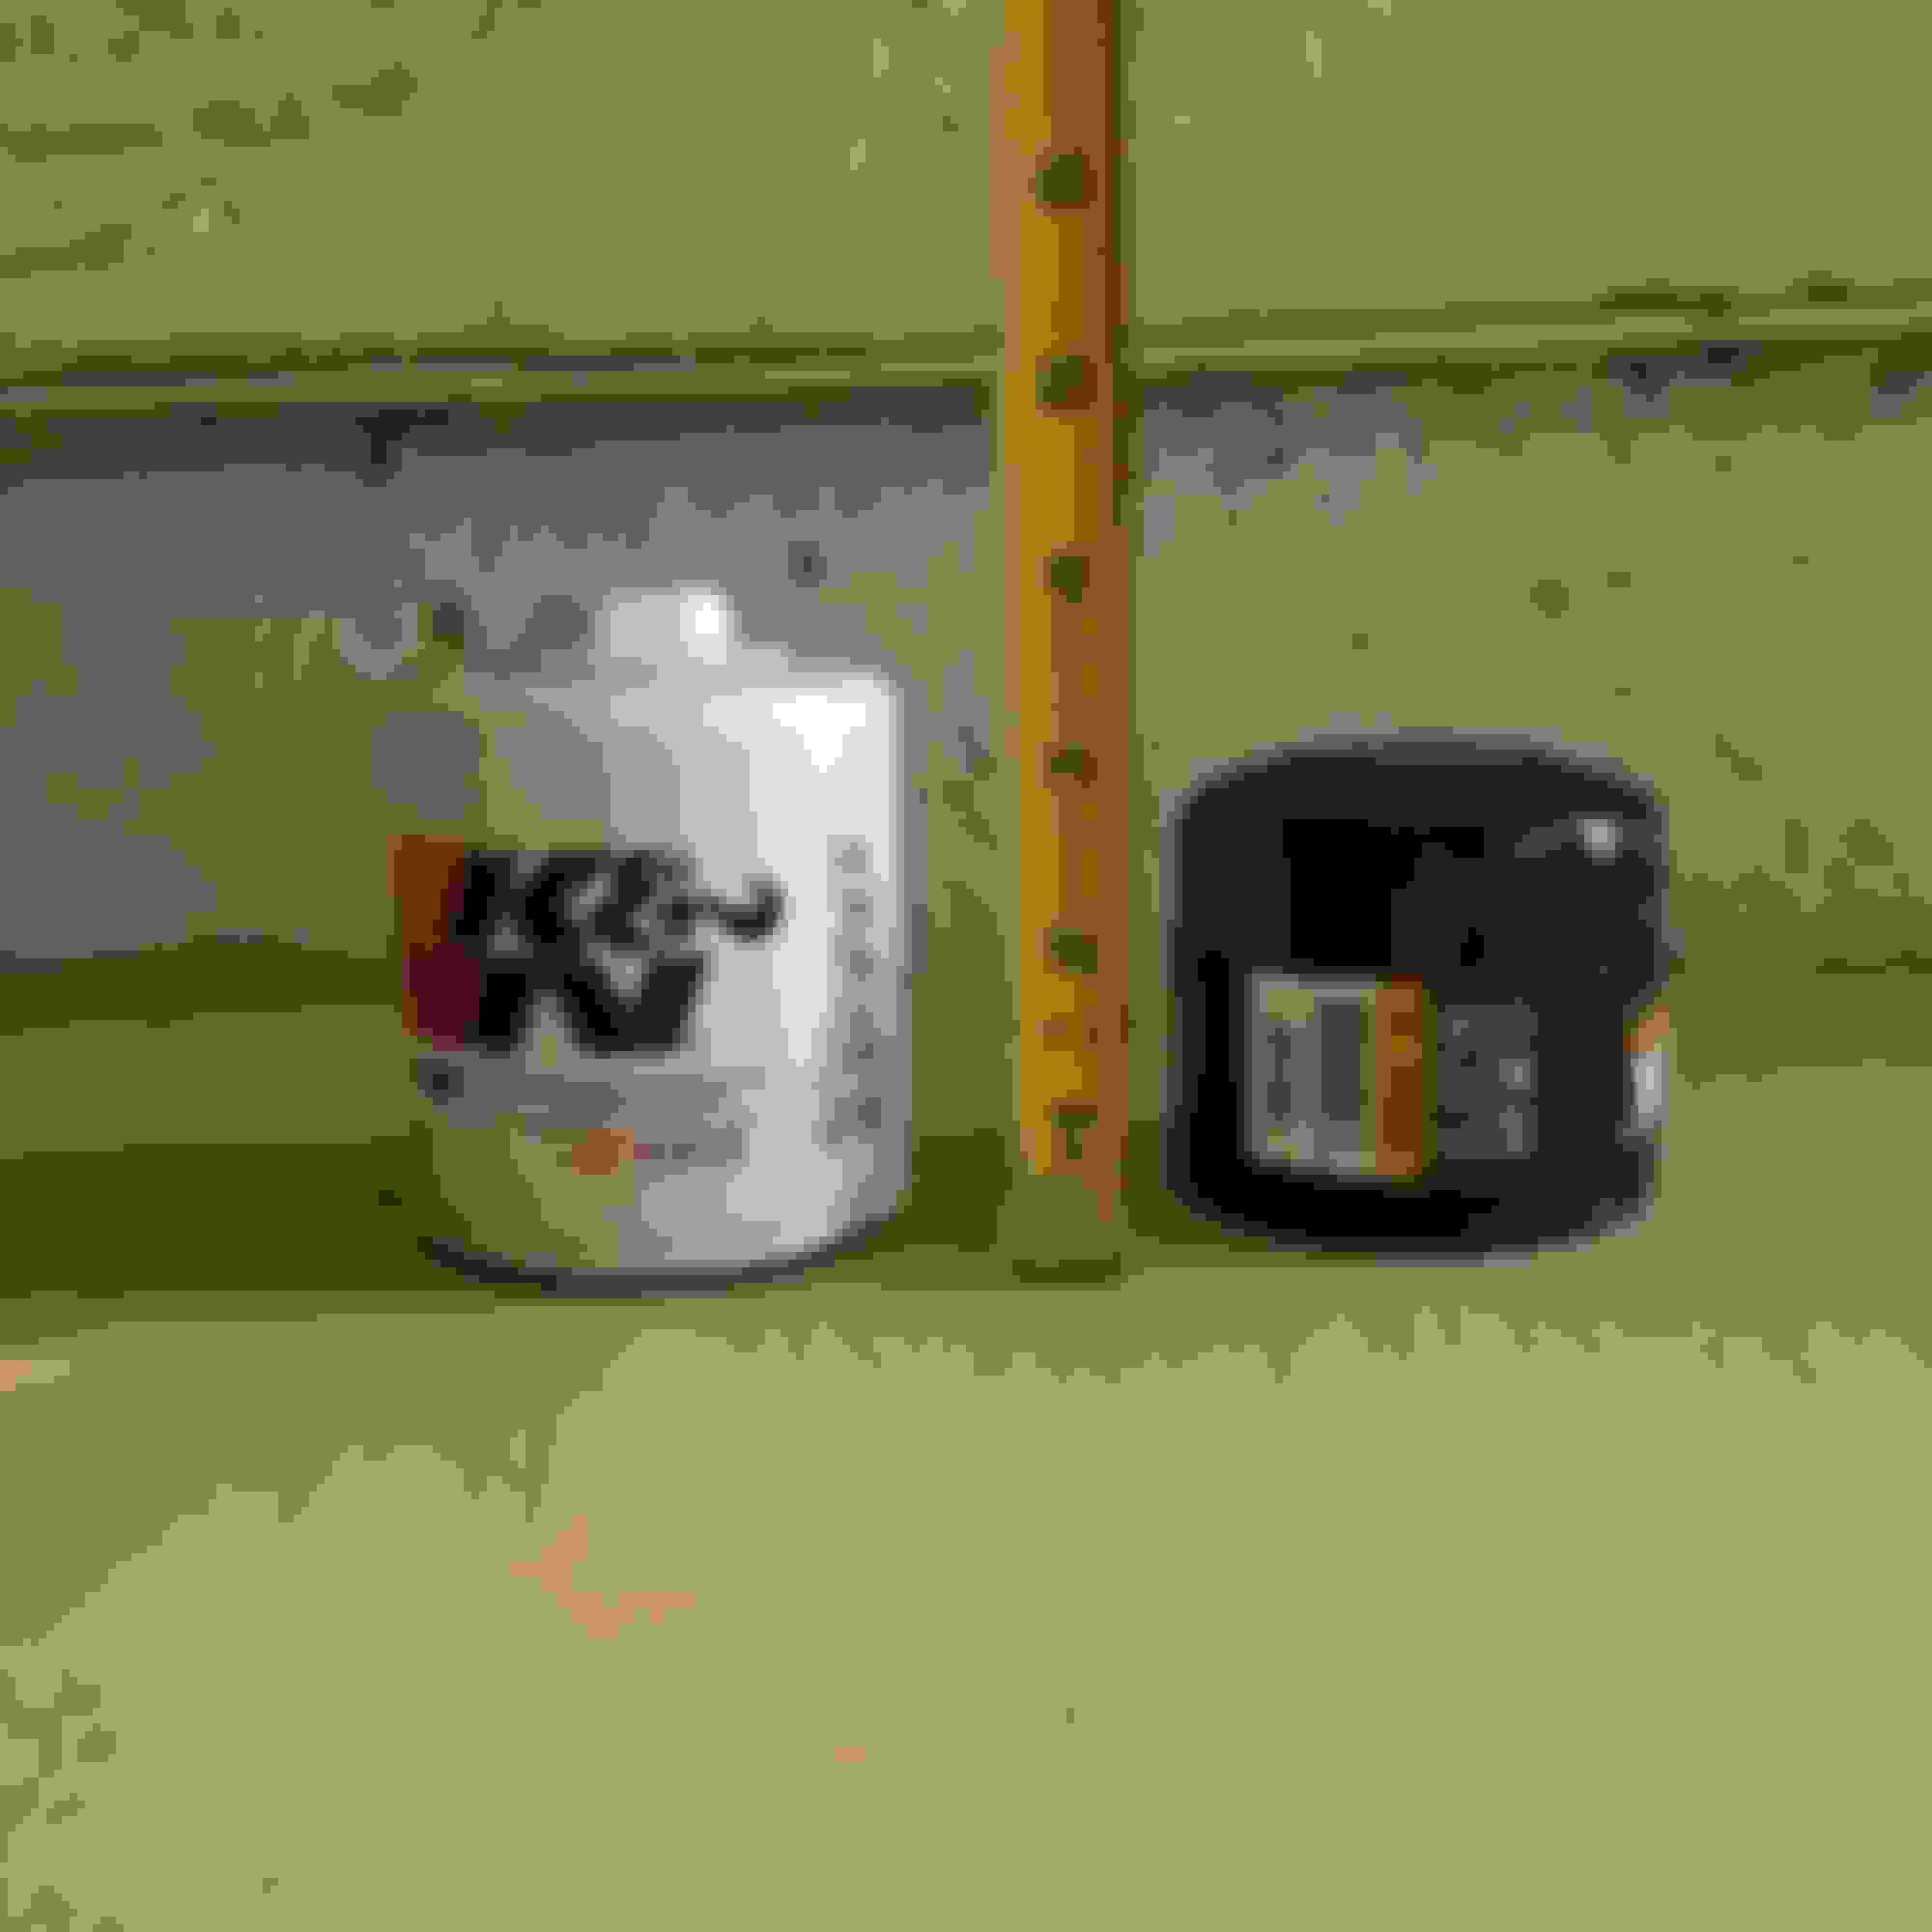
Only after receiving the new screw I was to find that the stock oil filter was physically too tall, and would foul the sub frame. This prevented the filter from going on and more headaches. I then scoured the Wix filter website looking for a suitable replacement.
Wix 51056.
From what I can discern all of the specifications seem to be identical other than height.
The stock filter is 3.4'' tall, where as the Wix 51056 is a fair bit shorter at 2.7''.
I was quite happy with my installation, and was very careful examining all fittings for any signs of leaks. The lines were then secured to the chassis at multiple locations, and away from anything that could sever a line due to vibration. When looking in the engine bay the lines are hidden and nestled well inside the frame rail. I cannot say for certain, but it seemed to add about an additional quart to my oil capacity.
I will add a temperature and pressure gauge in the near future to more closely monitor oil data.


 3
3