When you click on links to various merchants on this site and make a purchase, this can result in this site earning a commission. Affiliate programs and affiliations include, but are not limited to, the eBay Partner Network.
For those of you who might remember me, I introduced myself sometime back in the meet and greet. Aside from my previous car, a 2013 mazdaspeed3, I have little experience working on cars. Not too long after purchasing my first miata and joining miataturbo, I ended up meeting up with Mat Russell from the forum. I bought a couple parts from him at first. Then he had the great idea of selling me his BP uber motor because he had his mind set on a K24A2. He talked me into buying his motor and that's how this story begins. I am going to be running his motor paired with a BMW ZF5 and getreg diff. I had purchased one ZF5 transmission already to find out that the gearbox is missing a number of bolts on the inside and a couple on the outside. I may at some point later time try to repair this, but rather than waste time with that now, I am in the process of sourcing another ZF5 from car-part. I am pretty much replacing and rebuilding or upgrading everything on this car. There are a number of parts and systems I am removing. Since I plan to put a custom cage in this car, I understand that this car will be primarily used for track purposes. However, I wouldn't be surprised if I street this with a racing helmet. I still have a lot of work to do, but I will post some pics of what I have going on. If you can over any advice or help, don't hesitate to comment. thanks
some random work I did today. Since I had cut out a huge chunk of the trunk, I riveted an aluminum panel in then decided to ziptie the rest. My original plan was rivets all around, but I didn�t like how I couldn�t get the aluminum as taught as I would like. So, i basically seamed in the rest of the aluminum with ziptires. I know it looks a bit unorthodox, but once I fill in the holes with fiberglass, I think it will be fine.
I also finished up getting my air dam mounted and test fitted everything with the headlights (that I had restored from padlock).
Then I had purchased some stainless steel fencing from Pegasus and cut out sections to cover the holes in my hood. I then epoxied them on and letting it dry over night. I used my old bushings for some weight (foreshadowing what�s to come).
Yeah, originally, I stripped off all the OEM sound deadening, seam seals, and unwanted metal. then I covered all holes not needed with metal tape. Laid down a couple layers of lizard skin sound deadner then used some non-toxic bully bed liner. I did all this before I realized I was going to cage the car though, so hopefully that won't be too much of an issue when the time comes.
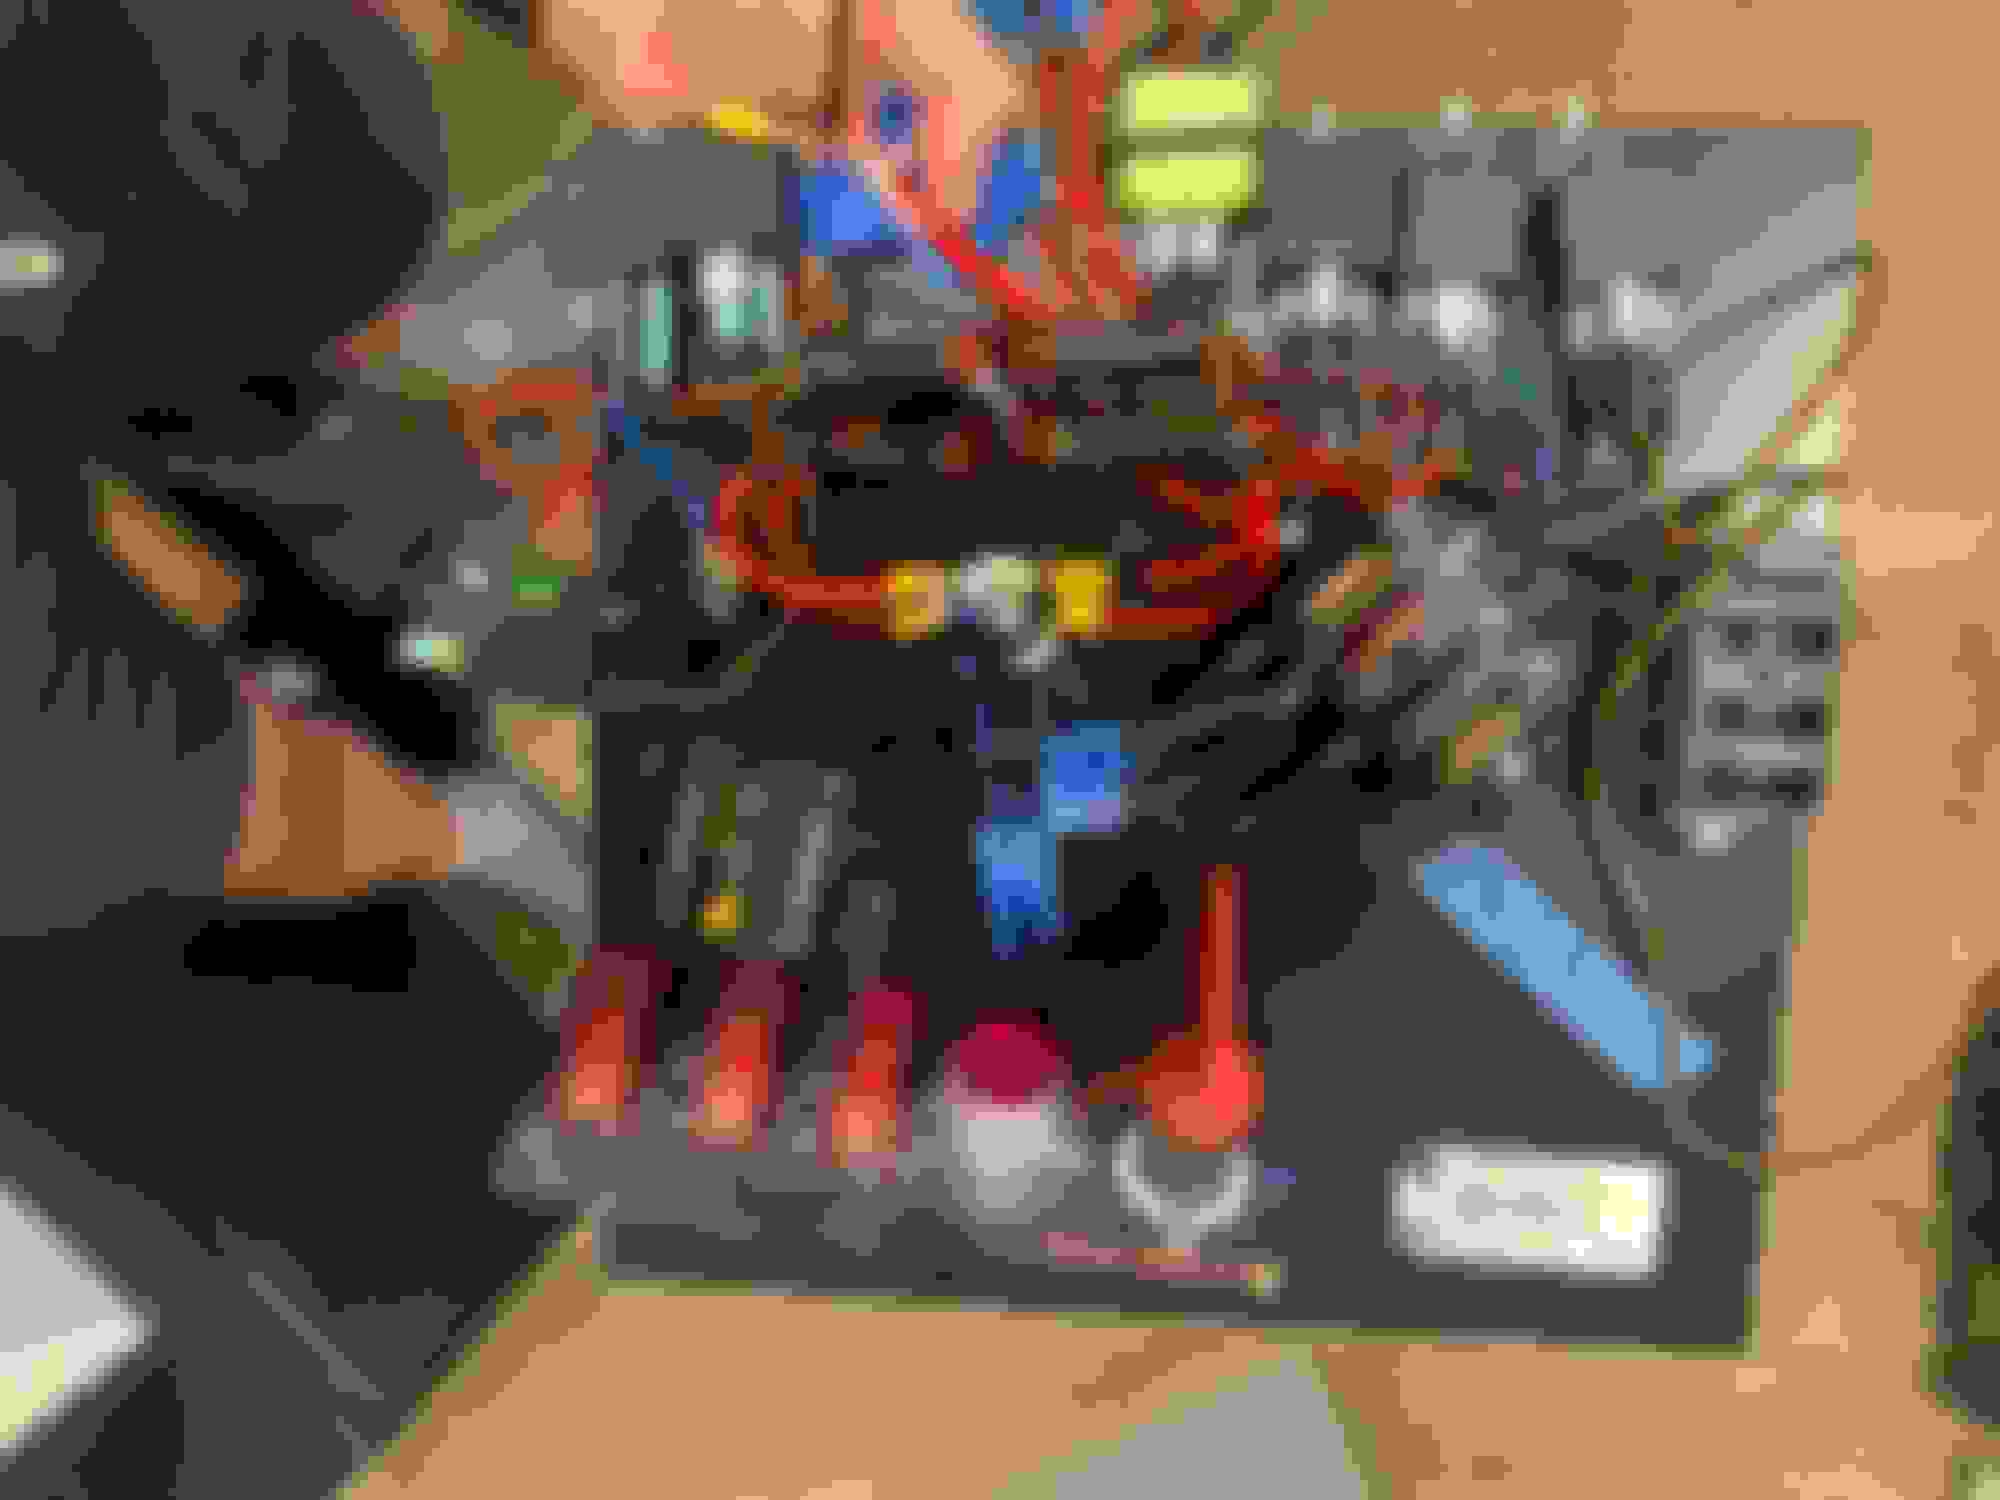
That is a temporary hold before I put to contact bolt in lol. Obviously not going to leave the zipties on. This is my first time wiring a car though so if you can give me any tips, it would be appreciated. I have my fuseable links stacked in alternate directions. It conserves space this way, but not entirely sure if its anywhere near to being ideal.
not sure tbh. Prior to laying this stuff down, I bought some sound deadening adhesive mats. If I were to lay the mats down throughout the interior, it seemed like that method was going to be much heavier so I opted for lizard skin and bed liner as opposed to the sound deadening mats and carpet.
That is a temporary hold before I put to contact bolt in lol. Obviously not going to leave the zipties on. This is my first time wiring a car though so if you can give me any tips, it would be appreciated. I have my fuseable links stacked in alternate directions. It conserves space this way, but not entirely sure if its anywhere near to being ideal.
There is a wide range of effort/spend you can do on electrical. This is what I considered my minimum effort.
The thing that sticks out is that it doesn't look like there was really a solid plan before getting started. I'd suggest consolidating your fuses and relays into something designed for the appropriate amount of both. Cooper Bussman 15300 series is my favorite. Not terribly expensive and really keeps things organized. fuses/relays are on the 'switch' side of the panel so you can easily replace blown stuff, seals up nicely. You'll need Metri-Pak crimp tools/hardware for it which is the biggest bummer. https://www.waytekwire.com/ was who I got my stuff from.
Invest in some colored automotive grade wire. Wirebarn was who I used because they sell these sweet packs at resonableish prices. https://www.wirebarn.com/11-Pack-of-...ray_p_549.html Make sure you make a wiring diagram with wire colors. God help you trying to remember what you did eons ago when everything is only 3 colors.
Crimped on spades look good. I used bus bars for my common +12v circuits. Not as space/weight efficient but it makes it very clear what's going on when you look at it.
The wire gauges seem a bit off to me. You have what looks like all the +12Vs (the part I snipped) riveted together, then some of those go into your fuses, others don't. I have to make a fair bit of assumptions here to come to that so it may or may not be corect. What is the gauge of those wires and the fuse protection? Which will turn to slag first? Trace upstream towards the battery for every wire, the gauge of the wire must be able to handle more current than the fuse you run into on your way to the battery. Nothing is more important than that.
Can't find any pics of it actually finished, but here was an in-progress of the panel that's in my car. There are a bunch of things I'd change now, but it's been working fine for ~4 years. https://i.imgur.com/4dCEhGj.jpg
There is a wide range of effort/spend you can do on electrical. This is what I considered my minimum effort.
The thing that sticks out is that it doesn't look like there was really a solid plan before getting started. I'd suggest consolidating your fuses and relays into something designed for the appropriate amount of both. Cooper Bussman 15300 series is my favorite. Not terribly expensive and really keeps things organized. fuses/relays are on the 'switch' side of the panel so you can easily replace blown stuff, seals up nicely. You'll need Metri-Pak crimp tools/hardware for it which is the biggest bummer. https://www.waytekwire.com/ was who I got my stuff from.
Invest in some colored automotive grade wire. Wirebarn was who I used because they sell these sweet packs at resonableish prices. https://www.wirebarn.com/11-Pack-of-...ray_p_549.html Make sure you make a wiring diagram with wire colors. God help you trying to remember what you did eons ago when everything is only 3 colors.
Crimped on spades look good. I used bus bars for my common +12v circuits. Not as space/weight efficient but it makes it very clear what's going on when you look at it.
The wire gauges seem a bit off to me. You have what looks like all the +12Vs (the part I snipped) riveted together, then some of those go into your fuses, others don't. I have to make a fair bit of assumptions here to come to that so it may or may not be corect. What is the gauge of those wires and the fuse protection? Which will turn to slag first? Trace upstream towards the battery for every wire, the gauge of the wire must be able to handle more current than the fuse you run into on your way to the battery. Nothing is more important than that.
fatkao, thank you so much for this helpful post. I wired this up using mellens website for the wiring. I printed out each page and crossed off each and every wire/system I wasn�t intending to use. So yeah, it�s basically a derivative of the oem wiring. I�m probably going to get torn apart for this, but I used harbor freight wires. When it came to planing everything on the ABS plastic, I tried to copy some videos I saw on YouTube of the pretty wiring boards with all the relaying on one side. Sounds like I may need to start from scratch, but that�s perfectly fine. I will go through each and every sentence of your post and implement the changes. Thanks
Mounting up my polycarbonate windshield from 5 star bodies. Realizing this windshield is going to need to be "trimmed" quite a bit before it will fit. Kmiata flywheel installed with ARP flywheel bolts torque to 95-ft-lbs. Used supplied ARP bolt lube ACT 6 puck sprung clutch disk with clutch alignment tool. I used electric tape on tool-tip to get a more snug fit. v8roadster getrag diff mounts. I burned the rubber off you mounts and repainted them black. As you can see in the photo, I didn't have a whole lot of room to work thread-wise. I had polyeurathane diff mounts, but I can barely get the mount to fit. with the center bolt, I just did a thick stainless steal fender washer behind it. Behind the the 2x 12mm nuts, I did a nylon washer behind it. Hopefully that will cut down on some of the rattling. No idea if it's going to do anything or IF that's needed zf5 sitting all pretty on rear trans mount. This is the bad trans. I should have another functioning ZF5 by friday hopefully. When I did my lizard skin a long time back, I did the trans tunnel with the stock drivetrain in it. Luckily, It never stuck well to the tunnel. In the process of slowly flaking it off ZF5 mounted up. Prior to clutch install. Nothing all that exciting but a cool shot of the turbo Installed my battery. Used a 3D printed mount from padlock which works fabulously. This was my first time using rivnuts. I didn't have the tool and there was a bit of a learning curve on getting them to work manually. Wing prior to vinyl! Looking on point with vinyl and end plates. Soaking my suspension bolts in evapo rust remover. Have had good experiences with this stuff so far and I am happy it's considered a "non-toxic" Rear diff and subframe!! anyone mind telling me what this hose is for? Kmiata driveshaft vs carbon fiber driveshaft (19.8 lbs vs 7.8 lbs). Need to install the flange yokes from the kmiata driveshaft to the CF one. If you or anyone you know might be interested in buying this axle without the flange yokes, let me know, and I'll workout a great deal for you. ACT 6-puck clutch installed. Pressure plate hex bolts torqued to 16 ft-lbs and used blue loctight Driverside kmiata mount. Feel I was on-point with my fitment because it followed contour to a T. I used a light coat of por15 rust prevention these mounts before I decide to paint or weld in. transmission mount all square away and searching for new zf5 in route passenger side kmiata mount.
Also, decided to pull gas tank. I removed the preexisting mounts which weren’t exactly stellar. After I had the fuel tank out, this gave me the idea of lowering the gas tank (not low enough to have to worry about about it coming in contact with drivehaft but a couple to few inches above.
I remade better mounts and slotted the tank so I could slide the tank toward the front of the car quite a bit too.
Figured this would help lower center of gavity.
Just a bit confused with the bedliner/sound deadening/carpet comments, as you have gone to great lengths to remove weight and it its a track only car. I would just use the koolmat as suggested by Emilio, and also install some heatshielding on the underside of the transmission tunnel. Other than that, looks good!
Mounting up my polycarbonate windshield from 5 star bodies. Realizing this windshield is going to need to be "trimmed" quite a bit before it will fit.
That's a .250 NC windshield. Not sure the curvature will be right for an NA/NB frame. We offer a .187 NA/NB windshield that's lighter, hard coated scratch-resistant for $50 less. Just FYI for anyone else thinking about a polycarbonate windshield.
Just a bit confused with the bedliner/sound deadening/carpet comments, as you have gone to great lengths to remove weight and it its a track only car. I would just use the koolmat as suggested by Emilio, and also install some heatshielding on the underside of the transmission tunnel. Other than that, looks good!
Hello Harry. I plan to use the car at the track but would also love to drive this on the street too. Before, with the stock engine, the car was so loud that if I had a passenger in the car, we had to yell to hear each other. I installed the lizard skin and be liner a while back before realizing I would want a cage later. Would you recommend removing the lizard skin and bed liner and going with the koolmat mat instead to cut down on weight? thanks
That's a .250 NC windshield. Not sure the curvature will be right for an NA/NB frame. We offer a .187 NA/NB windshield that's lighter, hard coated scratch-resistant for $50 less. Just FYI for anyone else thinking about a polycarbonate windshield.
Yeah, when I contacted fivestar bodies, they made it sound like they had a polycarbonate windshield specific to fit the size of my car. They mailed me the NC one then when I contacted them, they told me this was their only windshield and it would fit if I trim it (which was a bit annoying). They also recommended using a cardboard box to mock up a sample then to superimpose it to their windshield to trim. If I would have known that before about you carrying them, I would have hit you up!
Fair enough; the koolmat would not do much about noise since it partially covers the driver side, but is all you need in terms of heatshielding. I can be paranoid about weight on a track only car, and given the amount of cutting the tub, polycarbonate windows and all, I thought that was the sole purpose. I would not dare driving something like that on street.
Also, I would ask at least for a partial refund for the windshield (most probably I would return it and ask for a full refund).
Hello Harry. I plan to use the car at the track but would also love to drive this on the street too. Before, with the stock engine, the car was so loud that if I had a passenger in the car, we had to yell to hear each other. I installed the lizard skin and be liner a while back before realizing I would want a cage later. Would you recommend removing the lizard skin and bed liner and going with the koolmat mat instead to cut down on weight? thanks
If it were me i would remove all of the bedliner and run koolmat. With fiberglass doors and roof the thing isnt going to be quiet.
That's a .250 NC windshield. Not sure the curvature will be right for an NA/NB frame. We offer a .187 NA/NB windshield that's lighter, hard coated scratch-resistant for $50 less. Just FYI for anyone else thinking about a polycarbonate windshield.
Originally Posted by HarryB
I would ask at least for a partial refund for the windshield (most probably I would return it and ask for a full refund).
I'm in the process of initiating the return process for this windshield and hoping they'll let me return it since it's been about 6 months since I purchased it. If I can get this return to go through, definitely going to be purchasing your windshield off supermiata
Originally Posted by matrussell122
If it were me i would remove all of the bedliner and run koolmat. With fiberglass doors and roof the thing isnt going to be quiet.
Mat, Still debating what to do with this. I still have the stock doors and was debating using the stock doors on the street with fiberglass on the track, but still in the process of learning and figuring out what would be best given my needs.
Originally Posted by HarryB
I would not dare driving something like that on street.
Harry, Is your reasoning for not daring to drive something like this on the street due only to a safety aspect? If the car is caged right and set up with 6 pt harnesses correctly and a racing helmet is worn, would that change your mind about streeting the vehicle?
 08-16-2020, 09:56 PM


 -4
-4