2jz Miata build thread
 05-02-2012, 12:52 PM
#1182
Junior Member

Join Date: Nov 2011
Location: Milwaukee, WI
Posts: 81
Total Cats: 0
I removed everything related to the factory mazda engine and air bag system. As well as the wiper system. I left all the lighting and the factory fuse box. I was able to cut all the wire covering back and separate the lighting from the rest and just cut away. The only thing I did not want to cut is two ground wires near the factory fuse box I left those be.

Reply
 0
0

0
05-02-2012, 01:49 PM
#1183
Elite Member
iTrader: (12)

Join Date: Nov 2009
Location: Harpers Ferry WV
Posts: 1,516
Total Cats: 20
As far as your car is concerned I do not know. I did not remove the diagnosis box yet because I did not see a need to at the moment. I will when I get some time. I just cut the wires off at the firewall and tapped them up neatly, then tapped them all together. I am not using any of the factory miata engine wiring other than the starter circuit and I am currently stealing power from the diagnosis port to power my fan. If you are going to rewire in a new maf or map set up then I would vote cut them off. I would also not suggest doing this if you are scared of wiring anything. I have come a long way with my wiring skills and now have no problem cutting things but it can lead to other problems later on if you cut something out you need. Still my vote is cut out what you do not need saves space and looks better.
Reply
0
0
05-06-2012, 09:51 PM
#1185
Elite Member
iTrader: (12)
Join Date: Nov 2009
Location: Harpers Ferry WV
Posts: 1,516
Total Cats: 20
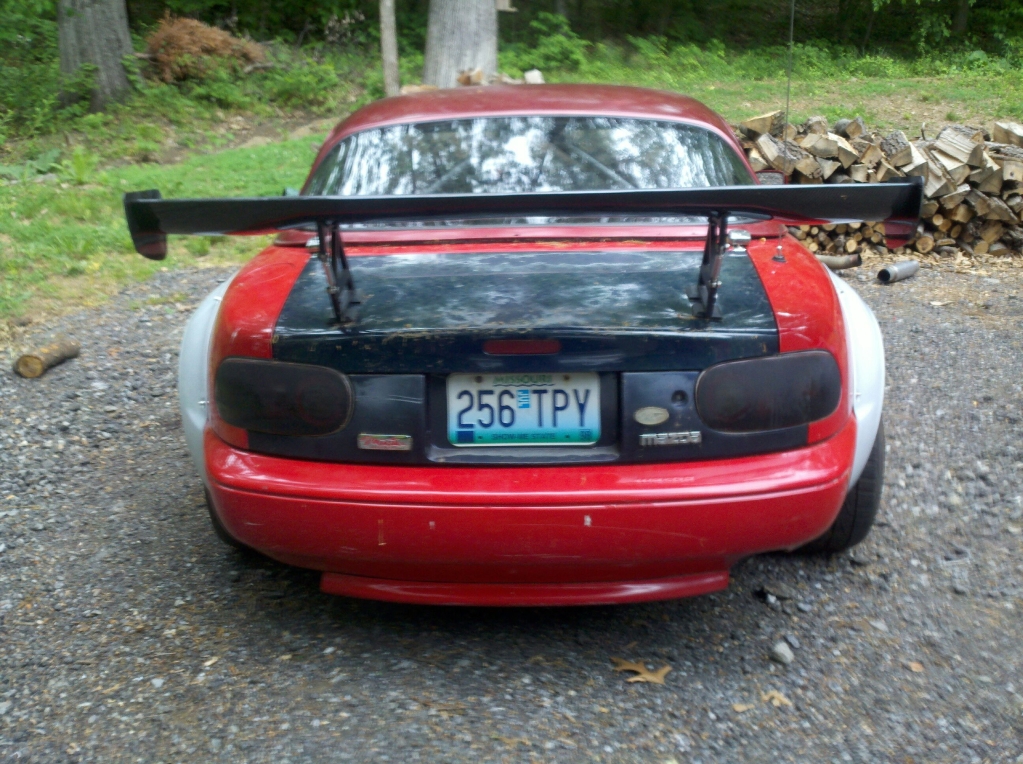
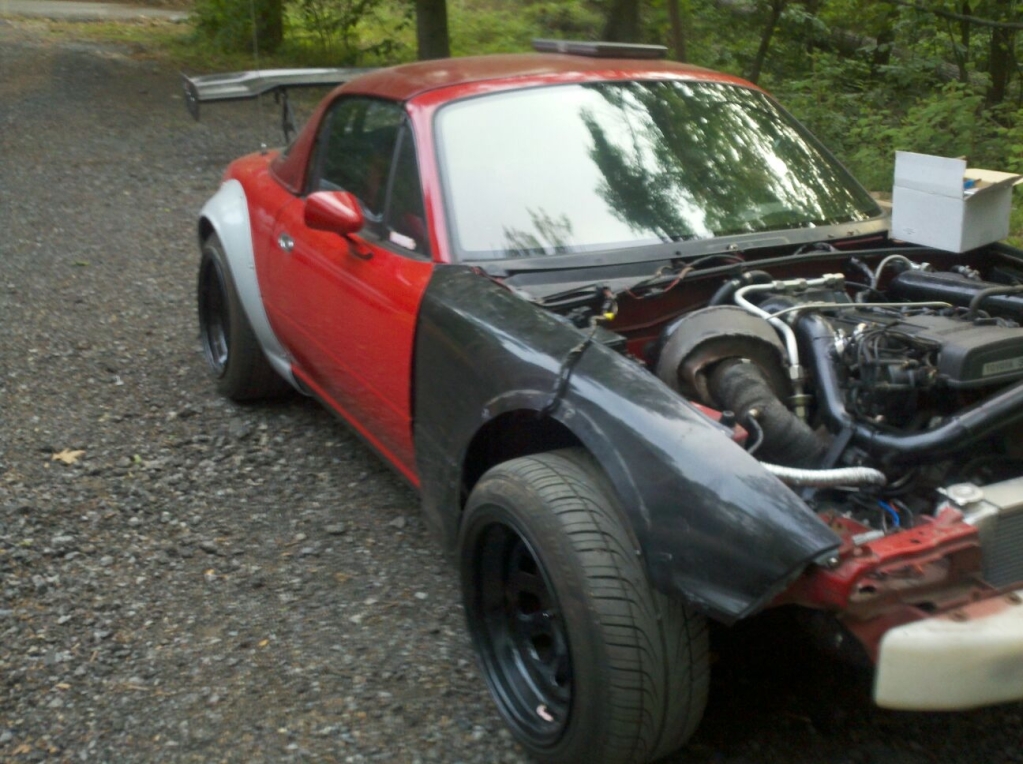
So I got some more work done this weekend. Got the idle and low rpm no load tune straightened out for the most part. I got my fender flares mounted and started to finish the exhaust.lol The exhaust will come down then across the front to the drivers side and I will be using a glasspack and a auger style insert. It actually quiets it down a good bit. I got the rear flares mounted and the front bumper and fenders started to get mounted I need to get some brackets from mazda to finish the job. Here are a few pics of the rear flares mounted. It is starting to look like a car again!!!!!!!!!!!

Reply
0
0
05-11-2012, 12:17 AM
#1186
Elite Member
iTrader: (12)
Join Date: Nov 2009
Location: Harpers Ferry WV
Posts: 1,516
Total Cats: 20
Ok so beyond needing to mount the body panels back on the car I have been seriously thinking about what I am going to do about headlight. I have always hated the flip ups and the flush mounts are nice but still not that great. I an going to need the space where the headlights are for structural support for the hood. I made the decision the other day to remove the headlights completely and run the piaa 3000 in the turn signal hole. This still did not sit well with me because it is a band aid not a fix. I think I want to do a NB front end conversion. I think this will be a huge benefit in many ways. I love the way it looks. The headlights will be out of the way and I will have more hood to work with.Let me know what you all think. Here is a link to what I want to do.
http://clubroadster.net/vb_forum/sho....php?p=1046006
http://clubroadster.net/vb_forum/sho....php?p=1046006
Reply
0
0
05-14-2012, 04:34 PM
#1187
Elite Member
iTrader: (12)
Join Date: Nov 2009
Location: Harpers Ferry WV
Posts: 1,516
Total Cats: 20
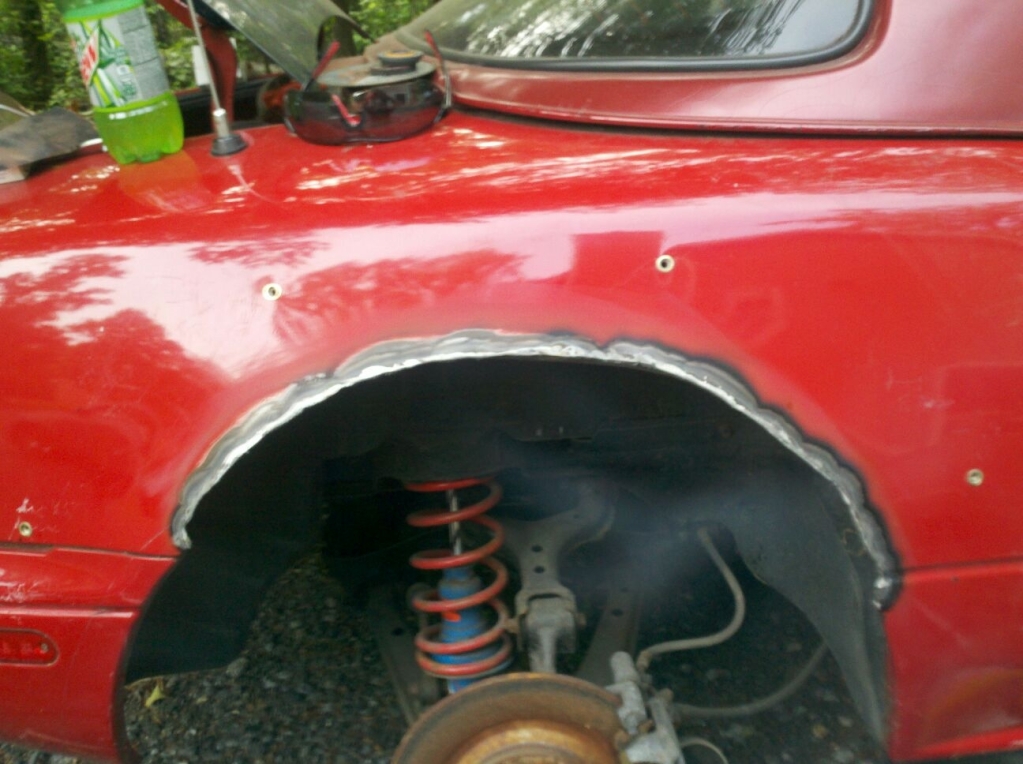
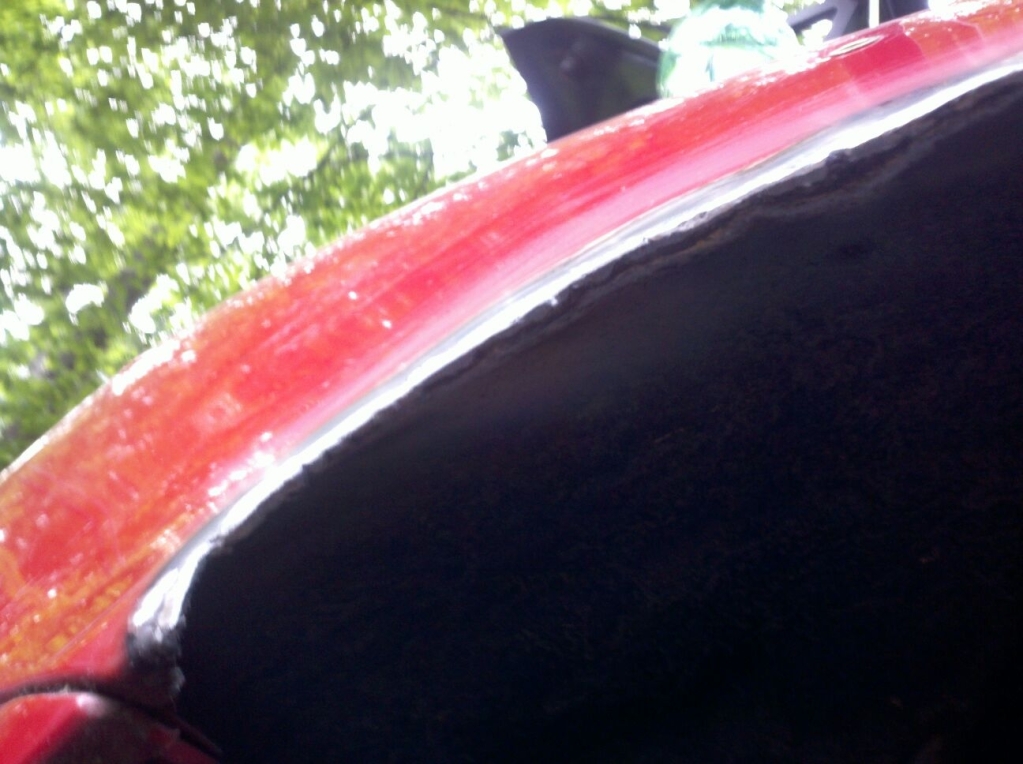
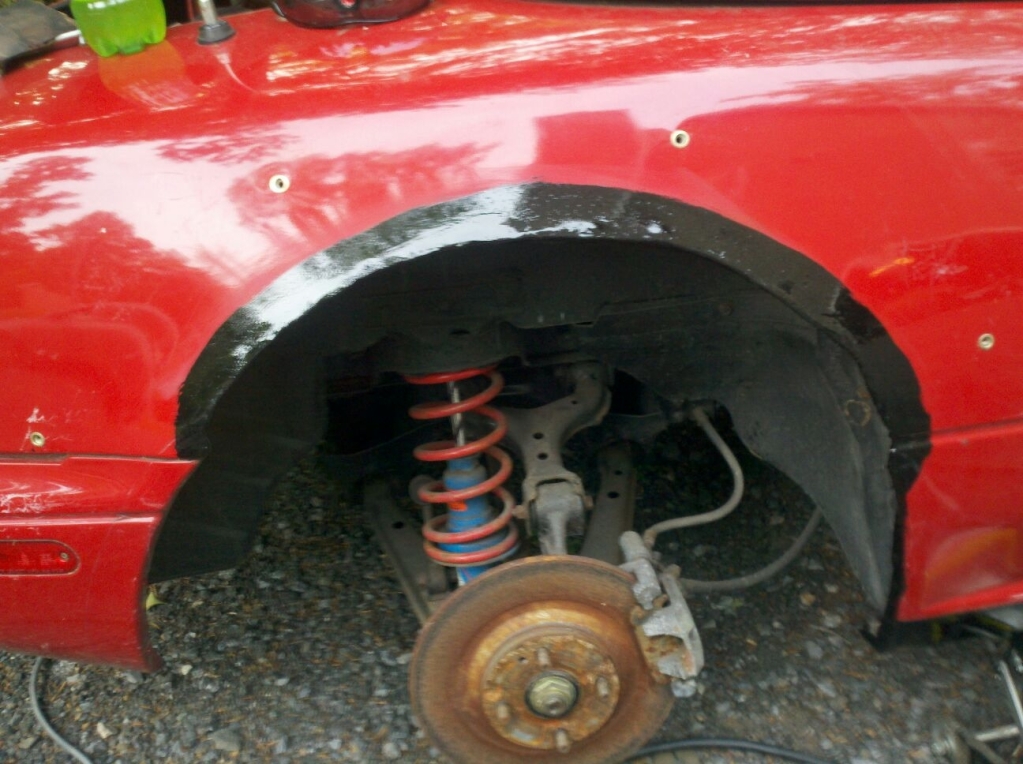
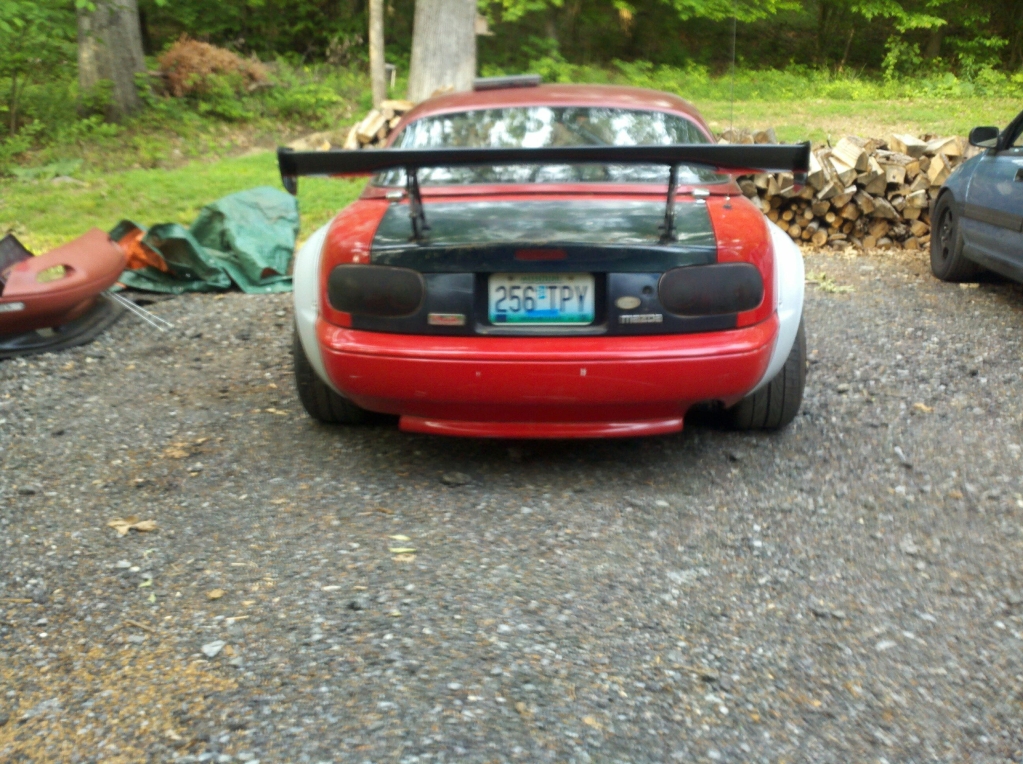
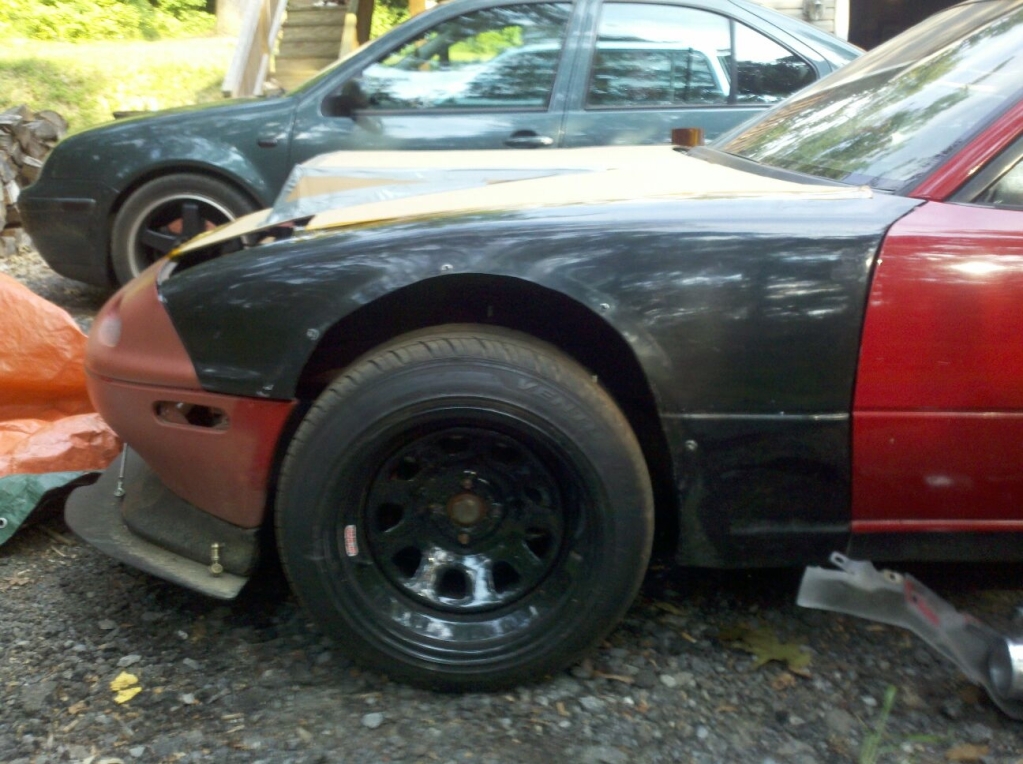
Got some work done this weekend. Got the rear quarters cut and welded back in place and rear flares mounted With correct hardware. After welding the fenders I coated everything in pour15 and I am in love with the stuff. It covers amazing and dries hard like epoxy. I think it will protect really really well. Got the rear wheels mounted up. finished the exhaust it come down then turns left in front of the motor with a turn down. I used a 3x12" auger muffler insert and a shofeild 9" muffler and to my surprise both work extremely well. The exhaust is not loud and has no raspy crappy noise to it anymore. Got the cold start and idle pretty much straightened out but still need to figure out the rest of the tune under light load around 2500 rpm it goes lean enough to shut off. Will work on this with time and at anything more than a light load over 4k it goes lean so needs a lot of tuning. Here are some pics of the car with the wheels on and flare I am really happy with the way it is coming along.
Reply
1
1
05-15-2012, 04:15 PM
#1188
Junior Member

Join Date: Dec 2010
Location: UK, in Cambridgeshire or wherever work takes me.
Posts: 375
Total Cats: 20
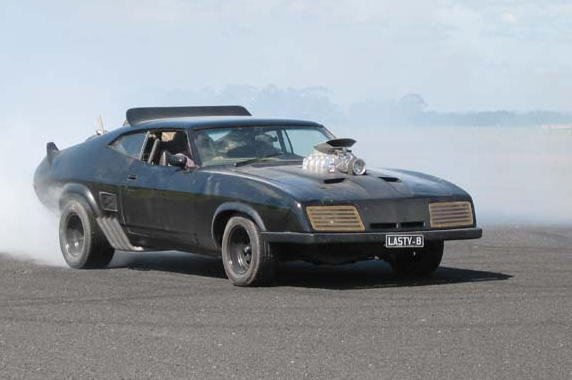
I really like those wheels. Tough as hell. They really suit the build. Am I the only one who thinks of the Mad Max Interceptor wheels when I see them…??
Reply
0
0
06-18-2012, 05:46 PM
#1189
Elite Member
iTrader: (12)
Join Date: Nov 2009
Location: Harpers Ferry WV
Posts: 1,516
Total Cats: 20
Ok so after running into an old freind who happens to be a 2jz wiring genius. I found the solution to my tuning problems. It is not as simple as I would like but all in all not that bad either. I need to change my ecu to a aristo (JDM 2jzgte) ecu along with this is coils, igniter, map, and ait. This will allow my car to run just like a stock turbo car and all I will have to do it change the map for the injector upgrade and higher boost levels. This will get rid of my MAF sensor witch is causing nightmares right now and the JDM ecu runs on map/ait only. While I am in the middle of this I also now has a friend that got his welding stuff set up so I will be making a new intake manifold as well. I will be cutting off the lower runners and welding directly to them. This will cause most of my hood problems other than the valve cover so I am happy with that. I will keep you all updated as this comes along.
Reply
0
0
07-11-2012, 11:43 PM
#1190
Newb

Join Date: Jul 2011
Location: Ft. Lauderdale, Florida
Posts: 11
Total Cats: 0
Hey Sean, I haven't been on here in a while, but I'm glad to see that you haven't given up on this project. Good to see that things are still moving forward regardless of any minor set backs. Hope you get to meet your goal sooner rather than later. Can't wait to see some more videos of this beast in action. Congrats. 
Reply
0
0
07-12-2012, 05:24 PM
#1191
Elite Member
iTrader: (12)
Join Date: Nov 2009
Location: Harpers Ferry WV
Posts: 1,516
Total Cats: 20
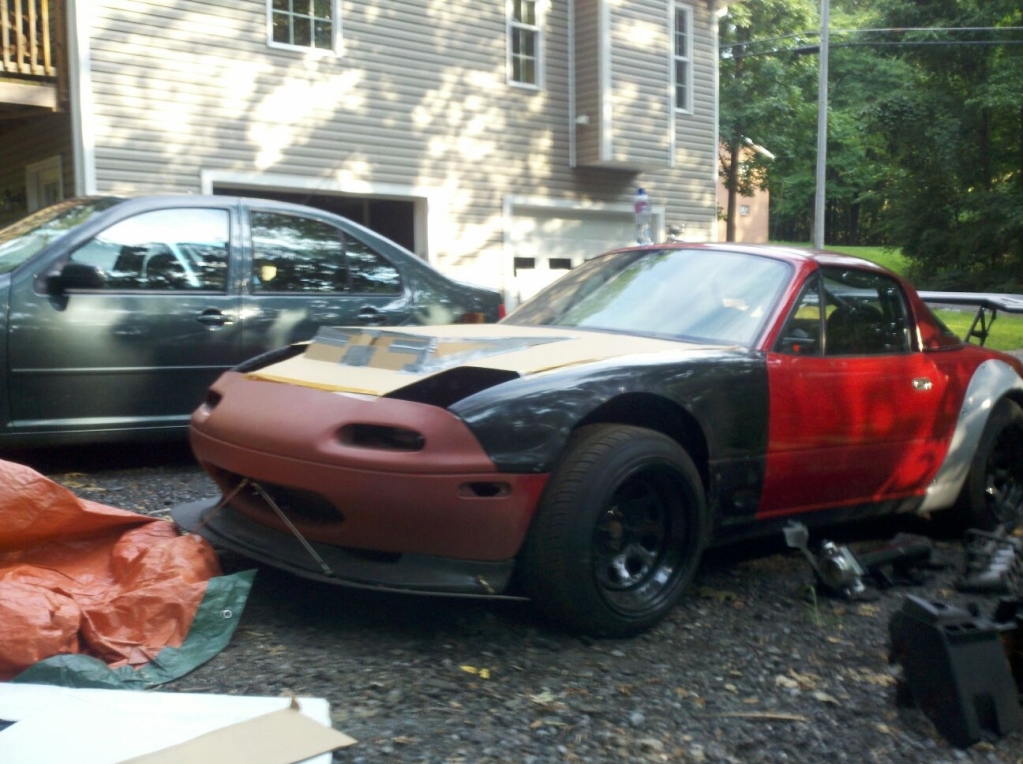
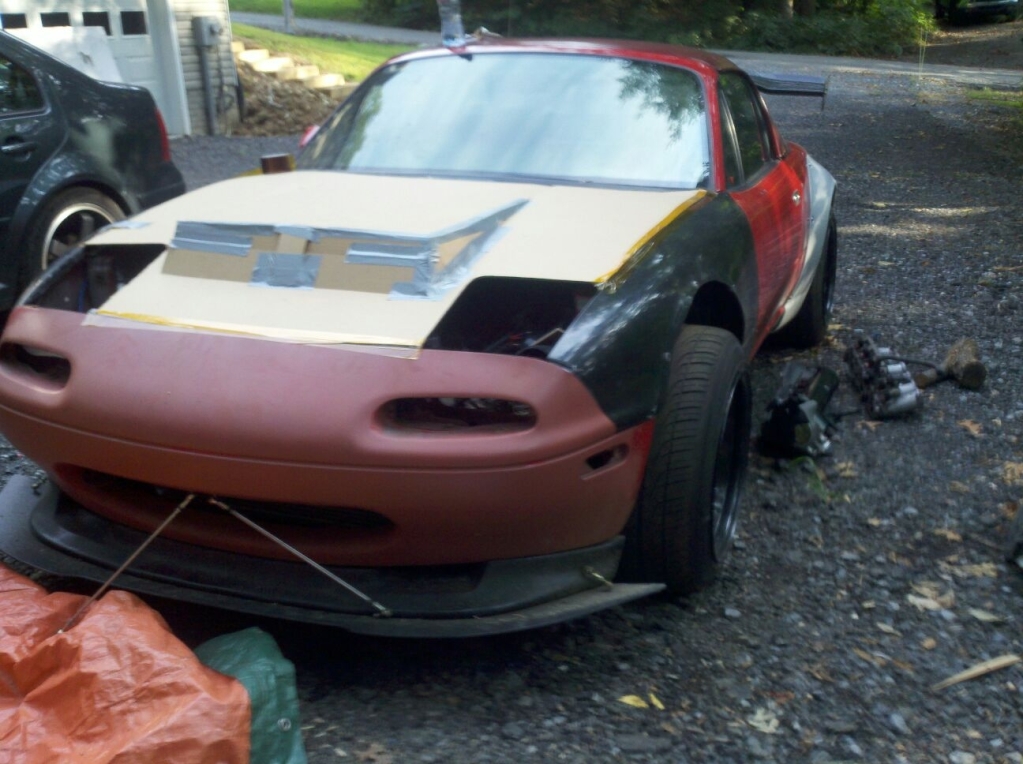
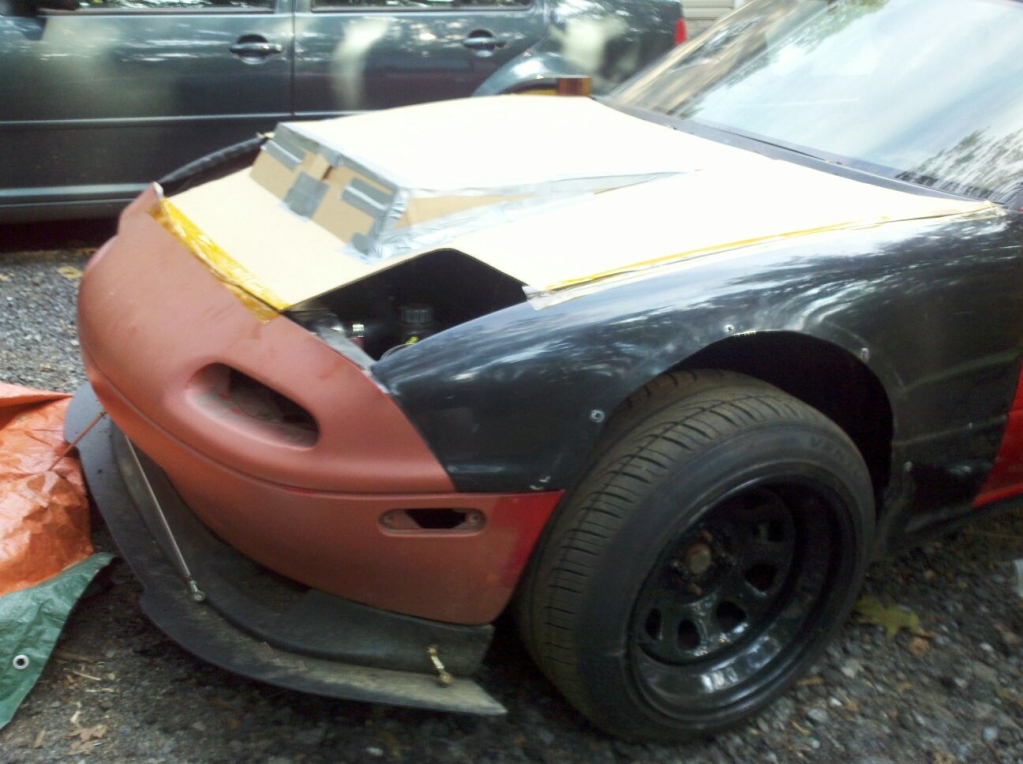
Ok so I have made some advancement on this I am just being held up by time as always. So far I have got about 80% of the parts I need to do my ECU swap. I mocked up a hood the other day and I have started my intake manifold. I am trying to work on it as much as possible again now that my daily is been fixed back up.
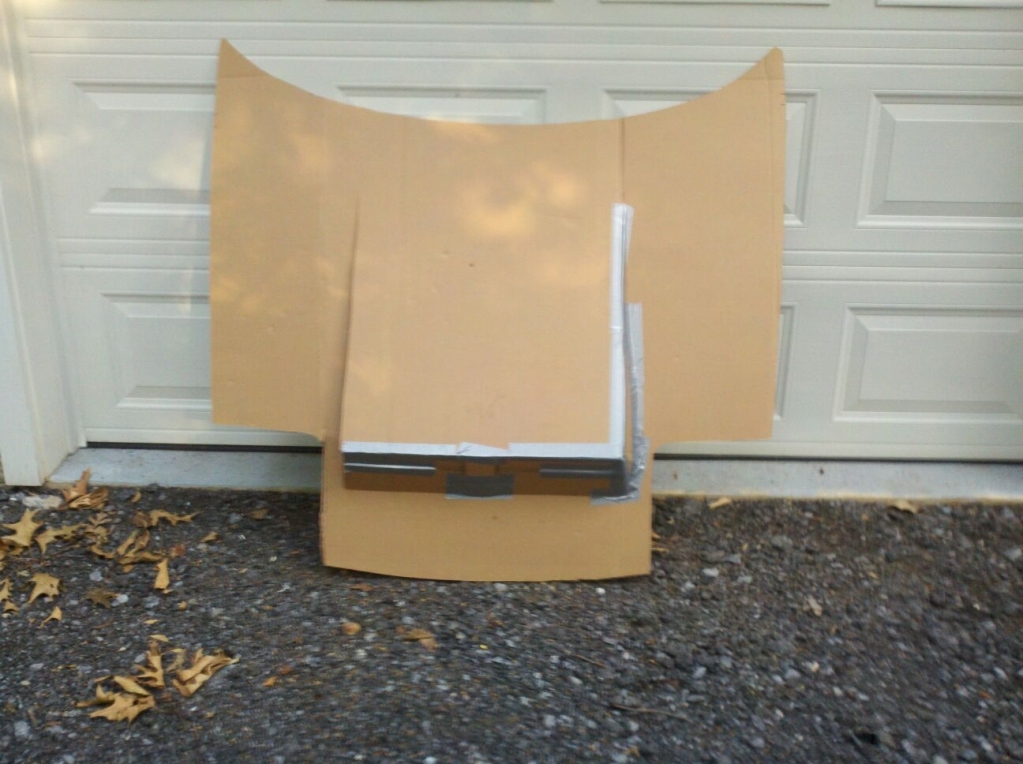
For the hood I like the way it looks and this is a cardboard mock up but you get the idea and I need to slope the front more so it is not so abrupt. Now here is the how to make a mock hood. First step is borrow your neighbors hood and make a template out of cardboard, then cut the cardboard to the correct size and place on the car.
<a href="http://s954.photobucket.com/albums/ae24/2jzmiata/?action=view&current=Resampled_2012-07-10_17-34-14_396.jpg" target="_blank"><img src="http://i954.photobucket.com/albums/ae24/2jzmiata/Resampled_2012-07-10_17-34-14_396.jpg" border="0" alt="Photobucket"></a>
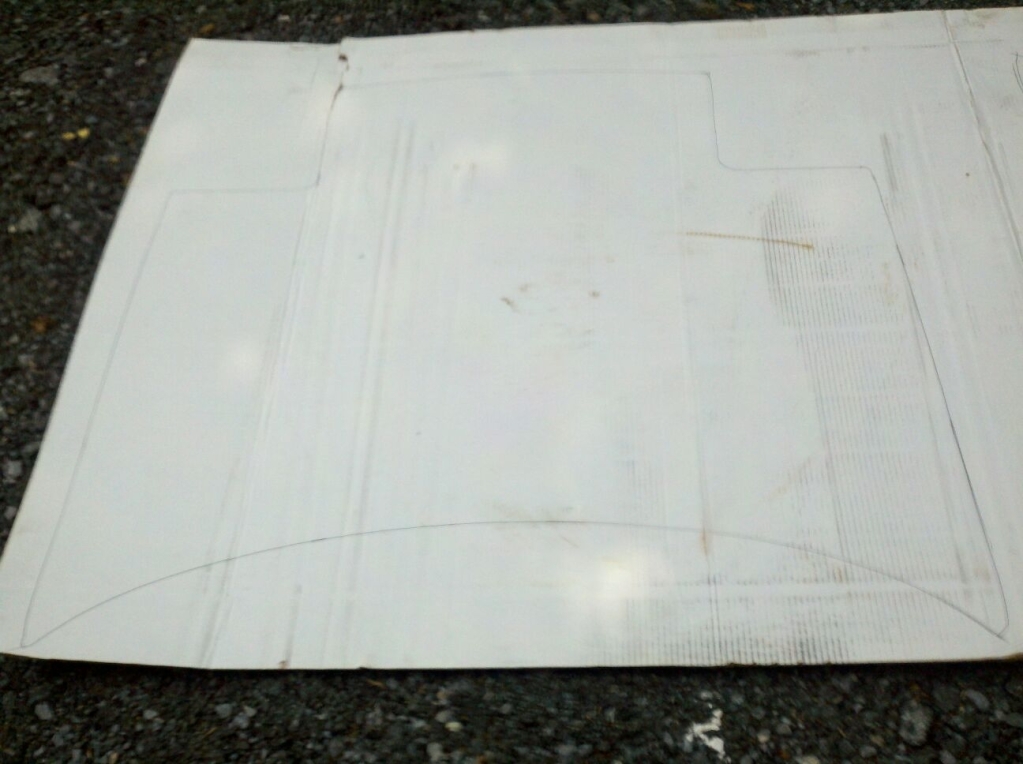
Next start to mock up your hood cutting and adding where needed hopefully you will end up with something that fits. Here is what I have so far.

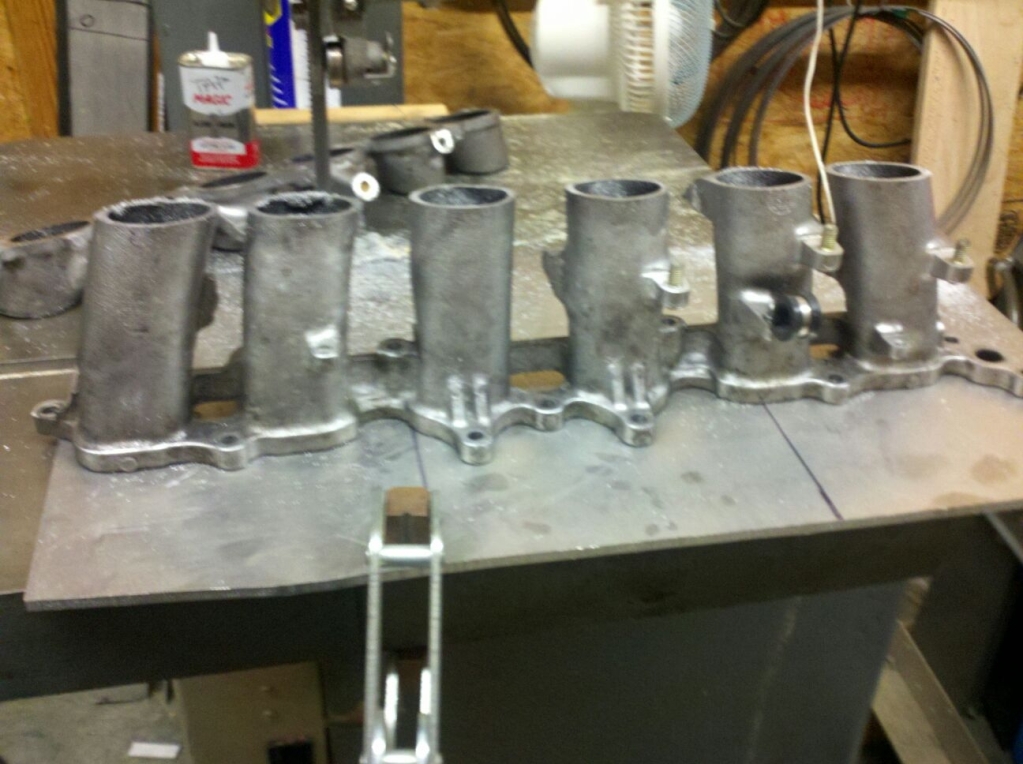
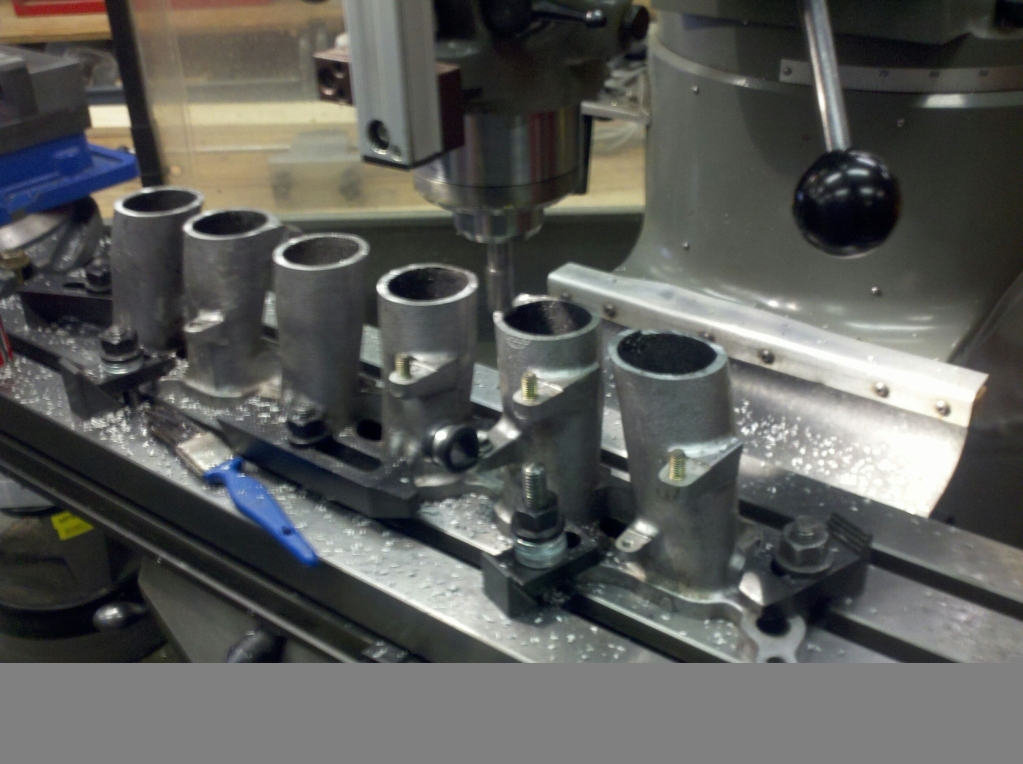
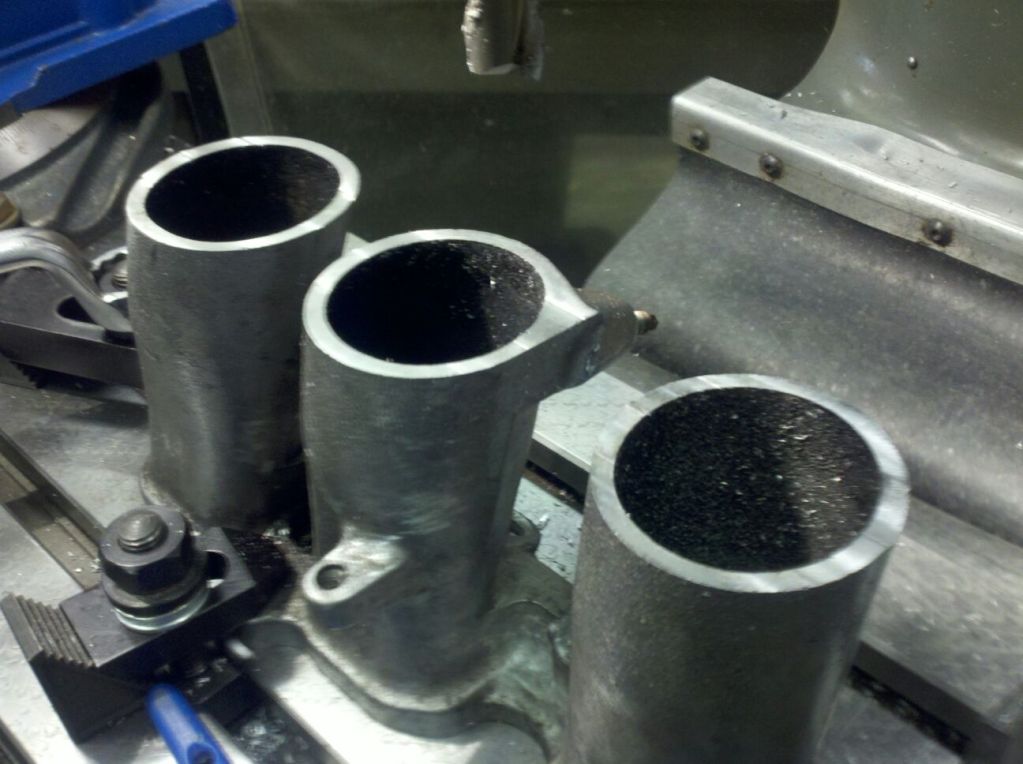
Then we move on to the intake manifold. I kept going around and around on how I wanted to do it and long story short I am cutting off my lower runners and welding a plenum directly to them. I will be welding a new TB flange to fit my 90mm TB and some bungs on the bottom for anything I may need to run. The plenum will be "D" shaped I am using 4.5" tube welded to a flat plat to make the D shape so far all I have done is cut the runners and made some measurements I am waiting for the material to come in. I will keep you all updated.
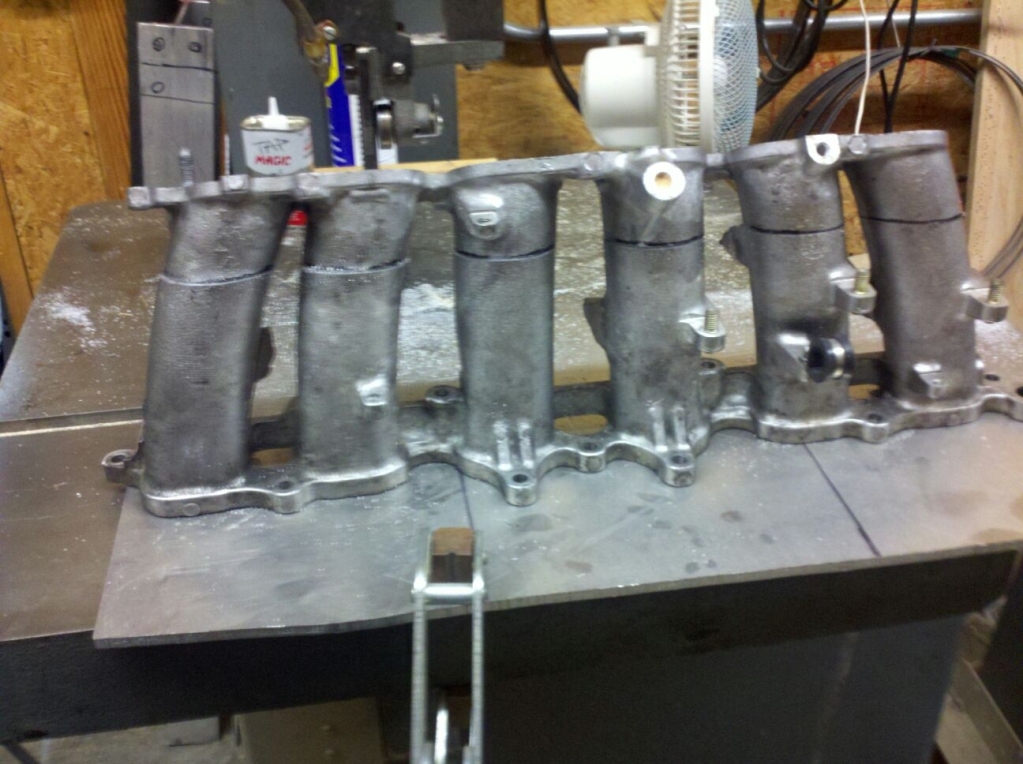
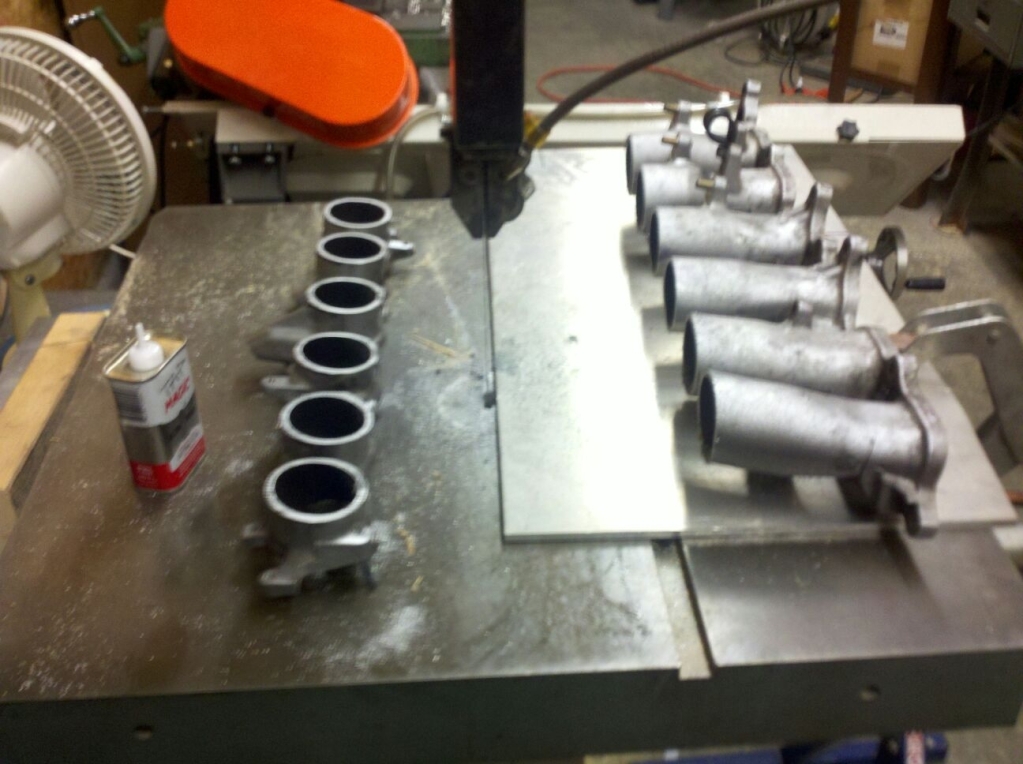
The part I cut off.
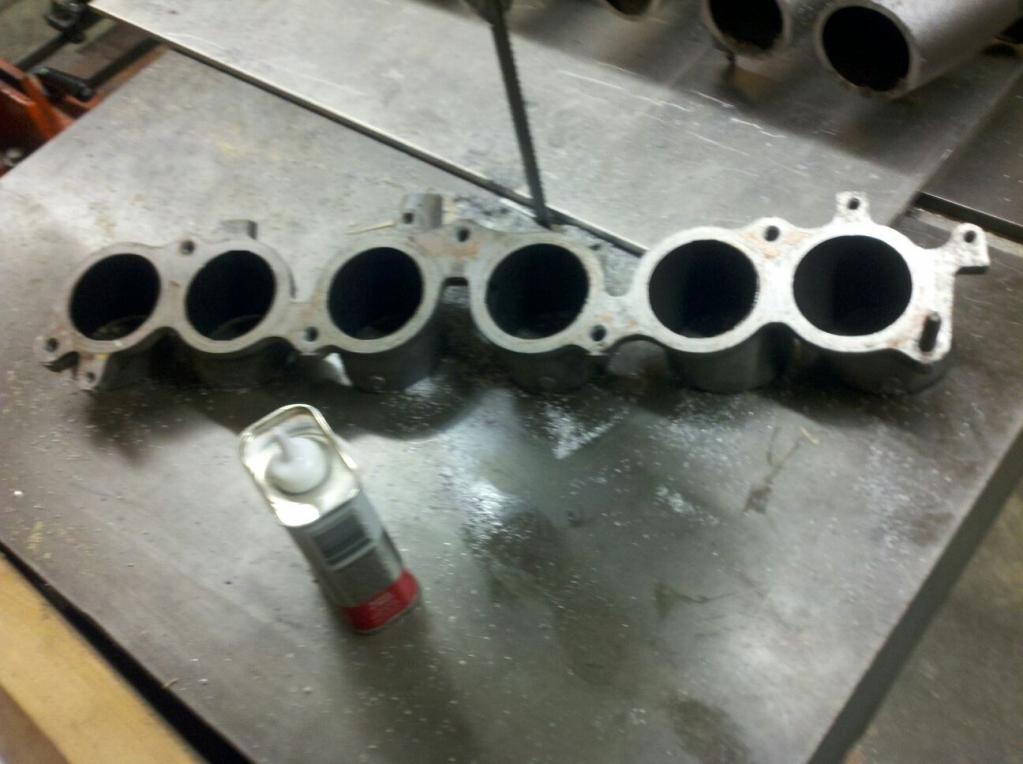
The beginning of my new intake. I also tapped the hole for the IAC feed back and blocked it off. Not that anyone here will know what I am talking about but just in case.
For the hood I like the way it looks and this is a cardboard mock up but you get the idea and I need to slope the front more so it is not so abrupt. Now here is the how to make a mock hood. First step is borrow your neighbors hood and make a template out of cardboard, then cut the cardboard to the correct size and place on the car.
<a href="http://s954.photobucket.com/albums/ae24/2jzmiata/?action=view&current=Resampled_2012-07-10_17-34-14_396.jpg" target="_blank"><img src="http://i954.photobucket.com/albums/ae24/2jzmiata/Resampled_2012-07-10_17-34-14_396.jpg" border="0" alt="Photobucket"></a>
Next start to mock up your hood cutting and adding where needed hopefully you will end up with something that fits. Here is what I have so far.
Then we move on to the intake manifold. I kept going around and around on how I wanted to do it and long story short I am cutting off my lower runners and welding a plenum directly to them. I will be welding a new TB flange to fit my 90mm TB and some bungs on the bottom for anything I may need to run. The plenum will be "D" shaped I am using 4.5" tube welded to a flat plat to make the D shape so far all I have done is cut the runners and made some measurements I am waiting for the material to come in. I will keep you all updated.
The part I cut off.
The beginning of my new intake. I also tapped the hole for the IAC feed back and blocked it off. Not that anyone here will know what I am talking about but just in case.
Reply
0
0


 07-13-2012, 08:28 AM
#1195
Elite Member
iTrader: (12)
Join Date: Nov 2009
Location: Harpers Ferry WV
Posts: 1,516
Total Cats: 20
I have not looked into any vents as of yet but if you have any good ideas or anyone else does I am open to all suggestions. As far as how high it is in the pictures there is only about 1/4" of clearance between the hood and the engine so it is what it is. It is just a mock so I hope to make it smother with the real one. I will look into the gt500 vent if you have any pics please post one up.
Reply
0
0
07-13-2012, 08:33 AM
#1196
Elite Member
iTrader: (12)
Join Date: Nov 2009
Location: Harpers Ferry WV
Posts: 1,516
Total Cats: 20
I am not going to put velocity stack in the intake just taper the floor into the ports. I had a friend draw up a few models with specs from my intake and what I want to build in solid works and he ran a flow test. The difference in having stacks and not is only about 5 feet per second mind you The intake runners on the manifold are already really close to the appropriate 7 deg. taper needed for a good stack so with that and a nice bevel/taper built into the floor of the intake it will be more than I will ever need. There are guys putting down well over 700 whp with similar intakes and some much more crude so I am just going to keep it simple.
Reply
0
0
07-23-2012, 02:48 PM
#1199
Elite Member
iTrader: (12)
Join Date: Nov 2009
Location: Harpers Ferry WV
Posts: 1,516
Total Cats: 20
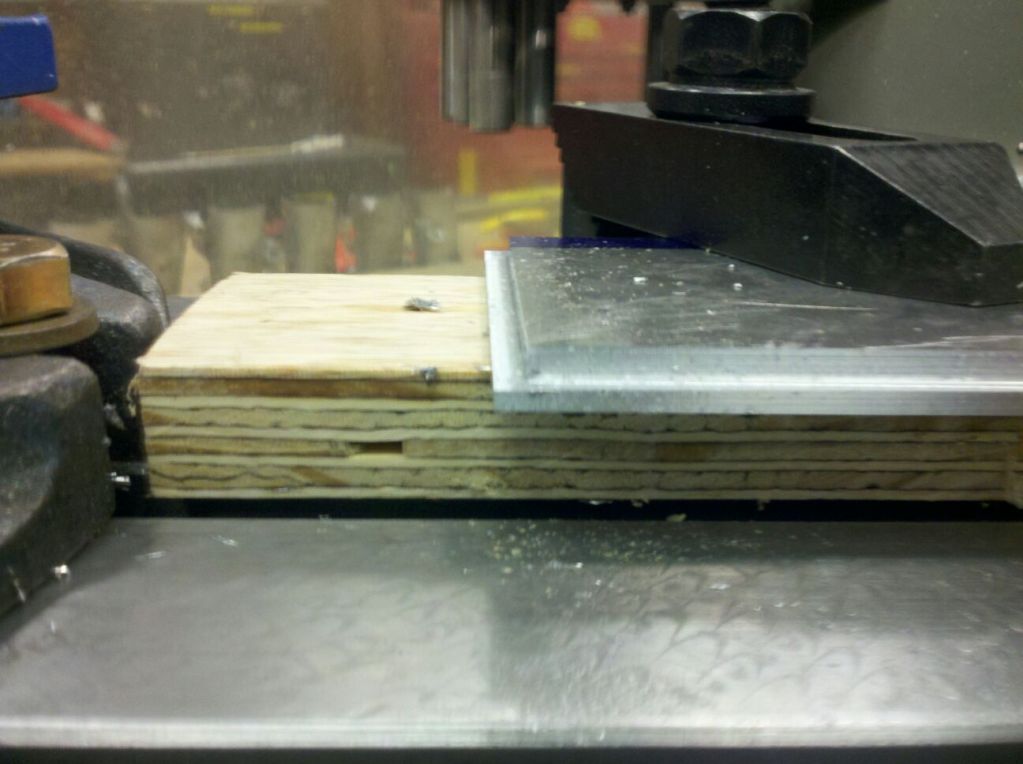
I am currently in texas for work but I got some more more work done on the manifold before I left I will try and finish it up when I get back home. I also now have all my parts to do the gte ecu swap so hopefully in the end of august my car will run fantastic with minimal tunning.Here are some more pics for you all. You can see I cut a ledge in the base plate of the manifold to ease in welding the tube on, and resurfaced the manifold after the saw cut to make sure everything goes together flat and easy.

Reply
0
0


