93' Miata stolen and flipped build thread
 05-26-2015, 12:44 AM
#3821
Elite Member

Join Date: Oct 2013
Location: Cedar City, UT
Posts: 2,764
Total Cats: 951
Trying to get some small things done while I wait for my head, which I am told will be ready on Wednesday. Still Need to make a bracket for the meth tank and pump which I will mount near the battery, pull my OEM damper, install front main seal, Put on ATI damper, install 1.8 water pump pulley and alternator pulley. After all that then just basic reassembly.
Got some parts powder coated since all I'm doing is waiting./
This one is for Curly It has been bugging me as well. Solar Black
Timing belt alignment plate. Used an oil pen so make the letters easier to see.

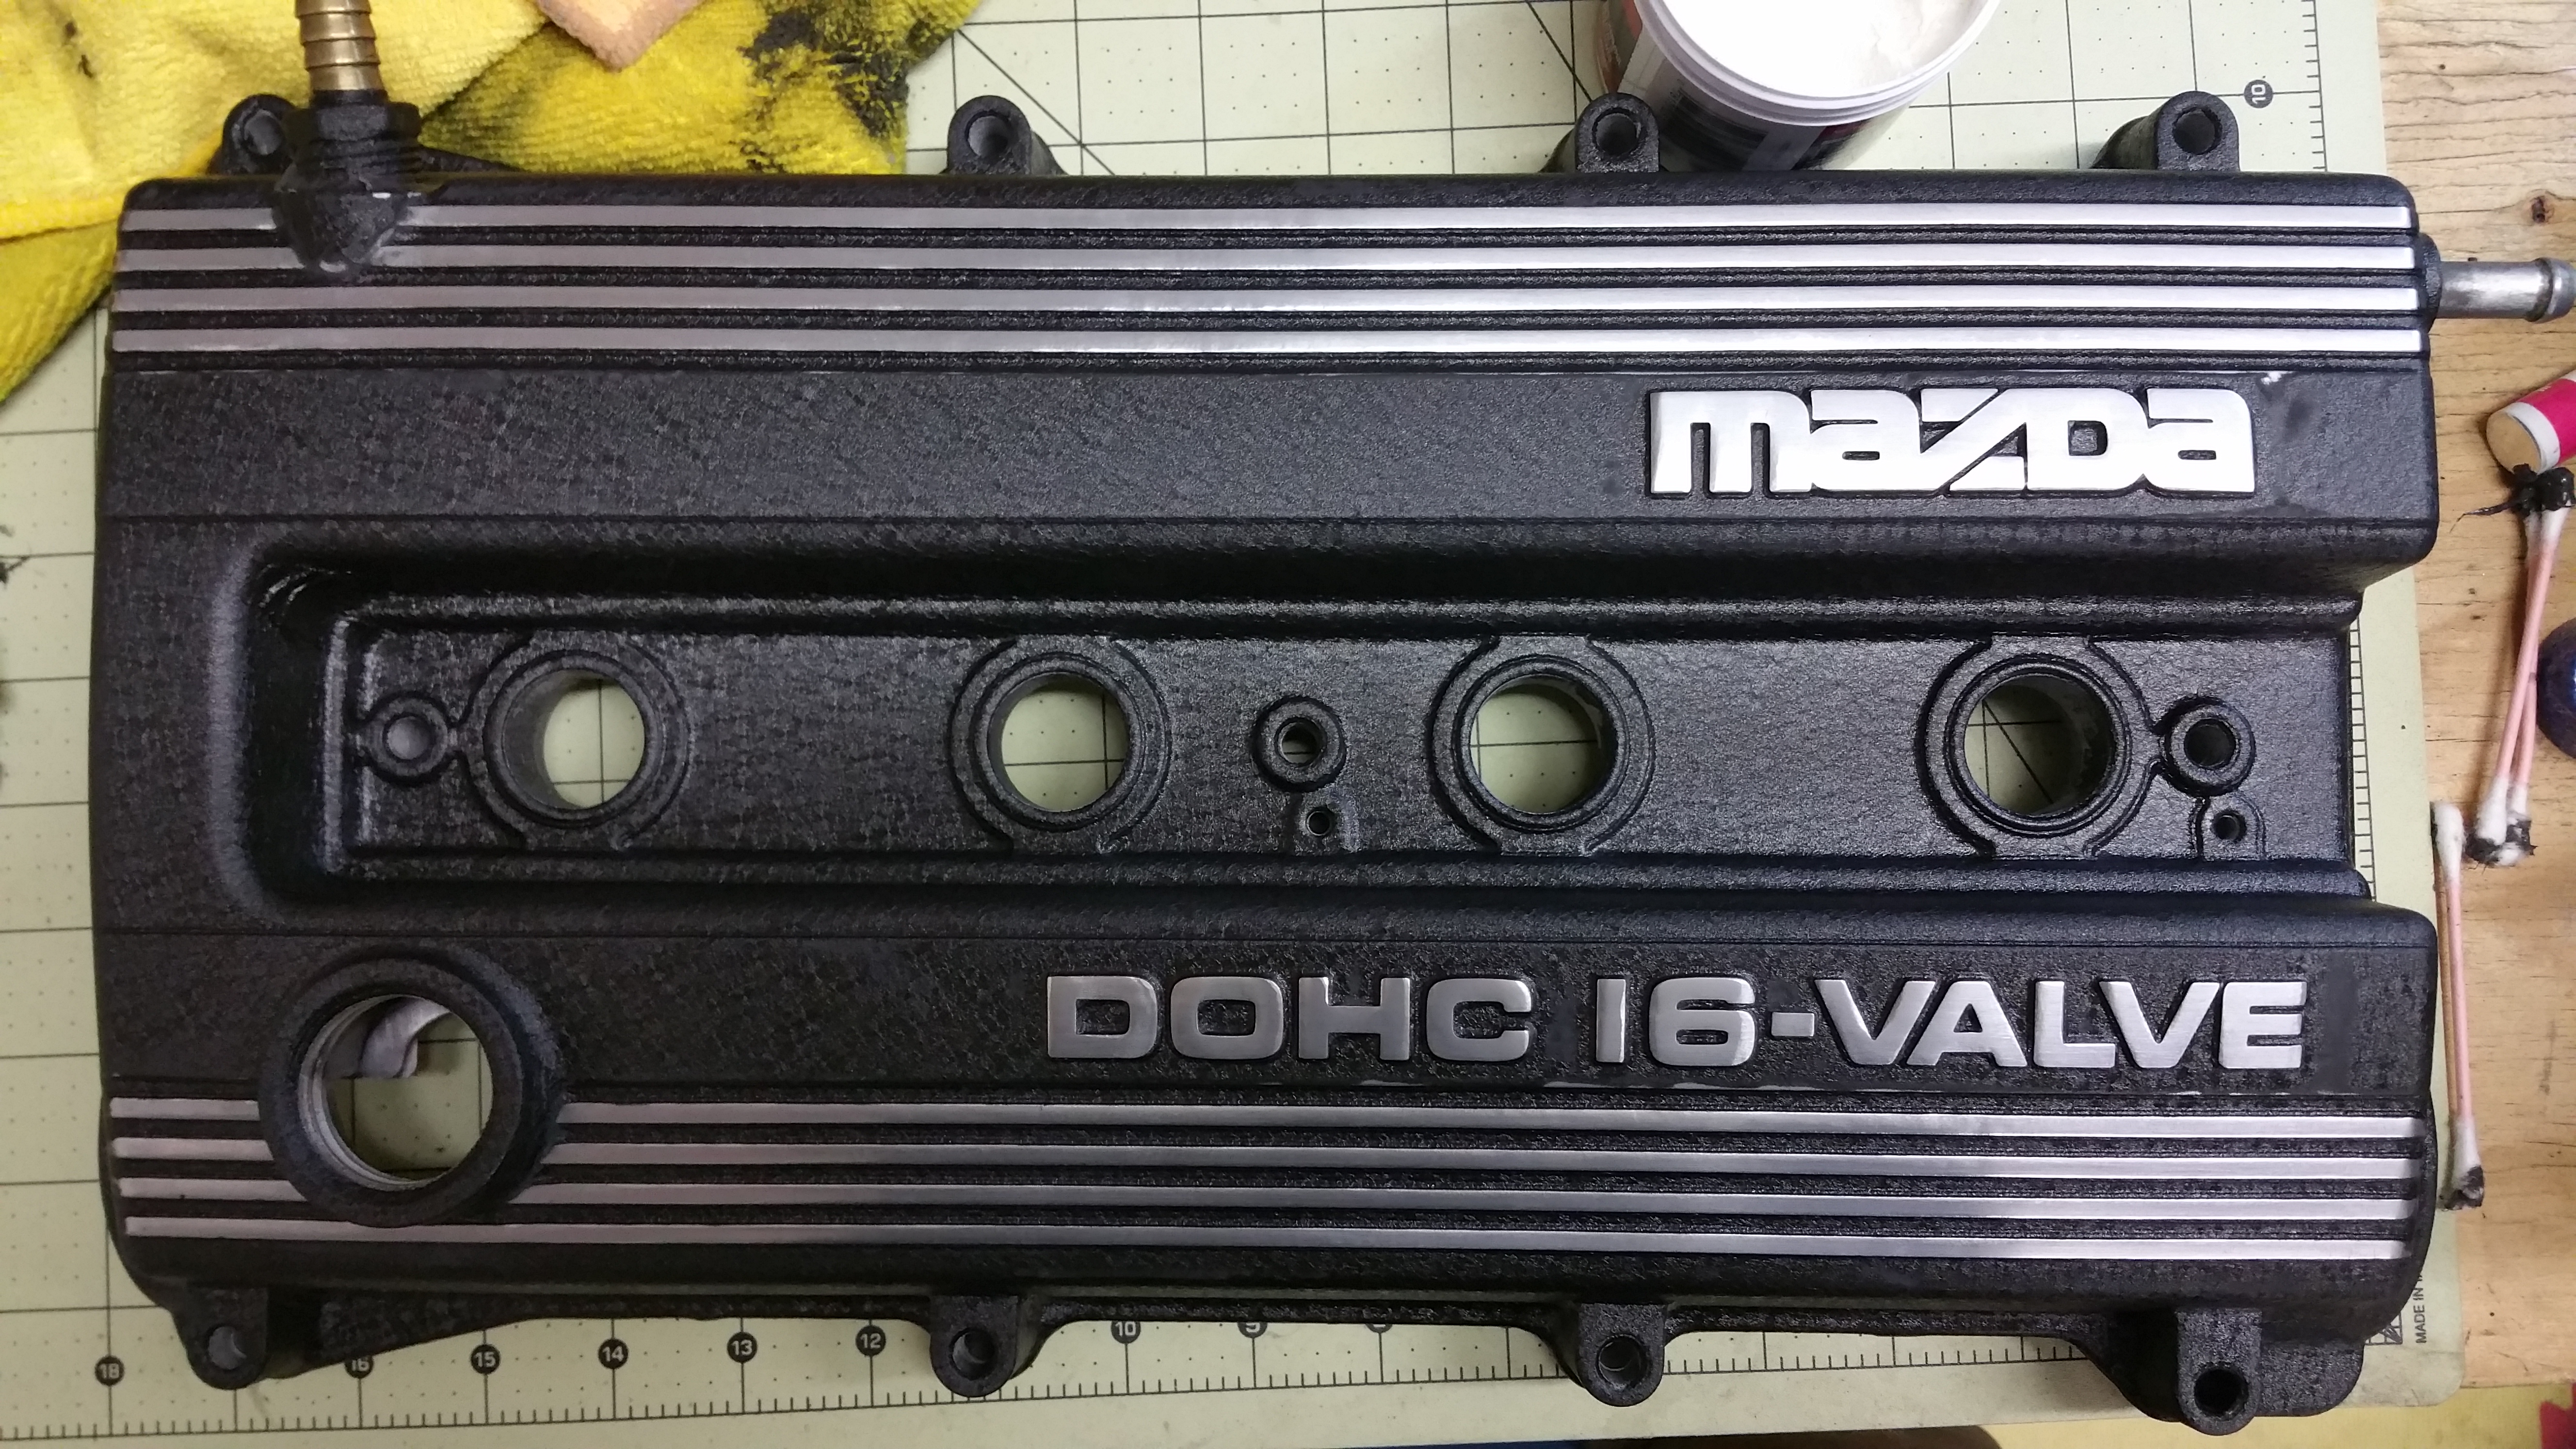
Didn't like how hard it was to clean the old Wrinkle Black finish I had, so I had him powder coat it a smoother wrinkle. Then for fun I decided to sand the 4 rails along with the lettering. It gives it a little more contrast and looks great. Also took off the baffle covers and cleaned off the old rotting gasket and used Permatex Black.
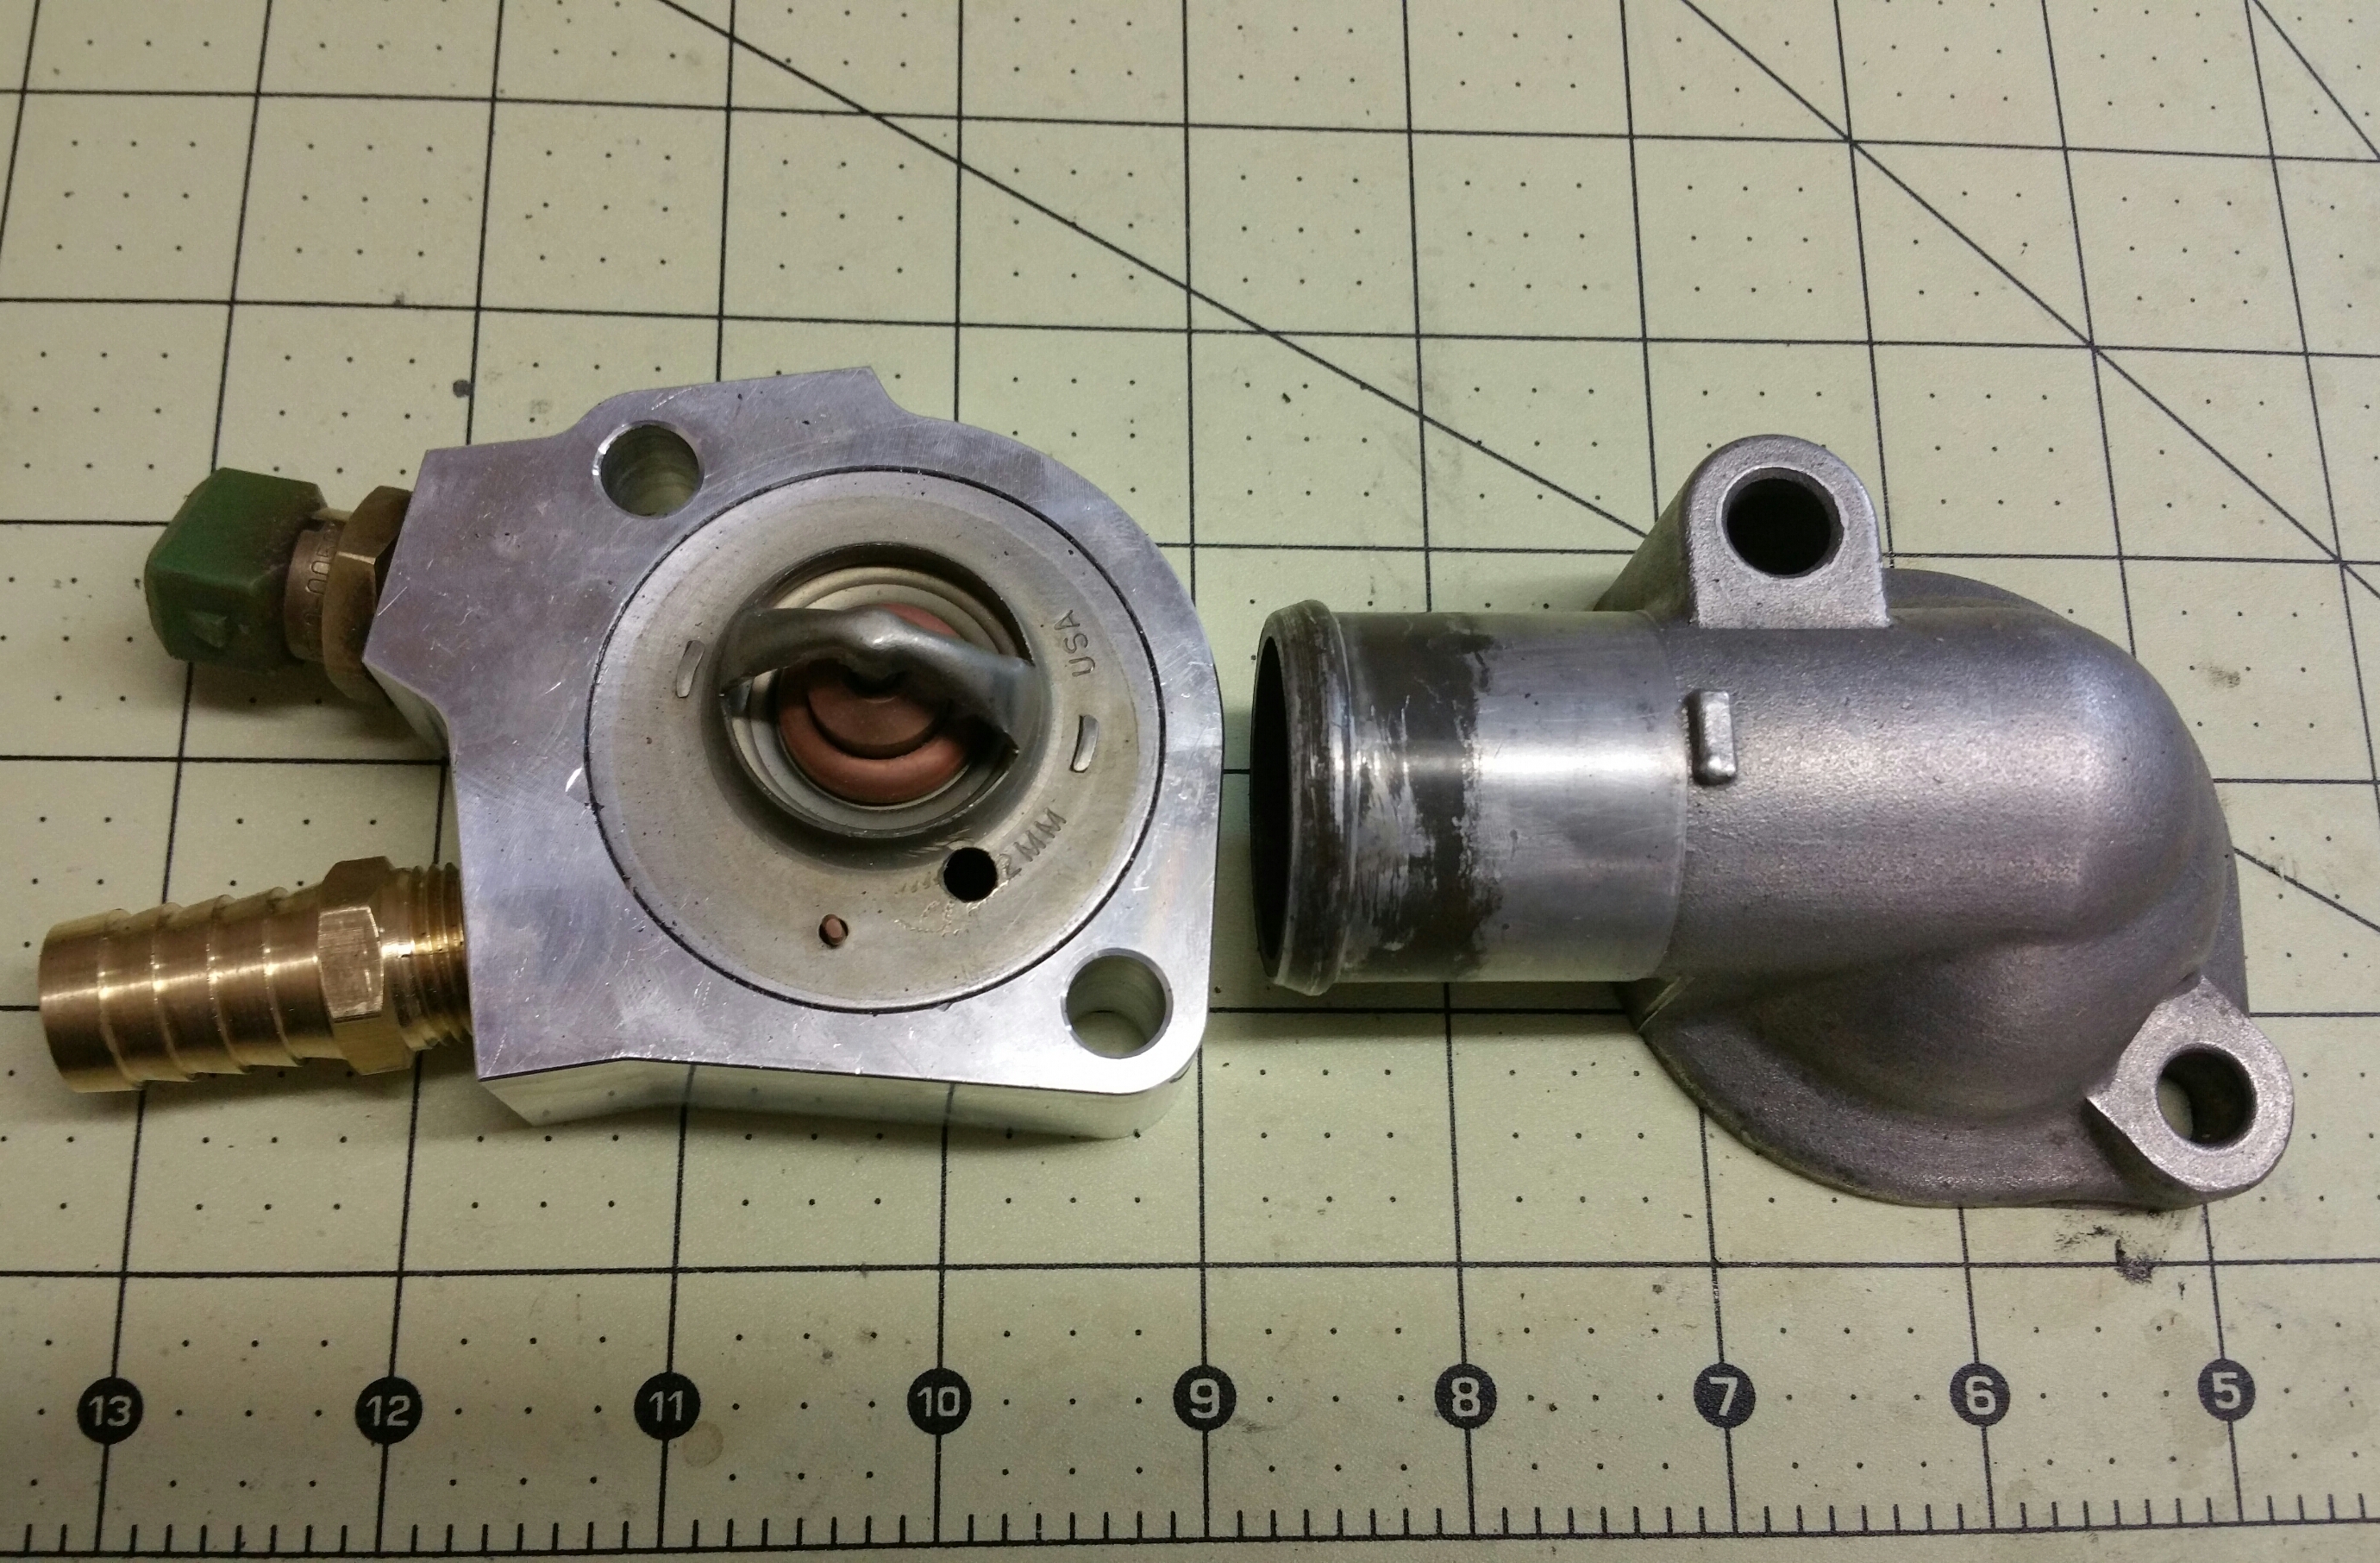
Cleaned up my rear water neck and then remembered I bought a CNC Spacer a long time ago and decided to throw that in rather than spend time cleaning up the old spacer.
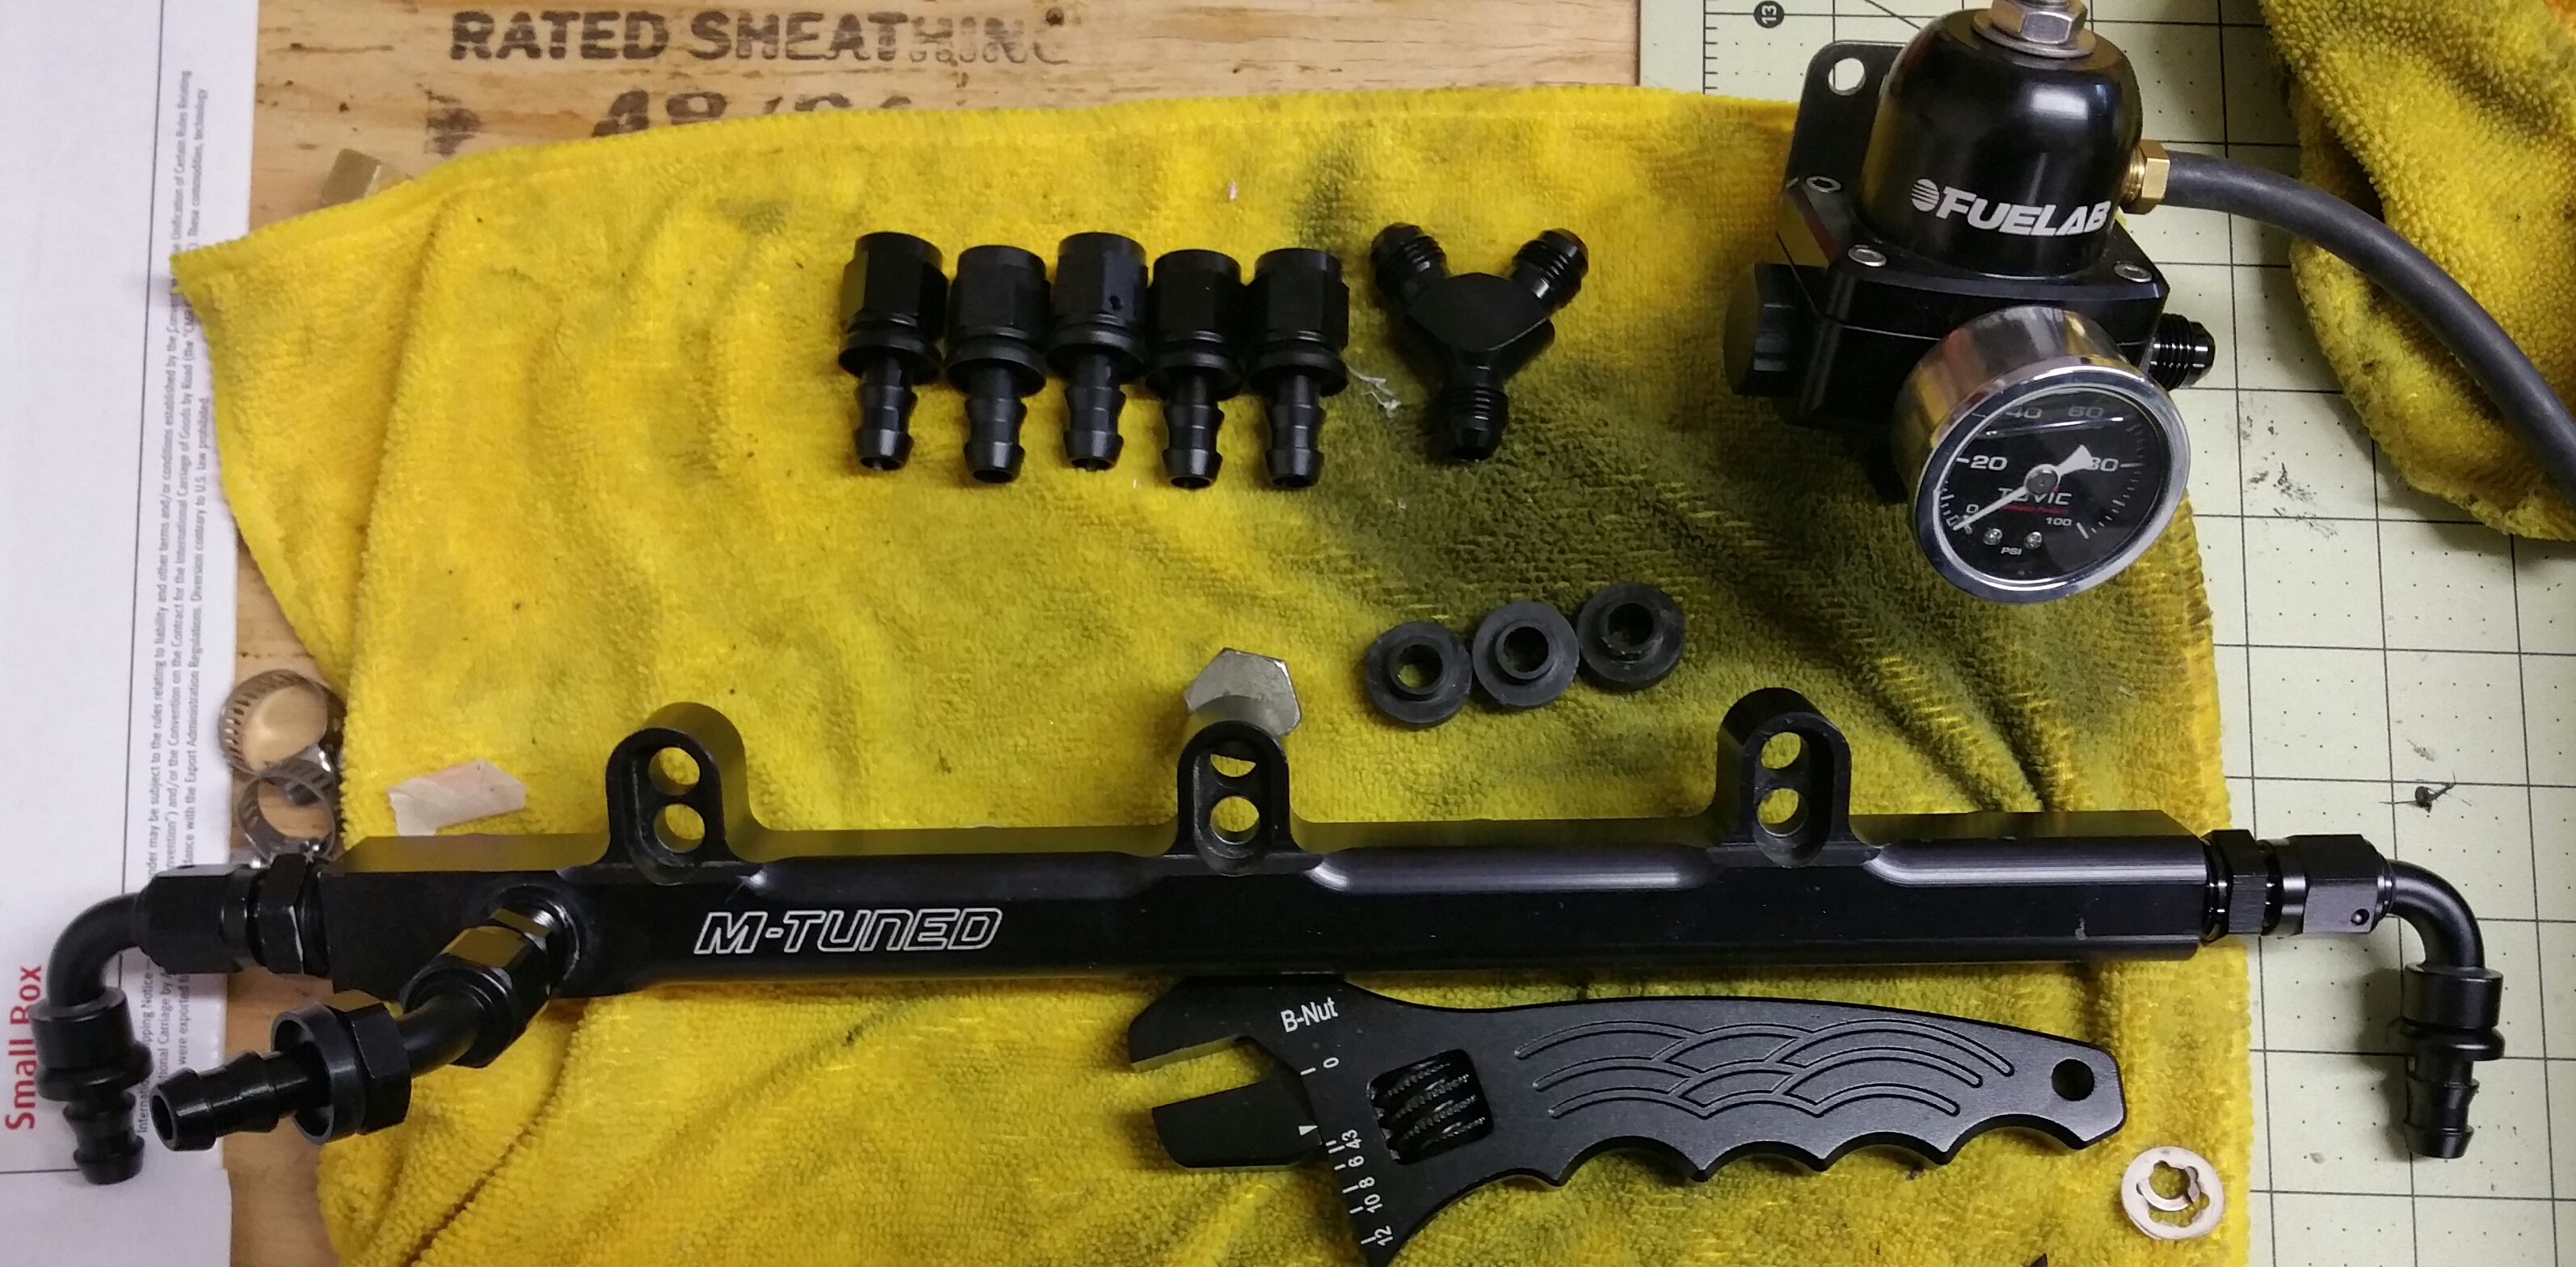
And when I can attach it, my fuel rail is all ready to go in. Going to wait to make the lines till I decide where I want to remount my fuel regulator. The old spot wasn't bad, just in the "clusterfuck" area.
Got some parts powder coated since all I'm doing is waiting./
This one is for Curly
It has been bugging me as well. Solar BlackTiming belt alignment plate. Used an oil pen so make the letters easier to see.
Didn't like how hard it was to clean the old Wrinkle Black finish I had, so I had him powder coat it a smoother wrinkle. Then for fun I decided to sand the 4 rails along with the lettering. It gives it a little more contrast and looks great. Also took off the baffle covers and cleaned off the old rotting gasket and used Permatex Black.
Cleaned up my rear water neck and then remembered I bought a CNC Spacer a long time ago and decided to throw that in rather than spend time cleaning up the old spacer.
And when I can attach it, my fuel rail is all ready to go in. Going to wait to make the lines till I decide where I want to remount my fuel regulator. The old spot wasn't bad, just in the "clusterfuck" area.

Reply
 1
1

1
 05-26-2015, 06:27 AM
#3823

LOL. Jeff's still alive and well and keeping the powder coater in business.
If you previously used that waterneck with a BEGI spacer, check carefully for cracks and flatness. Nothing sucks more than getting everything together and installed and finding a water leak as you are filling fluids (been there).
If you previously used that waterneck with a BEGI spacer, check carefully for cracks and flatness. Nothing sucks more than getting everything together and installed and finding a water leak as you are filling fluids (been there).
Reply
0
0

 05-26-2015, 12:59 PM
#3826
Elite Member
Join Date: Oct 2013
Location: Cedar City, UT
Posts: 2,764
Total Cats: 951
If I hadn't bought the CNC one I would have, TRUST ME, I'm far from sanity yet....sadly...
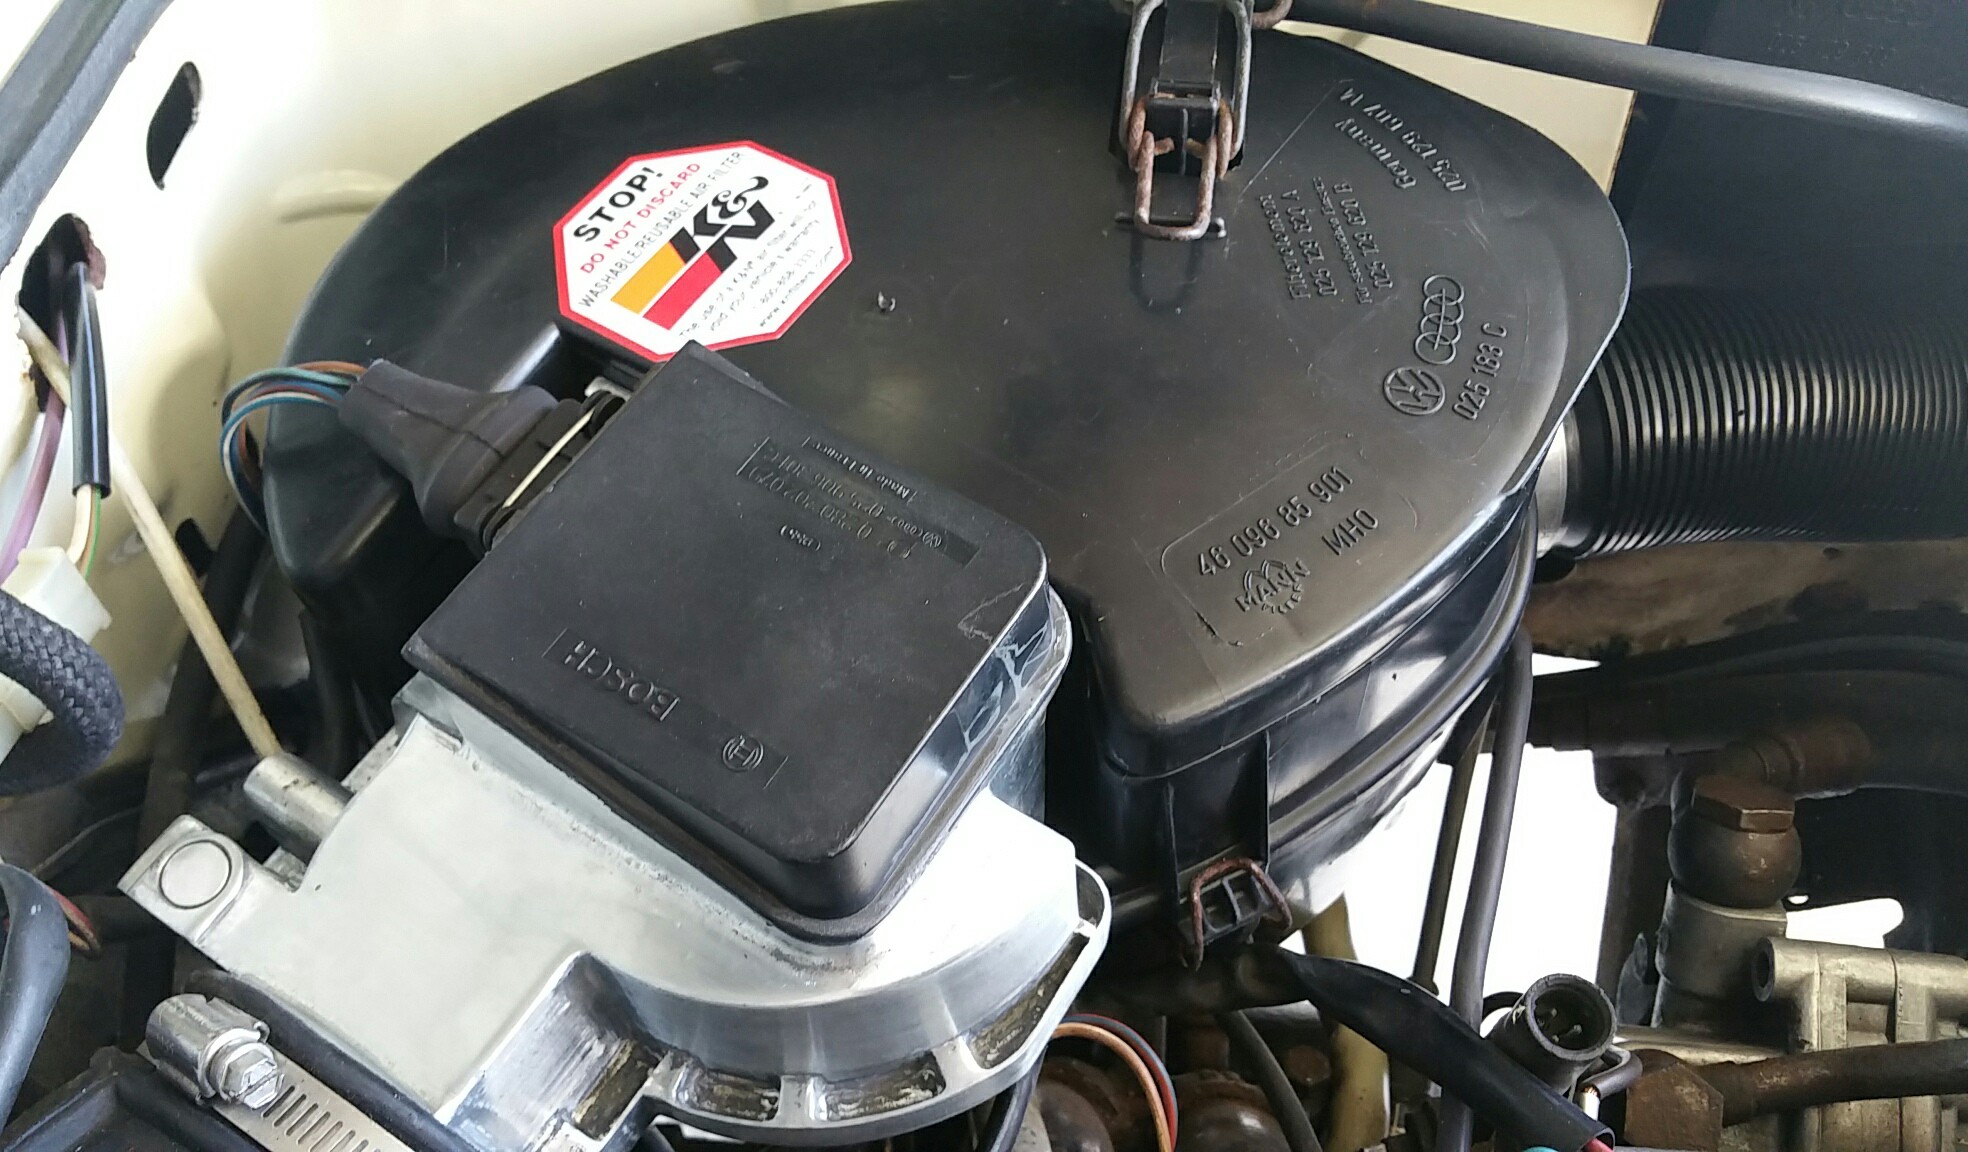
Iprobably would have as well if it wasn't for spending 10 hours restoring my dads throttle body on his 91 VW Westfalia. I'm restoring it for him so it has been a fun project, even though it is eating up my free time.
(wish I had a before shot of how oxidized and corroded this aluminum was)
I spent a while bringing that waterneck back to life and didn't see any but didnt think to check for warpage, thanks!
If you had a powder coater who didn't charge for sandblasting and did trade for sandwiches, wouldn't you take advantage of that? All those parts cost me $35 in trade....so essentially free in my eyes!

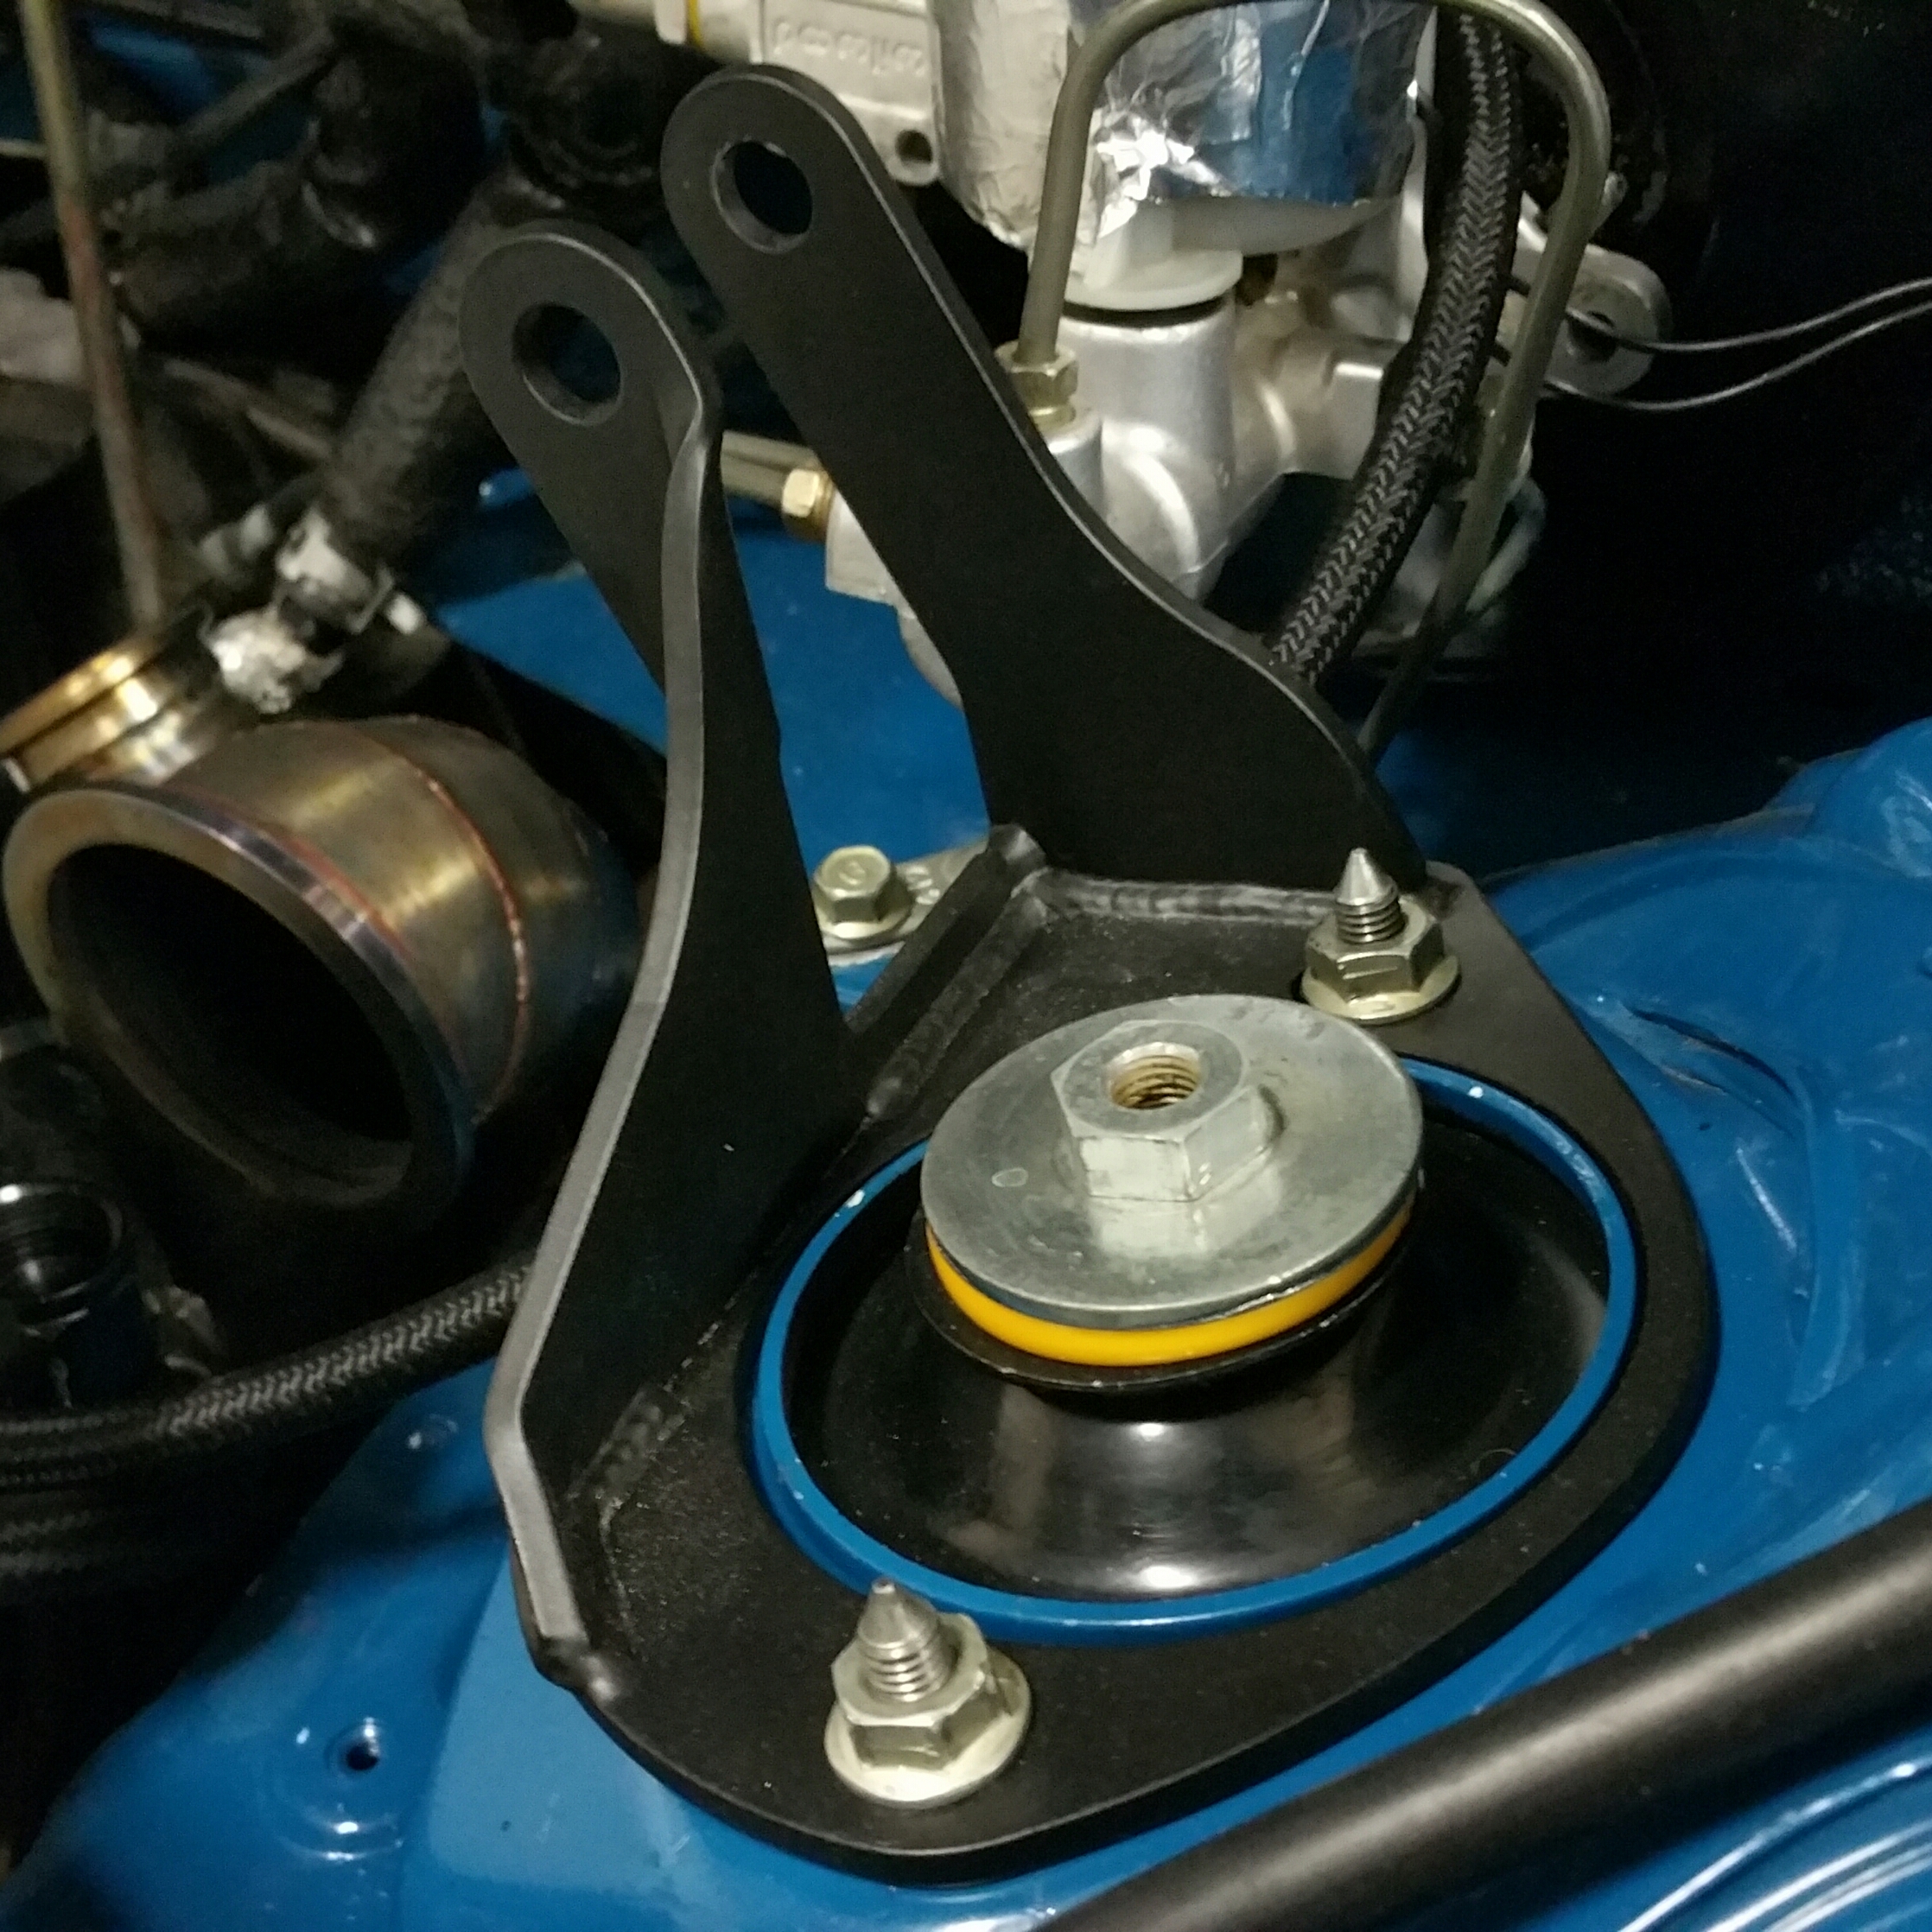
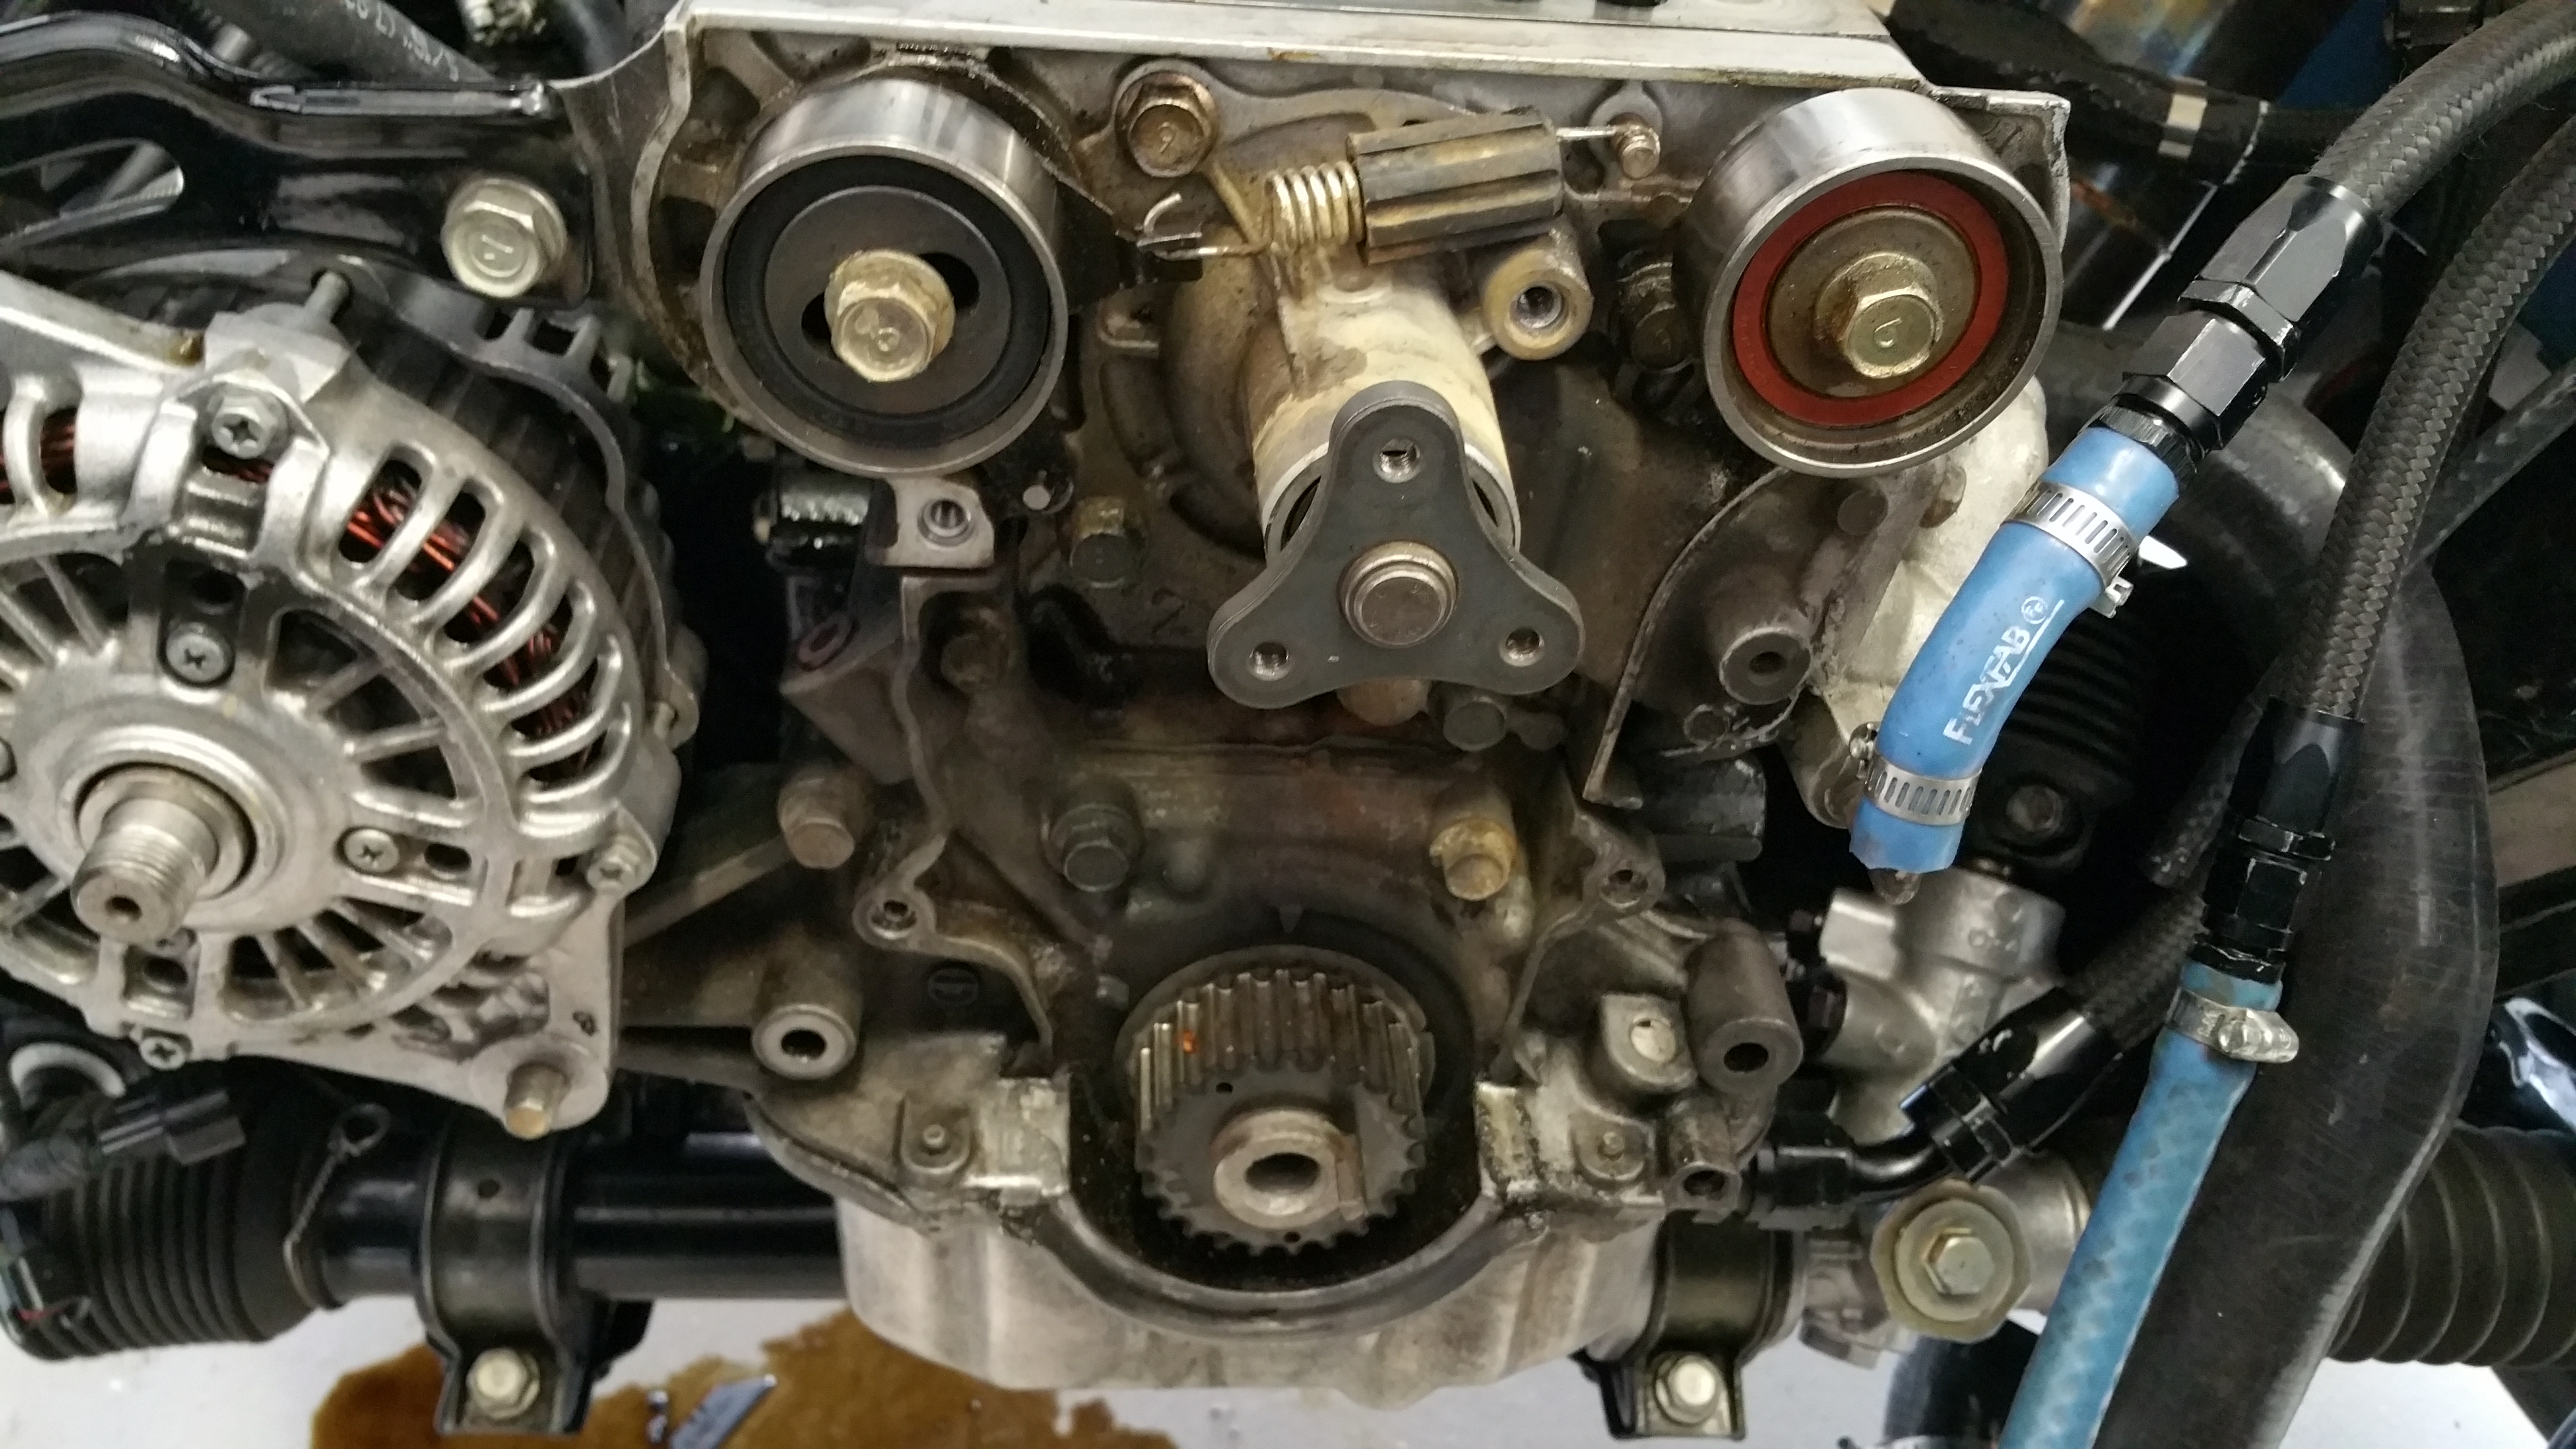
Definitely had a front main seal leak going on...this area was filled to the brim with oil/dirt goulash.
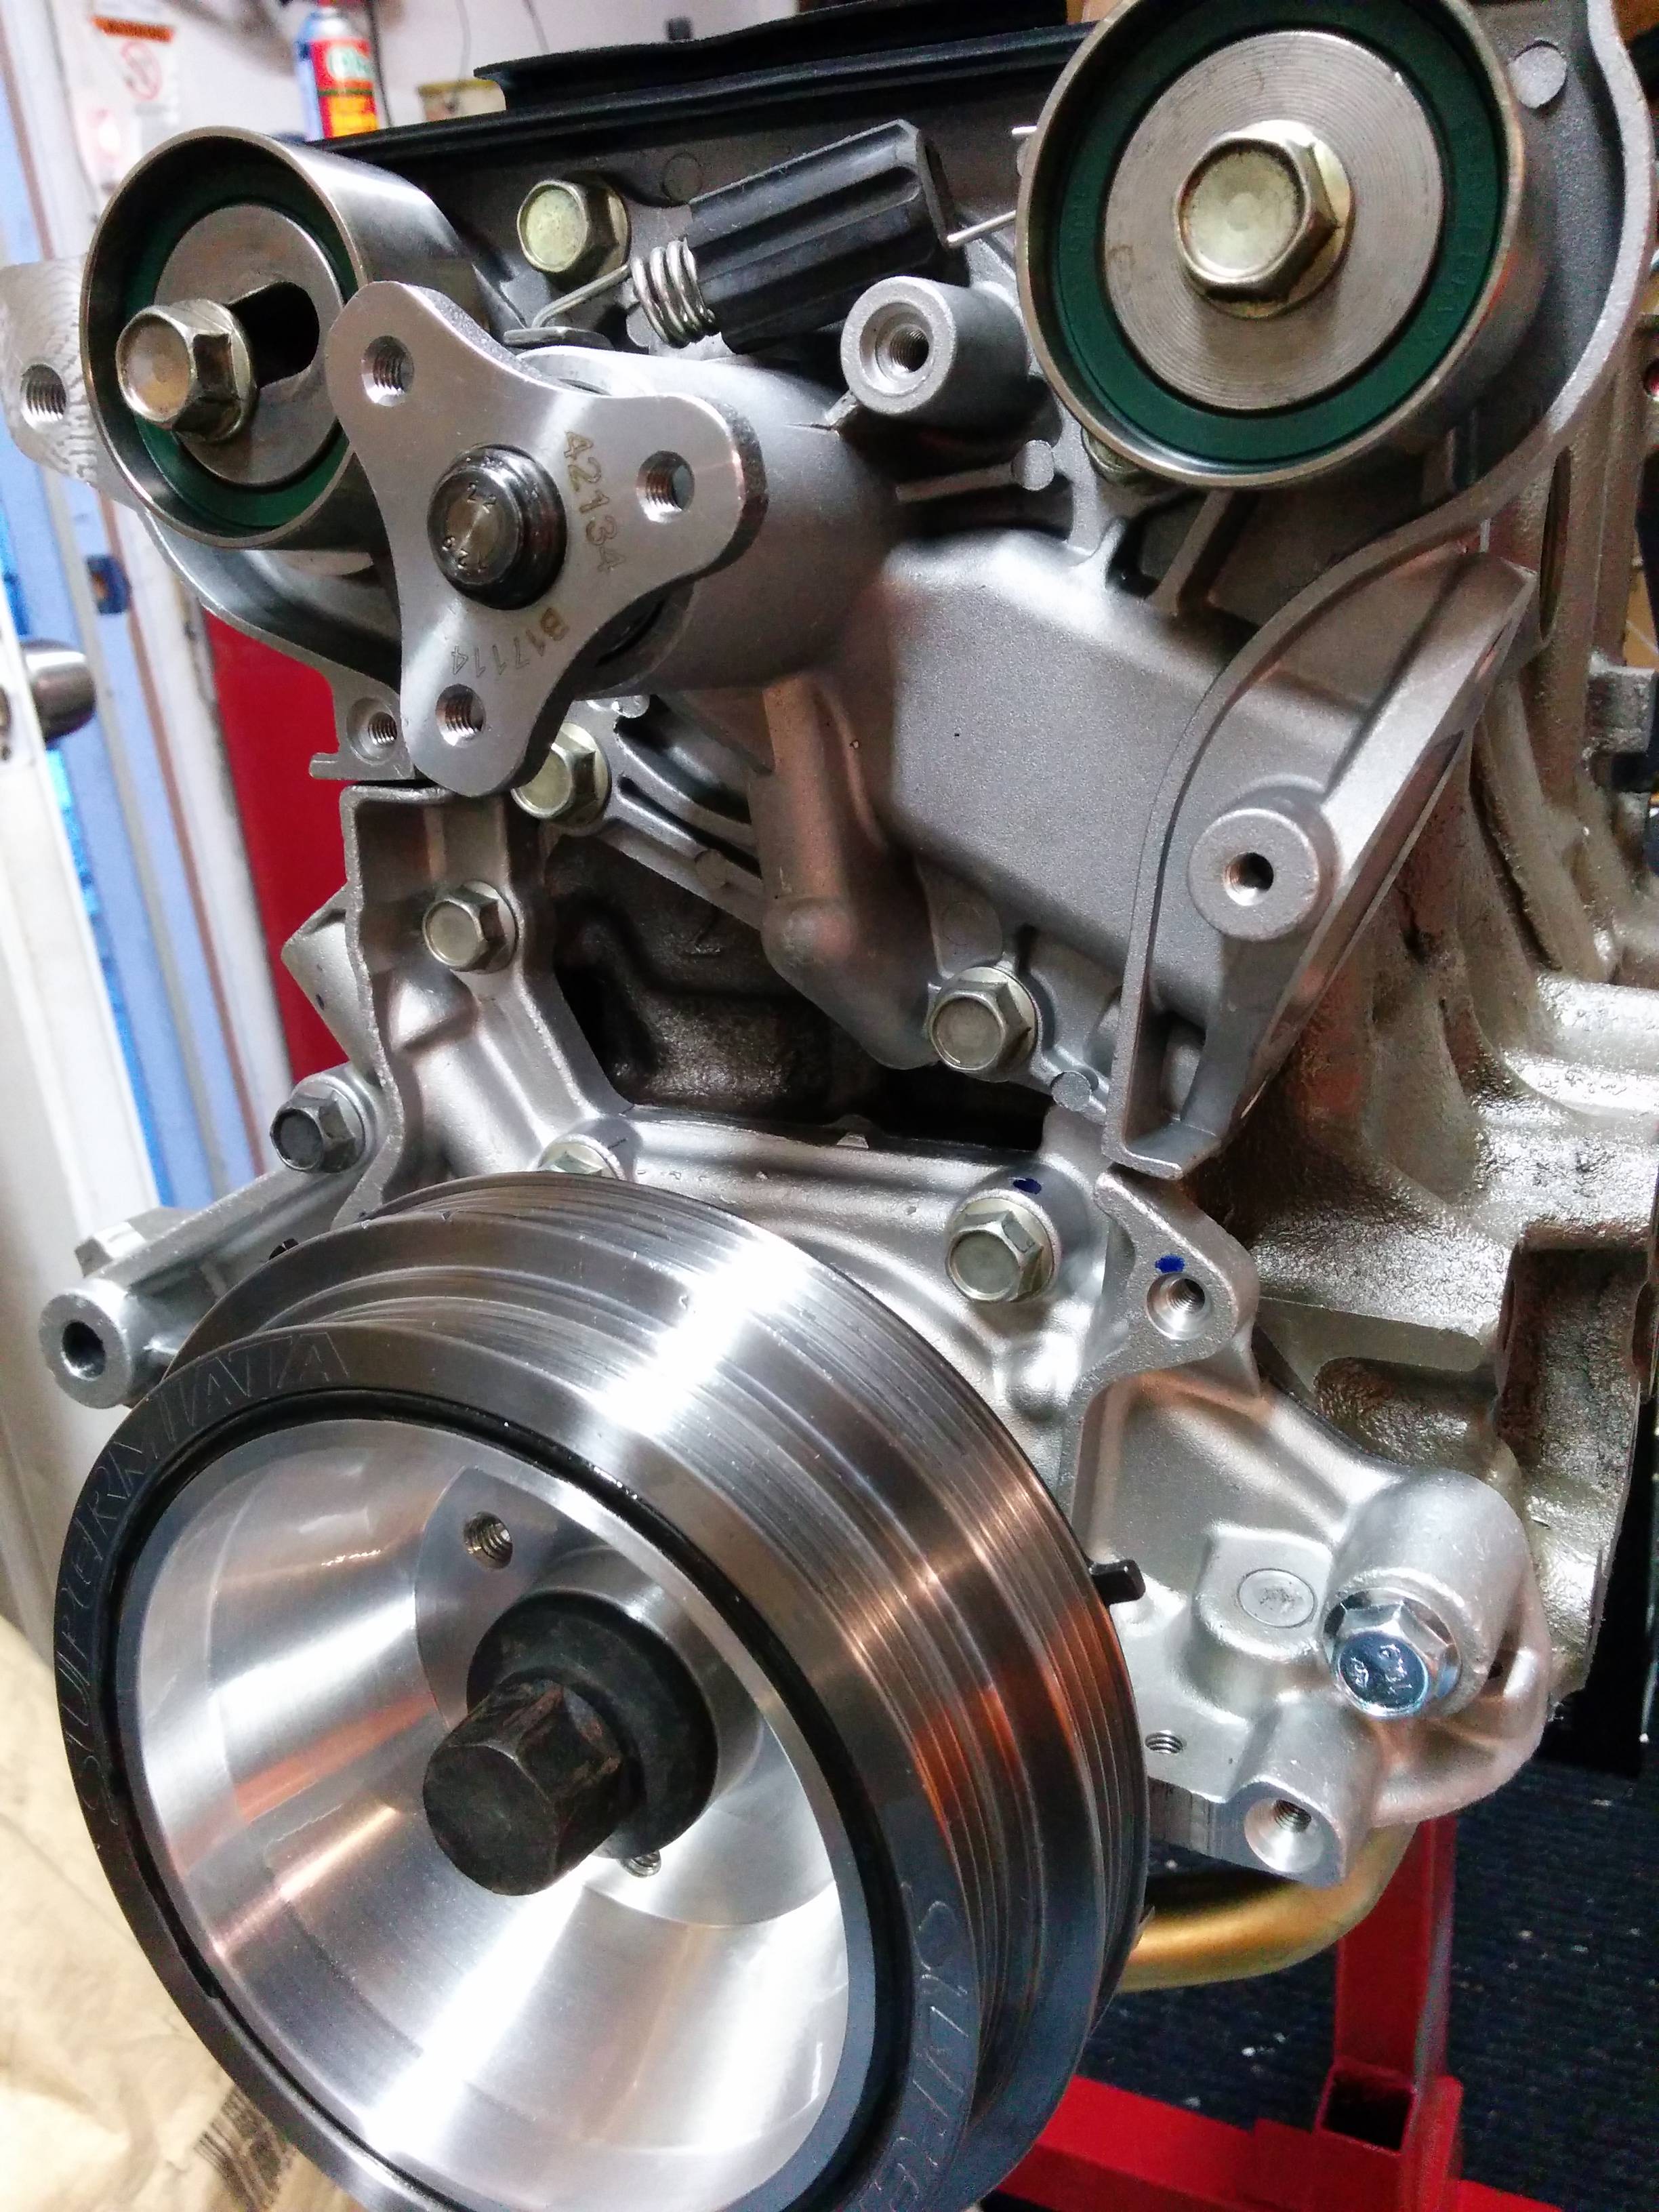
Thought Id have trouble pulling my stock damper off but it just came off with a slight tap of a deadblow hammer. Hopefully the ATI is as easy to install.
Iprobably would have as well if it wasn't for spending 10 hours restoring my dads throttle body on his 91 VW Westfalia. I'm restoring it for him so it has been a fun project, even though it is eating up my free time.
(wish I had a before shot of how oxidized and corroded this aluminum was)
LOL. Jeff's still alive and well and keeping the powder coater in business.
If you previously used that waterneck with a BEGI spacer, check carefully for cracks and flatness. Nothing sucks more than getting everything together and installed and finding a water leak as you are filling fluids (been there).
If you previously used that waterneck with a BEGI spacer, check carefully for cracks and flatness. Nothing sucks more than getting everything together and installed and finding a water leak as you are filling fluids (been there).
Definitely had a front main seal leak going on...this area was filled to the brim with oil/dirt goulash.
Thought Id have trouble pulling my stock damper off but it just came off with a slight tap of a deadblow hammer. Hopefully the ATI is as easy to install.
Reply
0
0
05-26-2015, 01:18 PM
#3827

Jeff,
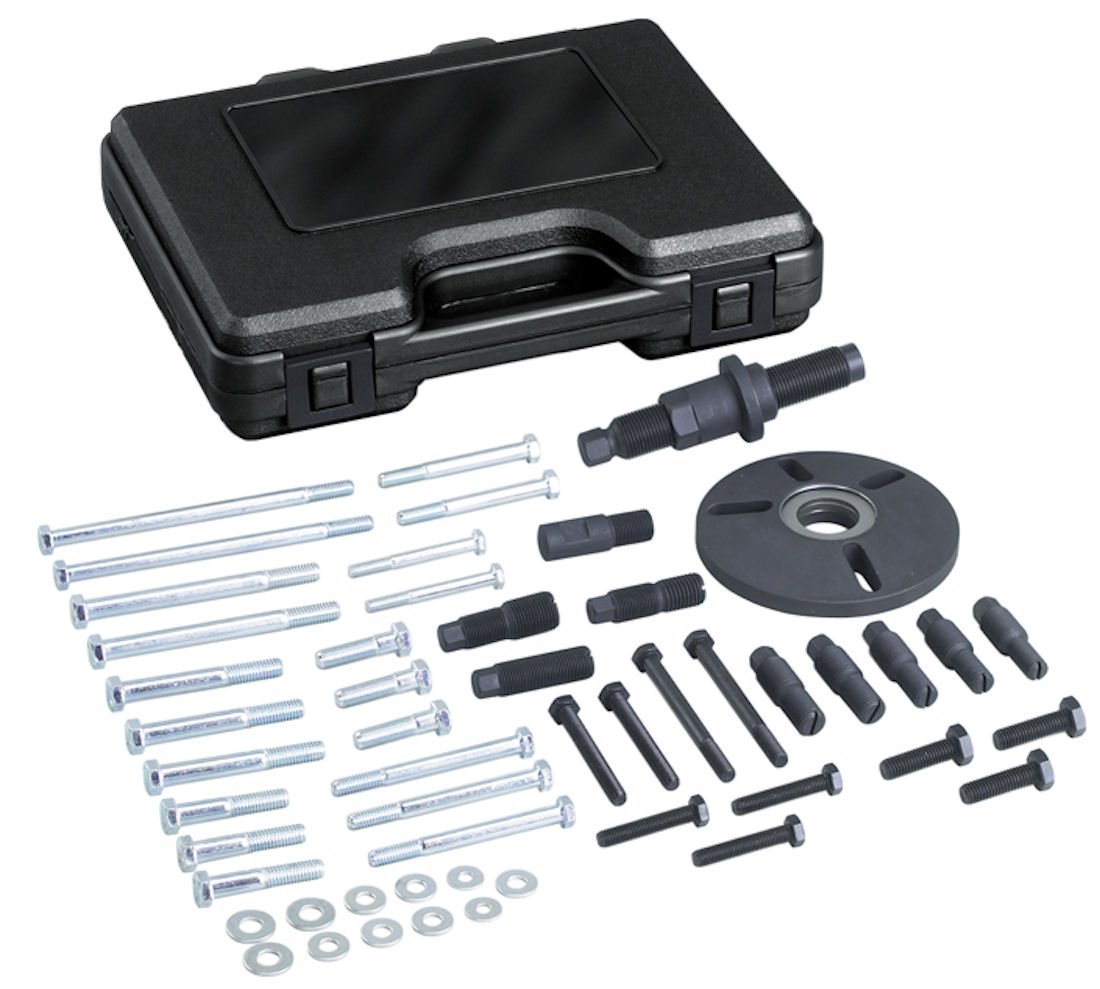
I just put my ATI damper on over the weekend. It wasn't hard if you have the right installation tool. If you think you'll be ok using the stock crank bolt to pull it on, you're gonna have a bad time for sure. Thankfully I ended up with a 24" long end-wrench in the correct size to use with my puller/installer from a neighbors garage sale last year. Without it, i'd have been cursing the install if I tried to use a 12" adjustable.
If you don't have something to hold the crank when you go to re-torque the crank bolt, make something now. The bolt pattern on the ATI is different than the stock miata damper (shocker, i know). Try a little bit of anti-seize on the nose of the crank, and clean any rust or corrosion off of the nose of the crank.
Reply
0
0
05-26-2015, 01:20 PM
#3828
Elite Member
Join Date: Oct 2013
Location: Cedar City, UT
Posts: 2,764
Total Cats: 951
Jeff,
I just put my ATI damper on over the weekend. It wasn't hard if you have the right installation tool. If you think you'll be ok using the stock crank bolt to pull it on, you're gonna have a bad time for sure. Thankfully I ended up with a 24" long end-wrench in the correct size to use with my puller/installer from a neighbors garage sale last year. Without it, i'd have been cursing the install if I tried to use a 12" adjustable.
If you don't have something to hold the crank when you go to re-torque the crank bolt, make something now. The bolt pattern on the ATI is different than the stock miata damper (shocker, i know). Try a little bit of anti-seize on the nose of the crank, and clean any rust or corrosion off of the nose of the crank.
Reply
0
0
05-26-2015, 01:56 PM
#3830
I have that same puller/installer. Works awesome.
I just used some 2" x 1/8" flat stock I had sitting around and measured the center distance of 2 of the bolt holes. I believe it was 2-3/8" center to center. I drilled the 2 holes very close to the edges of the flat stock so I could still fit my socket on the crank bolt. Worked like a charm. I don't remember the bolt size though (maybe I drilled them at 7/16").
Maybe the fm crank tool does work, but probably not, I don't have one to check. EDIT: Nevermind, I just looked. Their website says that their tool is definitely not compatible with the ati damper.
Reply
0
0

 05-26-2015, 06:50 PM
#3835
Elite Member
iTrader: (37)

Join Date: Apr 2010
Location: Very NorCal
Posts: 10,441
Total Cats: 1,899

Are these not both oil pump bolts? The one on the right side of the image is the one that hemorrhages oil if you remove the AC bracket and don't replace it with a shorter bolt. Perhaps this is the source of your goulash?
Das es mien for comparison. Notice if you will how clean my engine is compared to yours?

Last edited by EO2K; 05-26-2015 at 07:01 PM.
Reply
0
0


