When you click on links to various merchants on this site and make a purchase, this can result in this site earning a commission. Affiliate programs and affiliations include, but are not limited to, the eBay Partner Network.
Four years after building the motor and driving around on my amateur tune, I decided to let a professional really dial everything in. I'm pretty happy with the results.
Current state of motor: NB2 block, 11:1 Supertech pistons (+1mm), Manley rods, East Street Miata Spec Miata head (pre-short radius machining rule), stock cams and springs, SuperMiata crank damper, Garage Star aluminum pulleys, Skunk2 TB, flattop intake (ported to match S2 TB and some casting clean up, custom 2.5" intake, Racing Beat header, 2.25" test pipe and Magnaflow exhaust, Flyin Miata 10.3lb flywheel, and SuperMiata organic sport clutch
Thanks to Carma Performance in Nashville,TN:
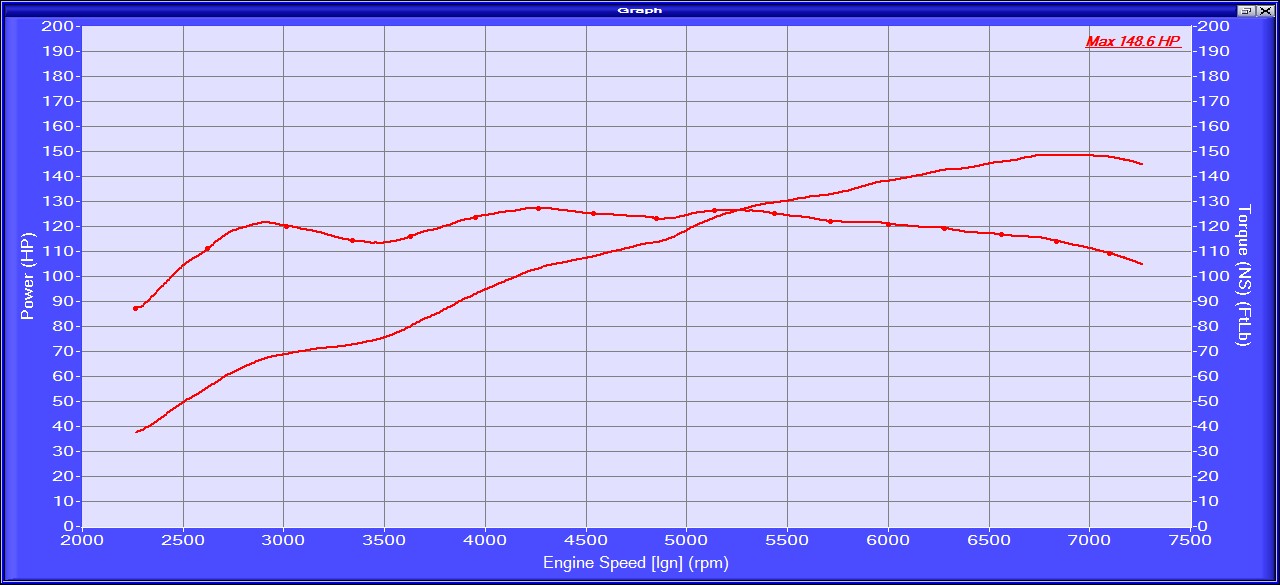
Dyno plot (Dyno Dynamics):
I'm really leaning on dropping this motor into my race car project that is on going and running GLTC and ST5. If so, I'll likely add a Boundary oil pump and valve springs for extra protection. With a 170whp goal (as measured on a Dynojet), I won't really have to touch much on this motor to be right in the sweet spot.
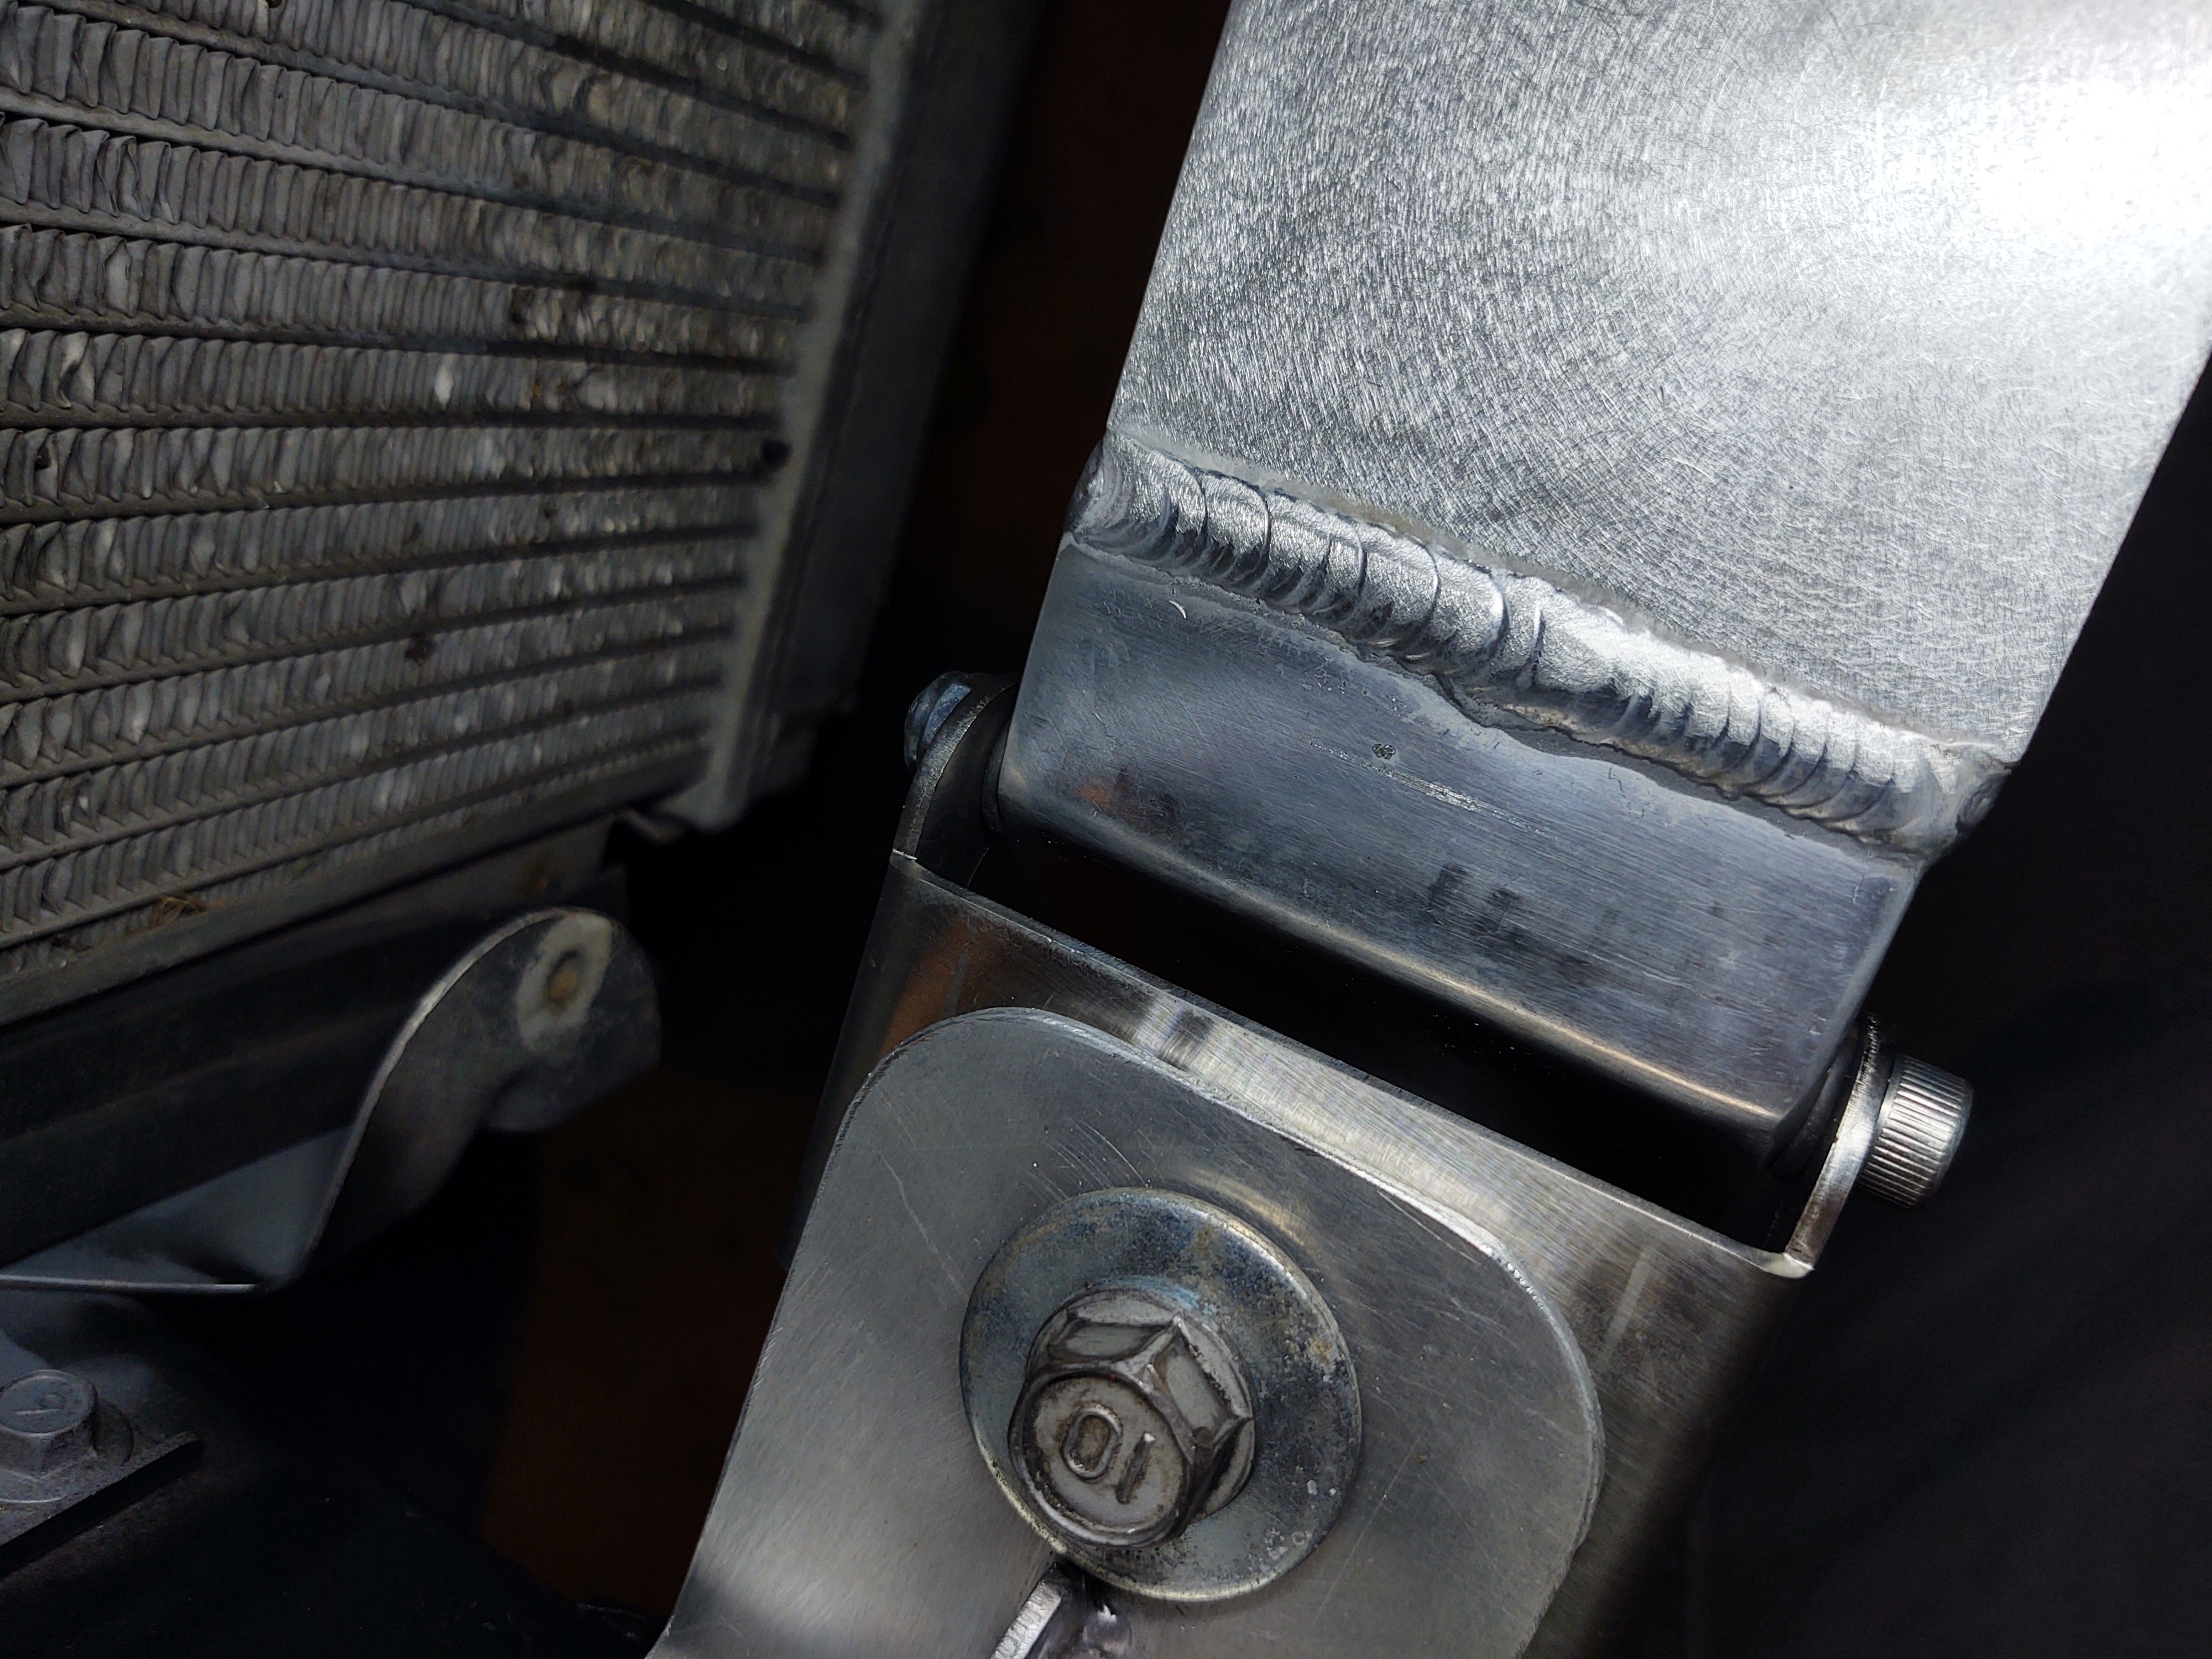
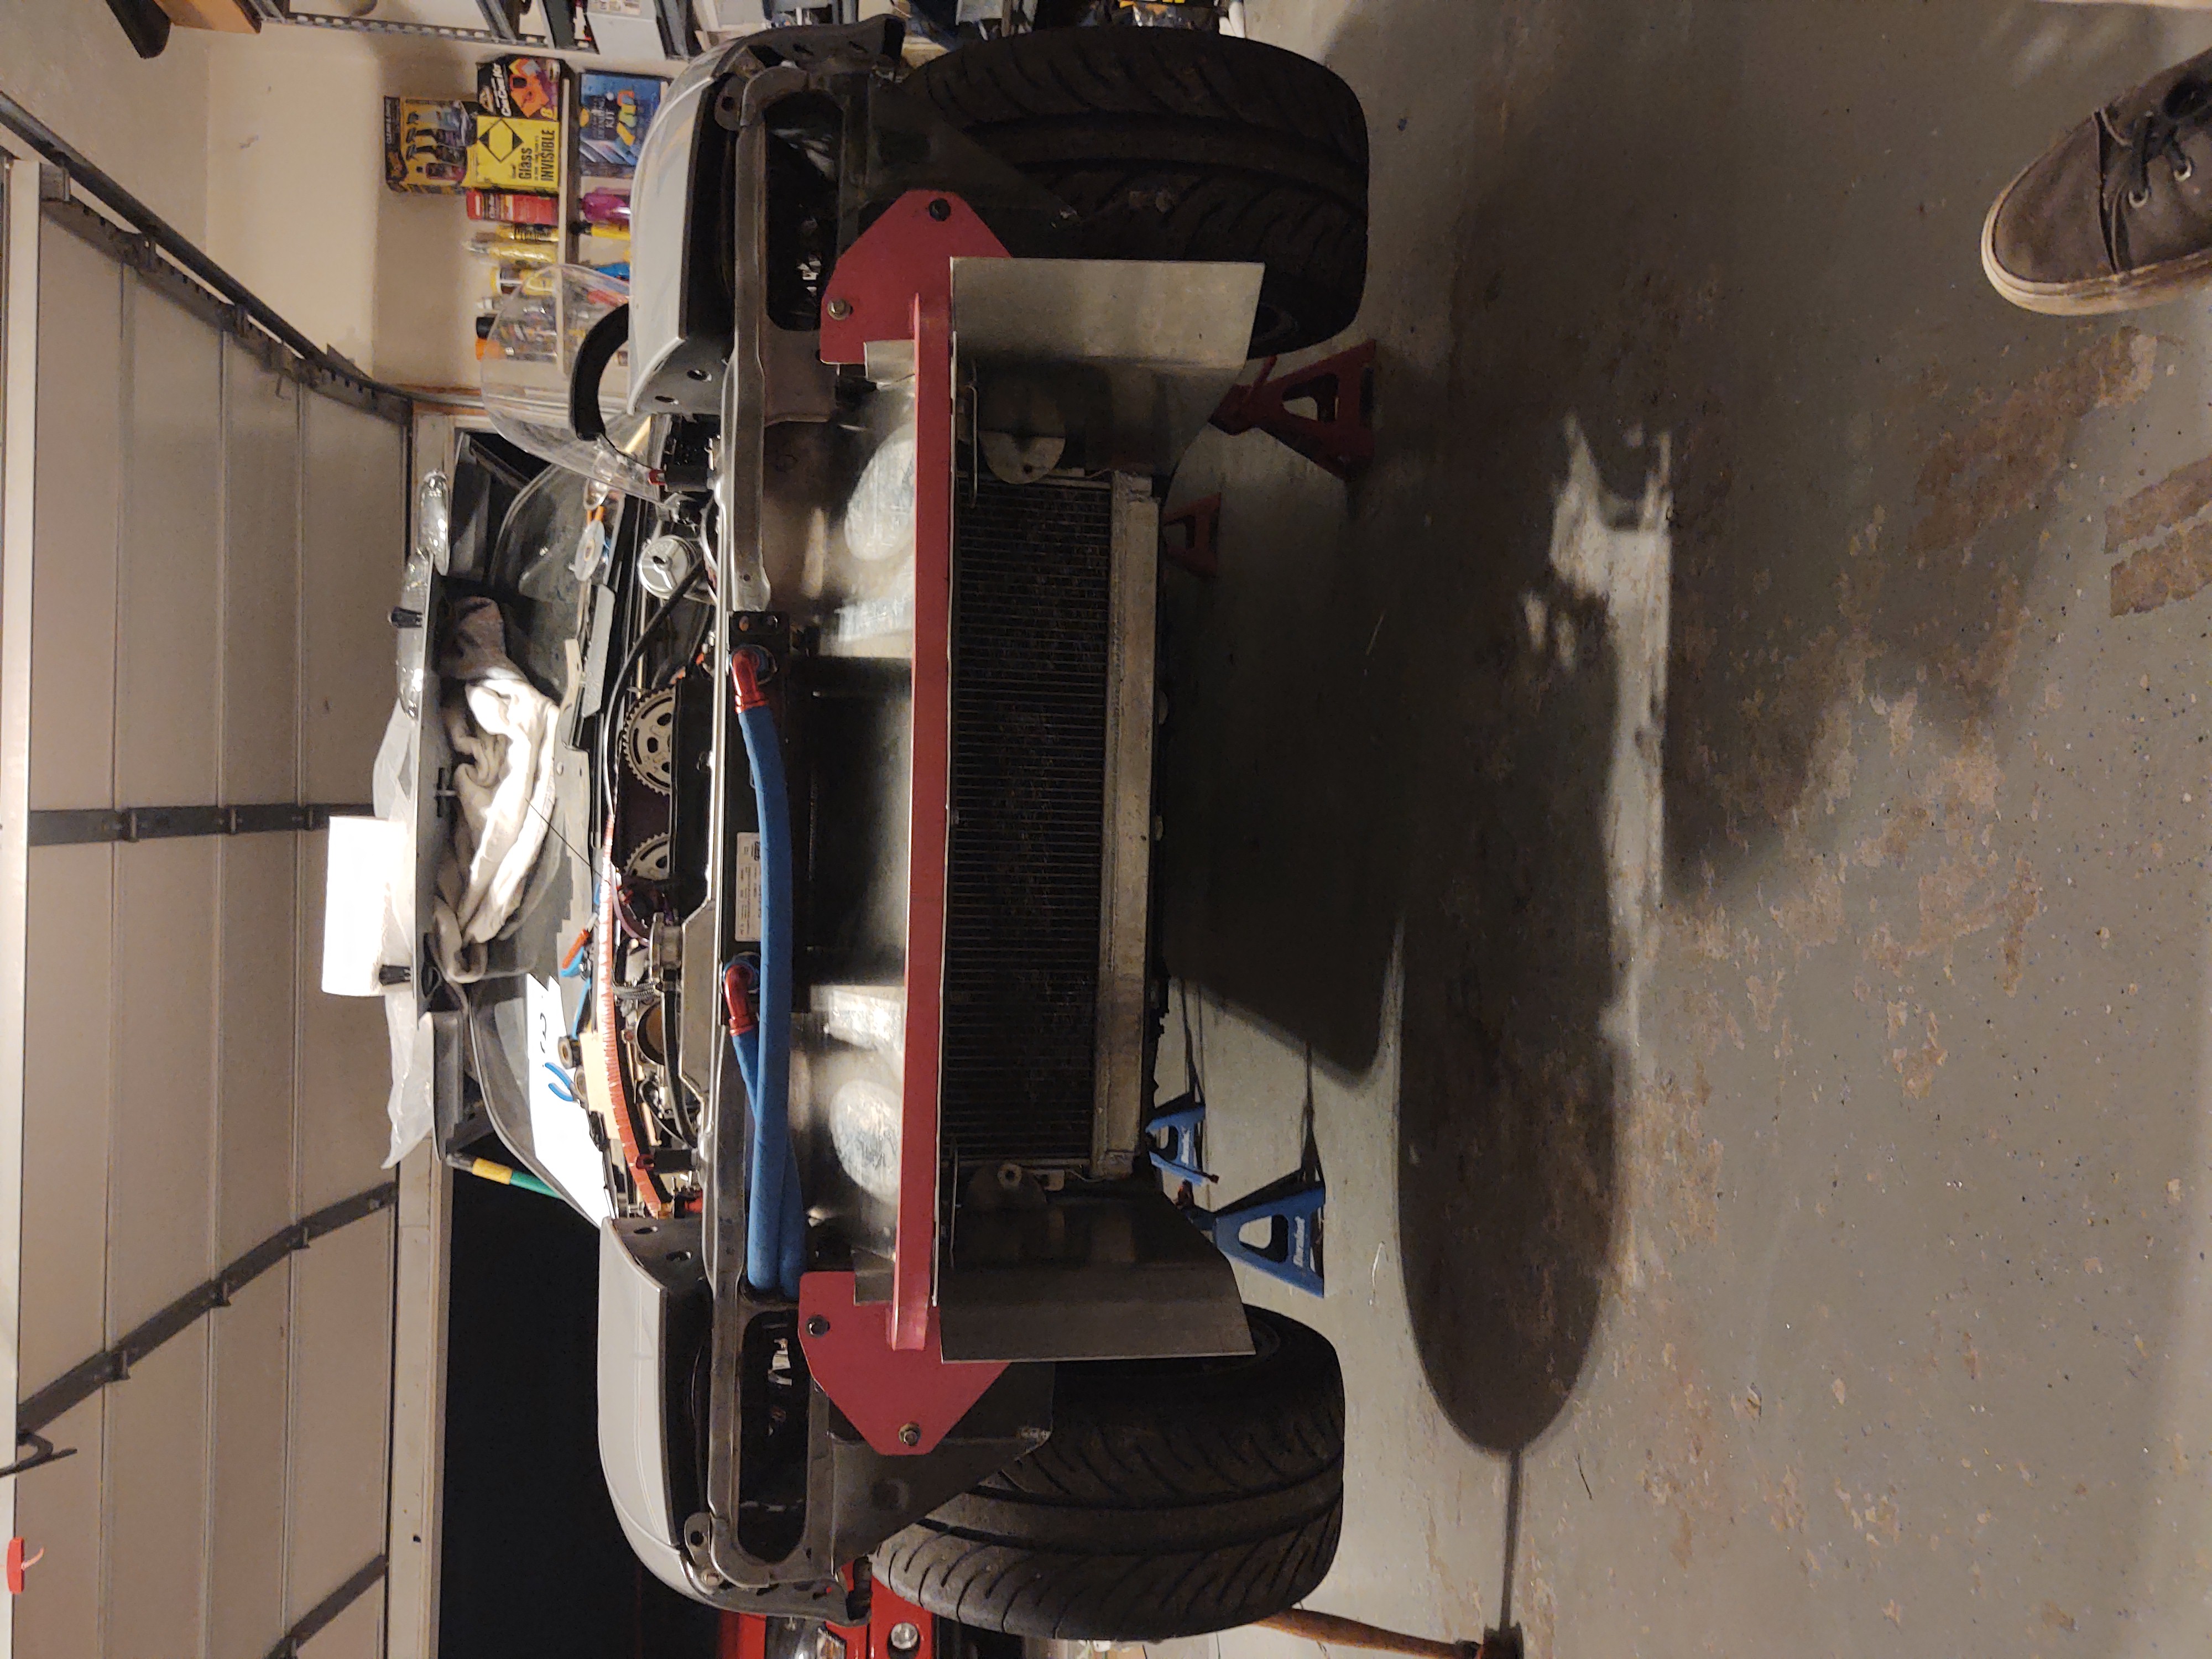
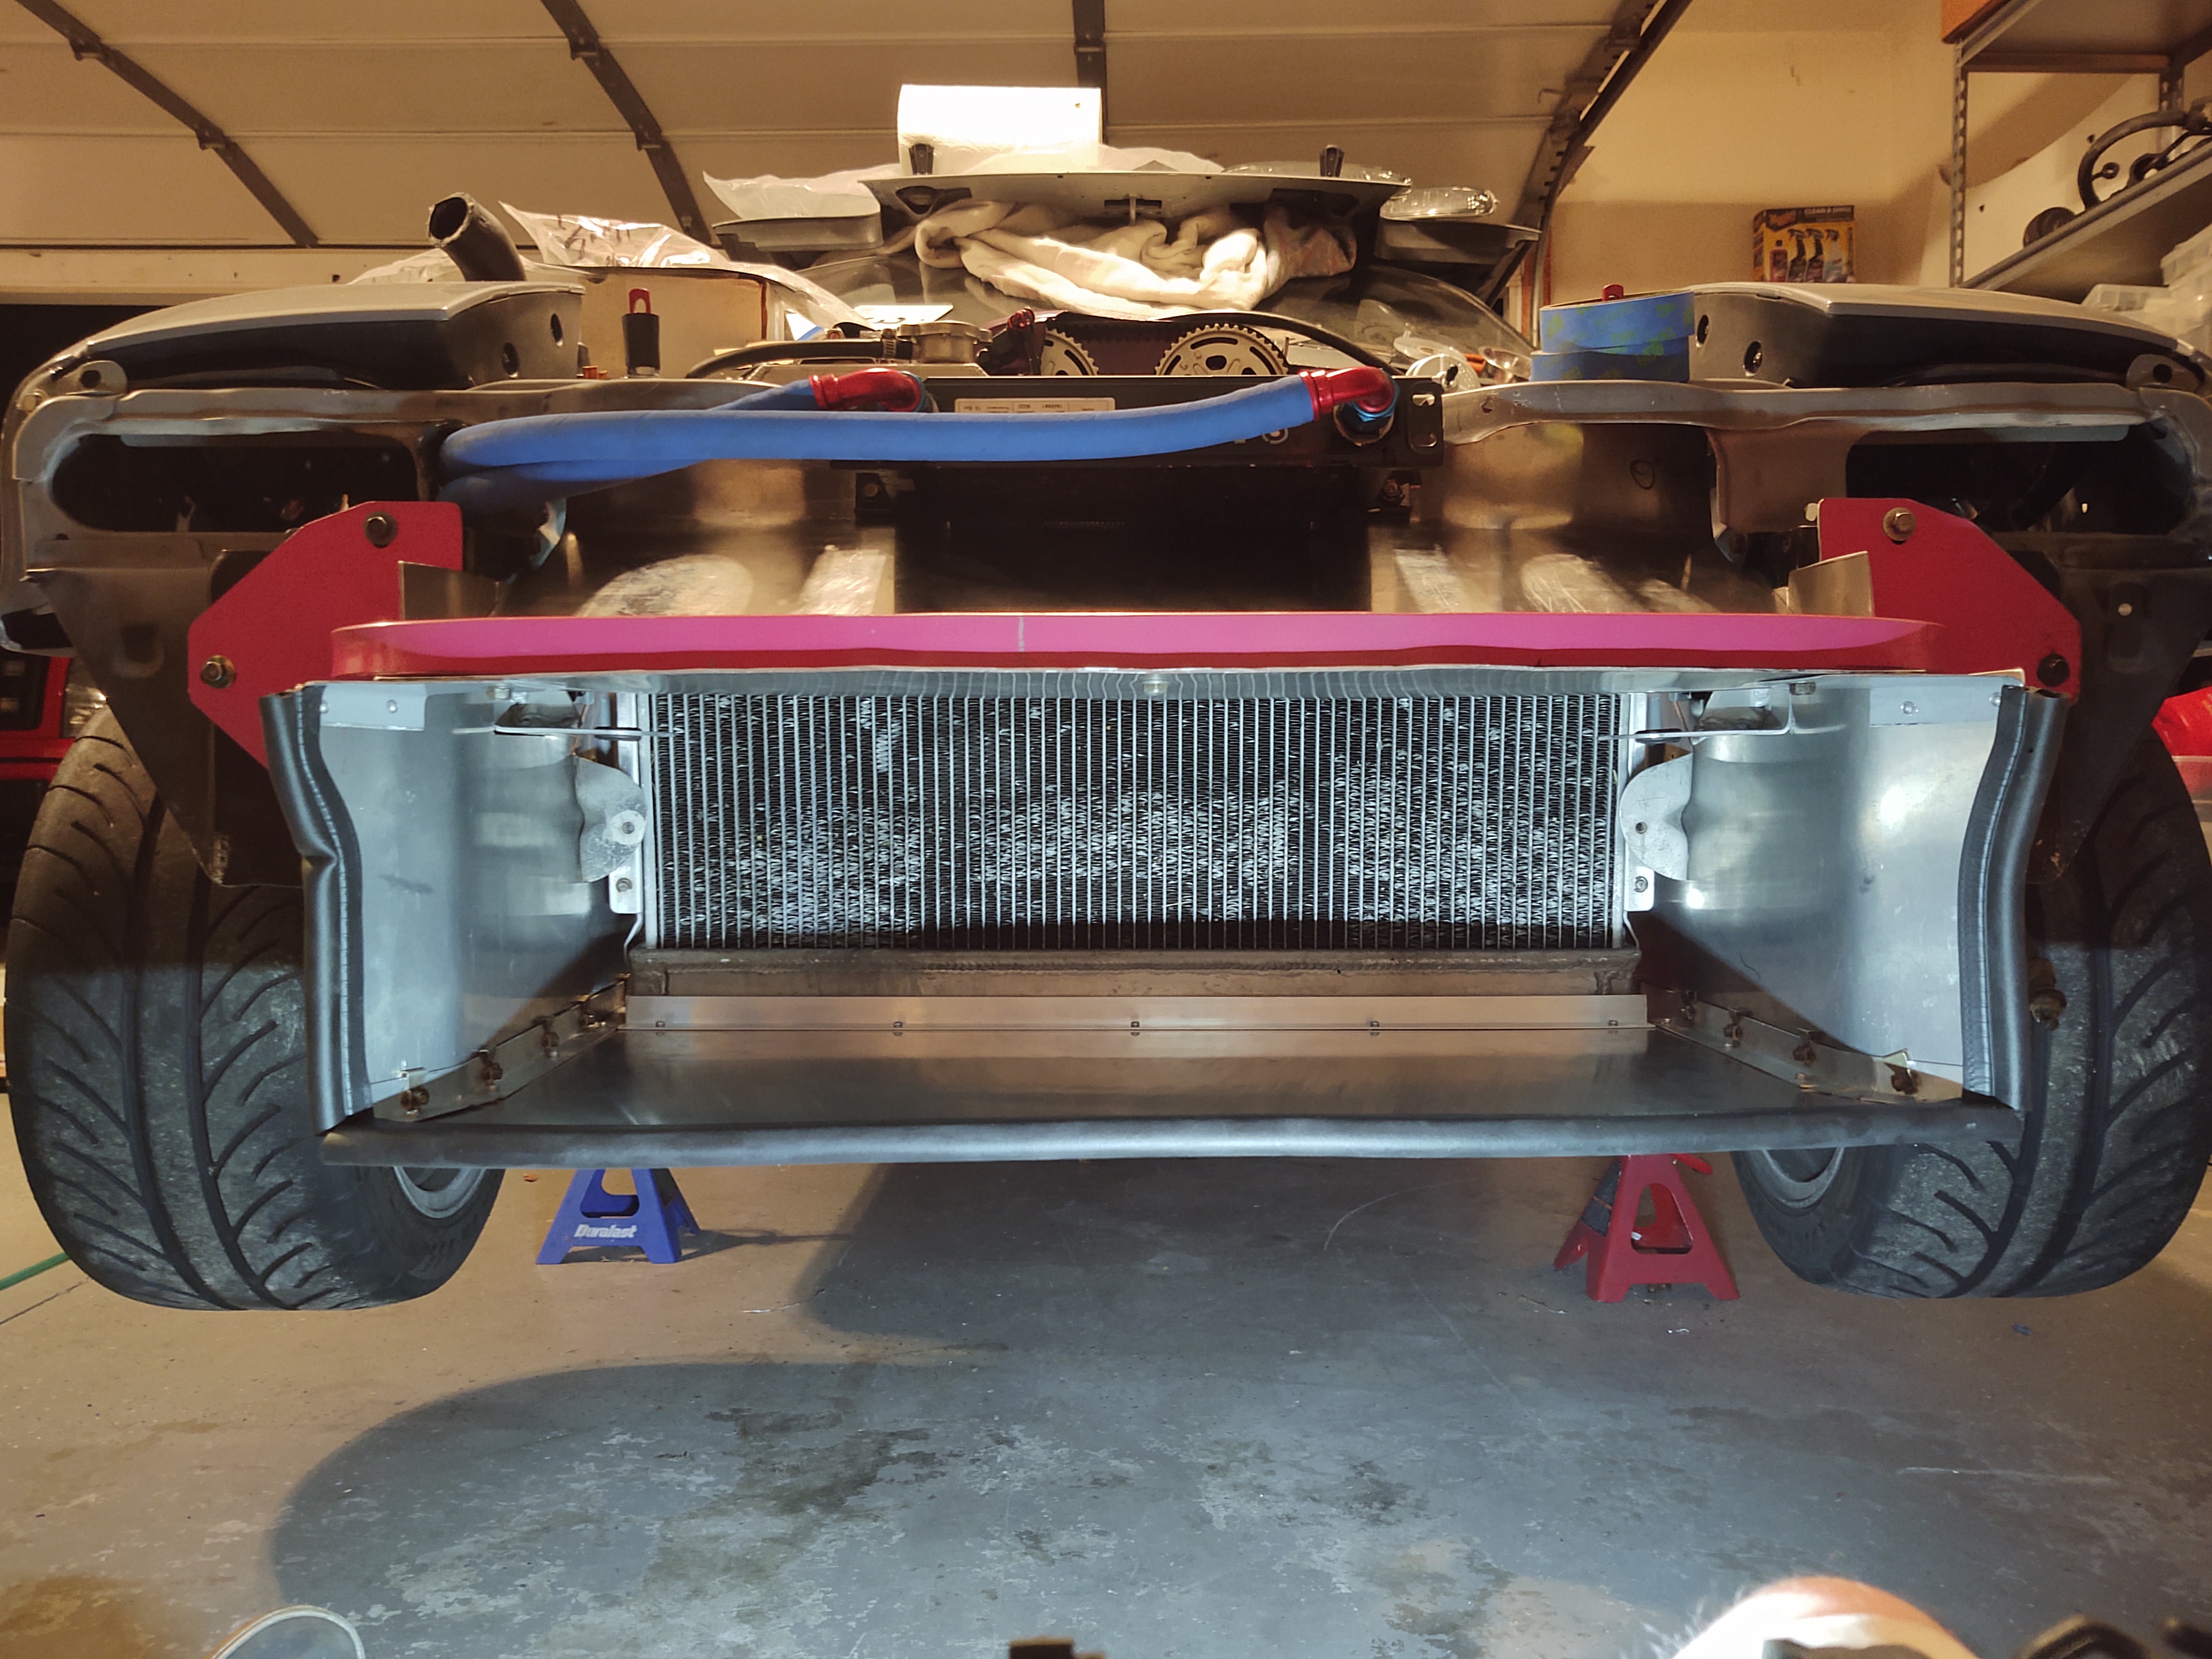
My hood struts left me with a squeaking hood at idle for years. They didn't travel over-center so they were always pushing the hood up slighlty causing the latch to rub the loop and squeak from the vibrator BP right under it. Well squeak no more. Aero Catches were installed. Only took me 4 weeks between dad responsibilities and a Champ Car race. The underside was "Death by 1000 Cuts" due to my previous work for the over the radiator intercooler pipes:
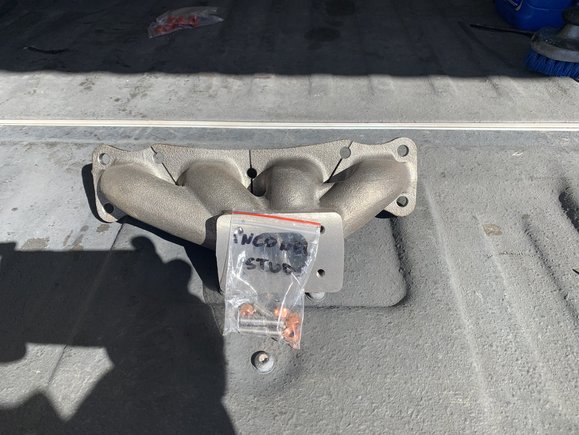
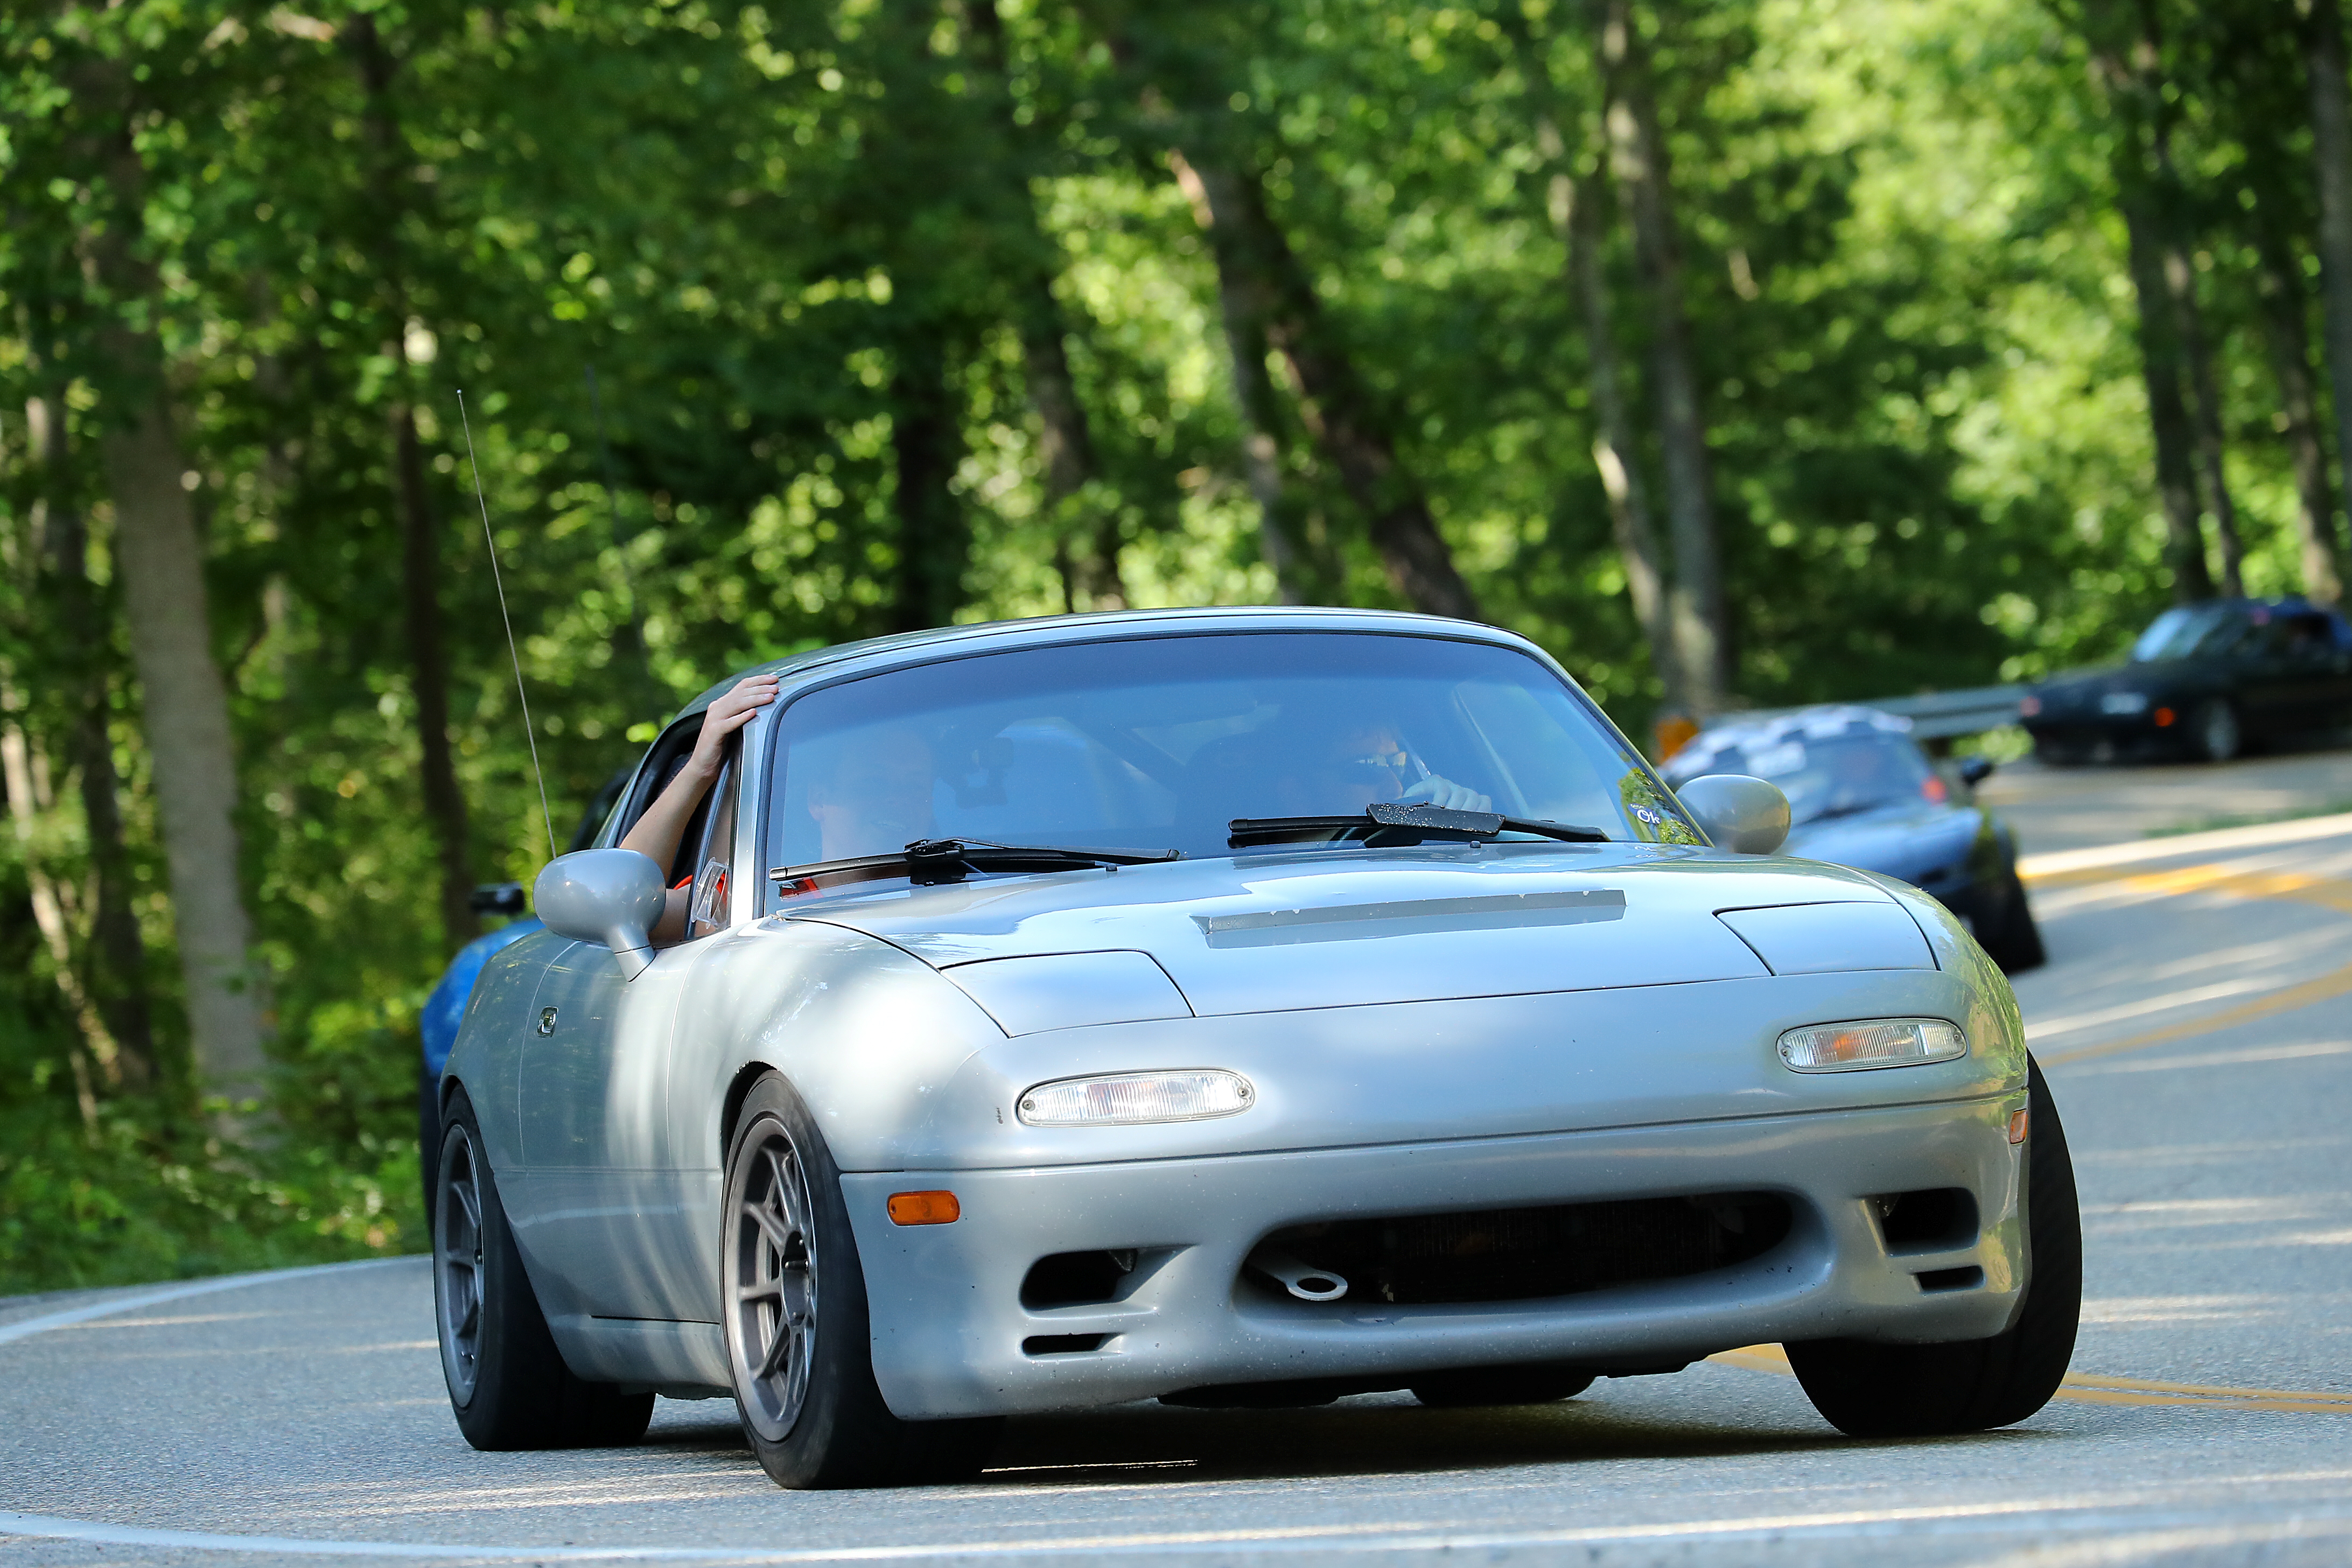
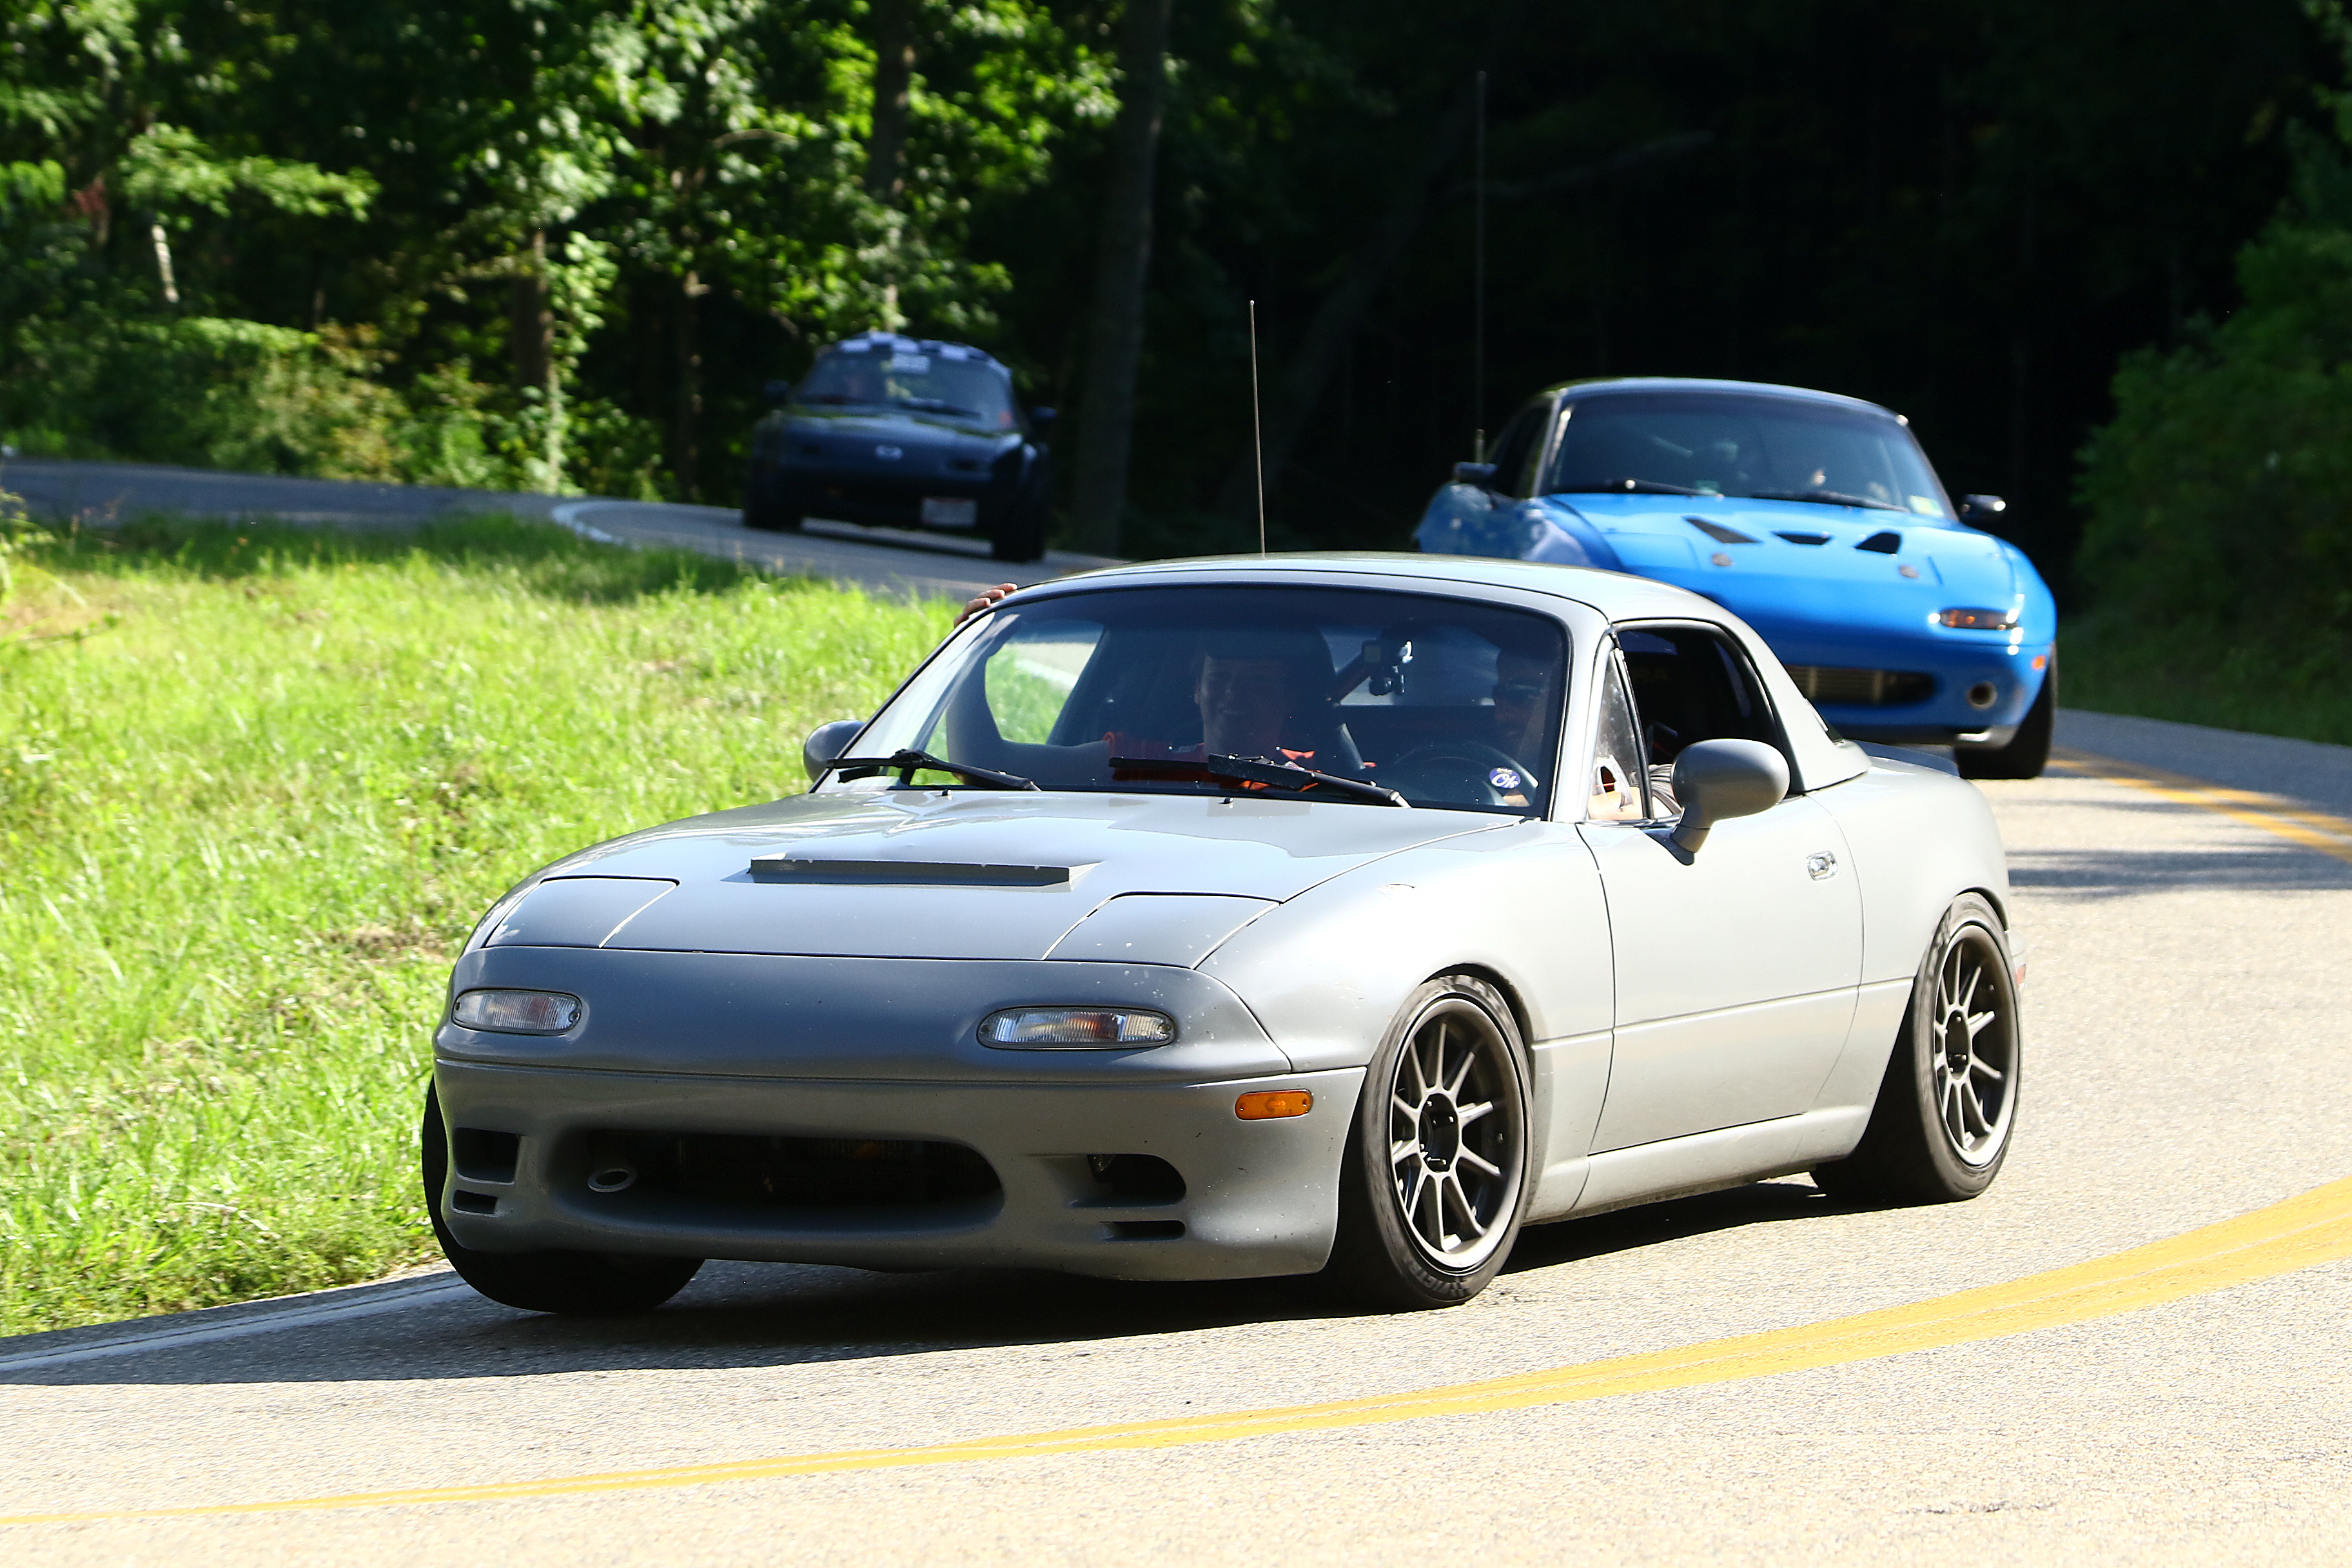
I've been following GLTC races to plan my build. Well the speeds have gone up enough that a NA BP is no longer a competitive option. The top Miatas are running K24 and the NA BP's are in the mid pack. I briefly looked at the K24Z3, but the DBW required to detune the motor enough for GLTC is a costly option. Soooo I picked this up:
A unused Kraken manifold and EFR downpipe. The plan is to slap this and a EFR6258 onto a stock BP4W in my garage and run a boost curve for good mid range and taper the boost to reduce the power. Probably run a few choke points to keep it around 180-190whp with a ~225whp map for fun events.
Yes. It maybe be old, but its got a lot of goodies built in. It's got boost by throttle which will likely be utilized. GLTC so no boost by gear/speed specifically in the rules.
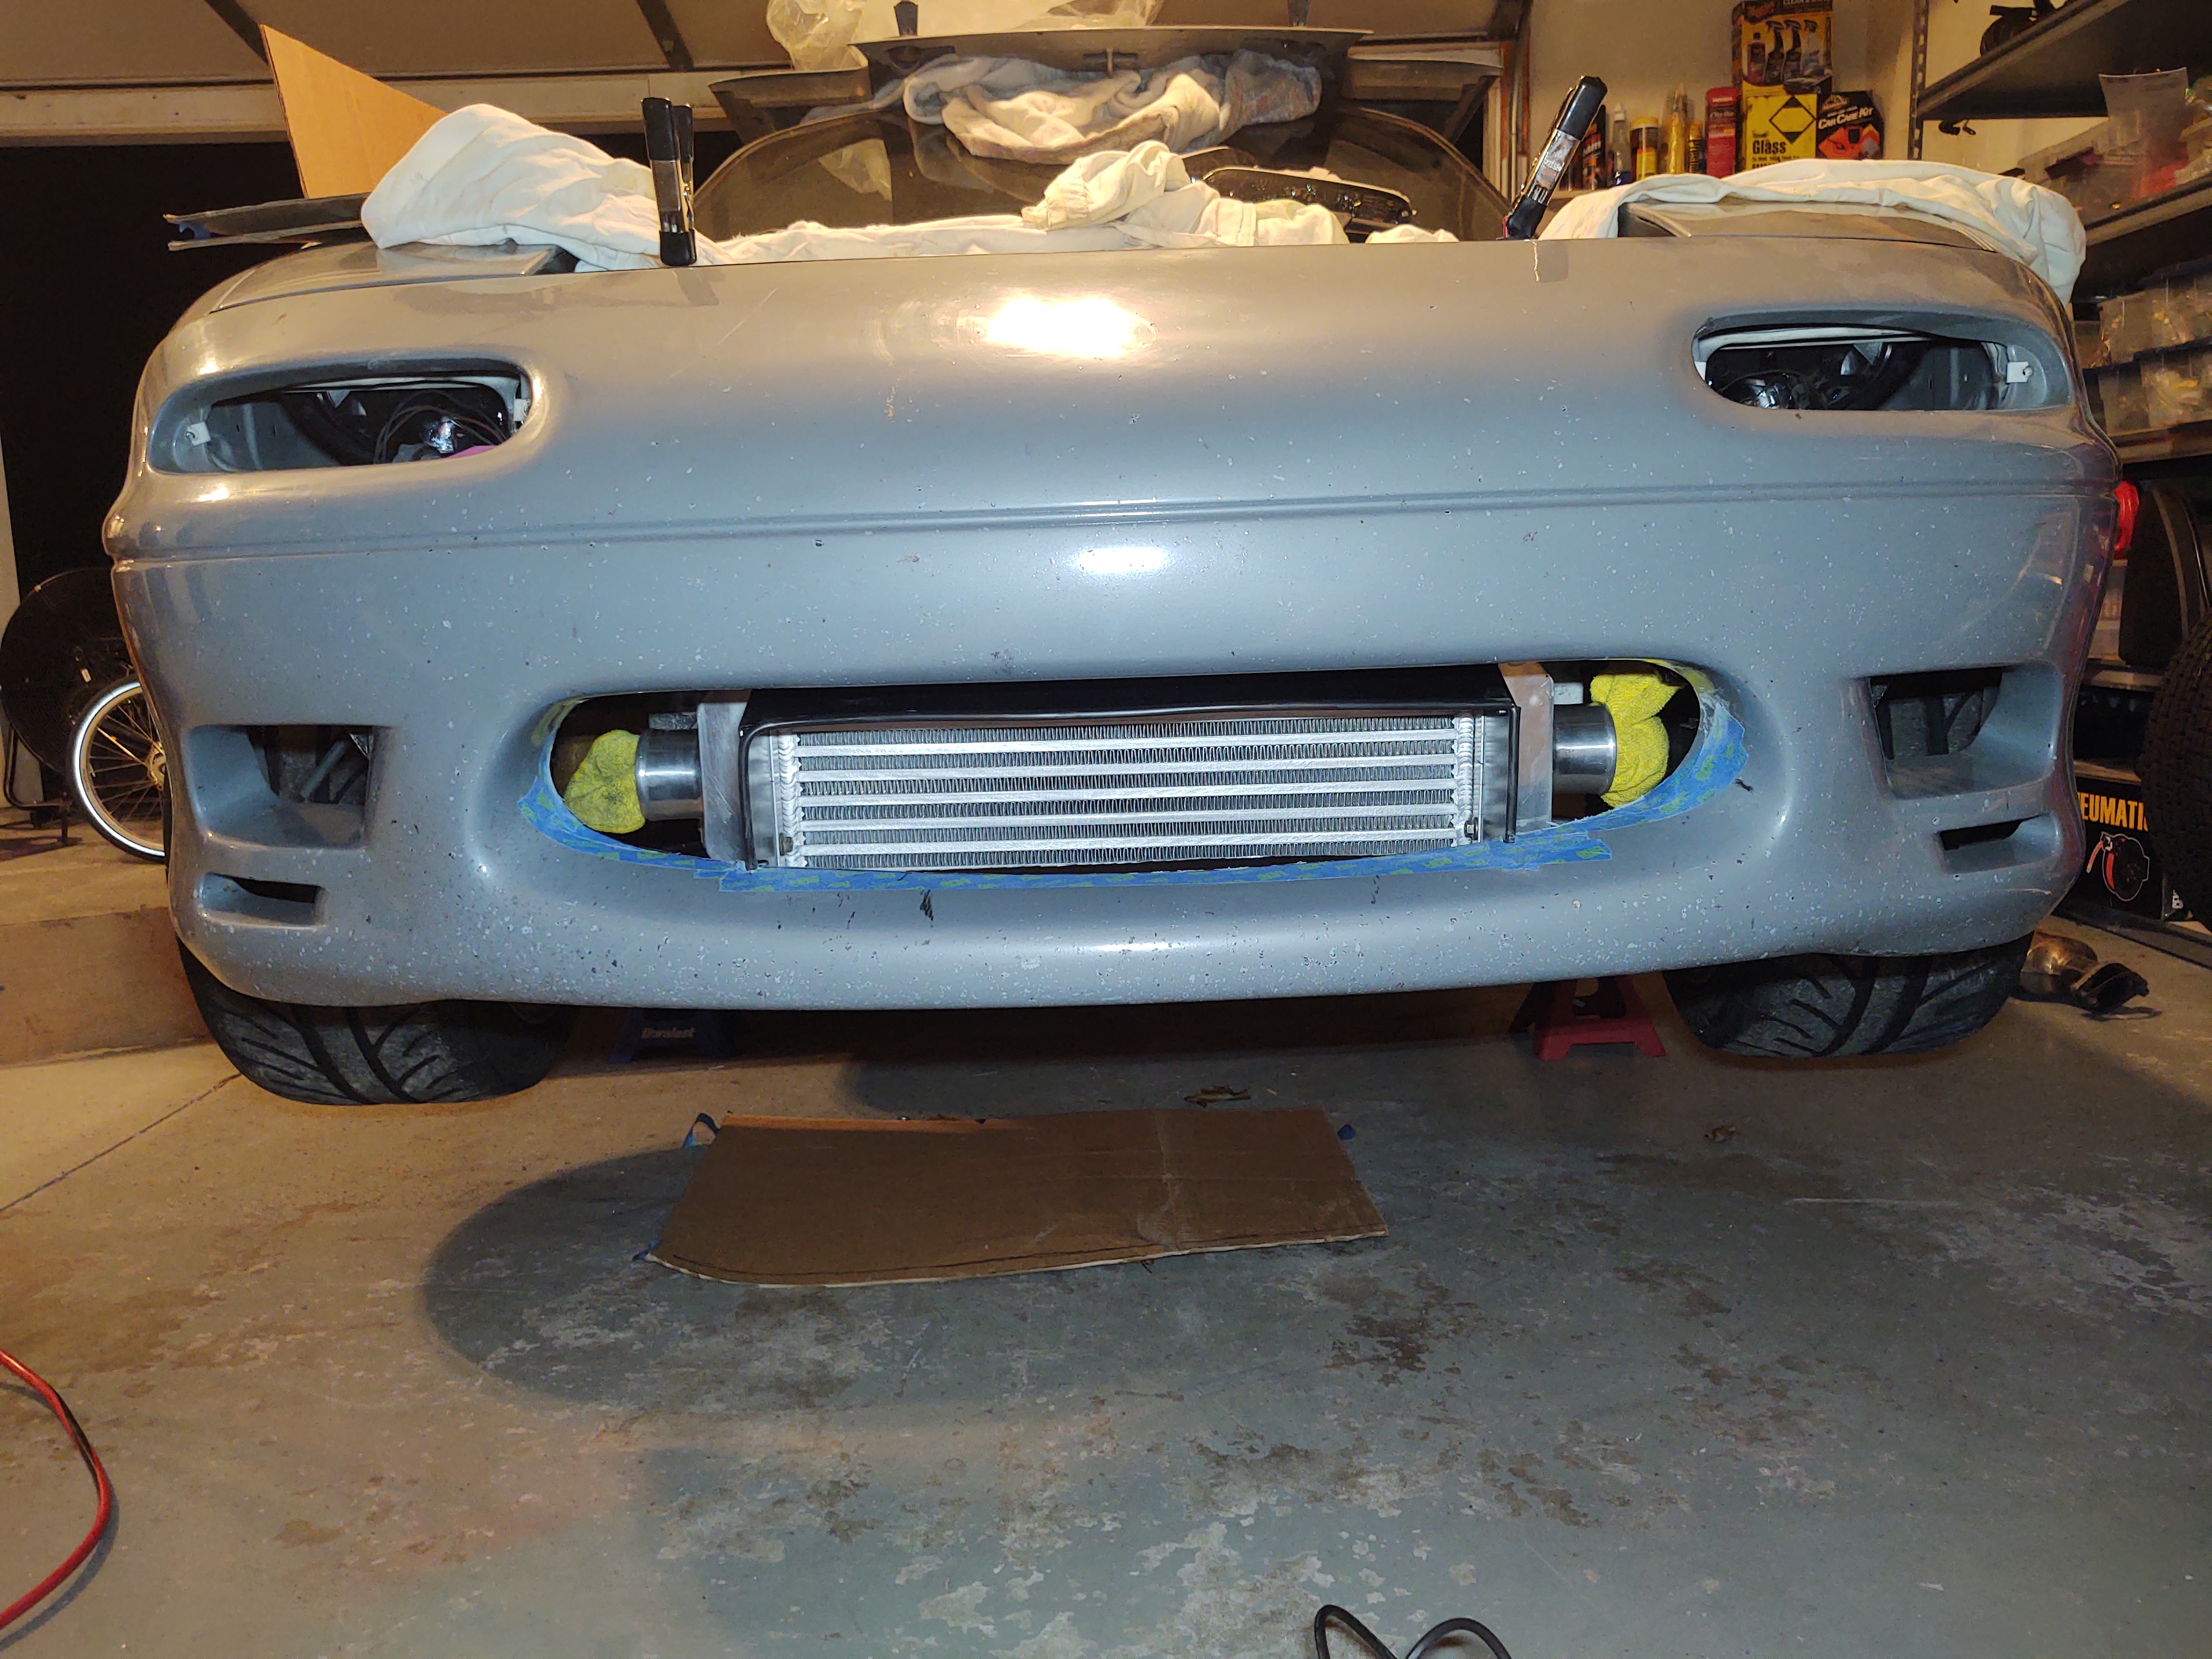
Long time no update. A quick update. Sold the hi-compression bottom end to a forum member. Went over the BP4W to determine its health and all is well. Dropped everything and started working on intercooler mounting, piping, and ducting. I deleted a bunch of pictures off my phone before I uploaded them anywhere but Instagram. I'm too lazy to copy them from there so here is a basic run down.
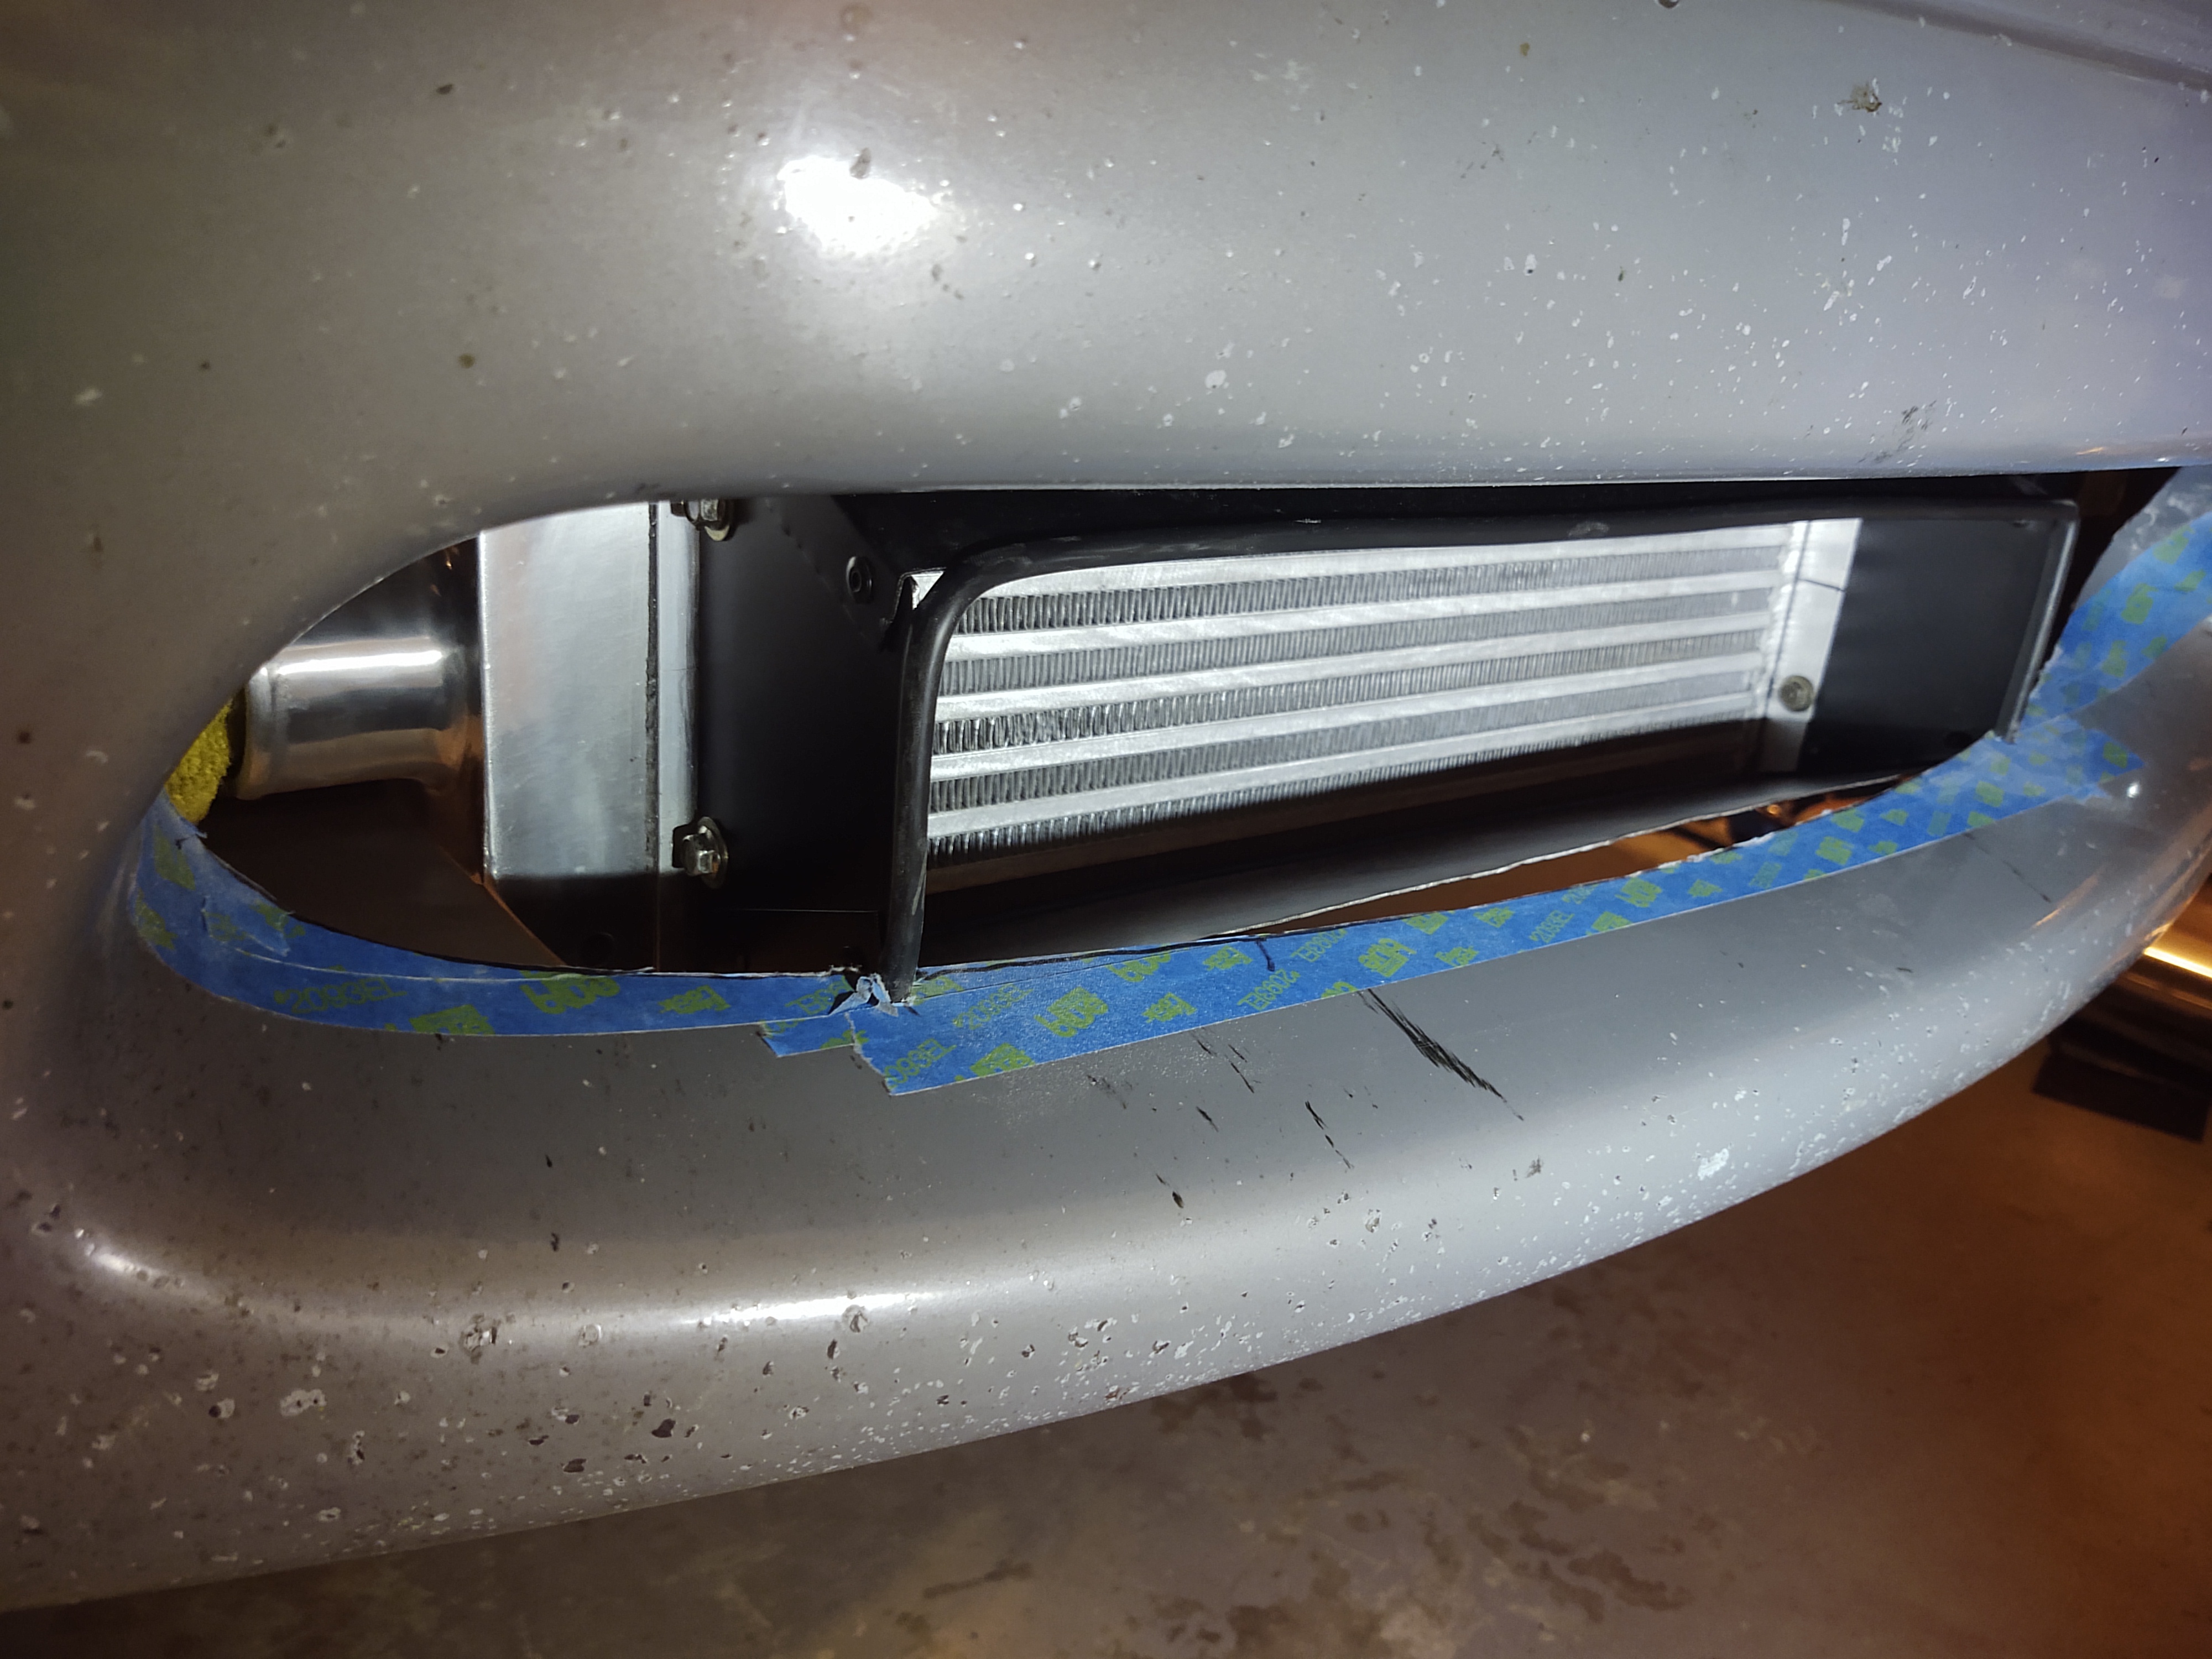
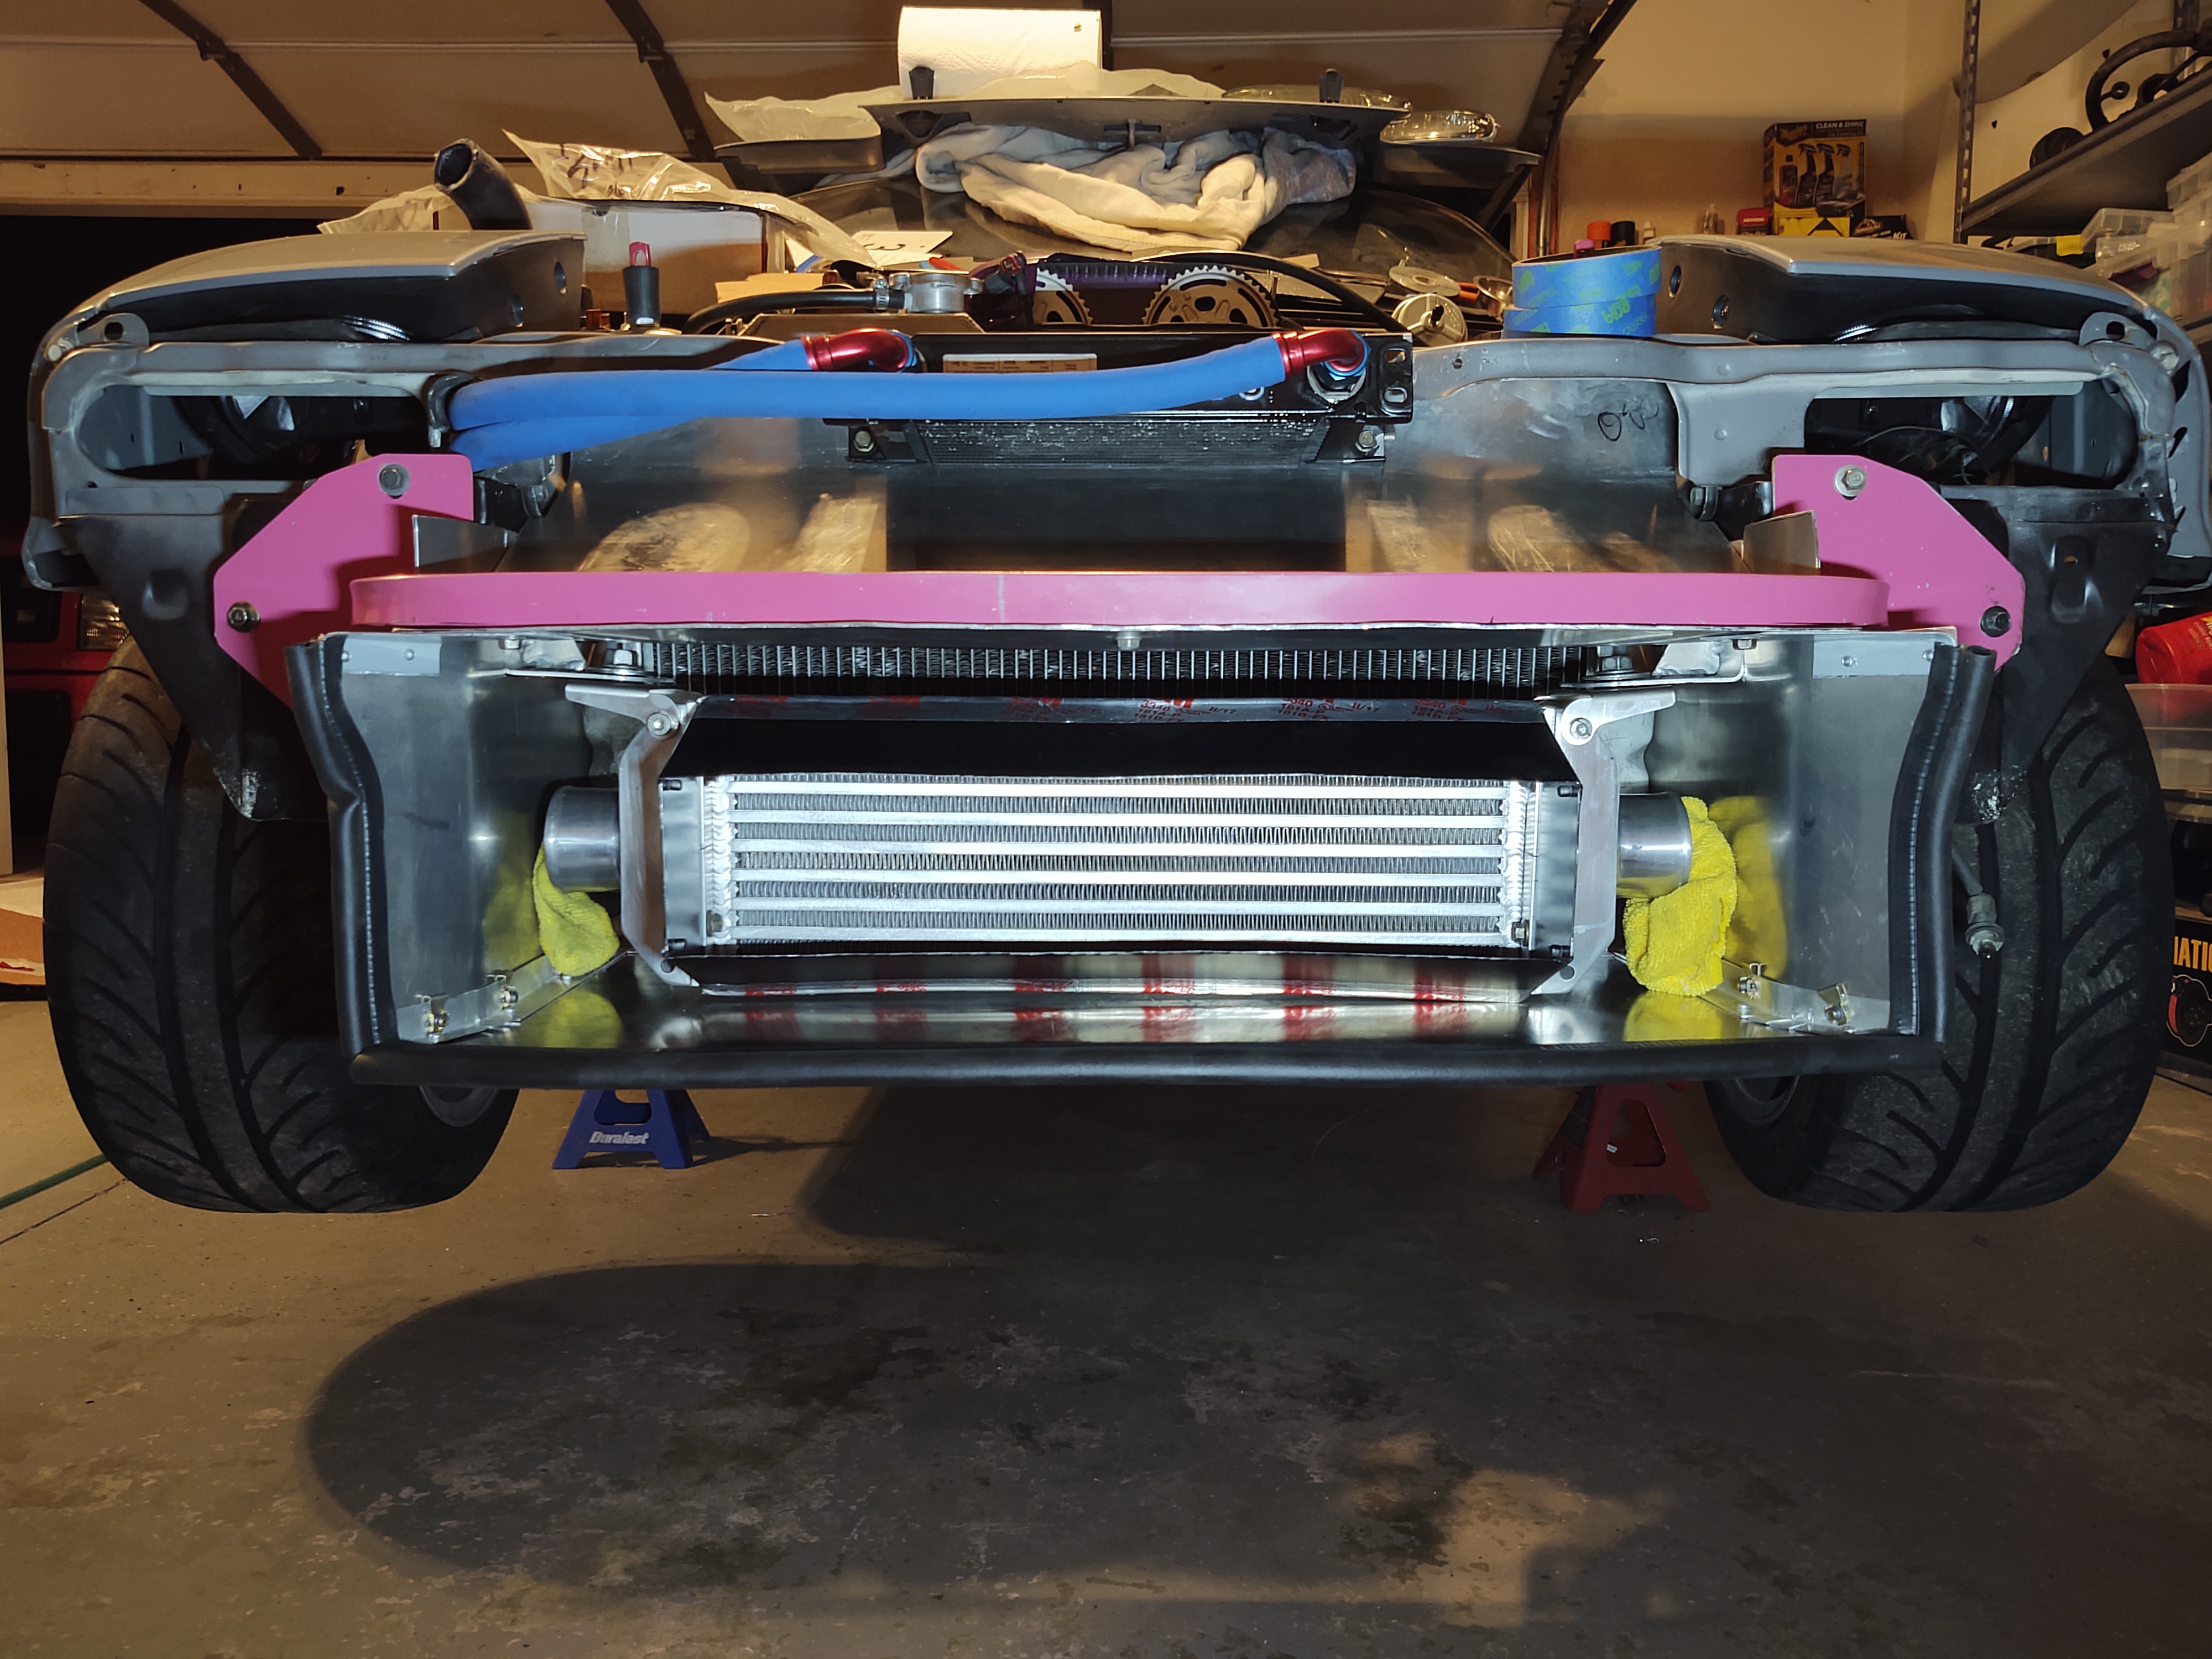
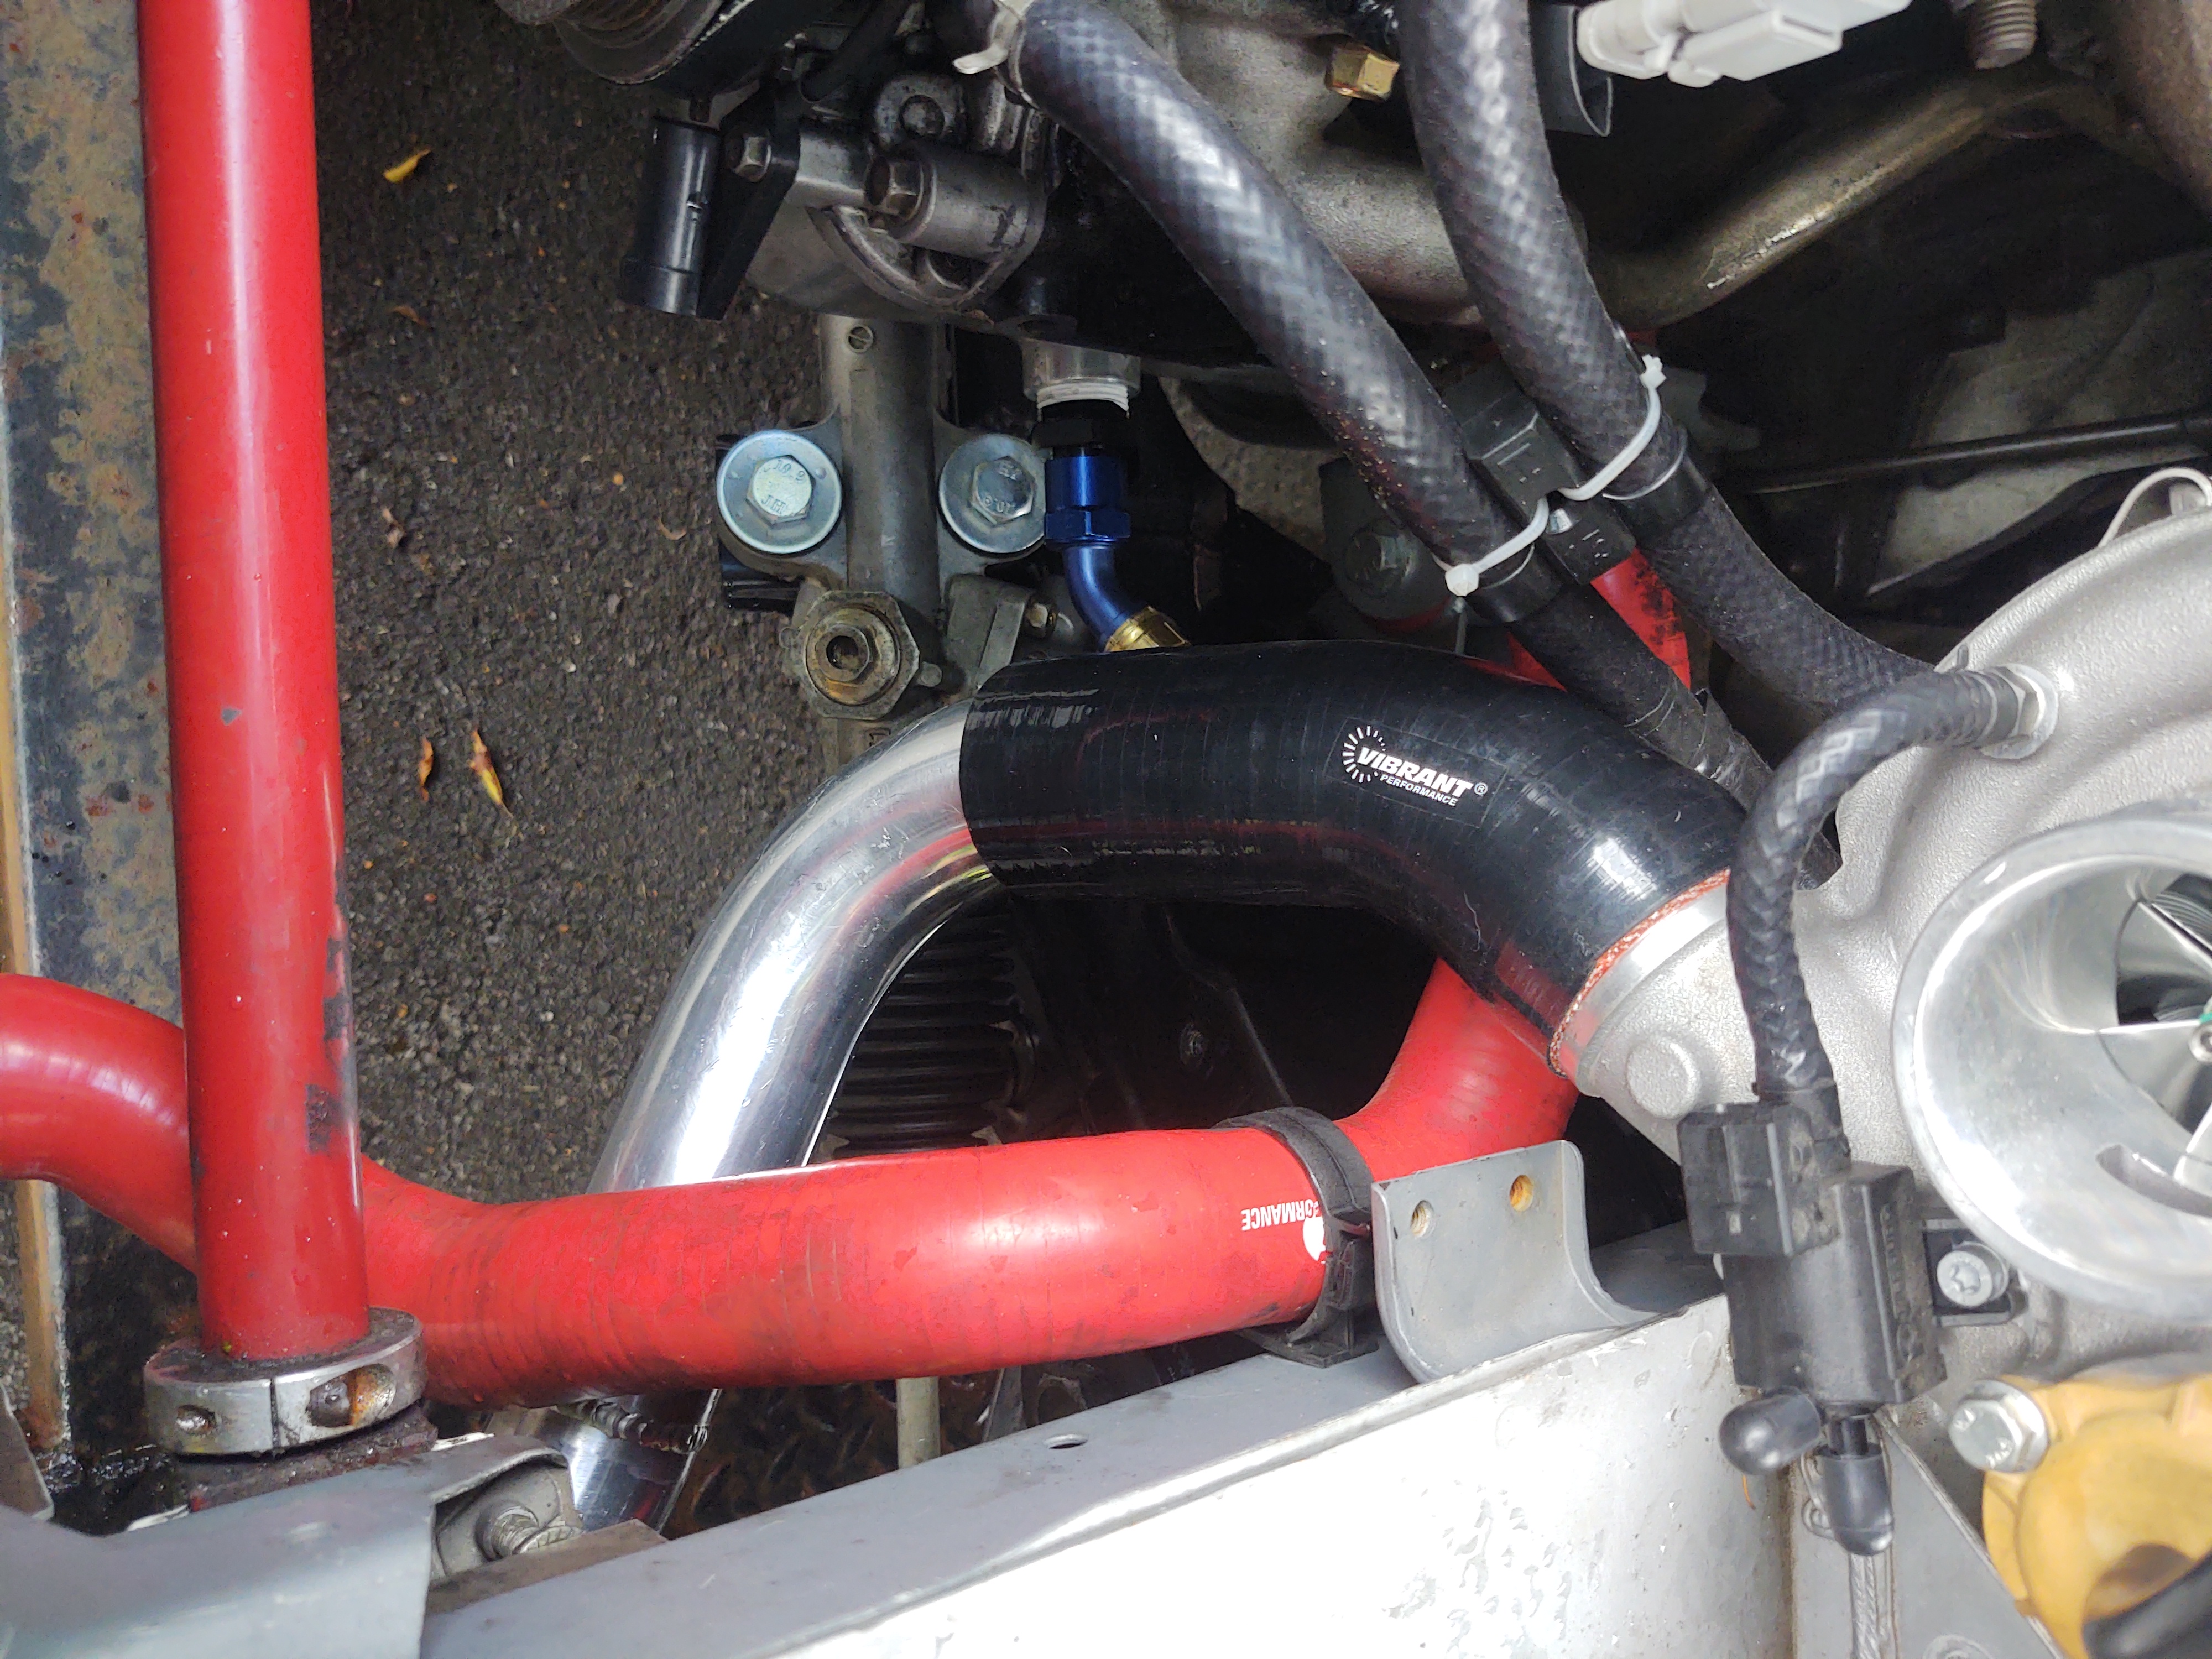
Intercooler is a Vibrant core (same as Fab9 Stage 1) and Lars dropped off the modified Kraken downpipe that mates up to one of his great looking 3" exhausts. I mounted the intercooler even with the core support to possibly give the radiator a chance at getting fresh air. The Racing Beat bumper has a huge opening, so I'll likely make some block offs to choke it down some. A pink special @matrussell122 / @Scaxx front bumper bar really make the ducting much easier to make. I also made a separate intercooler duct to reduce the amount of air bypassing it and allowing cleaner air over the top.
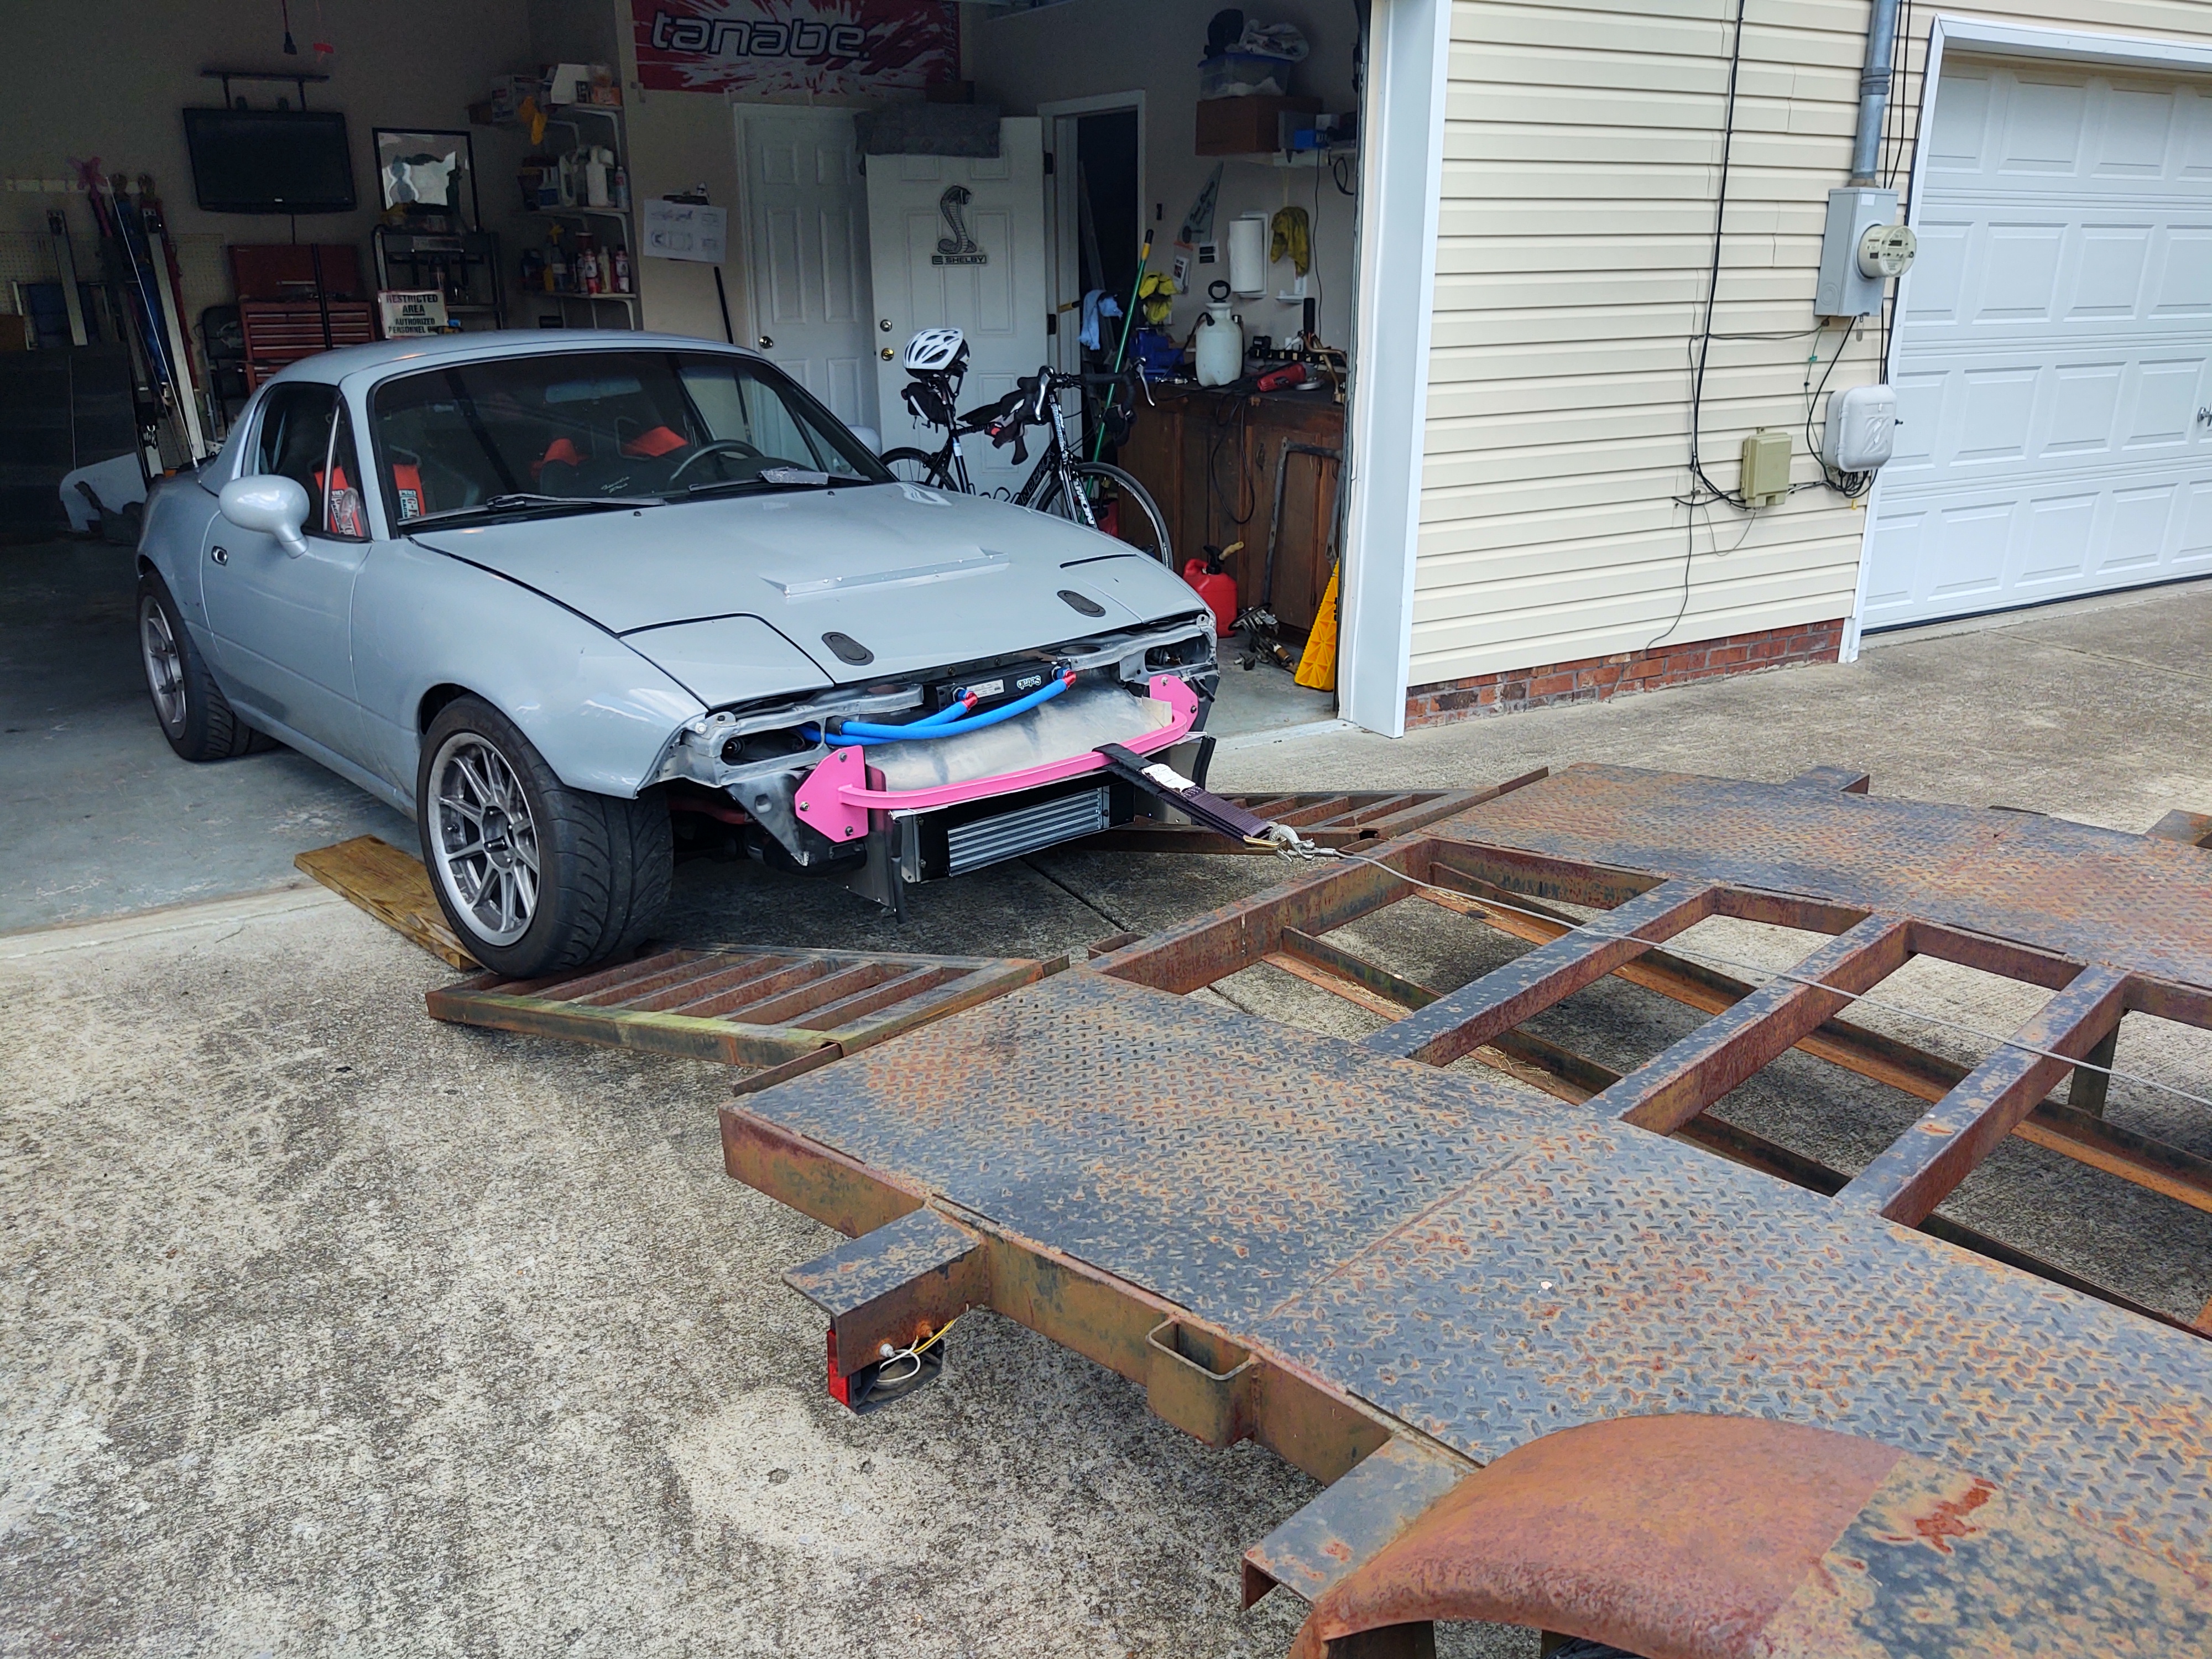
I got the car running on the stock injectors. However I still had a lot of ducting to work on so I left the radiator empty. Had to use the bumper bar to pull the car up on the trailer with my winch.
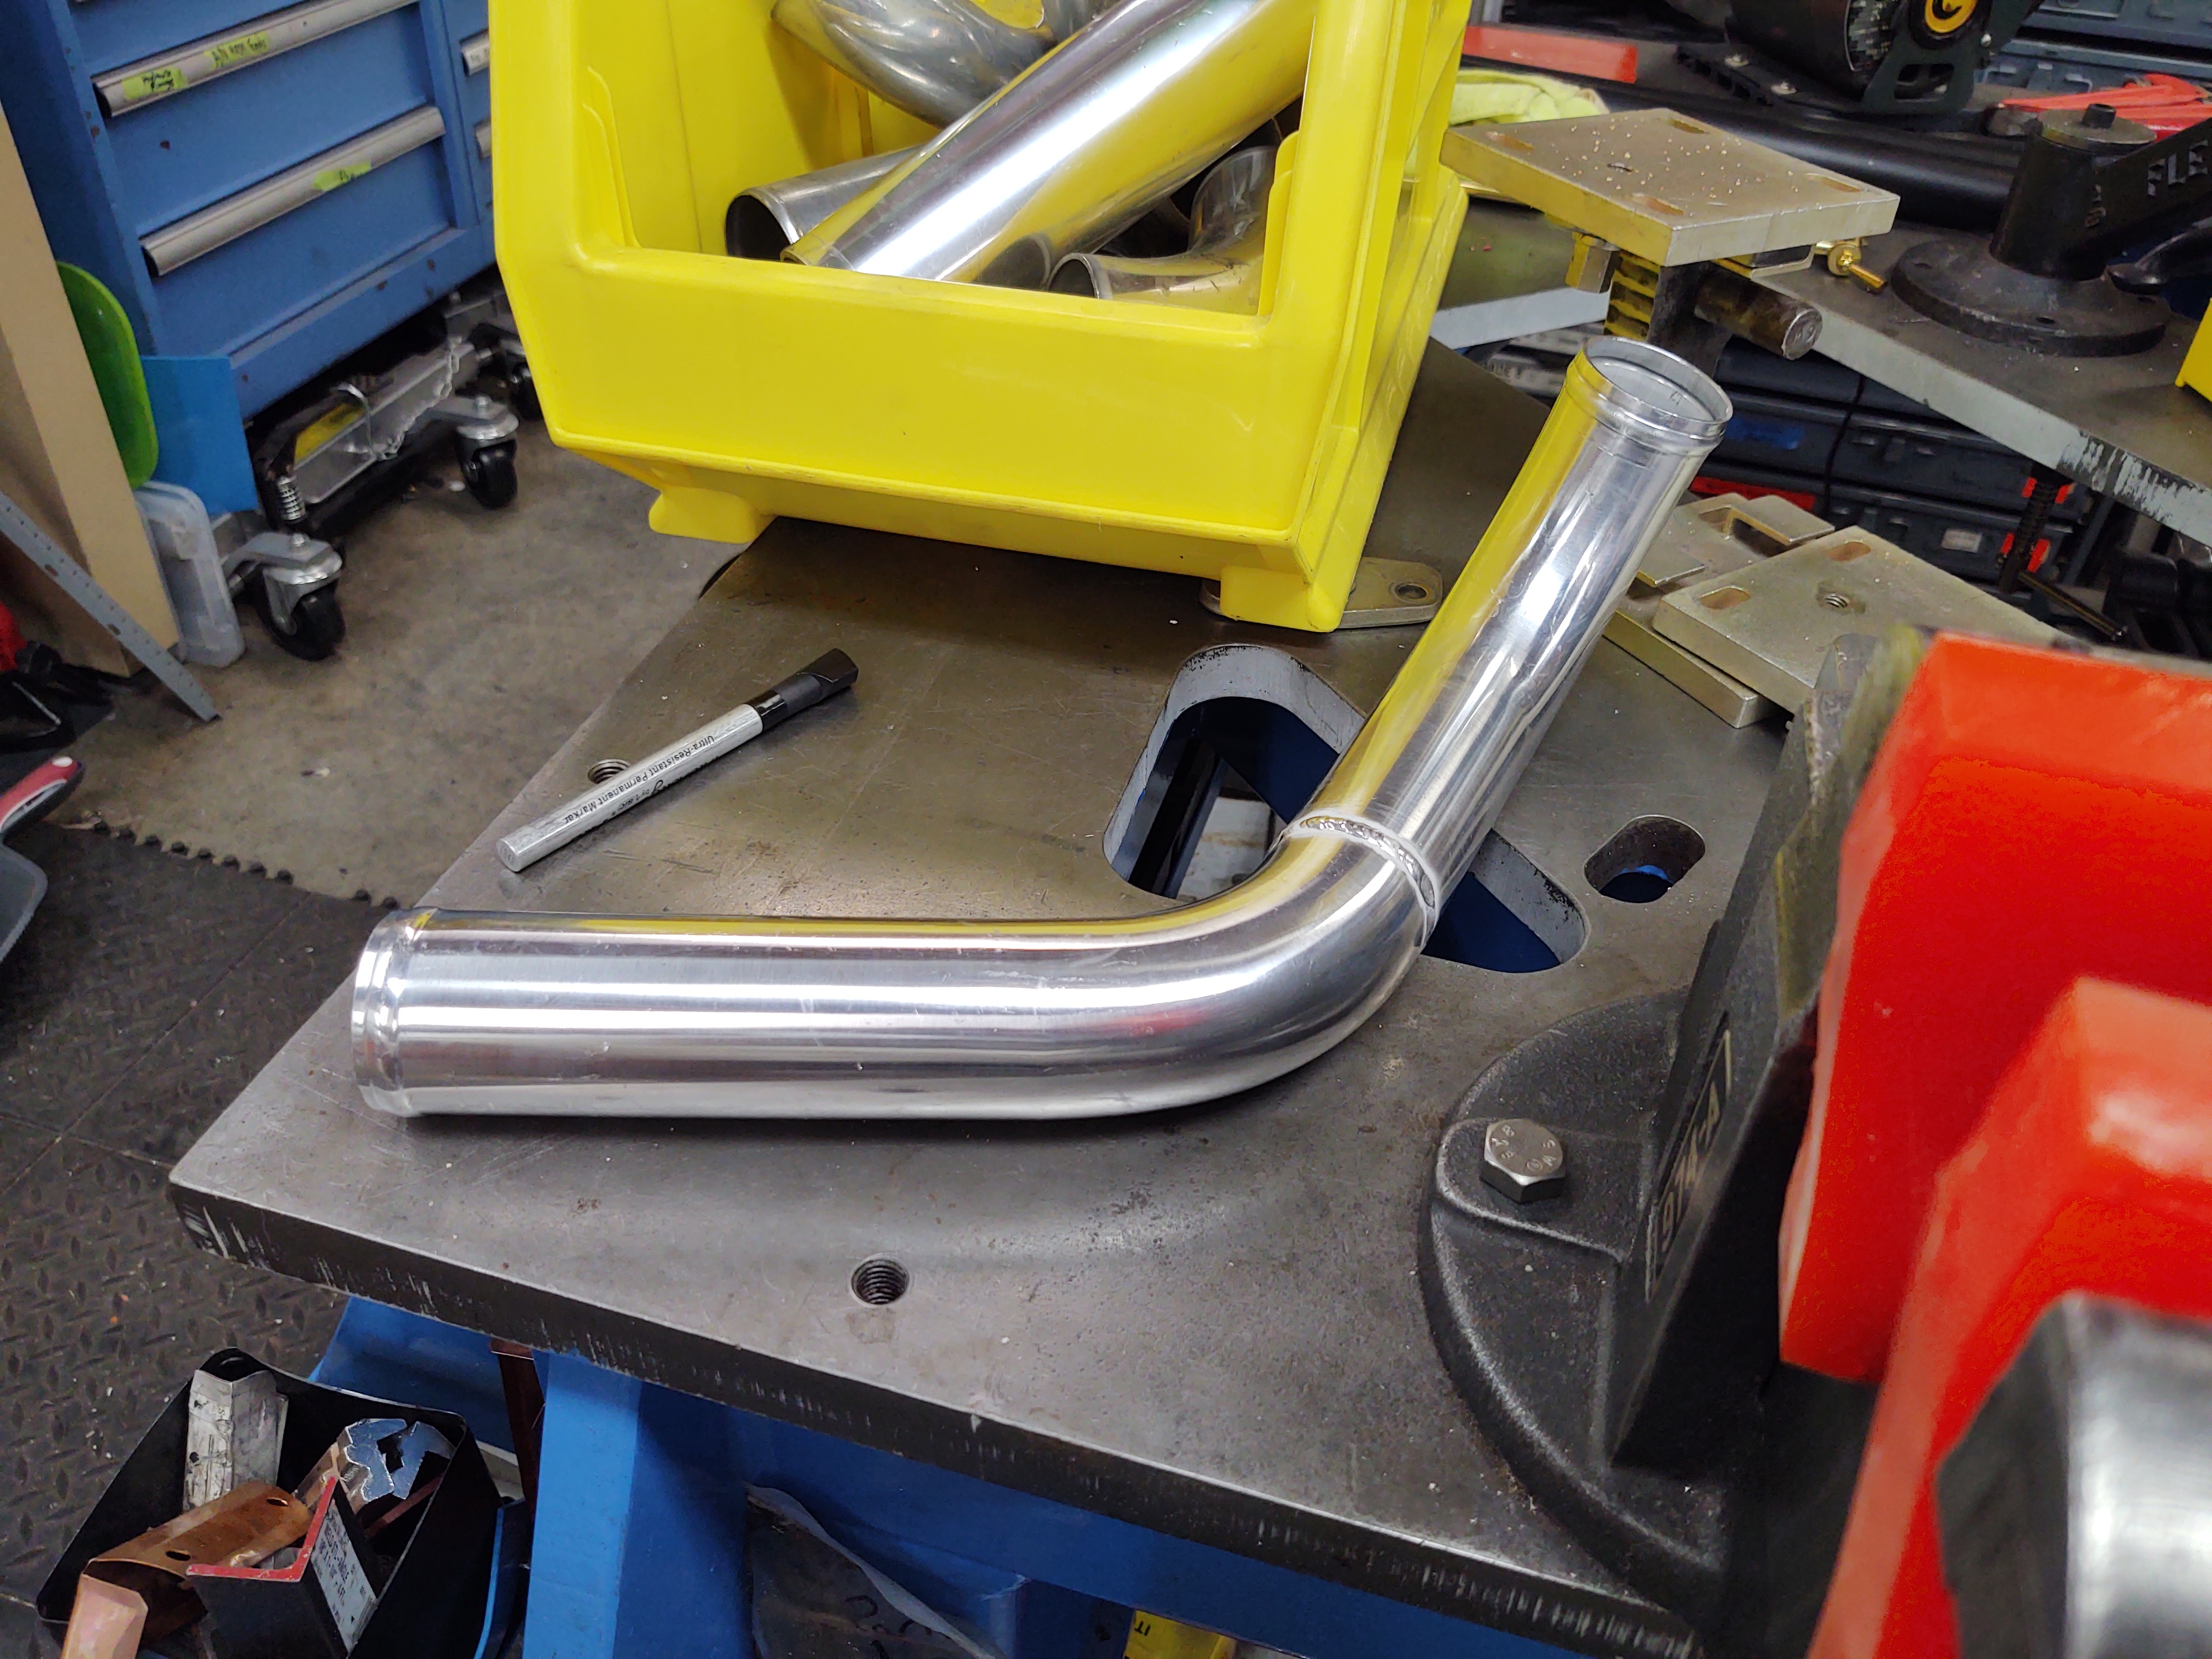
Because I don't has a lot of fabrication tools, I have to take my car over to a friend who had a welder to make my intercooler piping.
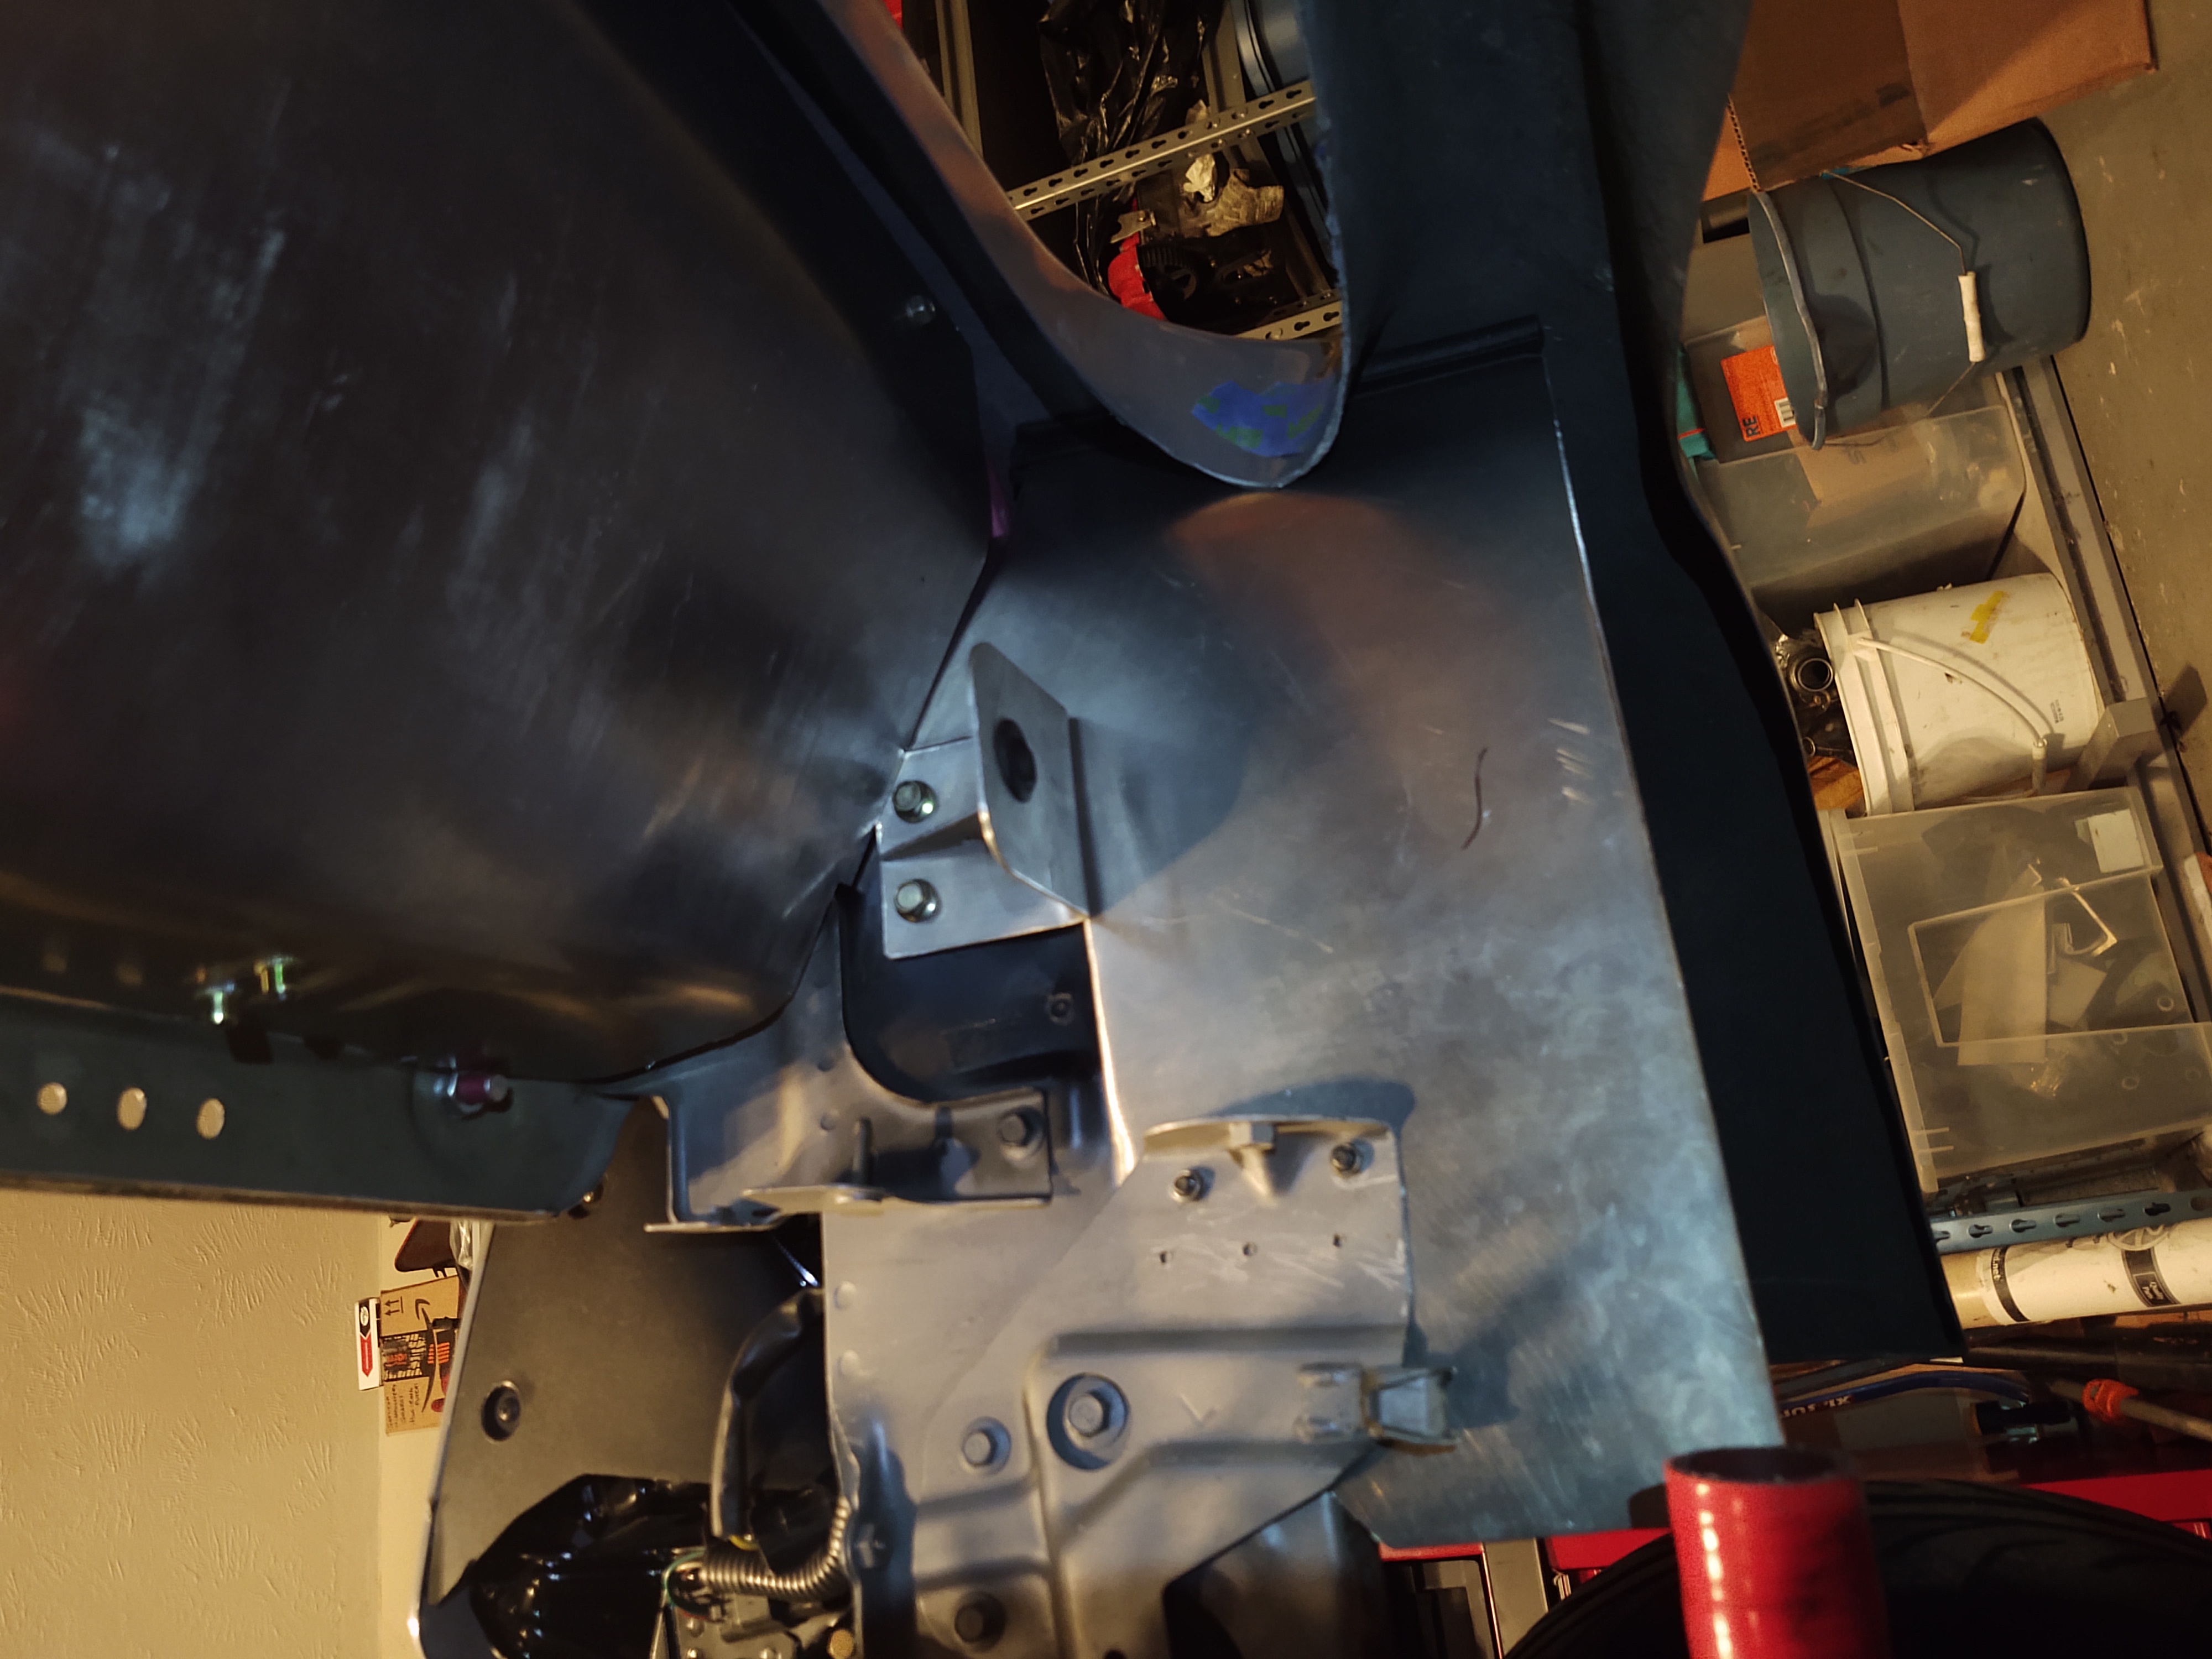
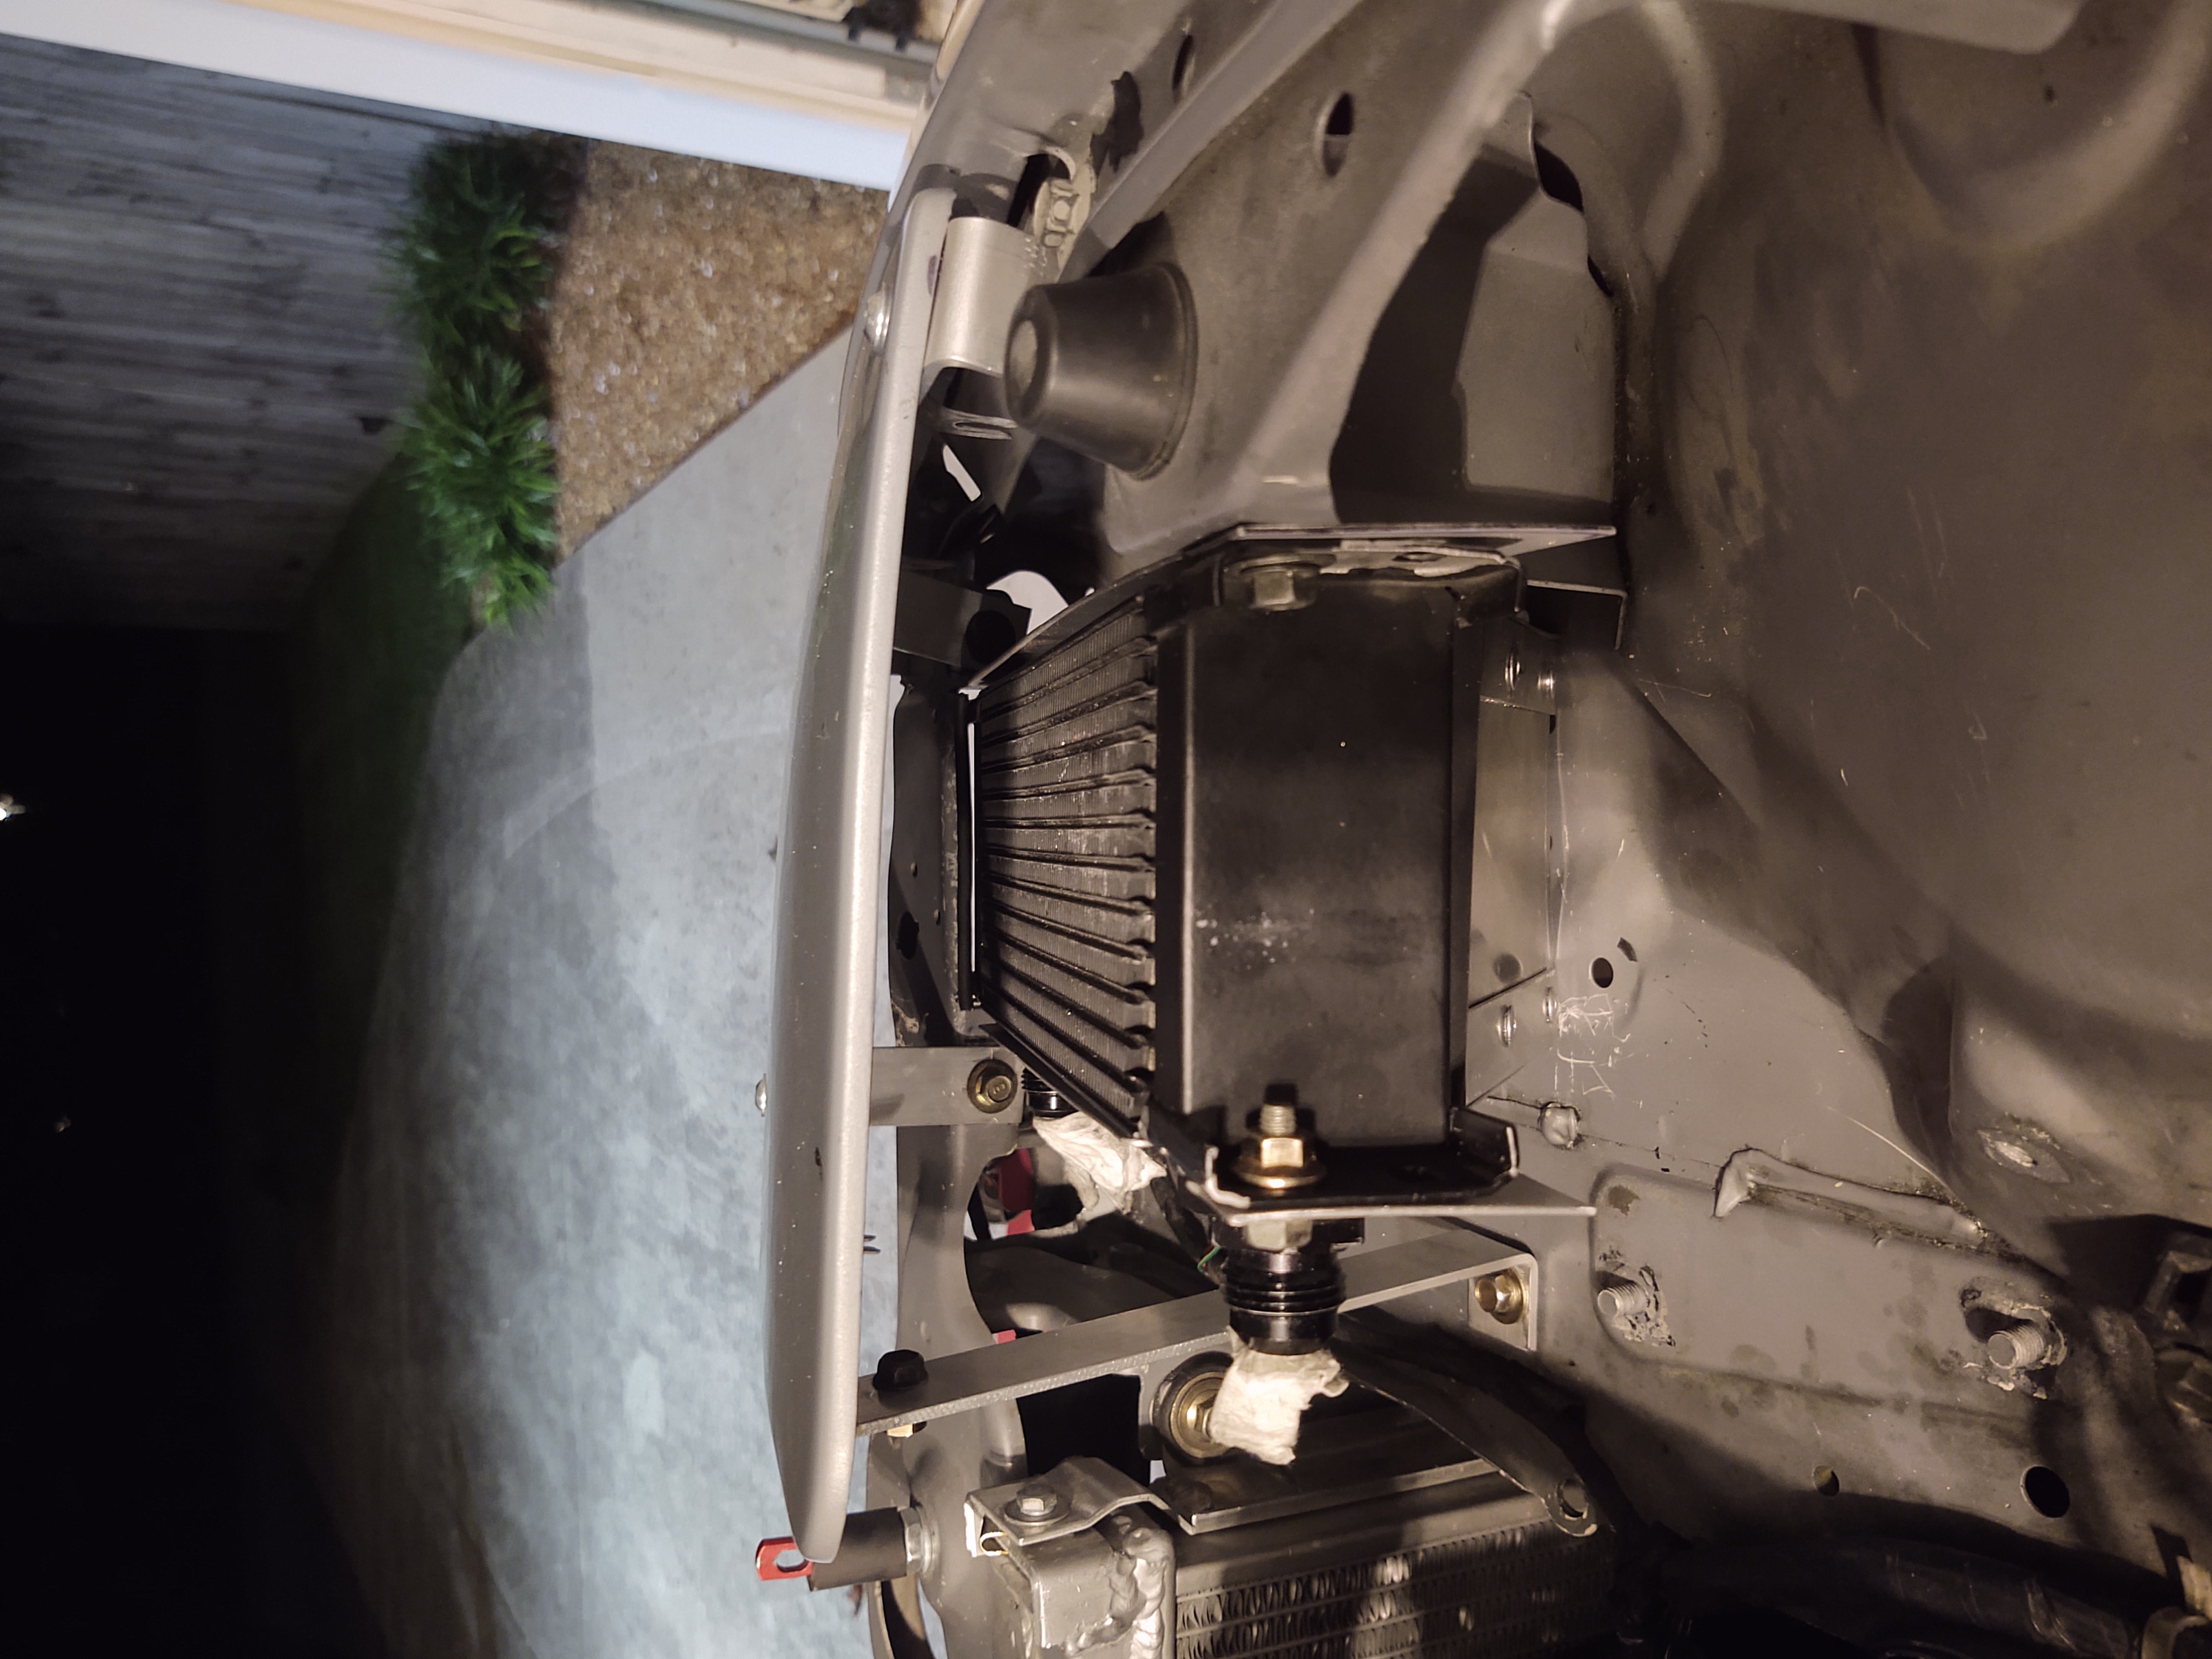
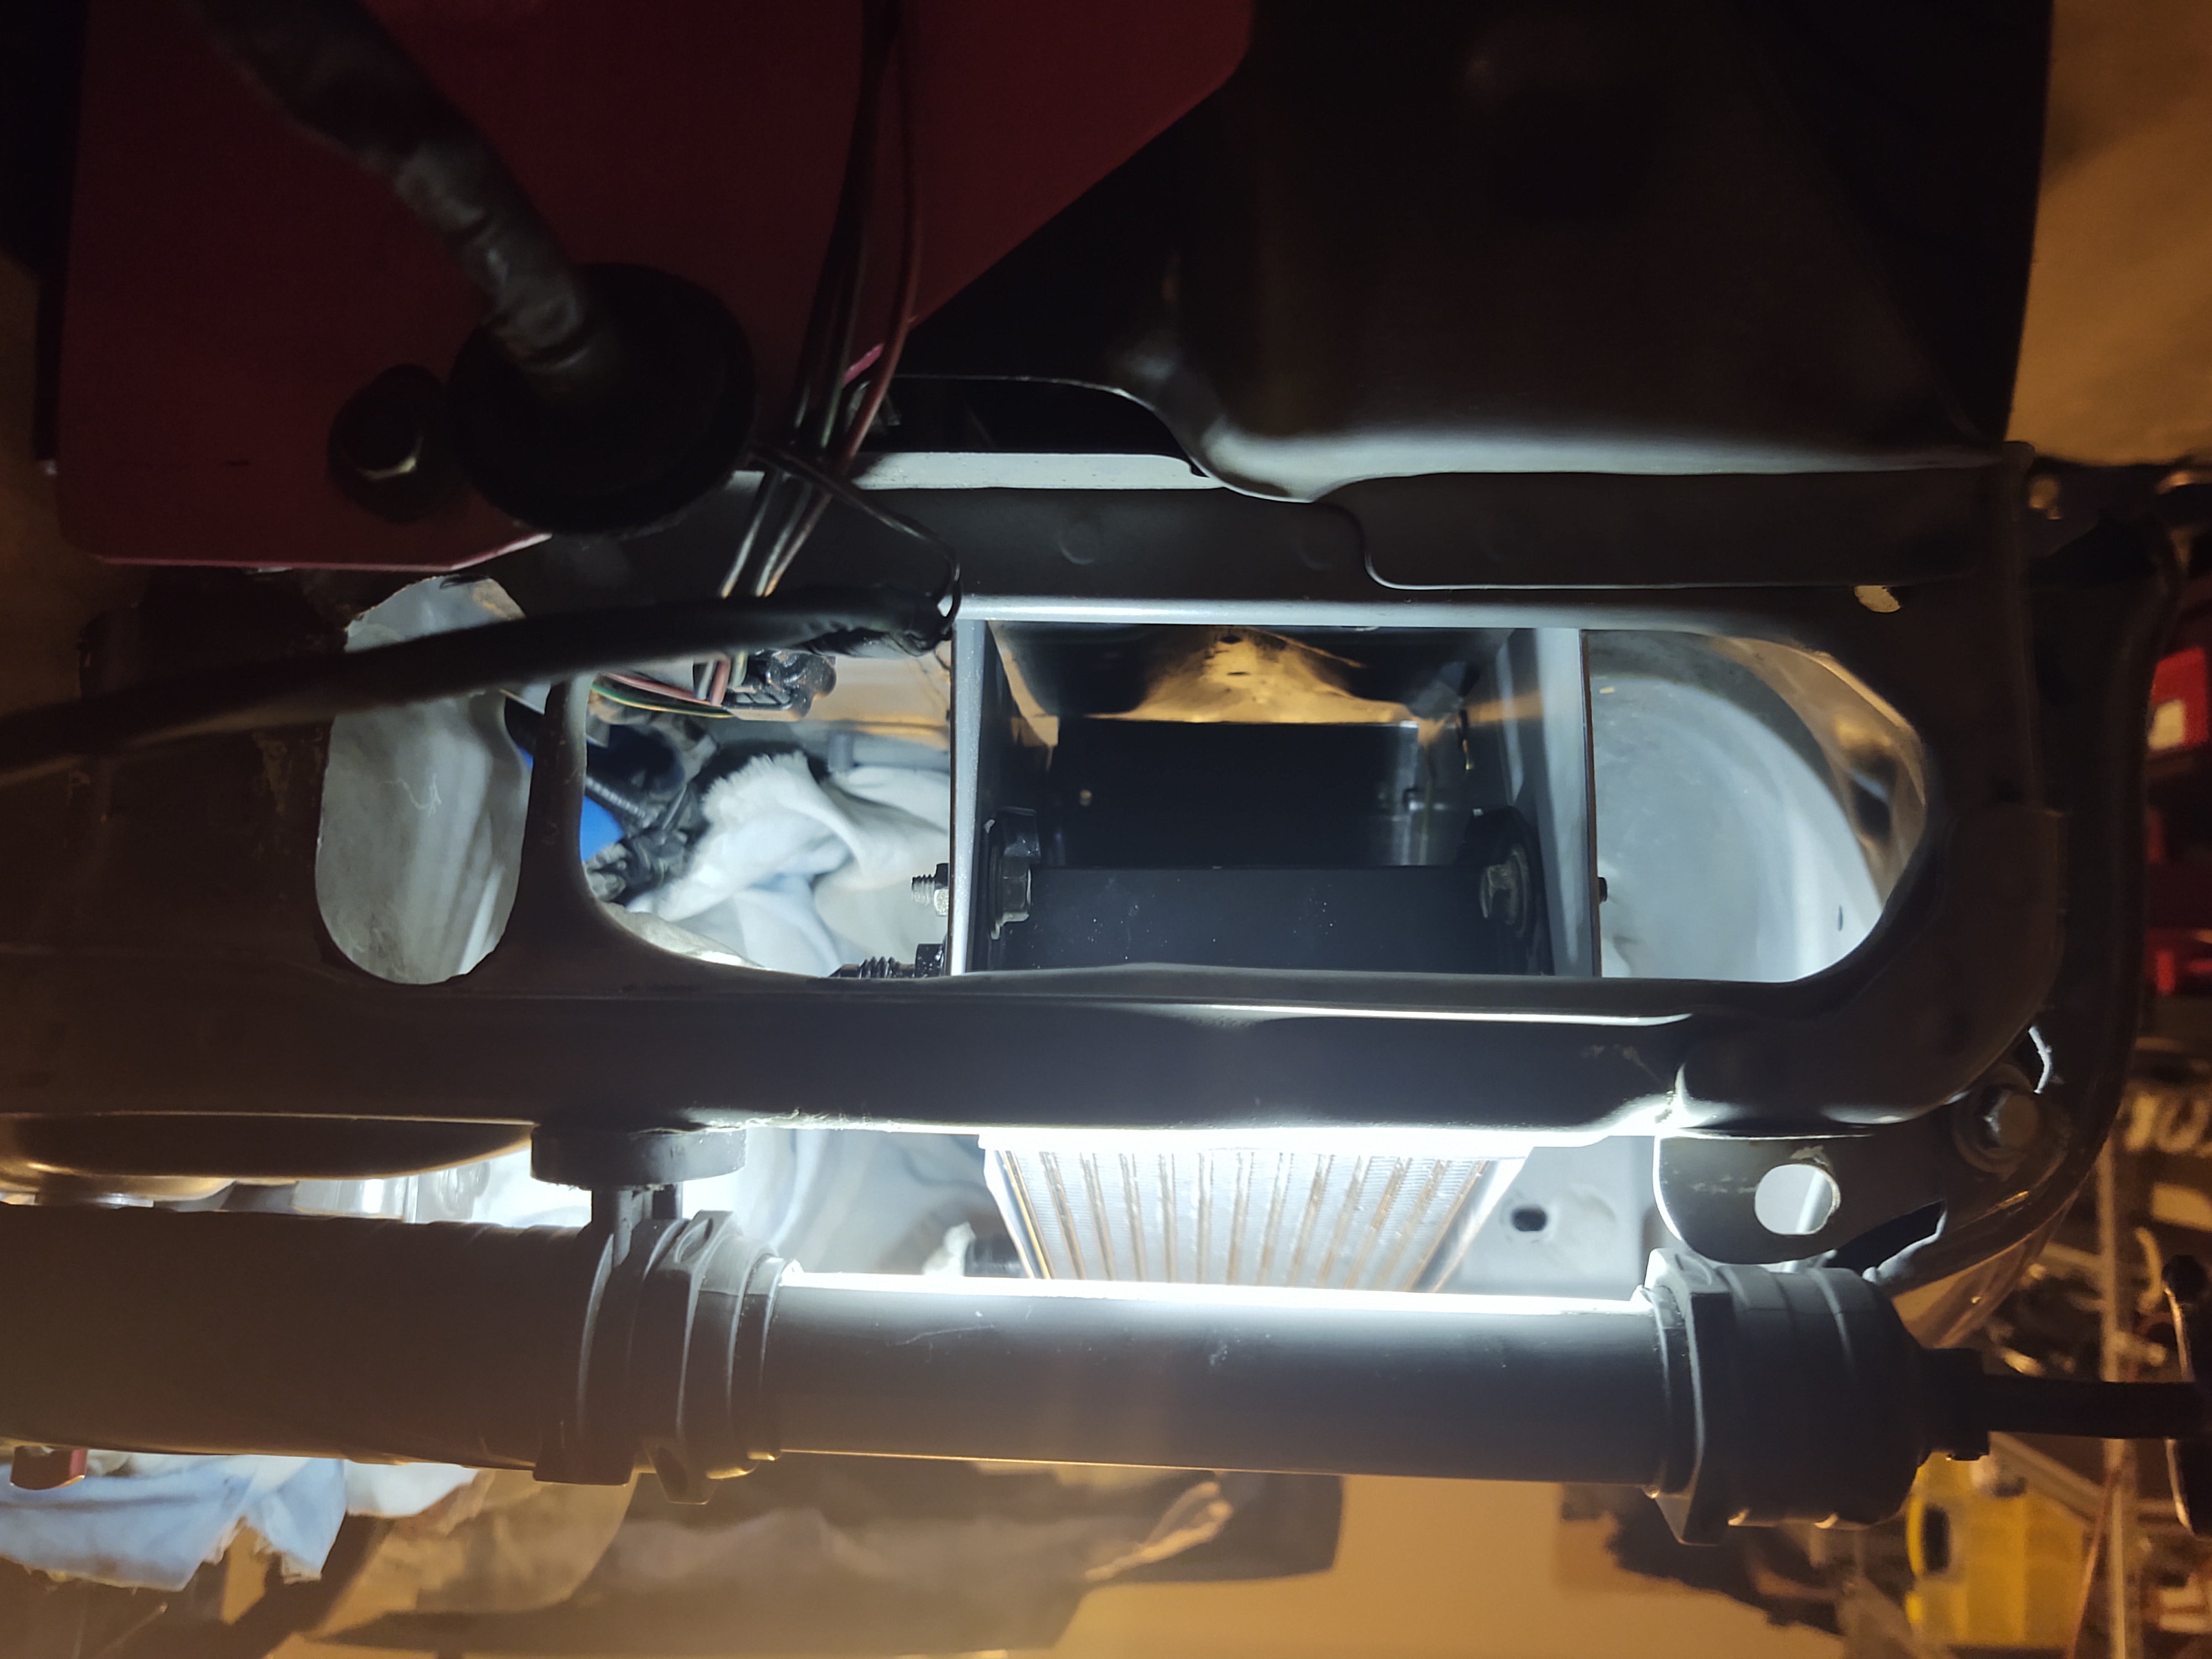
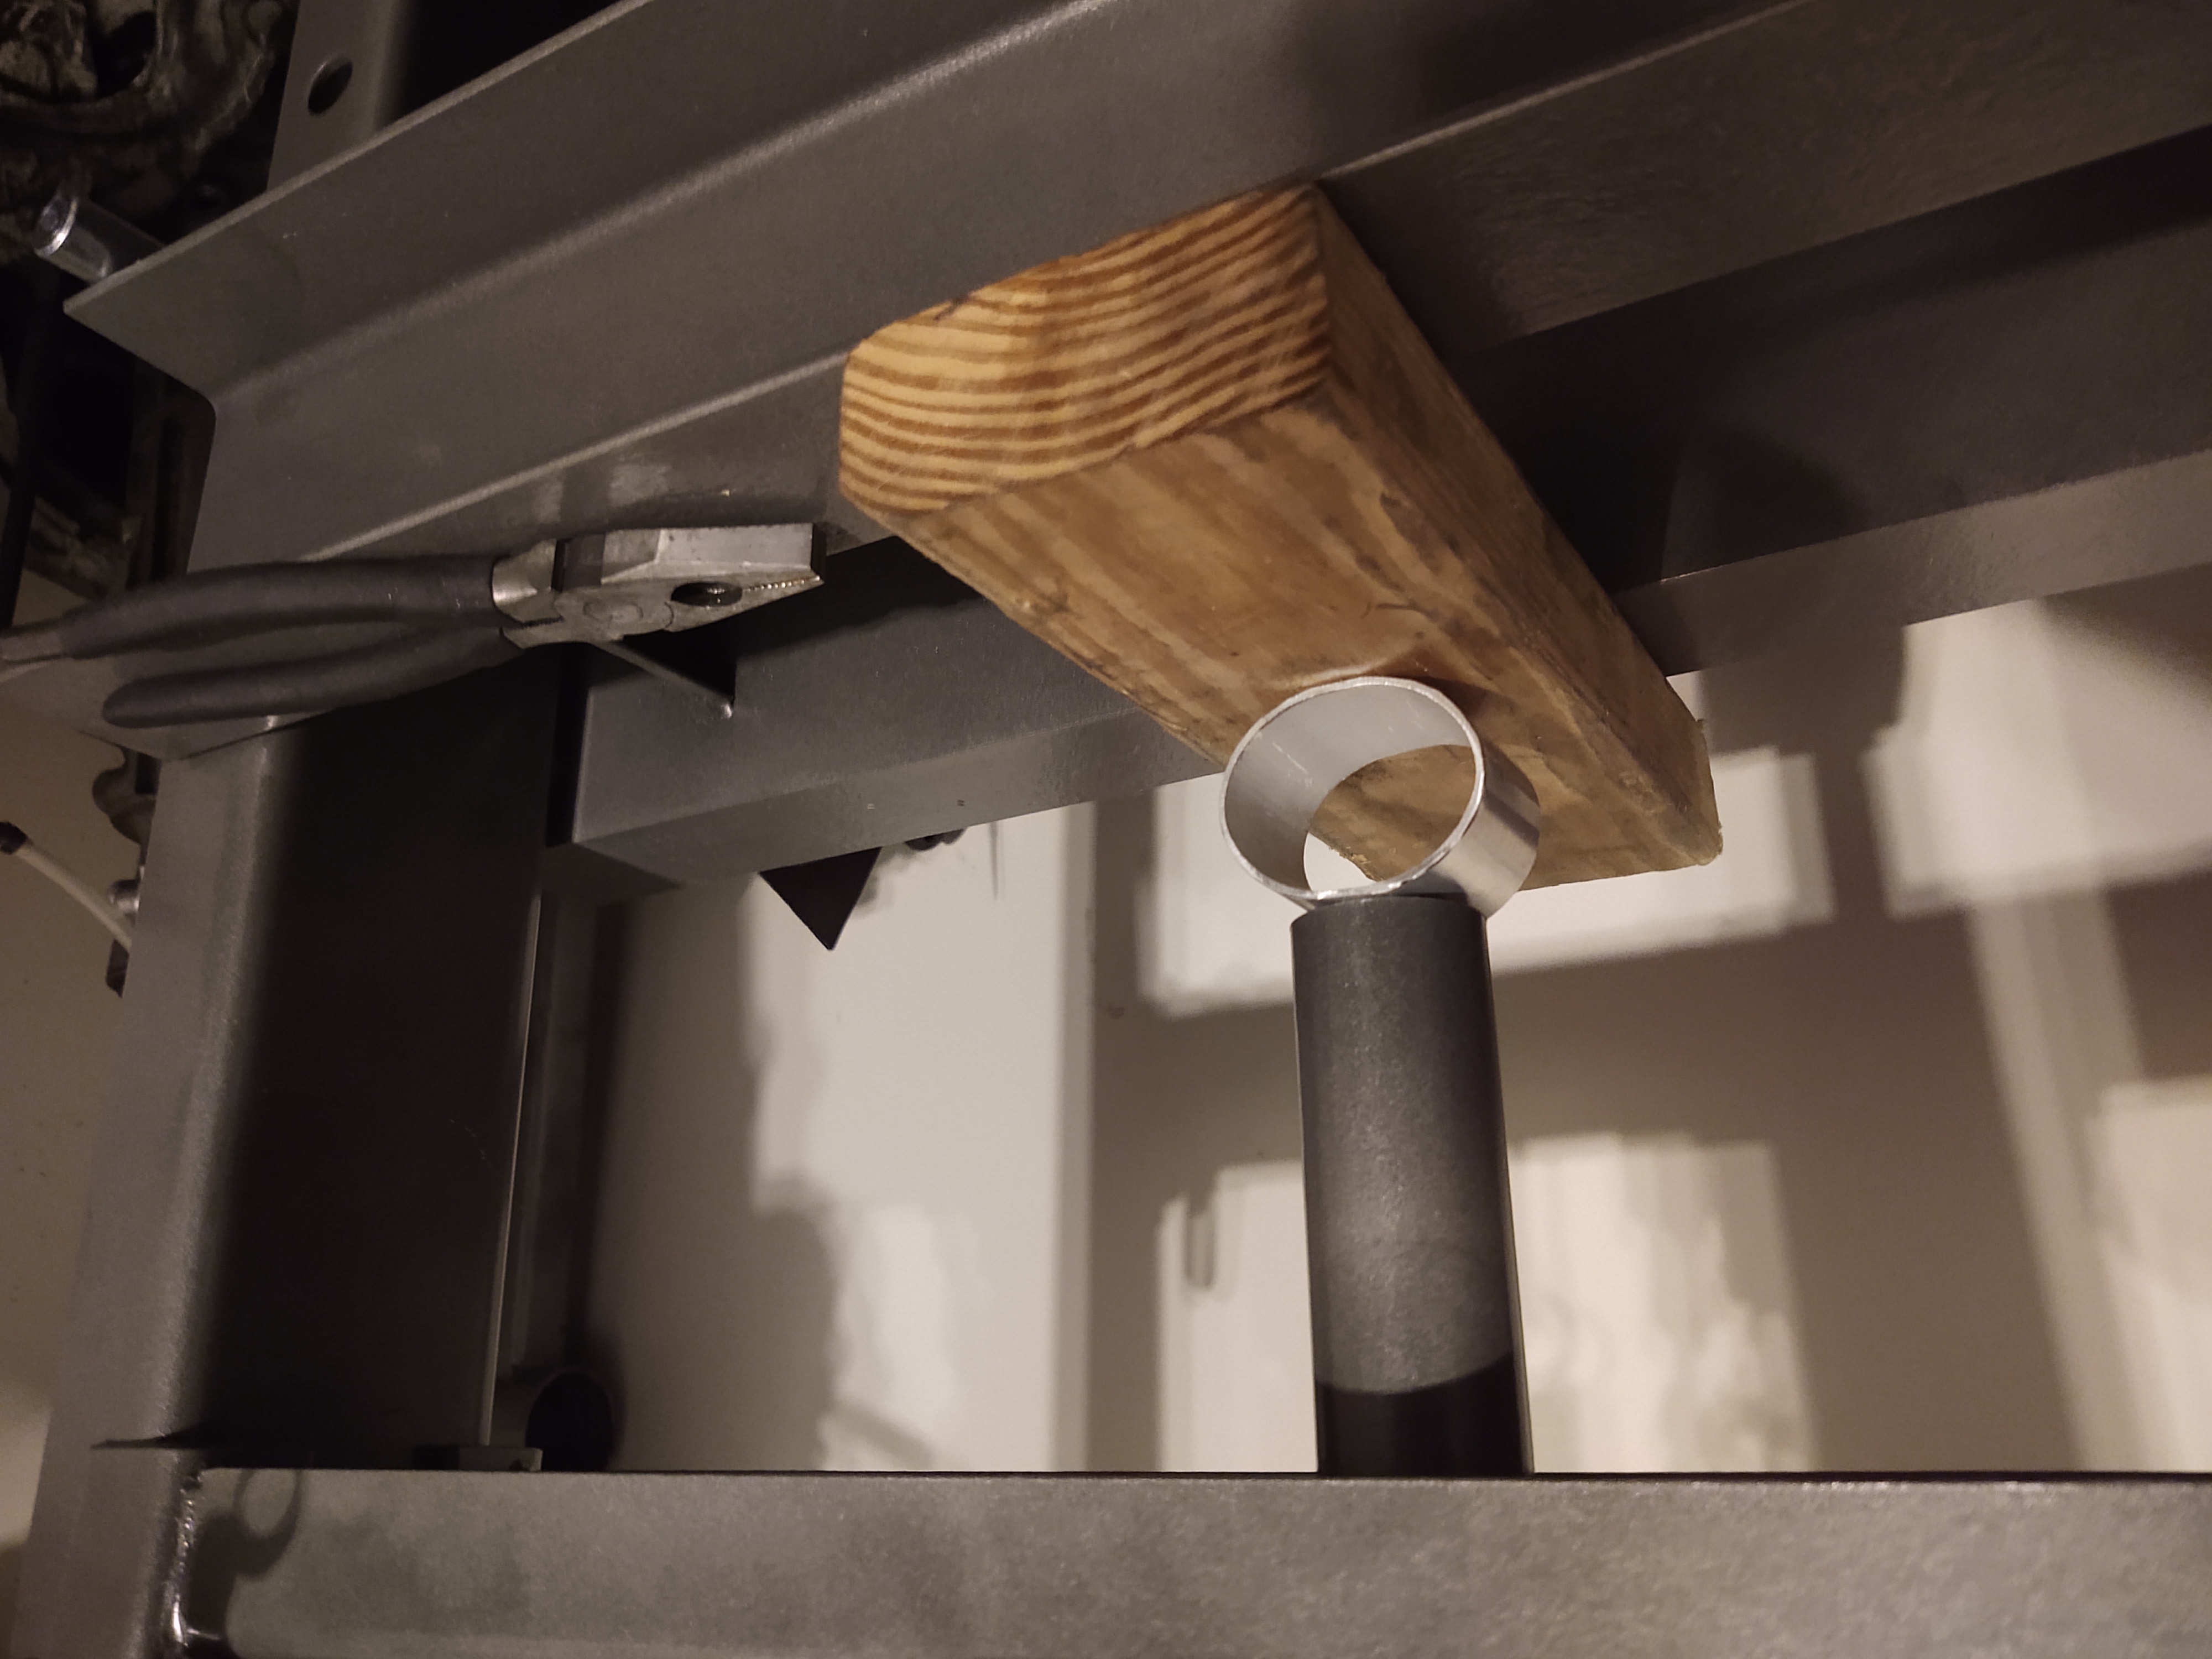
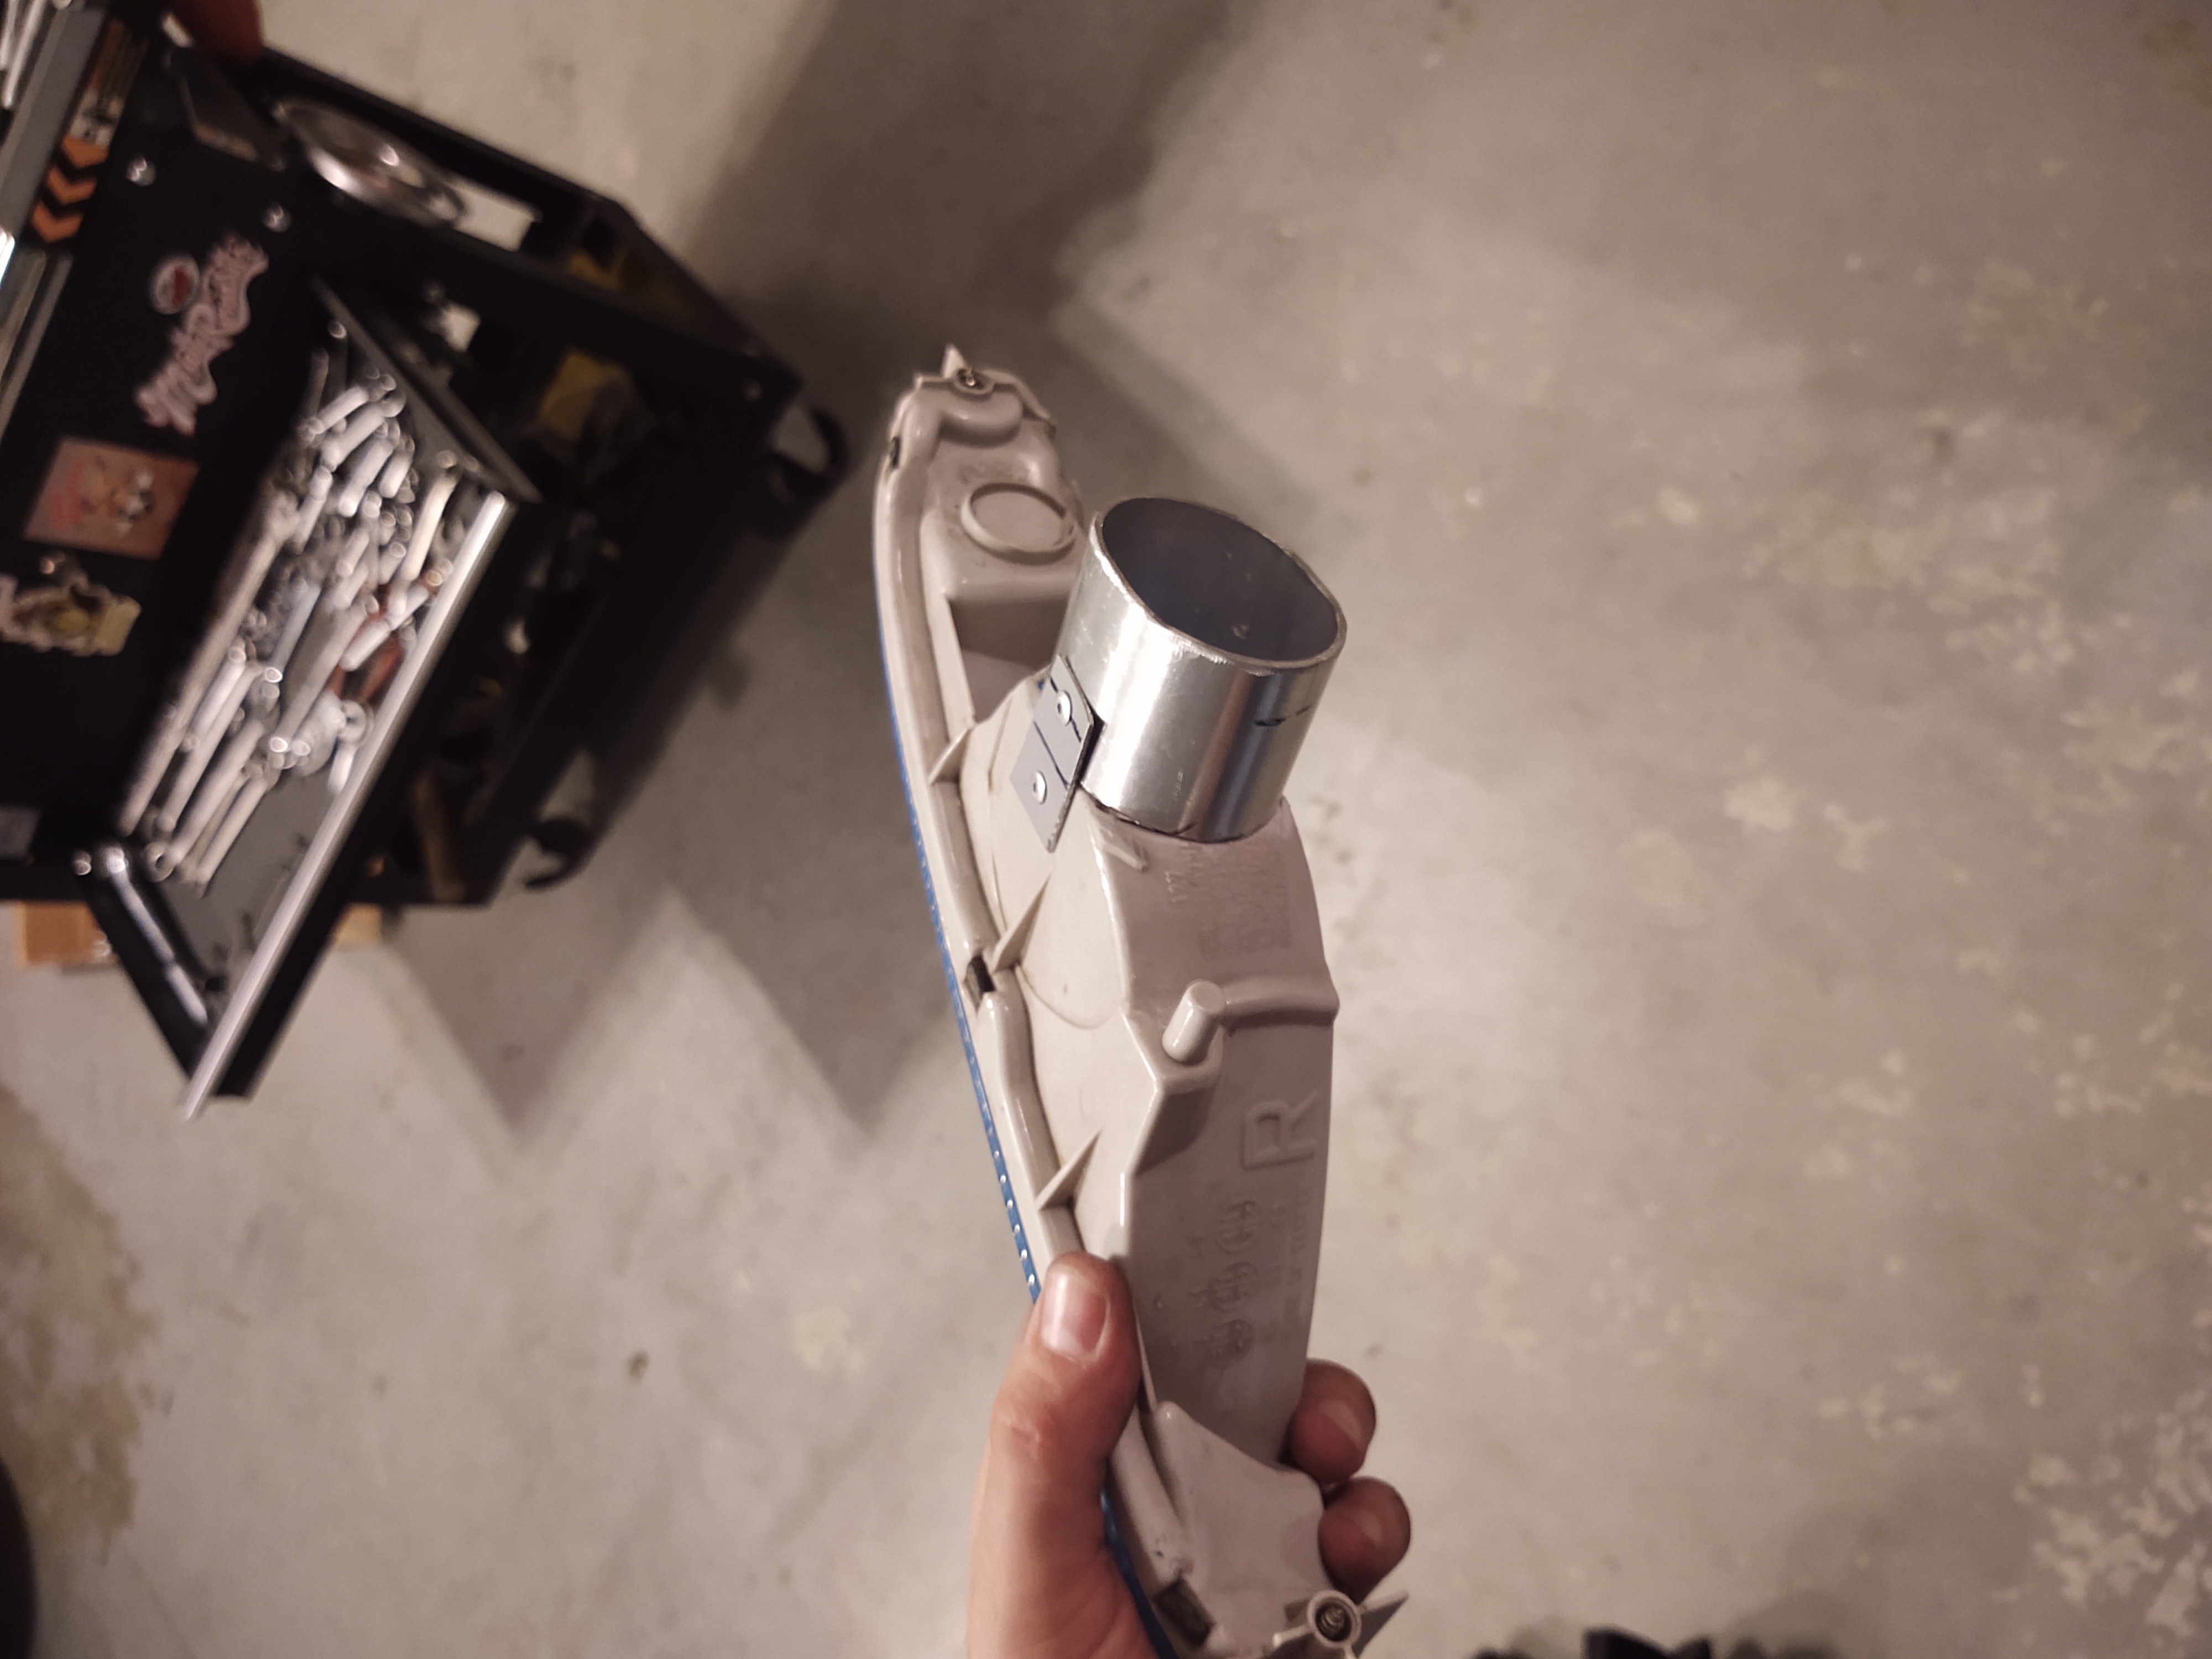
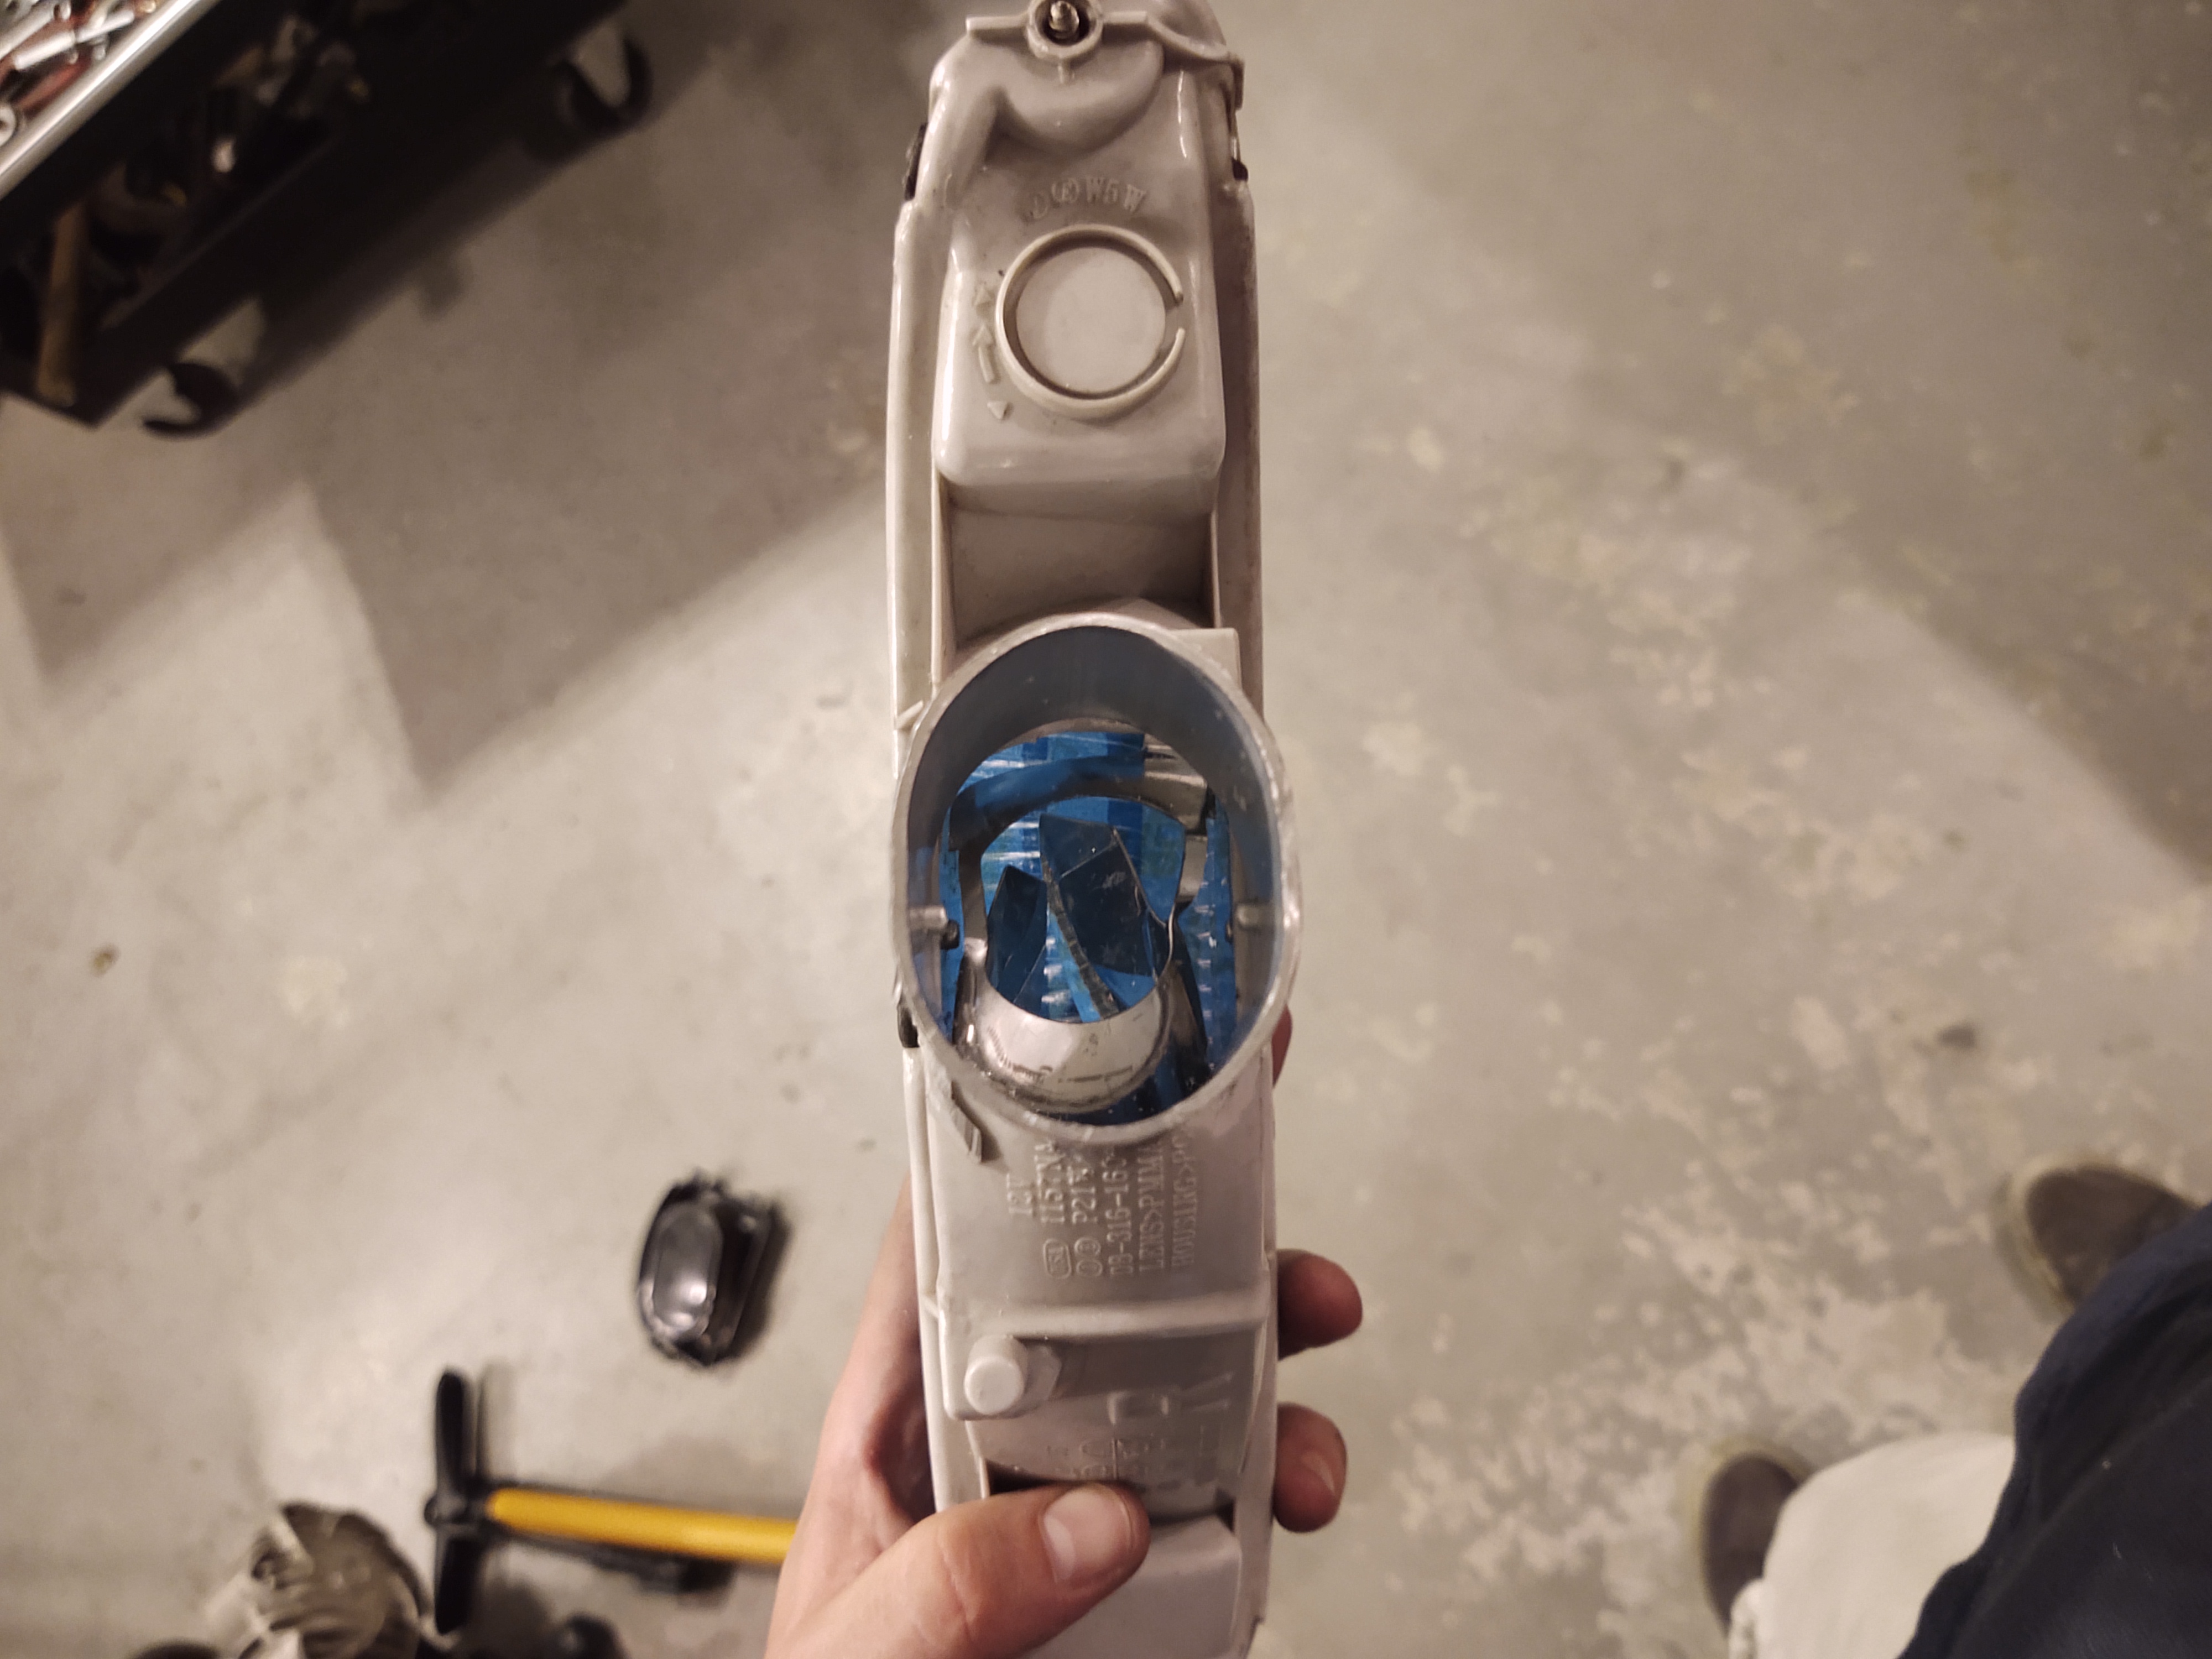
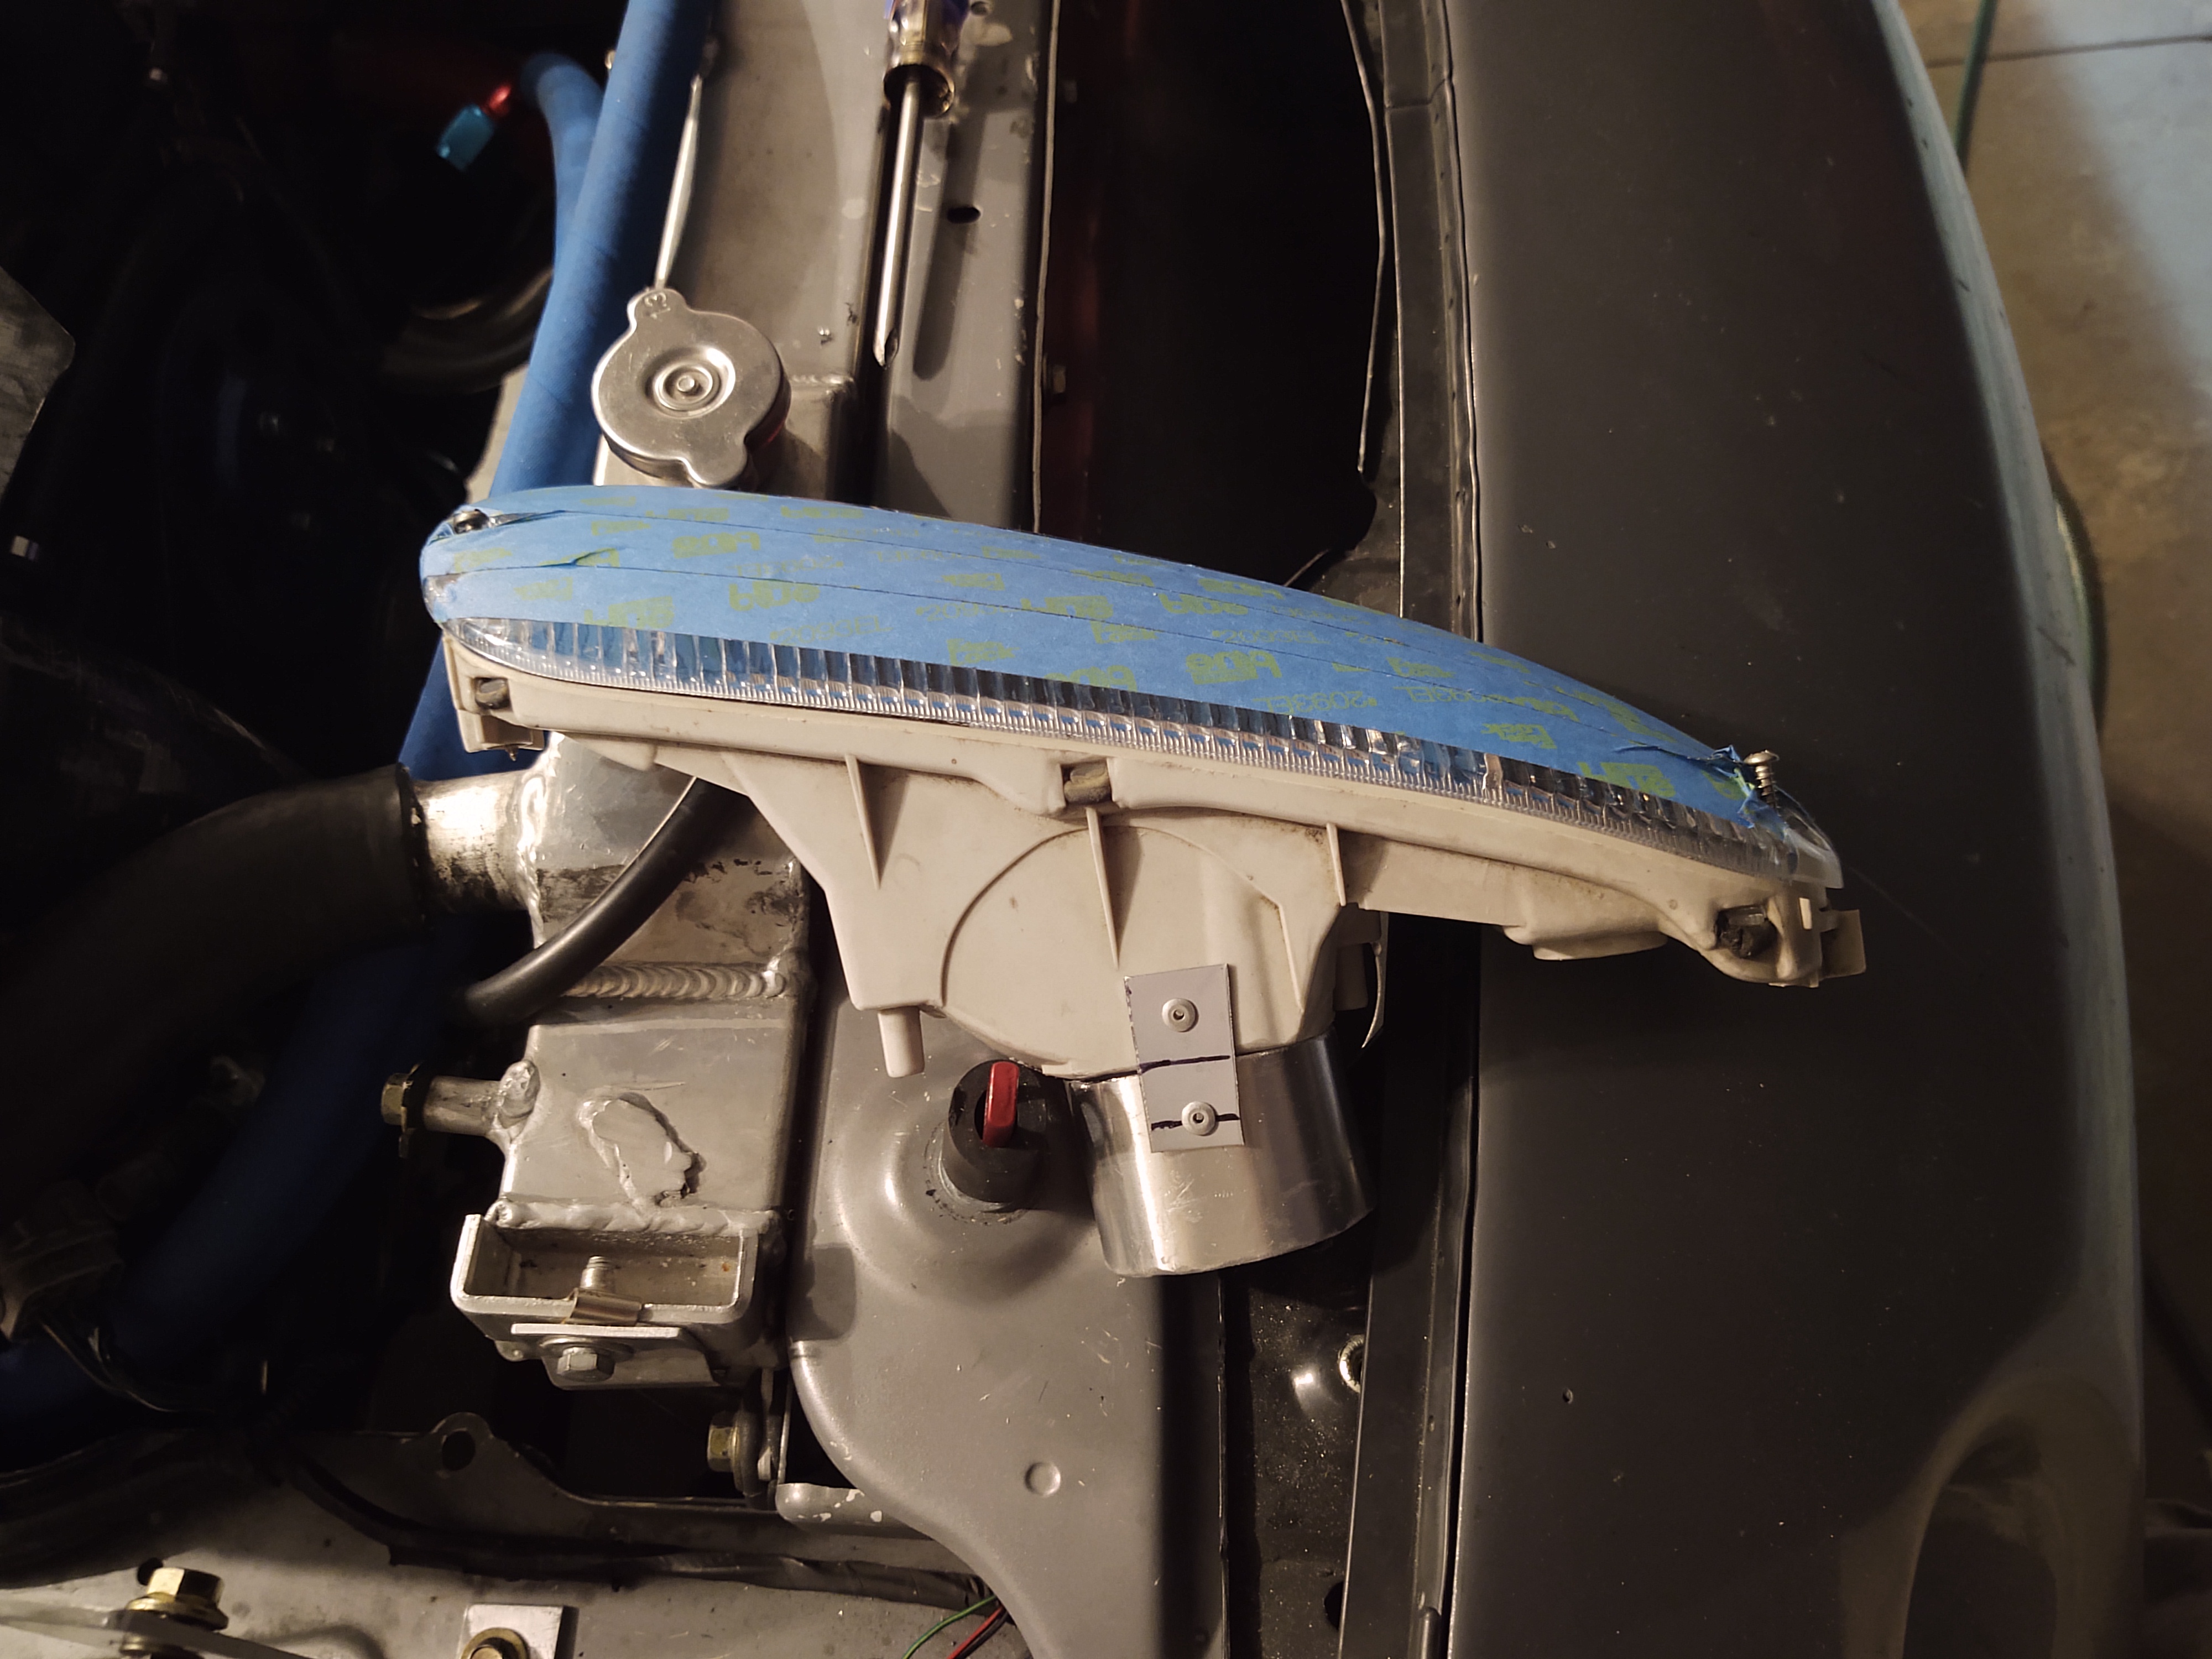
Orginally I had planned to move the oil cooler out of the heat exchanger stack to the radiator core support (as seen in earlier pictures). It was going to get a seperate duct from the bumper to feed it and vent through the hood. This was going to be my "street" car setup. However after some deliberation, I decided to go full track car. Mostly because if I needed to go to a bigger oil cooler, there was no room for a bigger cooler on the core support. So the headlight assemblies are coming out. On the passenger side will be the Setrab 13 row oil cooler. I made a duct for the cooler and it will be fed by a home made turn signal intake. The inlet and duct will be sealed as to hopefully not effect the underhood pressure. If its not efficient enough, I'll look at venting the headlight lid or venting and ducting the headlight lid.
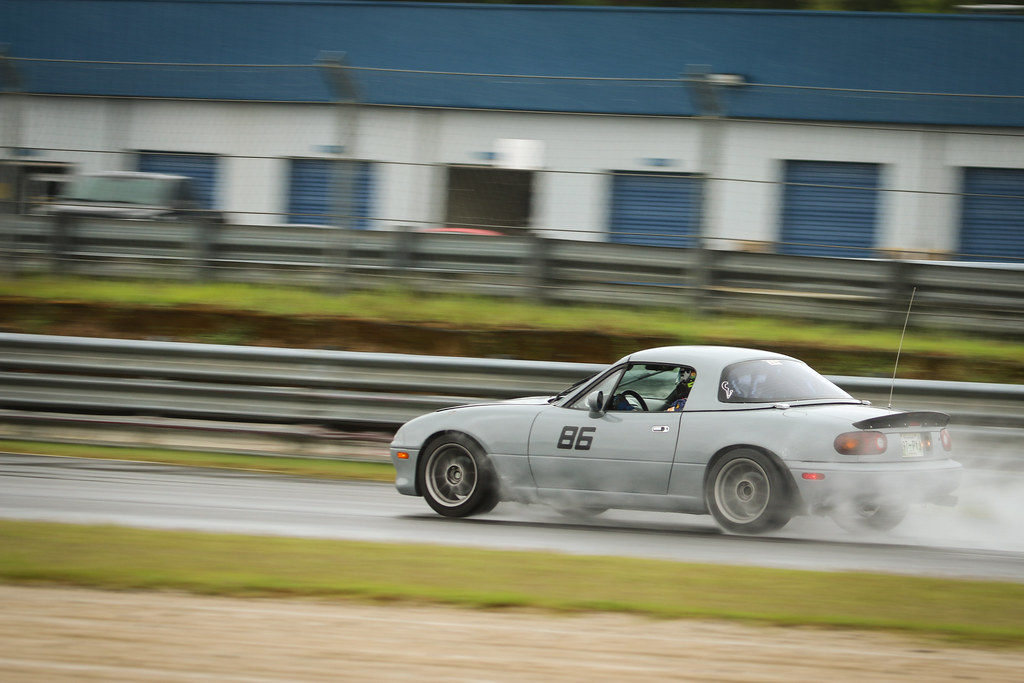
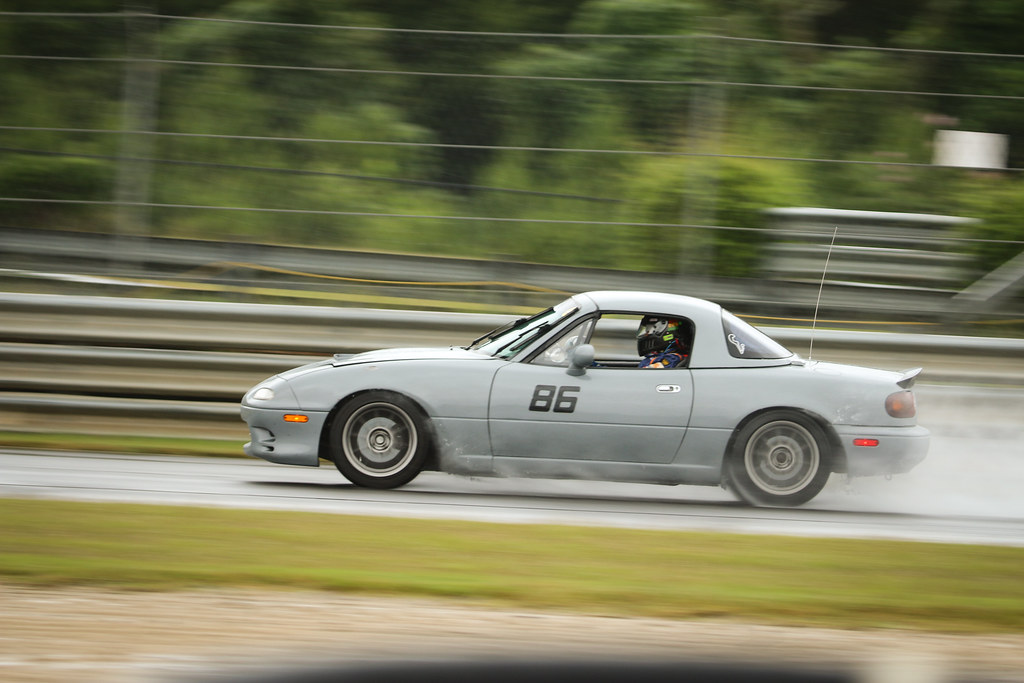
Holy crap, I didn't realize it's been 4 years since I last updated this thread. I will work on putting a highlights list together now that I've got a year of racing under my belt.
My initial plan was to install the turbo kit and use the year to test the car in HPDE groups. Once I was happy with it mechanically, I was going to have it caged over the winter of 2021. A few things derailed that. A few things derailed that plan before it even got started. First was my 2nd kid being born in March, just before the 2nd bigger item the start of the COVID pandemic. My job was deemed �essential� since I was working for a heavy construction equipment manufacture as a mechanical engineer. Luckily, we had the ability to 100% WFH, so that was a small blessing as it gave me time to work on the car during the day for short periods of time.
The next biggest distraction from the plan was finding a deal on cage work I couldn�t pass up. While talking to various cage builders about getting onto their schedule for the winter (many were backed up for months), I came across a shared post from someone who had been building cages for a shop on the side but wanted to convert to doing it full time. They were offering discounted prices to fill their schedule and get their work out there for more to see. They were offering to do my cage for about 60% of what other established shops were offering since mine was going to be custom for reasons stated below.
The first step was to get a halo seat fitted so the cage builder had something to work from (they were located 3-4hrs from my home). Never one to take the easy path if I can �save� money, I picked up a MPI MXP07 with the Mazda Motorsports branding. The down side, it�s a big seat and requires modifying the tunnel to fit. With the help of a friend, we notched the tunnel and got the seat set as low as possible without a floor drop. It was tight fit, but there was enough room to fit an XL cage.
After the seat was fitted, I took the car to Louisville to have the cage done. Since the car was going to be focused on Gridlife Touring Cup, I made sure it was built to their rules. Since my power:weight was going to see the car running around the 2500lb range, I had the cage built with 1.75� tubing to the rules. This is larger than SCCA and NASA require for a similar weight car, but I wanted to be legal if I decided to eclipse the 2500lb mark with more power. The 1.75� cage has lead to some difficulties, but overall I am happy with it. I asked the builder to leave gussets and net mounts off as that was something I was going to want to do with me in the car.
Fast forward some to 2024 and after many trips over to my fabrication friend the cage was done enough for competition. Gussets were added to key nodes and mounts added for the right-side net, the left-side net, and the window net. It�s overkill for by most people�s standard (especially since GLTC allows for just a left-side net which I�m not a fan of). I added a fire wall to seal off the trunk area from the cabin to reduce fumes and protect in case of a fire in the trunk due to a burst filler hose. Everything was painted with a coat of Steel-It grey. There are still a few gussets I want to add, but once the 2024 race season started, I was focused the car mechanically.
2020-2021
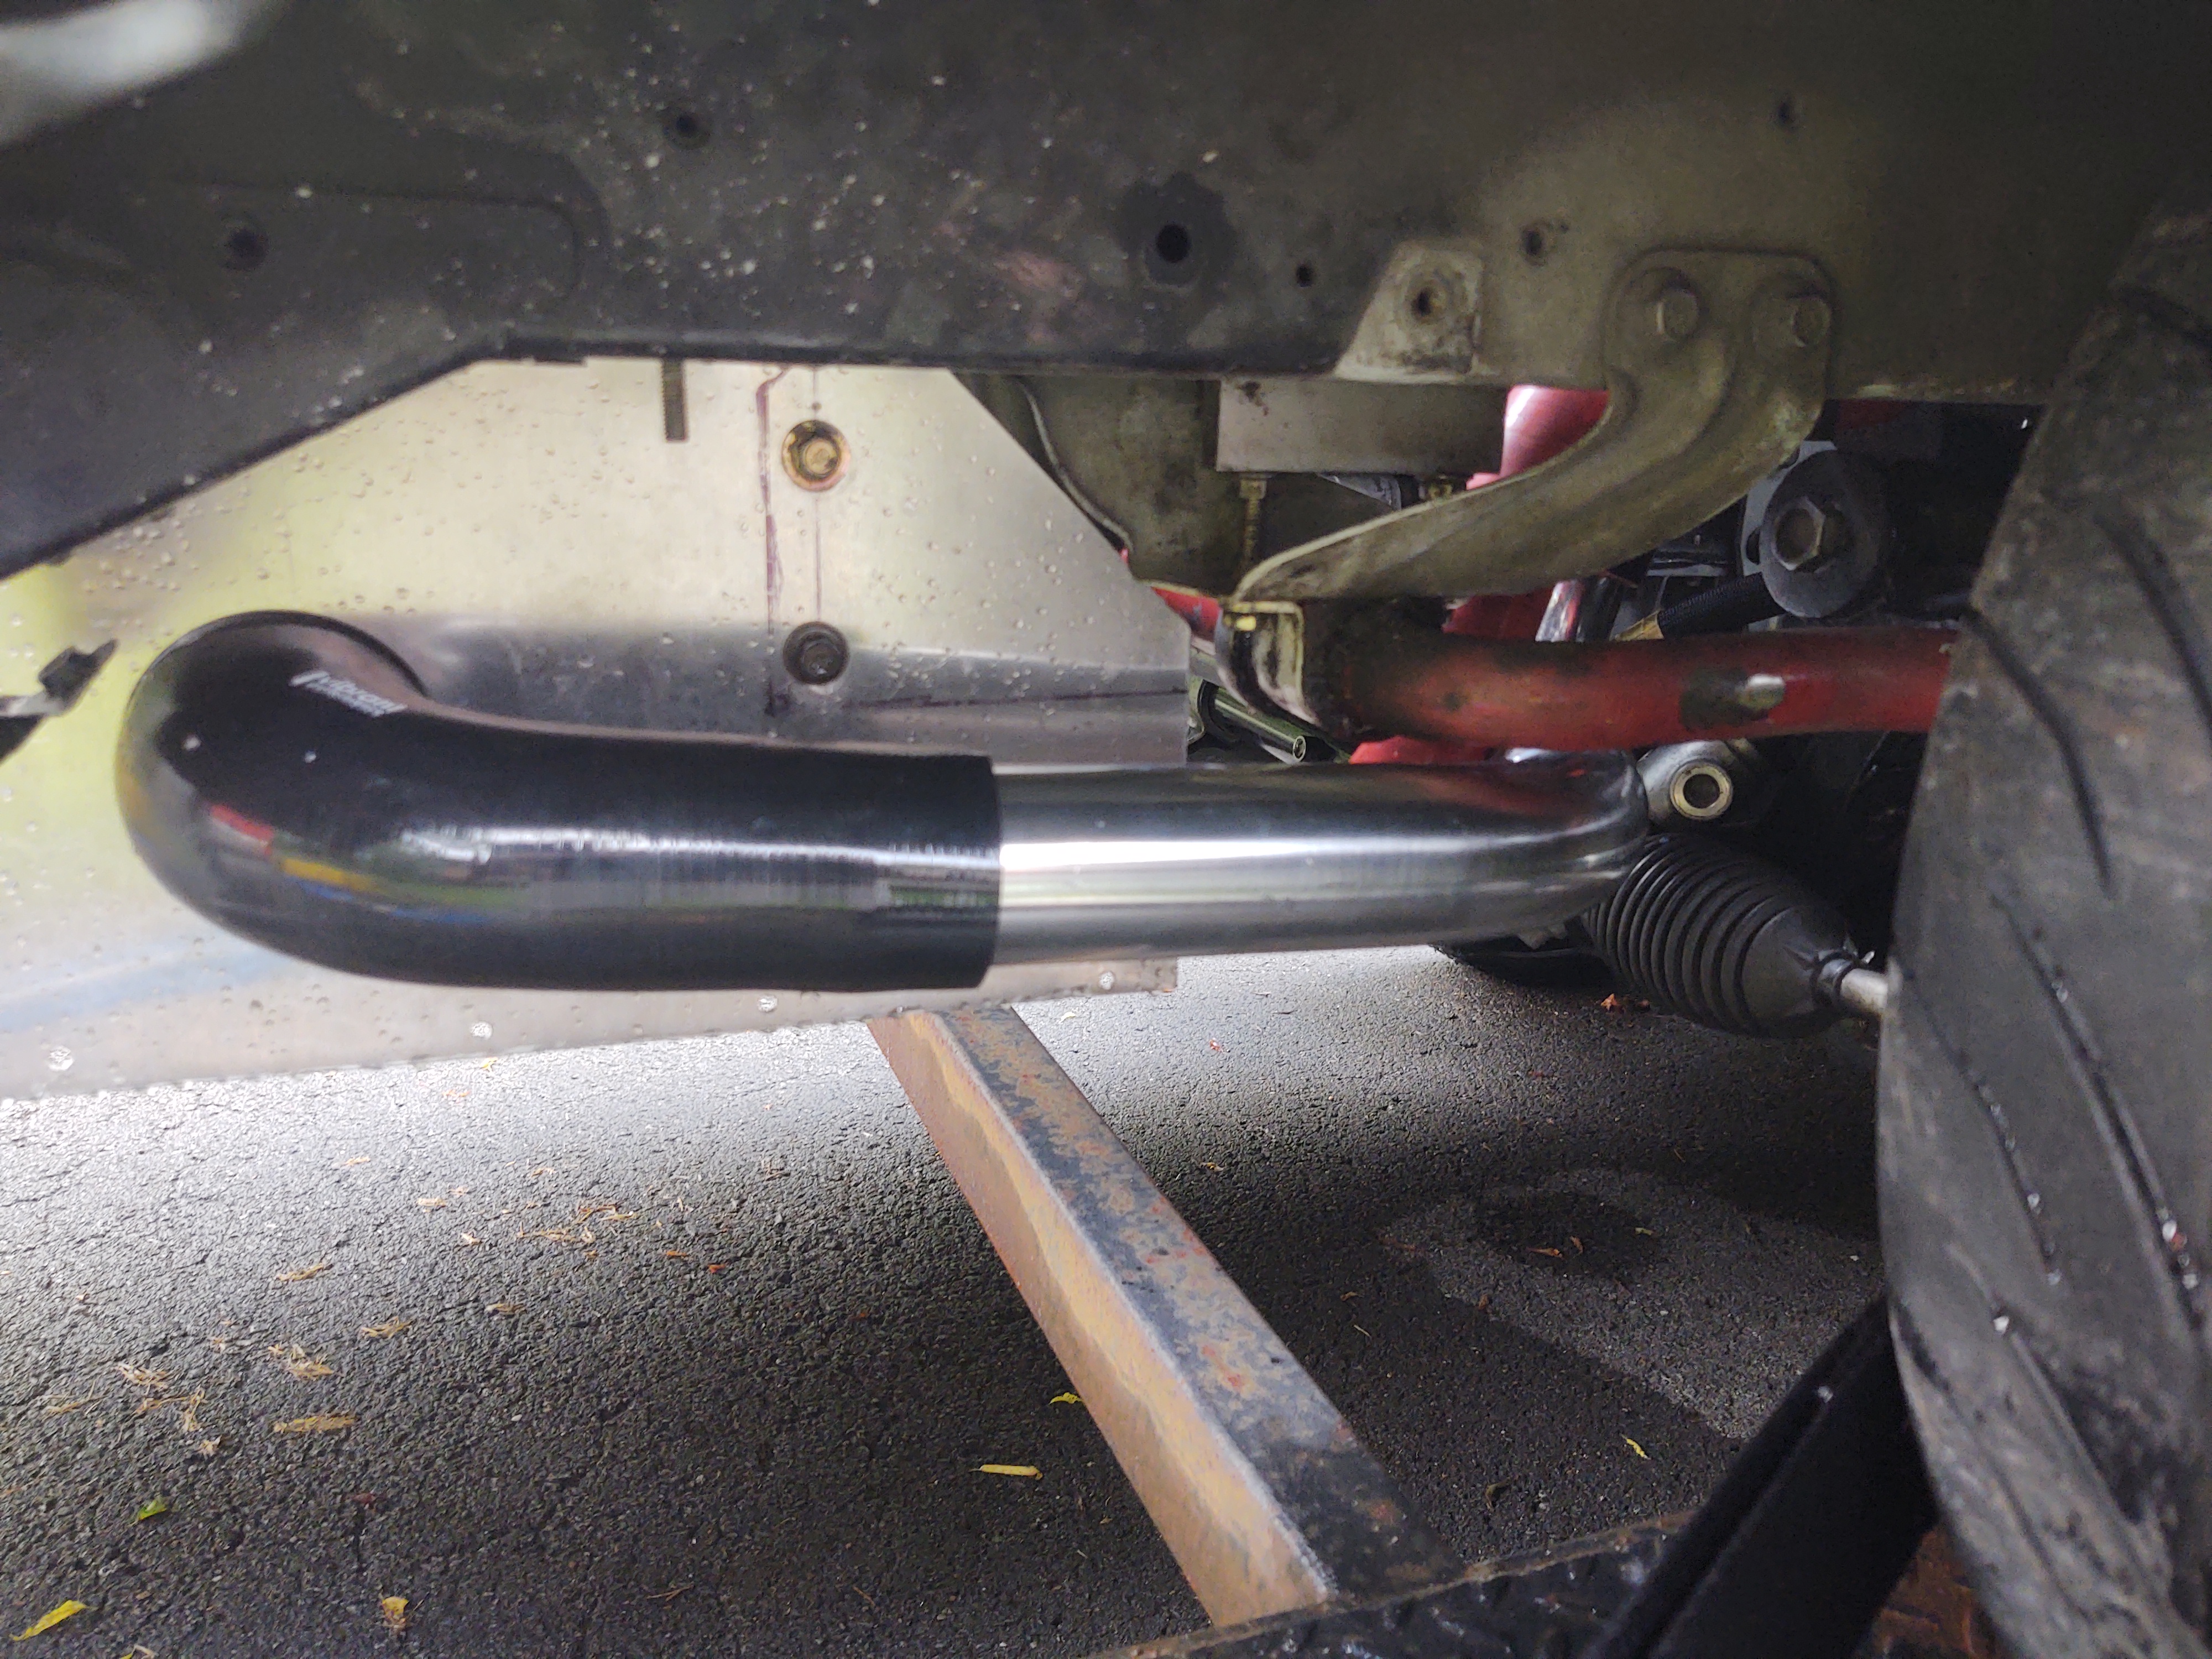
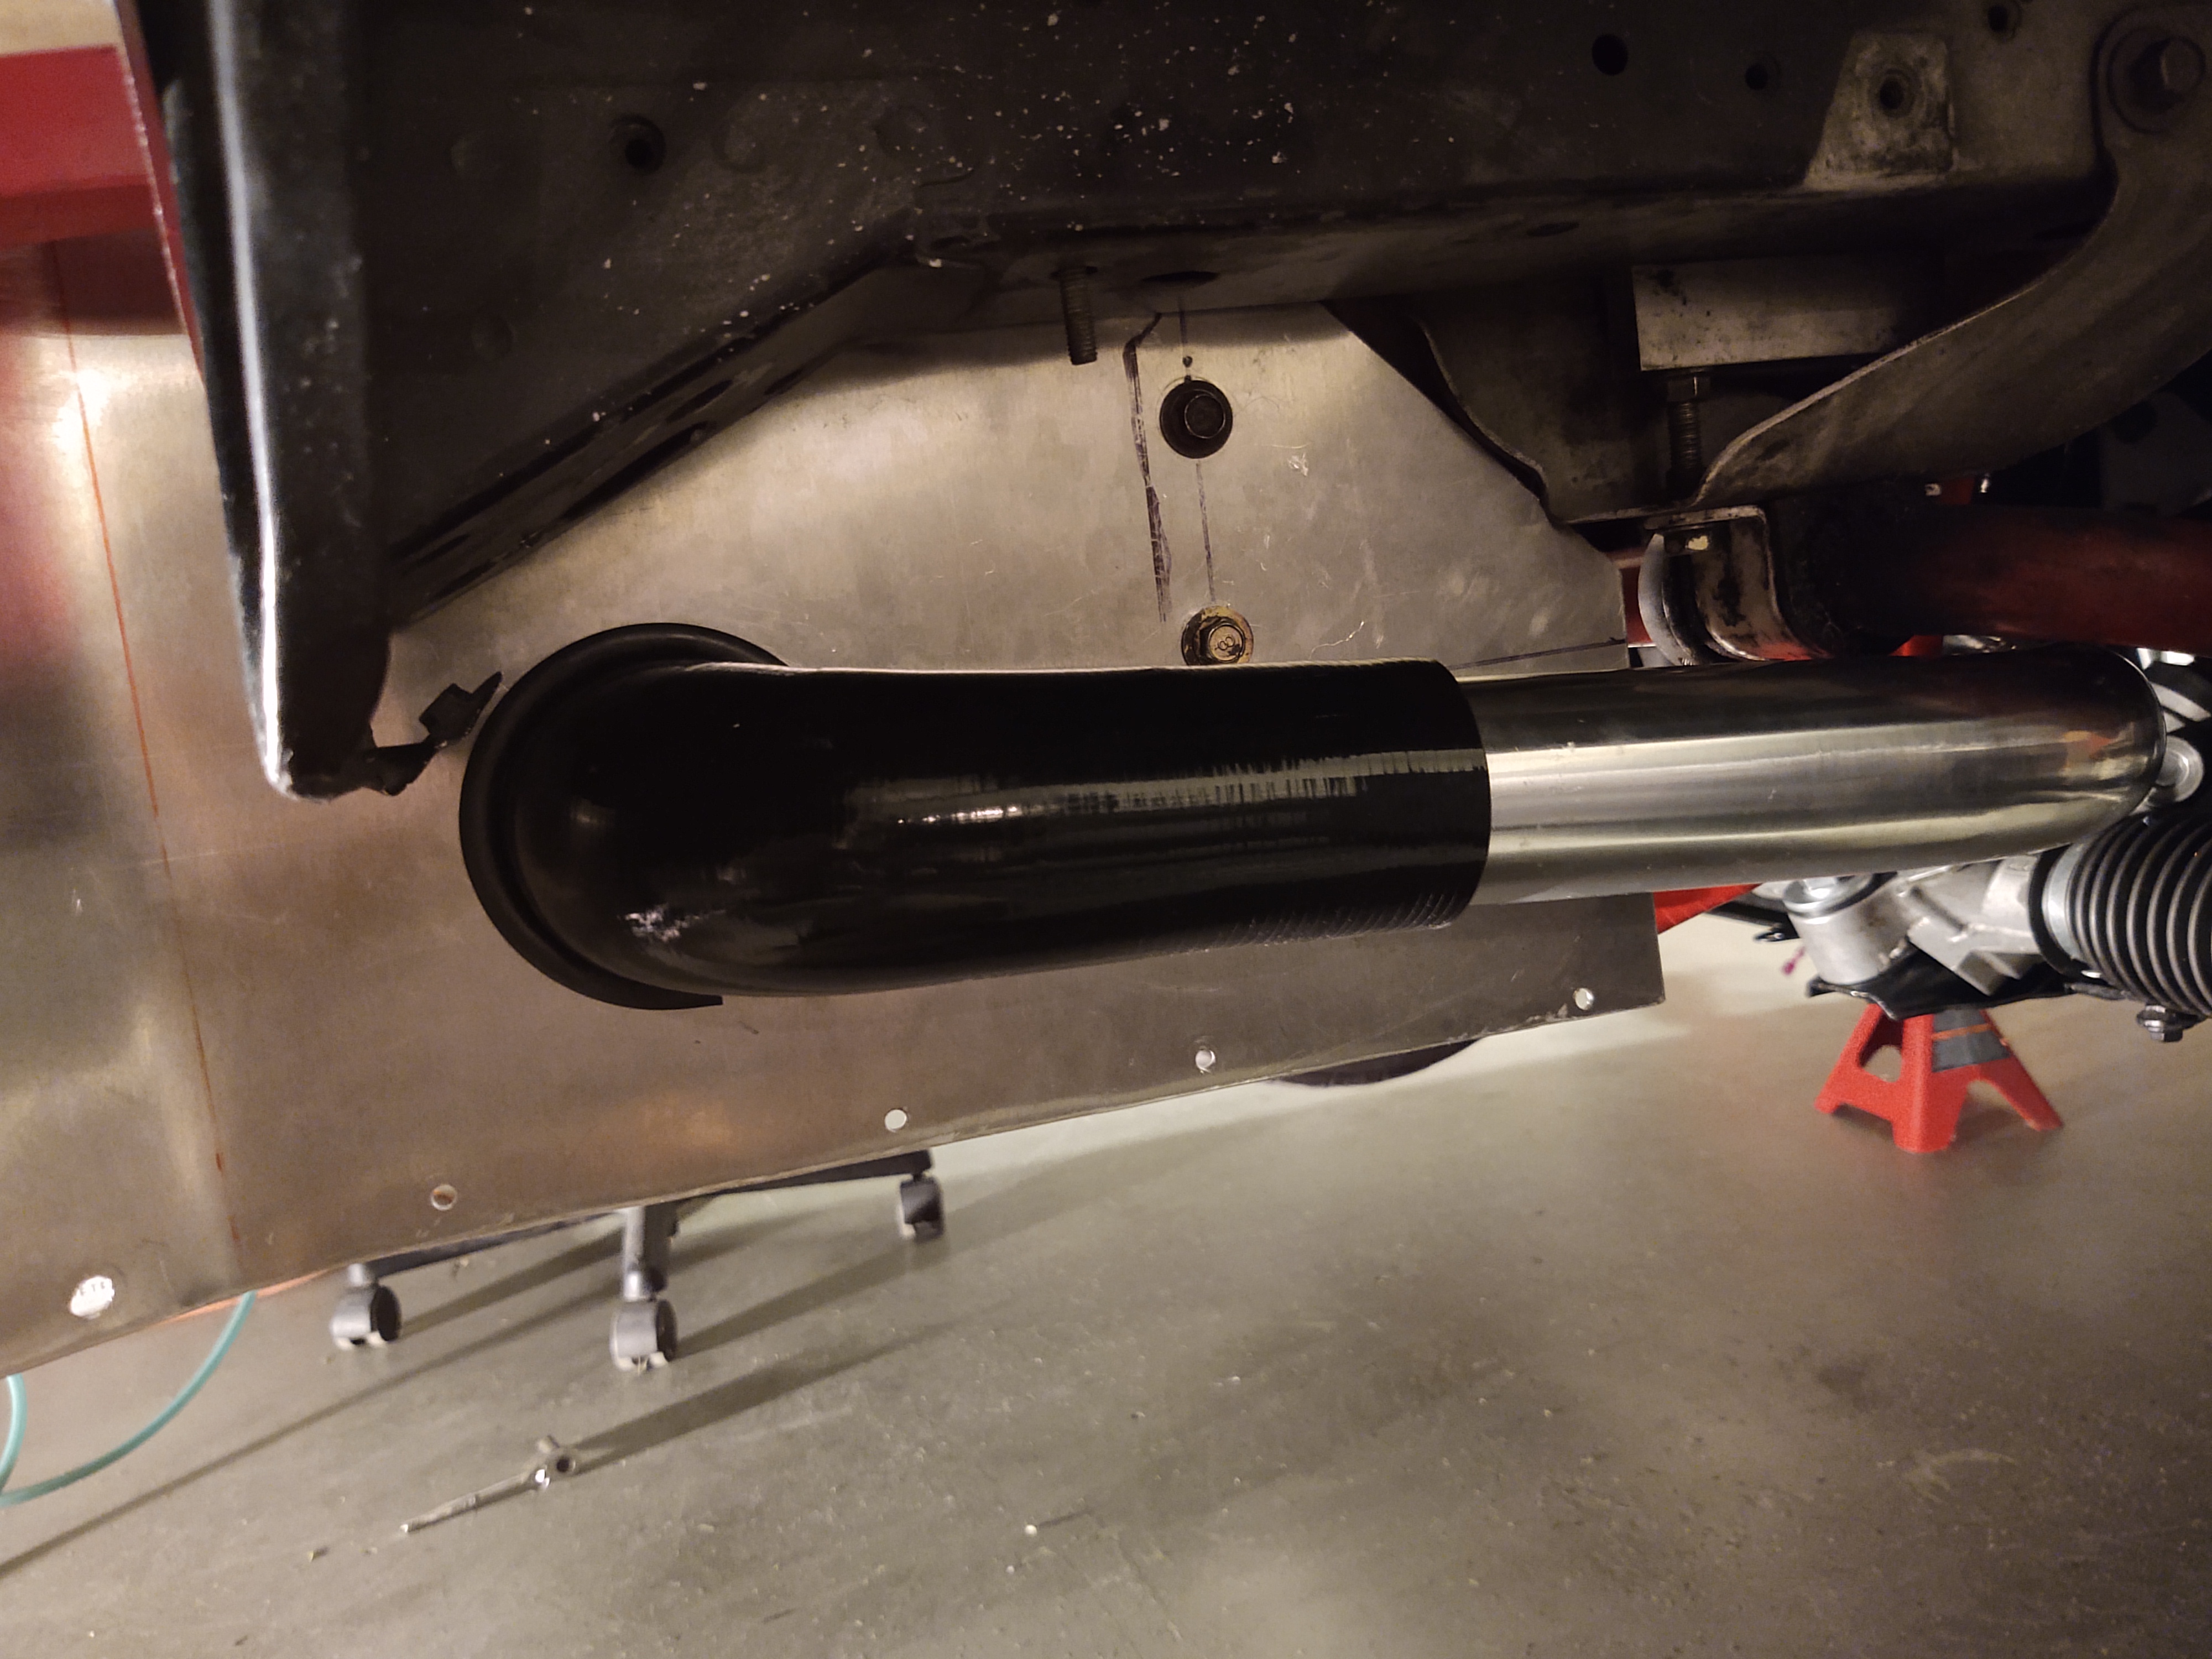
On the advice of a long-time turbo Miata racer, I decided to switch to manual brakes. I cheaply replicated the Honed development kit by having a simple spacer and push rod machined up and made new brake lines. I can share the drawings of the adapter and push rod. I also moved the push rod point up to improve the pedal ratio to reduce the pedal effort. The reduced assembly length from removing the booster made fabricating a heatshield to box in the area easier. Initially I started with the stock 7/8" cylinder. After a year of use, I'm looking to increase the cylinder size to reduce pedal travel (more on that later).
Now here's a build thread I want to get on board with. Real nice looking work so far. I was under the impression that it wasn't easy for the turbo/K-swap NA/NB guys to be competitive in GLTC. Interested to hear your feedback on that.


 1
1