When you click on links to various merchants on this site and make a purchase, this can result in this site earning a commission. Affiliate programs and affiliations include, but are not limited to, the eBay Partner Network.
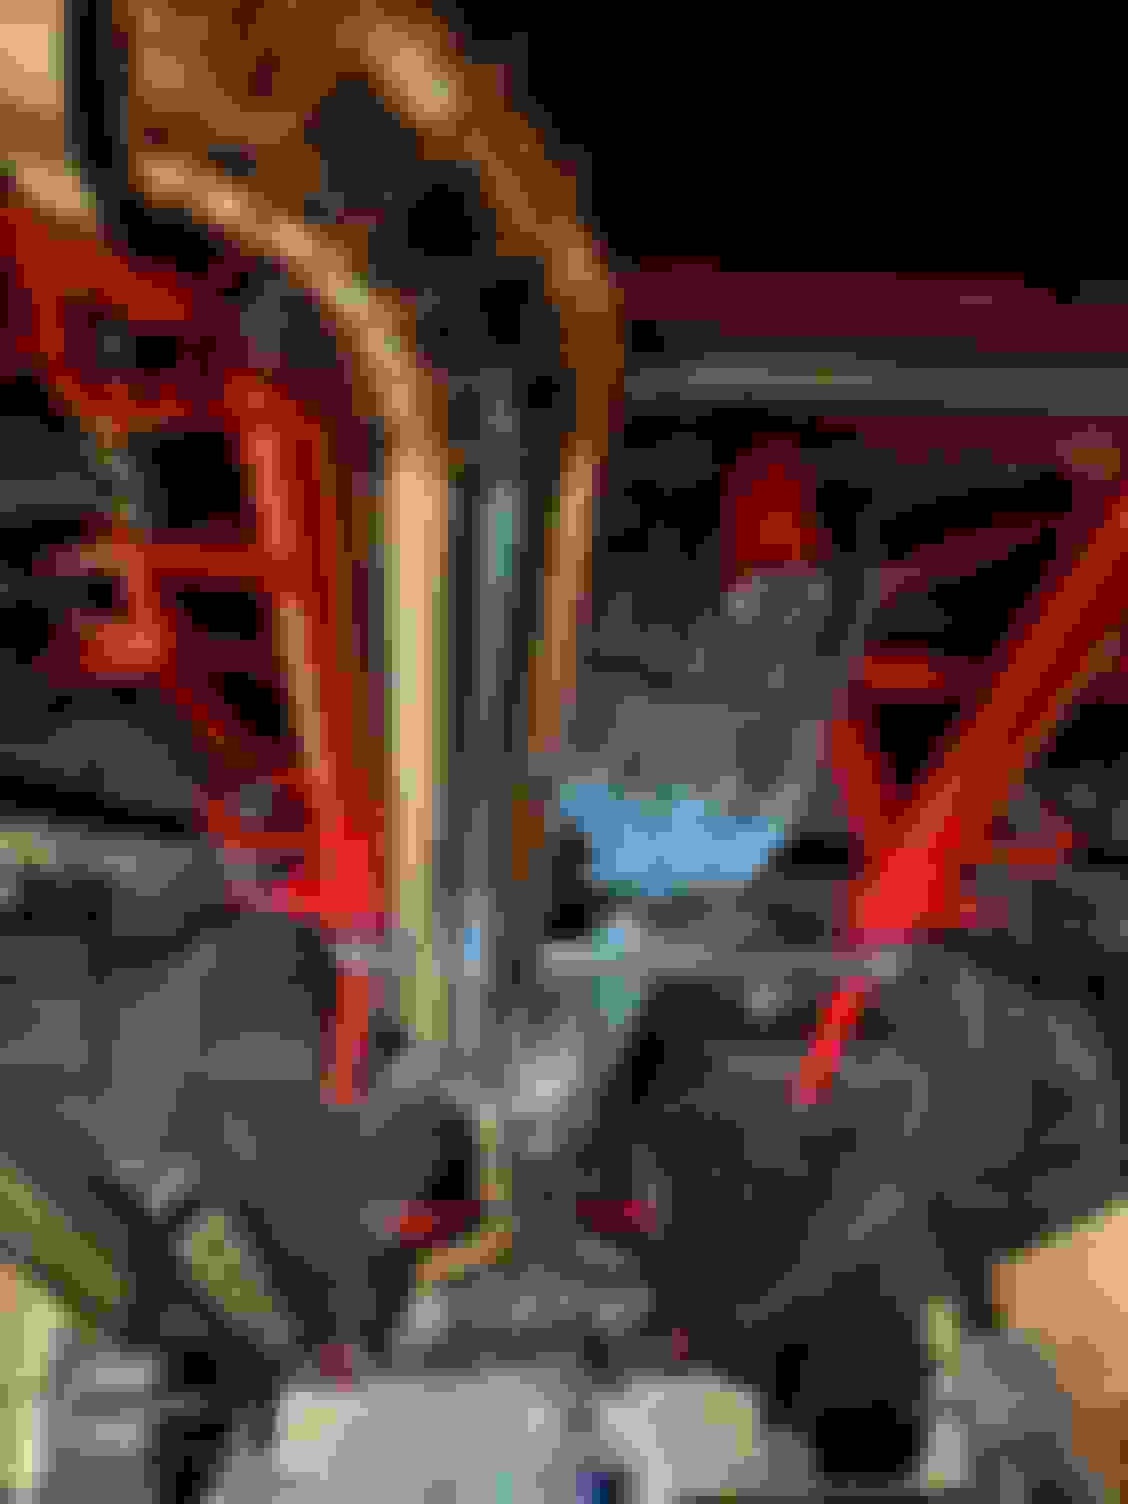
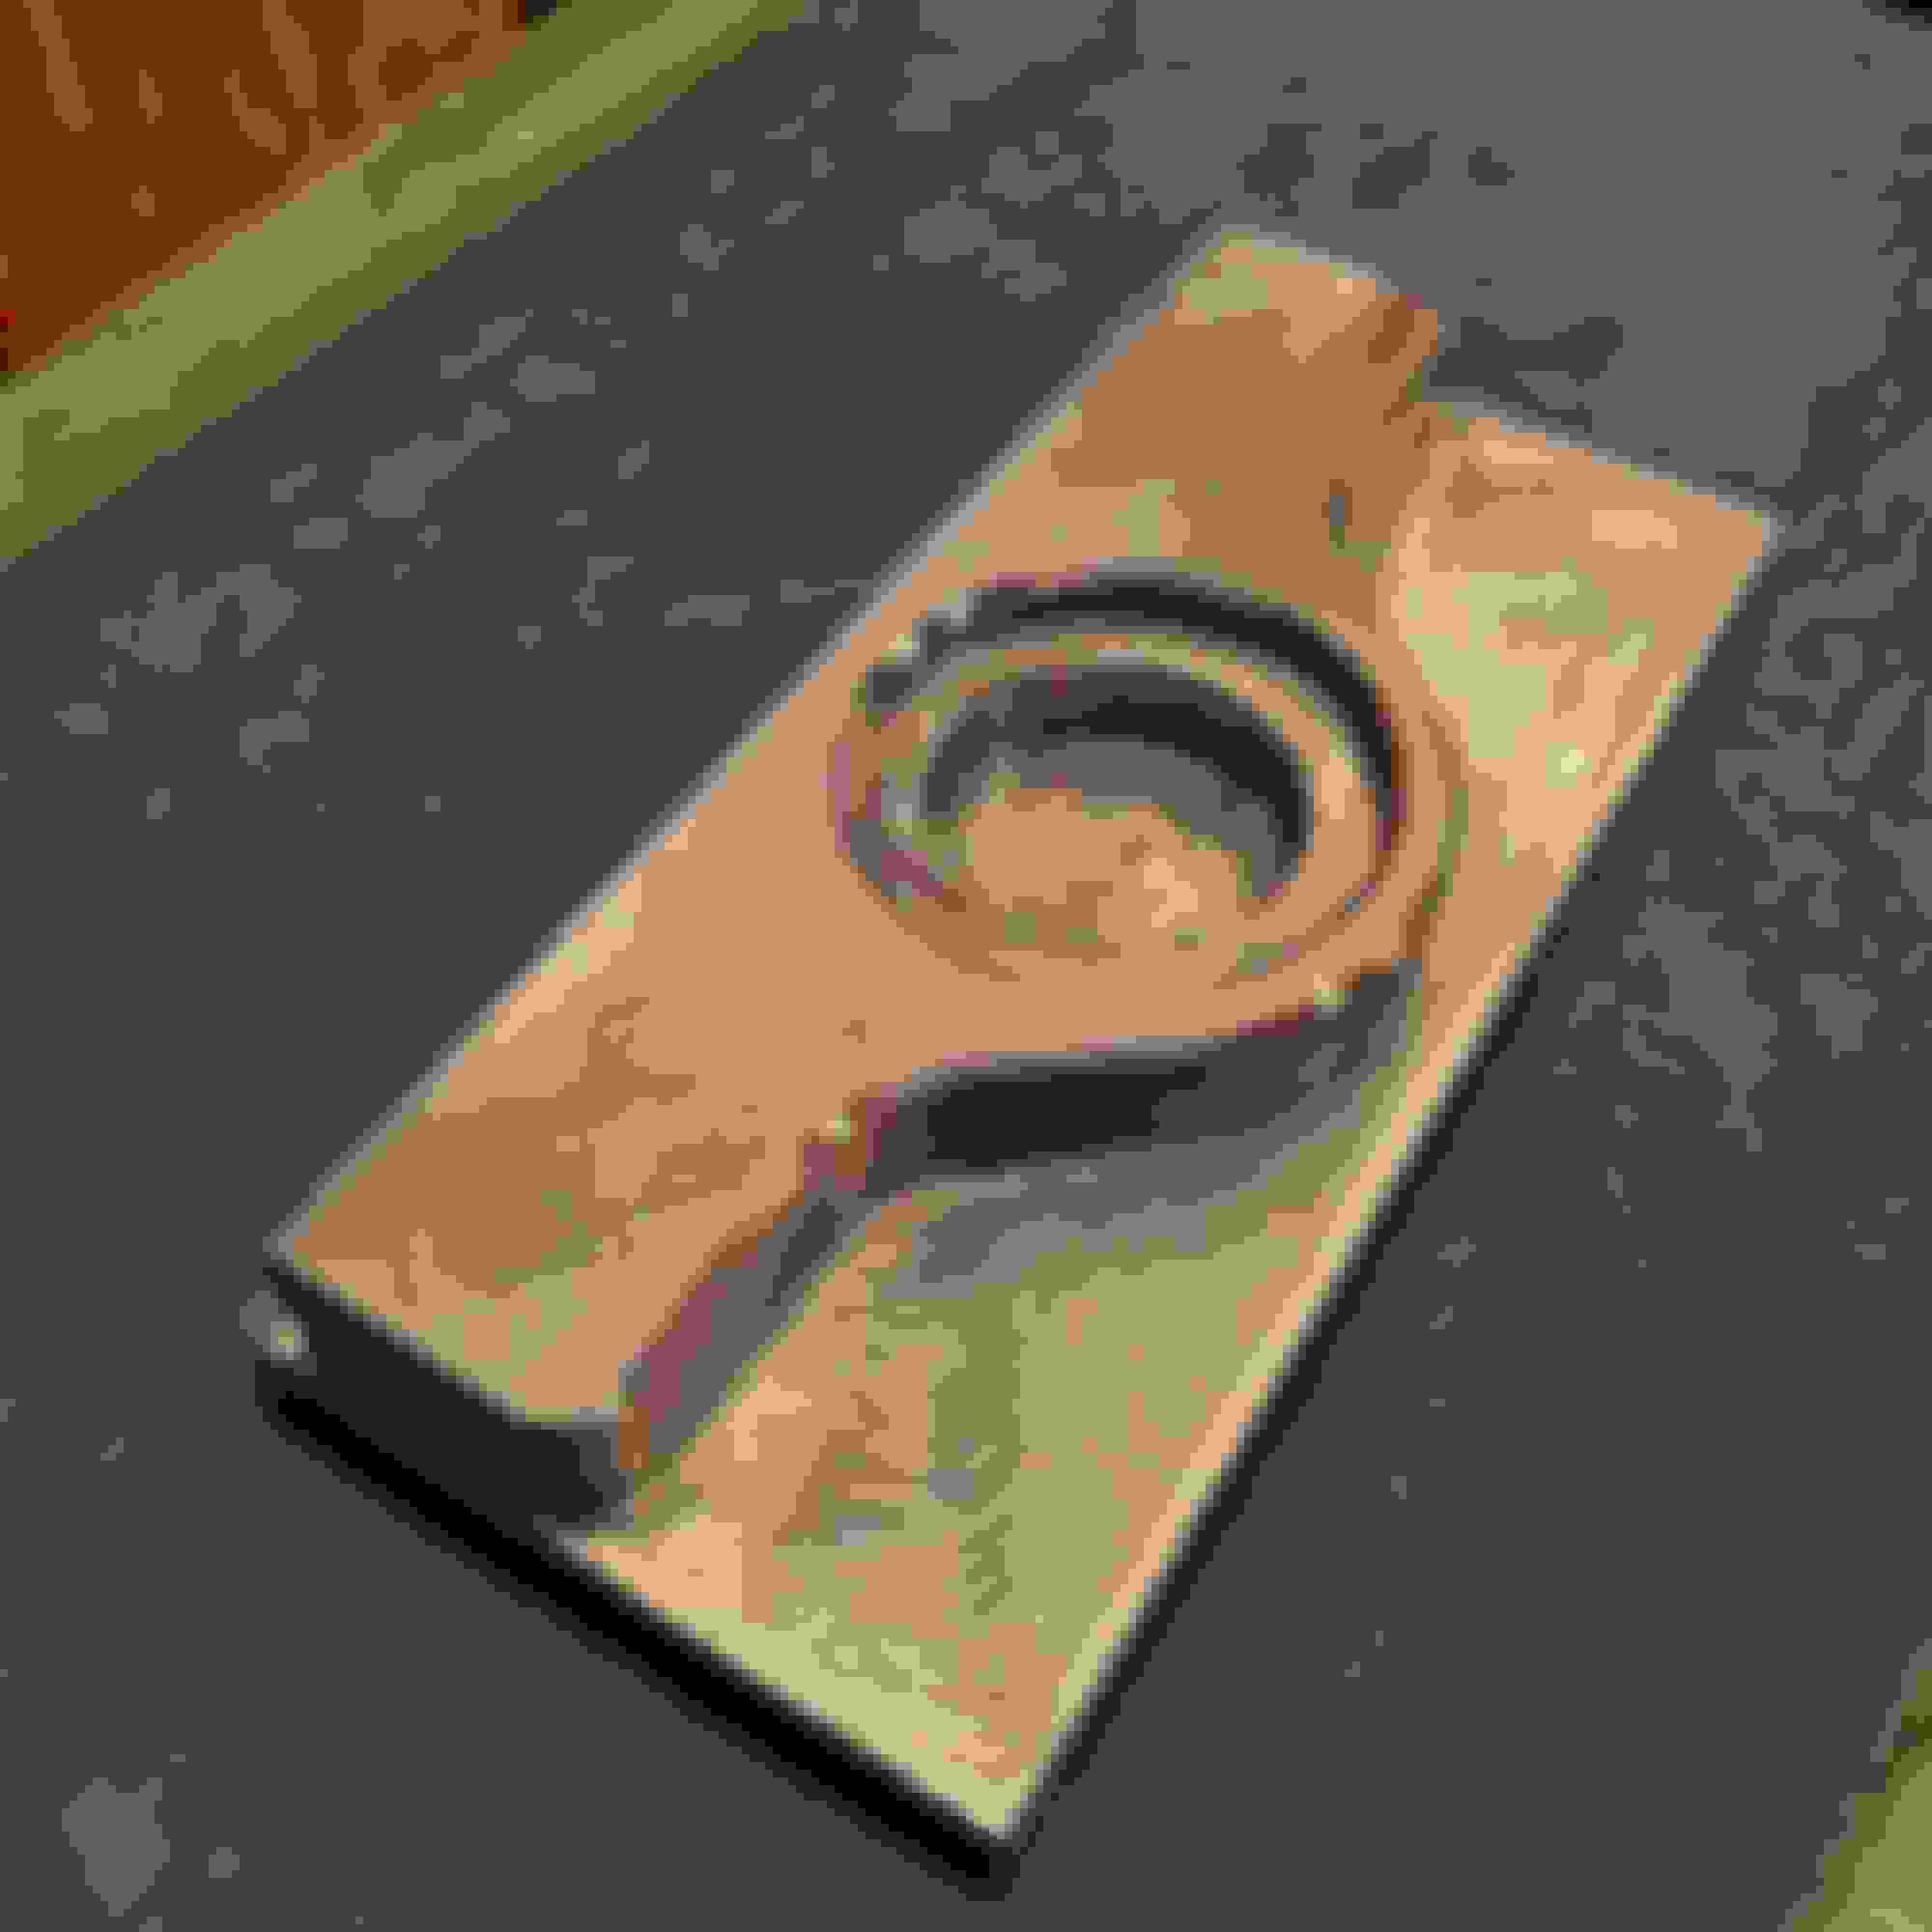
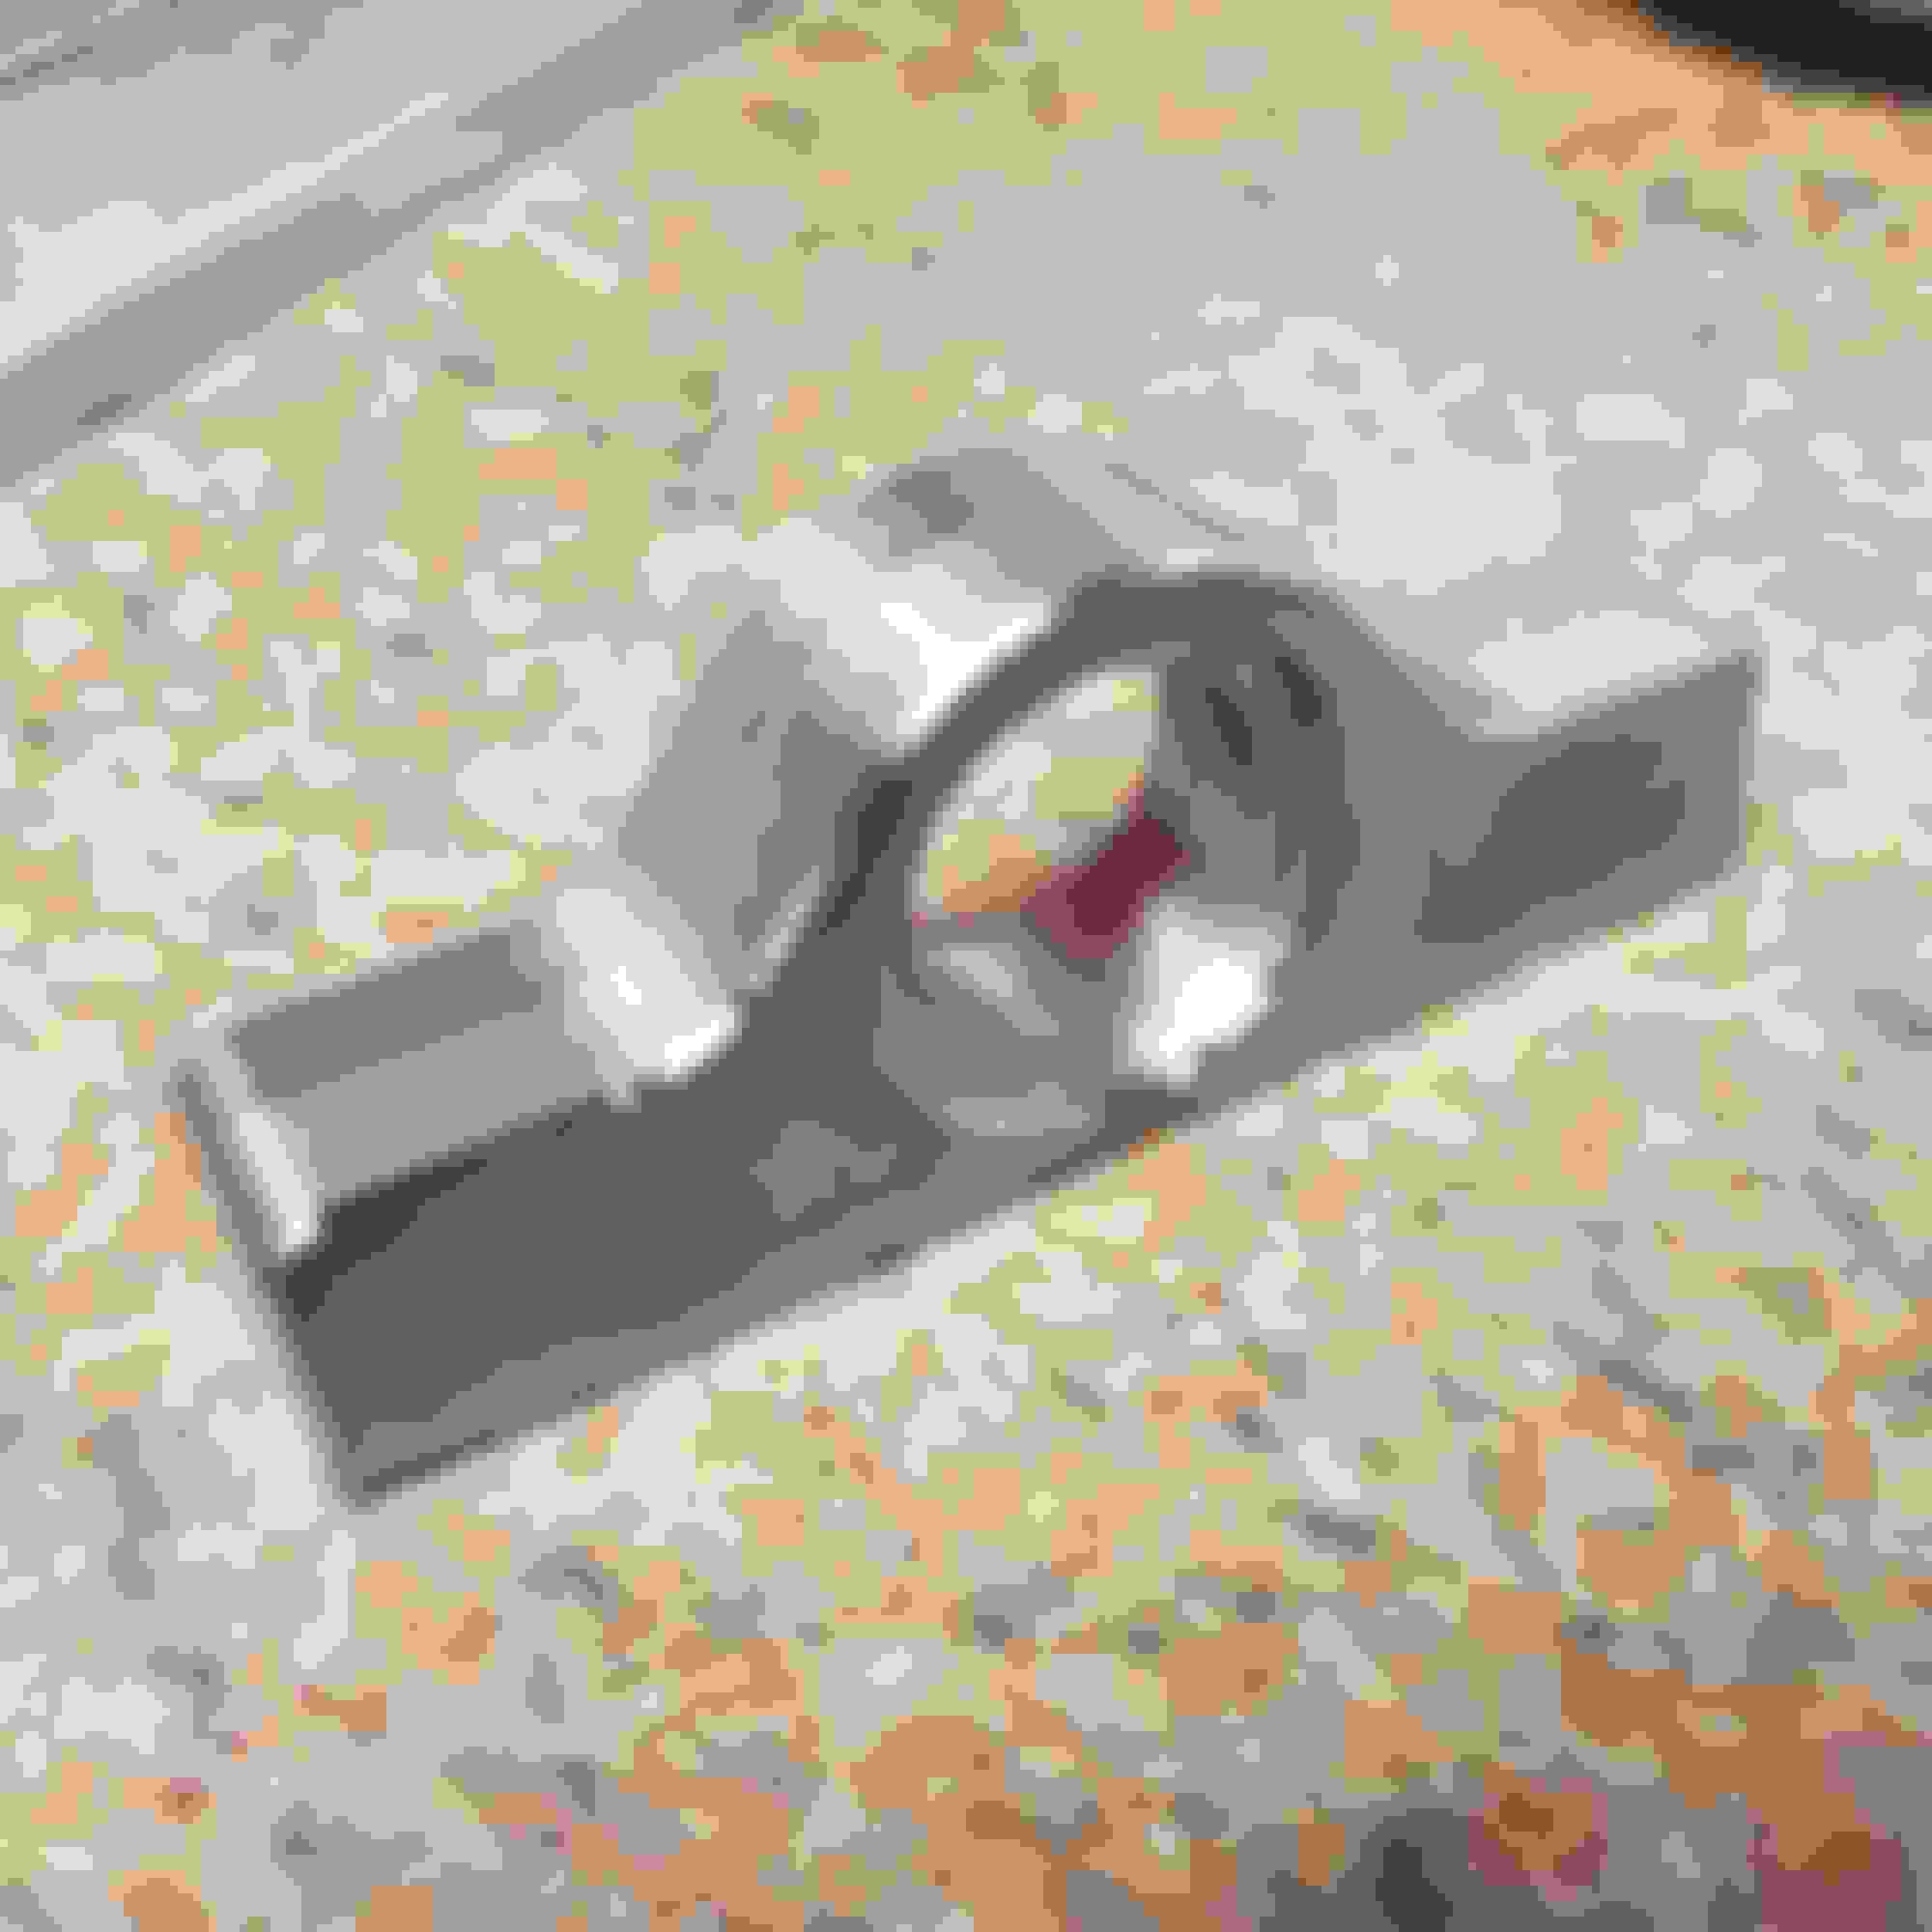
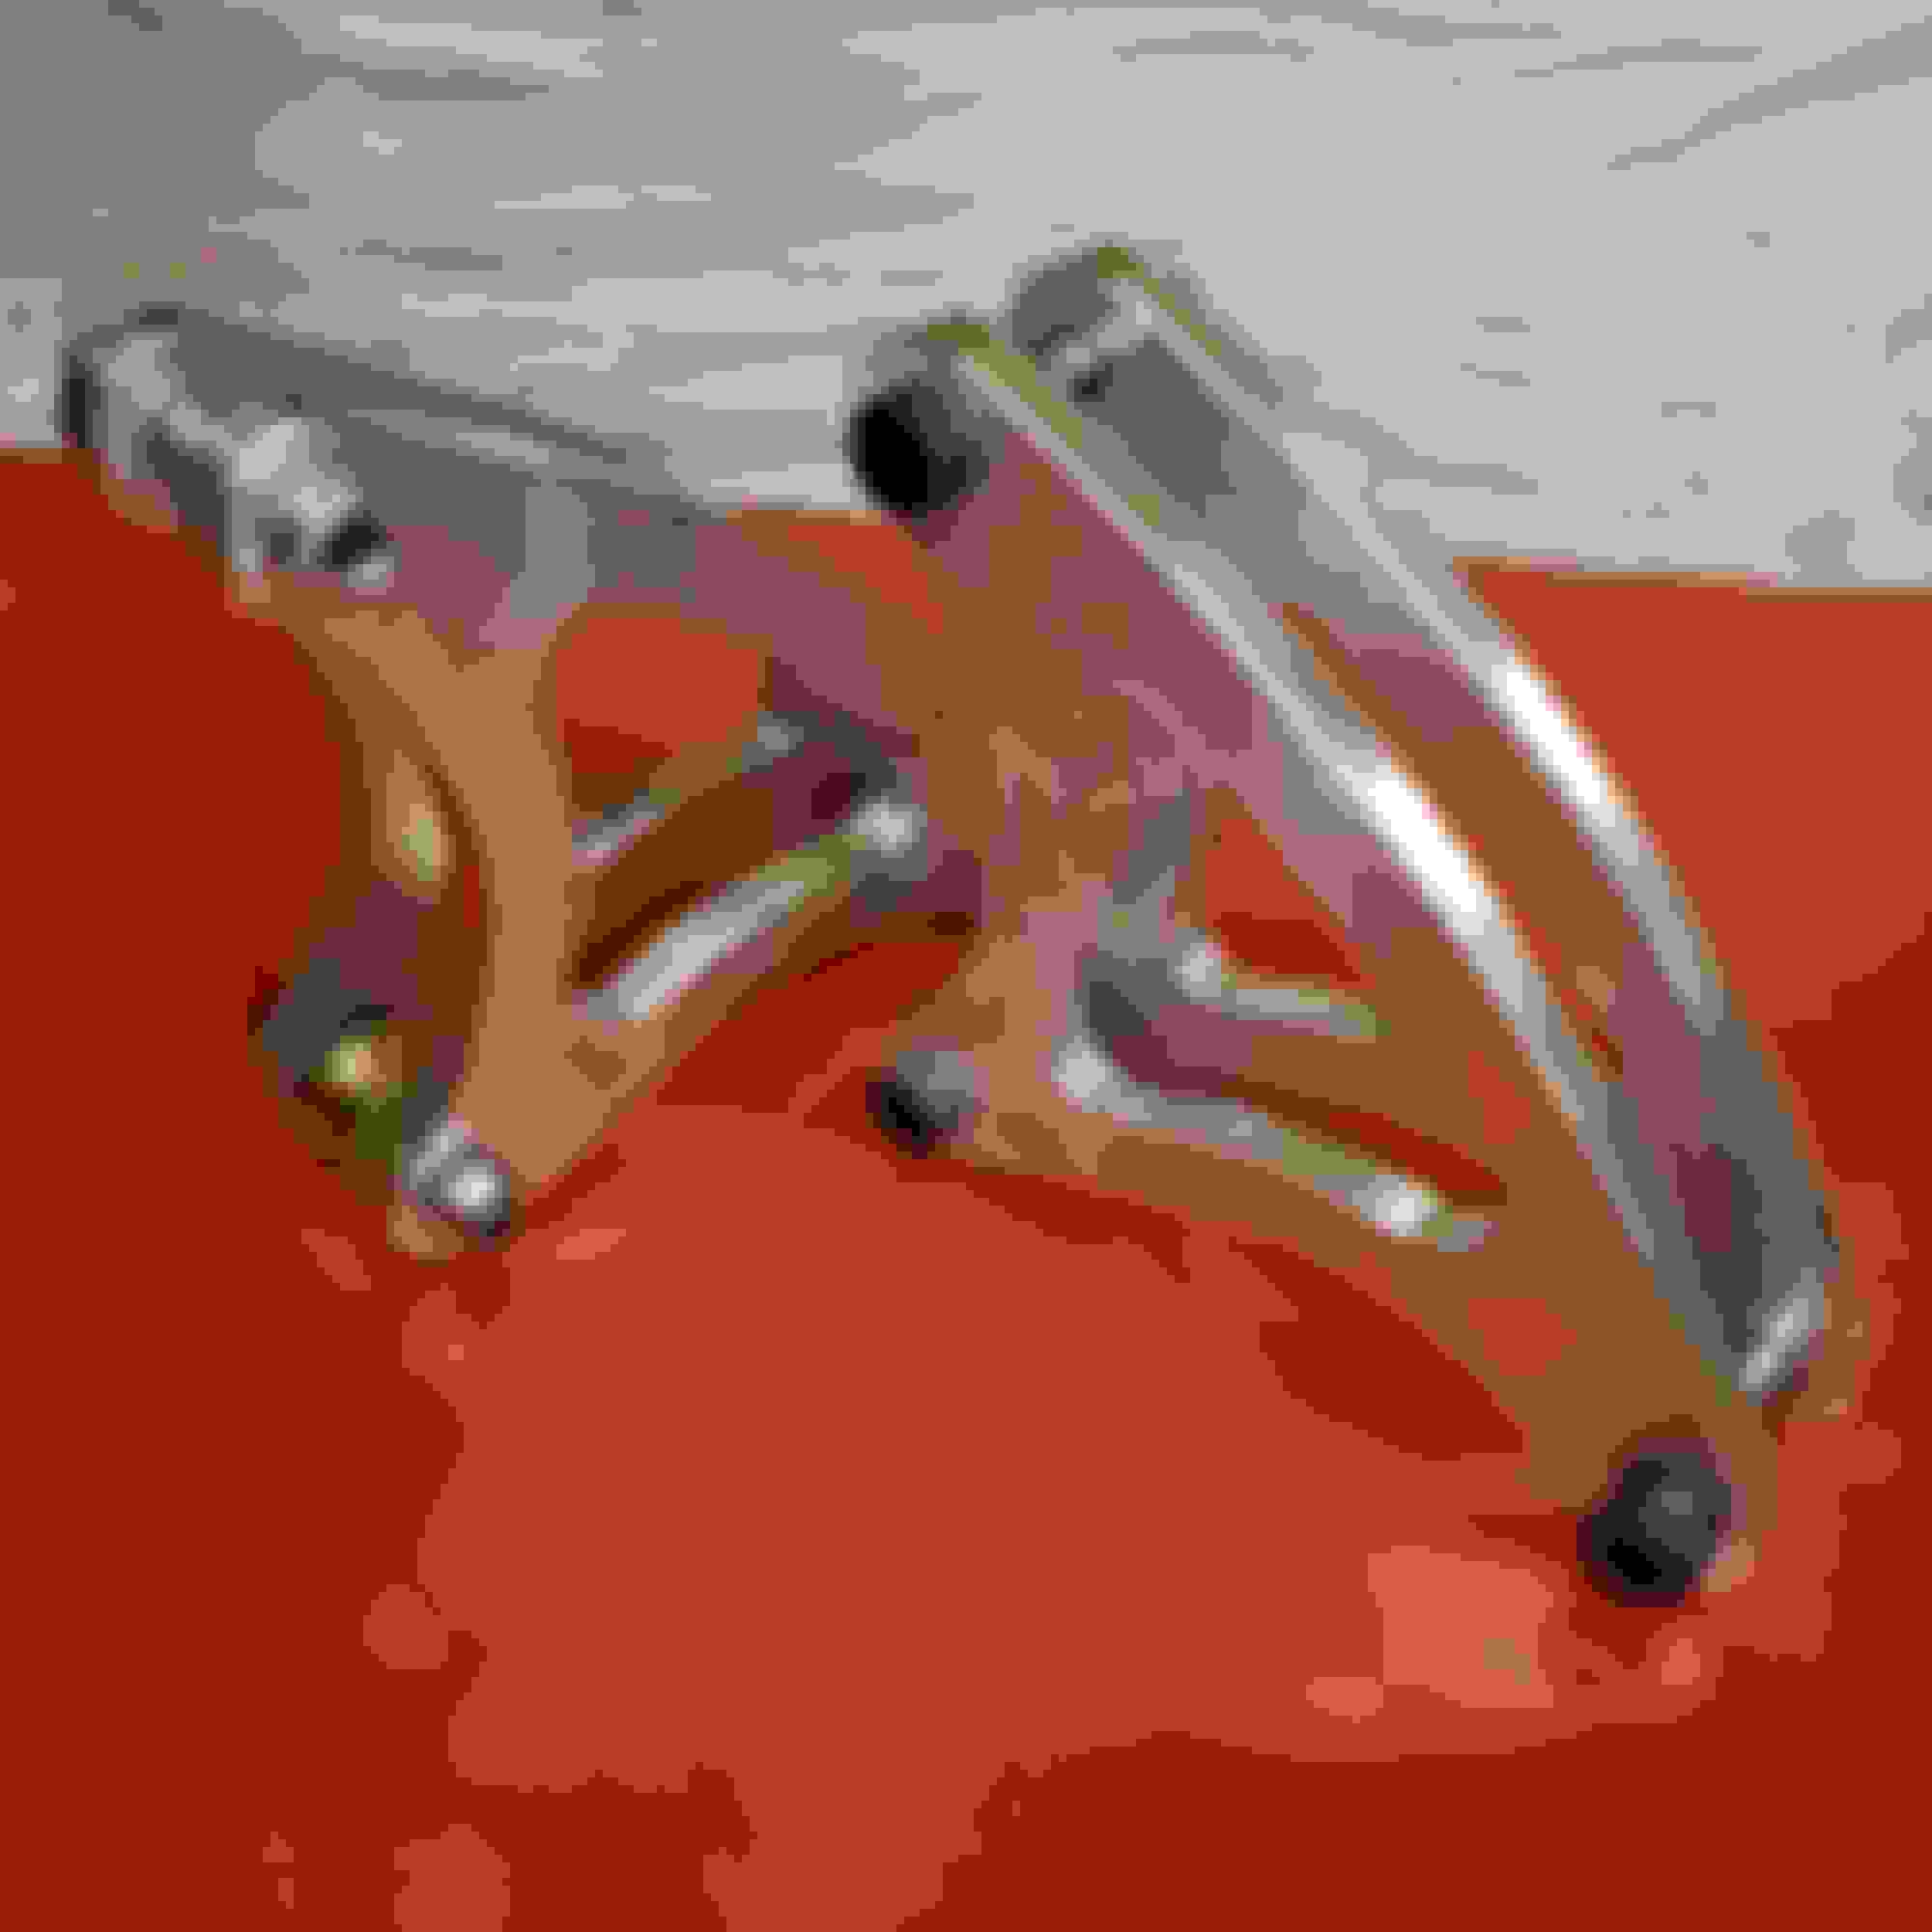
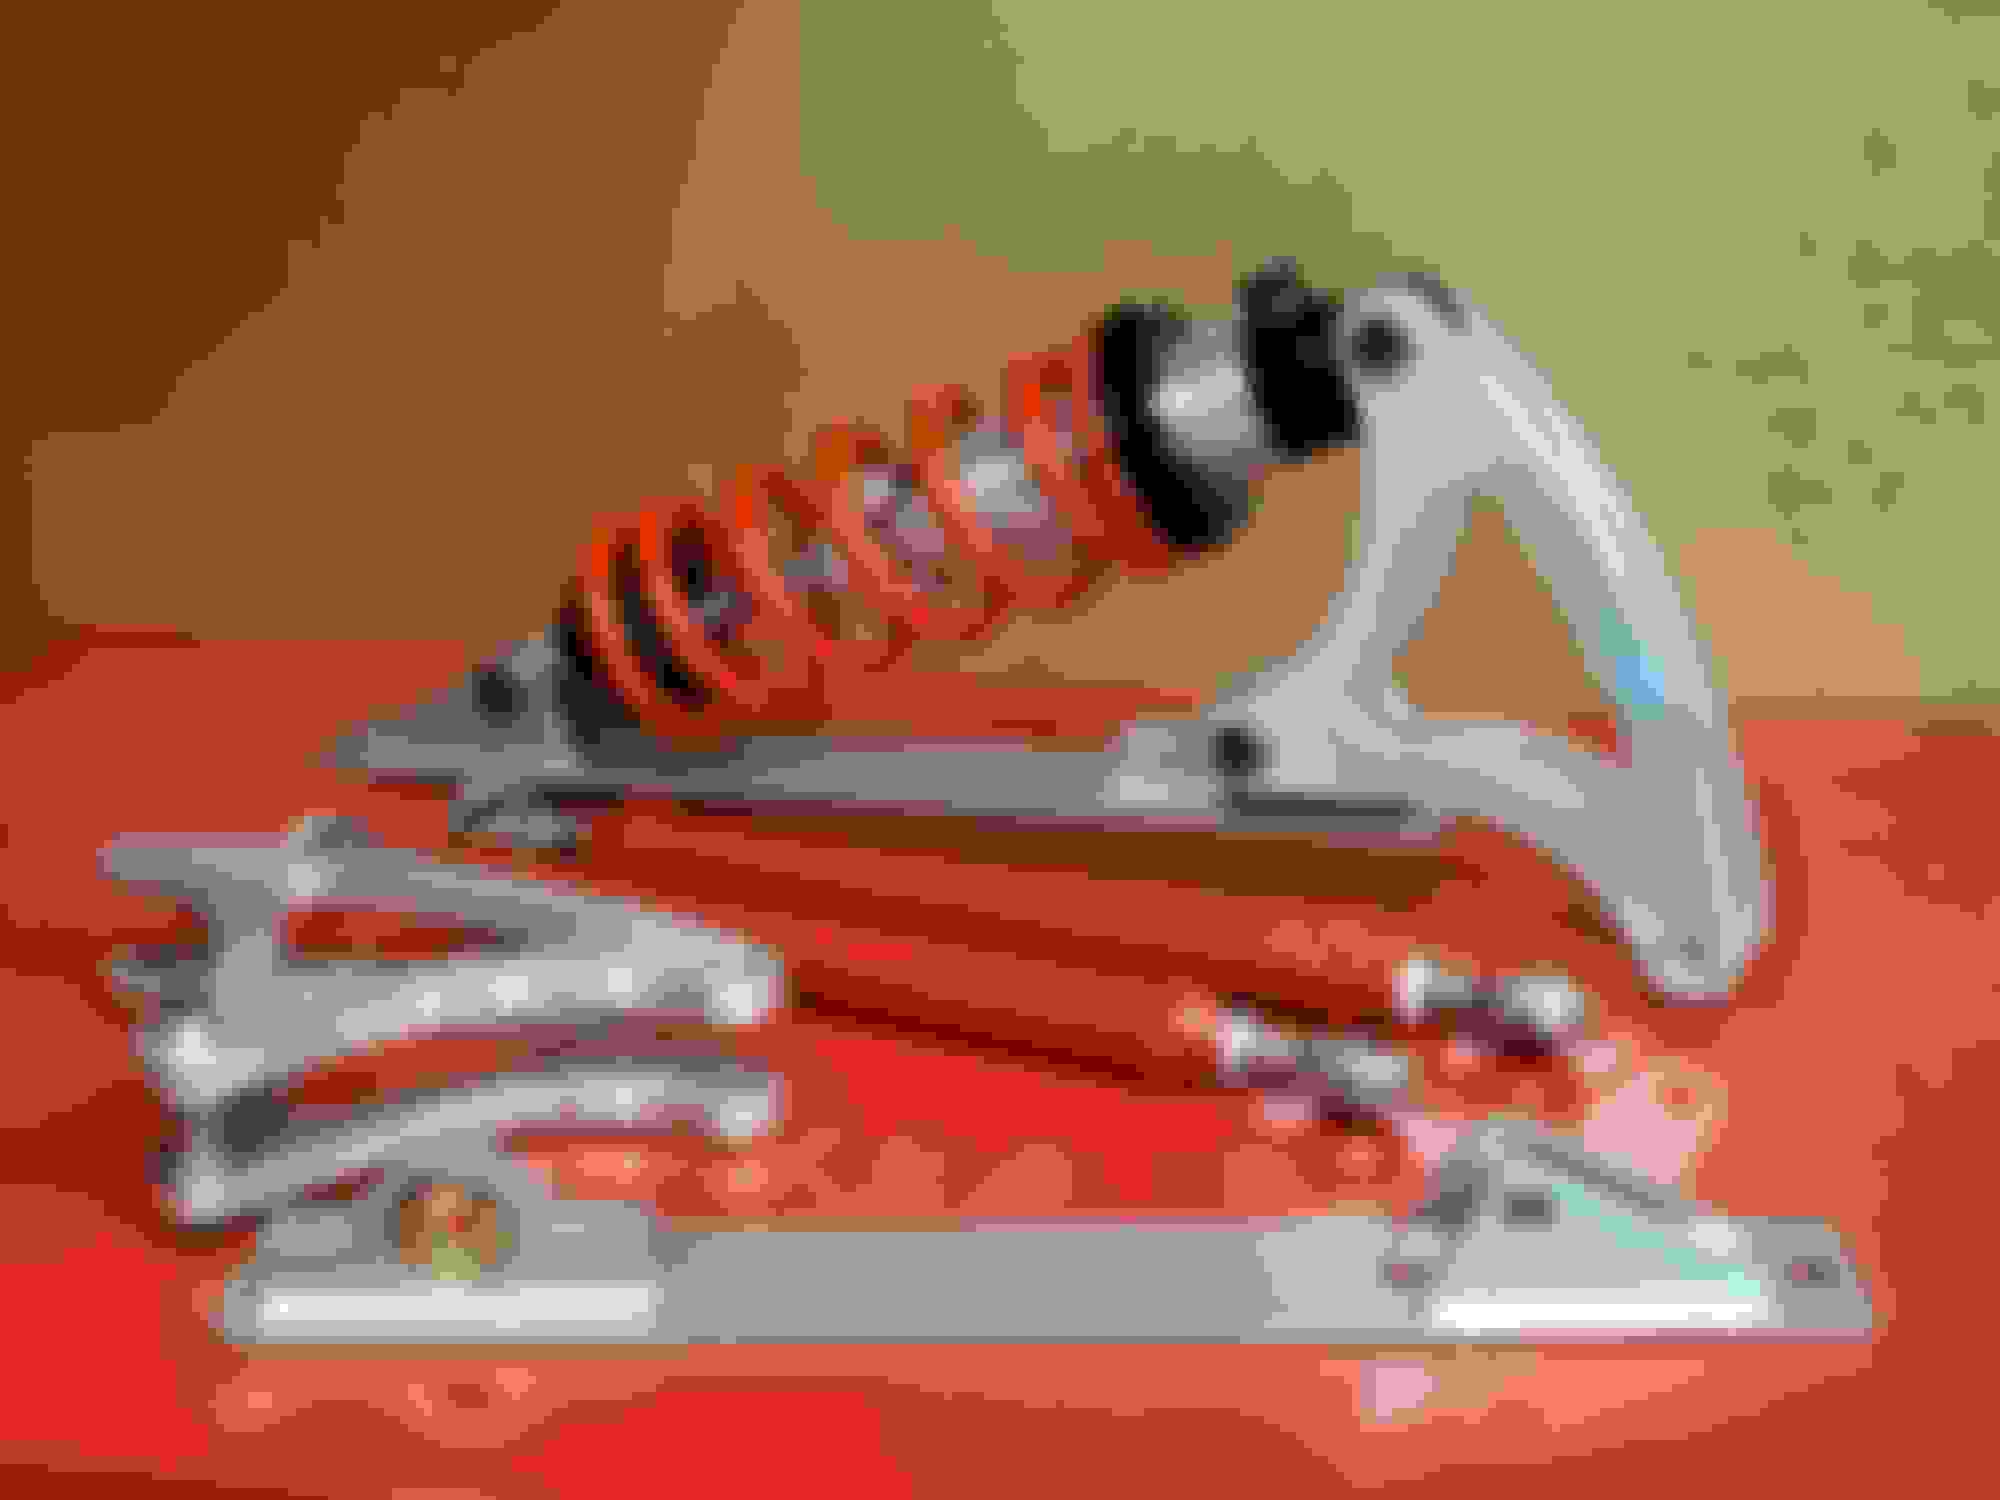
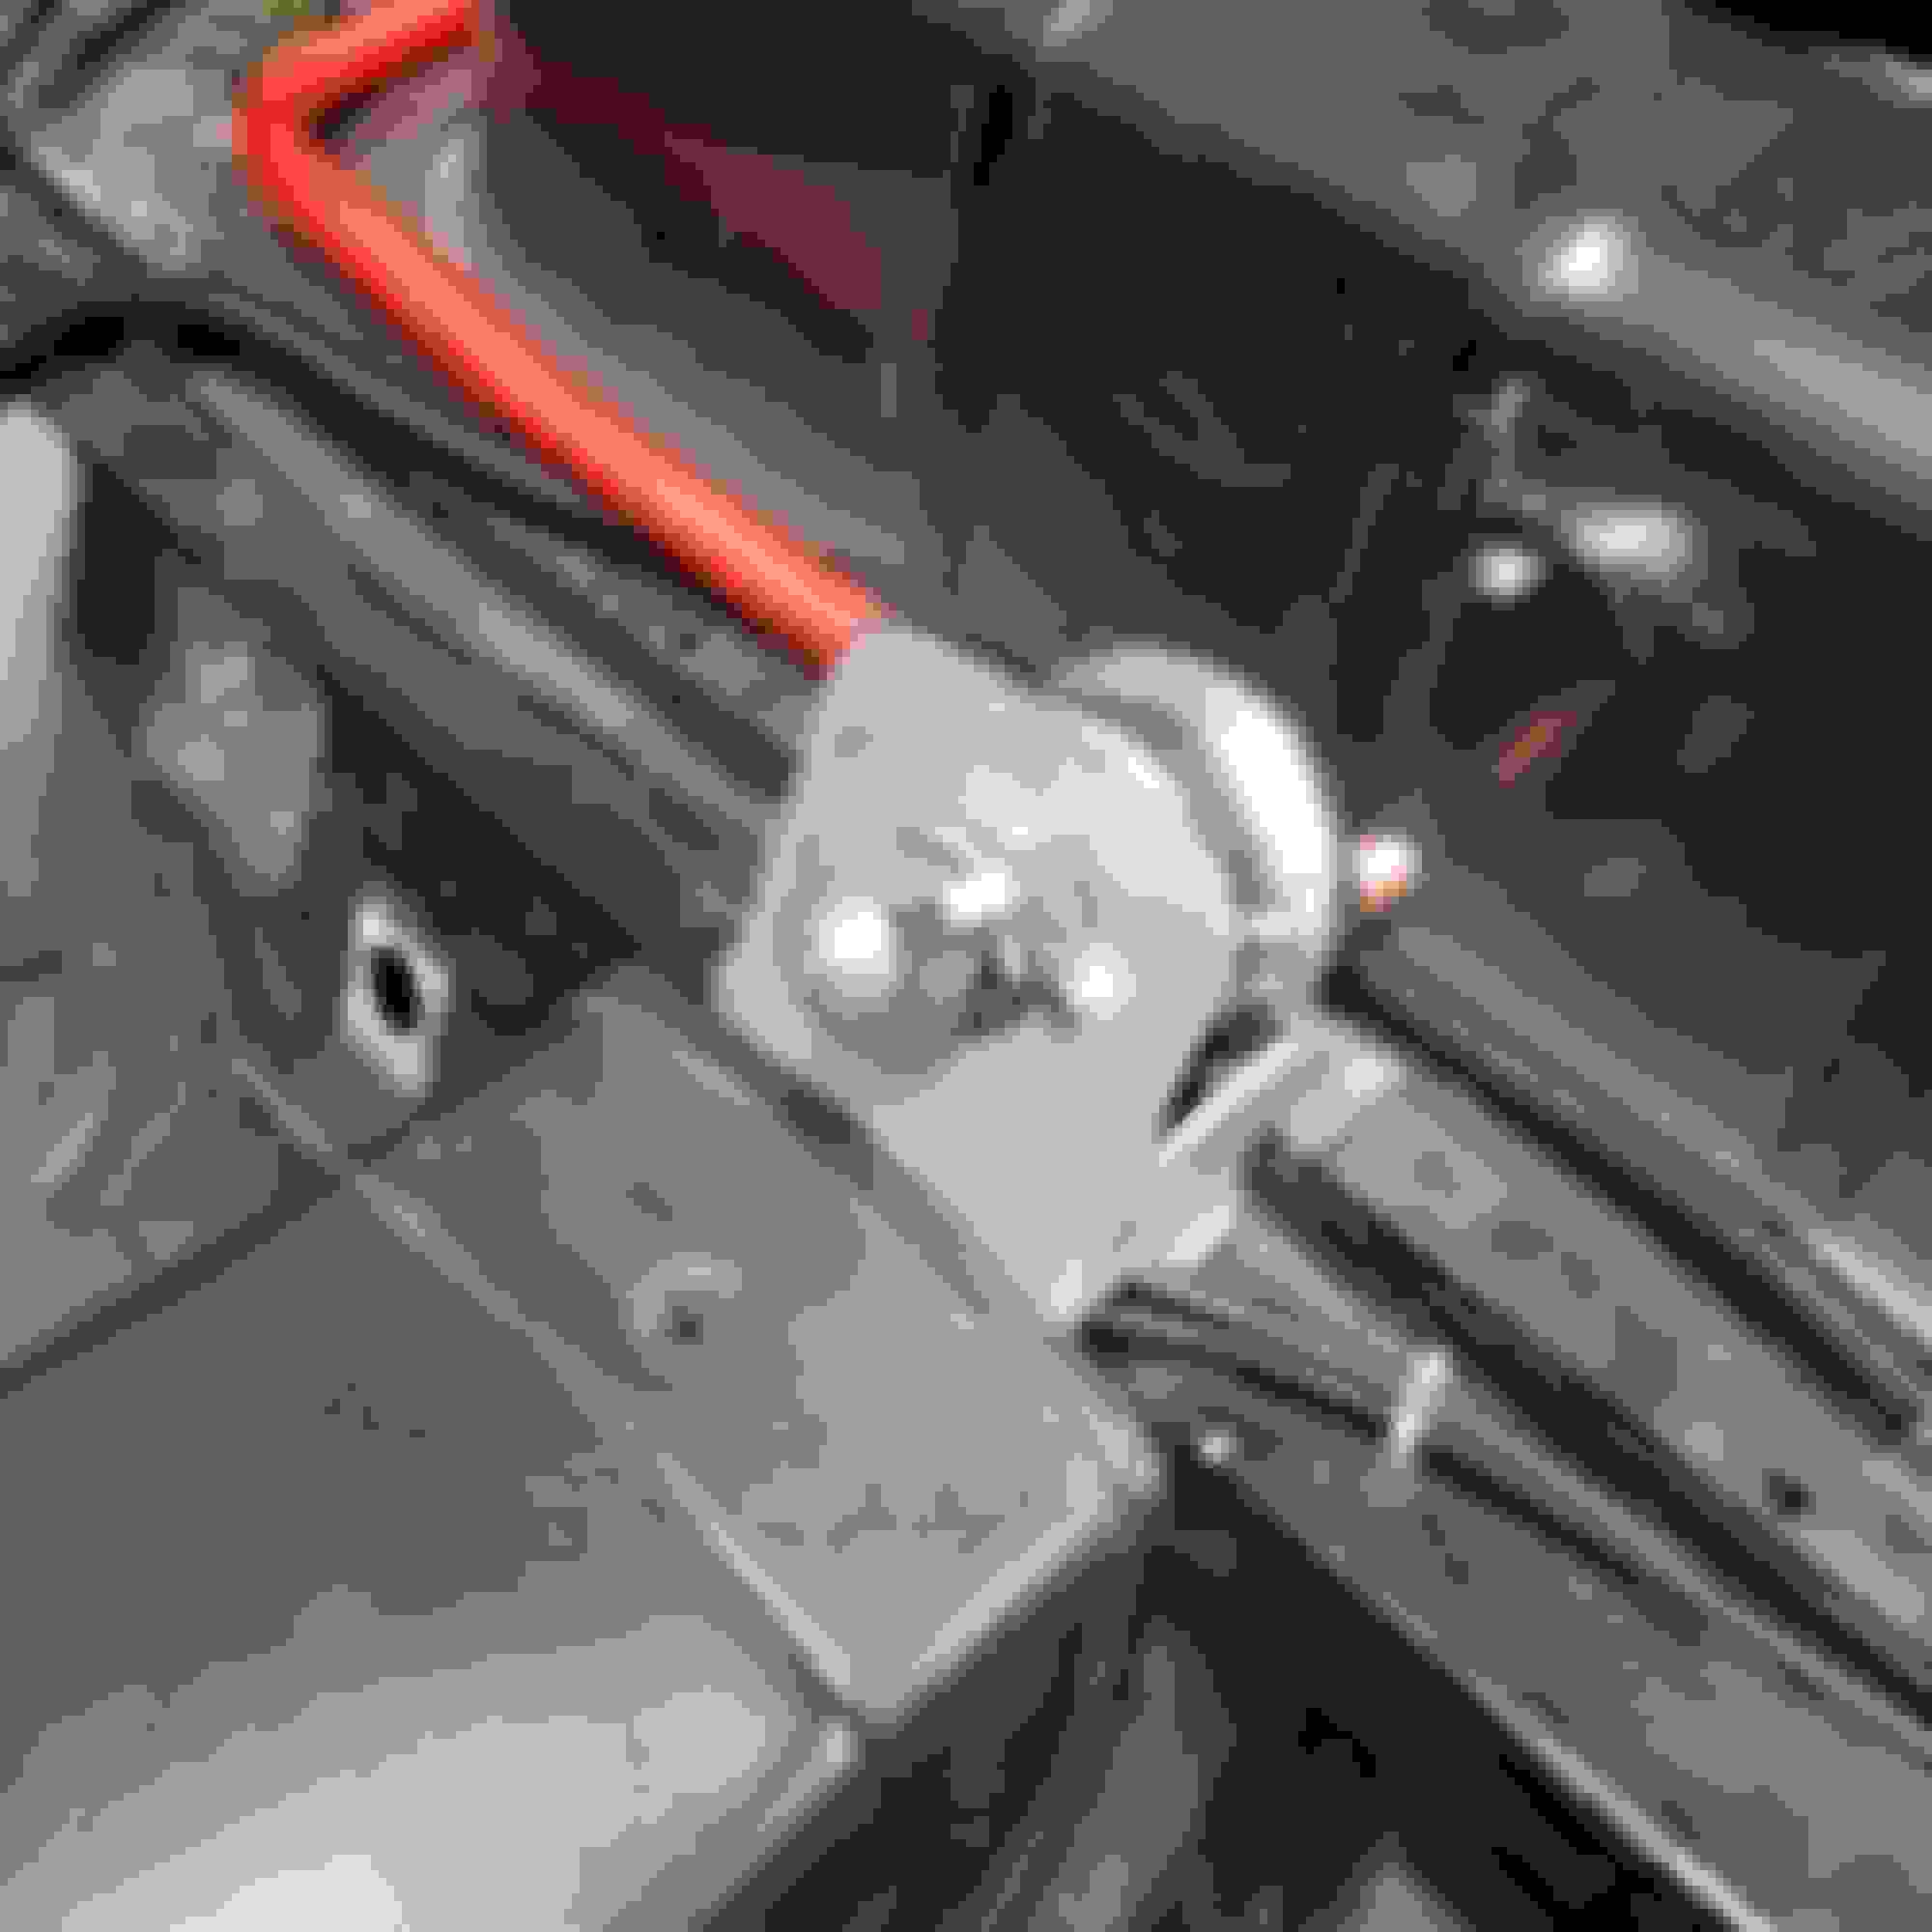
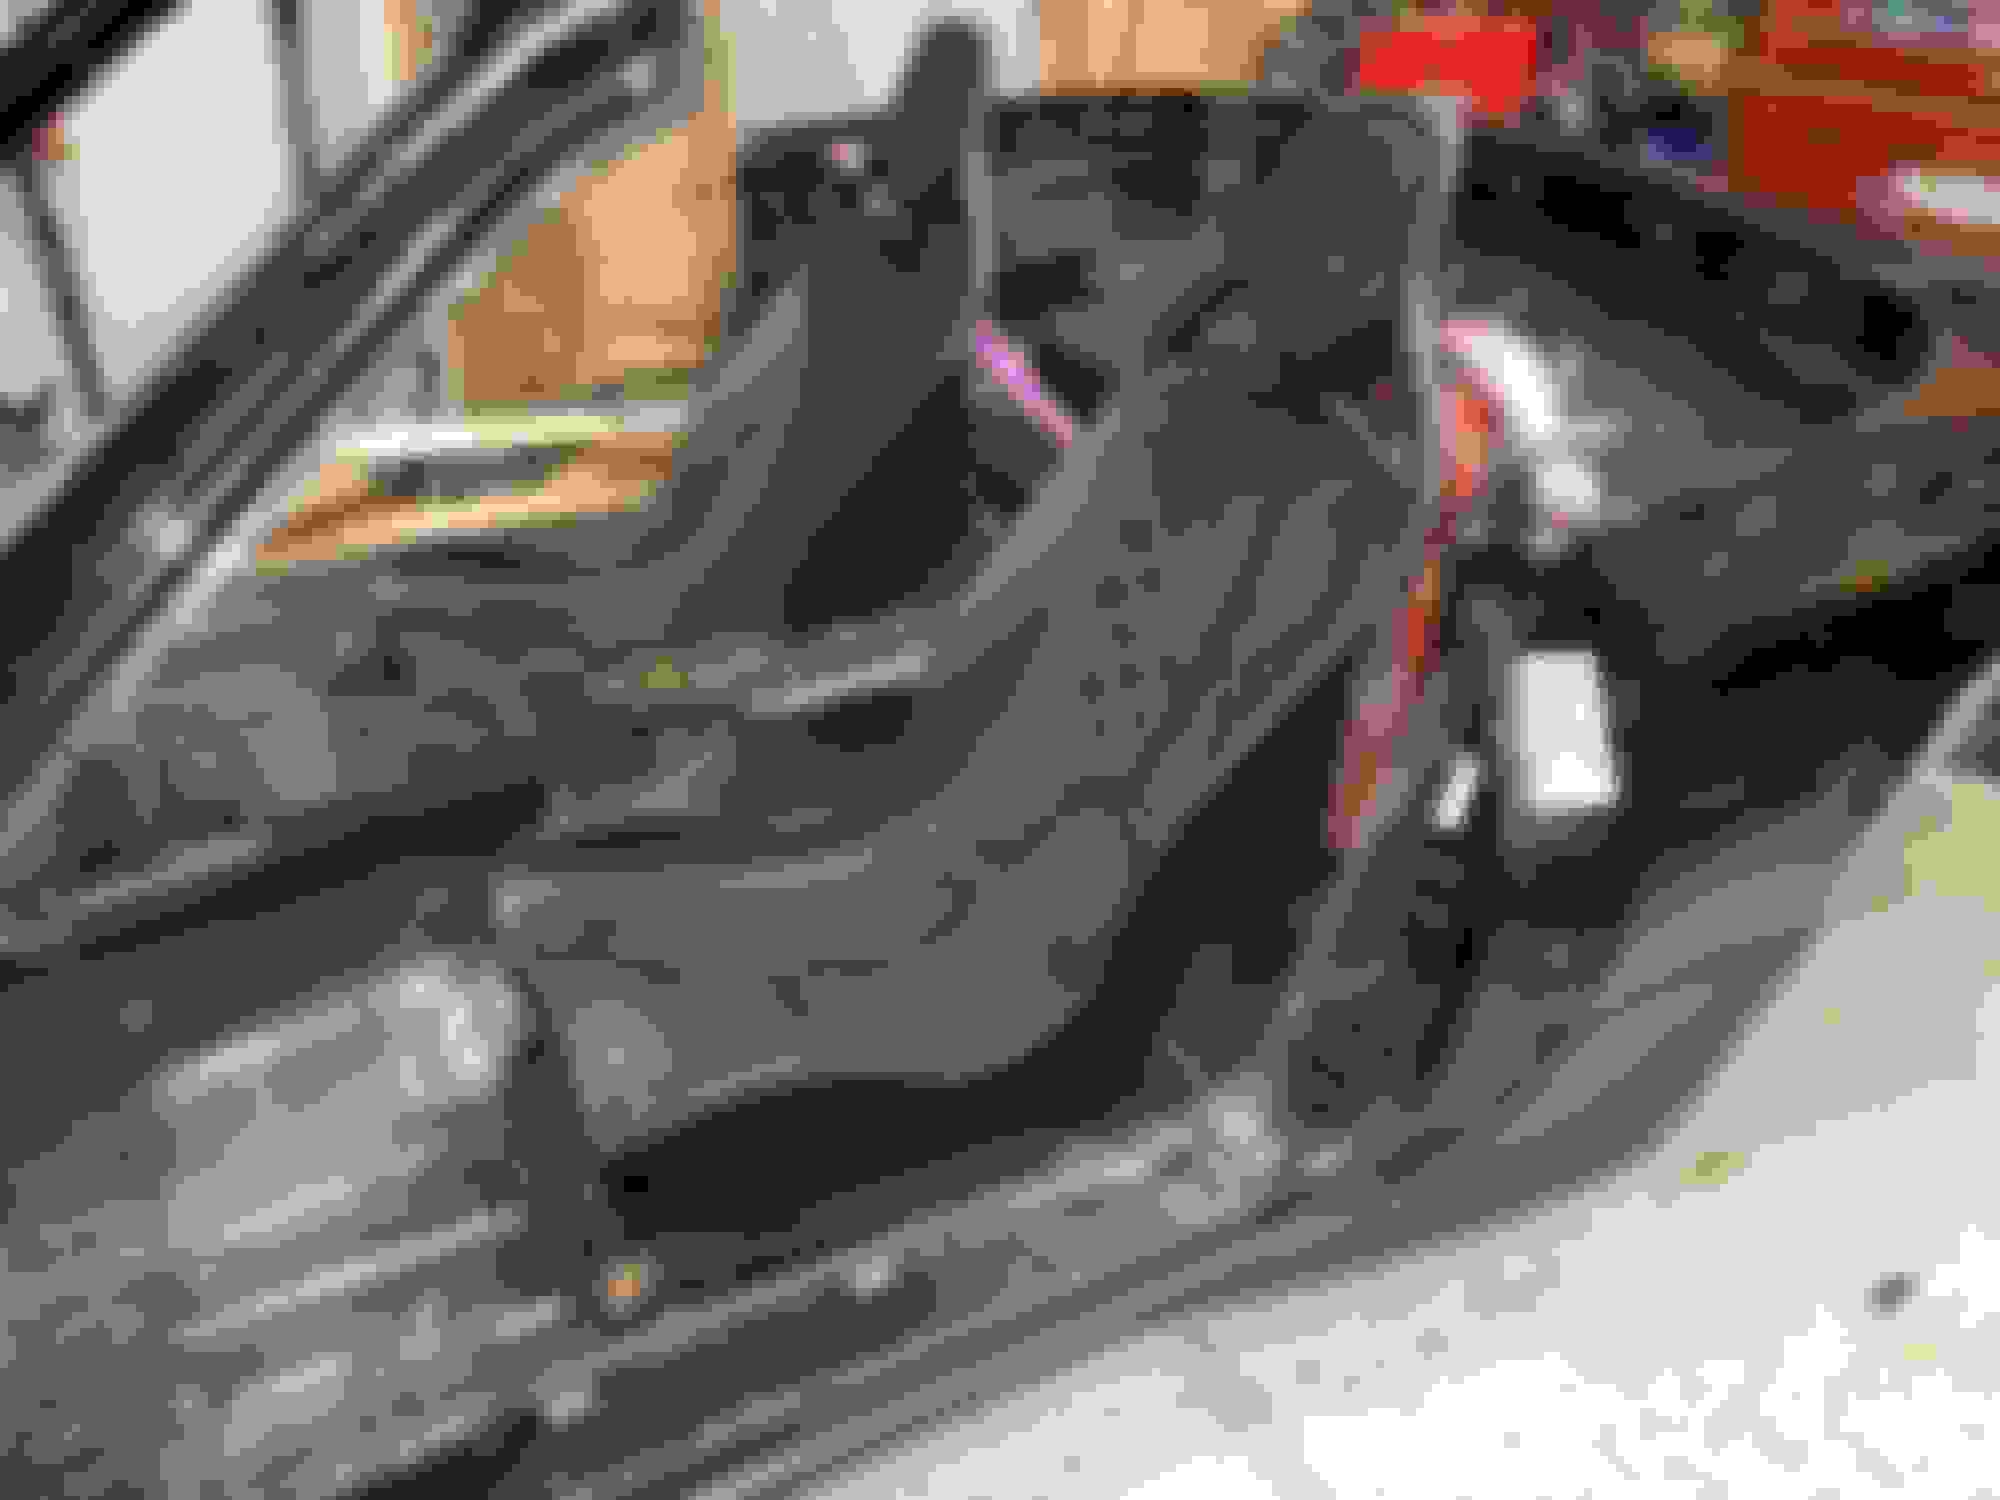
The next project was getting a rear cantilever suspension to match my front. I decided to reuse the motion ratios and geometry of the front to simplify my life. Again the focus was having stock like travel with a fairly aggressive (for street use) spring rate ( rising rate ~300lb-450lb with about 6" of total travel). The idea in the back is that shock mount is bolted directly to the frame rail and all of the vertical loads are taken care of by the strong structure of the rail. The 3/16" "strap" which connects the rocker pivot to the rear shock mount is there to take any of the horizontal tension loads.
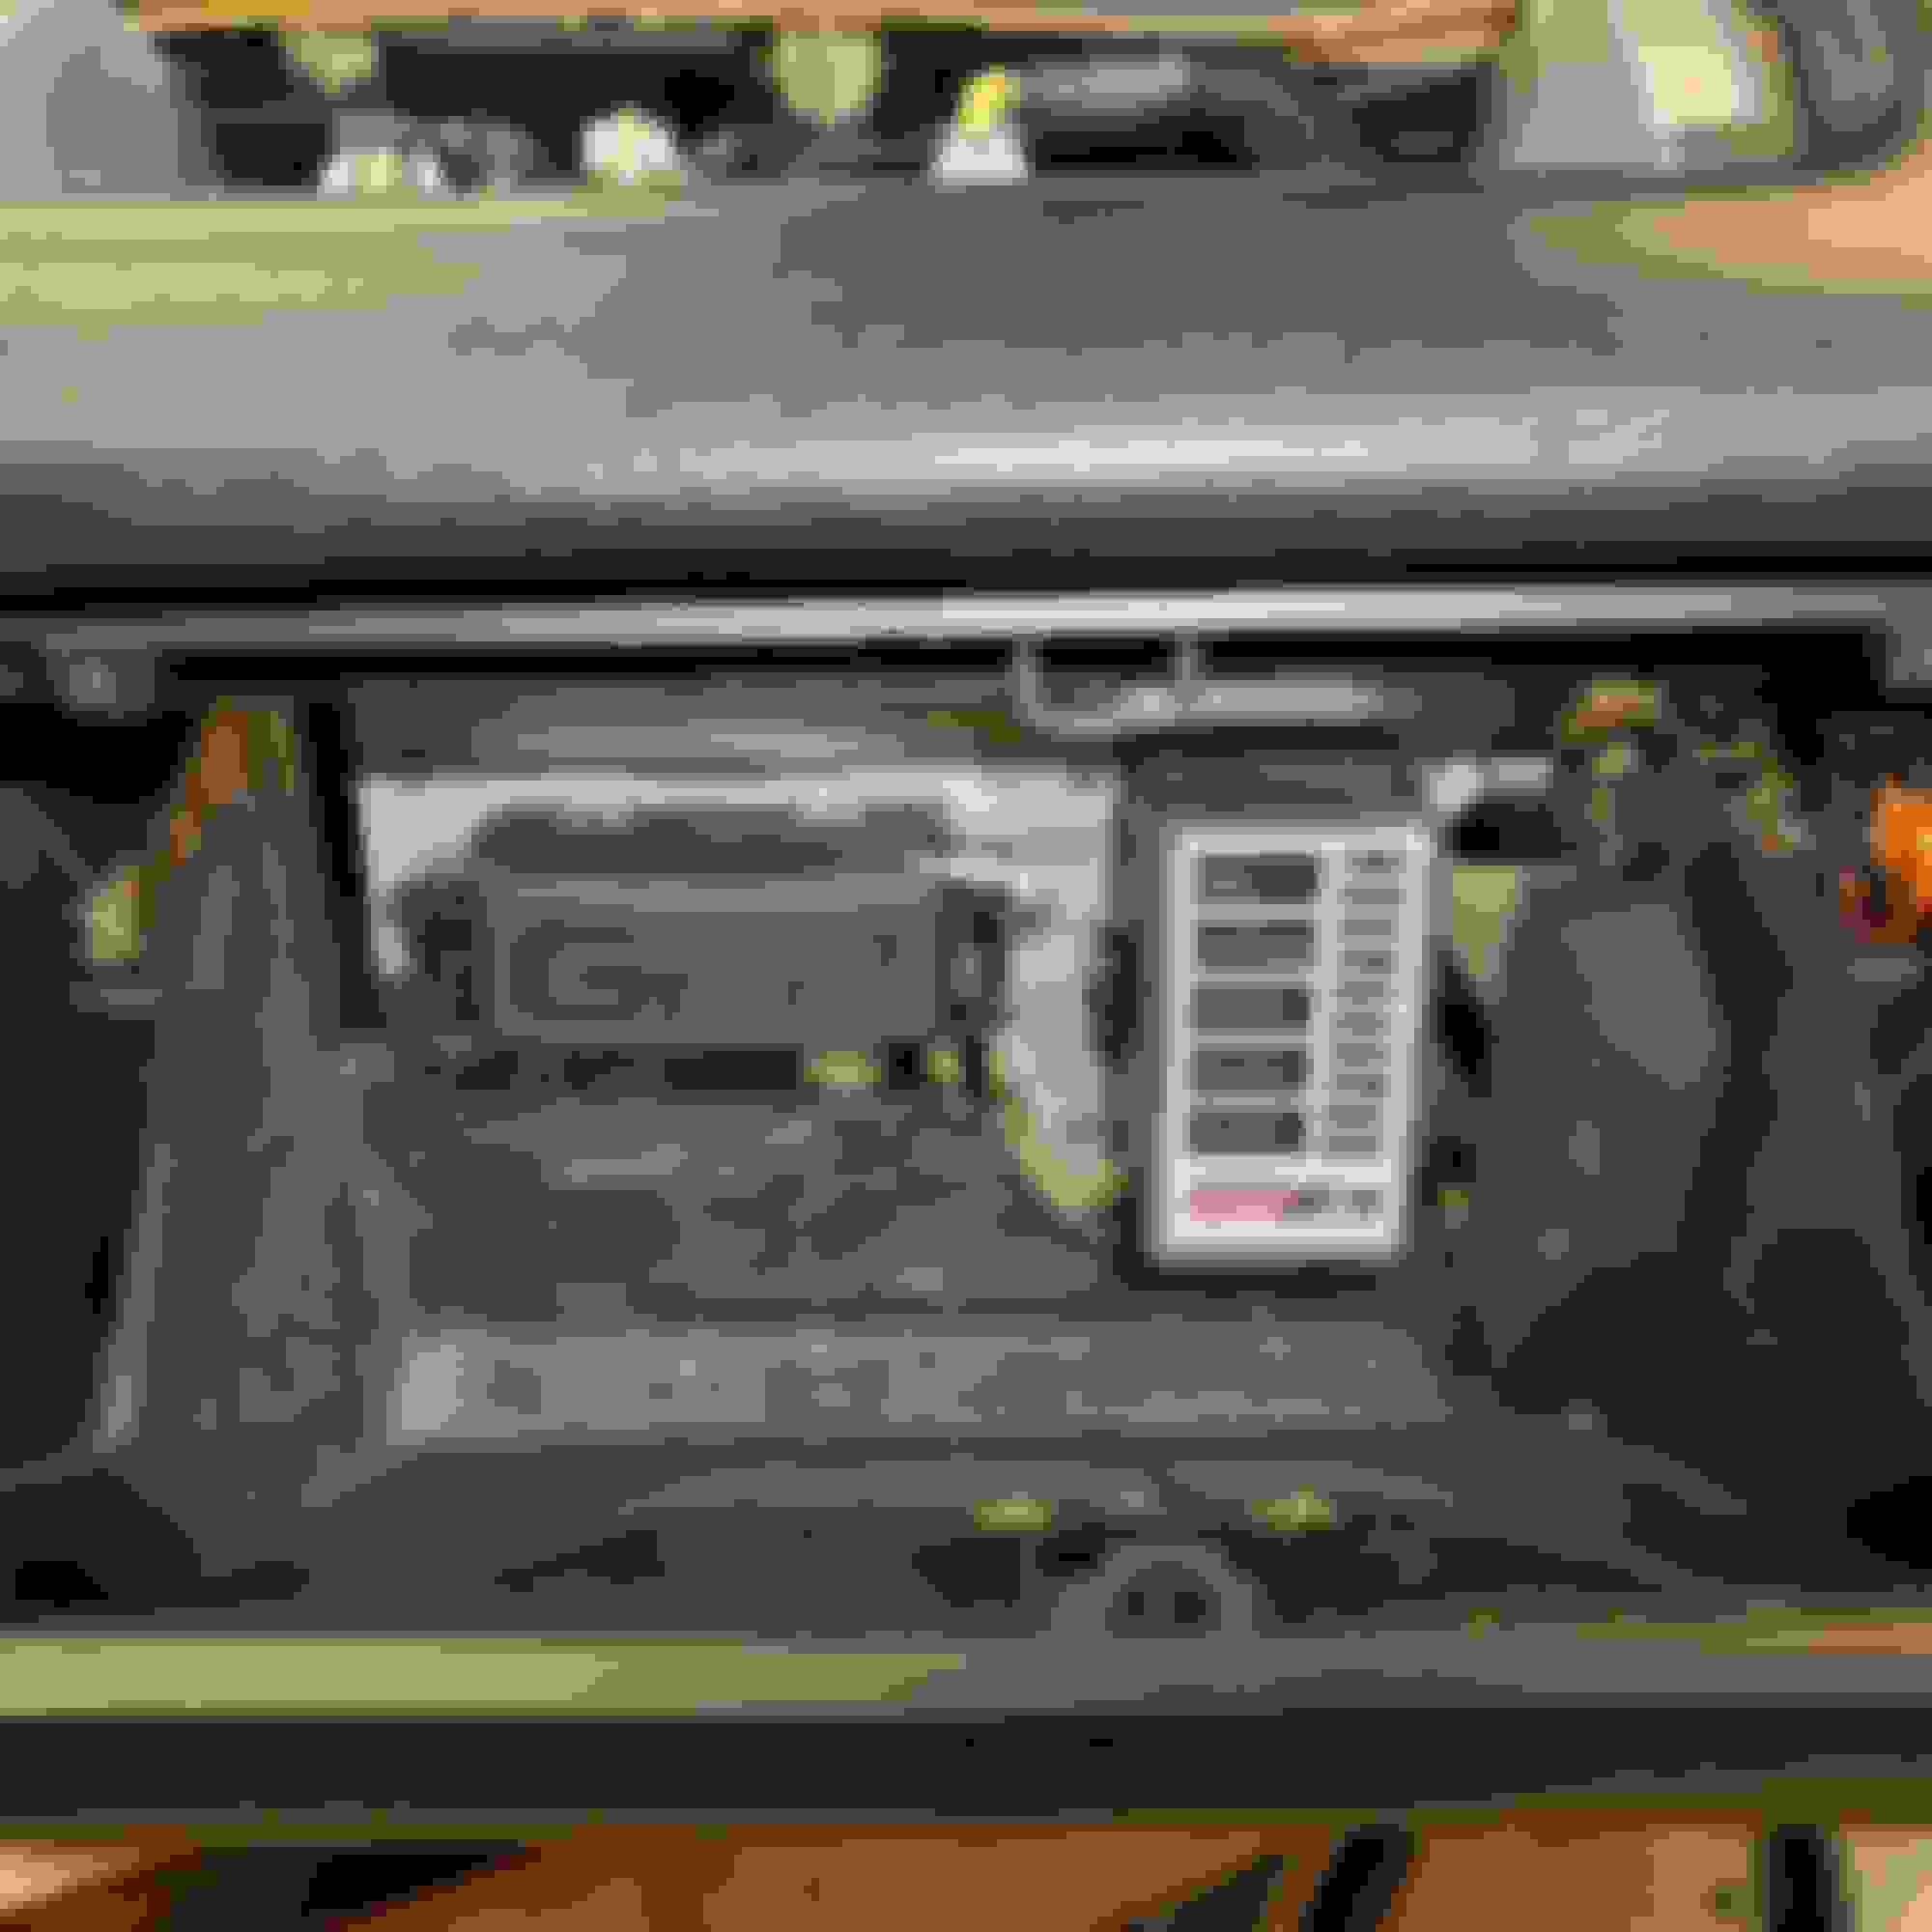
Next project was wiring (with which I'm still not done). Step 1 wss to mount my ms3pro ultimate in its hole and get the fuse boxes in an nice accessible place.
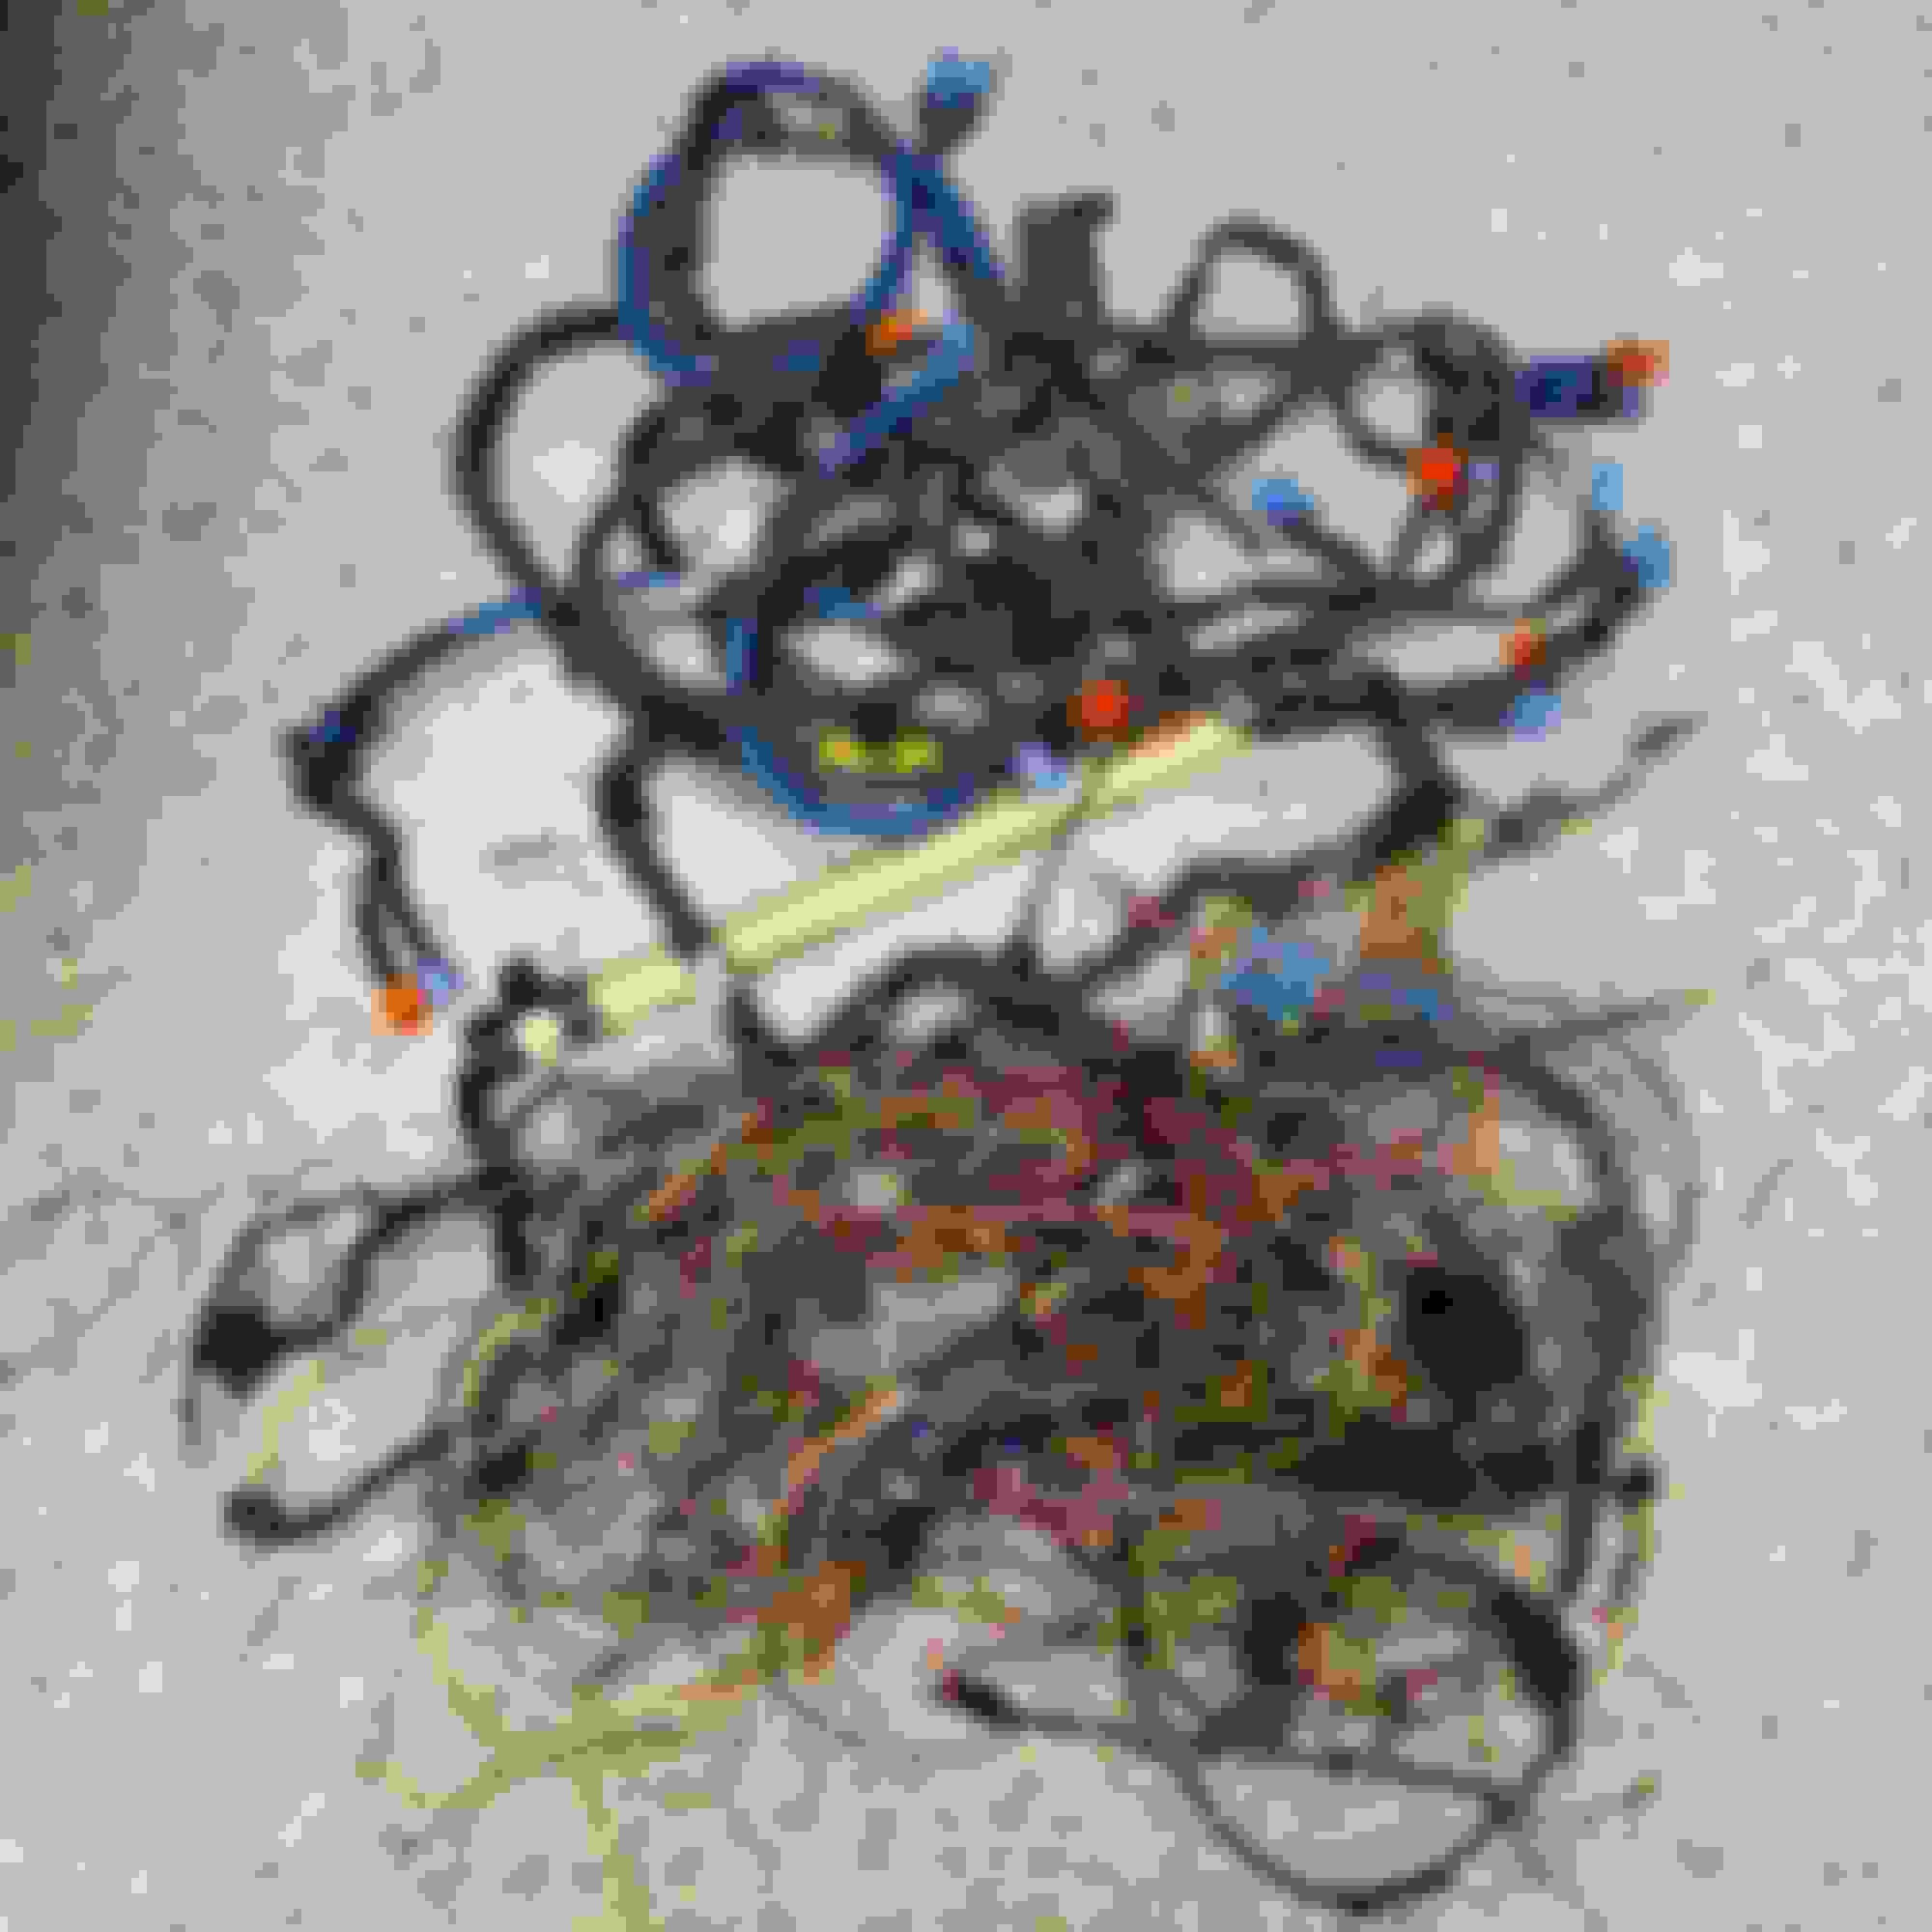
Since I'm using a the #diyautotune dropon la harness, the stock harness was a bit bloated. I decided to remove everything I no longer needed.
One thing Im trying to focus on in this build is overall presentation and cleanliness of the engine bay. The wiring being a big part of that I fabricated a pass through bulkhead panel for all of my electrical and coolant lines.
I also added a main power shutoff that was easily reachable from the drivers seat.
I've had electric power steering on my mind for ever. It just cleans everything up in the bay. I went with a controller kit from epowersteering.com and a 06 equenox column. I wanted to use the kmiata kit as a guide but saw that that kit deletes the collapsible column feature. This was a major red flag to me and I decided to do my own thing. To be able to keep the collapsible column I pretty much had to use the whole equinox column; grafting the miata column with the equenox made it impossible to keep that feature. Since I was using the while chevy column, I decided to keep the tilt feature since it was integrated into the mount and didnt really add any significant weight. Overall I get about 2in of steering wheel adjustability with it.
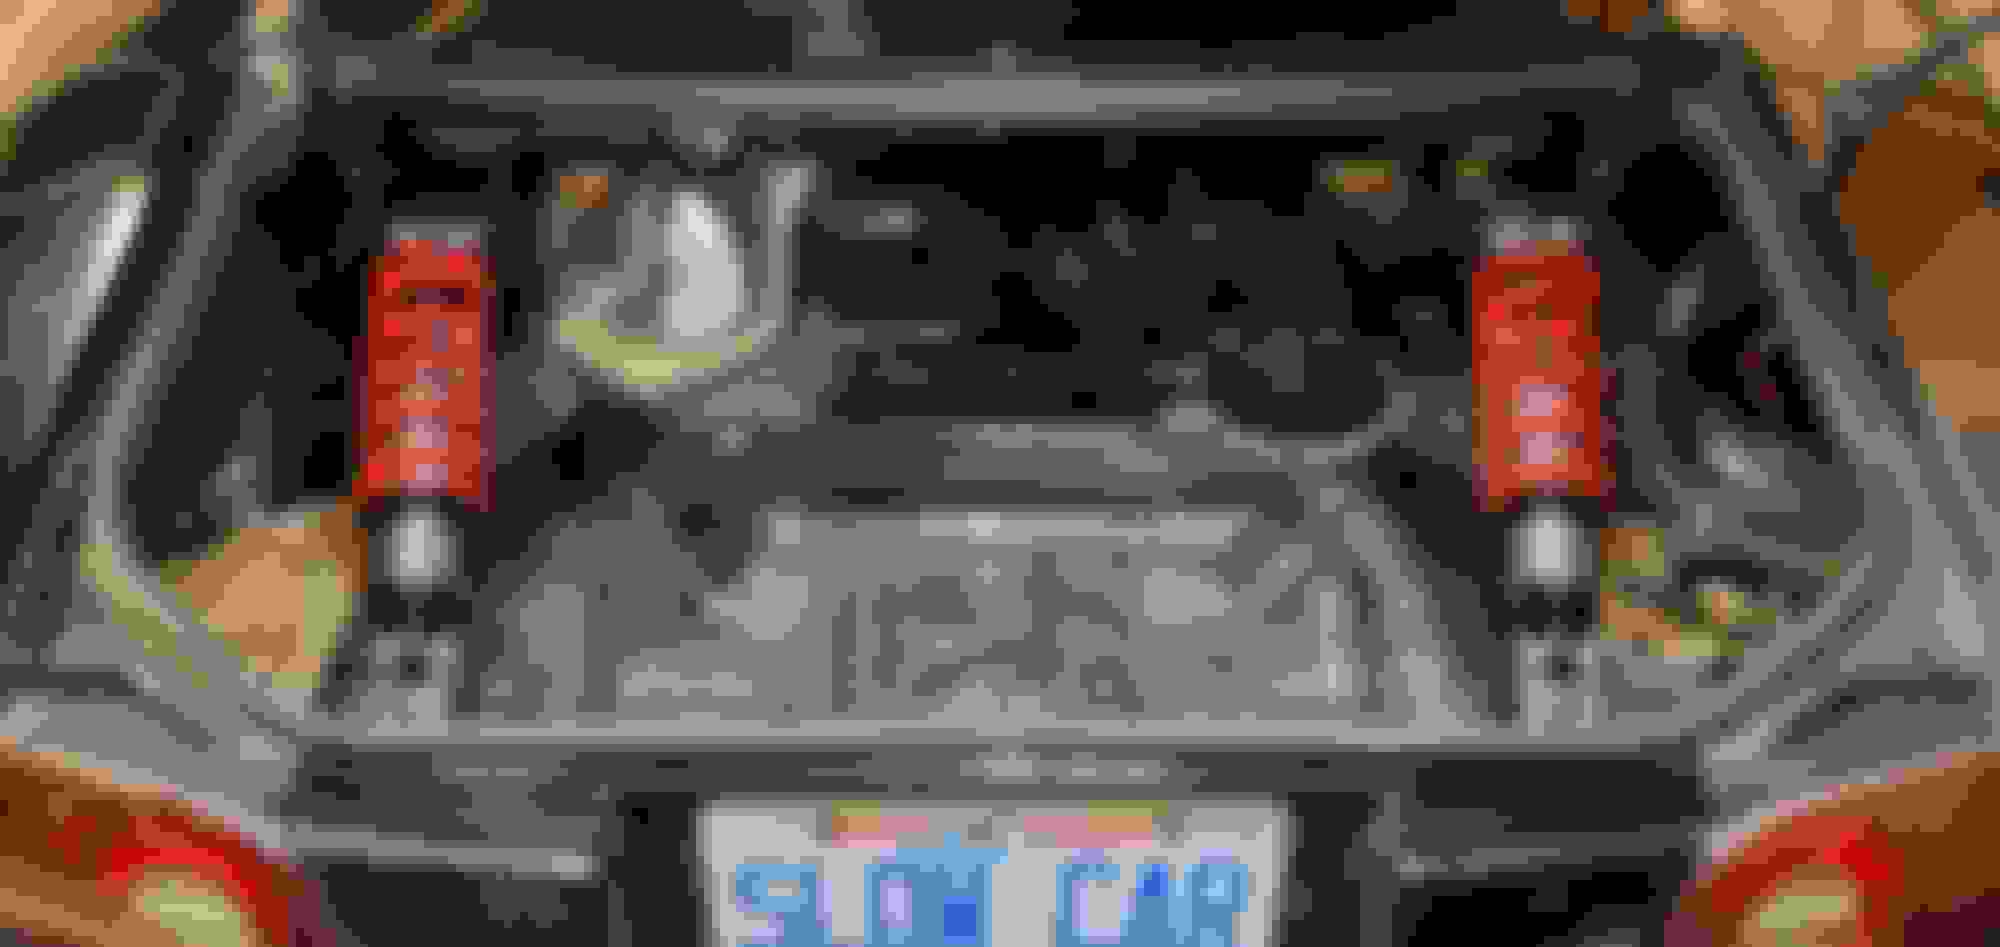
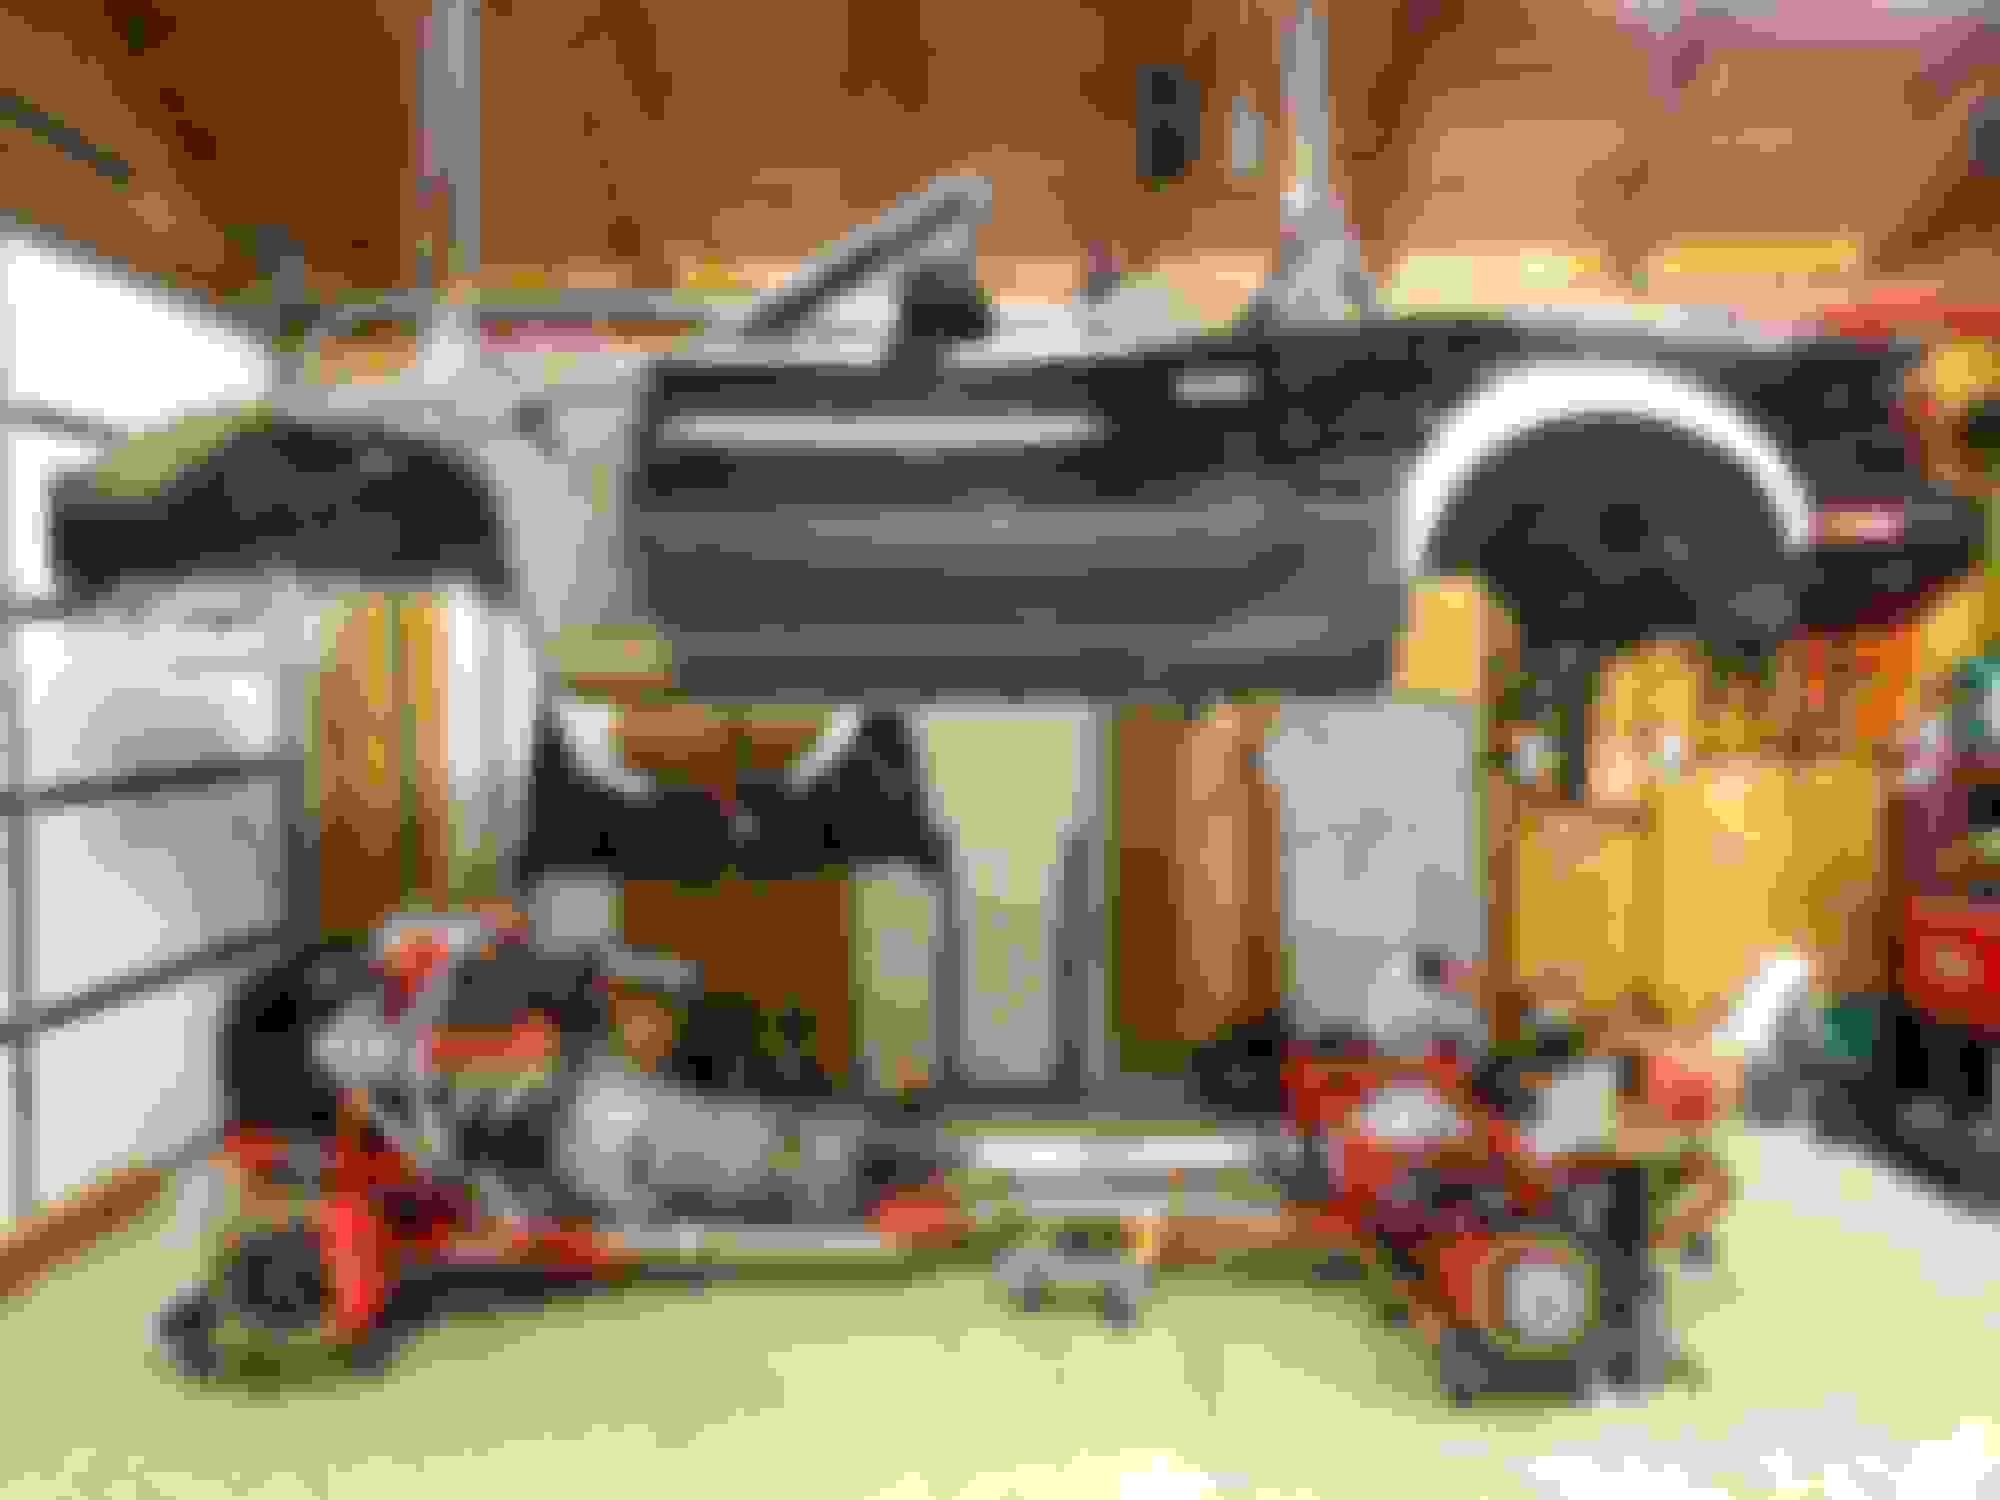
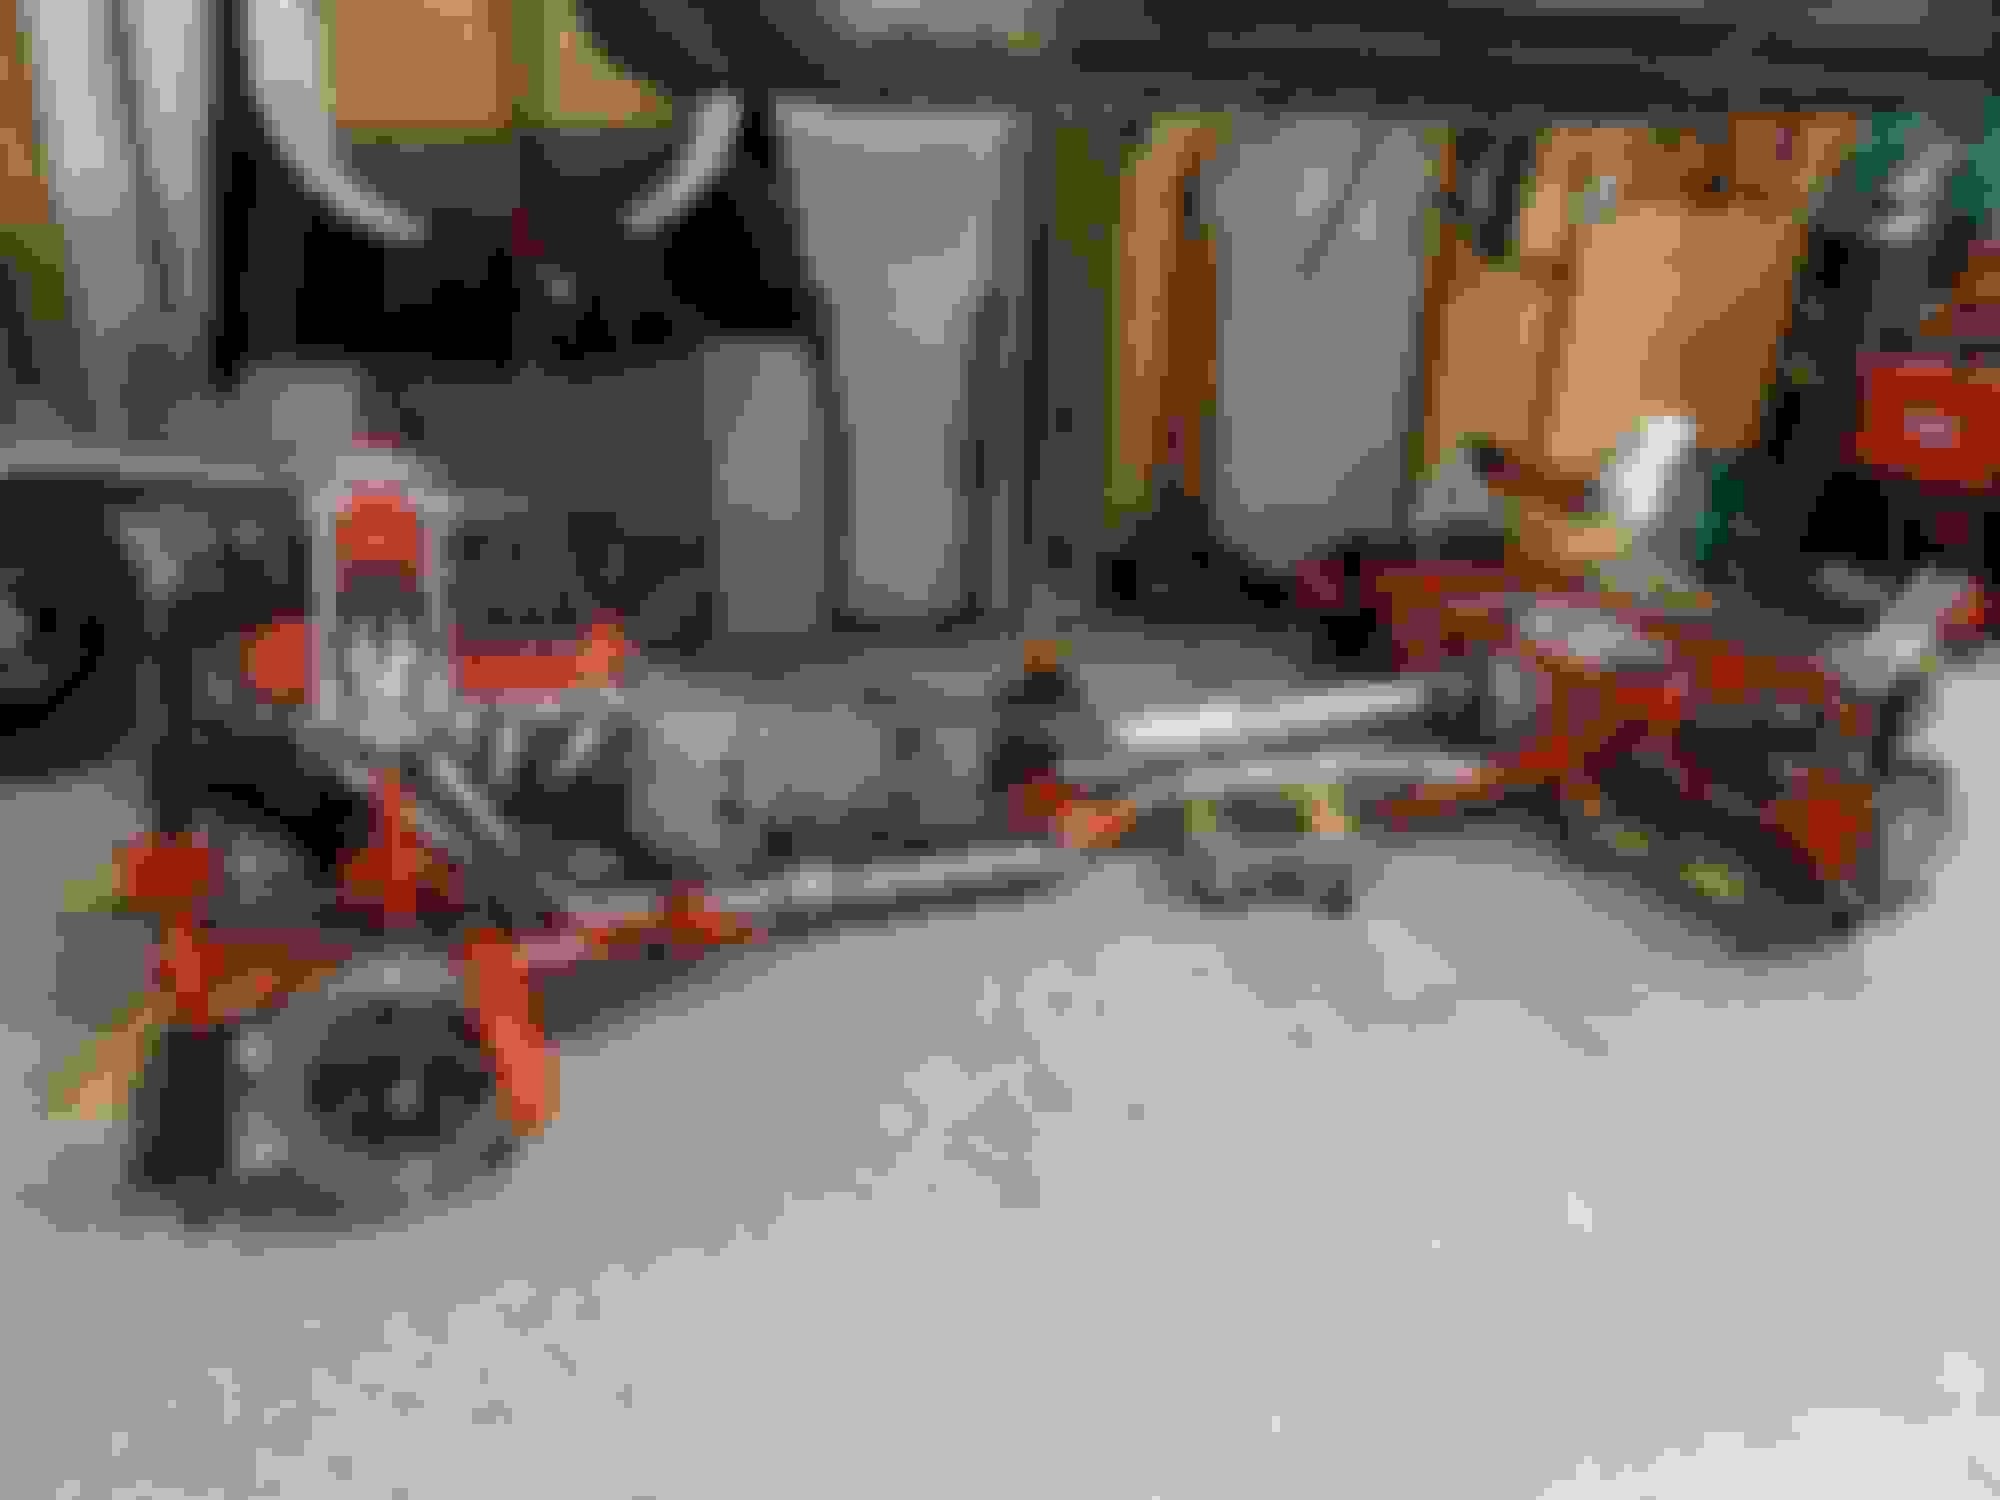
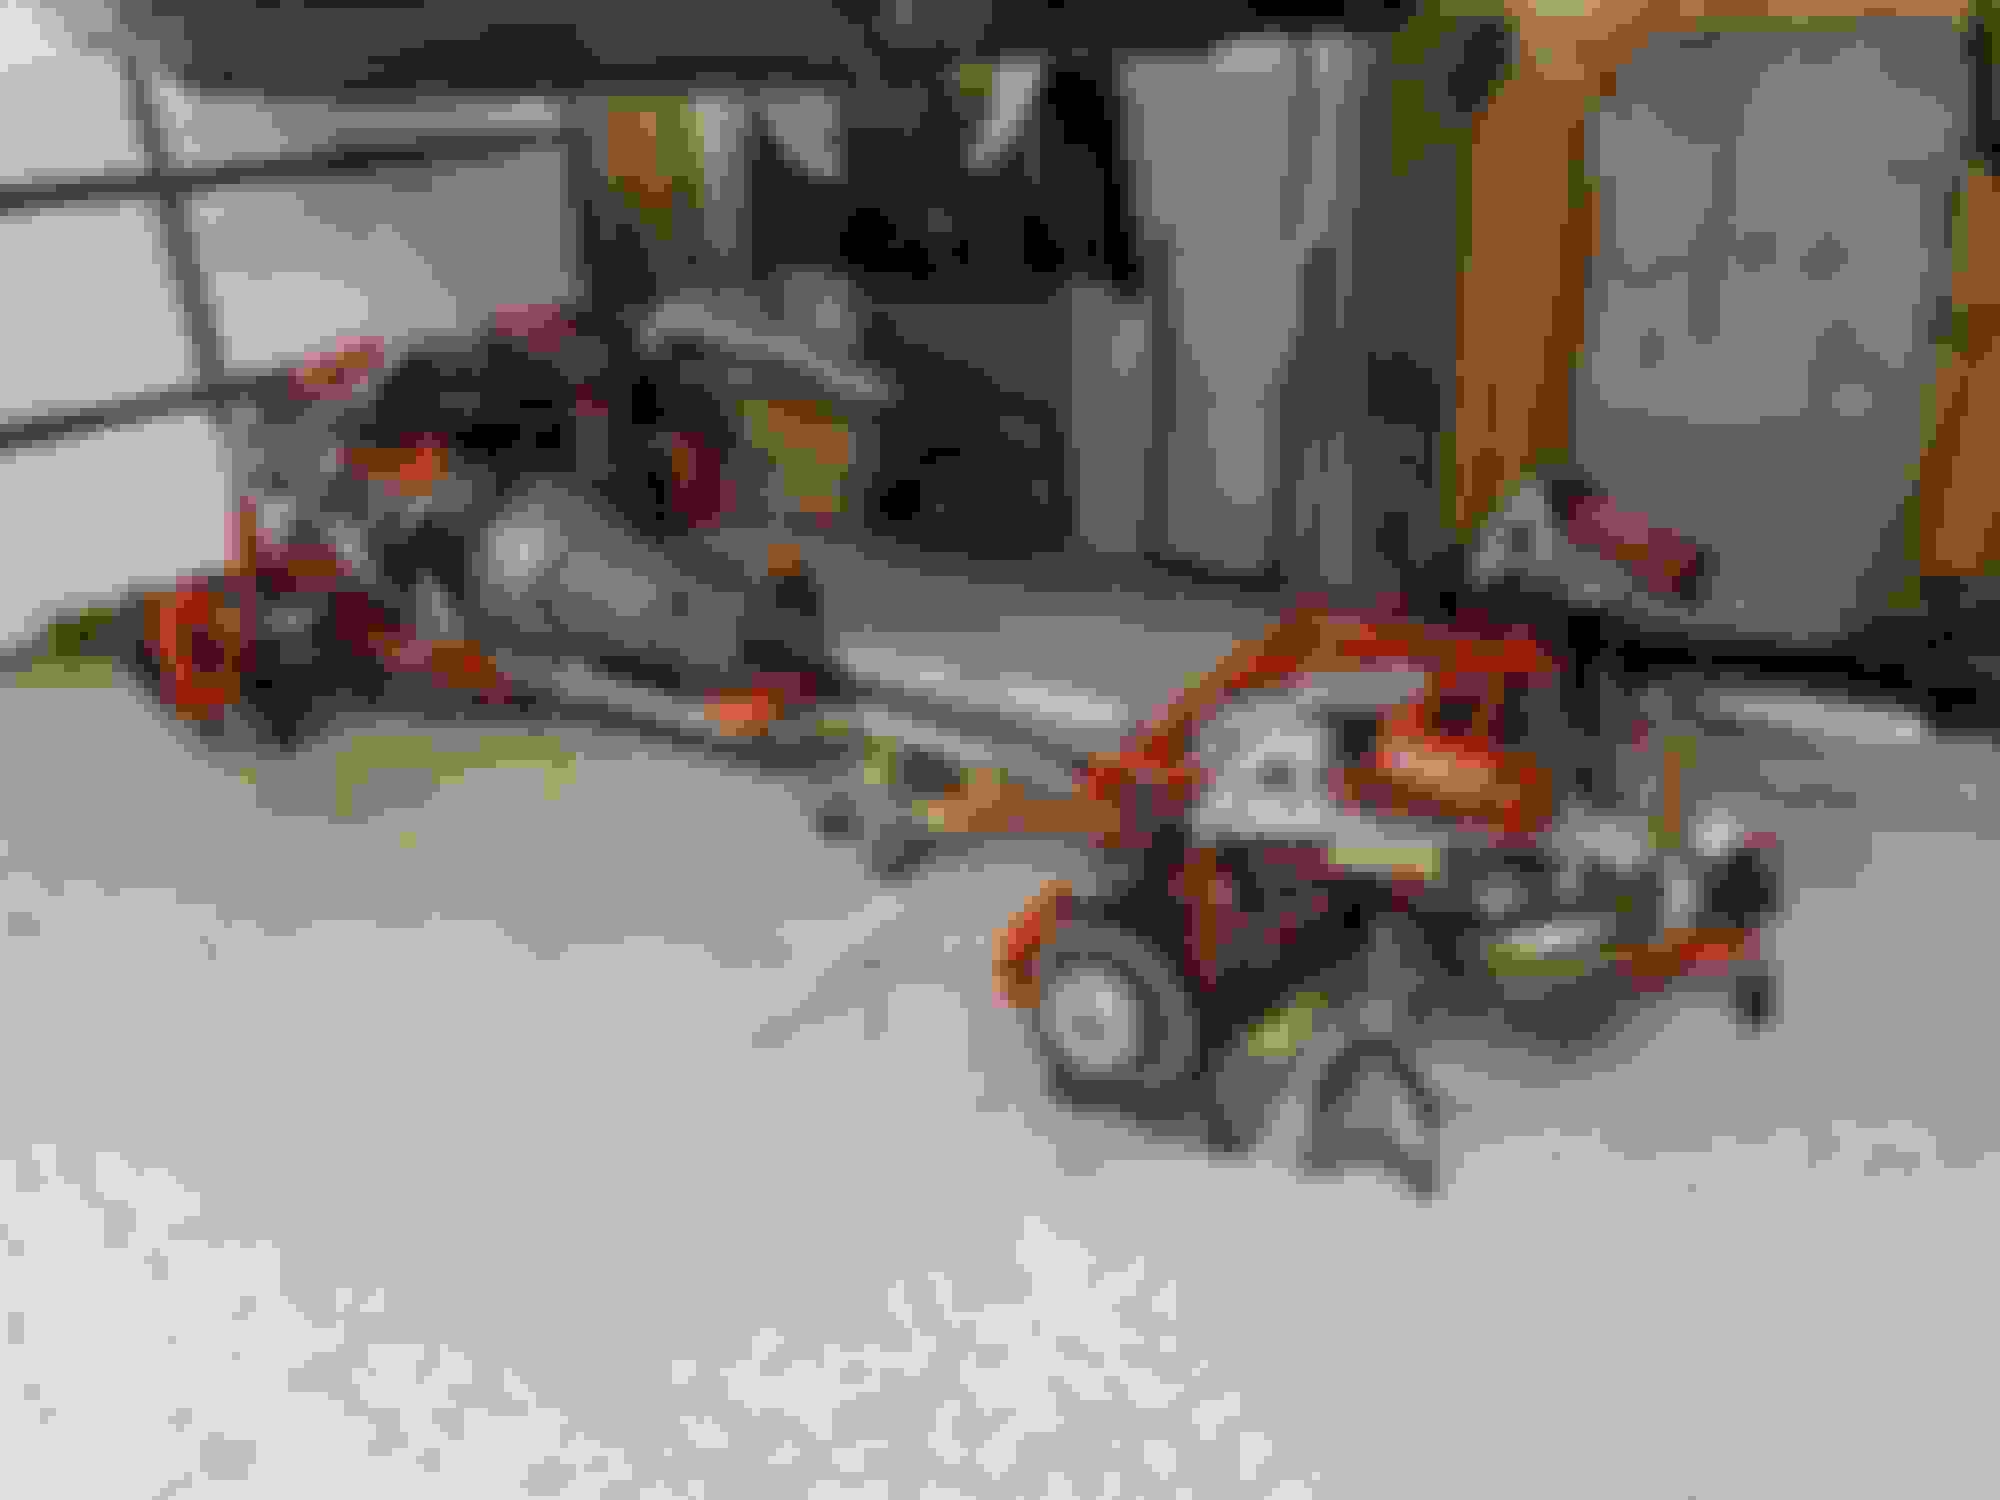
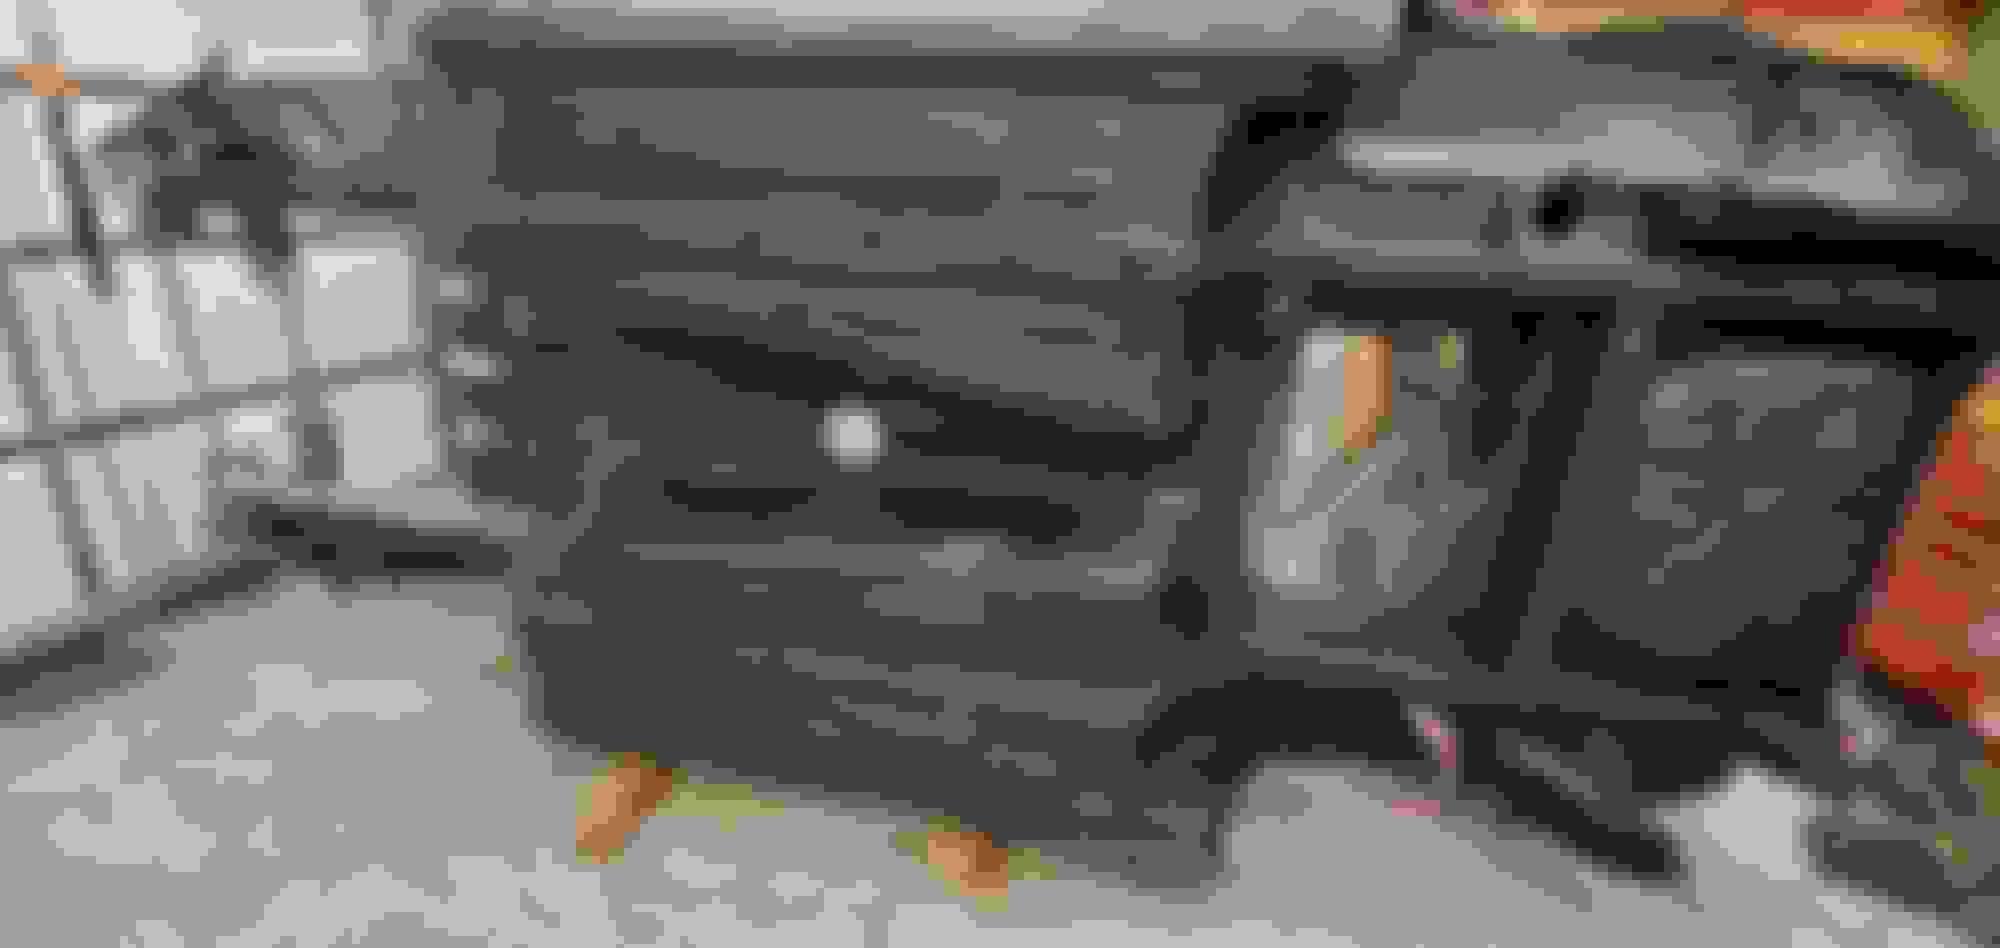
This brings me to where I currently am. I am getting the body up to snuff and ready for underbody/insulation/bodywork/paint. First things first I wasted 4 hours of my life to set up for a neat photo. Fun fact, what's in the air is about $200 and what's on the floor is about $15,000.
I stripped the body down to nothing and gave it a powerwash top and bottom.
while cleaning up some rust spots I found that NOTHING wanted to stick to the OEM undercoat. Since I plan on using raptorliner this was a no go. The OEM stuff had to go. Hours later with a wire wheel, here I am. I'm glad I did as the OEM undercoat was hiding quiet a few rust issues.
I also got the seats I plan on using from LusoMotors over in portugal. Ernesto sells a VERY high quality seat for a very fair price (under $1000 for the pair shipped from Europe). The best I can describe them is they are similar to tillet b5's at half the cost.
Finished another to-do this week. Since the bottom of the car was clean (and everyone I knew was pushing me to do it), I seam welded the bottom of the car. Went on best judgement and hit whatever seams seemed to be most important.
Also got the my transmission crossmember reinforcement plates welded in to the body.
and shot a coat of rust reformer primer to keep everything safe until the raptor liner later on.
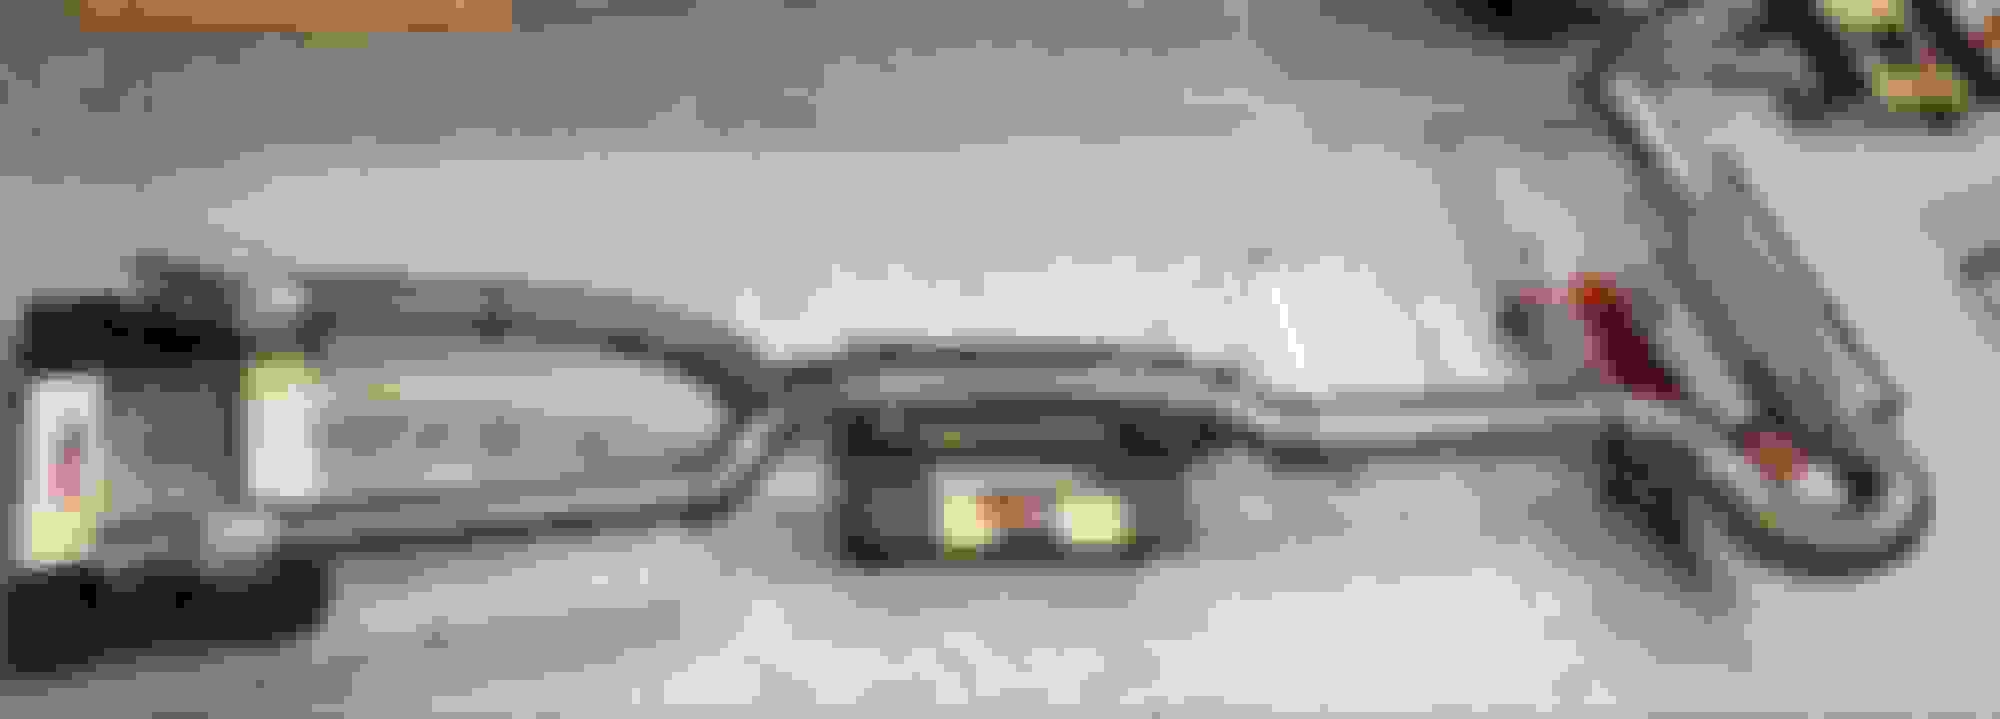
I've had everything needed to do fuel lines for probably a year now. Everytime I'd get ready to work on them, something else would pop up. Now that the bottom of the car is clean it's the perfect time to get them done. The lines are -8 feed and -6 return in stainless.
 01-23-2020, 09:46 AM


 0
0