
Basic low boost build: Noob does it all wrong.


Thread Starter
Elite Member
Joined: Oct 2013
Posts: 1,822
Total Cats: 144
From: NorthWest NJ
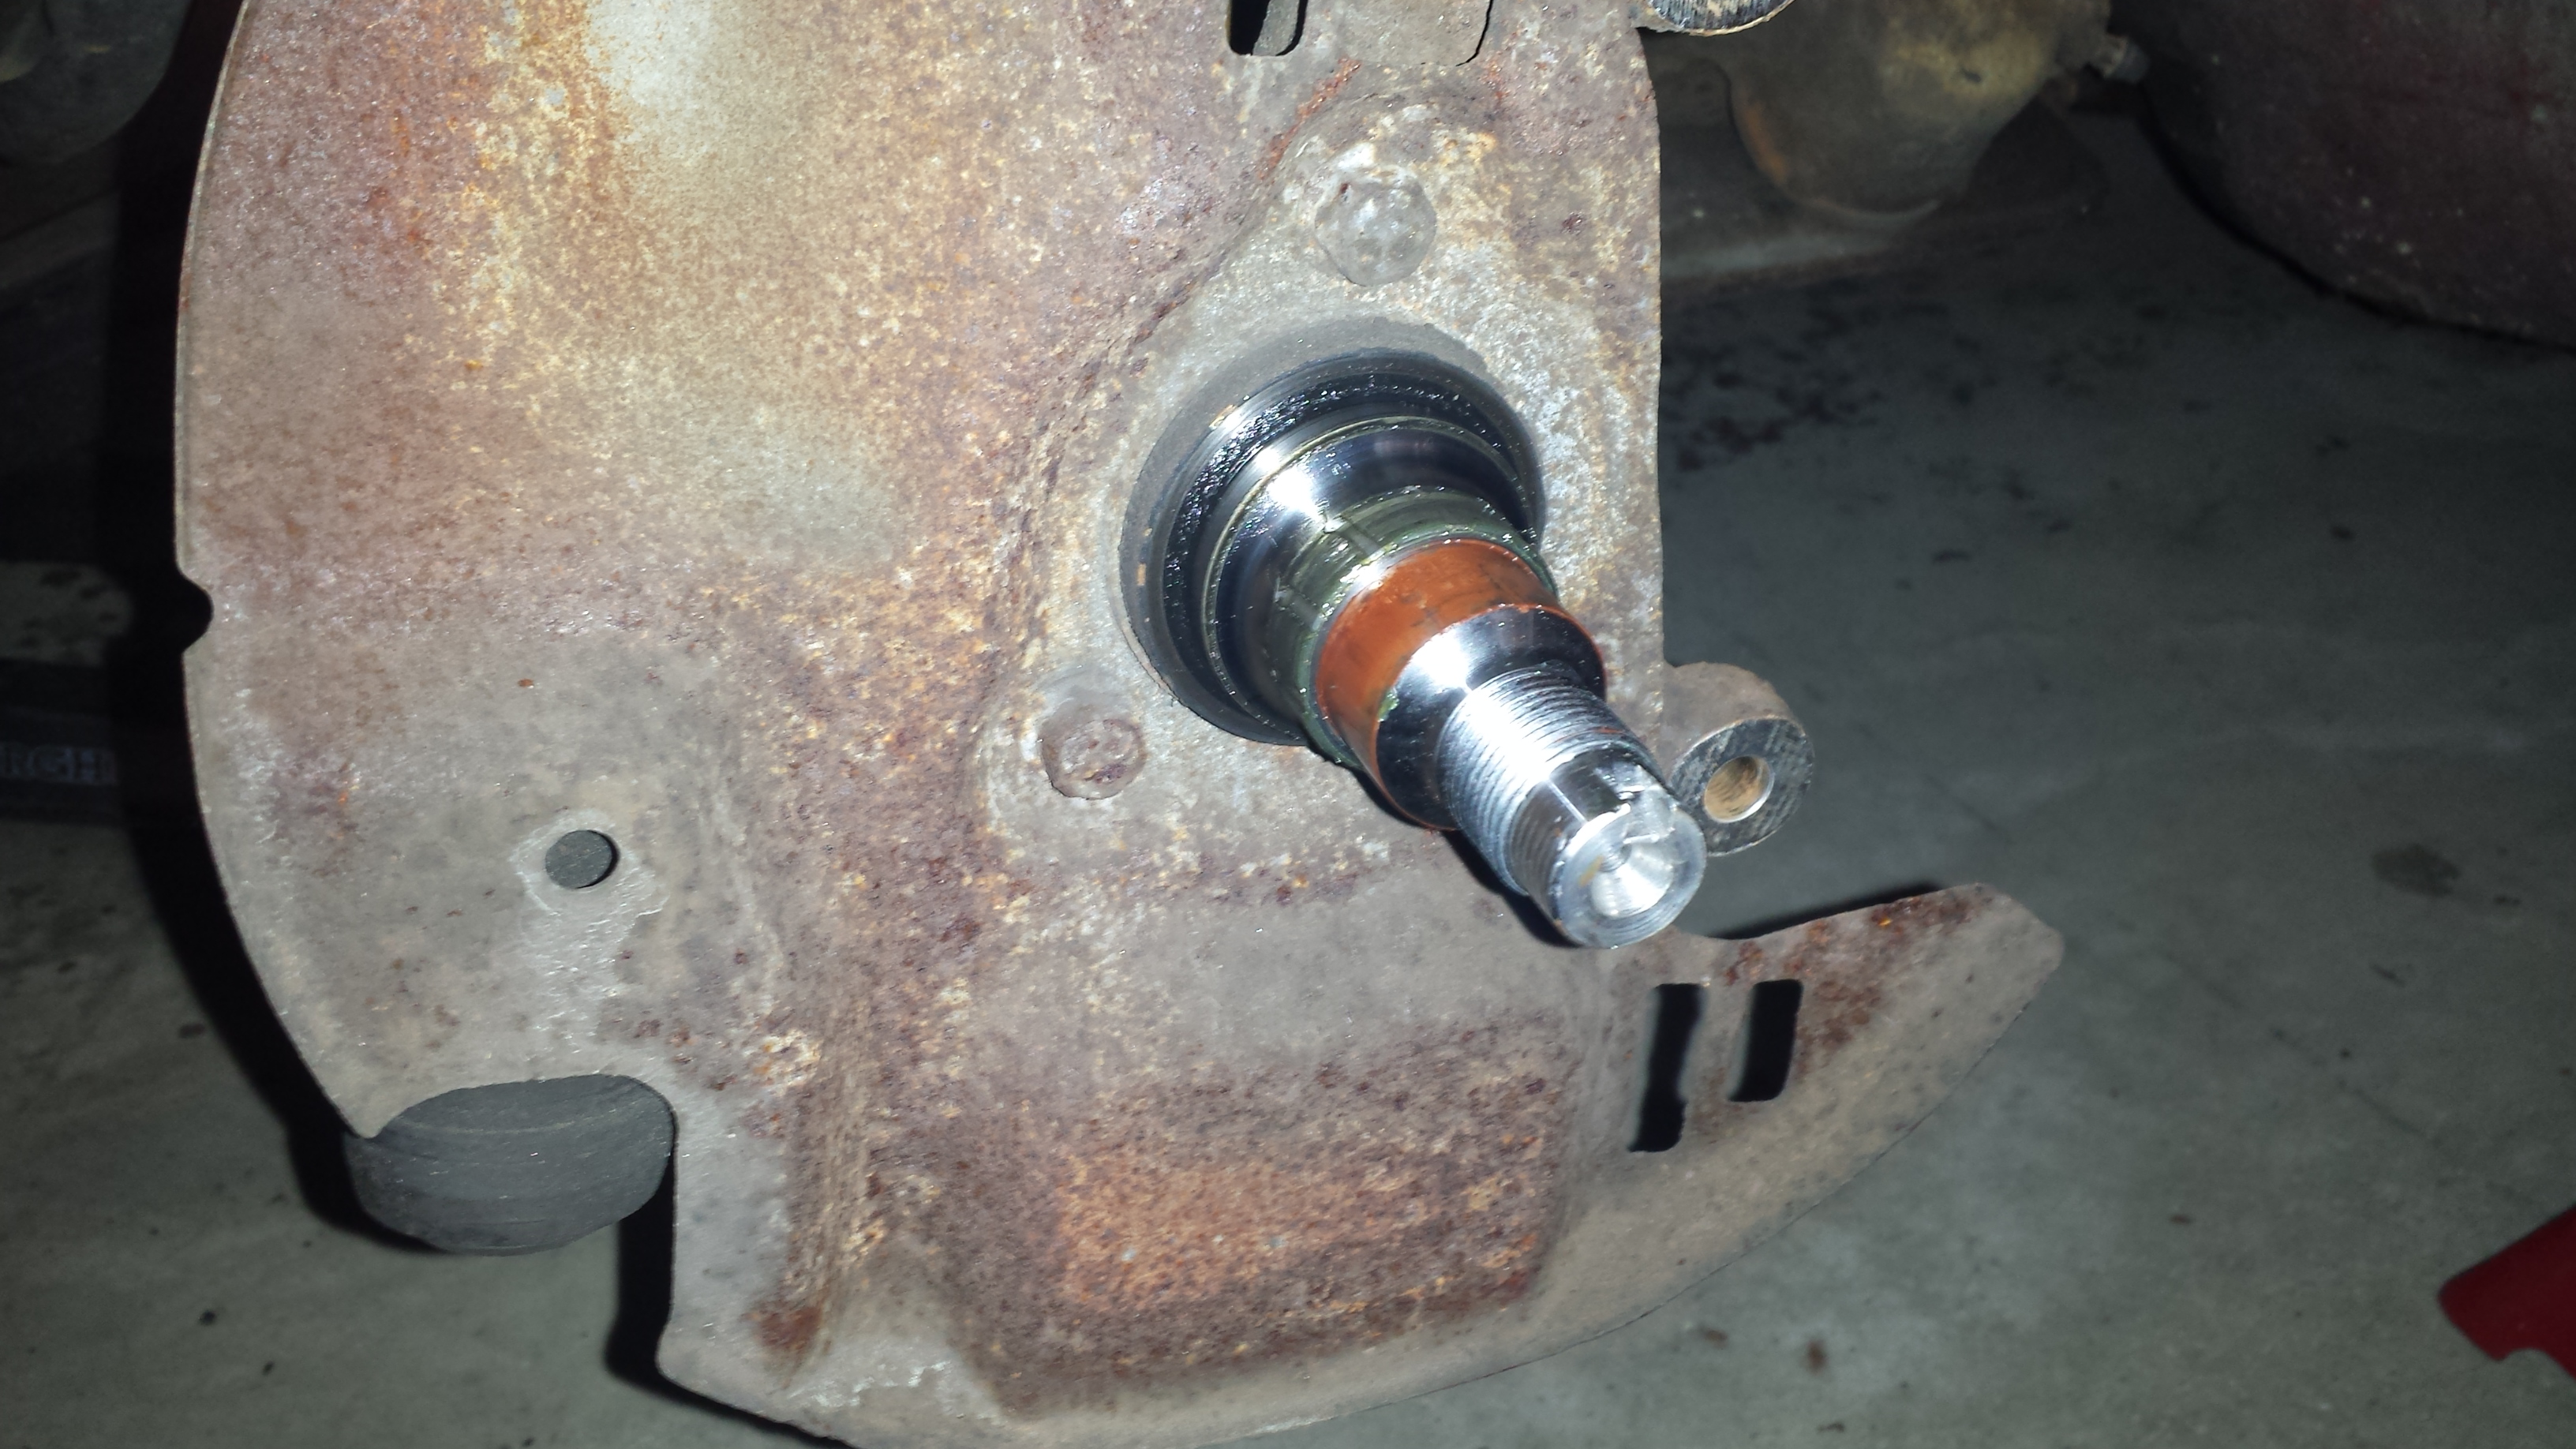
New hubs showed up. Of course, there isn't enough room between the races for the traditional pennies to fit, will have to make some things to get them apart. Ordered Amsoil Race Grease from TSE as well.
Also verified that the front driver side wheel bearing has a slight bit of play. It doesn't run any hotter or make any noise yet, so I am hoping it may be rebuildable. Order some nice tight spec ***** for it and pack it with nice grease. I will be doing that with the passenger side one at least.
I checked the timing finally. The old mark was indeed off (so the new pulley was worth it). It said I was running something like 36* BTDC. The new pulley showed it as right at the end of the timing mark indicator thing. So 22-24* BTDC. It seemed fine there, but with the track day coming up, where I will be at WOT for good periods of time, I set it back to 14.
I finally got around to doing a compression test as well. It's Dry: 175, 175, 160, 175 and wet is 200, 195, 180, 205. This is with a cheapish tester off amazon, so I don't trust the exact numbers, but I ran it a few times and it repeats nicely, so relative should be good.
So from those readings, would I be correct in saying the motor is fairly healthy with a possible slight valve leak on cylinder 3? And that it is fine to boost without to much worry?
Reply
 0
0

0


Picking up 20-30psi with oil indicates worn out rings, which is going to generate a lot of blowby and crankcase pressure when you add boost. If you haven't ordered a manifold yet, this is fate telling you to upgrade to a 1.8L 
Reply
3
3
Thread Starter
Elite Member
Joined: Oct 2013
Posts: 1,822
Total Cats: 144
From: NorthWest NJ
What manifold? It is getting a supercharger.
How bad of blowby will I be looking at? Right now, the oil stays dead clean and the blackstone reports don't show anything odd at all from it. I am not planing on ever doing more than 8-9psi on this motor (I will be pleased if the M45 can do that much).
If I were going to go turbo, it would be a 1.8 with one of your kits, but that just isn't in the cards money wise right now. Someday it will be though (I also have a lot to learn about driving before then as well.)
Reply
0
0
Thread Starter
Elite Member
Joined: Oct 2013
Posts: 1,822
Total Cats: 144
From: NorthWest NJ
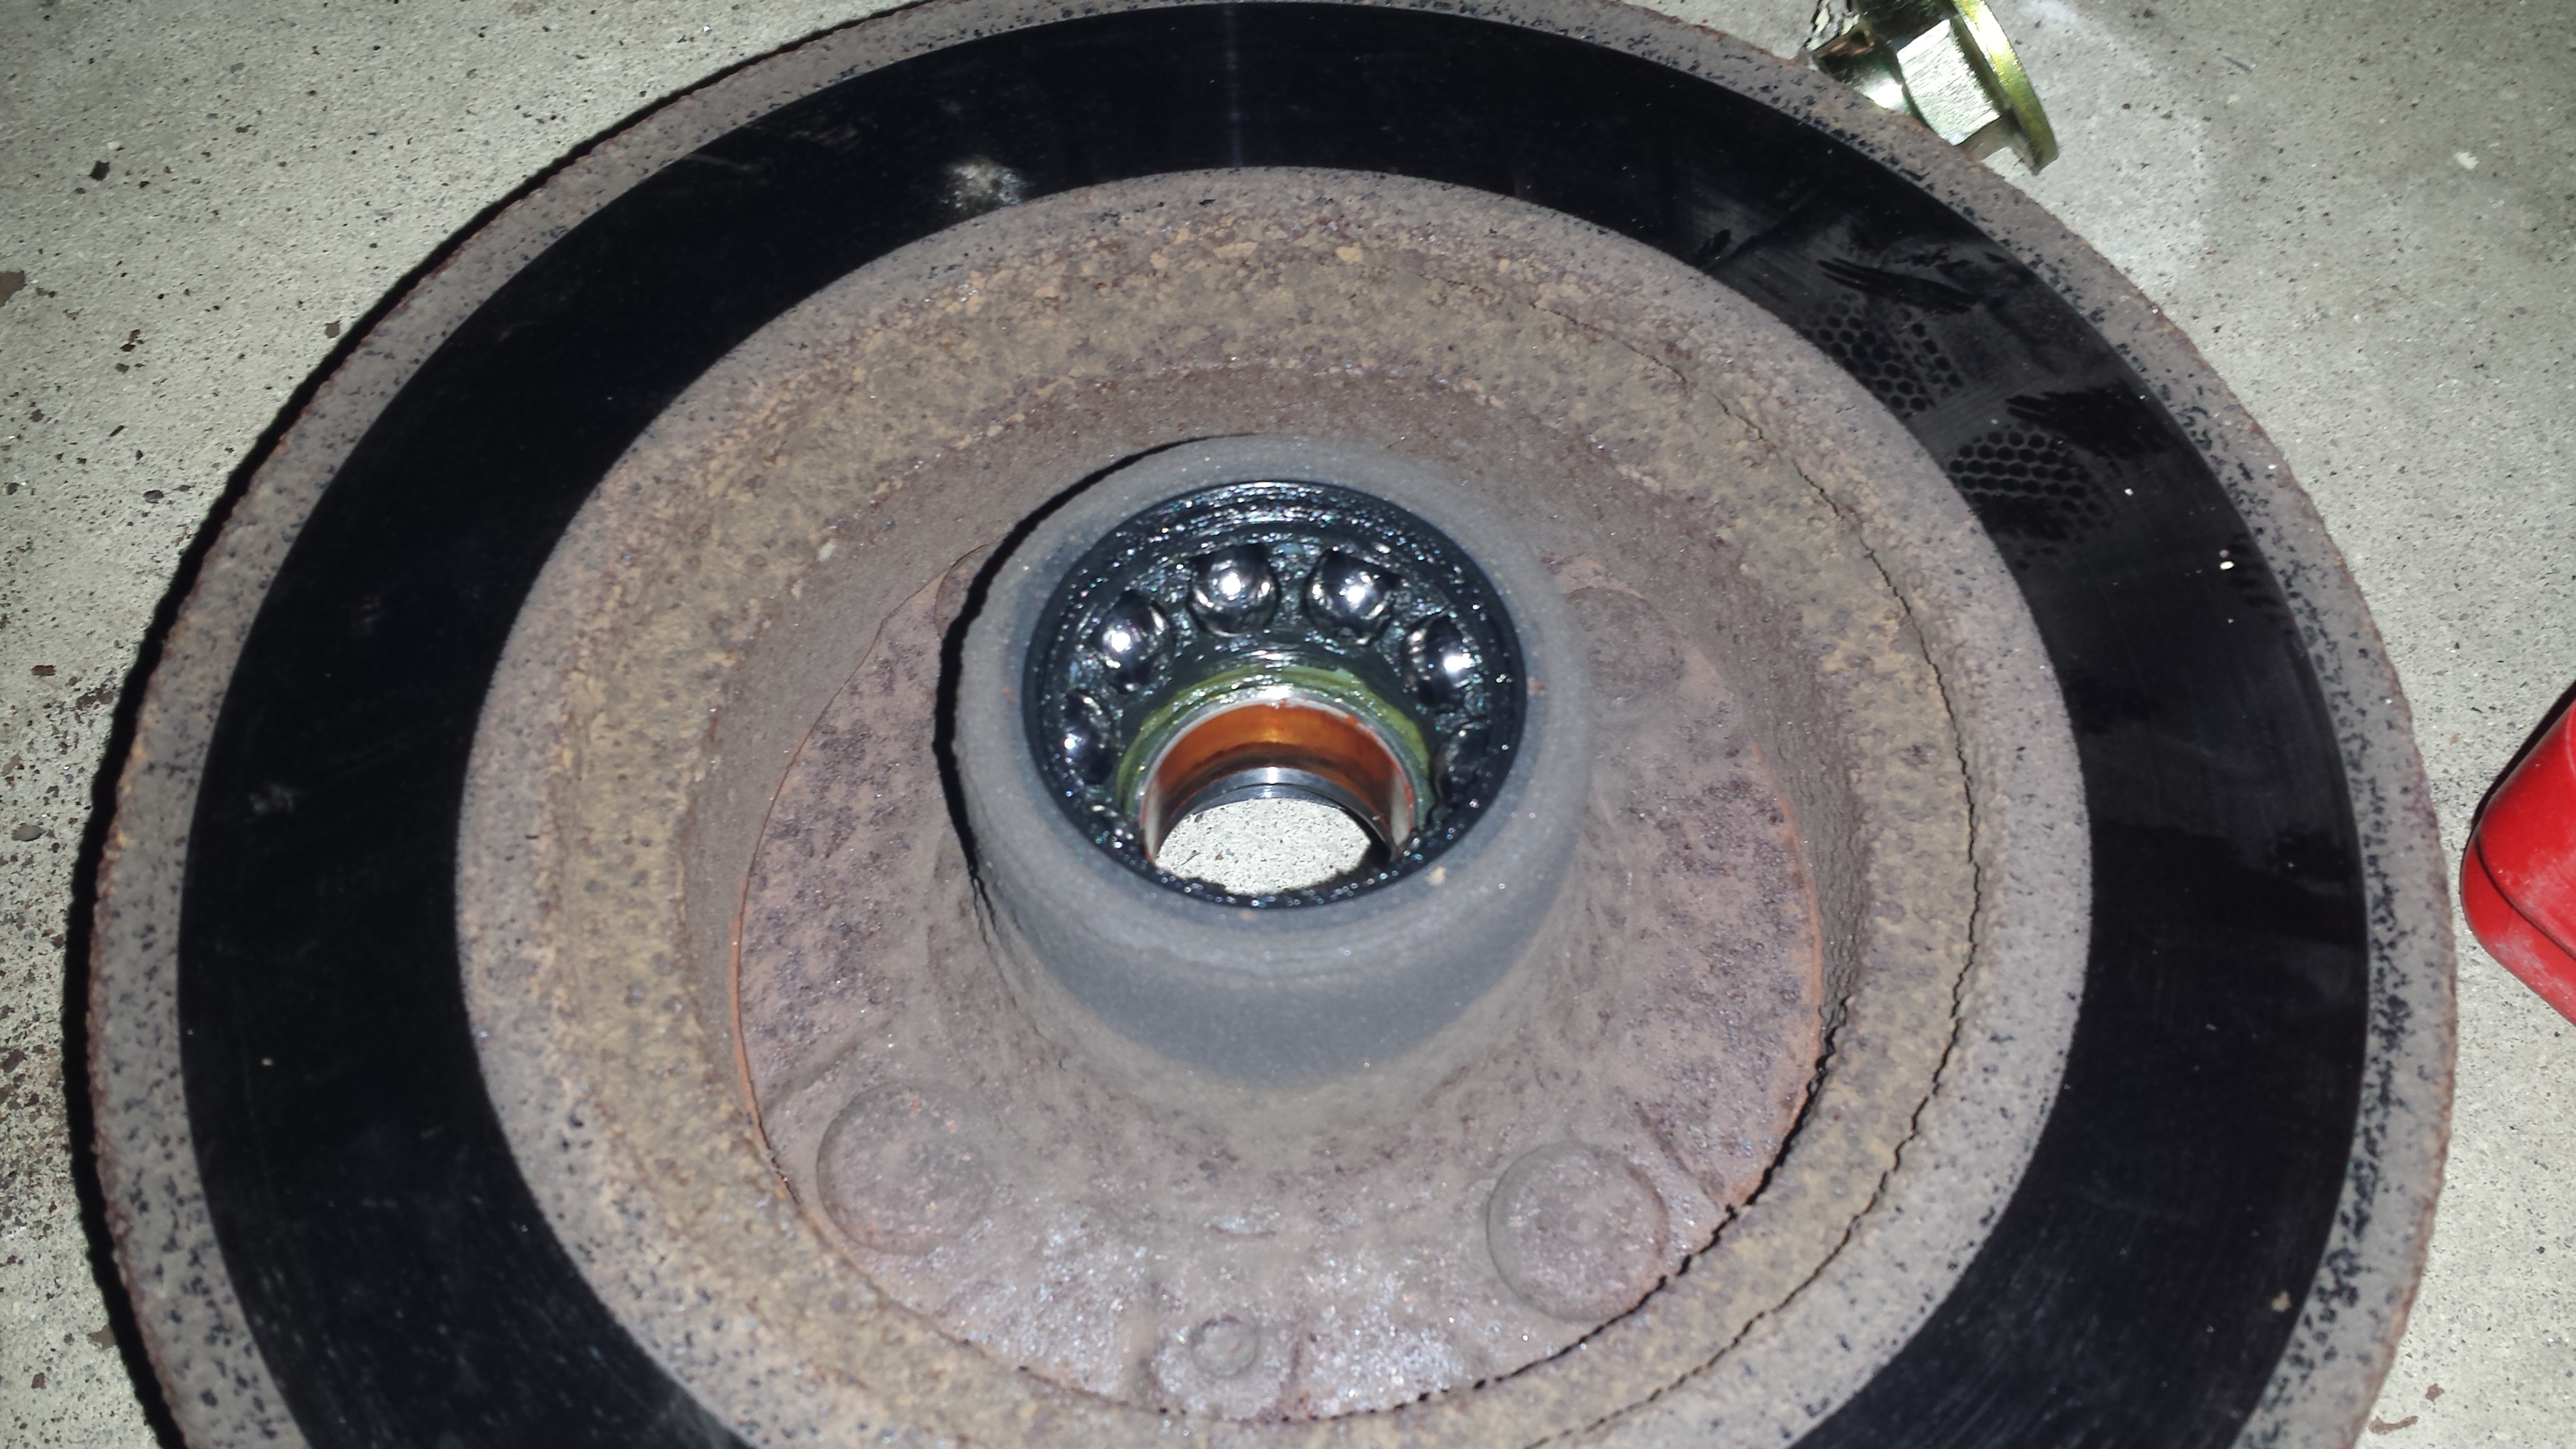
Changed out the one front hub today so I can drive the car without worrying until my grease comes in to rebuild the other.
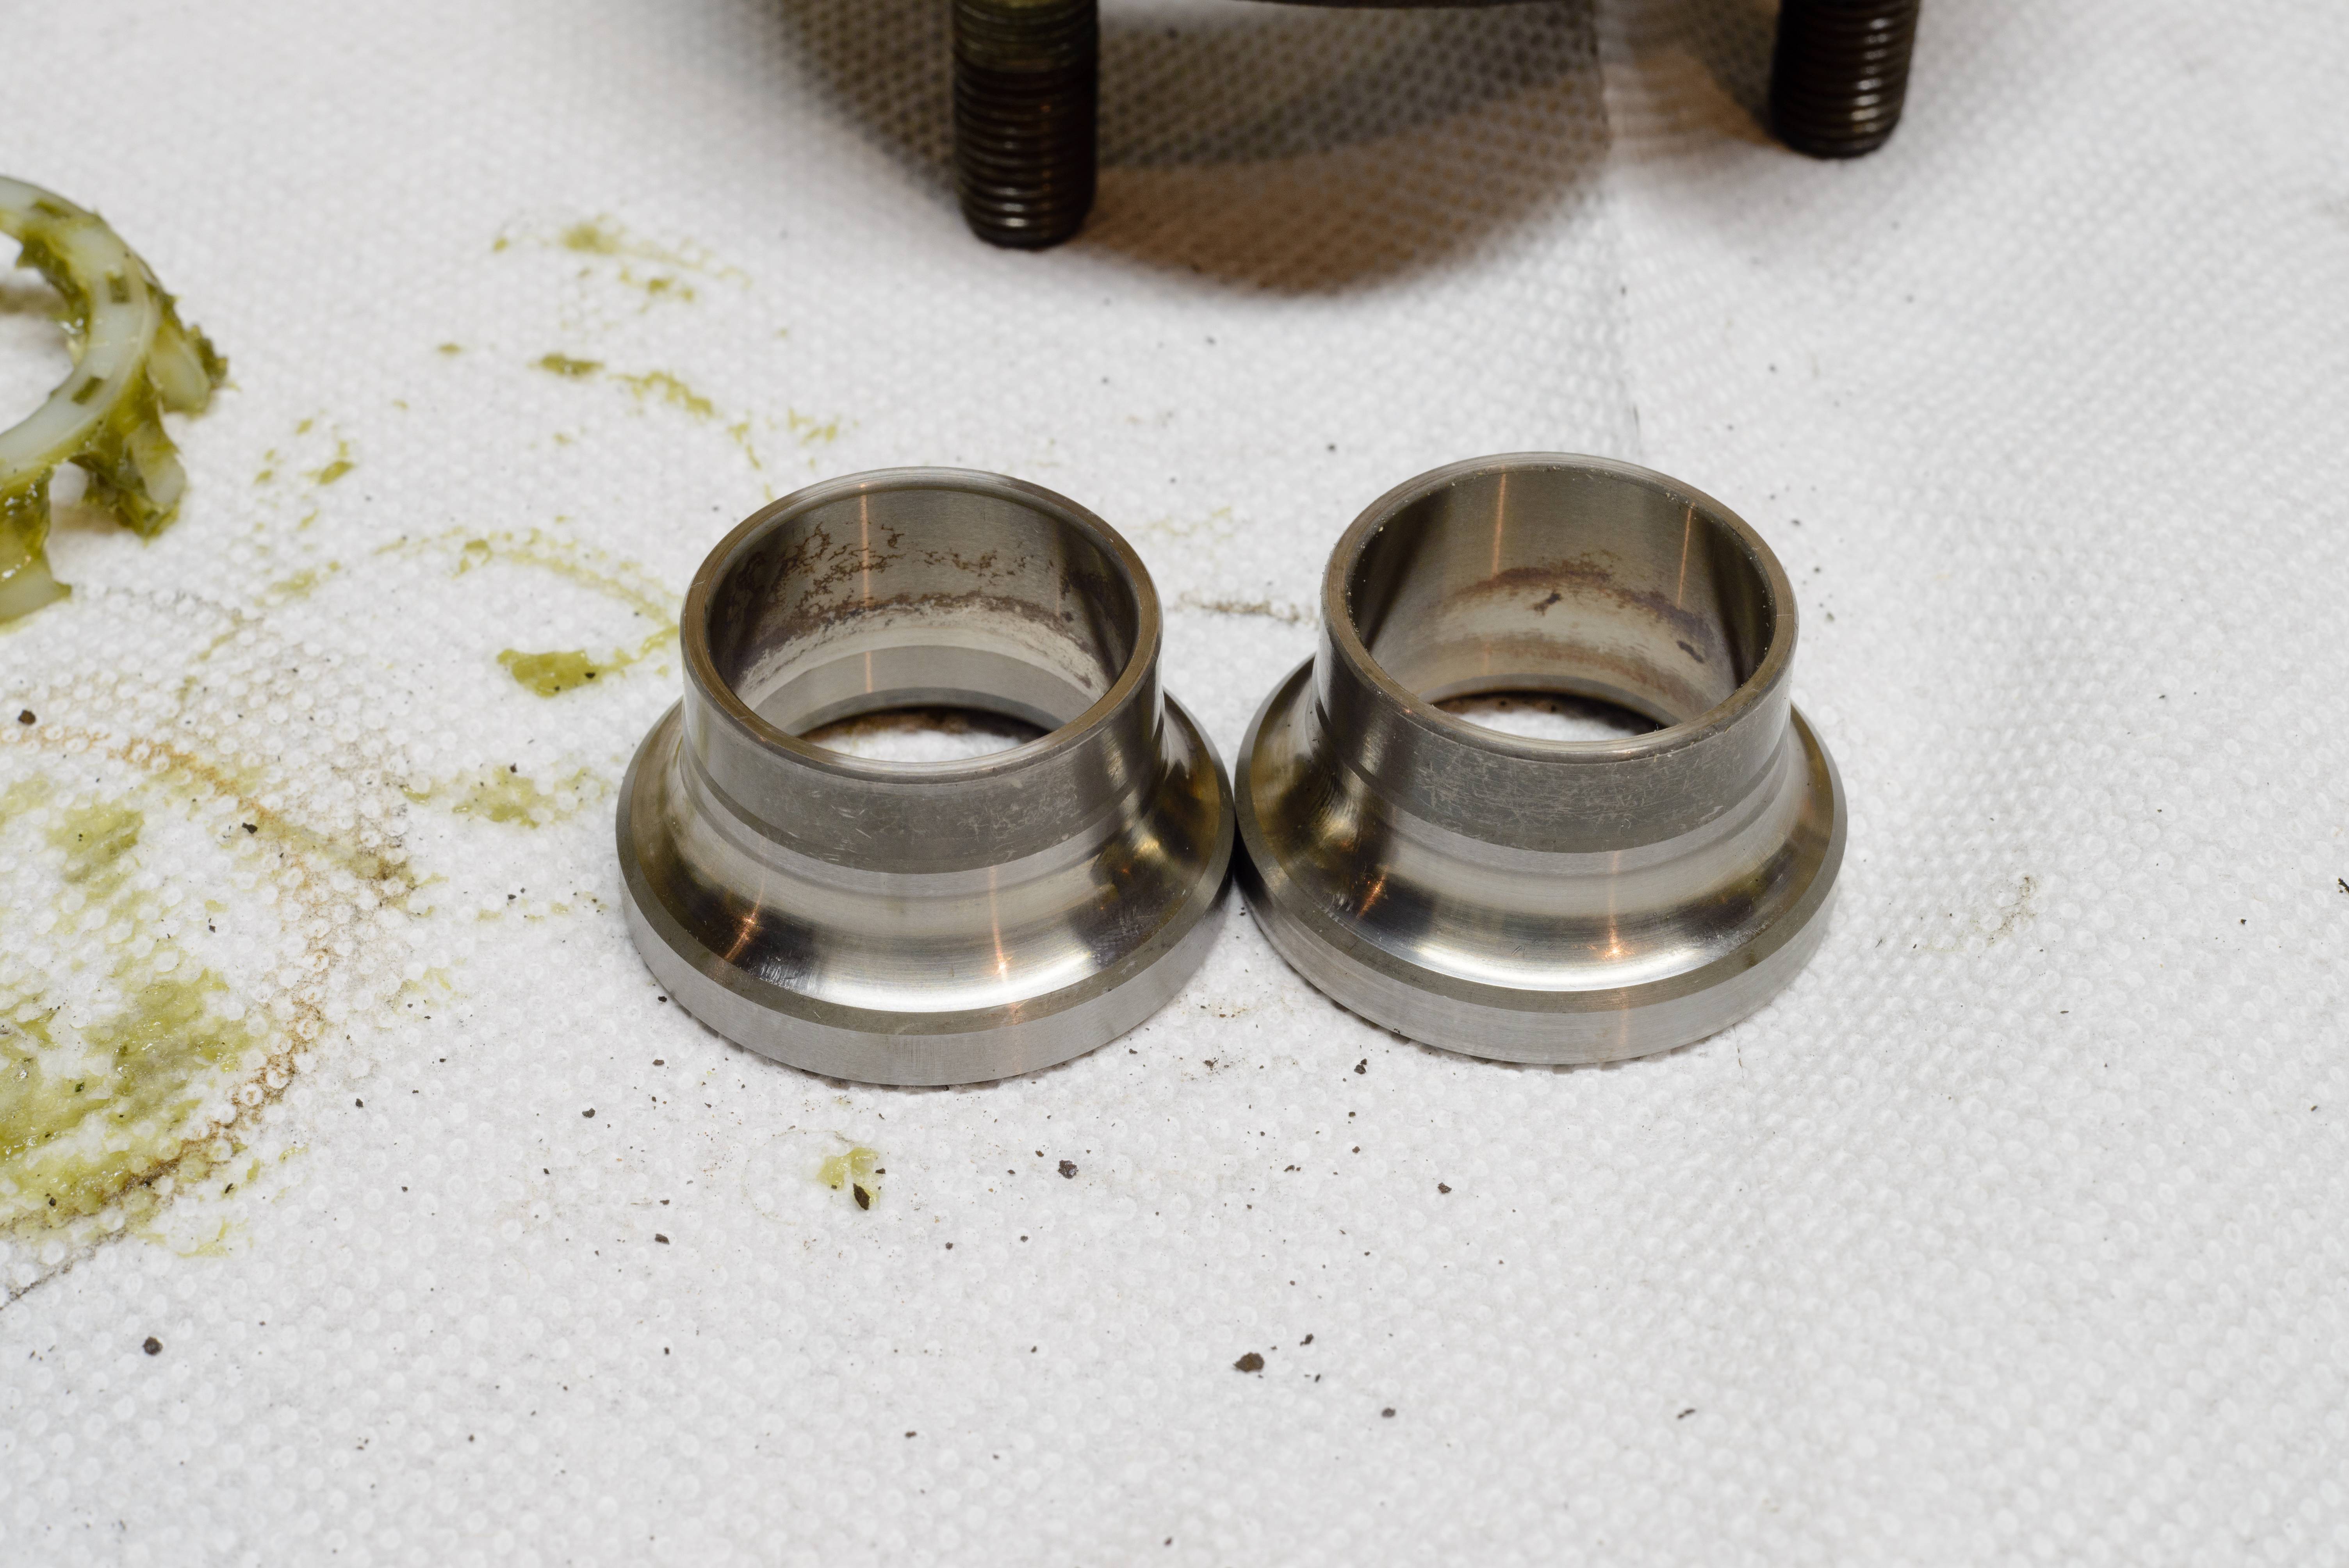
Should I be worried that the one inner race stuck on the stub shaft? They seem to not be actually held in by much.
The grease in the rear bearing was black, the front bearing was still clean greanish. Odd. Also, is this a stock casting?
I am also slightly worried about the machined part of the new hubs. I got the Detroit Axle ABS ones. Should I be worried? I will not be running anything stickier than my RE-71R any time soon.
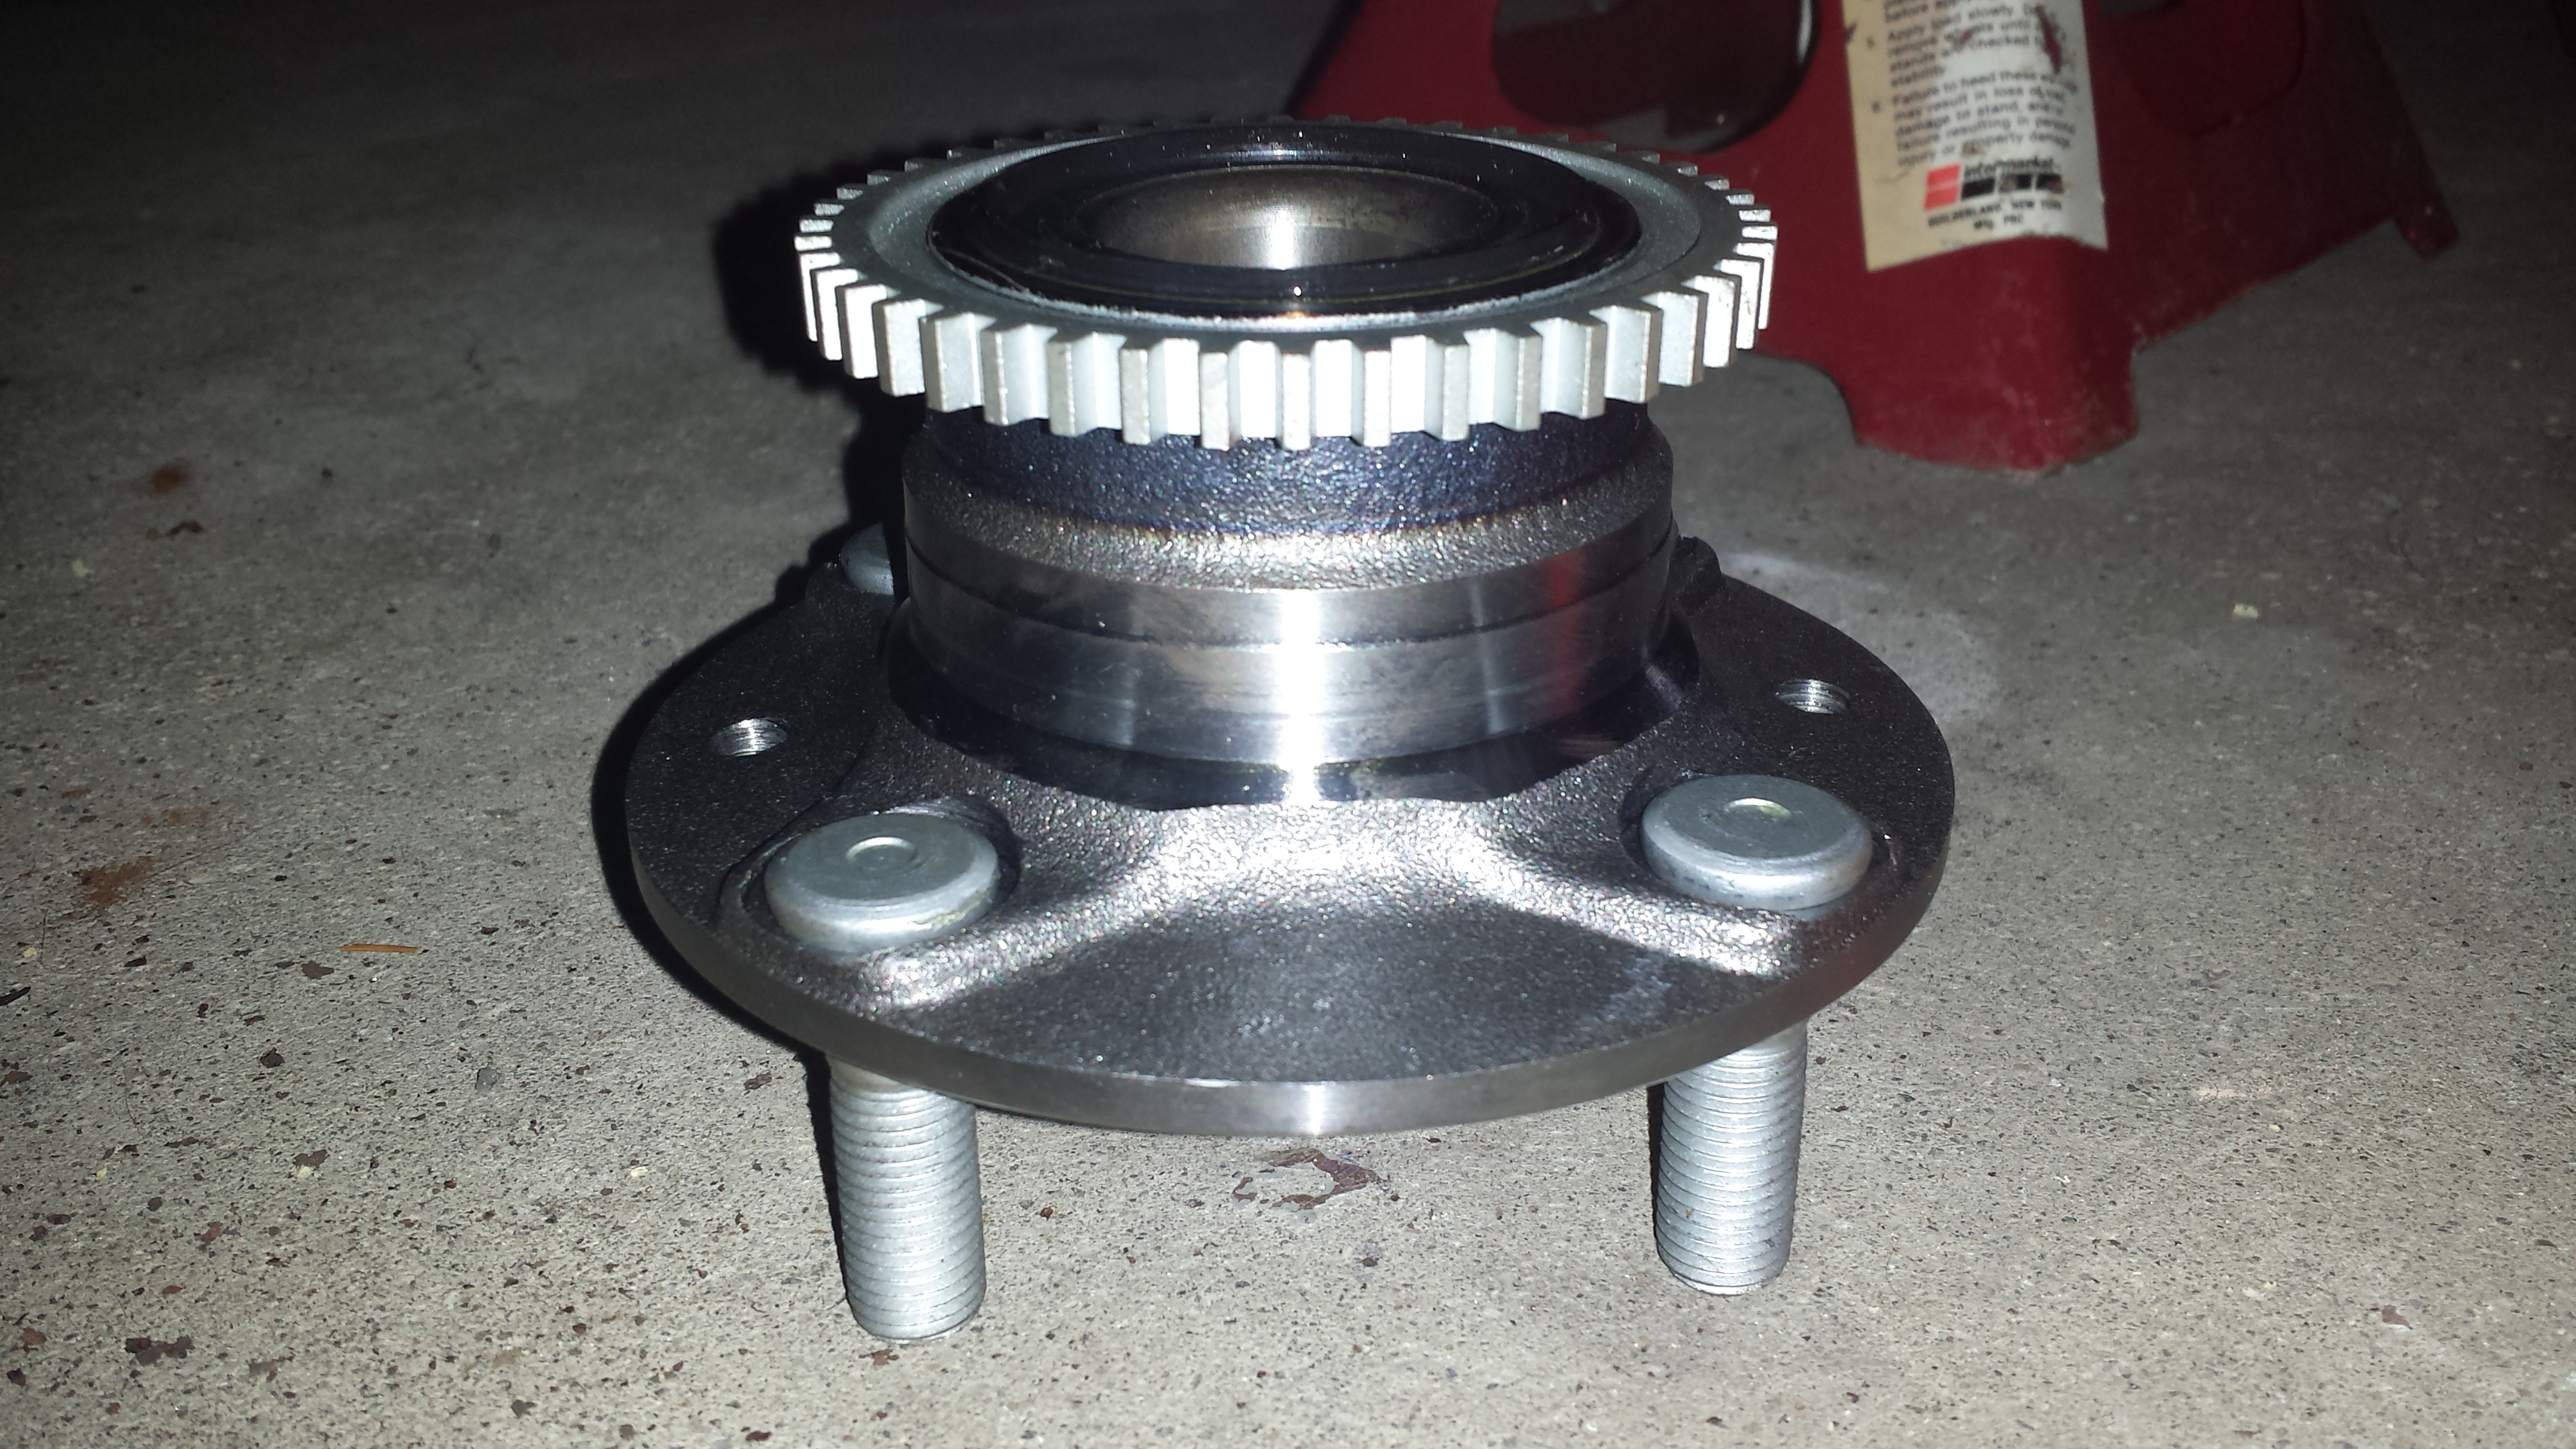
I plan on checking over the stock hub and if it is in good shape, I will order new ***** for it and rebuild it. A reasonable thing to do?
Should I be worried that the one inner race stuck on the stub shaft? They seem to not be actually held in by much.
The grease in the rear bearing was black, the front bearing was still clean greanish. Odd. Also, is this a stock casting?
I am also slightly worried about the machined part of the new hubs. I got the Detroit Axle ABS ones. Should I be worried? I will not be running anything stickier than my RE-71R any time soon.
I plan on checking over the stock hub and if it is in good shape, I will order new ***** for it and rebuild it. A reasonable thing to do?
Reply
0
0
Thread Starter
Elite Member
Joined: Oct 2013
Posts: 1,822
Total Cats: 144
From: NorthWest NJ
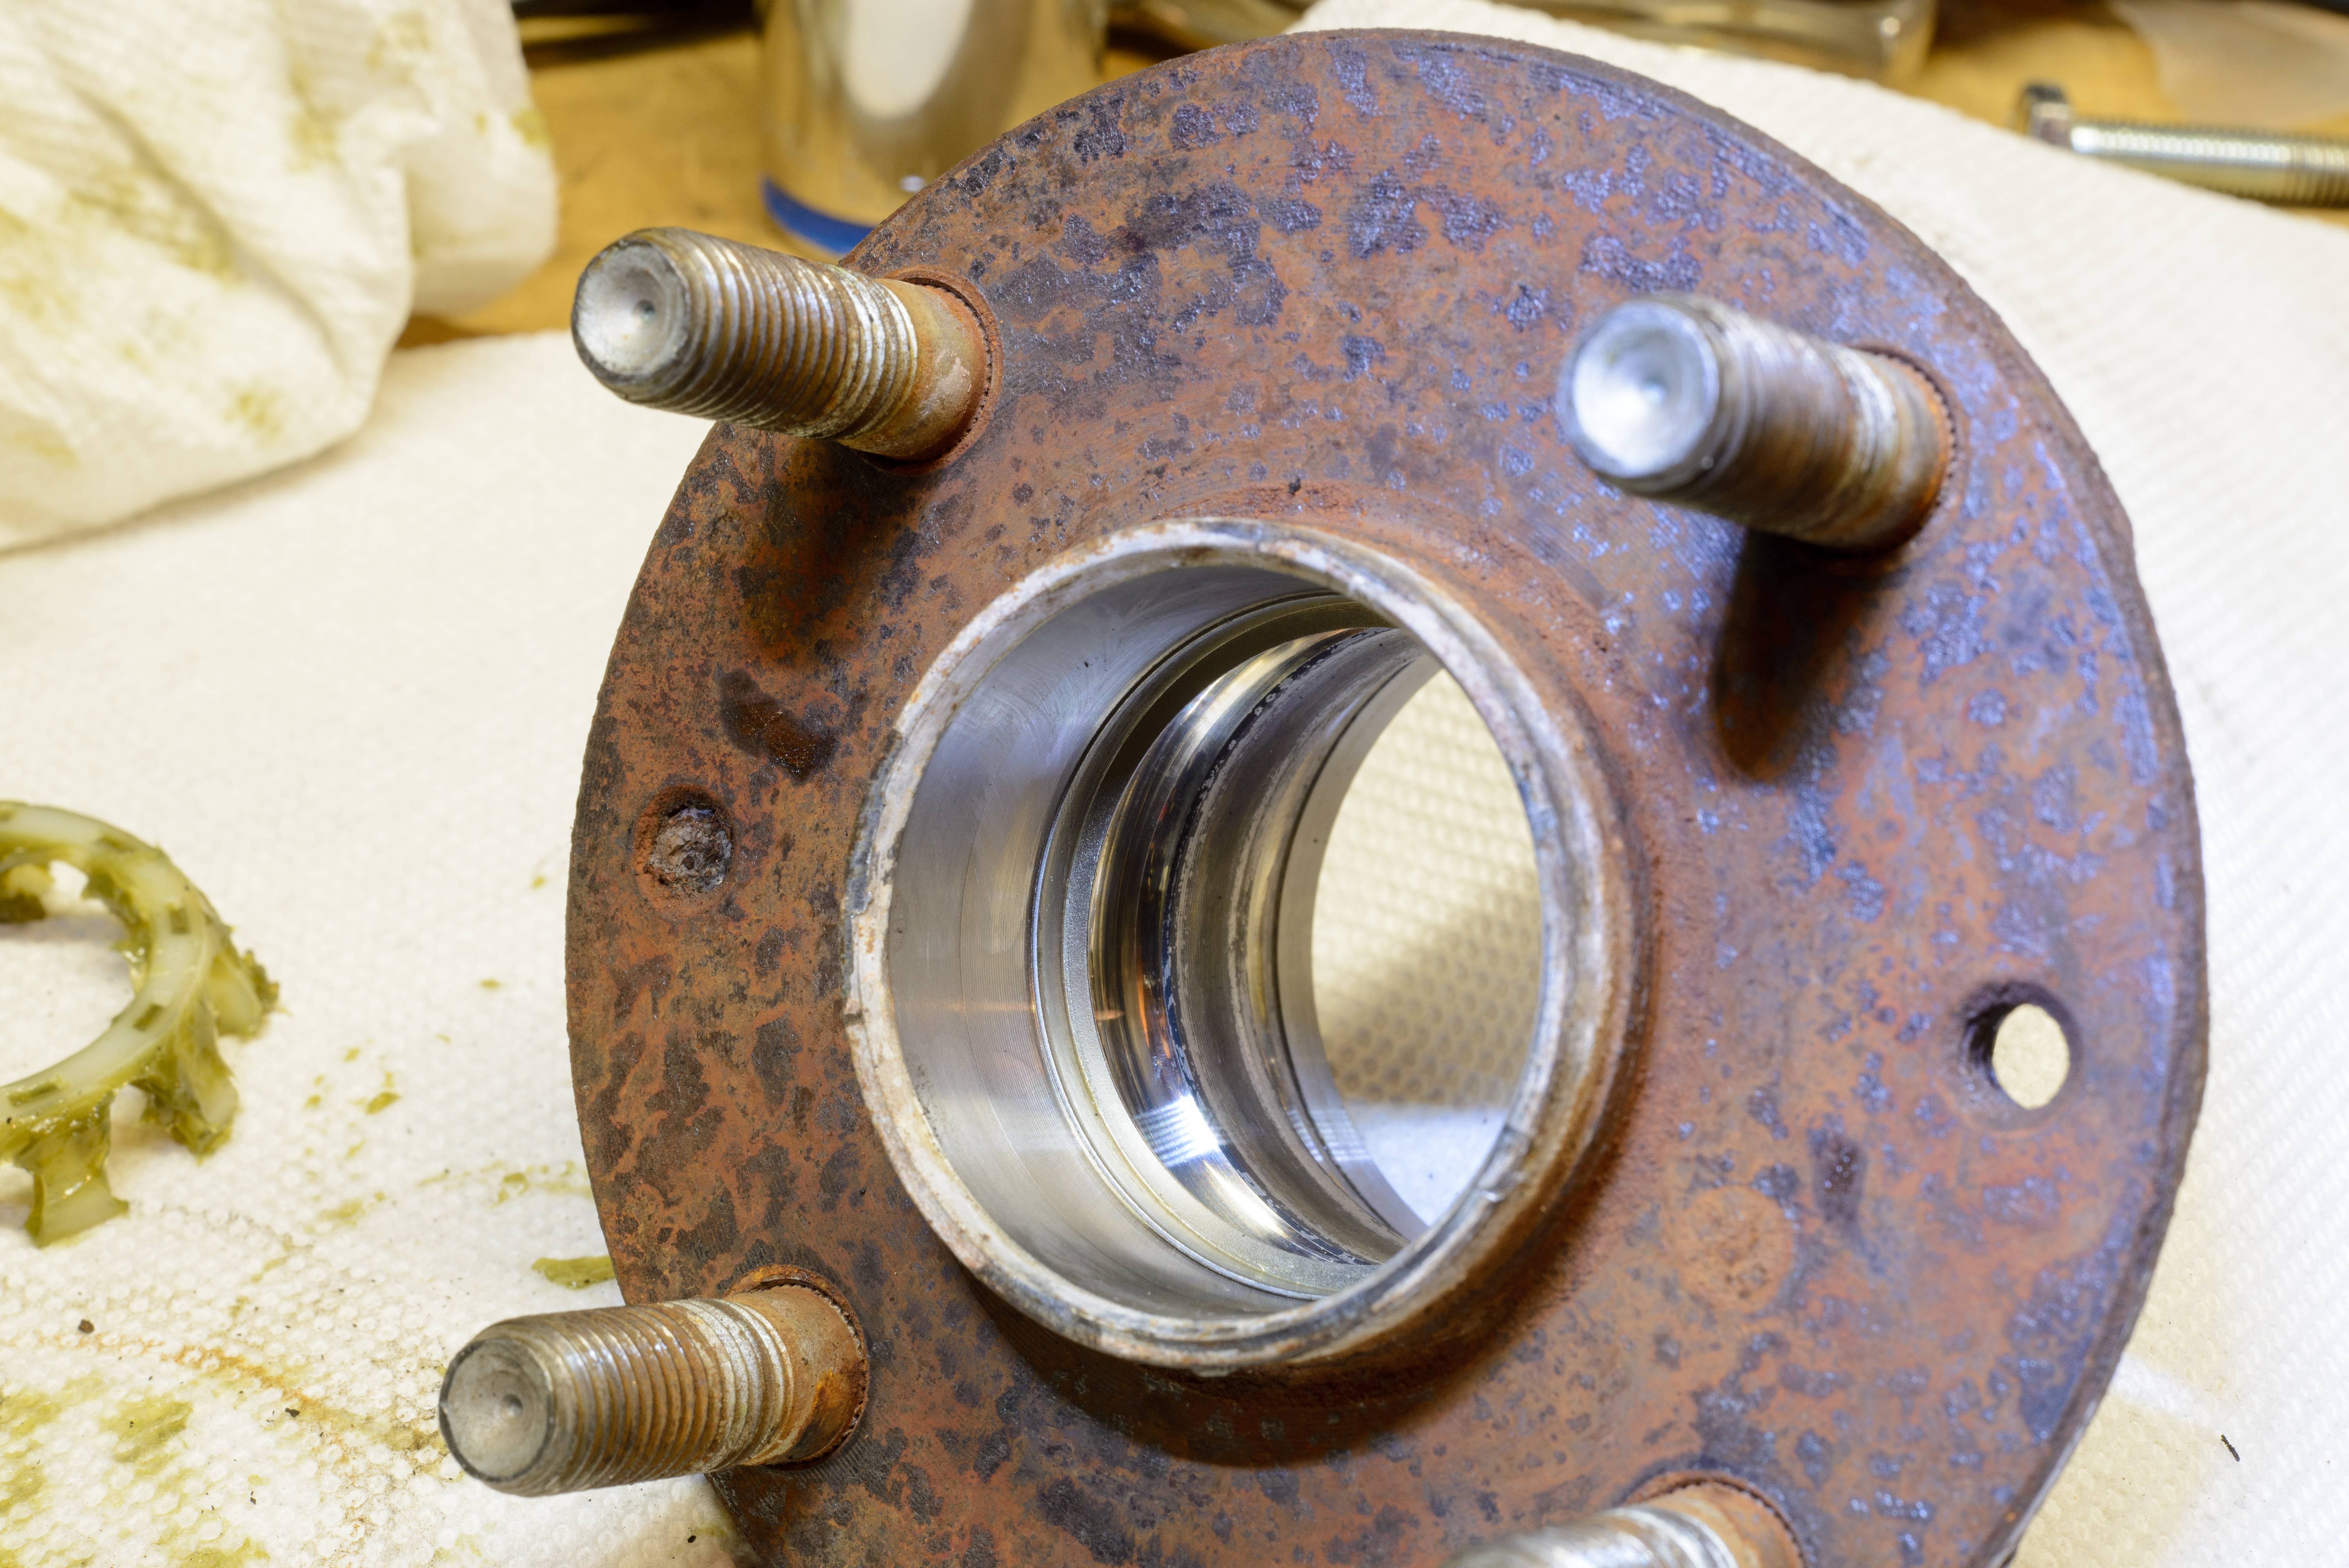
Got the stock hub apart, the races look to be in good shape. Is there any reason I can't order some new ***** and put it back together? What actually wears on these that would cause very slight play?

Reply
0
0
Thread Starter
Elite Member
Joined: Oct 2013
Posts: 1,822
Total Cats: 144
From: NorthWest NJ
Nothing much has happened yet, been super busy with school and work. I did bring the hub to work and run it and all the ***** through the ultrasonic before examining the races. They look perfect under 20x magnification, ***** all measure within 0.003mm of each other and within roundness. That is probably a measurement error though, our micrometer only has 0.001 resolution. I threw some temporary grease on it so it doesn't rust before I can get time to put it back together and see how it works, it will be getting Amsoil Dominator Race Grease.
I did put some new stickers on the hard top though. I figured the extra HP added will counteract the weight of it.
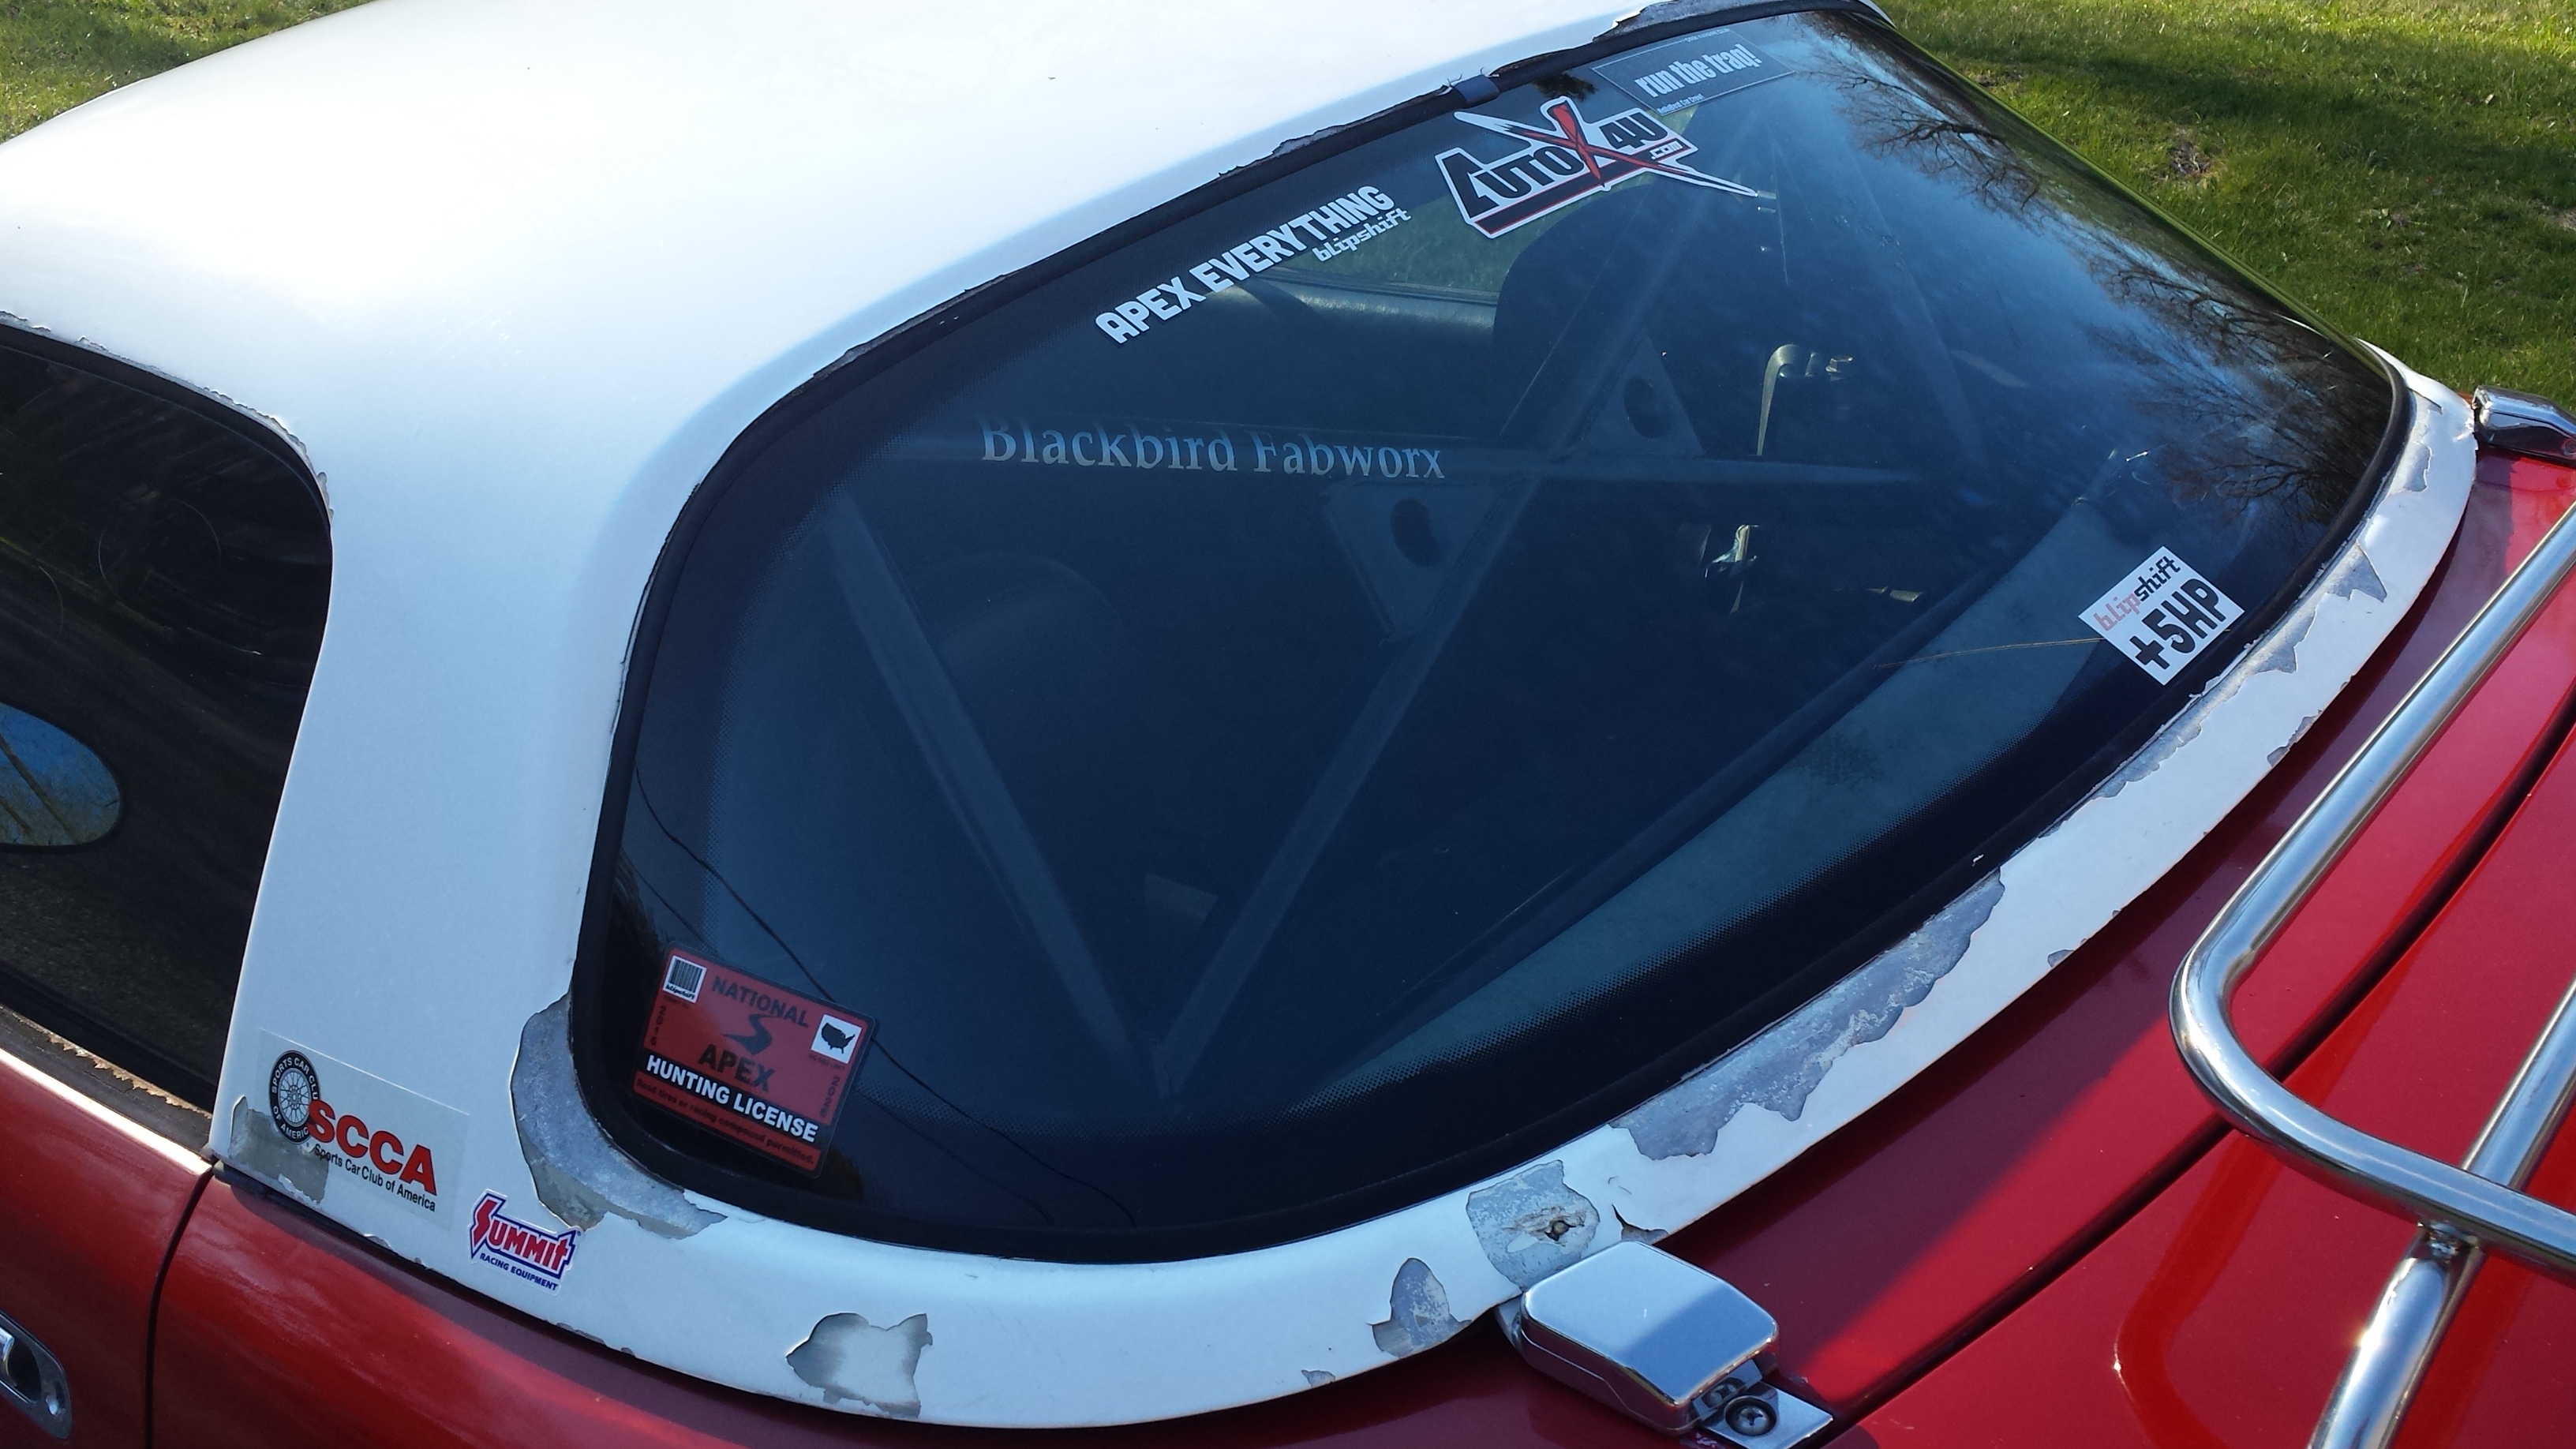
I did put some new stickers on the hard top though. I figured the extra HP added will counteract the weight of it.
Reply
0
0

Nothing much has happened yet, been super busy with school and work. I did bring the hub to work and run it and all the ***** through the ultrasonic before examining the races. They look perfect under 20x magnification, ***** all measure within 0.003mm of each other and within roundness. That is probably a measurement error though, our micrometer only has 0.001 resolution. I threw some temporary grease on it so it doesn't rust before I can get time to put it back together and see how it works, it will be getting Amsoil Dominator Race Grease.
Reply
0
0
Thread Starter
Elite Member
Joined: Oct 2013
Posts: 1,822
Total Cats: 144
From: NorthWest NJ
I measured the ***** that came out of the stock hub. When I get some time to pull the detroit axle ones appart I will measure those, it is on theblist to do. I am planning on at least re-packing them, possibly getting some nicer ***** for them if I feel like splurging.
Reply
0
0
I bought some ebay ***** based off a random size i found on here. I have yet to have time to get a hub apart to actually measure them.
Reply
0
0
Thread Starter
Elite Member
Joined: Oct 2013
Posts: 1,822
Total Cats: 144
From: NorthWest NJ
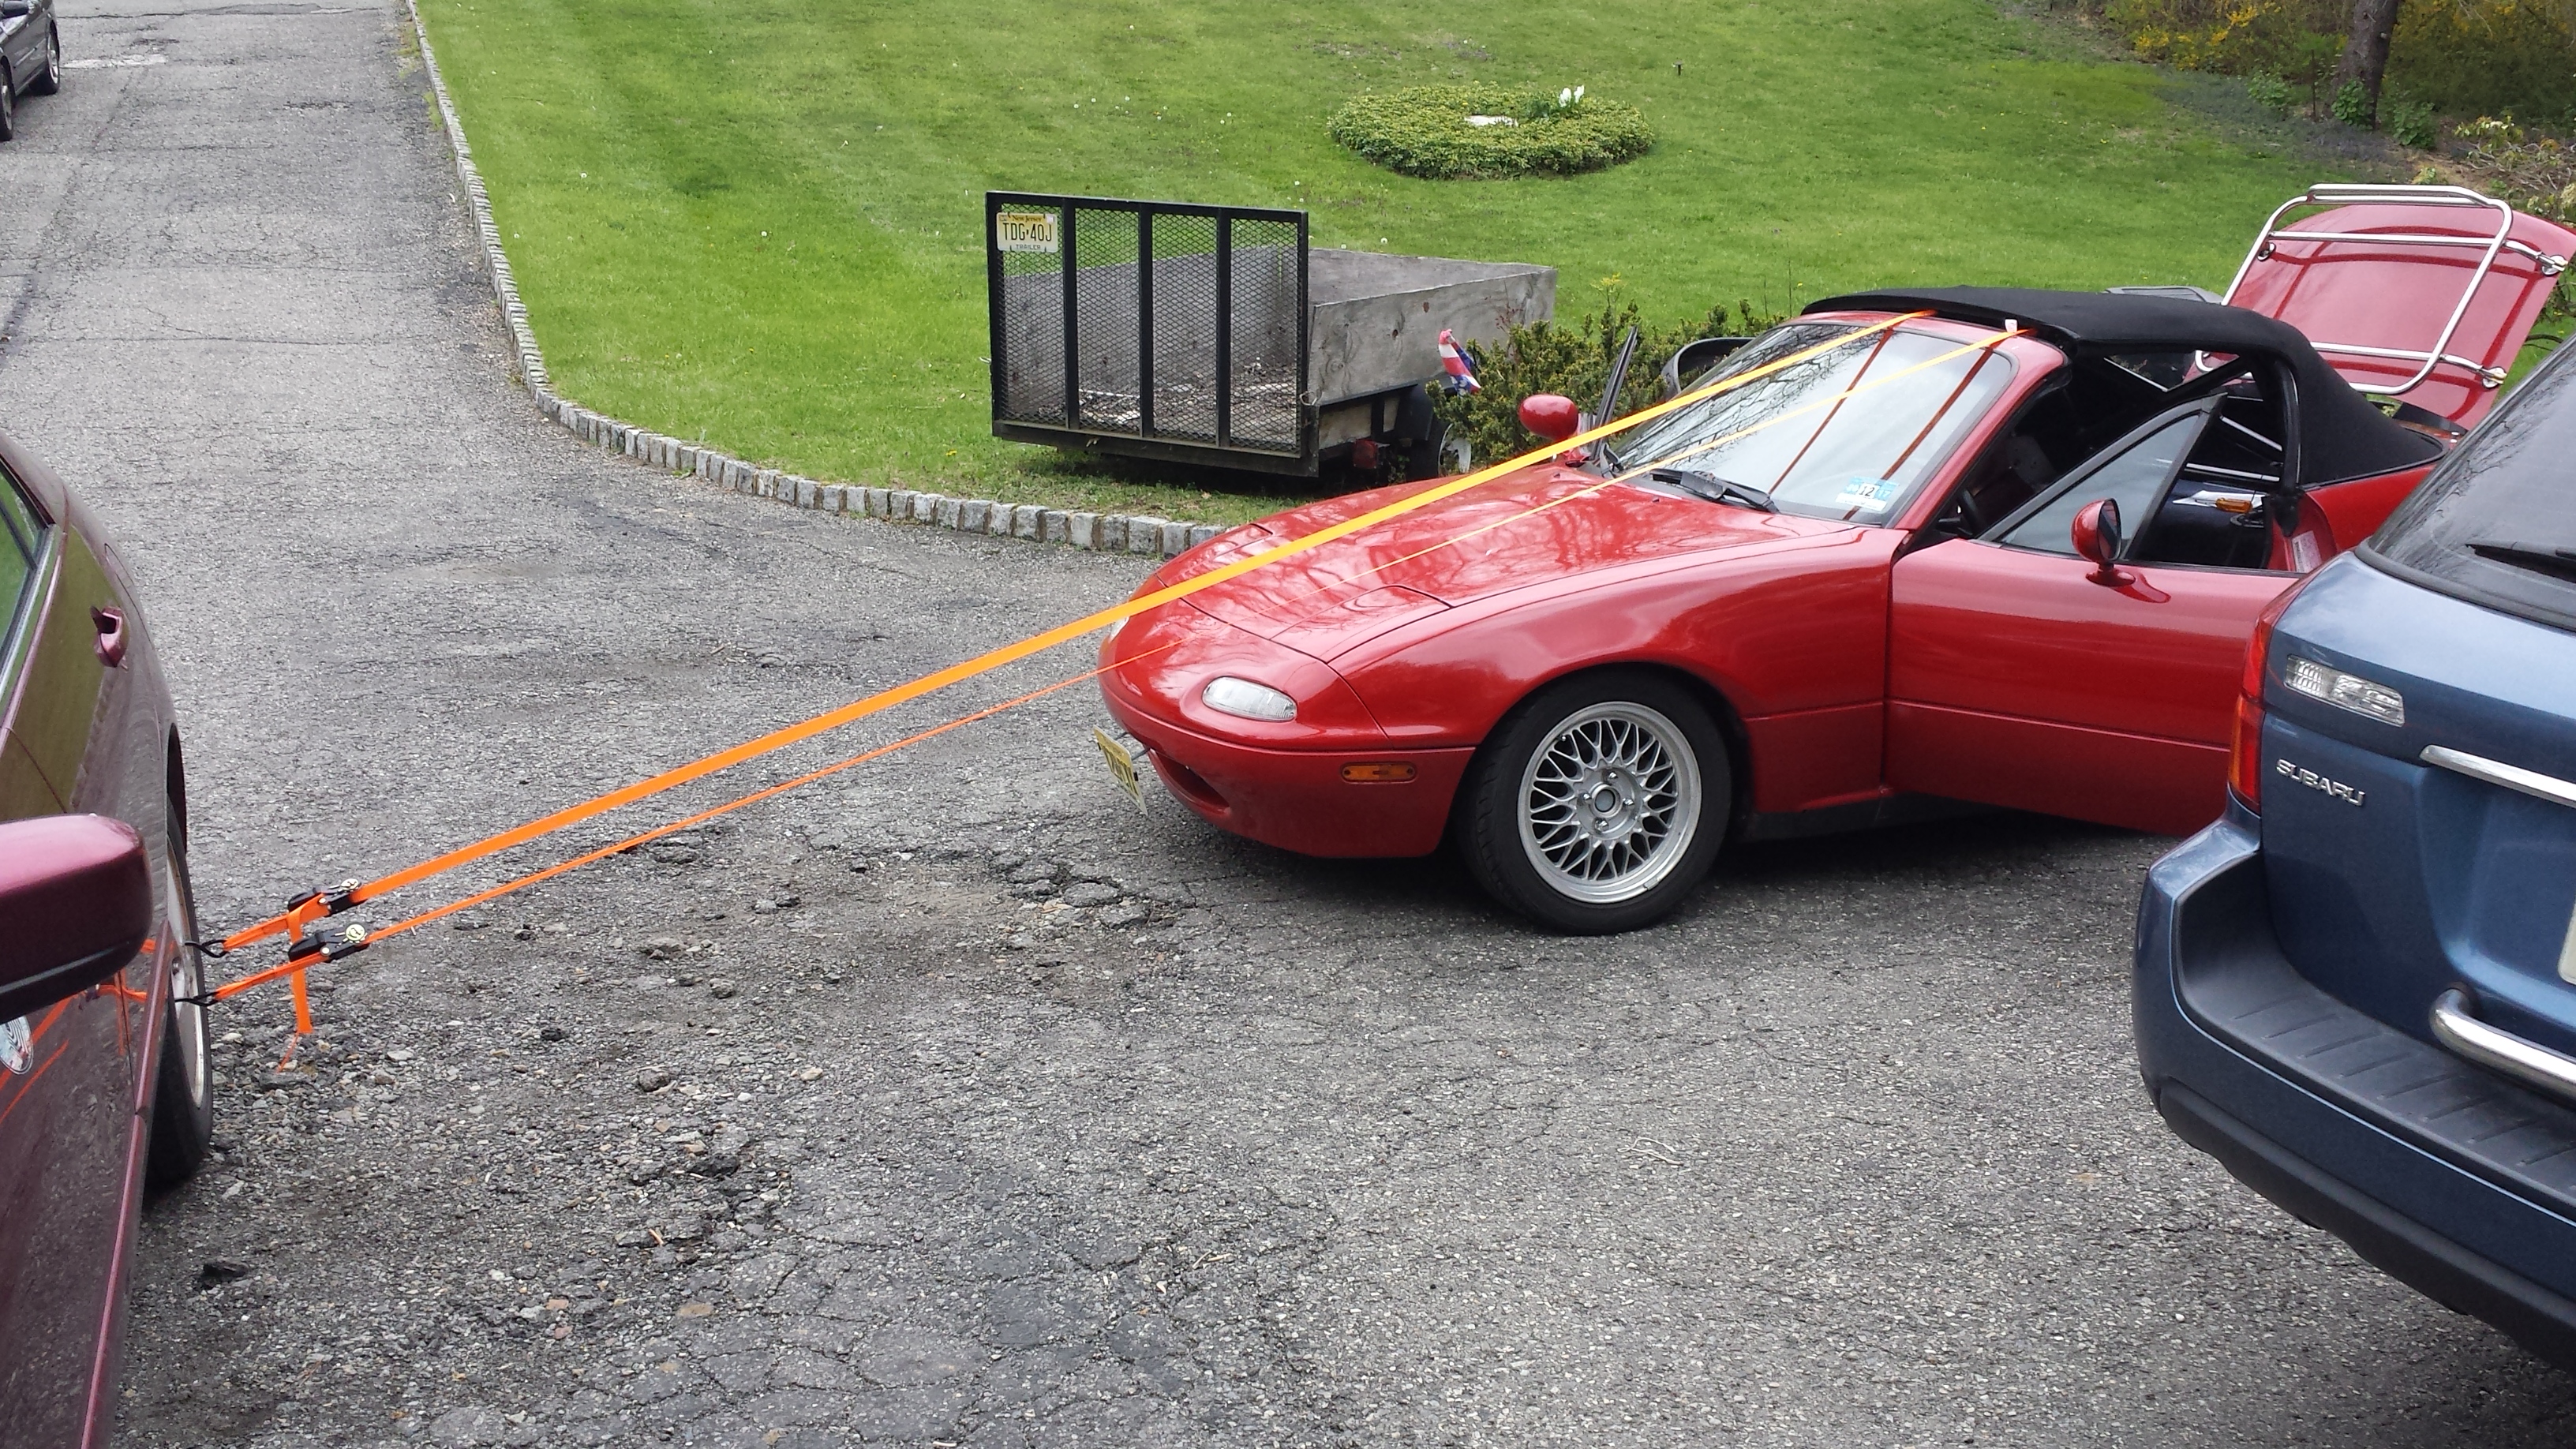
I swear old cars know when you are on a road trip, when you are far enough from home to not be a tow back (or drive back), and exactly what tools/parts you brought. Brought everything, including a hub and all the tools to change one, except a roll of tape. So of course... 
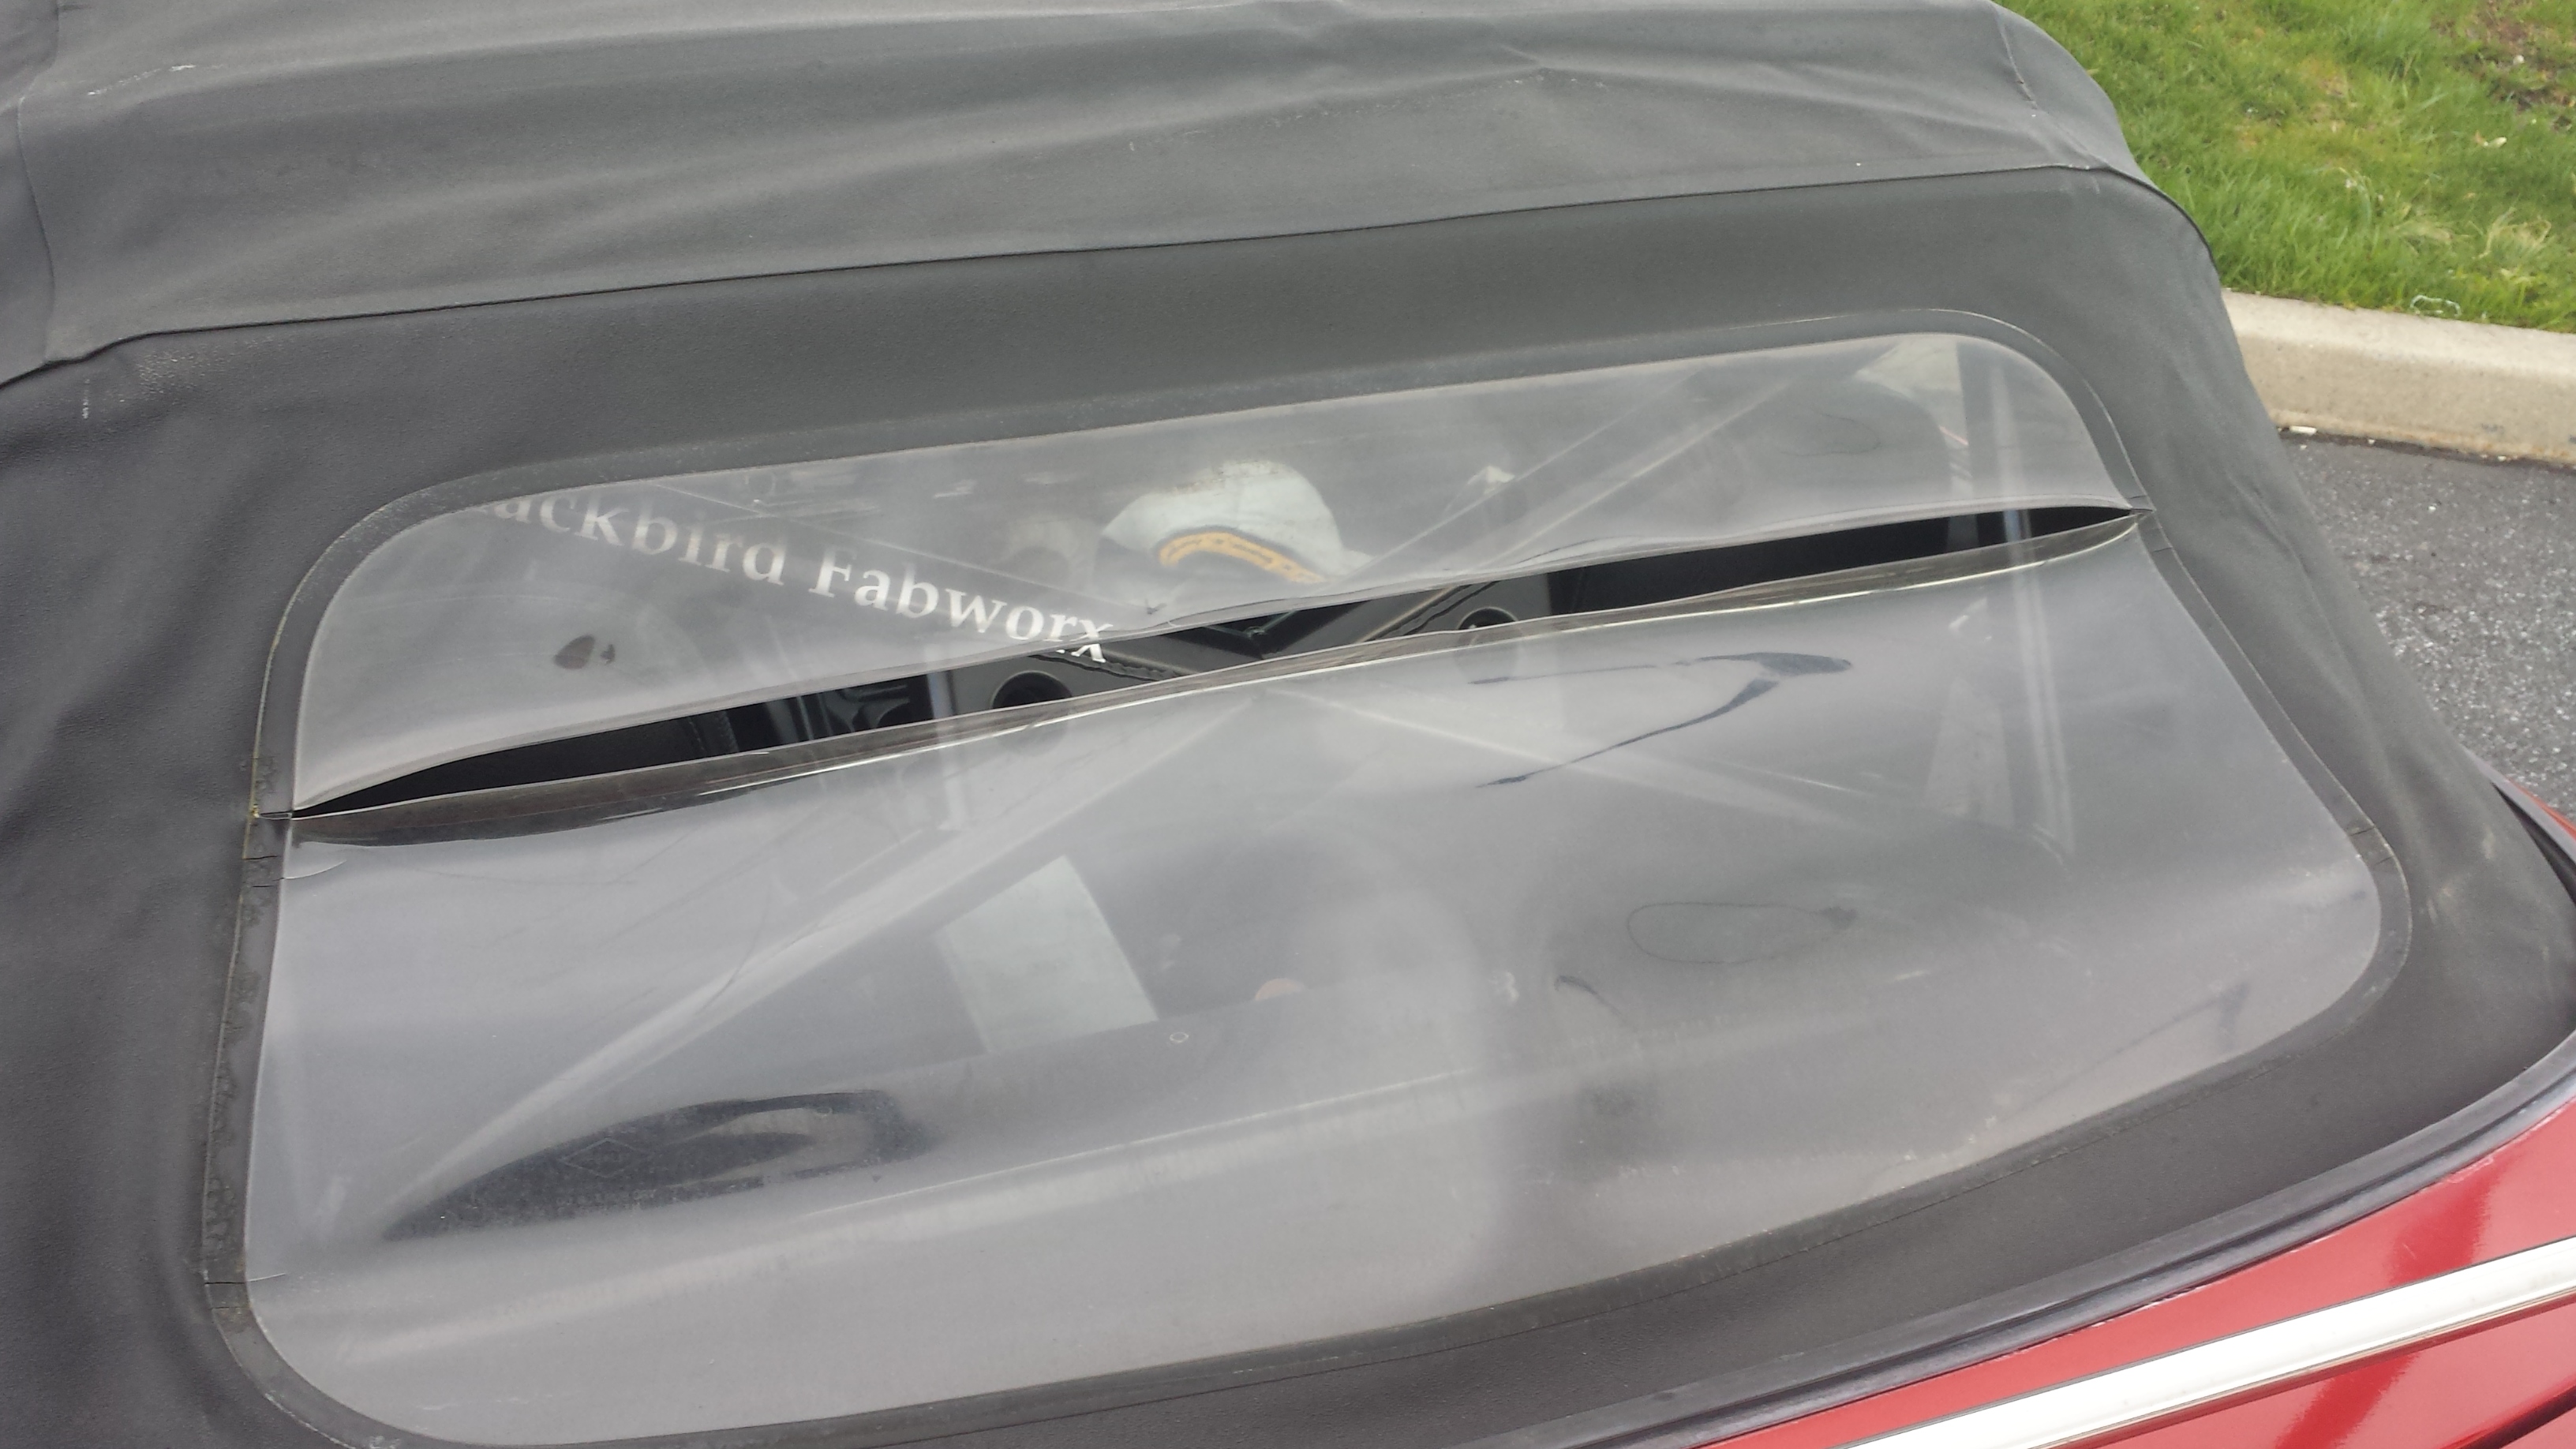
Time for a new top then! I am thinking of going with the Robbins canvas streamline top with plastic window. Anyone have or tried that one? I would go glass, but my roll bar has a harness bar in the way...
In other news, 570 miles total this weekend (all with the top down) and not a single problem. I am pleased.
Reply
0
0
I have a robbins cloth top with a rear plastic window that unzips. I installed it several years ago and I love it. I have also used several canvas tops form eBay where the rear window does not unzip. For a car that I am DD'ing it is worth having the rear window unzip. Makes long trips on interstates much nicer because you can put down all 3 windows and keep the top up to not get sunburned, but still get a good breeze. All the chances of the back window cracking are far less when you unzip the window.
Reply
0
0
Thread Starter
Elite Member
Joined: Oct 2013
Posts: 1,822
Total Cats: 144
From: NorthWest NJ
Been sick all week so I don't have the energy to work on the car. Gonna poke at the MS3 instead.
I am going to have to track down a base map and see what is on it at the moment.
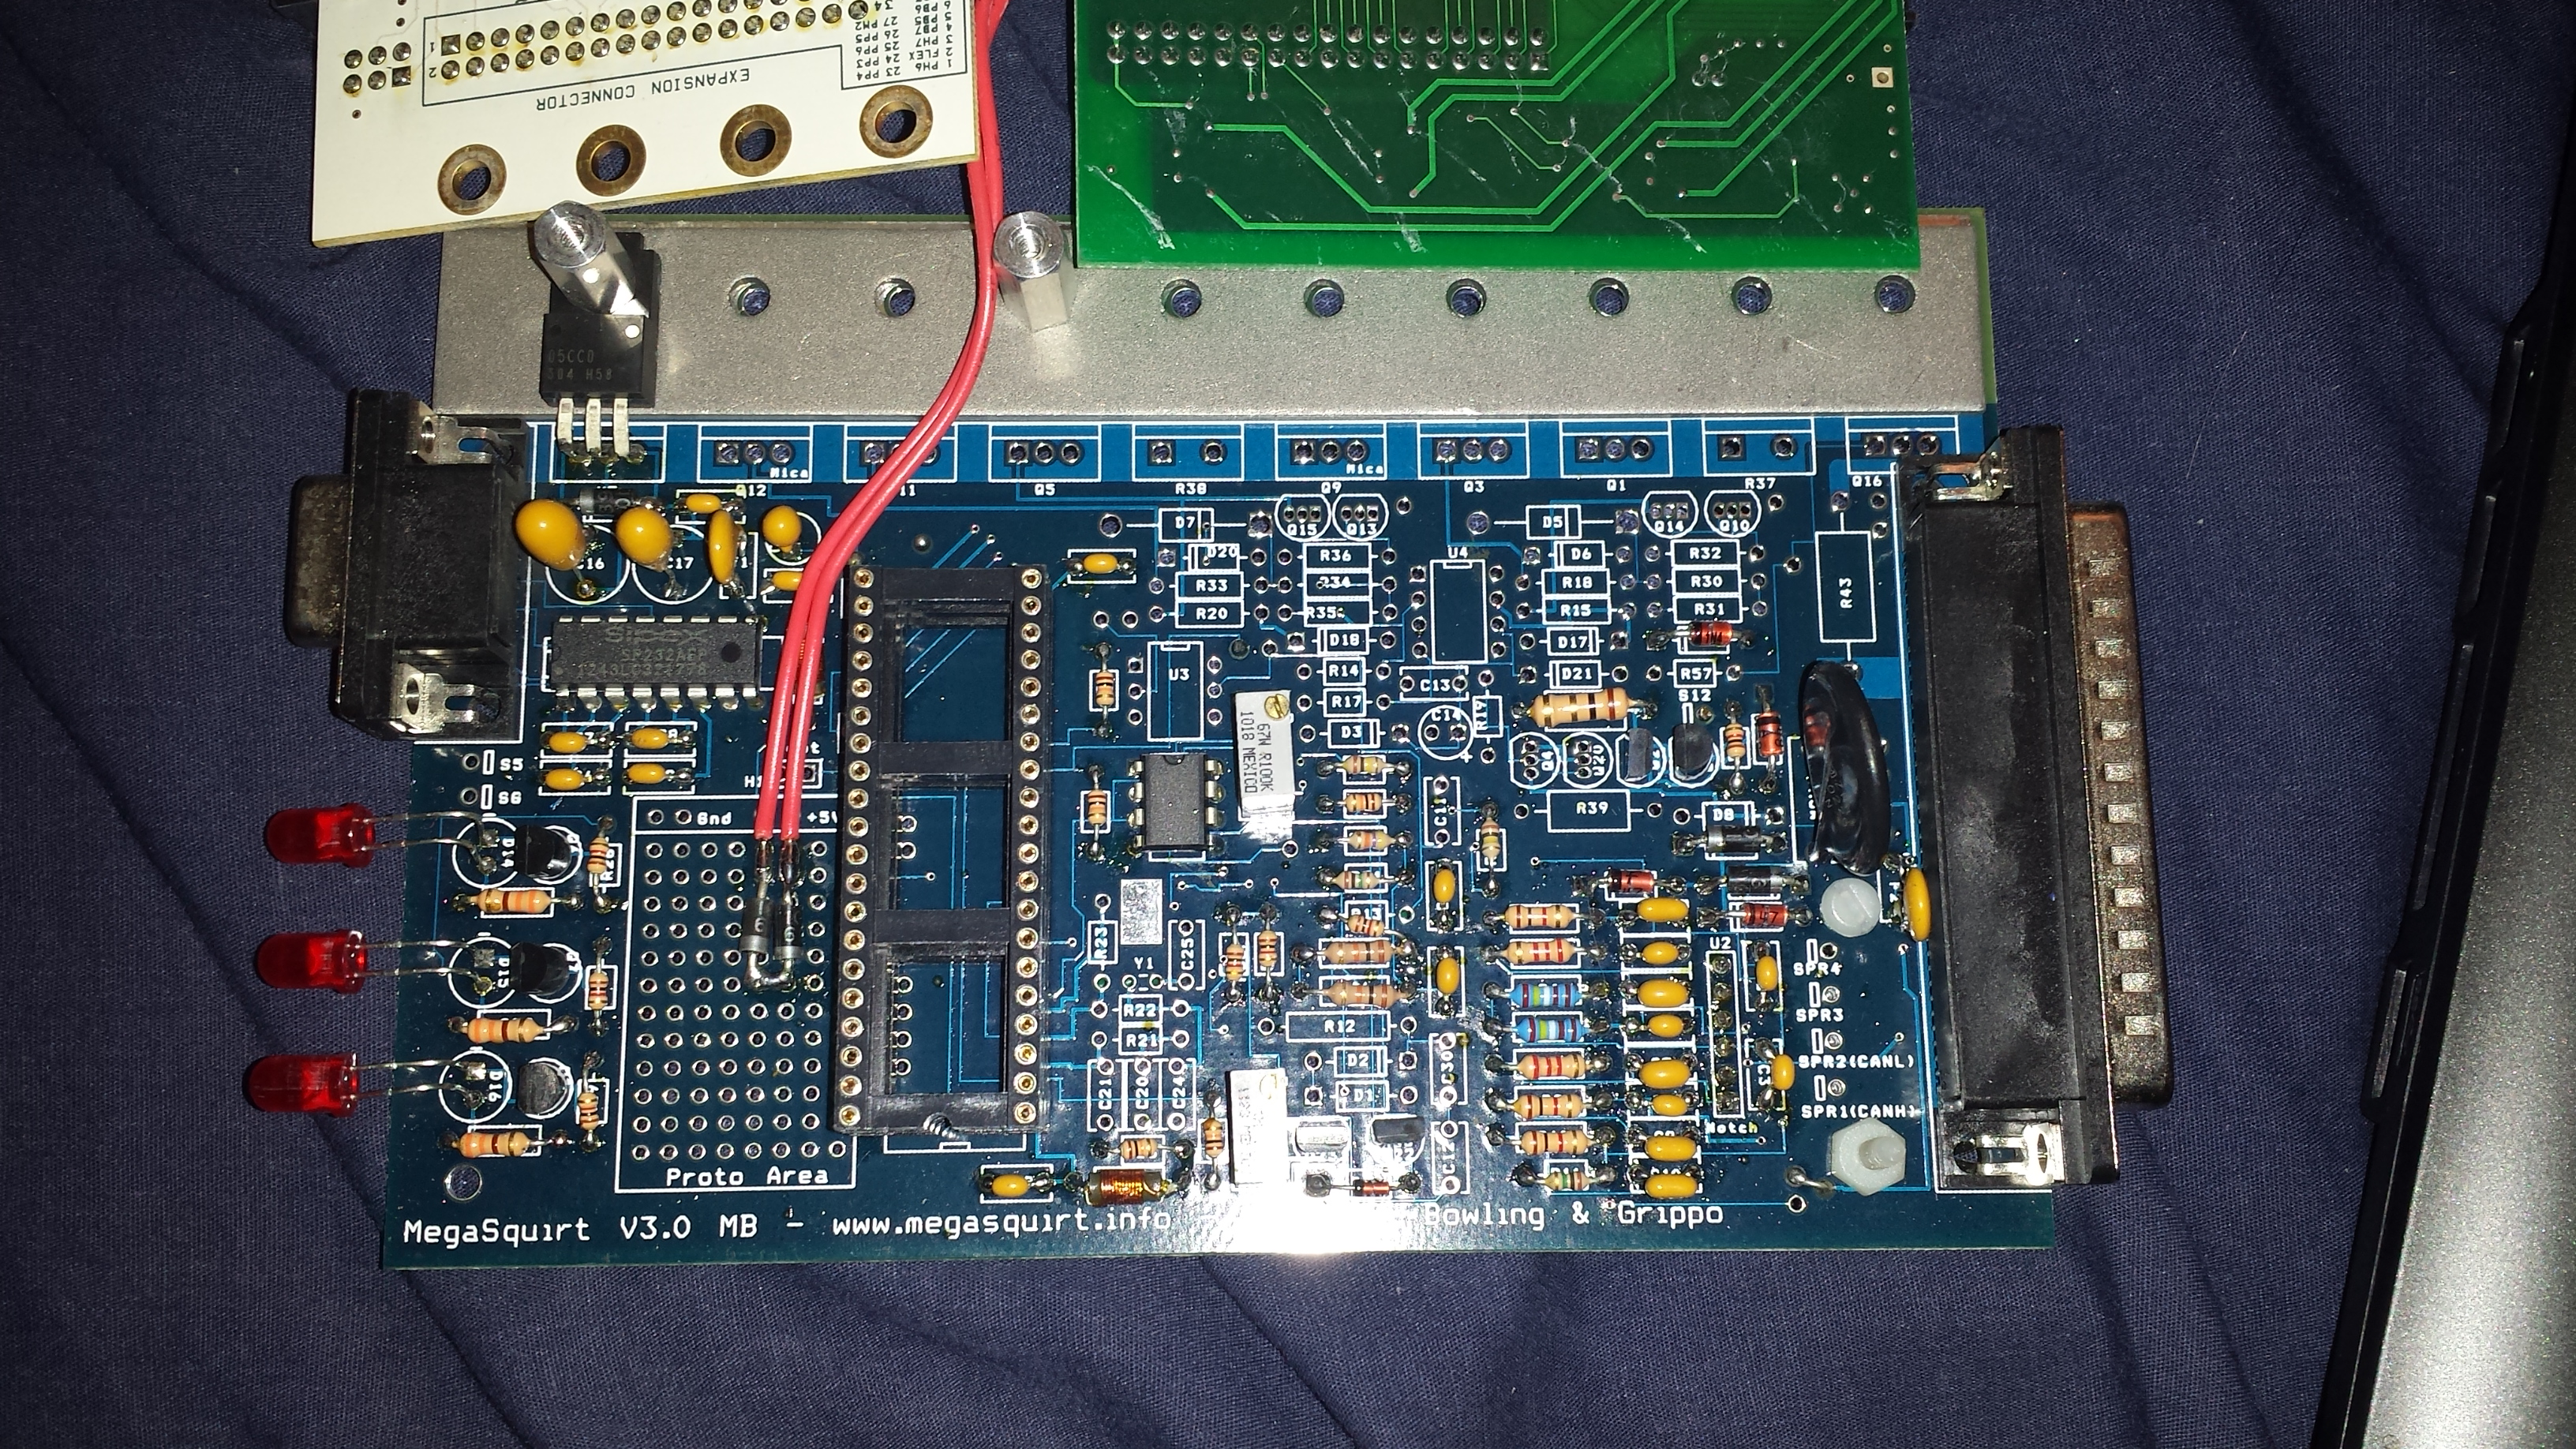
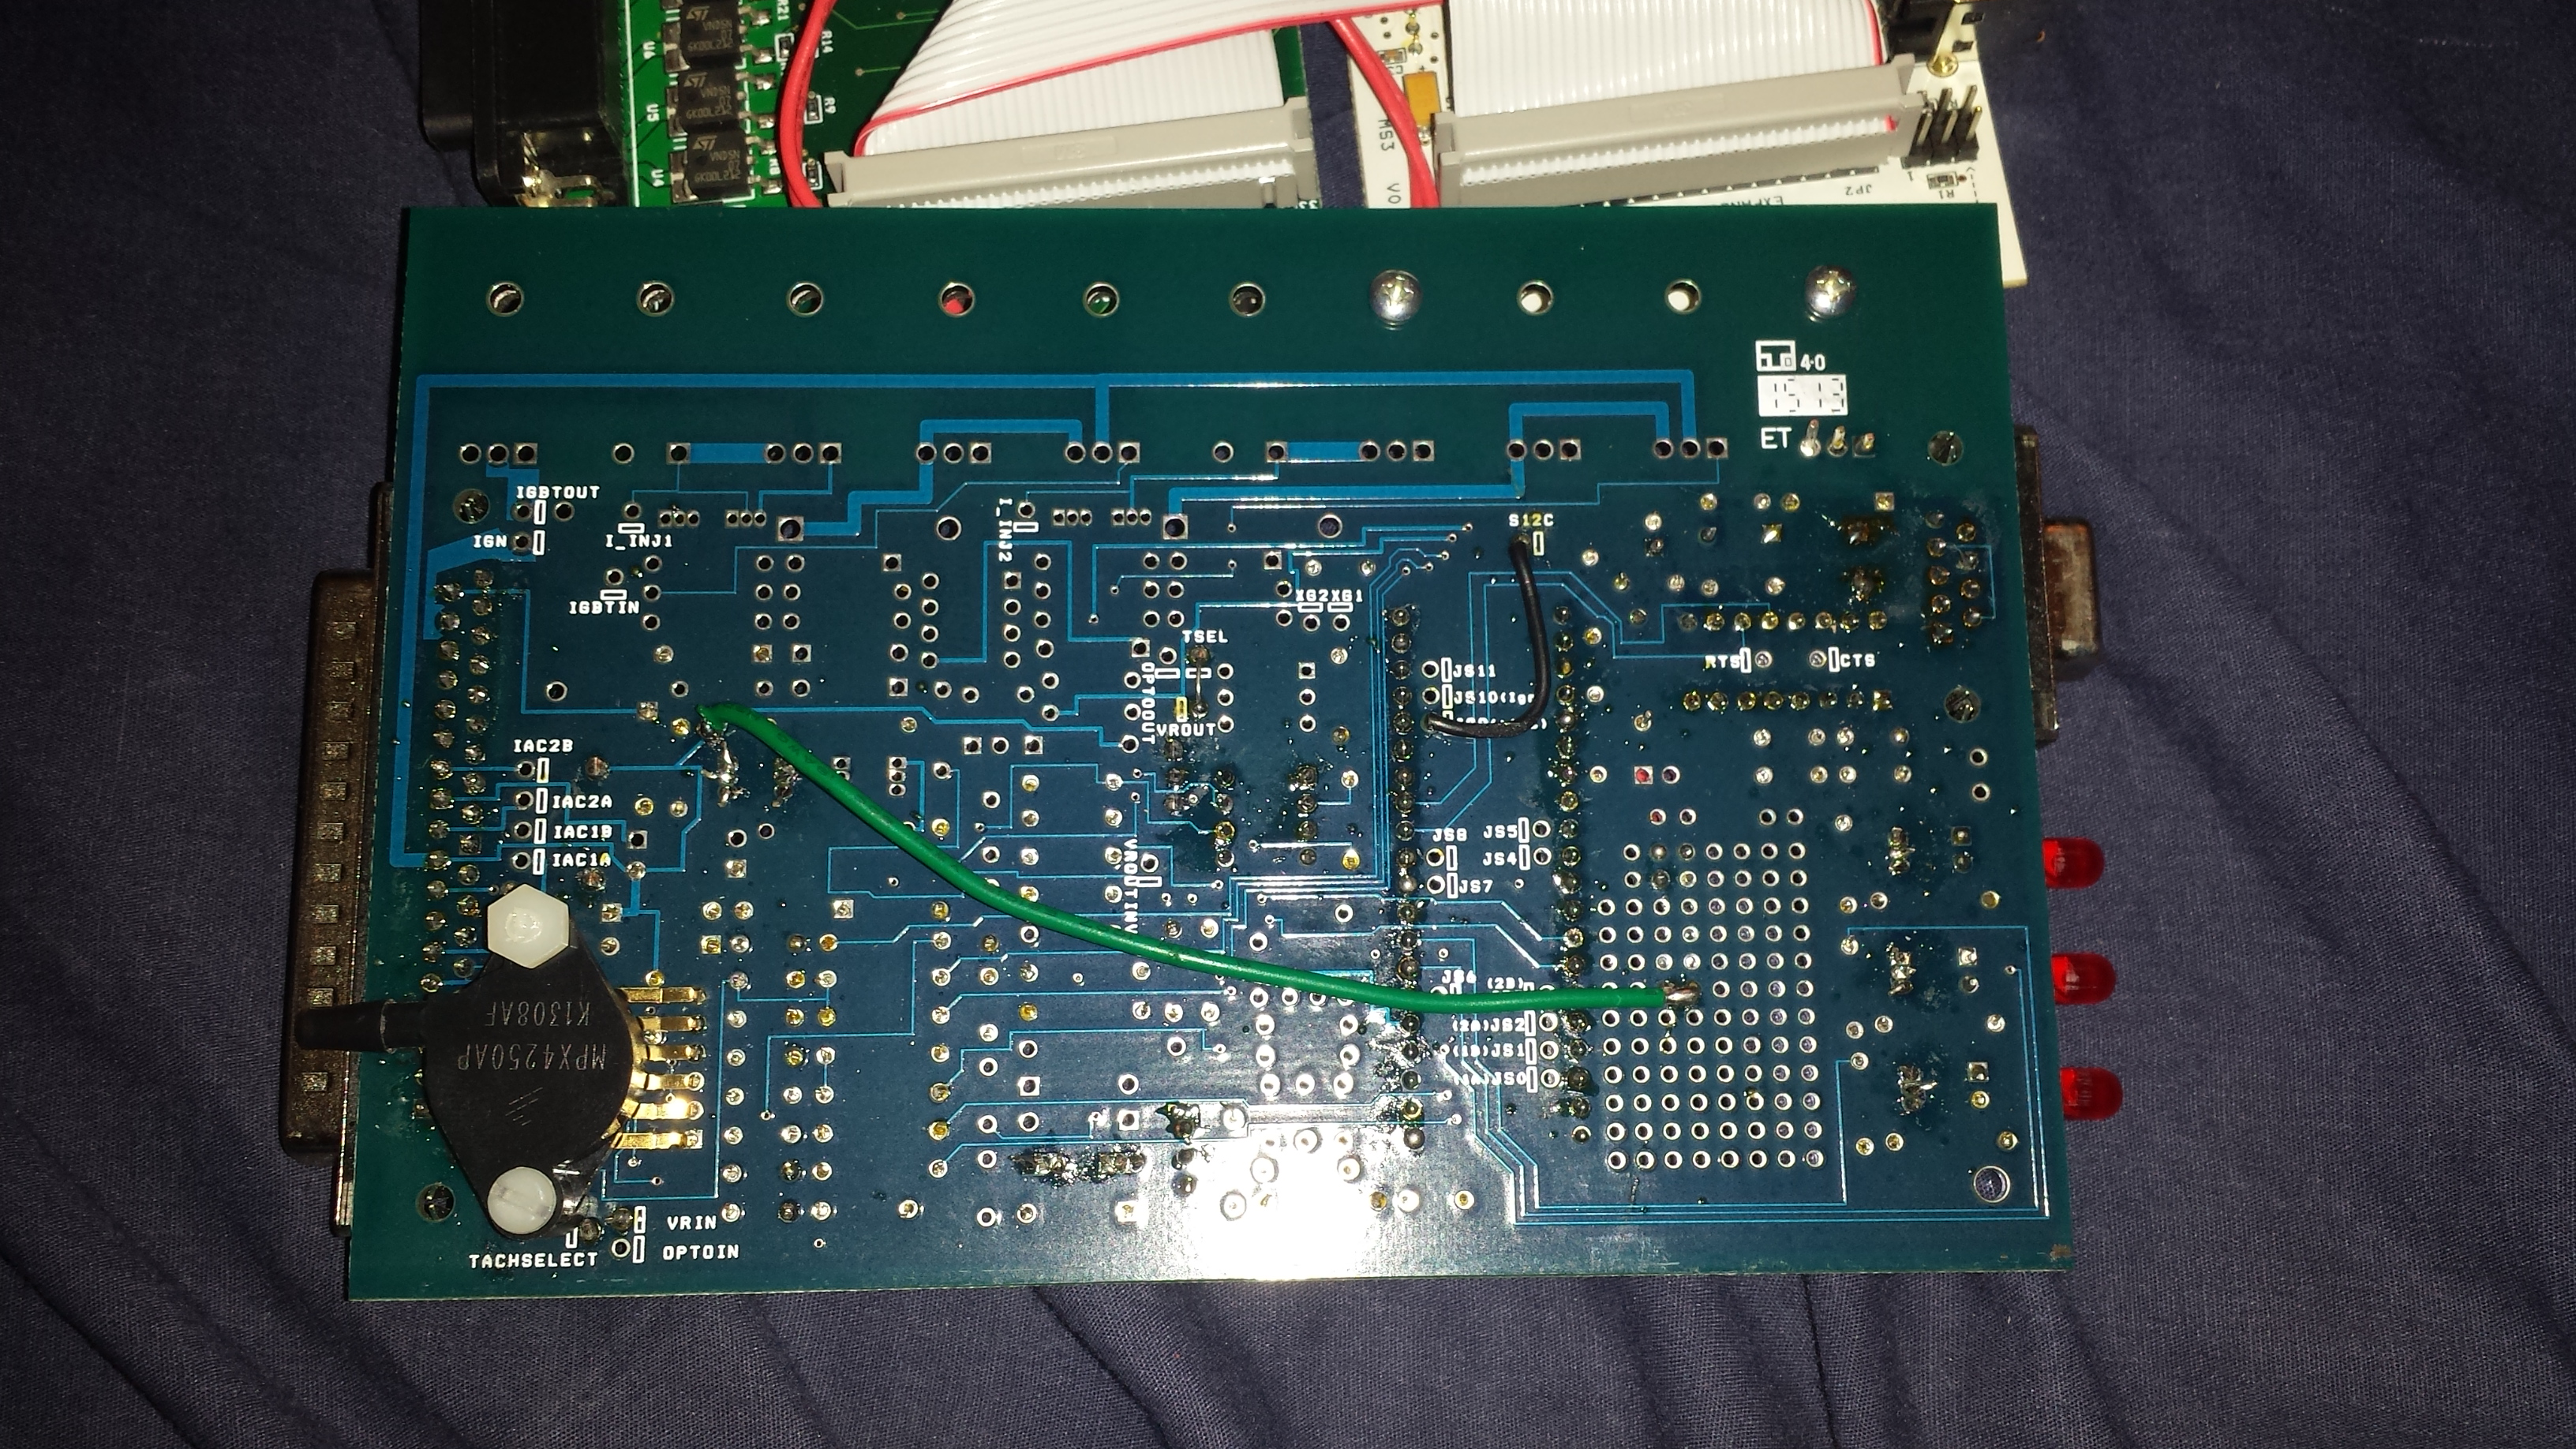
Opened it up, can anyone verify if this is Brain's handywork? Also, any idea what is up with the green wire, to two diodes and then connecting to D2 and D5 on the extra board?
I am going to have to track down a base map and see what is on it at the moment.
Opened it up, can anyone verify if this is Brain's handywork? Also, any idea what is up with the green wire, to two diodes and then connecting to D2 and D5 on the extra board?
Reply
0
0

Joined: Apr 2014
Posts: 18,643
Total Cats: 1,870
From: Beaverton, USA
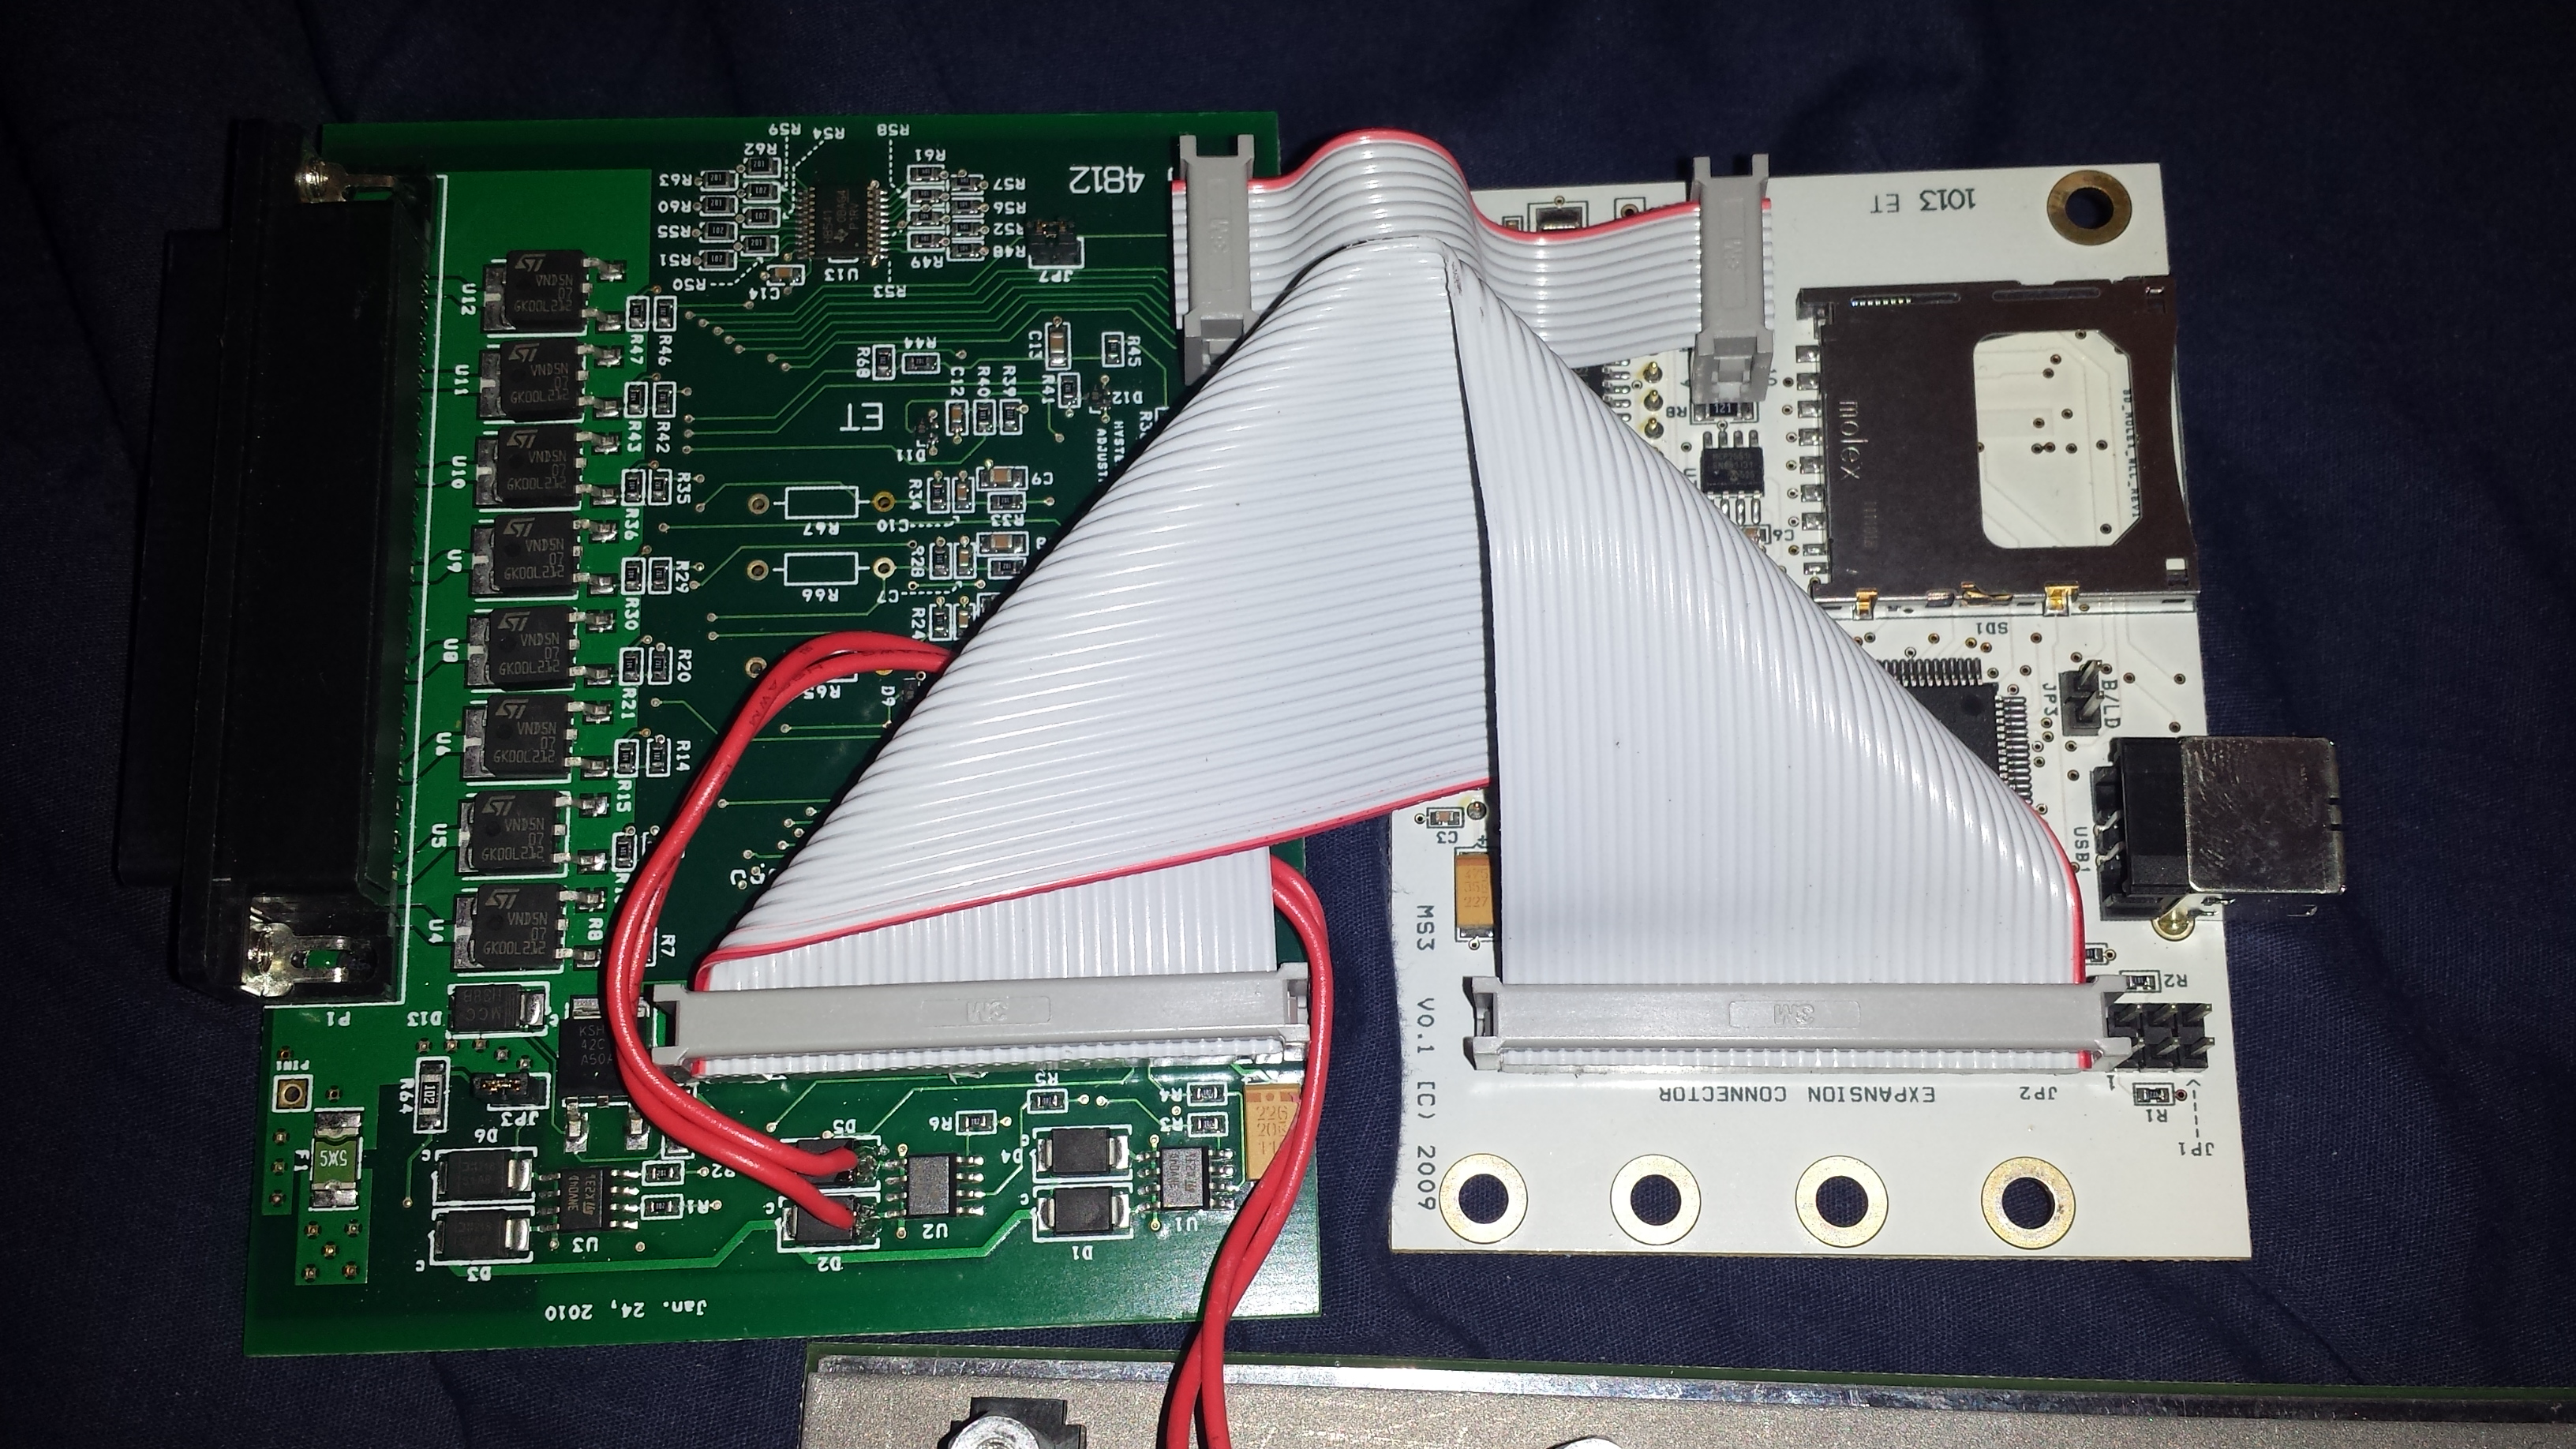
Wires to diodes are for flyback. See ms3 manual.
Its just 12v with a diode. The same thing can be accomplished using one wire.
MS3XV30_Hardware-1.4 page 223
Its just 12v with a diode. The same thing can be accomplished using one wire.
MS3XV30_Hardware-1.4 page 223
Reply
0
0
Thread Starter
Elite Member
Joined: Oct 2013
Posts: 1,822
Total Cats: 144
From: NorthWest NJ
Right, MS3x has been bench tested for life. It talks with TunerStudio and I can make some of the gauges move around by touching various pins (yay floating voltages!). Next I need to spend a few hours figuring out how this adapter harness is wired.
It is running firmware 1.2.3, I should probably update to 1.4.0, yes?
It is running firmware 1.2.3, I should probably update to 1.4.0, yes?
Reply
0
0
Thread Starter
Elite Member
Joined: Oct 2013
Posts: 1,822
Total Cats: 144
From: NorthWest NJ
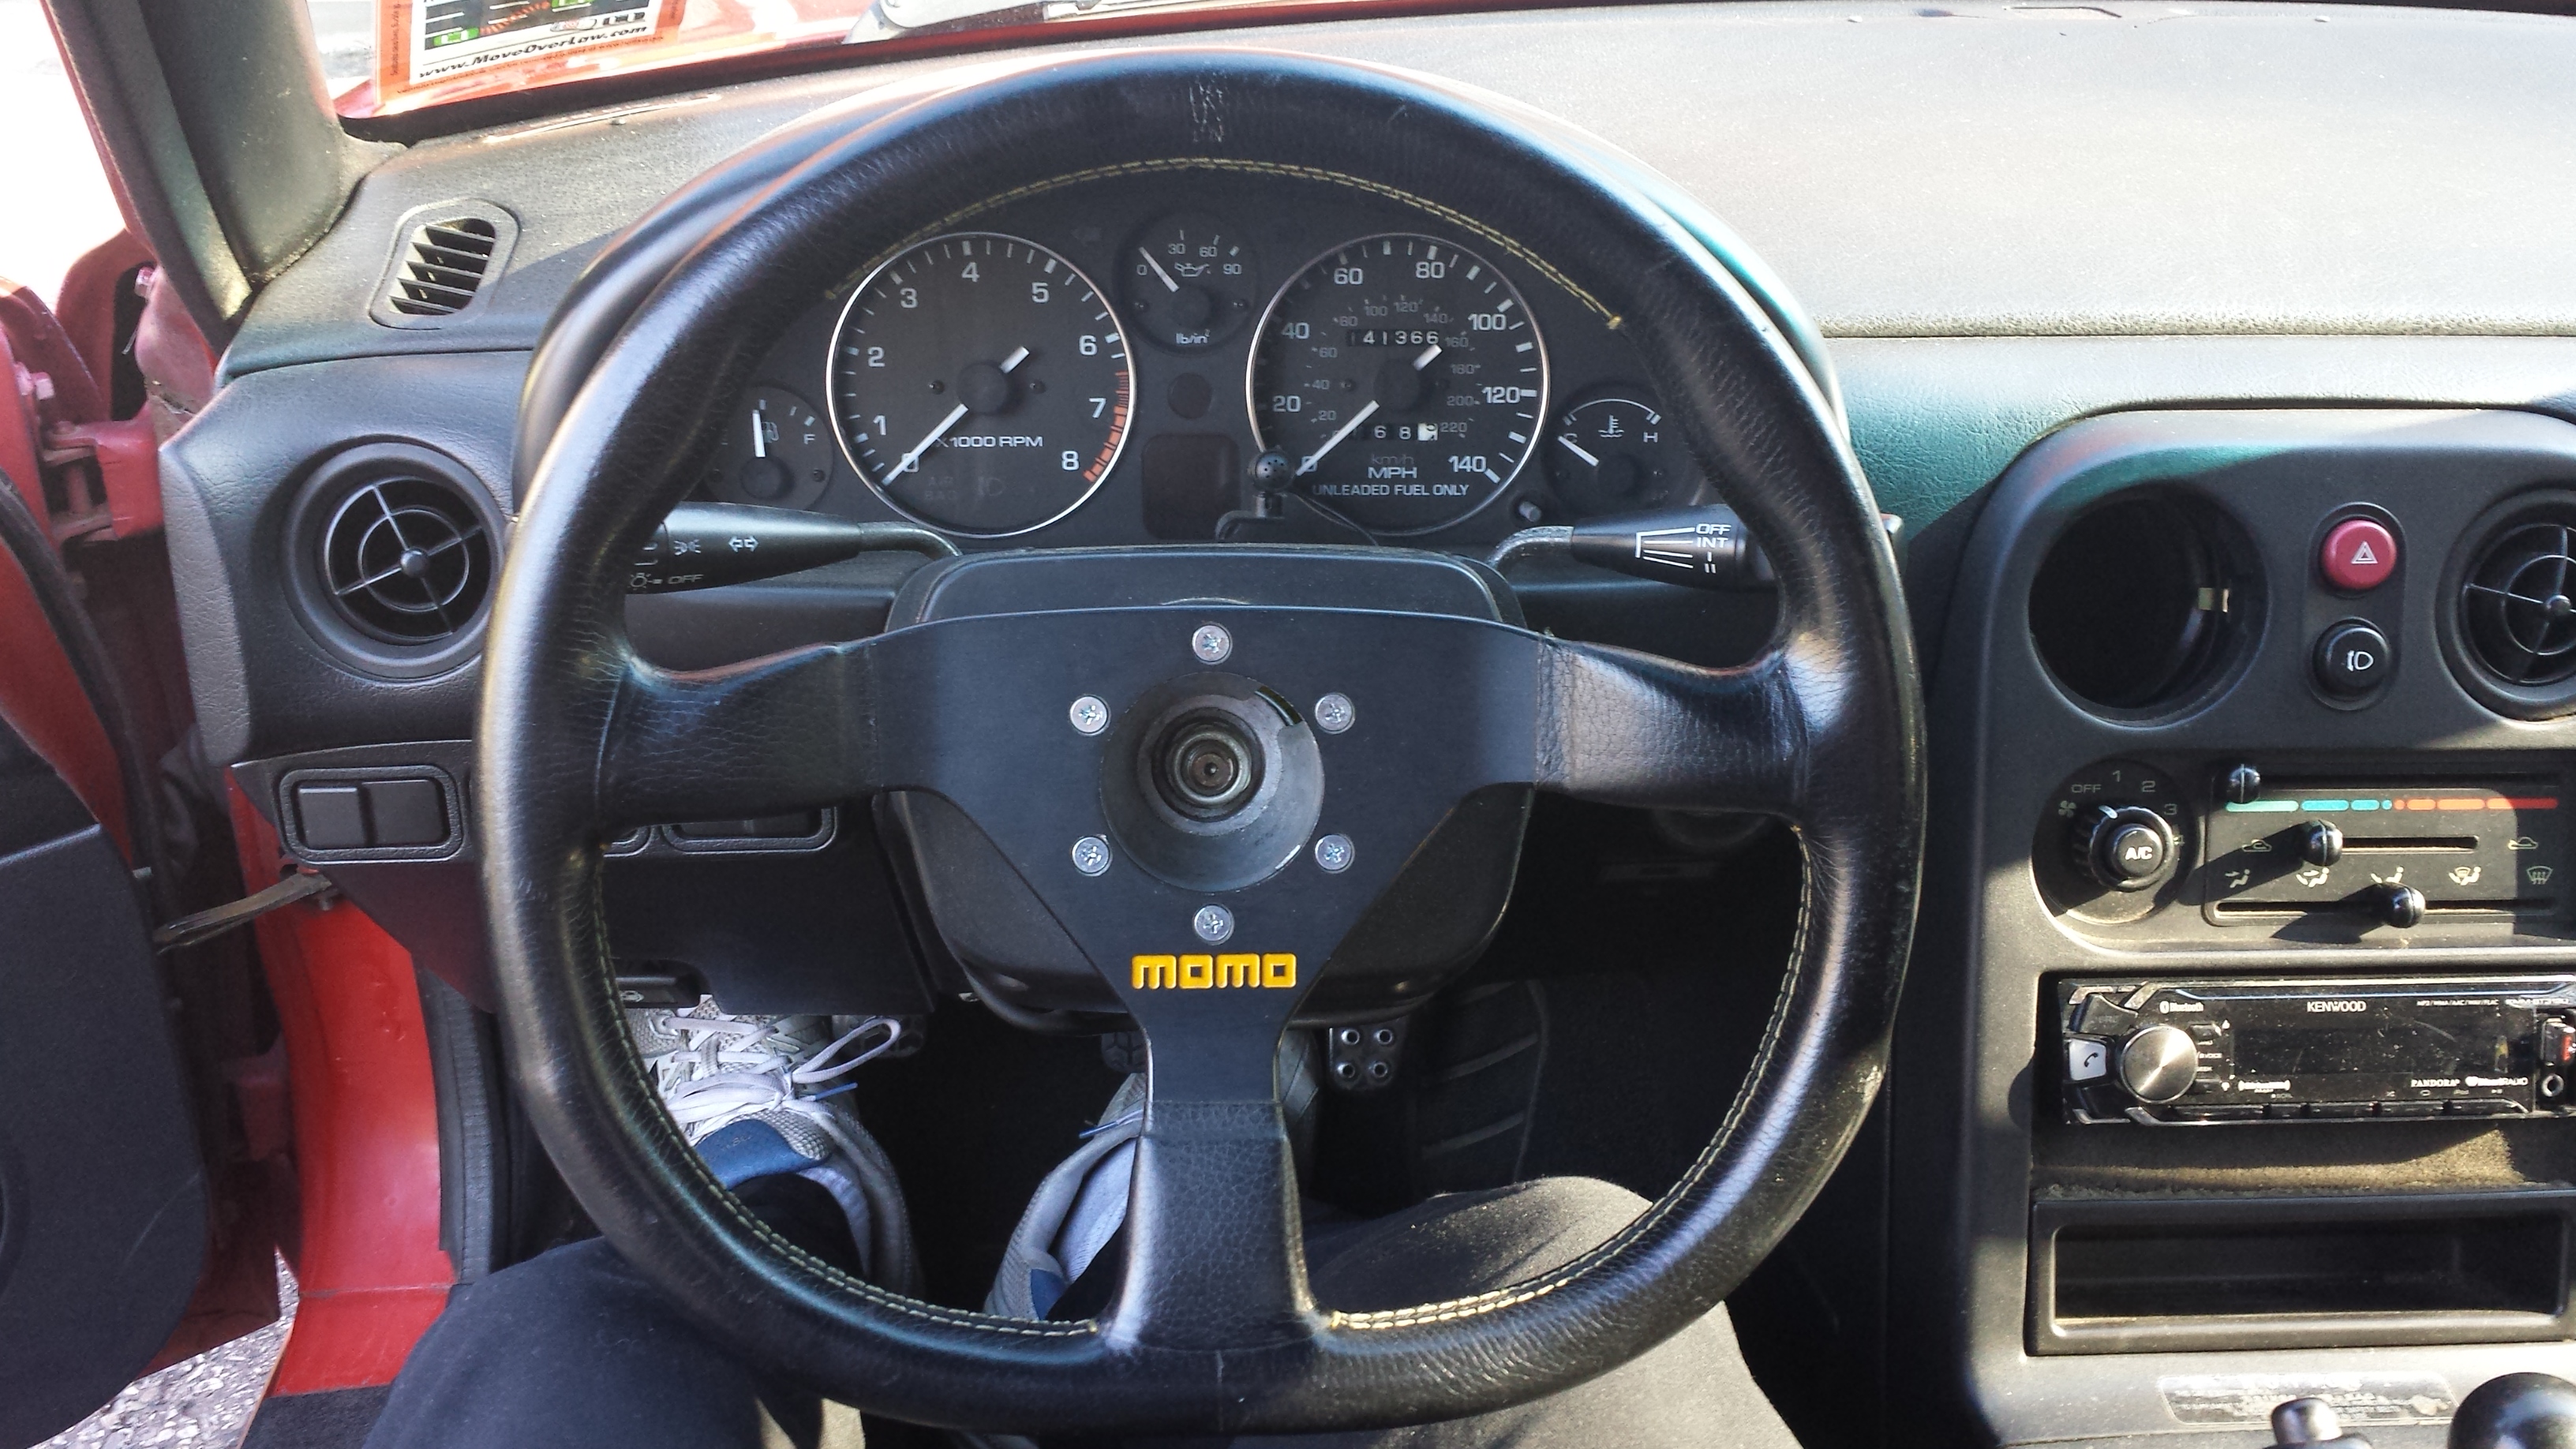
New top is on, suspension inspected, bearings check, break fluid changed, seat foam removed, and lug nuts torqued. Just need to change the steering wheel back to stock and I should be ready for the track day.
Any tips on dealing with break pads that fade fairly easily at a track day? I didn't end up with time to get new ones and change them out. They are cheapish ceramic street pads. I did look at the track layout, and almost all the major break zones are just going to be cone walls I can plow through if the worst happens. How do I best keep rotor/pad temps down?
Also, trying to close a canvas top for the first time was interesting.
Reply
0
0


