
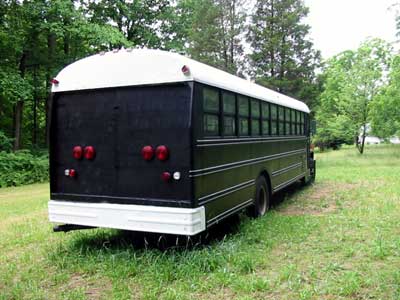
"Big John" Bus Build


Thread Starter

Joined: Jan 2006
Posts: 2,417
Total Cats: 20
From: Seabrook, TX
No. The title has been changed from a Bus to a Motorhome. It is a fairly easy process that just needs pictures of the outside/inside, weight slip from a CAT type scale, insurance card, and "green sheet" inspection that is available at any inspection station.
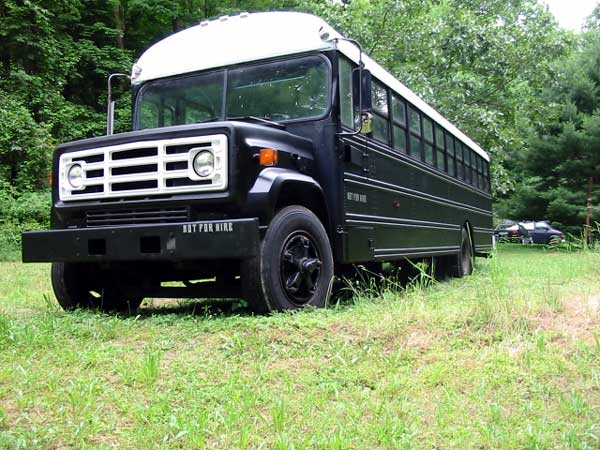
Our last bus was built for about $13,000 and it is a lot easier to swallow with three people splitting the costs.
Reply
 0
0

0

Joined: Sep 2005
Posts: 34,433
Total Cats: 7,549
From: Chicago. (The less-murder part.)
I have absolutely no frame of reference whatsoever for what it would take to cool a 45' bus in those conditions.
Budget for this build is about $20,000. You can do it for much cheaper, but we wanted the diesel generator, two roof a/cs, a real RV fridge, tile shower, good wood floors, new shocks, new front tires, decent mattresses, quality automotive paint for the outside, replacement bumpers front and rear, LED lights, etc.
Reply
0
0
Thread Starter
Joined: Jan 2006
Posts: 2,417
Total Cats: 20
From: Seabrook, TX
It is A LOT of work, but you can build yourself something pretty bad *** for not a lot comparatively. I will also know how every wire is run and that everything is done right form the start. Plus it is completely built to suit what we want rather than trying to find something that you have to make compromises on and pay more for.
Reply
0
0
Joined: Sep 2005
Posts: 34,433
Total Cats: 7,549
From: Chicago. (The less-murder part.)
On the subject of aircon, I'm curious about one thing.
I'm not really well-acquainted with the "state of the art" in RV electricals, but is anybody at all using AuraGens? Aura Systems Inc - AUSI
We see a lot of these in remote broadcast trucks for TV stations, as an alternative to standalone generators. Basically, it's a power system consisting of a jumbo-size alternator, a battery bank, and a controller / inverter. Whenever the main engine is running, the alternator supplies power to the system, and when the engine is not running, the batteries take over automatically. The TV folks love 'em because they are simple, save space, etc. They come in different sizes rated from 5 kW to 16 kW continuous. And they're not cheap, but the price would easily disappear in the context of a newly-purchased $500,000 Class A.
In an RV application, I'd think it would be convenient to have the aircon going when you're on the road without having to run the genny as a seperate powerplant. And for gasoline-powered RVs, I'd think that when dry-camping in a warmer area, leaving the main engine idling while parked would be preferable to running a separate generator. It'd certainly be a hell of a lot quieter and less smelly, and I wouldn't be surprised if it was even more efficient.
Reply
0
0

Thread Starter
Joined: Jan 2006
Posts: 2,417
Total Cats: 20
From: Seabrook, TX
Be sweet enough on me and I'll let you sit in the driver seat and act like you are driving it.
What is a good picture service to use that allows you to upload multiple pictures at a time and gives you a log in to keep your pictures? I don't mind having to pay a small fee. I know next to nothing about this stuff, but I need to do something other than uploading them one at a time to a picture service.
What is a good picture service to use that allows you to upload multiple pictures at a time and gives you a log in to keep your pictures? I don't mind having to pay a small fee. I know next to nothing about this stuff, but I need to do something other than uploading them one at a time to a picture service.
Reply
0
0


Thread Starter
Joined: Jan 2006
Posts: 2,417
Total Cats: 20
From: Seabrook, TX
I'll check out picasa and imgur. Thanks guys
Reply
0
0


Junior Member
Joined: May 2010
Posts: 147
Total Cats: 2
From: Temecula, CA
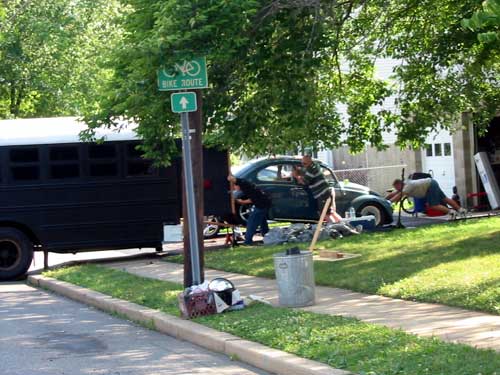
Not many good pics of how the car sat in the truck. The car was tied to a ramp built onto the wheel wells that kept the car on a tilt. Ghetto plywood doors, too.
http://chris.chemidl.in/images/cars/bus/
I built it to move from NJ to AZ; it never made it. I had a small ratchet strap that was run through the floor to secure my tools (didn't buy d-rings for the floor)- the excess got tangled up in the driveshaft and took out the rear brake lines and the rear end was leaking like a sieve. I would have patched it up and continued on, but my wife had had enough. I rented a Ryder truck and trailer for the rest of the trip.
Reply
0
0
Thread Starter
Joined: Jan 2006
Posts: 2,417
Total Cats: 20
From: Seabrook, TX
We have had some time to work on the bus for the past couple weeks and have made some pretty decent progress.
We have the raw cabinets built for the bedroom and hallway. These will require a fair amount of finishing work and then we will paint them. The one in the hallway between the bathroom and bedroom will act as towel/sheet storage.
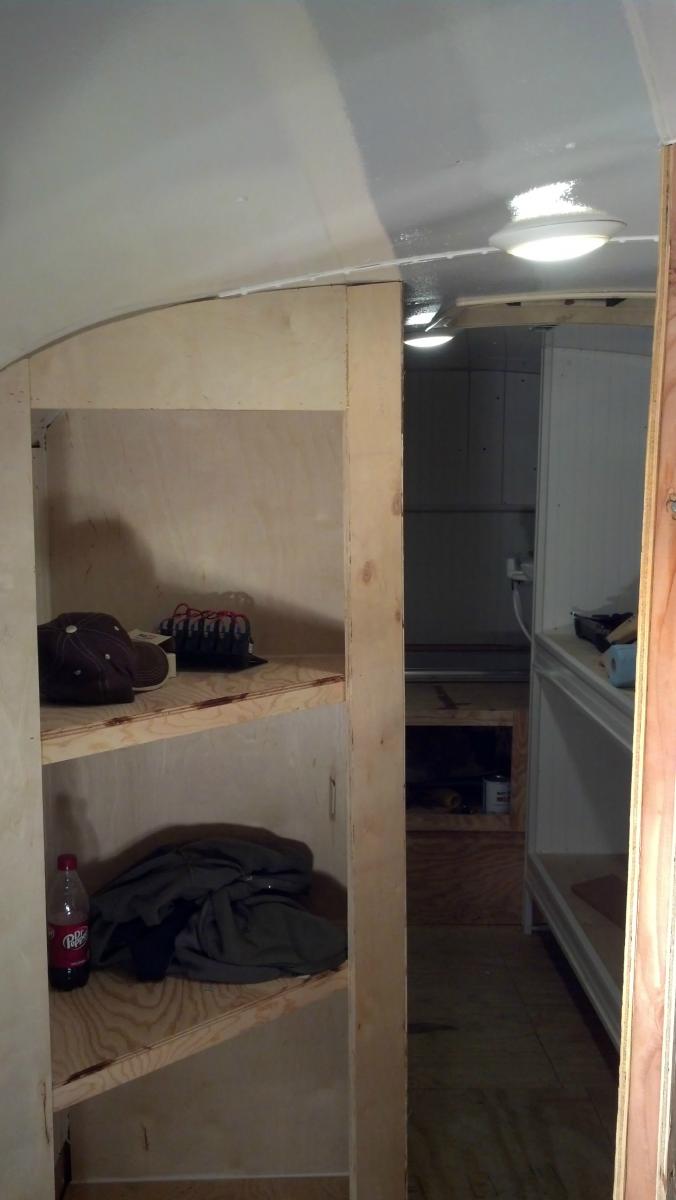
You can see them off on the side in this picture:
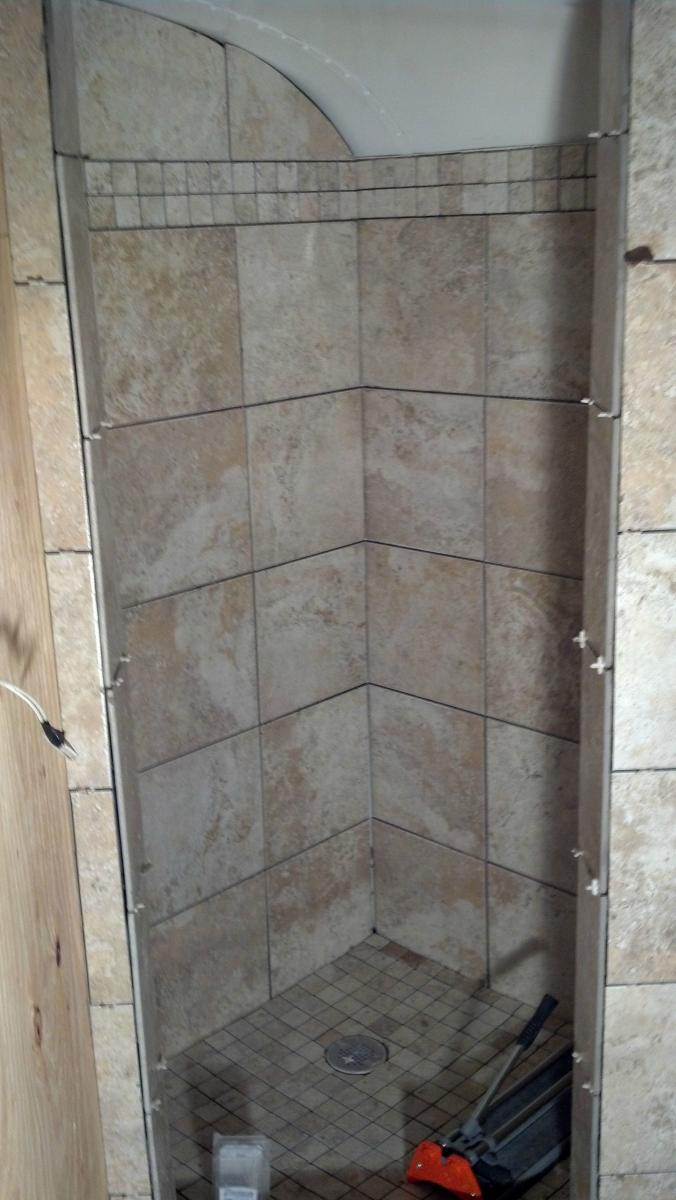
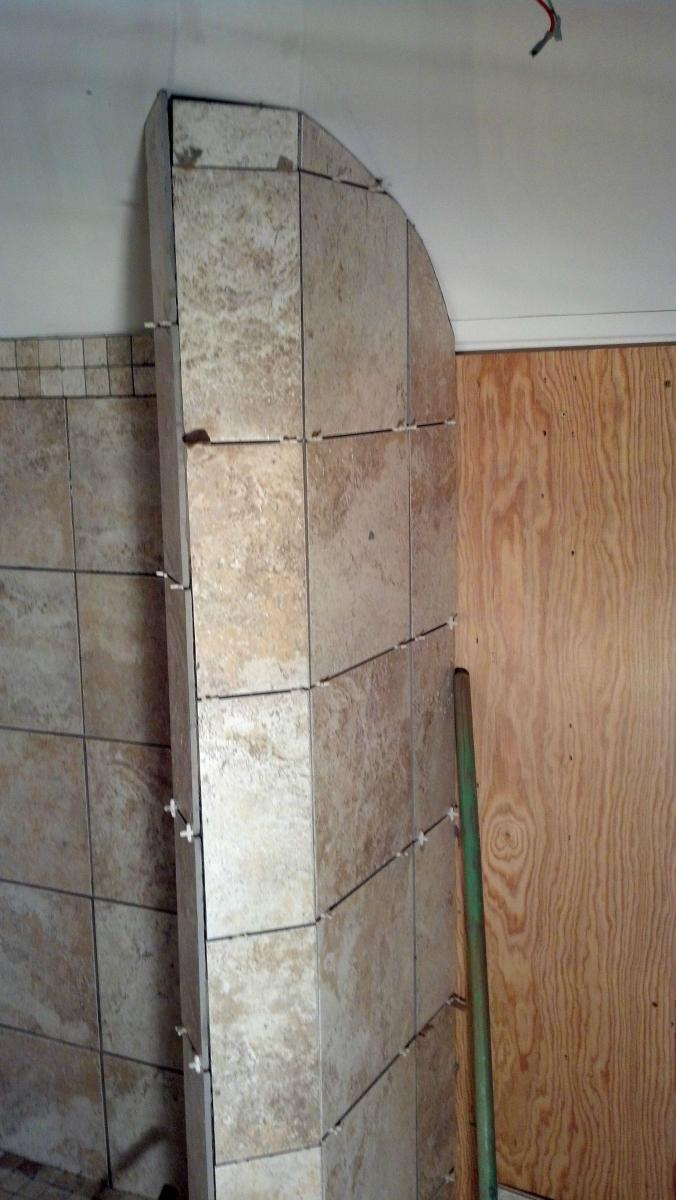
The shower in the bathroom was the main focus for us and it is starting to come together. Last week we put the plastic liner in and all the cement backer board up on the walls. This was a huge pain with some of the spots as it was such a narrow piece that it would crack when installed. This weekend we were able to get all of the tile on the walls and the mosaic on the floor of the shower. Now all that is left is to do the grout and clean up any mortar that may have gotten on the tiles.
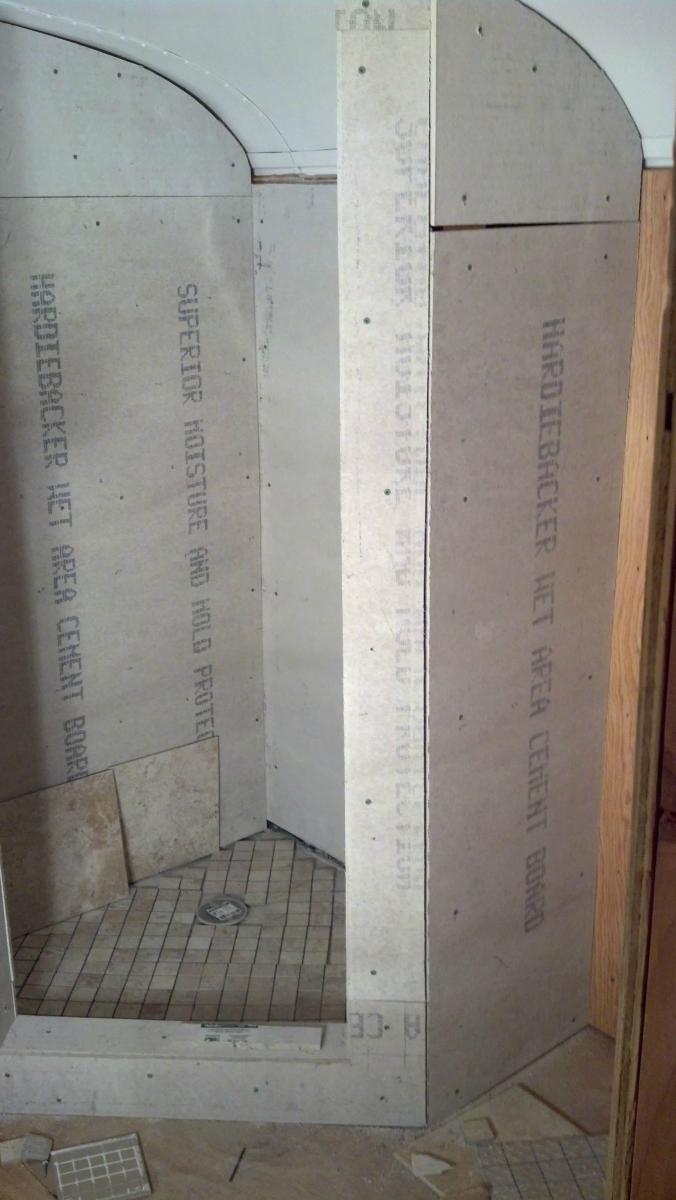
Getting the mosaic figured out:
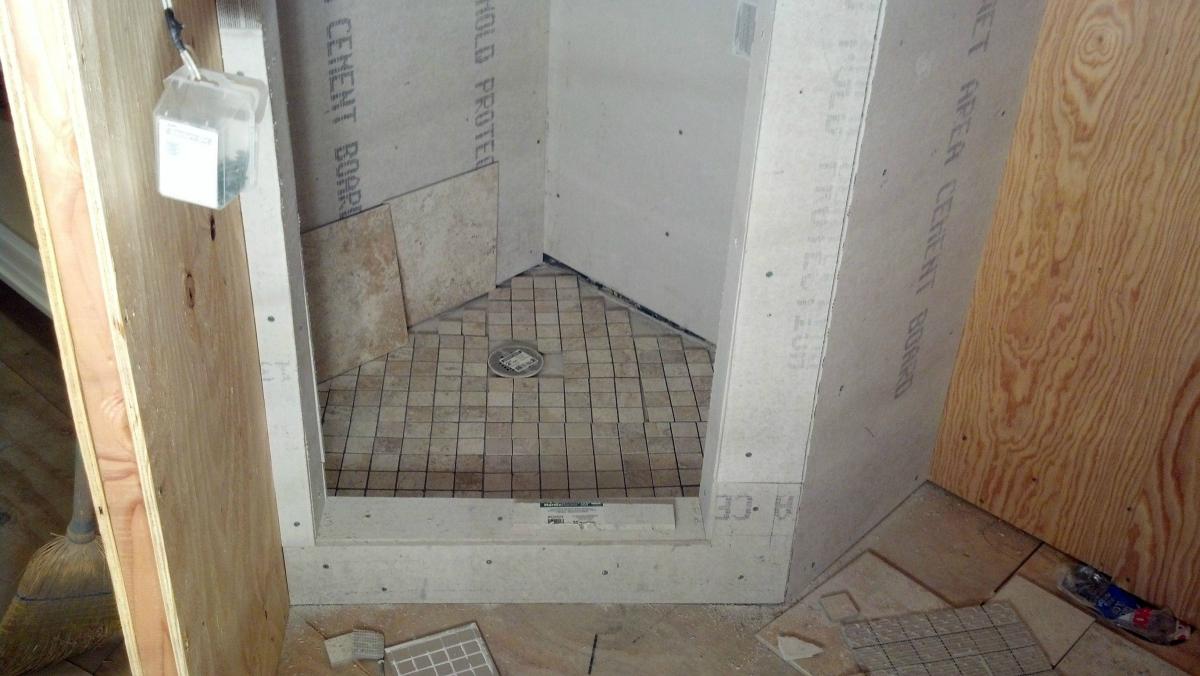
Tiled in:
For the cabinets in the kitchen, we looked into several options. We thought about making them ourselves, having them made, and buying off the shelf ready to stain units. Making them ourselves wasn’t going to come out well and having them made would cost almost three times what the off the shelf units would cost, so we went down to lowes and got everything that would work for our application.

We still have to make the enclosure for the fridge, but that is relatively minor in comparison. The fridge is 54” tall, so we will have about 20” to work with on the top. In this area there will be a microwave and a return air duct for the middle a/c. The breaker box will have to be moved now since we relocated the fridge here.
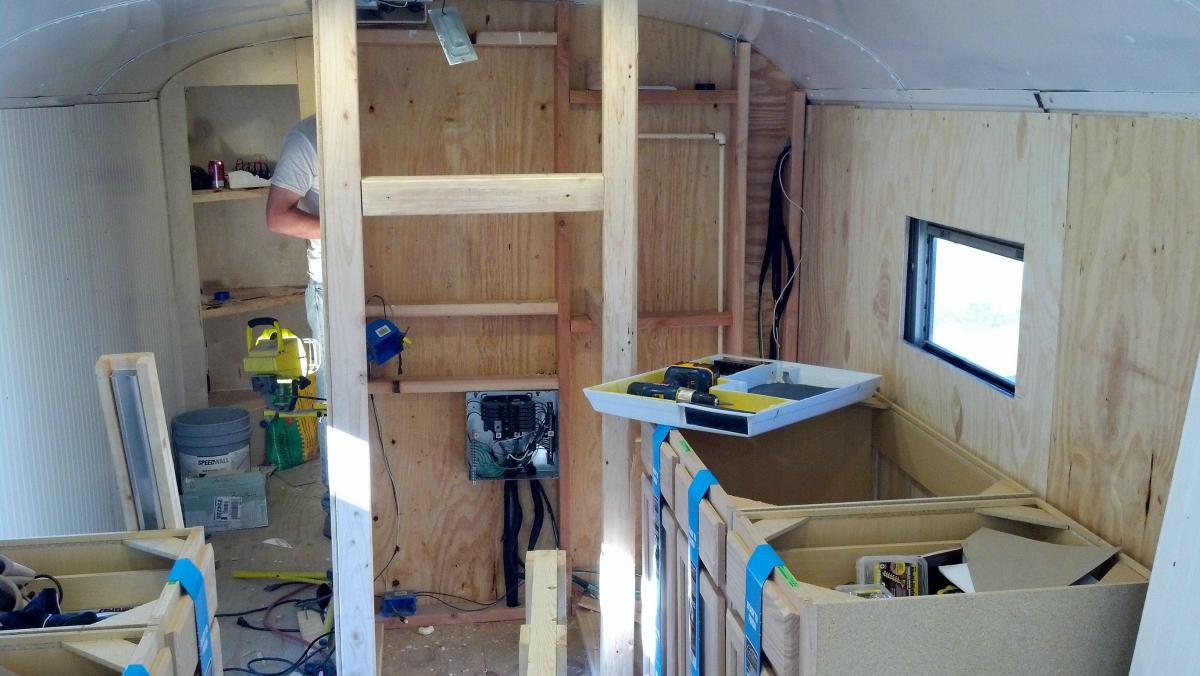
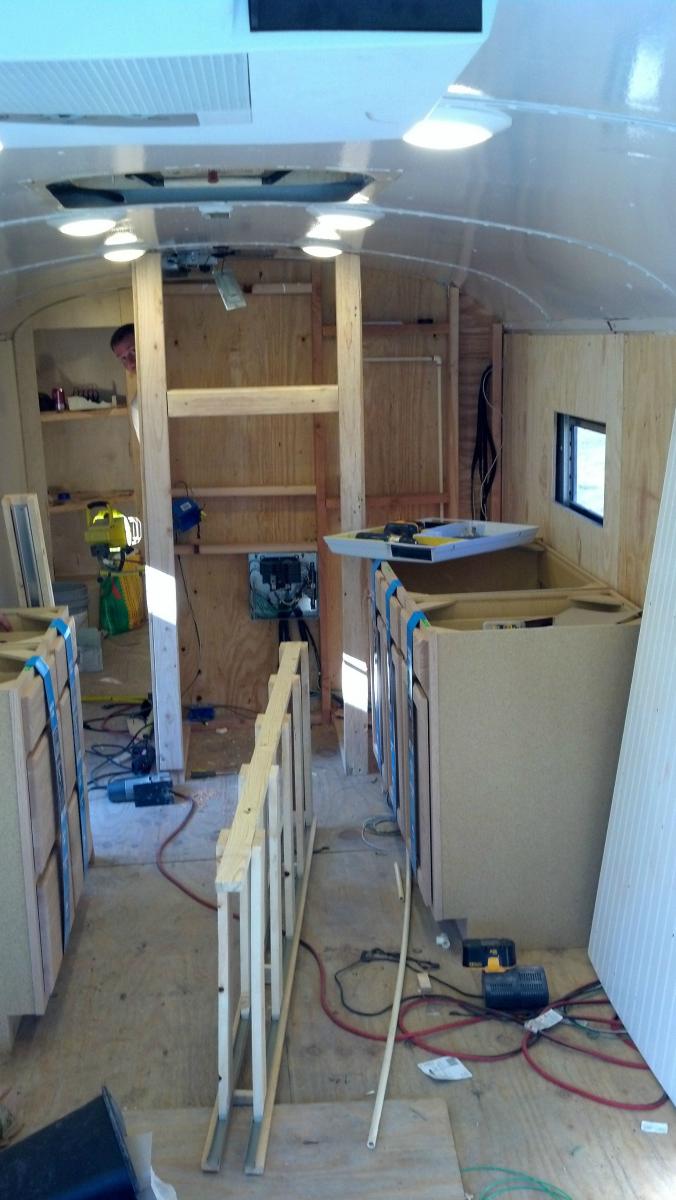
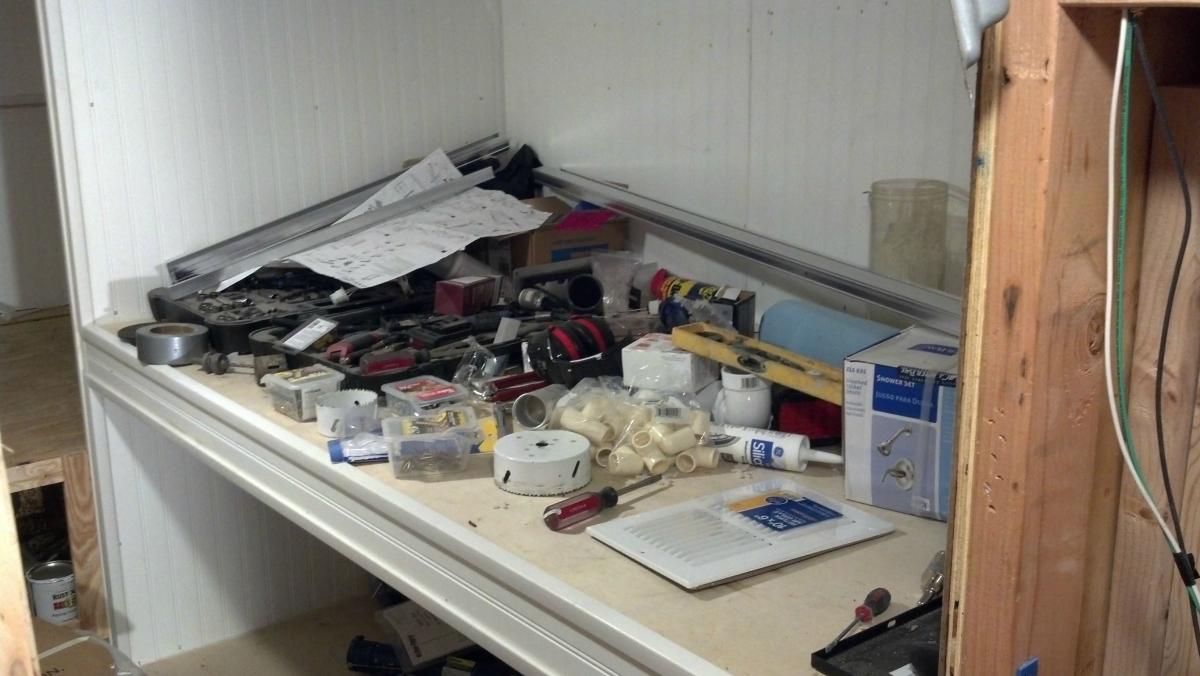
Our back bunk beds are serving as great work tables:
We have the raw cabinets built for the bedroom and hallway. These will require a fair amount of finishing work and then we will paint them. The one in the hallway between the bathroom and bedroom will act as towel/sheet storage.
You can see them off on the side in this picture:
The shower in the bathroom was the main focus for us and it is starting to come together. Last week we put the plastic liner in and all the cement backer board up on the walls. This was a huge pain with some of the spots as it was such a narrow piece that it would crack when installed. This weekend we were able to get all of the tile on the walls and the mosaic on the floor of the shower. Now all that is left is to do the grout and clean up any mortar that may have gotten on the tiles.
Getting the mosaic figured out:
Tiled in:
For the cabinets in the kitchen, we looked into several options. We thought about making them ourselves, having them made, and buying off the shelf ready to stain units. Making them ourselves wasn’t going to come out well and having them made would cost almost three times what the off the shelf units would cost, so we went down to lowes and got everything that would work for our application.
We still have to make the enclosure for the fridge, but that is relatively minor in comparison. The fridge is 54” tall, so we will have about 20” to work with on the top. In this area there will be a microwave and a return air duct for the middle a/c. The breaker box will have to be moved now since we relocated the fridge here.
Our back bunk beds are serving as great work tables:
Last edited by rharris19; Mar 25, 2013 at 10:56 AM.
Reply
0
0

Photo bucket here. But I'm considering switching now that they've fucked up their site so that it loads slower and I have to make 2 clicks to get to the picture link rather than just 1 with the old site. I really should start using my imgur account.
Reply
0
0

Thread
Thread Starter
Forum
Replies
Last Post


