
Building a built build


Thread Starter

Joined: Jun 2009
Posts: 3,227
Total Cats: 1,707
From: Istanbul, Turkey
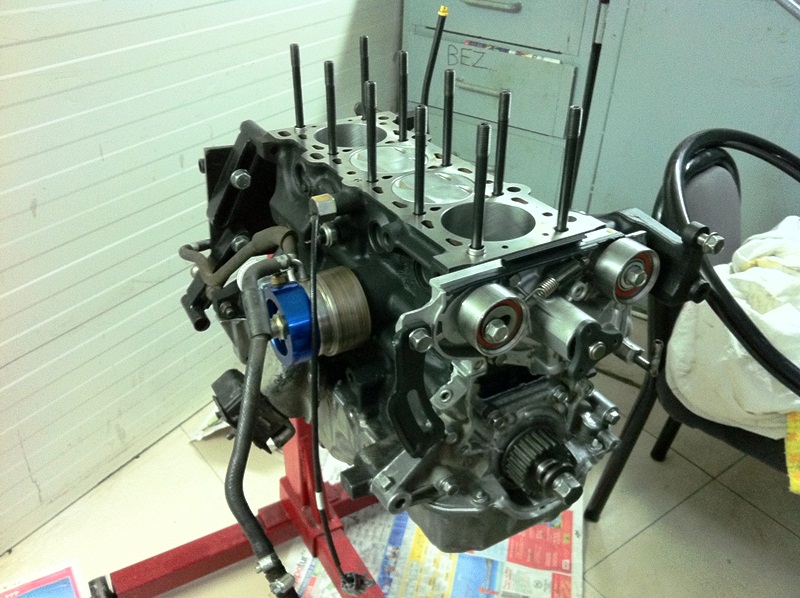
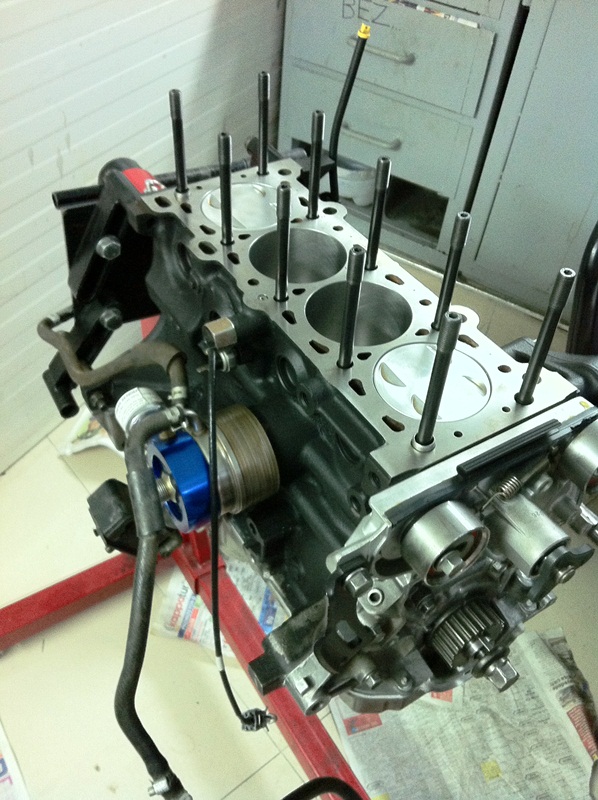
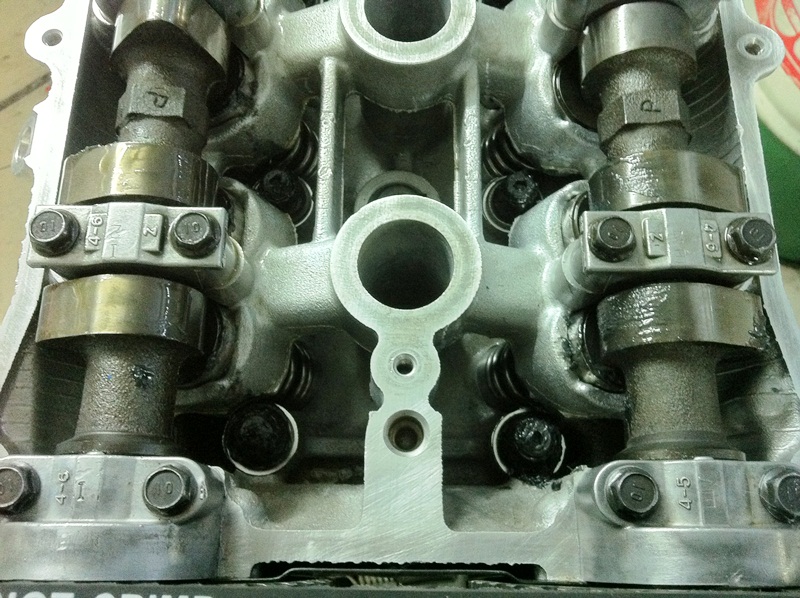
I then cleaned everything with gasoline (again), and started final assembly.
After much debate for how much I should torque the head nuts, I decided on 54 pounds.
I went 18 - 36 and then 54, all in three steps, a total of nine rounds, and waited for a while between rounds just to be safe.
I did not have the ARP brand lubricant, so I used Moly assembly grease.
Also, instead of the washers that came with the ARP stuff, I opted for the larger stock washers.
Reply
 0
0

0
Thread Starter
Joined: Jun 2009
Posts: 3,227
Total Cats: 1,707
From: Istanbul, Turkey
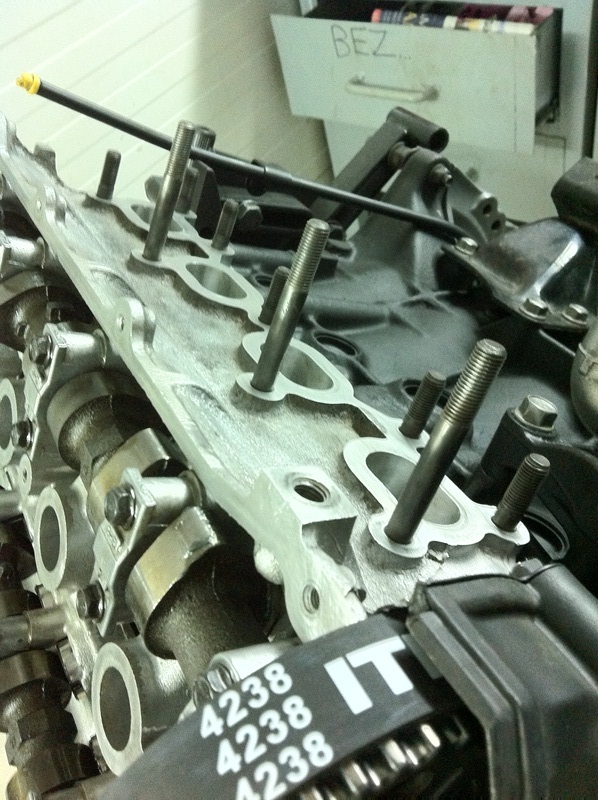
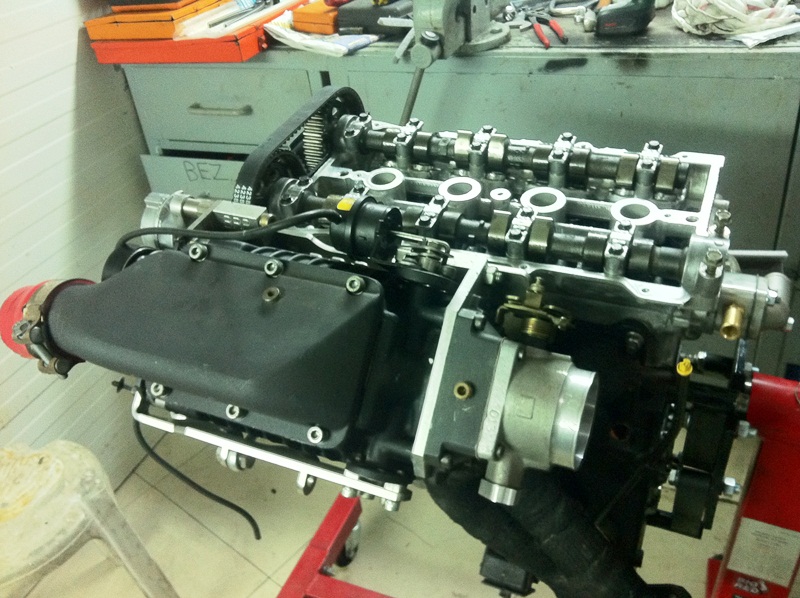
So, the engine was slowly beginning to take shape.
Also, I made a point of clocking the oil cooler assembly slightly, to prevent heat damage to the knock sensor from the coolant line.
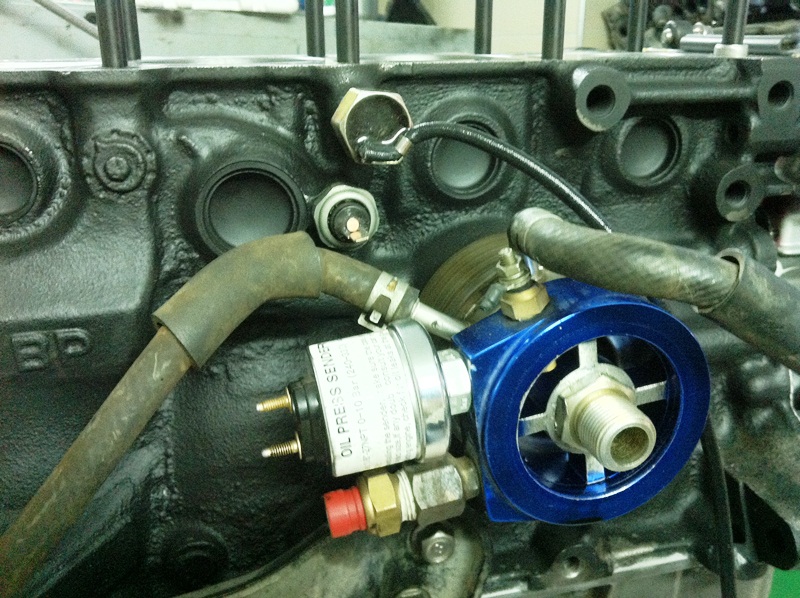
I didn't feel perfectly comfortable with that setup, so I went ahead and insulated that hose altogether...

Also, I made a point of clocking the oil cooler assembly slightly, to prevent heat damage to the knock sensor from the coolant line.
I didn't feel perfectly comfortable with that setup, so I went ahead and insulated that hose altogether...
Reply
0
0
Thread Starter
Joined: Jun 2009
Posts: 3,227
Total Cats: 1,707
From: Istanbul, Turkey
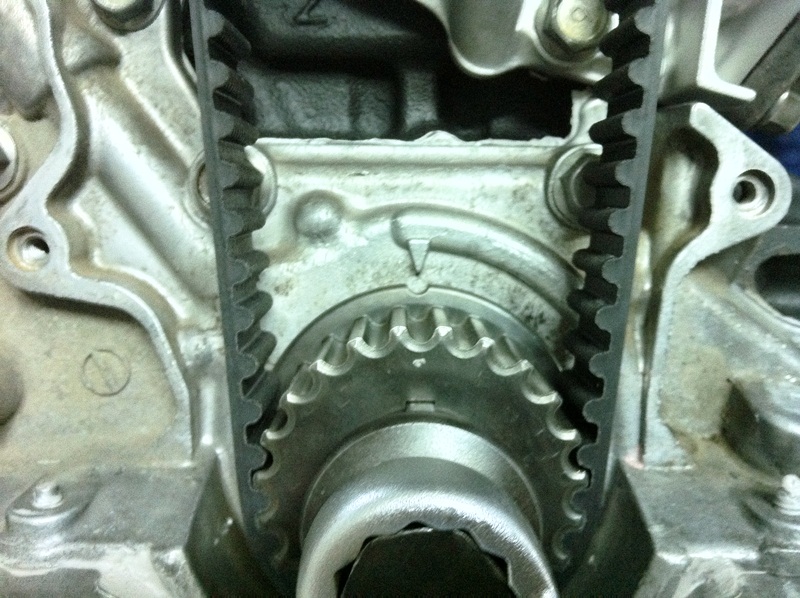
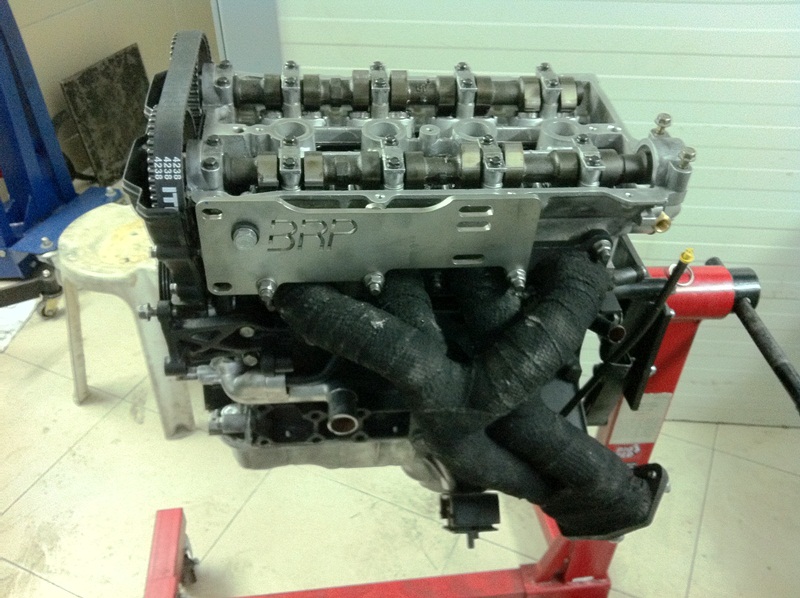
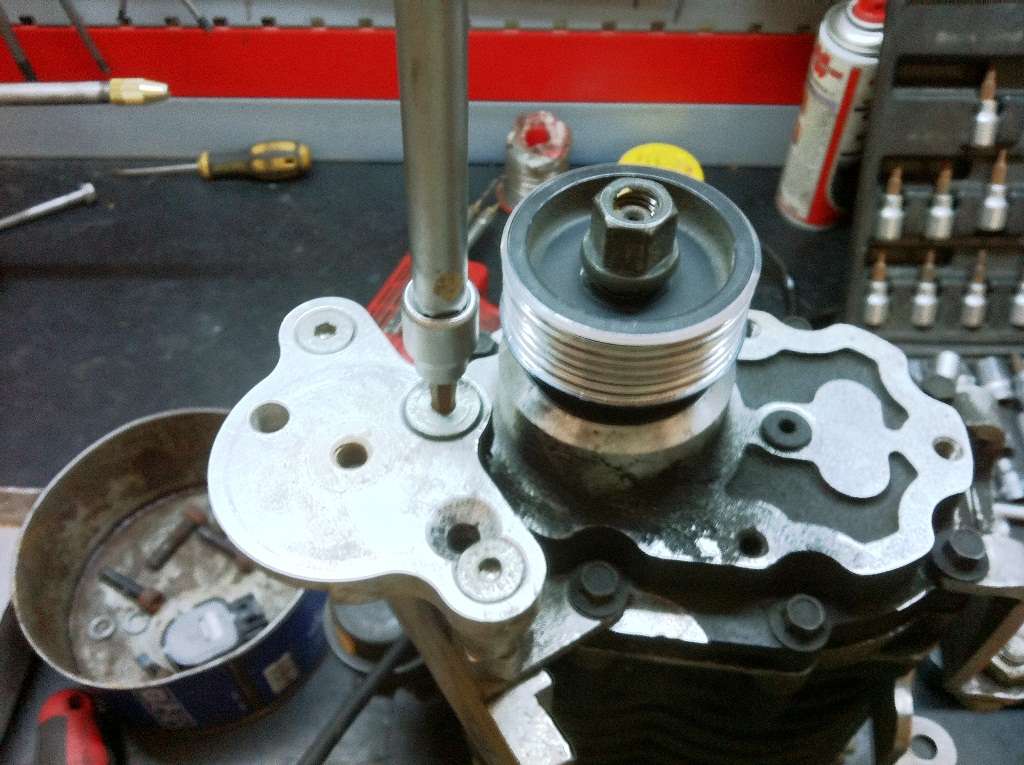
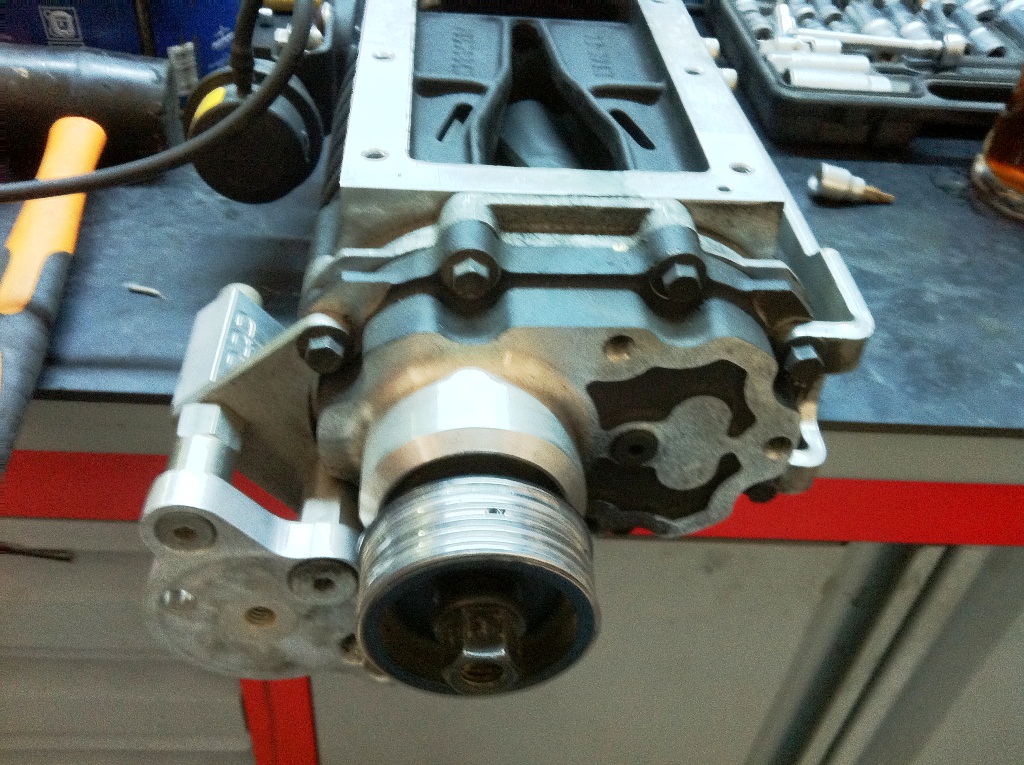
The oil pump may look "old" in this pic...
The thing is, I had bought an aftermarket pump. I installed the plunger and the spring from that pump, together with a thin washer, in the original "old" pump, per Bogus's suggestion.
The original pump was in perfect shape, save for a slight wear on its plunger.
I am maintaining 66 to 72 psi, on a hot engine at cruise with this setup now. Not bad.
Reply
0
0
Thread Starter
Joined: Jun 2009
Posts: 3,227
Total Cats: 1,707
From: Istanbul, Turkey
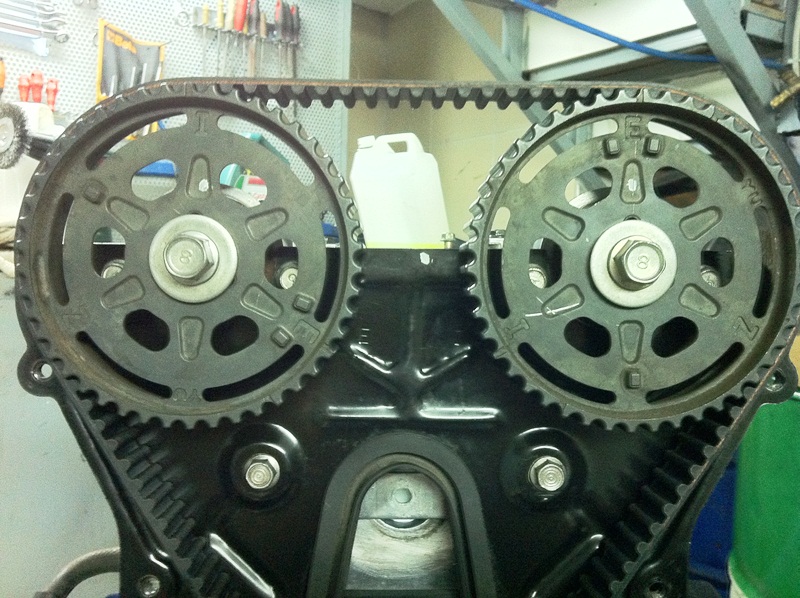
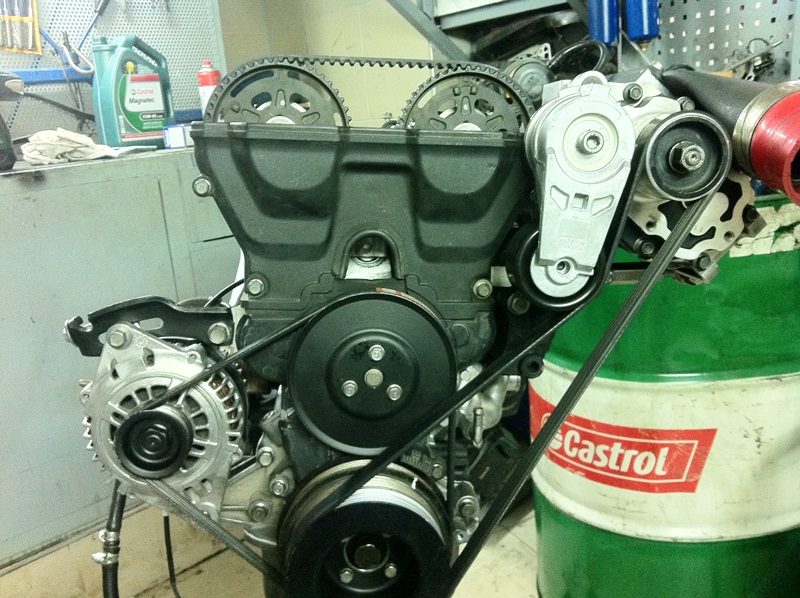
Lemme just post post these pics for posterity..
(It's not like you guys have not seen a timing belt installation before)

If you install the timing belt paying attention to these three areas, the cars fires up on the first crank.
(It's not like you guys have not seen a timing belt installation before)
If you install the timing belt paying attention to these three areas, the cars fires up on the first crank.
Reply
0
0

Thread Starter
Joined: Jun 2009
Posts: 3,227
Total Cats: 1,707
From: Istanbul, Turkey
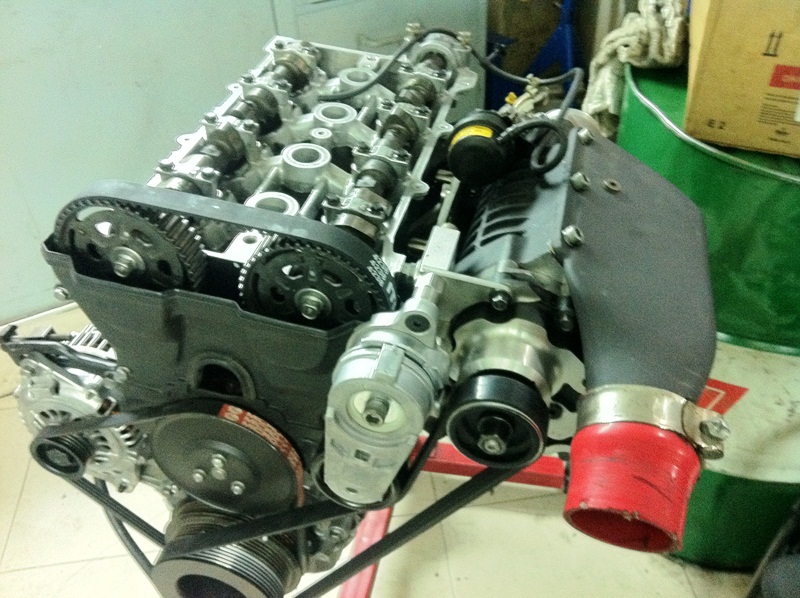
There is a reason why I call it superdupercharger...
I rebuilt that while I was at it, too. And it was a biatch. Too me two and a half days.
But, I am known to be a stubborn guy.
There are special cup style bearings pressed at the back of the aluminum housing. Those, according to Magnuson, are impossible to remove, and only they can extract them at the factory. Right.
Reply
0
0
Thread Starter
Joined: Jun 2009
Posts: 3,227
Total Cats: 1,707
From: Istanbul, Turkey
There is a reason why I call it superdupercharger...
I rebuilt that while I was at it, too. And it was a biatch. Too me two and a half days.
But, I am known to be a stubborn guy.
There are special cup style bearings pressed at the back of the aluminum housing. Those, according to Magnuson, are impossible to remove, and only they can extract them at the factory. Right.

I rebuilt that while I was at it, too. And it was a biatch. Too me two and a half days.
But, I am known to be a stubborn guy.
There are special cup style bearings pressed at the back of the aluminum housing. Those, according to Magnuson, are impossible to remove, and only they can extract them at the factory. Right.
Reply
0
0


Thread
Thread Starter
Forum
Replies
Last Post
StratoBlue1109
Miata parts for sale/trade
21
Sep 30, 2018 01:09 PM


