When you click on links to various merchants on this site and make a purchase, this can result in this site earning a commission. Affiliate programs and affiliations include, but are not limited to, the eBay Partner Network.
Got home and slapped some saran wrap on the tacky fiberglass. Kind of nice to have what I need at home for once and not have to run to the store for it. I need to study up on fiberglass a bit more so maybe this makes sense...maybe not. When I arrived home the fiberglass was warm to the touch, but still curing VERY slowly. The fact that it was warm put me at ease a bit since in my mind that means there's at least some kind of reaction going on. I put the saran wrap over it and now it's cool to the touch and after a few hours nearly hard. Why???
Guessing this will be done curing by tomorrow. I can probably get to work sanding and filing on the passenger side. I already know the driver's side window lip is going to require a bit more work. Might put the weatherstripping back in to act as a mold. I'm going to need to kick this project into overdrive...just bought another project car I need room for (or maybe just get a shop...)
Resin was finally cured when I got home last night. Not sure if I built up the fiberglass too much or not....took me about half an hour on each side to get the basic shape roughed out with a "cheese grater" type rasp so I guess that's not so bad. I need to finish up the edges and smooth out the surface with a more fine toothed file and/or an orbital sander. Driver's side has a low spot that I'm hoping to be able to sand out. Easier to see in the photos than in person.
Took the car for a test drive this weekend. I already knew the exhaust hit the tow mount at the exhaust tip, but it hit in a few other places as well. After an hour with a cutoff wheel, grinder, and sawzall I made some clearances. Eventually tripped a CEL...turns out I hooked the EGR up backwards. Runs a lot better once fixed. Also spent about an hour attempting to get the hood to align to the fenders and to the headlights. It's probably about as good as I can get it. Might mess around a little more with the driver's side headlight cover...
Did a bit of "mechanical testing" up the driveway and then decided to park the Miata next to the FRS. Pretty awesome the 12" difference in wheelbases.
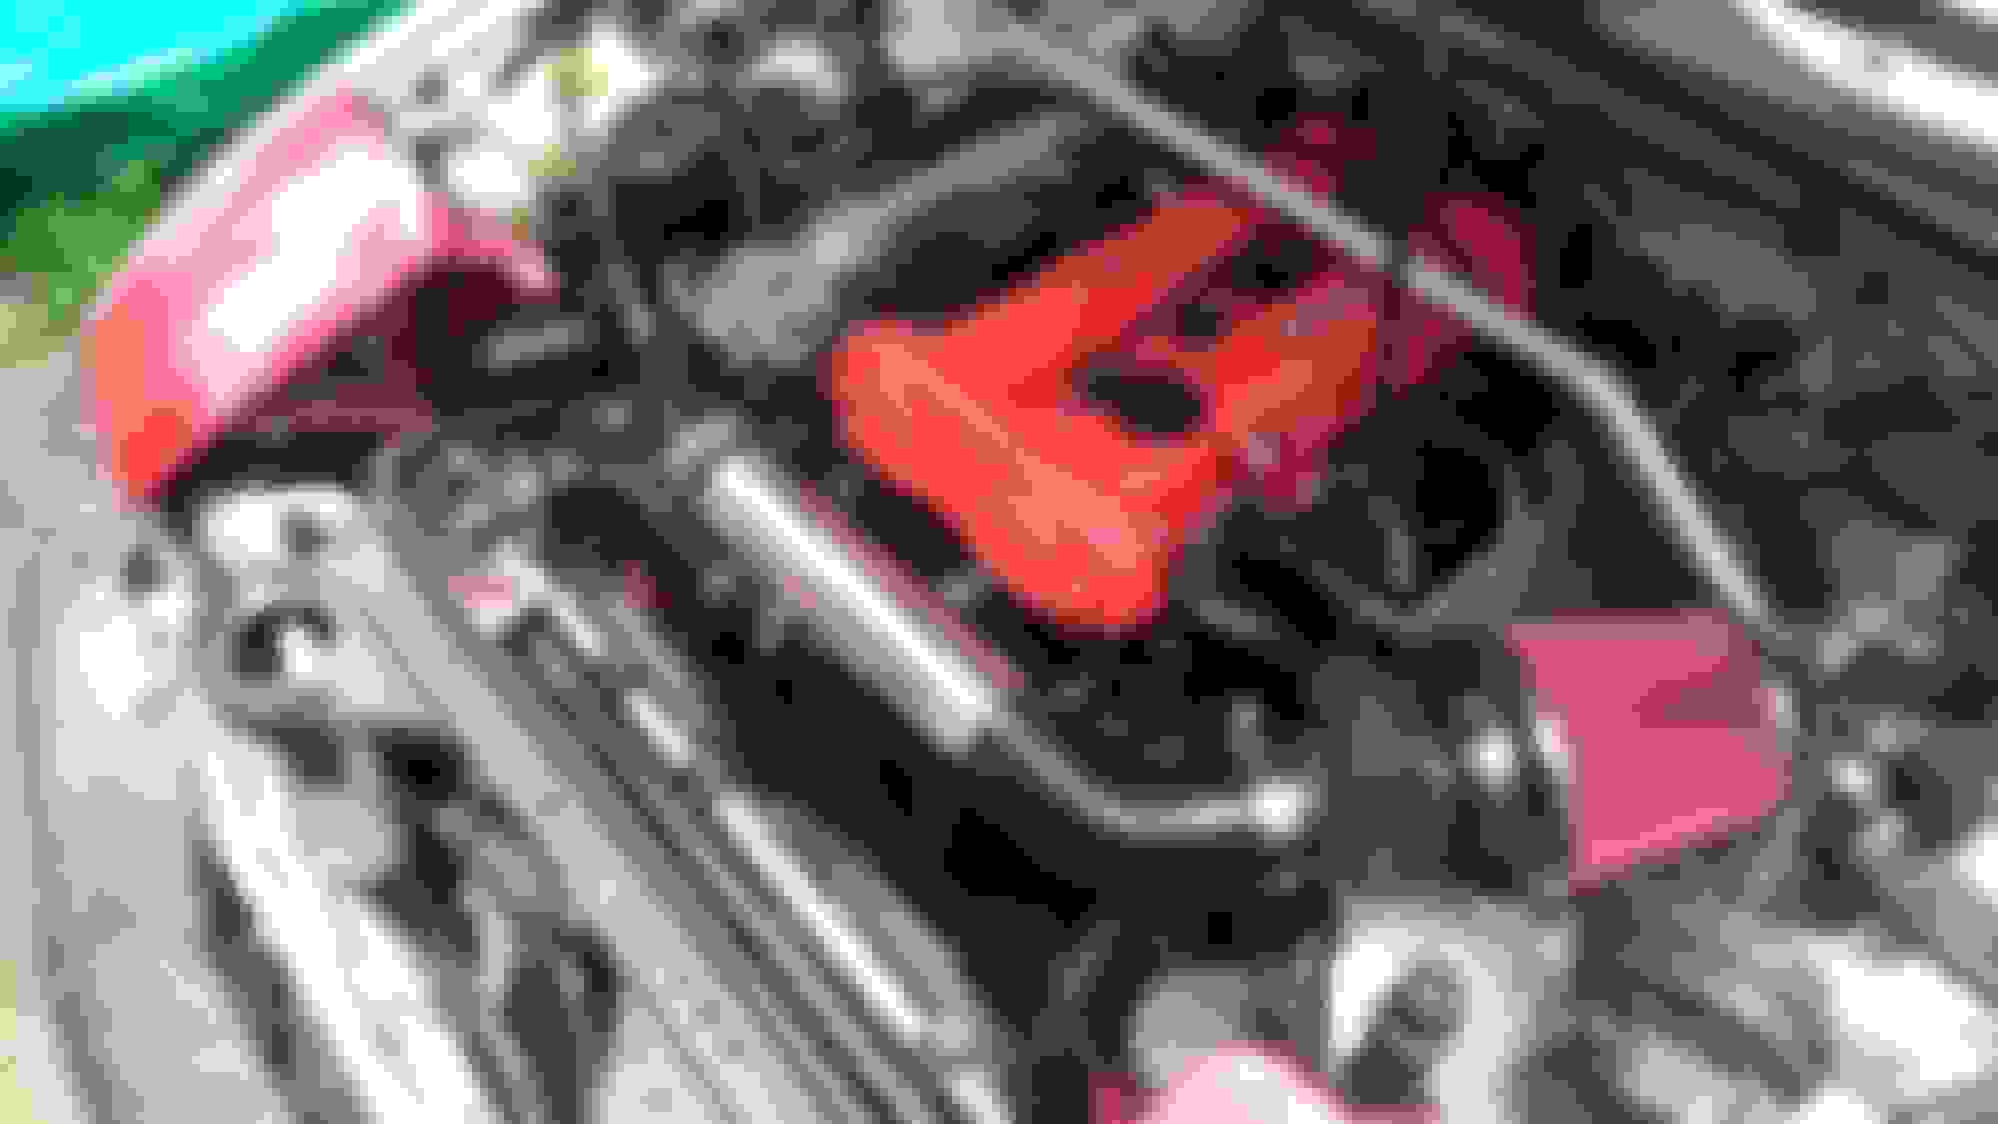
Installation of the intake went pretty smoothly. The longest part of the job was cutting the tubing down since I did this manually with a hacksaw. Other than that I had to trim 3/4" from the 90 degree throttle body coupler to bring it better in line with the 60 degree coupler at the maf. The cruise control actuator is in the way of the air filter, but it looks like I can bend the bracket to move it over.
The npt adapter silicone intakes sells for adding lines is pretty cool. It's the aluminum piece next to the brass barb in the intake parts photo below. Used this to make the idle control valve connection at the elbow.
Haven't updated in a while. Car is finally registered...been driving it around lately here and there.
Got the hardtop primed and put the first coat of Herculiner on it last night. I think it's going to look good. Will probably do the second coat tonight on the top and possibly do the A-pillars on the car itself.
Your story started to sound familiar. Then I realized who you were.... thanks to you my miata can fit in the garage again. I can't say I agree with your choice of hardtop paint, but keep up the good work
Your story started to sound familiar. Then I realized who you were.... thanks to you my miata can fit in the garage again. I can't say I agree with your choice of hardtop paint, but keep up the good work
Cool man....glad I could help!
Not sure I agree with it either, but the bedliner is hiding the patch work I did really well. For a $100 hardtop I guess it's ok. Did the A pillars to match last night so I guess I'm committed at this point. Hopefully I can get the top back on the car tonight and finally decide on a body color. Still leaning towards a single stage blue.
I actually thought about it, but I think I'll save that for the work truck. Wouldn't have to worry about getting door dinged....
I've never painted a car so this one is serving as my guinea pig so to speak. For the next car I want to have my painting technique pretty much dialed in.
Thanks for the link. I'll check it out. There's definitely a steep learning curve to painting.
For this one the current plan is to do a urethane primer and a single stage top coat. No clear coat. Cheap and easy....
I primered the hardtop for the heck of it and the urethane took way too long to cure. I think this was partly due to not having the gun dialed in and putting it on too thick. Ended up getting some solvent pop in a few areas too. Also my lighting is horrible in the garage. I swept and mopped the floor which helped with the dust, but the overspray was insane. Really worried it'll drift onto my neighbor's brand new $80k truck. So before I try again I need a few more lights and maybe talk to the neighbor about parking up the road.
Car is screaming for a Macco paint job. Take absolutely everything off the car yourself, including the hardtop, and plan for a windshield replacement once it's back.
I agree, but when I got a quote from Maaco they wanted ~$850 for a white paint job and ~$1200 for a color change. Out of curiosity I got on their website just now and they're running $345 specials with enamel paint (extra for urethane). This may be an option.
 07-31-2017, 09:42 PM


 0
0