When you click on links to various merchants on this site and make a purchase, this can result in this site earning a commission. Affiliate programs and affiliations include, but are not limited to, the eBay Partner Network.
It will if it doesn't hang up on the carpet. I removed the padding beneath the rear of the seat when I did mine with stock seats years ago and trimmed a little spot. Tradeoffs for having a rollbar. Can't see under the seat anyway.
Made a little progress in the last few days. Not too much to show for it, but i found several problems that i've had to sort out. More parts inbound!
Problems
I bought the timing tensioner cover from Drag Cartel along with the lower chain guide, however when i went to install it, i saw this:
I contacted DC (on a sunday afternoon) and got an email from Jeremy in 5 minutes. That's pretty impressive! Long story short, all of the tensioner covers are the same, and should fit every engine. He offered to refund it if i wanted, but since i need a cover i decided to just clearance it myself.
OK. on to the next issue. The belt setup from K miata appeared to be designed for a completely different setup to mine. It's designed to shim the alternator with washers to provide tension. My alternator bolts in from the front though, leaving nowhere for the washers to go.
And to top all of that off, the alt is locked up tight. The bracket is an integrated piece with the pcv system and water pump housing, which just won't work. eBay to the rescue! I ordered a used water pump housing and alternator for $85 shipped. For those of you looking to do a K swap and shopping for an engine, be aware of this. There is no easy way to do the belts with a front-bolt alternator.
I suspect that the issue is that this engine is from Japan, and offered in their version of an Odyssey, which has different routing than USDM K24a2s. I also suspect that the crank pulley is larger on that engine, causing the interference with the tensioner cover. If anyone has a K24 available, i would love to get a diameter measurement on that pulley to confirm my suspicions! Mine is 6.5".
On to the fun stuff.
Parts showcase
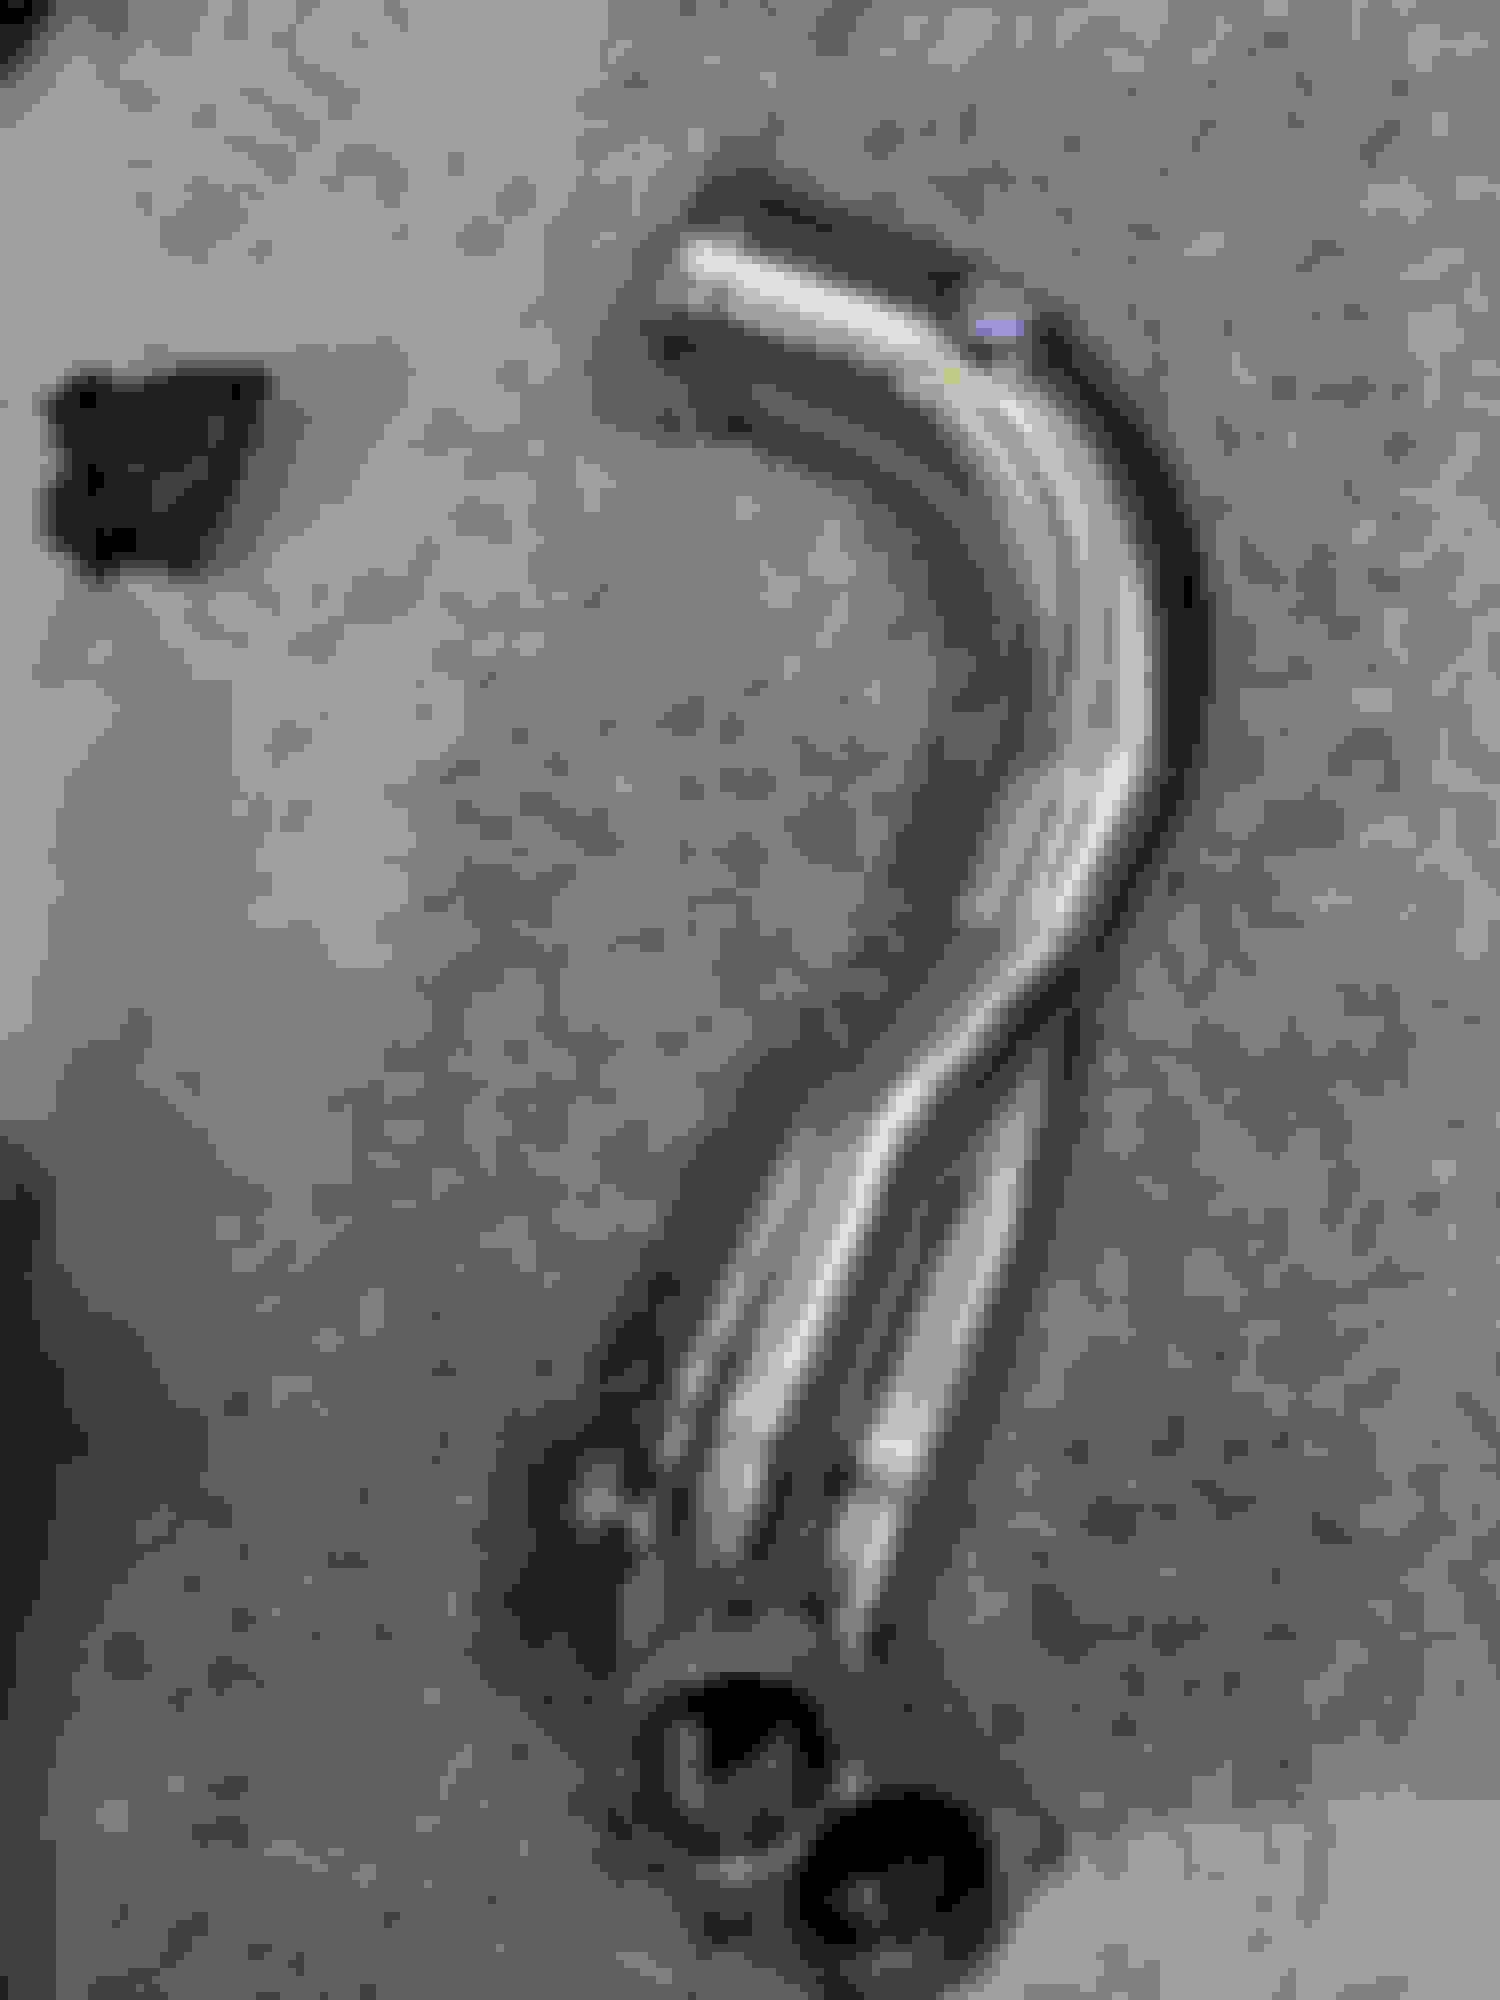
Beautiful parts. The header is a work of art. I went with the Race version, the dyno plots were much more favorable with the 4-2-1 design.
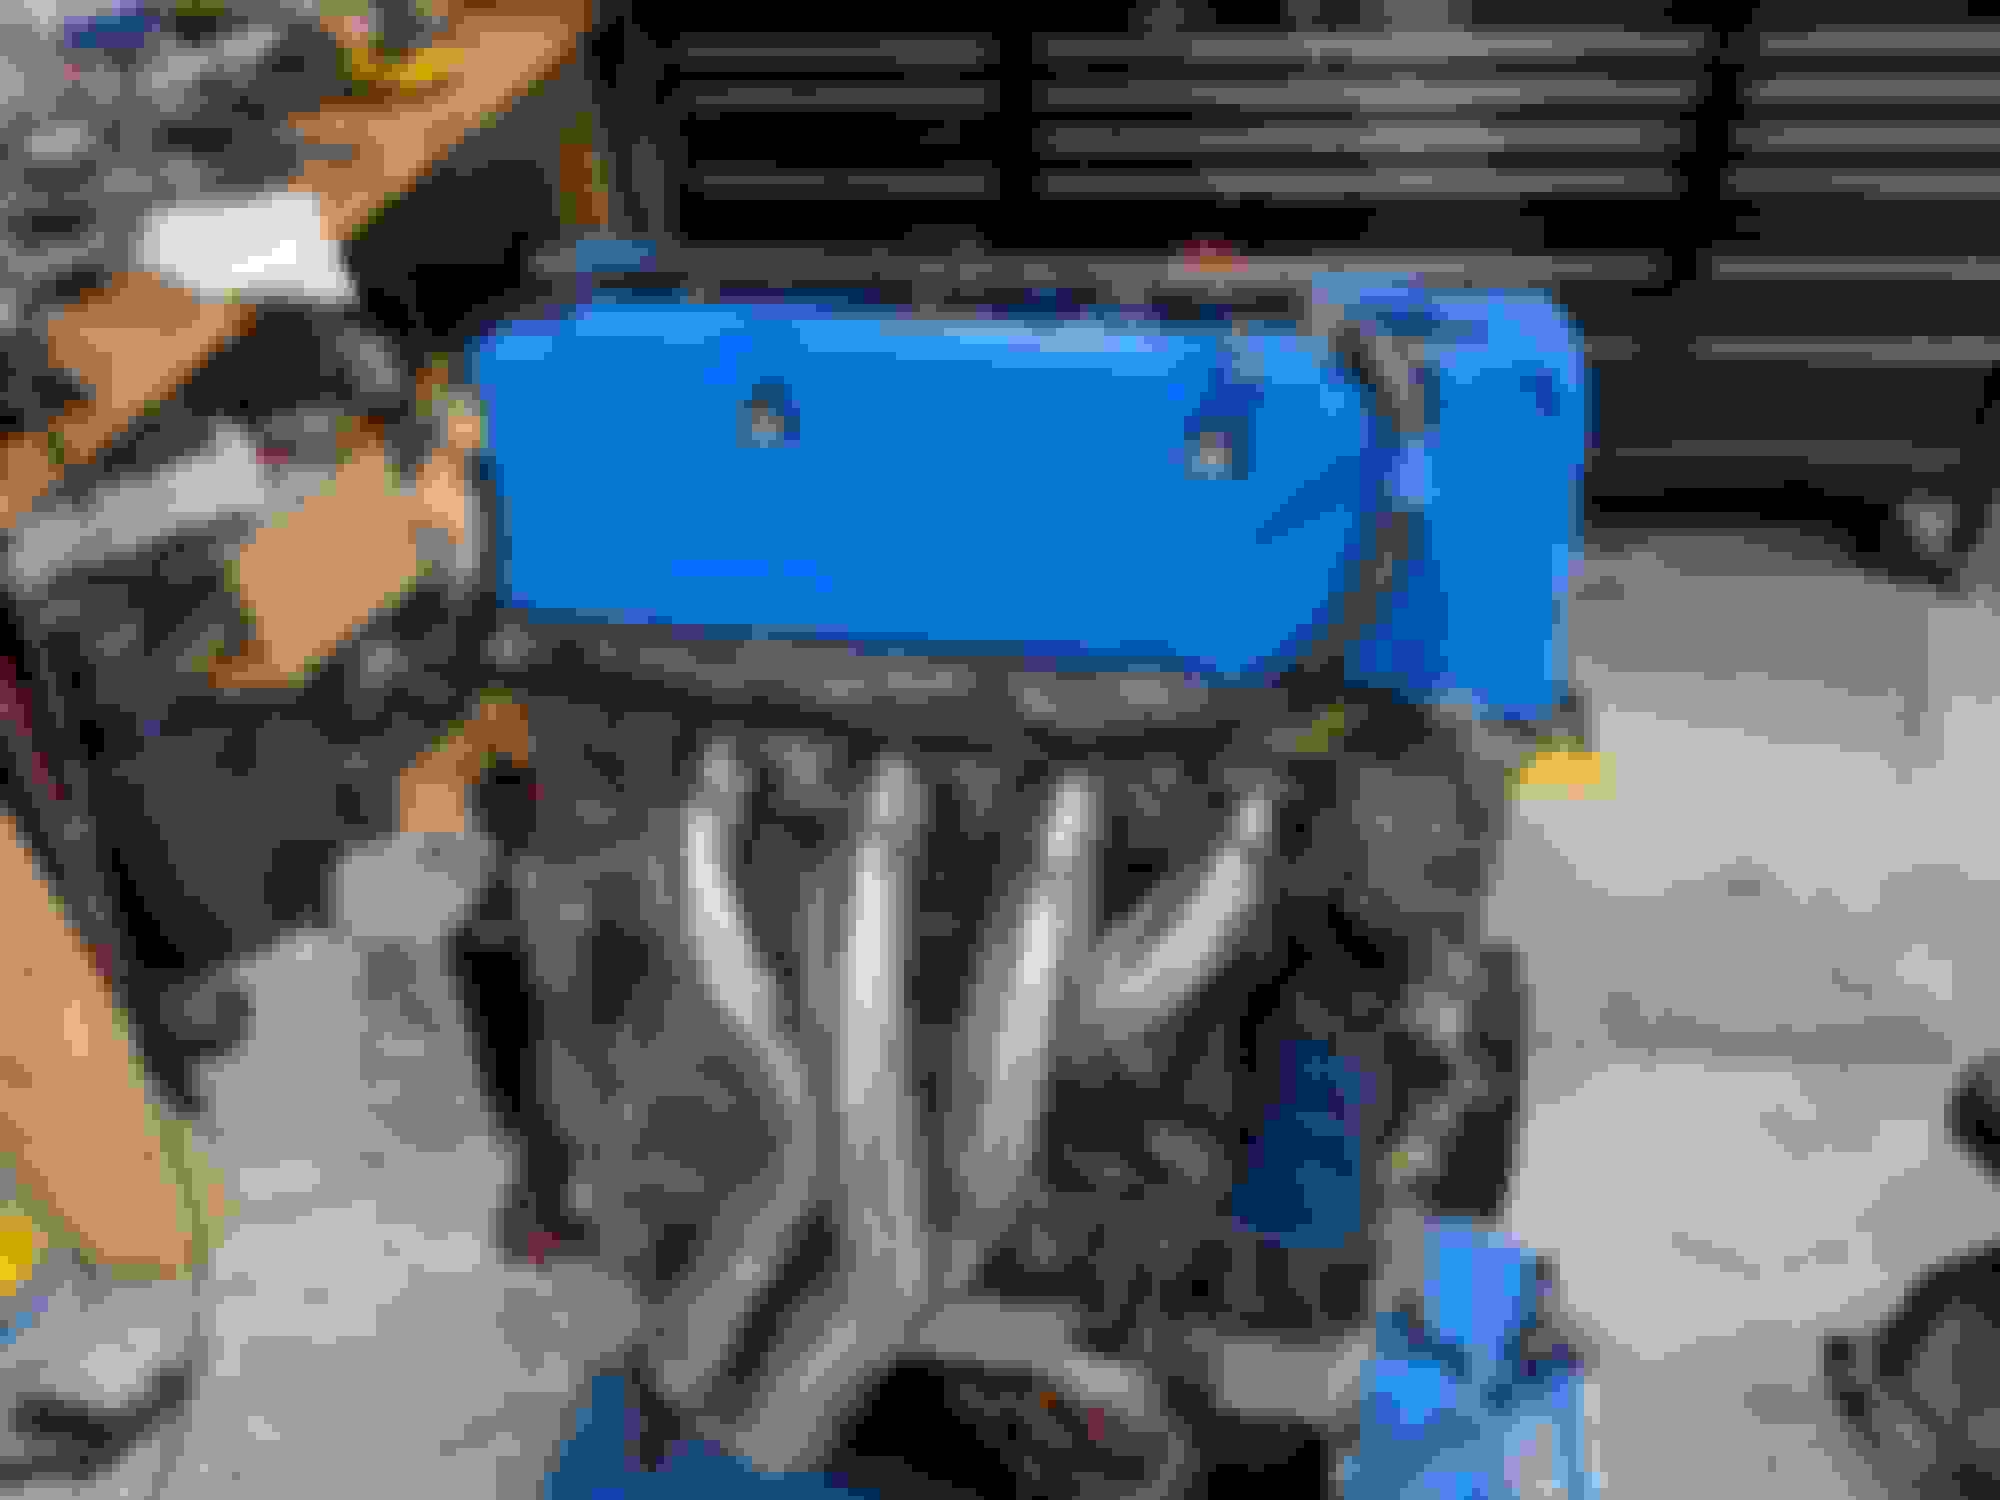
Test fitting the manifolds and the wiring harness
To run the Hondata Kpro, you need a harness from a very specific vehicle; a 2002-2004 RSX type S. Sourcing one was probably one of the more difficult challenges i've had in the early stages. I'm told the reason is that the later cars added immobilizers, so you have to run the ECU from the earlier car, with a harness to match. ECUs are everywhere, you can use one from any 02-04 RSX, but the harness must be from the type S.
After passing on several $300 crusty used harnesses, i found an open box replacement harness from K Tuned. Although it was expensive, I think it's worth some peace of mind knowing that everything is new.
I do think i'll have to extend a sensor or two, in order to maximize the amount of wire going through the firewall. Not sure until it's in the car, and i find a place for the ECU to call home.
Transmission clearance
This photo shows the starter recess that needs to be cut in the bellhousing:
i'll clean that up more tonight.
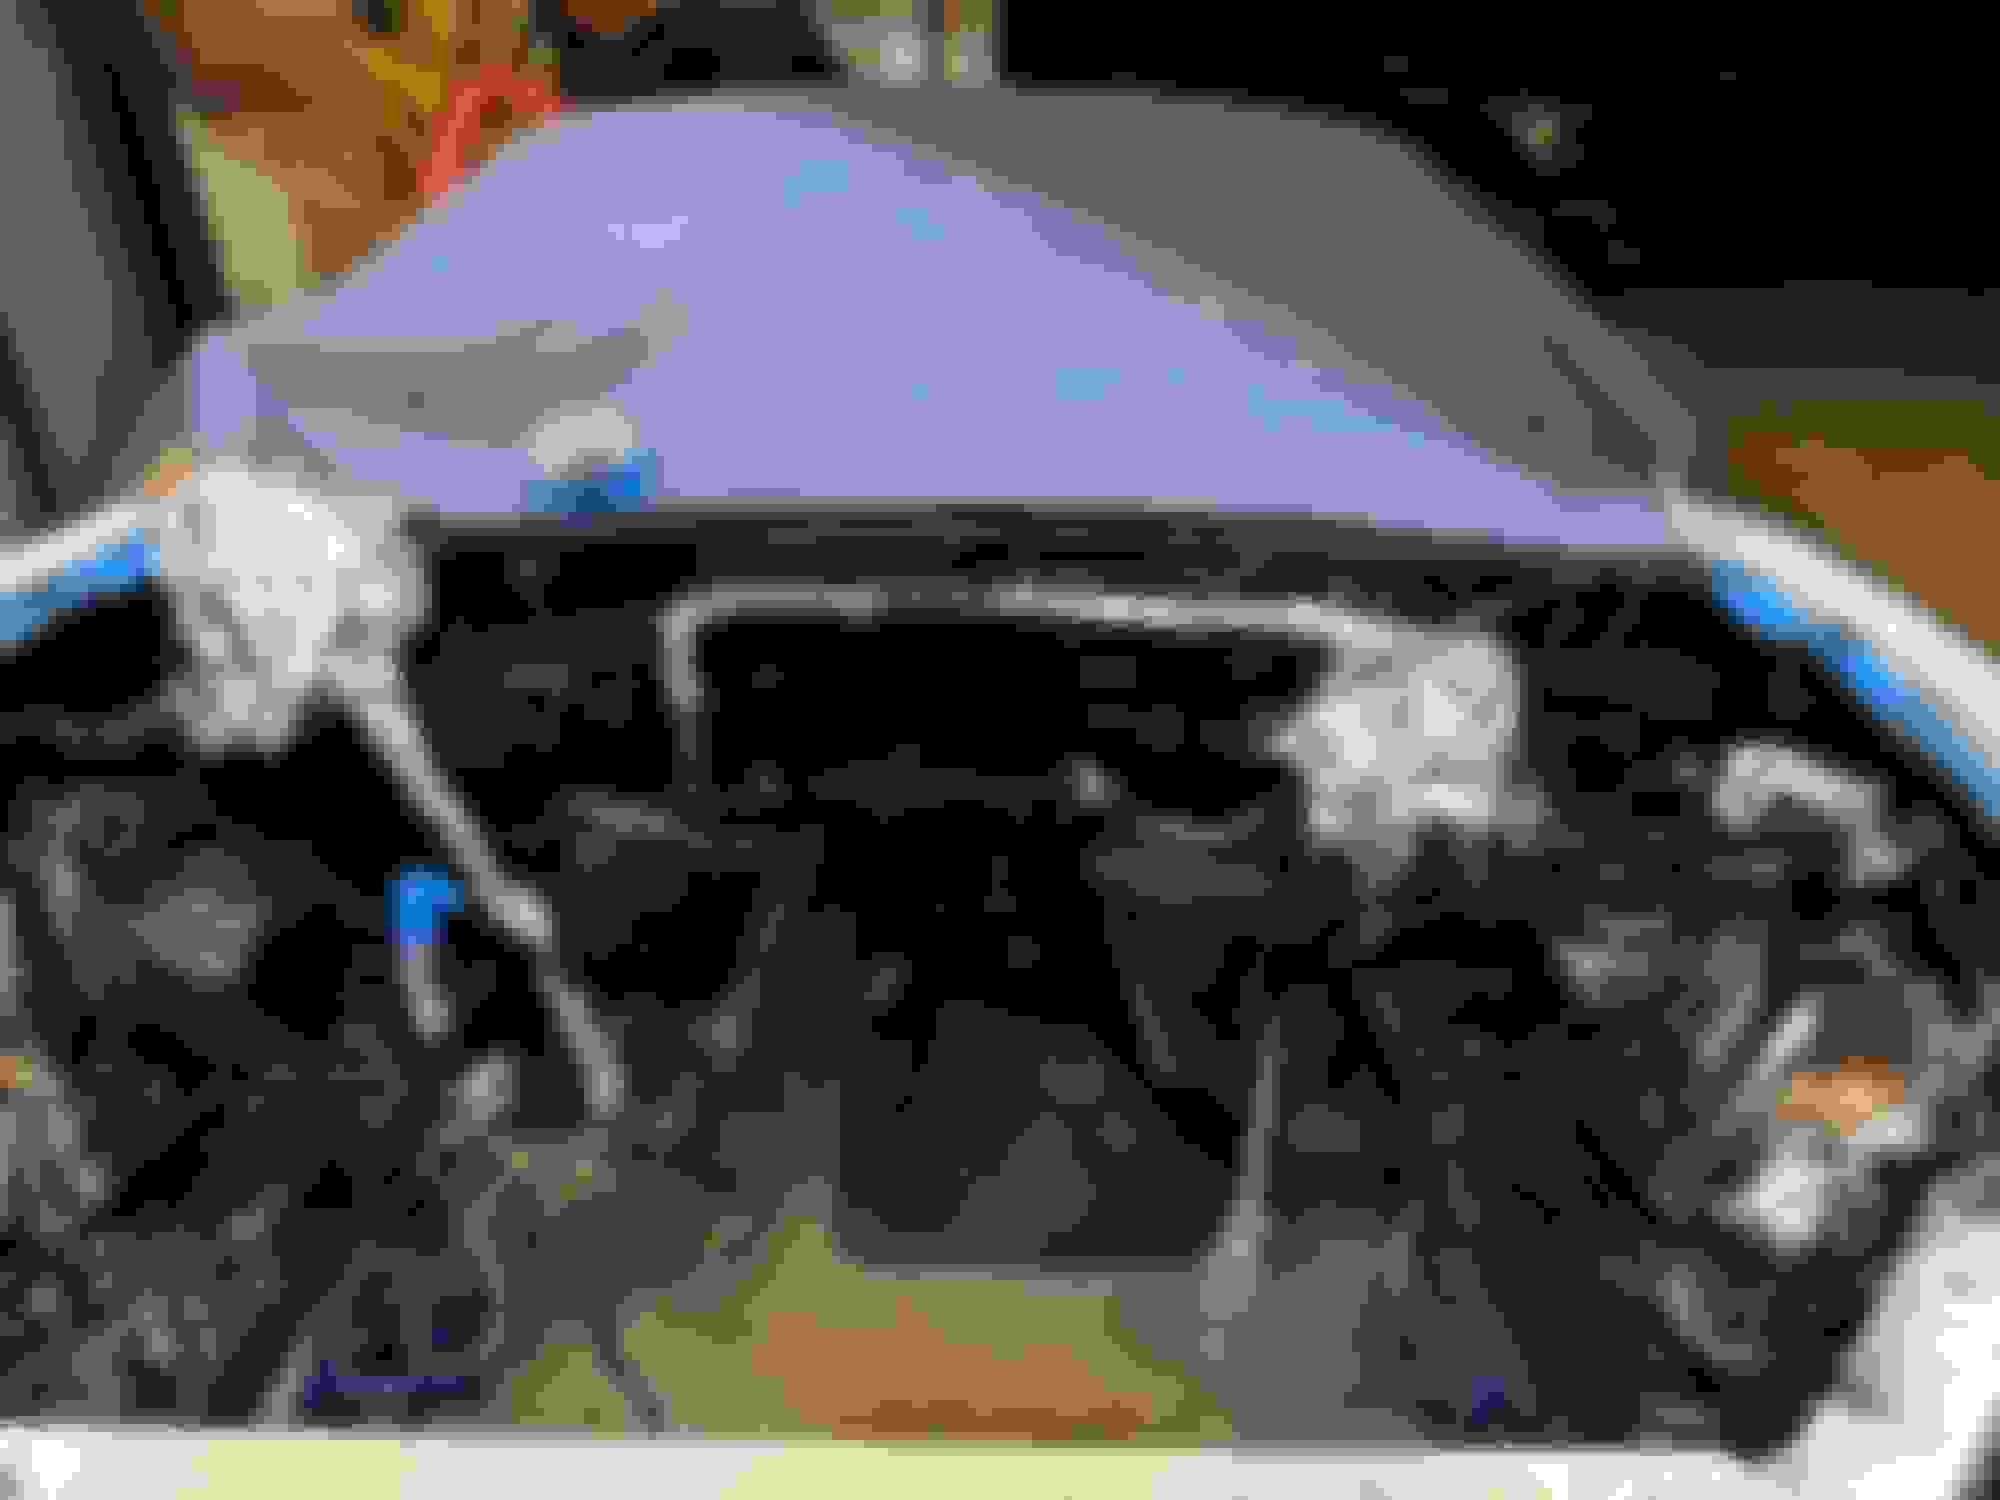
Engine bay
Took out the clutch and brake masters, brake boosters, and unbolted everything i could. The rest was wrapped in tin foil so i could hack up the paint. Had some help with the prep, which was much needed! I hate sanding.
If this were a show car, i would have taken a few more days to remove the rest of everything. But, it's an engine bay. For a 20 year old car. I think it'll be fine
Here's a pic of the paint drying:
Hopefully we will have some more parts by the weekend!
The JDM engines do have some differences. The US K24 pulley is 6.125" compared to the JDM 6.5". The K swap Facebook page has some info about this from other people that ran into the same issues.
The JDM engines do have some differences. The US K24 pulley is 6.125" compared to the JDM 6.5". The K swap Facebook page has some info about this from other people that ran into the same issues.
Re: Seats- is there anyone out there passing hpde tech with stock seats? Really hope to make them work, since i don't want a track-only car.
Dan
5'11, mostly torso. I pass with a stock seat and BBFW roll bar. Heavy fomectomy. both top and bottom of the bottom foam trimmed. I leave the front of the fabric unattached so I can slip 1.5" of foam I cut off in and out as needed since it is not comfy on the street. I also cut the rear seat mounts out and lowered the back of the rails.
Some progress this weekend.
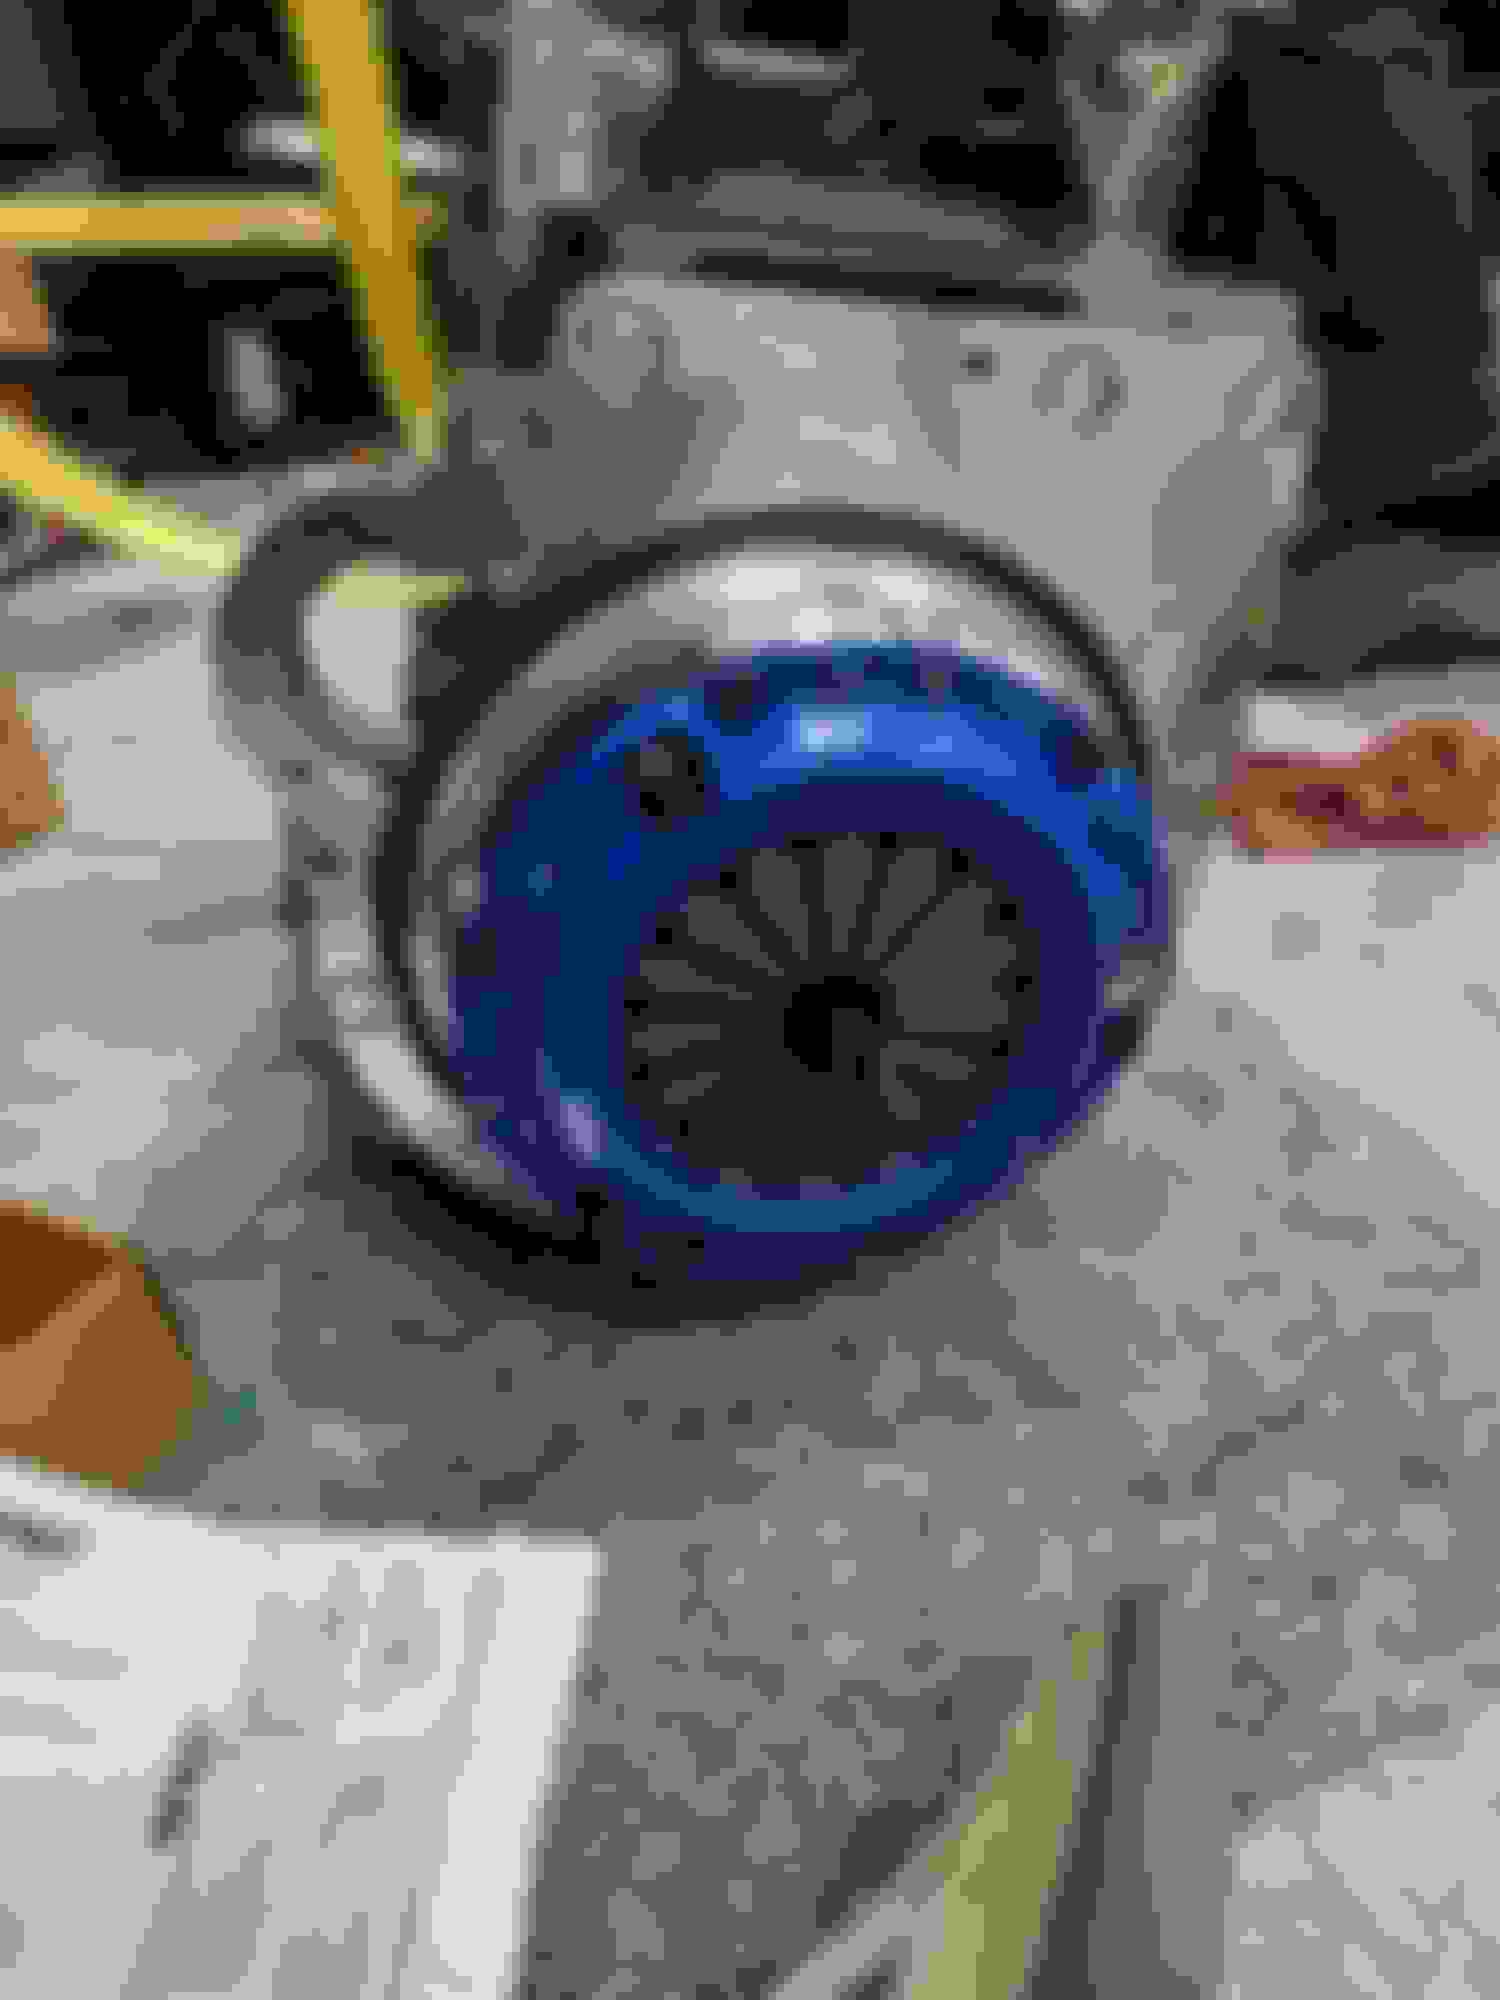
Flywheel arrived, so i could take the engine off the stand and continue the assembly.
Rear main seal installed
flywheel installed
clutch installed
powertrain assembly in one piece
The rest of the parts should arrive this week. Somehow i ordered the wrong water pump housing from eBay. Grr... that's annoying. Current list of expected items:
Subframe, due today
Coolant water neck (the one sent by Kmiata was universal, i needed the sensor bungs machined in)
Water pump housing
Throttle body adapter (i assume the throttle cable kit comes with this?)
Exhaust parts
Alternator
On to Saturday. I found a cruise control retrofit from Tom over at www.Partsgroup.com, along with a couple other things i broke during disassembly. I installed that stuff after family obligations on saturday. The pedal assembly was tougher than i expected, but went together smoothly. Sorry, no pics of that- but it's well documented on various miata sites anyway.
Sunday i tackled the fuel pump installation and dash wiring. The fuel pump install was straightforward, no issues.
Wiring:
Since my car is a 99, the colors and pin locations matched perfectly (though i did pull schematics to make sure). I did run into a couple snags, and plan to call David today to double check before i solder.
The instructions mention a single wire for constant 12v, and a single wire for switched 12v; however the conversion harness has two of each. With the dash wiring being something like 20ga, i don't feel comfortable splicing in two 14-16 ga wires to it, and there are no other pins in that connector that offer 12v. I want to double check before i continue.
Next, i need clarification on the fuel pump wiring. The conversion harness has a large wire for the fuel pump relay, and is to be connected to the appropriate wire in the blue connector. That wire is nowhere near that size. Also, i need to know what fuel pump wiring mods need to be done.
I'm also not going to be running a factory style o2 sensor, since Kpro can take it's signal from the AEM Wideband i am installing. I'll have to read the manual some more to figure that out.
I'm getting very close to needing the engine in place to fit the manifolds and harnesses, this is getting exciting!
The schedule going forward:
Weeknights: install subframe, rack and pinion, finish wiring
Friday night: Set powertrain in the car, connect driveshaft, PPF, engine mounts
Rest of weekend: Install engine bay parts
TBD: Mock up and fabricate exhaust
Following weekend: Finish up the rest since i will have skilled help, install dash, do miata donuts.
Post up what you find out from David. I'll likely use this as a reference when I get to the same stage as you.
Nice progress!
Absolutely! I spoke to David yesterday, and will reference those notes here in another post.
I ran into a snag last night when one of the bolt holes on the subframe didn't quite line up. I need to chase the threads in the body, but that bolt size is not commonly found in a tap and die set.
Once i fix that, i need to decide if i should open the bolt hole up in the subframe, or use a ratchet strap to gain clearance. I don't want to remove material and the coating on the subframe, but i'm unsure what effect that additional preload will have. I'll snap a pic tonight, didn't have time yesterday.
For the fuel pump, I didn't bother using the supplied new relay and instead just spliced into the stock relay trigger. Haven't had any issues.
For the subframe, I'm guessing its the passenger side rear hard to get to bolt?
Not the rearmost, but the middle one. The one that you can't get anything on but a wrench. I want to look at it again with a clear head, it's possible that the rear bolt won't work once i pull it for the middle one.
^^ I will second this, i had to open up that hole as well.
On the wiring, i had to run my own switched 12v directly, i had it wired like it says in the instructions and it was a much smaller wire, after like a week or two of driving it, I was driving down the road and it just quit out of the blue and it turned out to be the switched 12v, it killed the power to my radio as well so i dont know what that was about. I had installed a switched fuse block to power my gauges so i ran my switched 12v from there to the swap harness. When i wired in the fuel pump i spliced the wire in off the factory fuel pump relay and not at the blue plug like in the instructions, i had trouble with this initially as well because i dont think the correct wire is located on the blue plug like the directions say. I also had an issue with the fan relay and just ended up wiring it directly to the factory relay under the hood but i think that may have been my error.
My car is also a 99 so i thought all my wires were the same as well but i had to call a few audibles. Alot of this is written up in my thread as well (i think), but if you have any questions i am more than happy to help, i am also running the kpro setup.
On your AEM wideband with kpro, get the part number for your AEM gauge, most of them are pre programmed into Kpro, you just have to run 1 wire from your gauge to the analog inputs on the kpro board, it will be 1 of the 2 plugs with like 10 wires in the box, one is for analog inputs, the other is for digital so make sure use the correct one. One suggestion on this as well, when you are running the ground for the AEM gauge, run it all the way to the valve cover where the rest of the engine harness grounds, this will ensure the gauge reads correctly, if you dont do it this way it can introduce some resistance and the gauge will read off slightly.I am currently running my car off the AEM gauge and when i first had mine installed my AEM gauge and the stock gauge read differently because i had it grounded in the wrong location.
Thanks for the information! Do you have a link to your build?
I'll be doing a wiring update here by the weekend.
More problems solved! State of the garage looks the same. If i didn't do the work, i would wonder what was actually being accomplished, lol.
Subframe:
The offending hole was on the passenger side, second bolt from the rear. 5 minutes with a rasp and we have this:
That should clear nicely. Sprayed some gloss black on it, will put it in the car tonight.
Wiring:
I worked on that and snapped some pics, but i want to provide a separate post for the wiring, in an effort to make it more concise.
Water pump housing:
Cleaned up and painted the new water pump housing-
Be advised that if you have the wrong housing and have to switch to this one, you will have to remove a stud and find some bolts, the depth is different on the new bracket.
Throttle body adapter:
The instructions say that you have to figure out where to mount the k series MAP sensor, and i assume that the kit has changed since then. There is a hole plumbed for it now, in the adapter plate.
You do have to press the roll pin in on the throttle cable bracket. This was self explanatory, but not mentioned in the instructions.


 0
0