When you click on links to various merchants on this site and make a purchase, this can result in this site earning a commission. Affiliate programs and affiliations include, but are not limited to, the eBay Partner Network.
Loads of stuff happening thanks to Corona. Over the winter I built a custom wiring harness that combines my turboed VVT swap harness (based on a 1991 EUDM car) with the airbag architecture off a 1992 USDM and the ABS wiring off a 2003 EUDM, plus specific solutions such as using the AC button as a map switch and replacing the oil pressure gauge with a CANchecked gauge. In retrospective it is the epitomic definition of madness, and I'd much rather get shot in the knee than doing it again. Anyway, I'll cover that later.
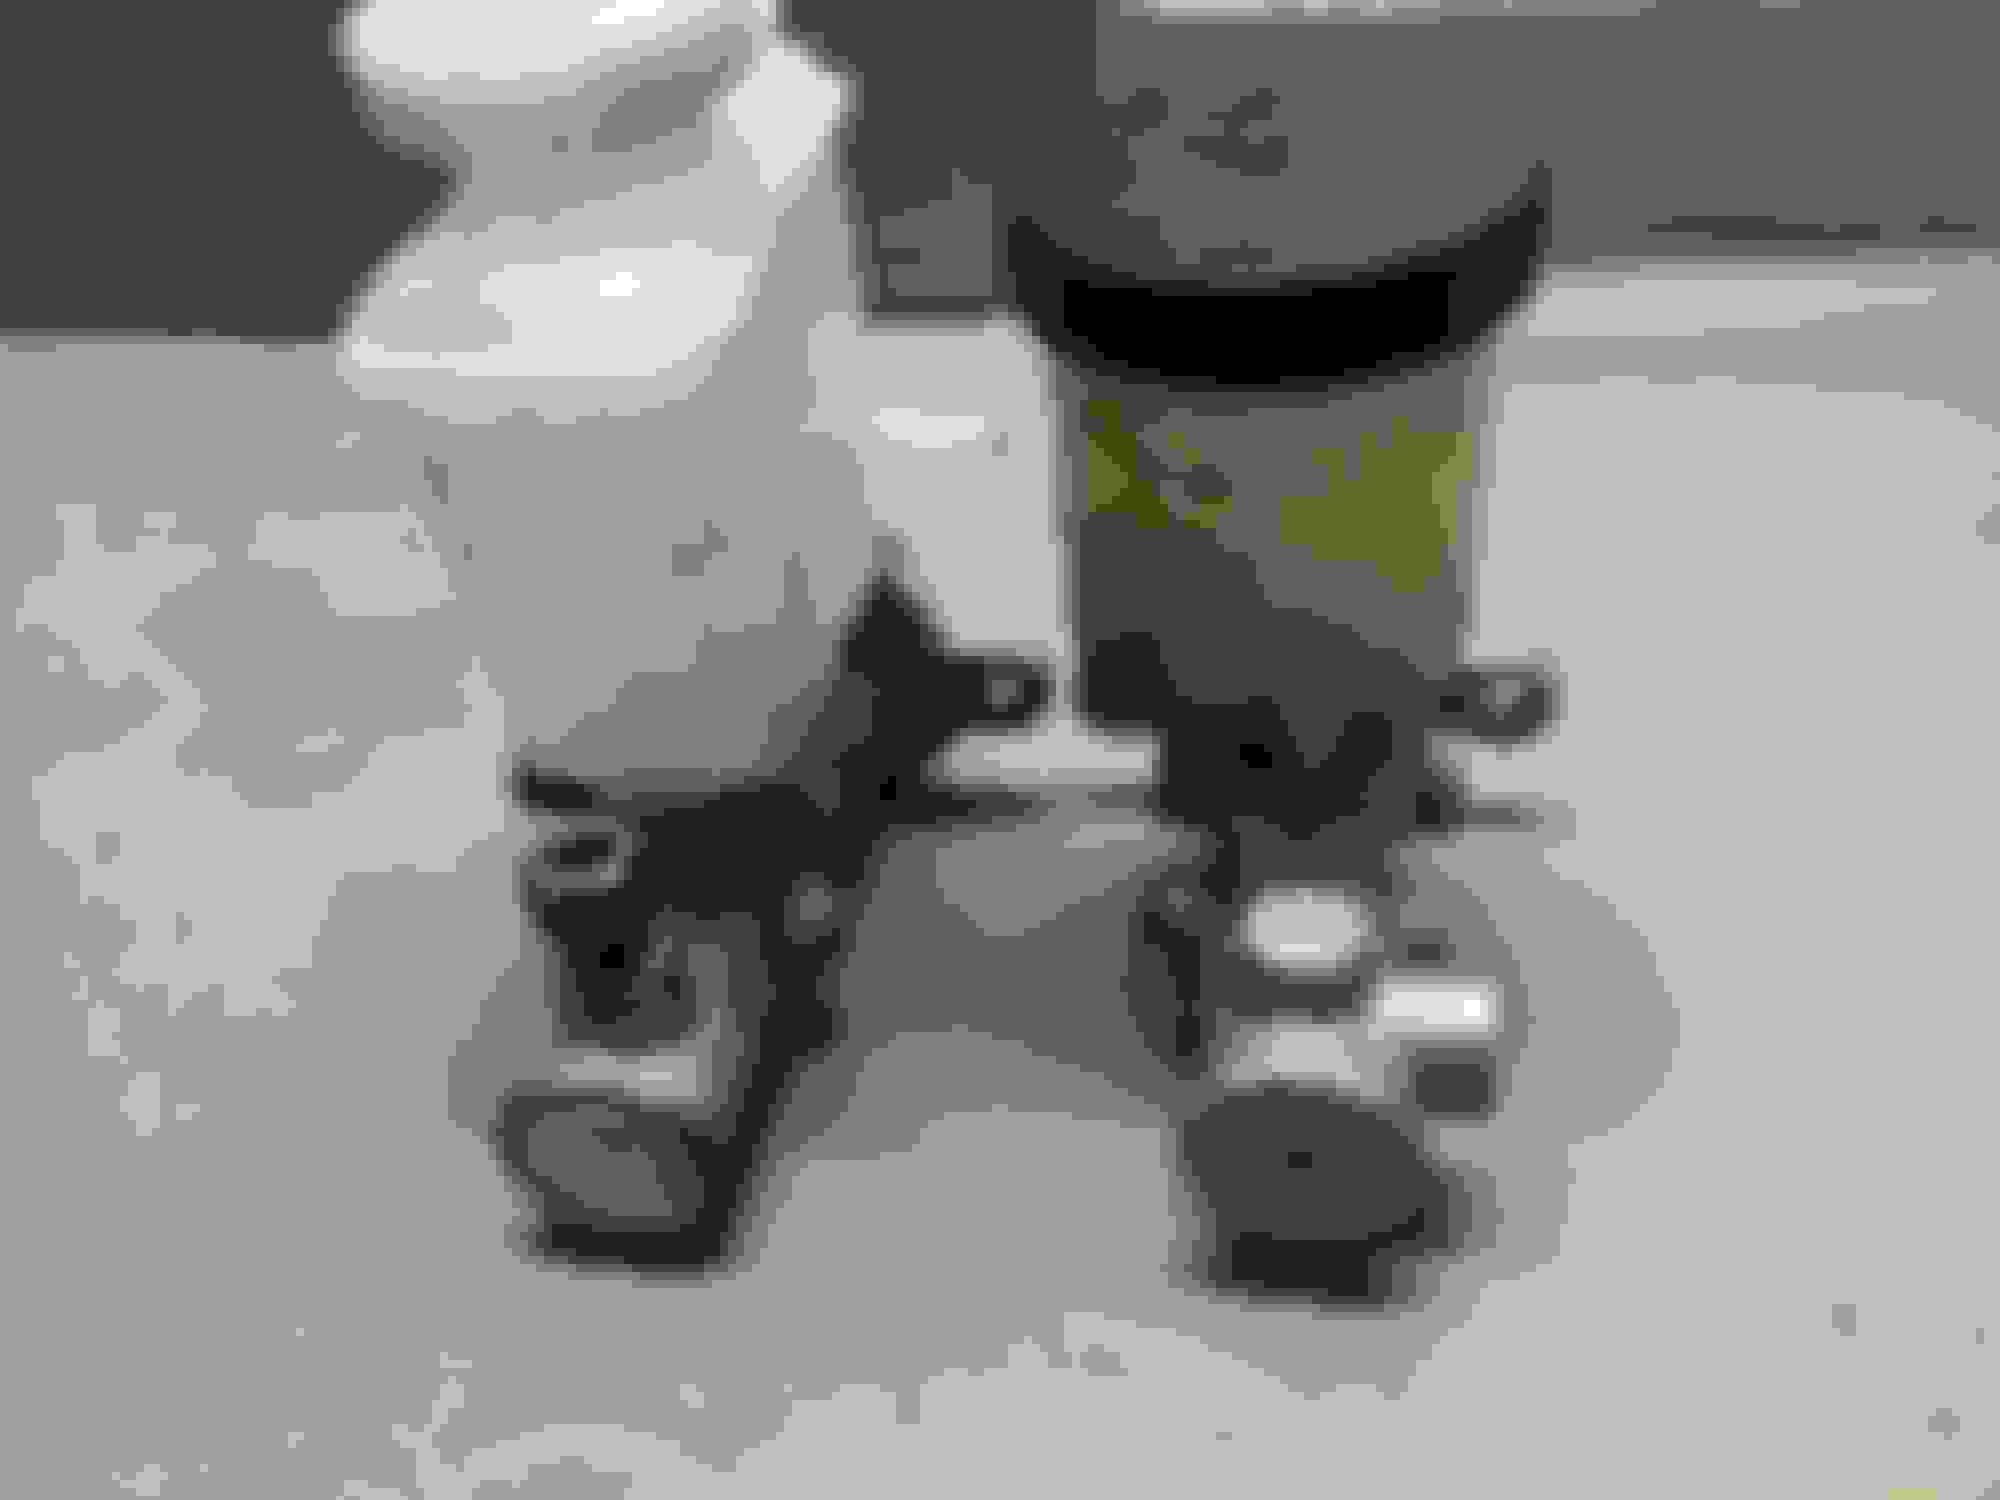
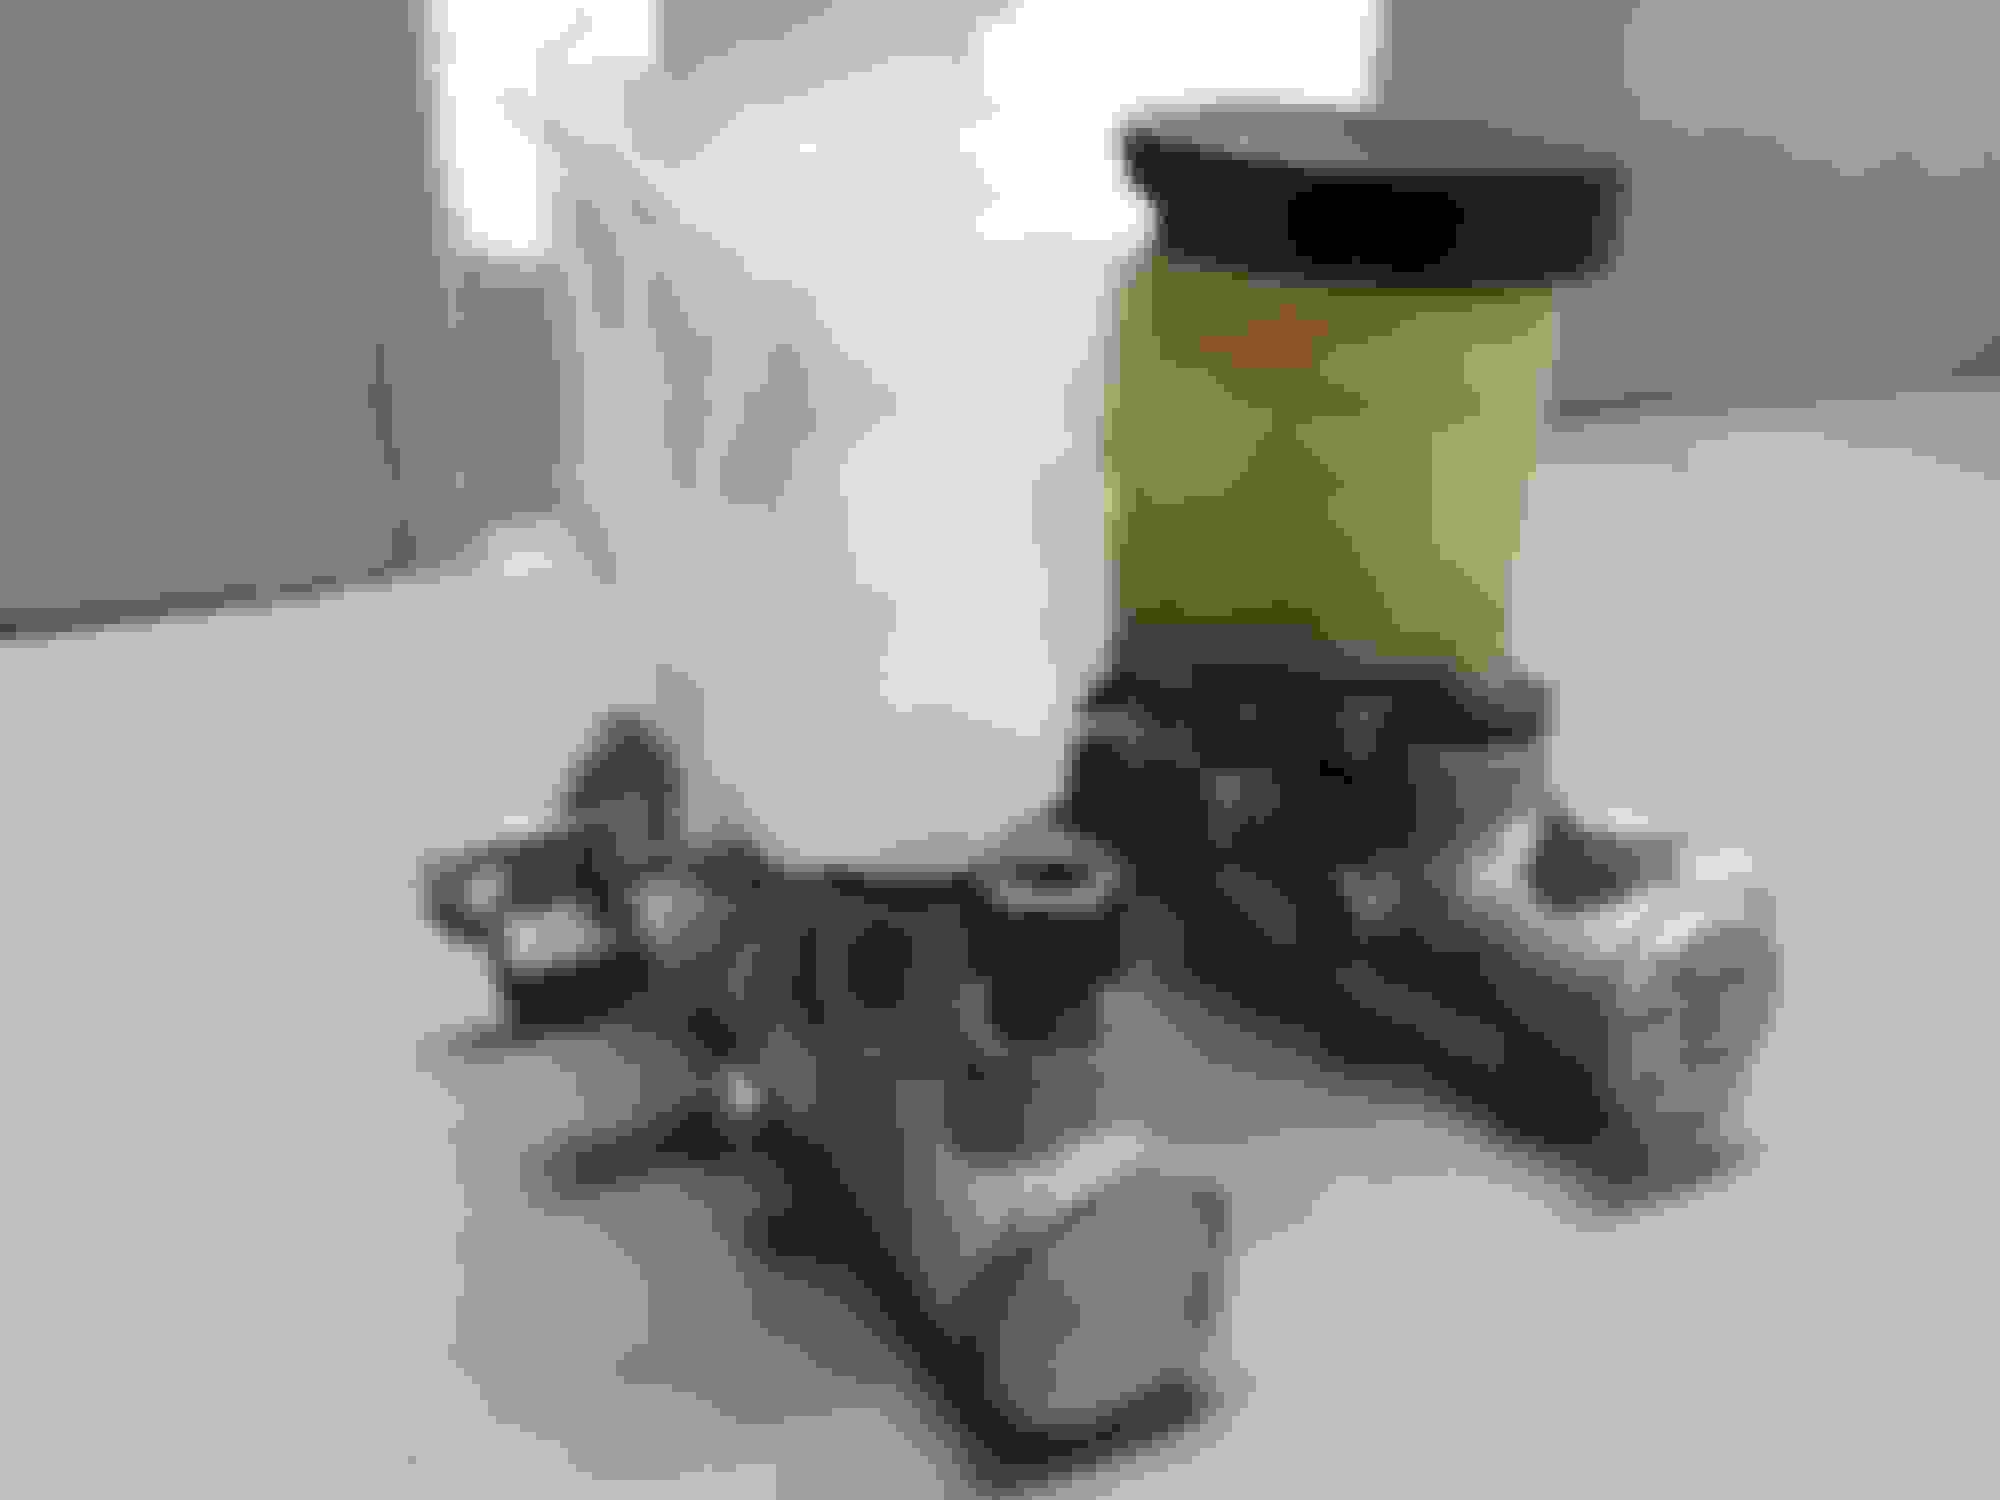
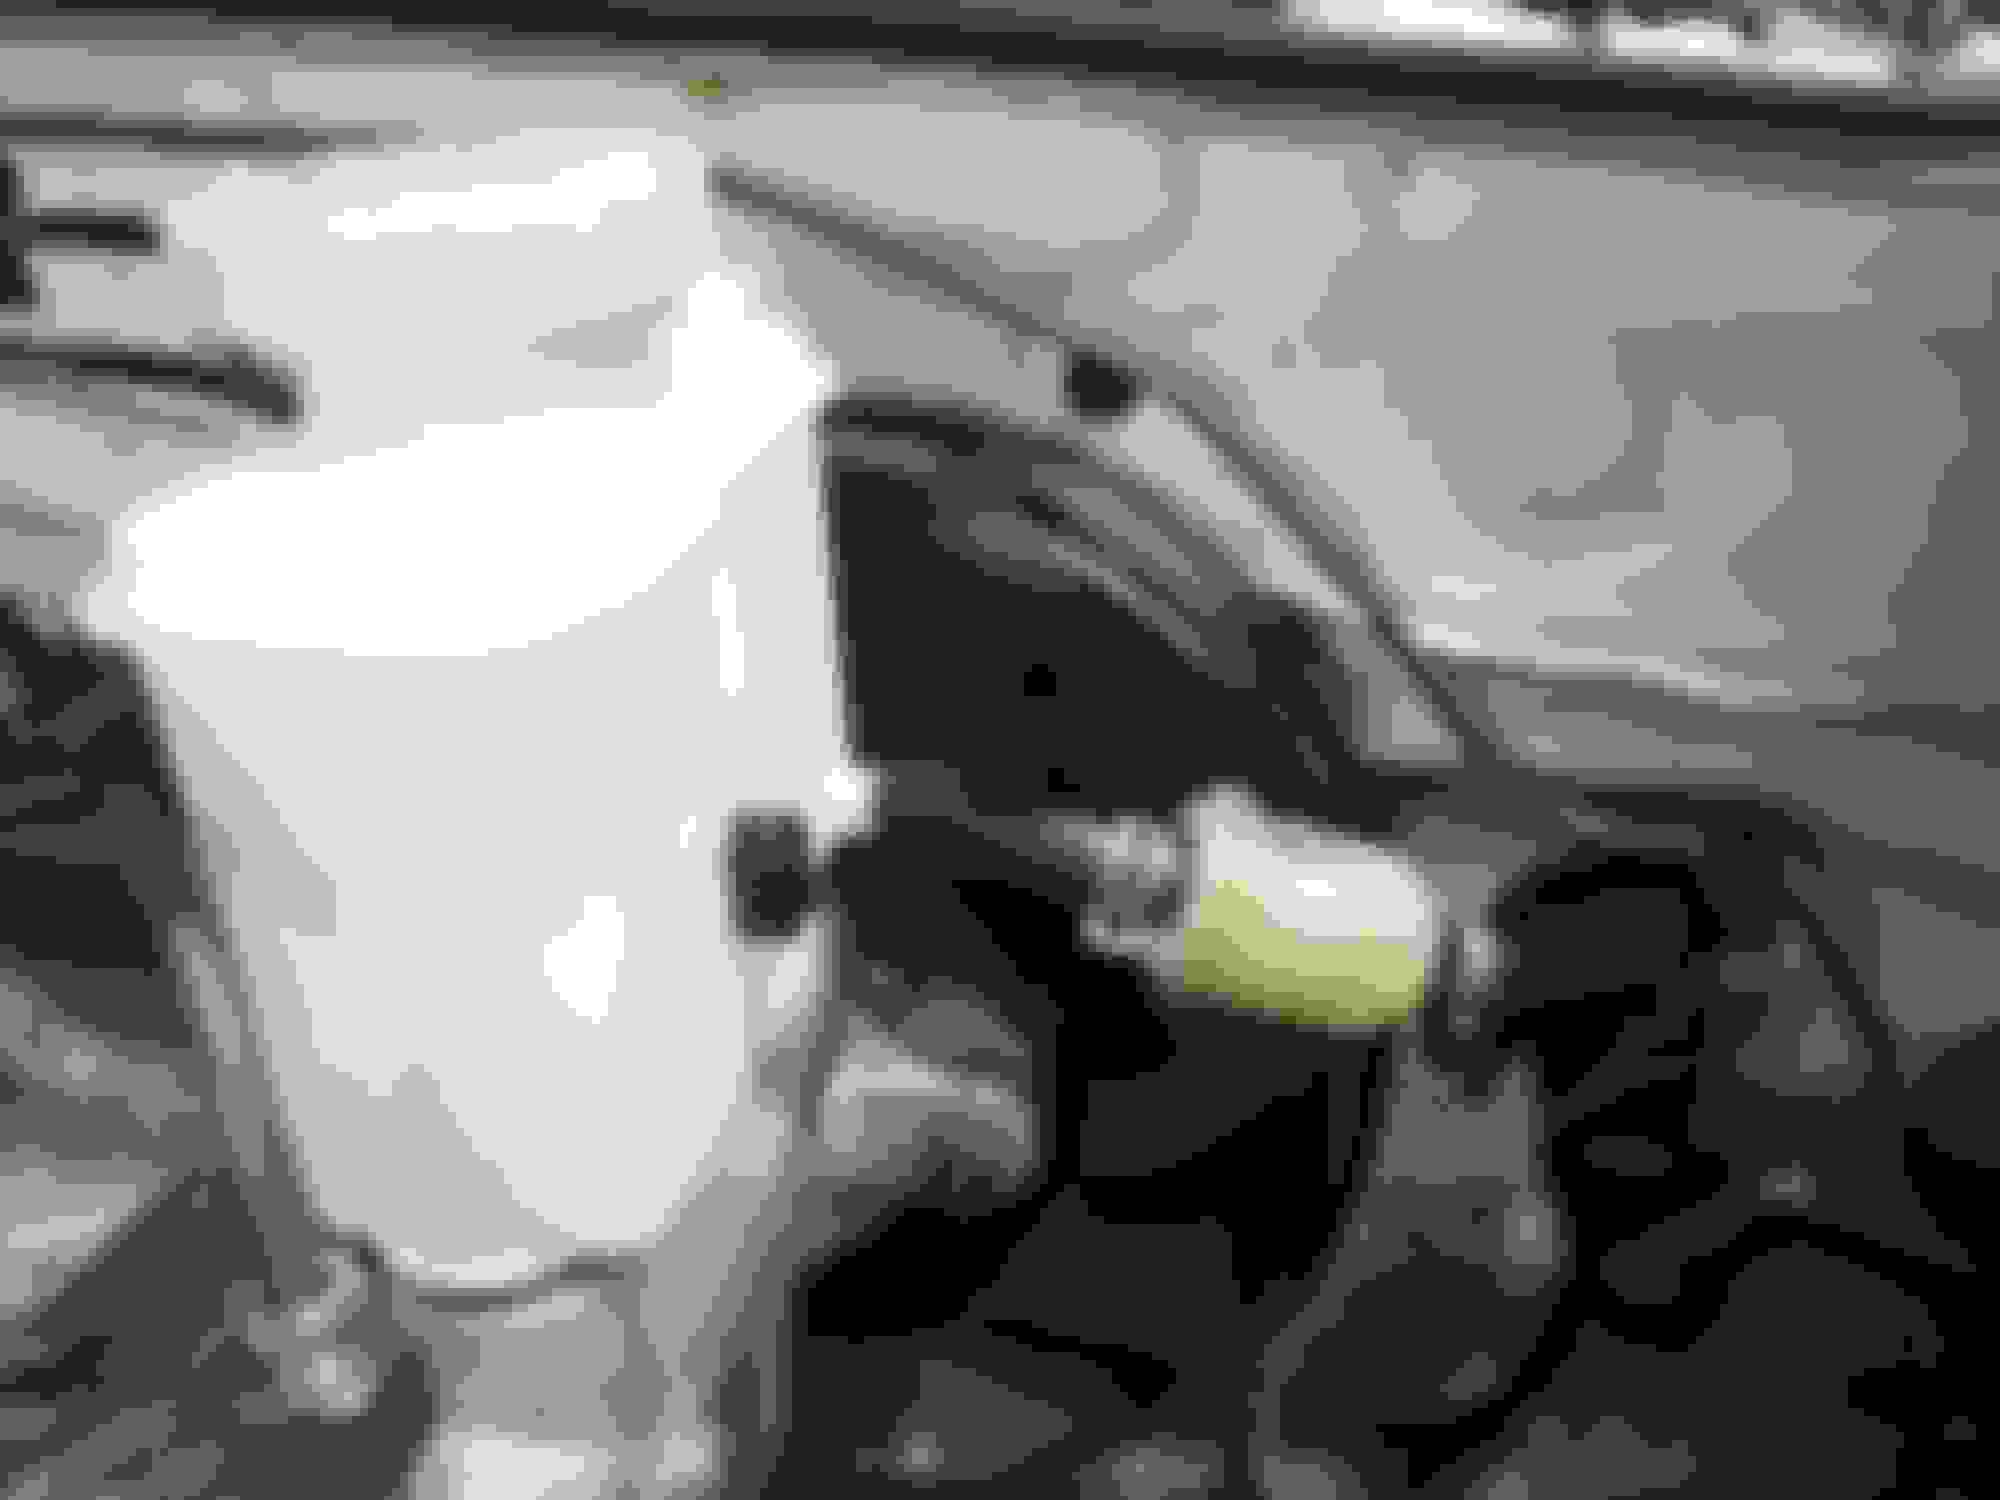
As part of all that ("while I'm at it, I might as well do X...") I also revisited the braking system, only to find out that Emilio and Crusher had already done most of this. Replaced the 34 mm rear Sport brake calipers with standard 32 mm ones as I was seeing a lot of rear wheel lockup on the track. As for master cylinder, I was looking for a bigger one, namely 1". Luckily I found out that one from a Daewoo Leganza would fit the brake booster 100%.
This luckily really is a great replacement - the low fluid level sensor is also compatible, and the reservoir holds more fluid (vs. NB): 245 (170) ml at max level, 115 (85) ml at min level. So the effective capacity before a low fluid warning comes on is 130 ml instead of 85 ml, IOW approx. 50% more. This is not only good for race pads and calipers, but because the reservoir also features an additional outlet, that outlet can be connected to the neighbouring clutch master, eliminating its designated reservoir. This in turn frees up space to add a 3" Randall style air intake from the firewall, another project I had planned.
The Daewoo master has the Chevrolet part no.: OE-96245156. It does however come with M12x1 brake line fitting threads, and the port for the rear brake line is on the left side, not the right. So you will need to do some bending to the brake lines, and add an M10-M12 adapter, e.g. from ATE (part no. 03.3511-5200.1)
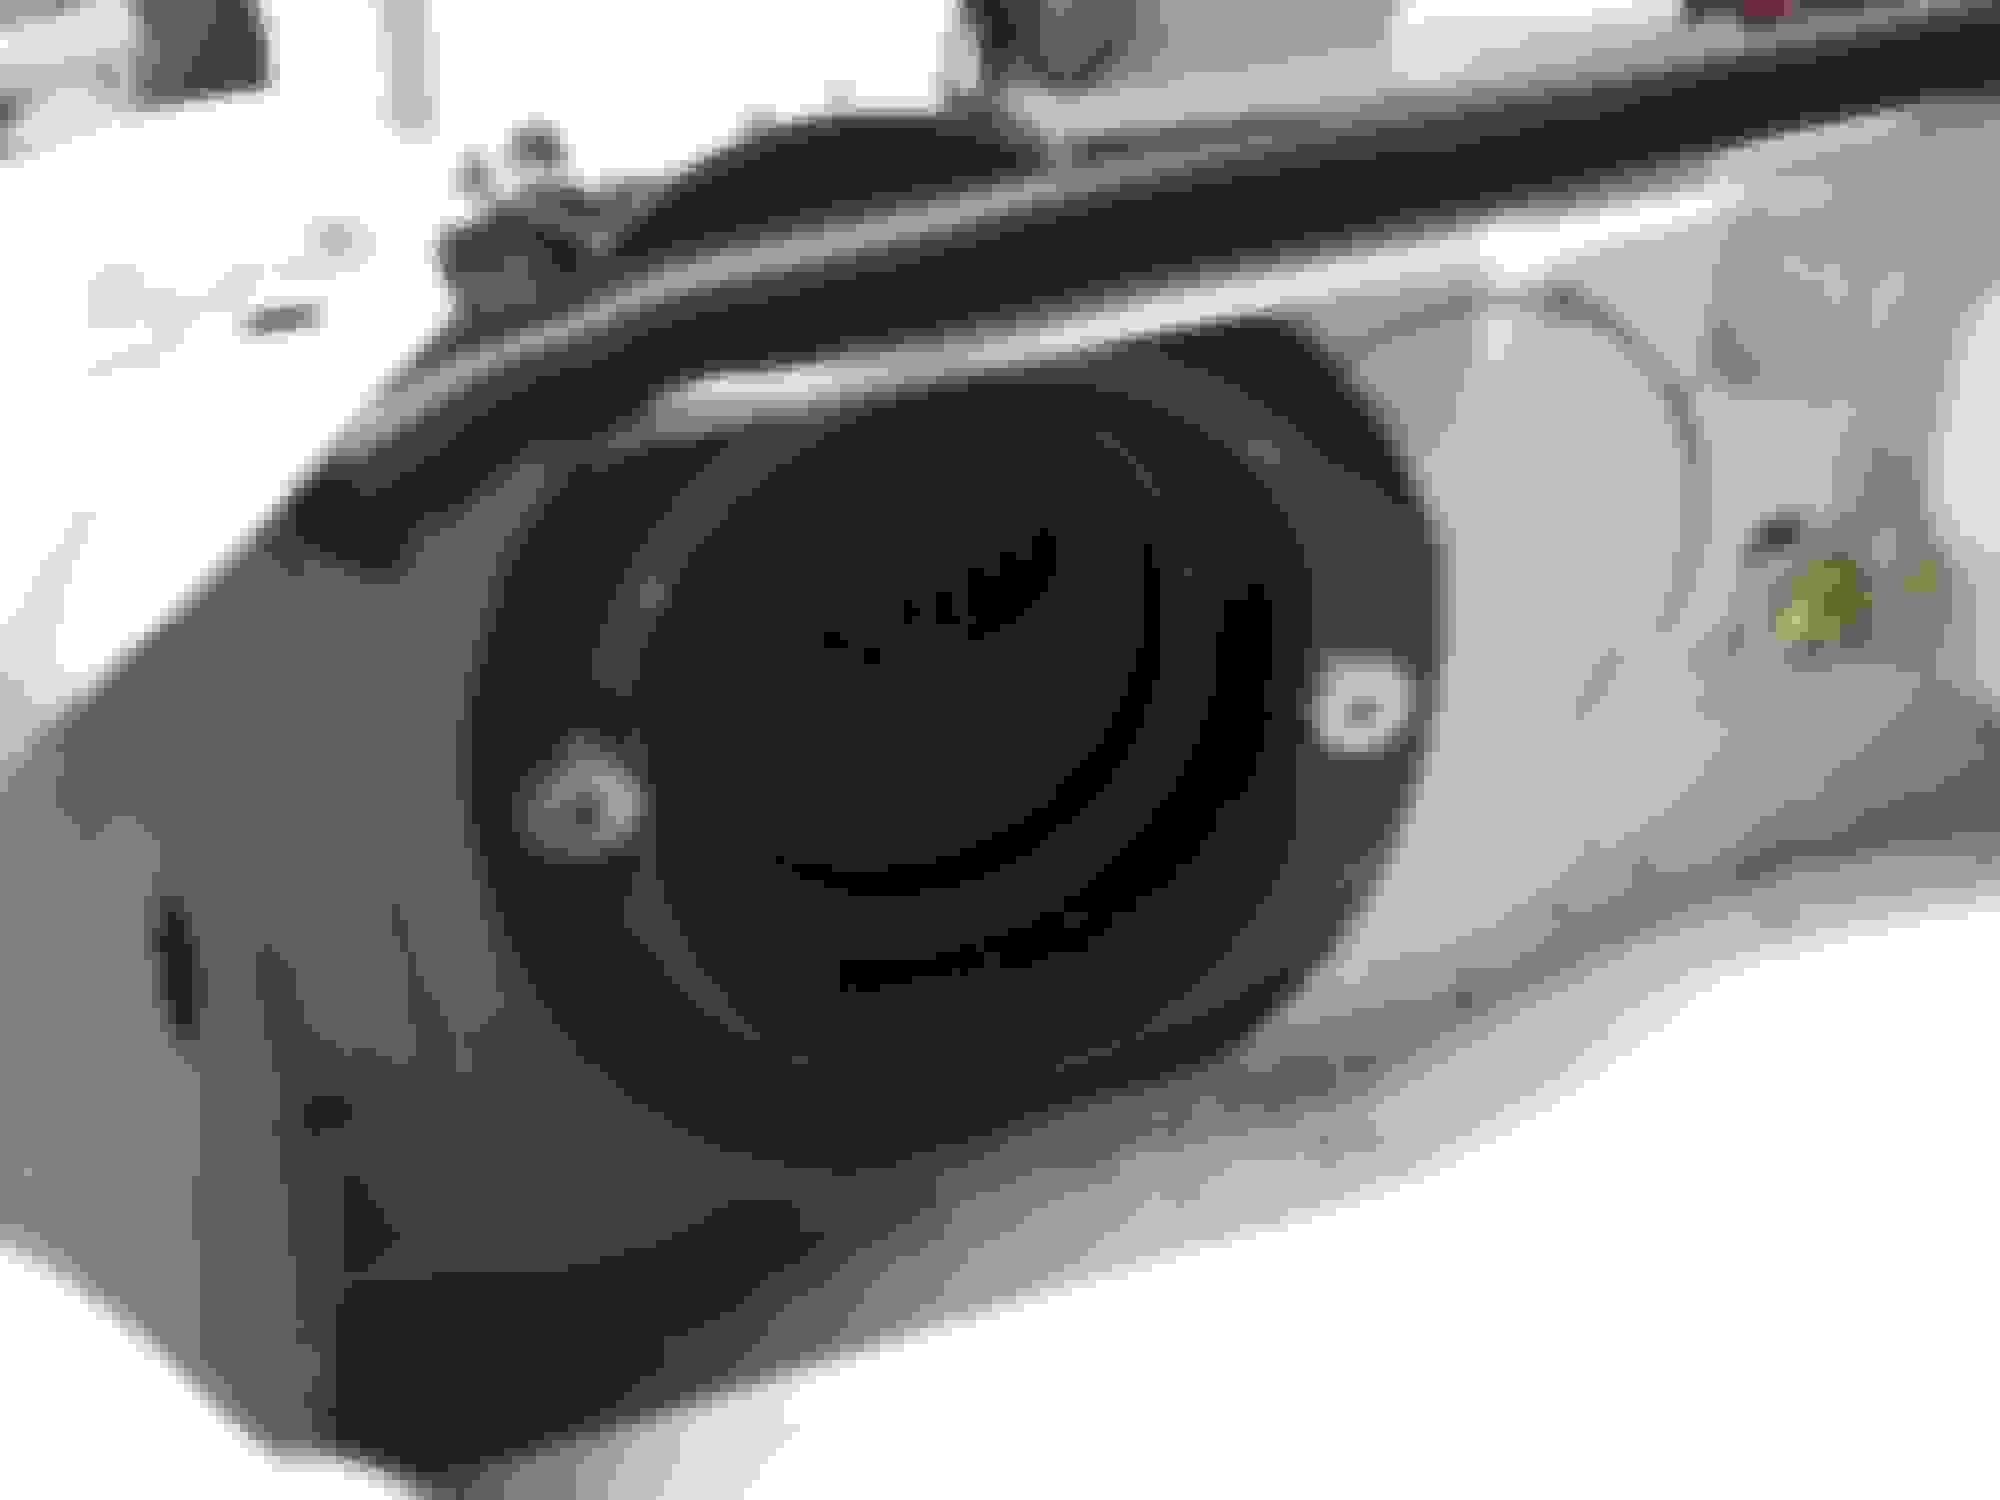
The brake reservoir unplugs from the master by removing one screw and then simply pulling. It's interchangeable with the NB reservoir in case you don't want to use the Daewoo's additional outlet.
The clutch reservoir can be pulled out with a bit of force. The little nub on the front of the res only holds it in place and isn't connected to the hydraulic system.
With the clutch reservoir gone, you replace it with a fitting of your choice. Any 90� bend that seals will do. I had a spare NPT to AN fitting, that I pushed in and secured it with RTV. A brake hose connects it to the brake reservoir.
I'll definitely be looking into the MC as an upgrade. However my opinion is that the brake and clutch should not share the not same reservoir. This is based on how quickly the clutch fluid gets after a full flush. That means the dirt and grime getting into the clutch hyd. system is then shared with the brakes. Not sure if just crappy seals or pickup from the tubing, but I've never seen a clutch master reservoir stay clean long.
Fair point. We'll see if the darkened fluid will migrate into the big reservoir or stay mostly inside the clutch master. However, I regularly flush my brakes due to track use, so I might as well flush a fifth nipple.
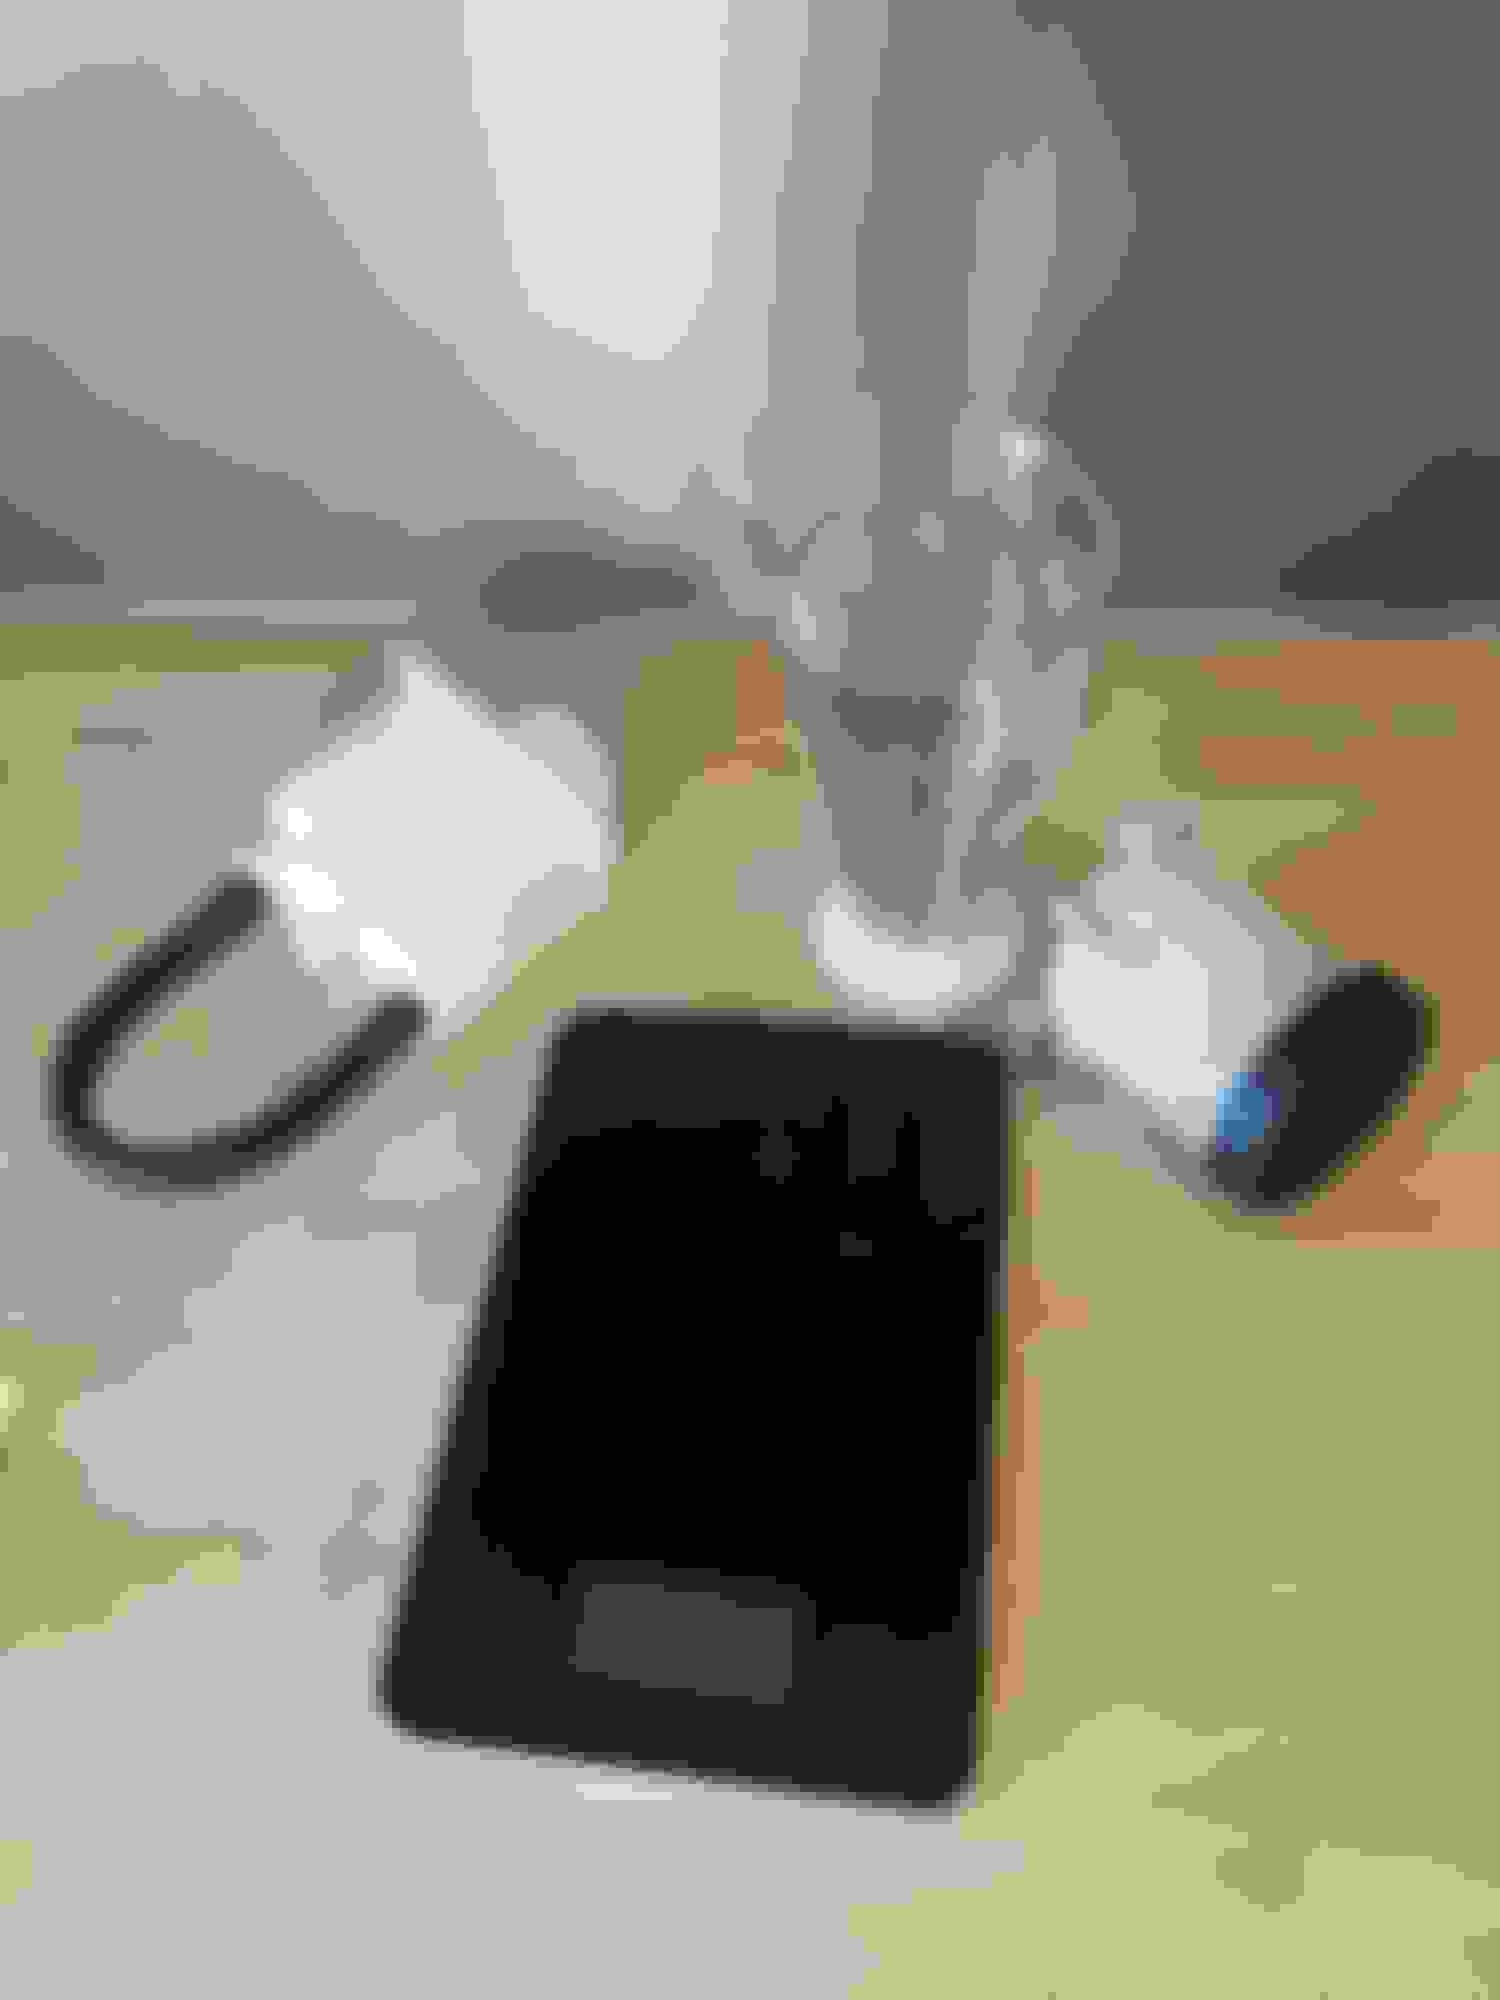
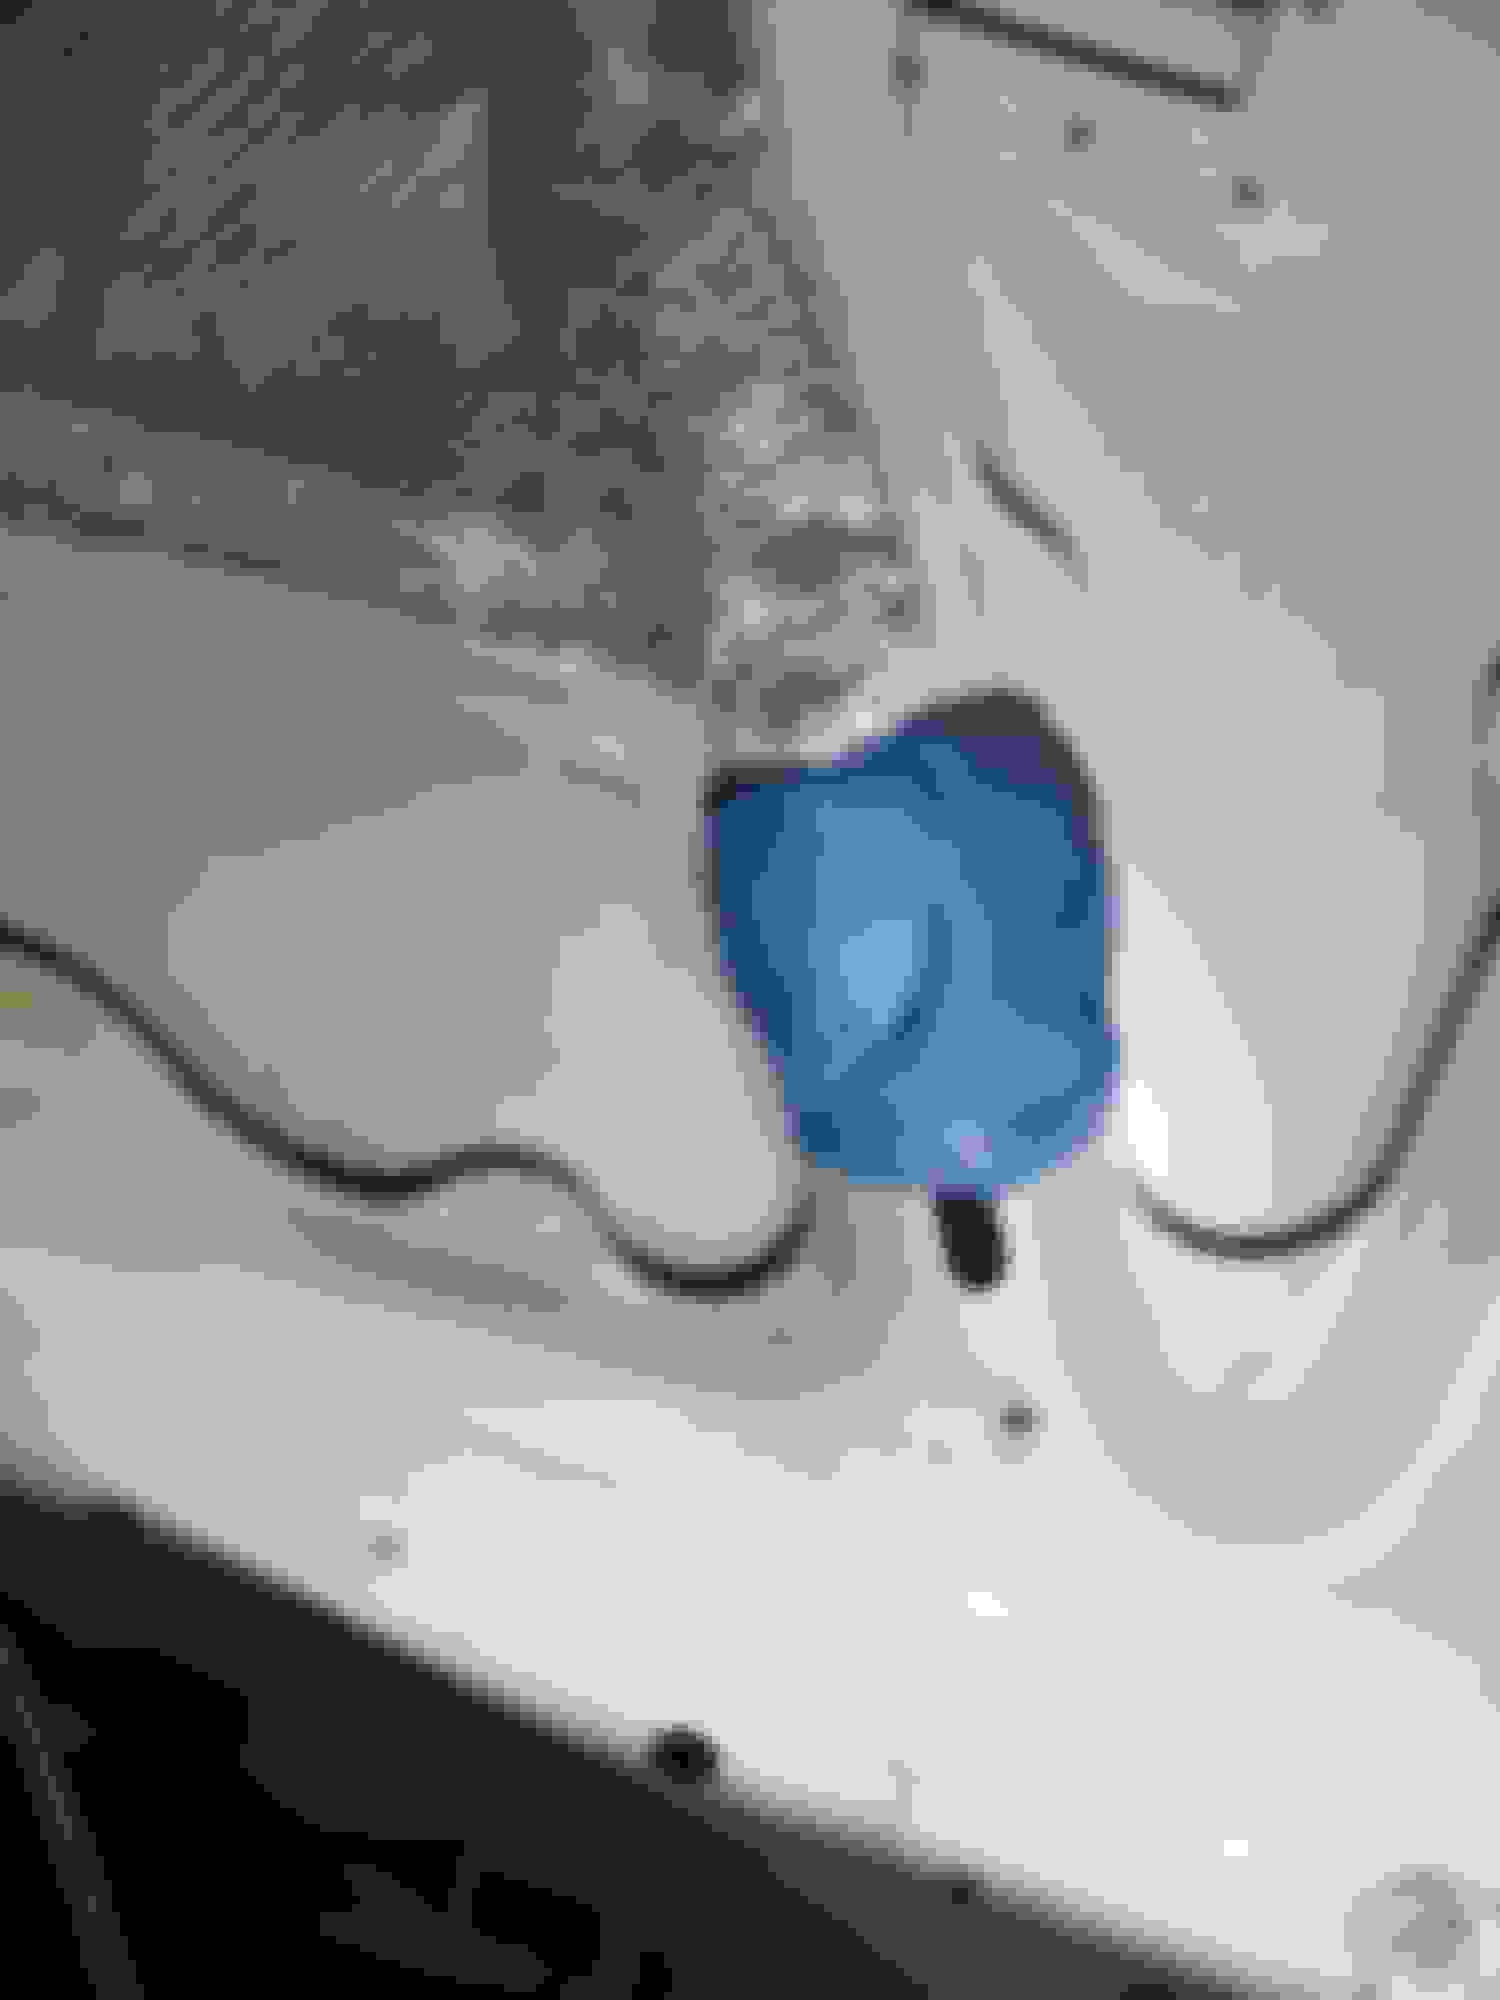
So, I added a small motorcycle fuel filter to keep the dirty particles from the clutch master away from the main reservoir.
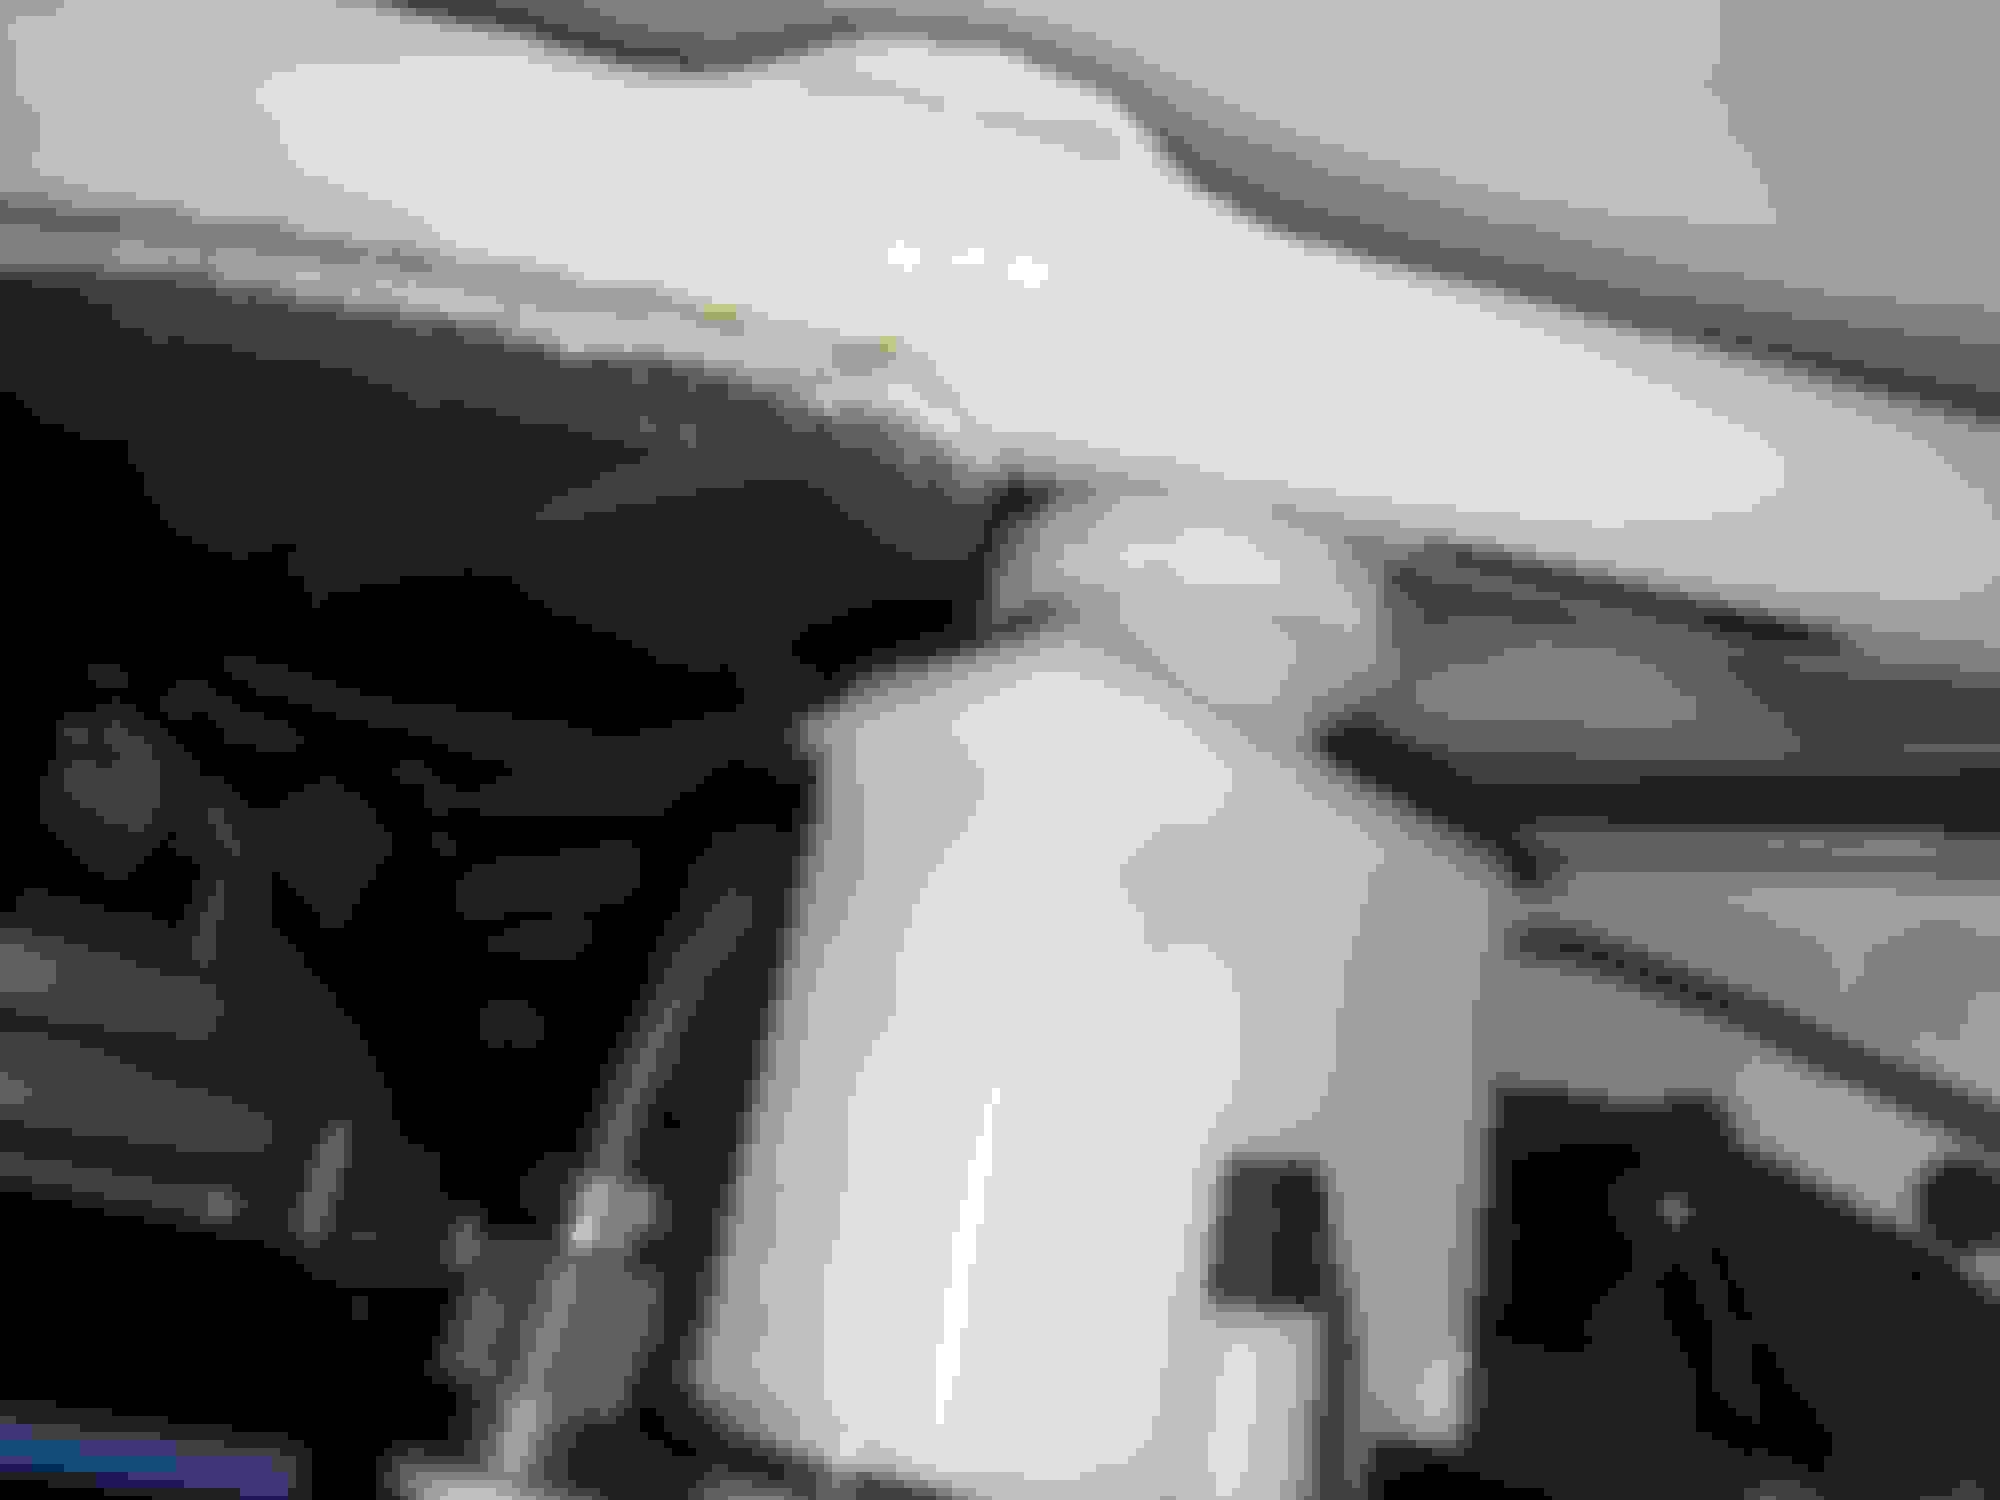
I then turned the cappuccino washer bottle around and relocated it towards the center of the car with new brackets. With that out of the way it was time to install the 3" intake. Making the hole solely with a drill, a dremel and a hand file was a major PITA, but turned out ok, given the means I had available.
Tomorrow I'm supposed to receive the brake prop valve and finish plumbing the brake system. So I called it quits for today.
And then this happened:
Oh ****! The Daewoo reservoir is taller than expected and collides with the underhood bracing. I used some polishing clay to trace where exactly it hit the bracing, and fired up the Dremel once again. God, I love working with aluminium. For the home tinkerer it's a sheer joy to work with.
Haven't had a chance yet as I still cannot drive the Miatini yet. I still need to finish the brake system, install an NB airbag wheel, the seats finish the intake plumbing,... Oh my!
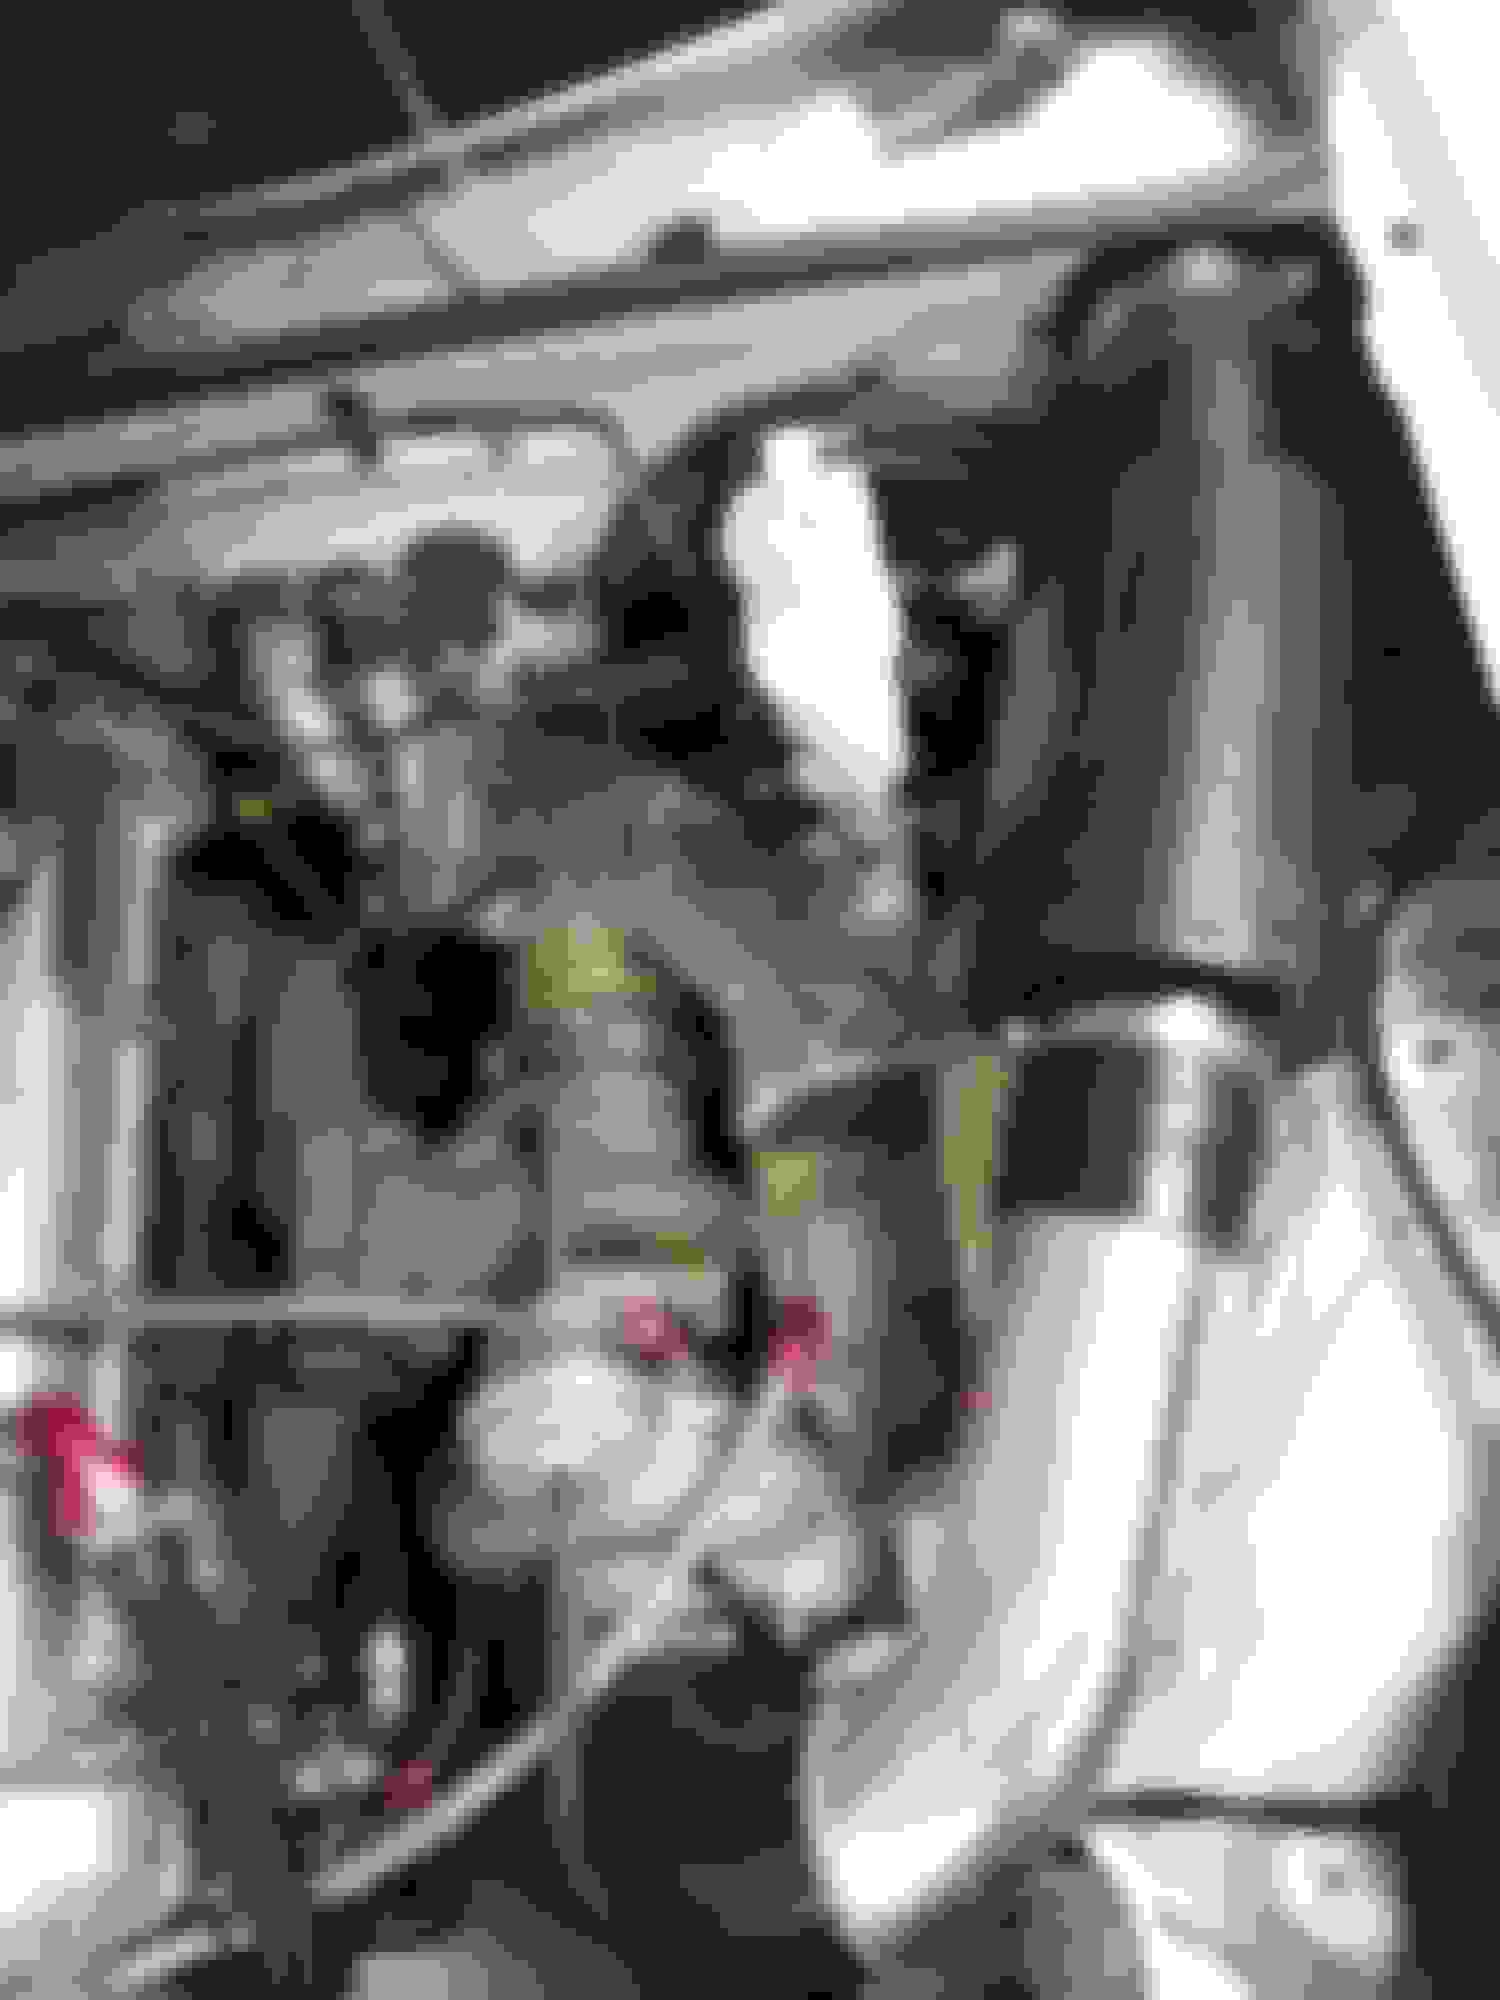
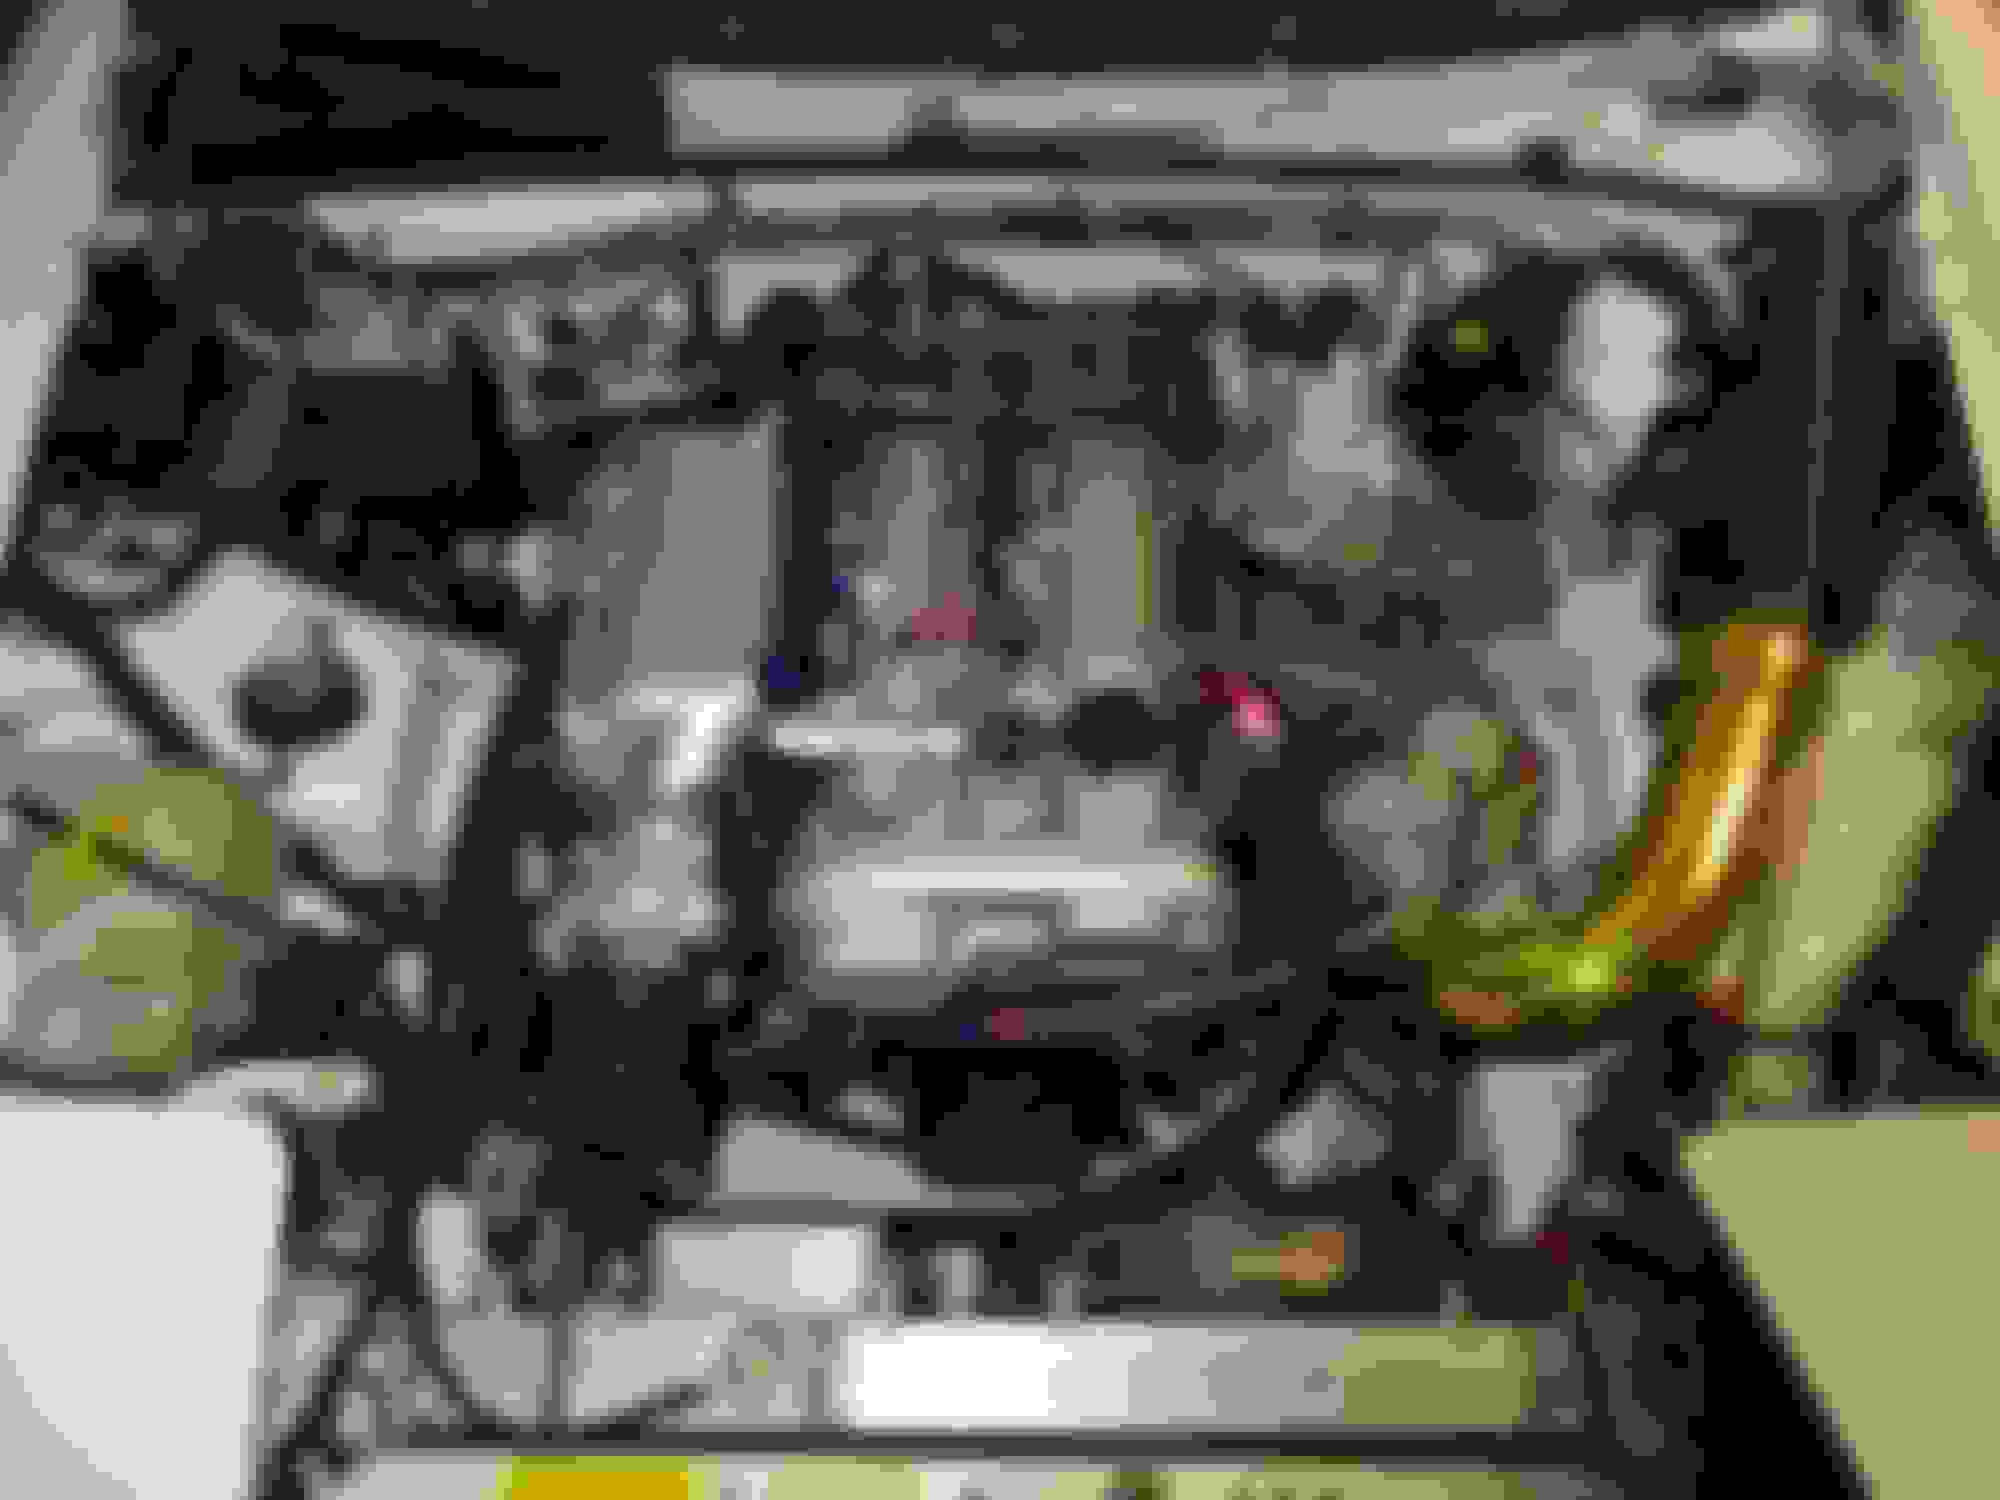
So, underhood work is mostly done. Brake lines are connected to the ABS block, the adjustable prop valve is in, the intake got some heat wrap, the turbo oil feed line was replaced with a slightly longer one and the EFR got its internal BOV back.
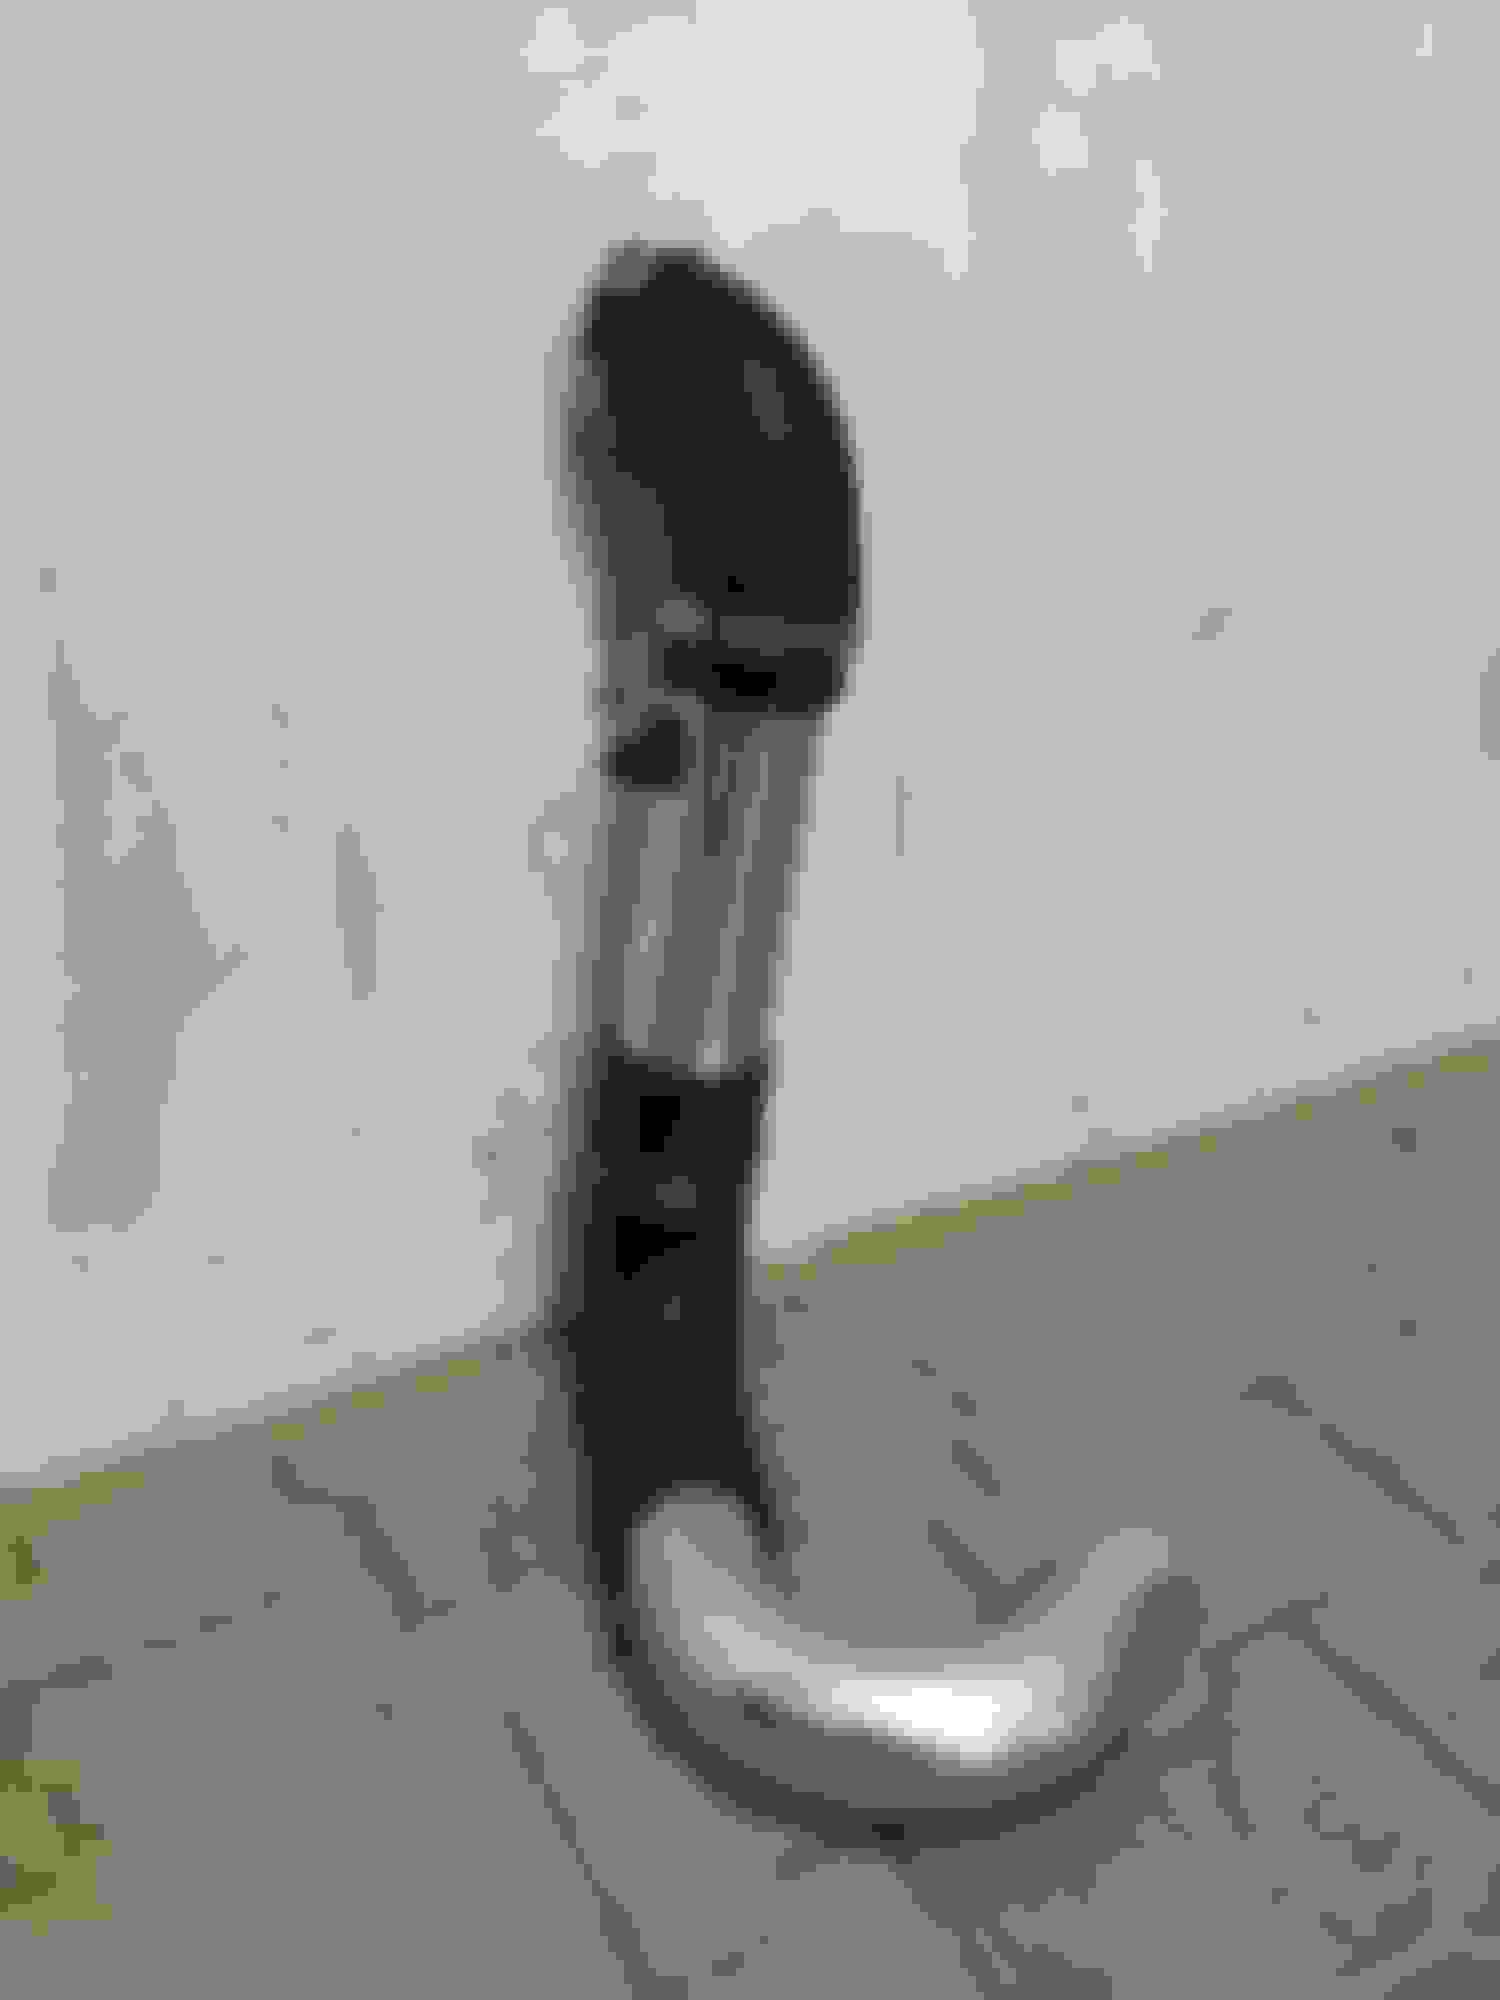
a new, smoother and fatter 60->70 mm intake cobra replaces the old, segment-welded one
I also started building a new, lighter heat shield. With only a handsaw and a gamer, this is as good as it gets for today. Tomorrow it will be finished. Still need to add some bracing in specific places for improved stiffness despite the 0.8 mm wall thickness. Not pretty, but effective at shielding stuff from heat, I hope.


 06-09-2019, 07:17 AM


 3
3