When you click on links to various merchants on this site and make a purchase, this can result in this site earning a commission. Affiliate programs and affiliations include, but are not limited to, the eBay Partner Network.
I think it is time I start a build thread for my 1994 Brilliant Black C-package (I think lol). Posting this now, will come back and edit post with a proper intro.
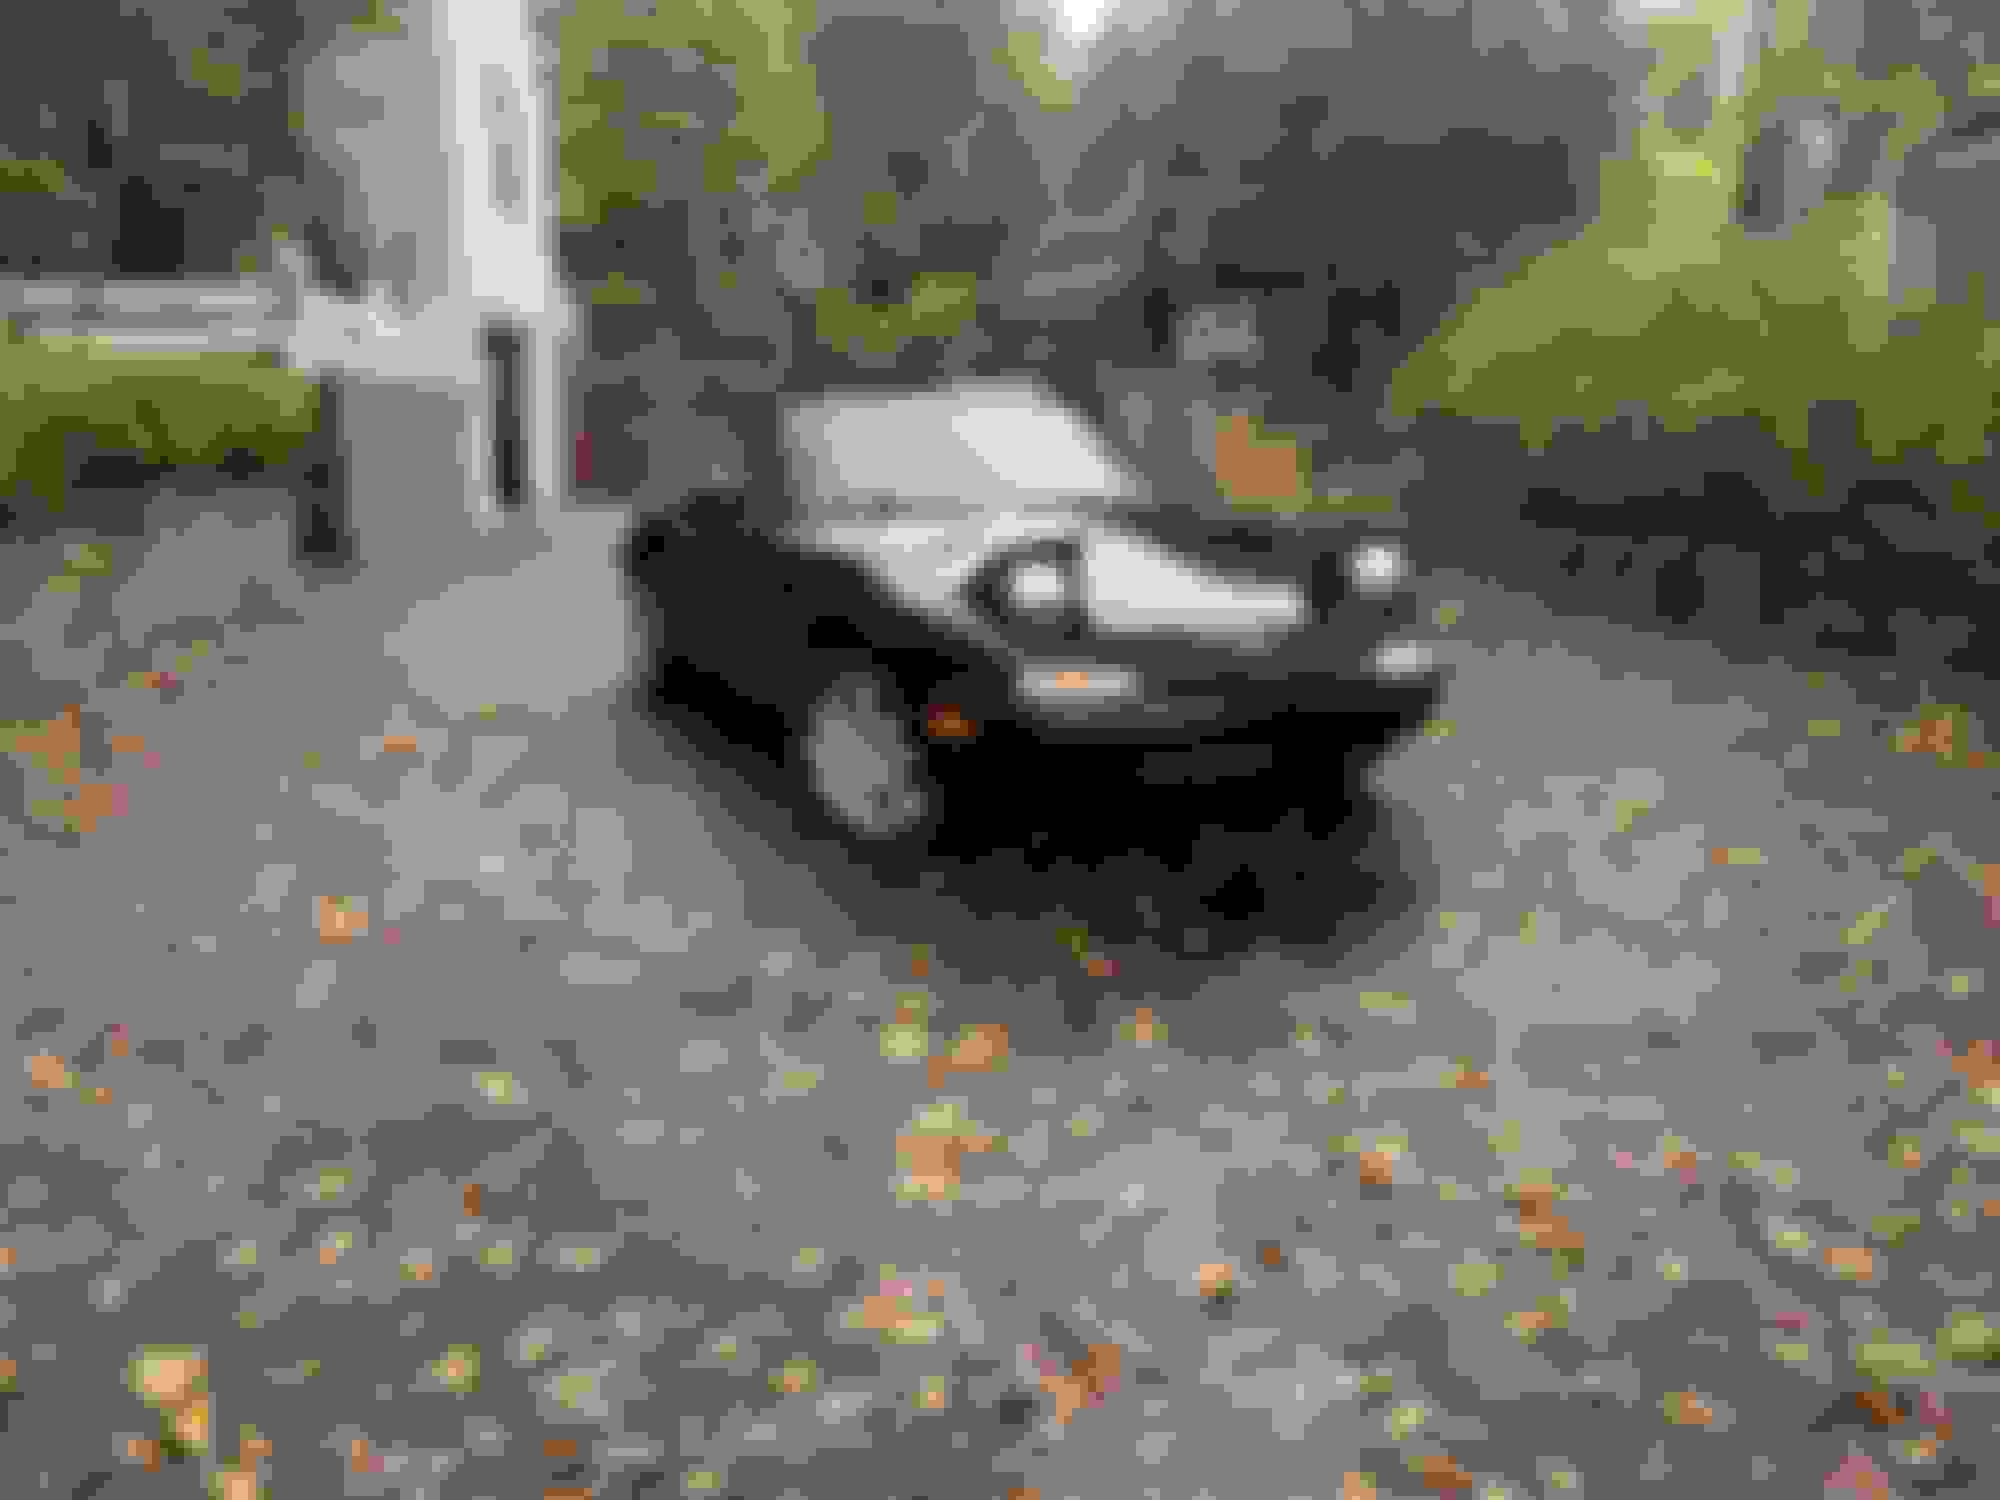
Here is my Brilliant Black 1994 NA bought with 112,360 miles in October of '21. Bought the car from WV with a dented front driver fender, busted rad tank, and about 4/10 paint (heavily oxidized with lots of chips and scratches. The car was otherwise mechanically sound it seemed, a bit of rust including a pretty bad rocker. I had very little experience driving a manual transmission and got it home over two hours away. Here she stood...
I got right to work with some basic maintenance and replaced all the fluids. Some full synthetic top shelf brand engine oil, Ford MTF trans fluid, Redline diff fluid, NGK plugs and blue wires. I also started to take care of some rust...a job I did not finish until just recently. Here I just cleaned and cut out rust from the rocker, used some marine rust converter everywhere I could reach with a brush, and painted with Steel-it for a proper repair when I had more time and access to a welder.
I started with some smal interior mods like a radio, some cheap speakers, door bushings, a DDM radio surround, alcantara shift boot, and pedal covers. I also replaced the busted radiator with an oe-like replacement and my fried front end links with racing beat ones. I did a new clutch master and slave for the heck of it, with a full braided line to connect the two and a new CAS. I was having a weird issue while commuting with the miata where the car would cut out completely under a medium amount of load going uphill. I thought it may have been a fuel pump issue so replaced it to no avail. I found somewhere on a forum that it could be related to the CAS being bad, which made no sense to me but I replaced it and the car never acted up again. I did a cobalt shifter rebuild as well, which was huge for shift feel. I also managed to borrow a buddies polisher and do my best rendition of a paint correct. The bumper was the largest turn around but now all the rock chips and scratches were even more noticeable with some less oxidized paint around them. Heres one of my favorite shots I took afterward. (you can see the upset fender and headlight cap)
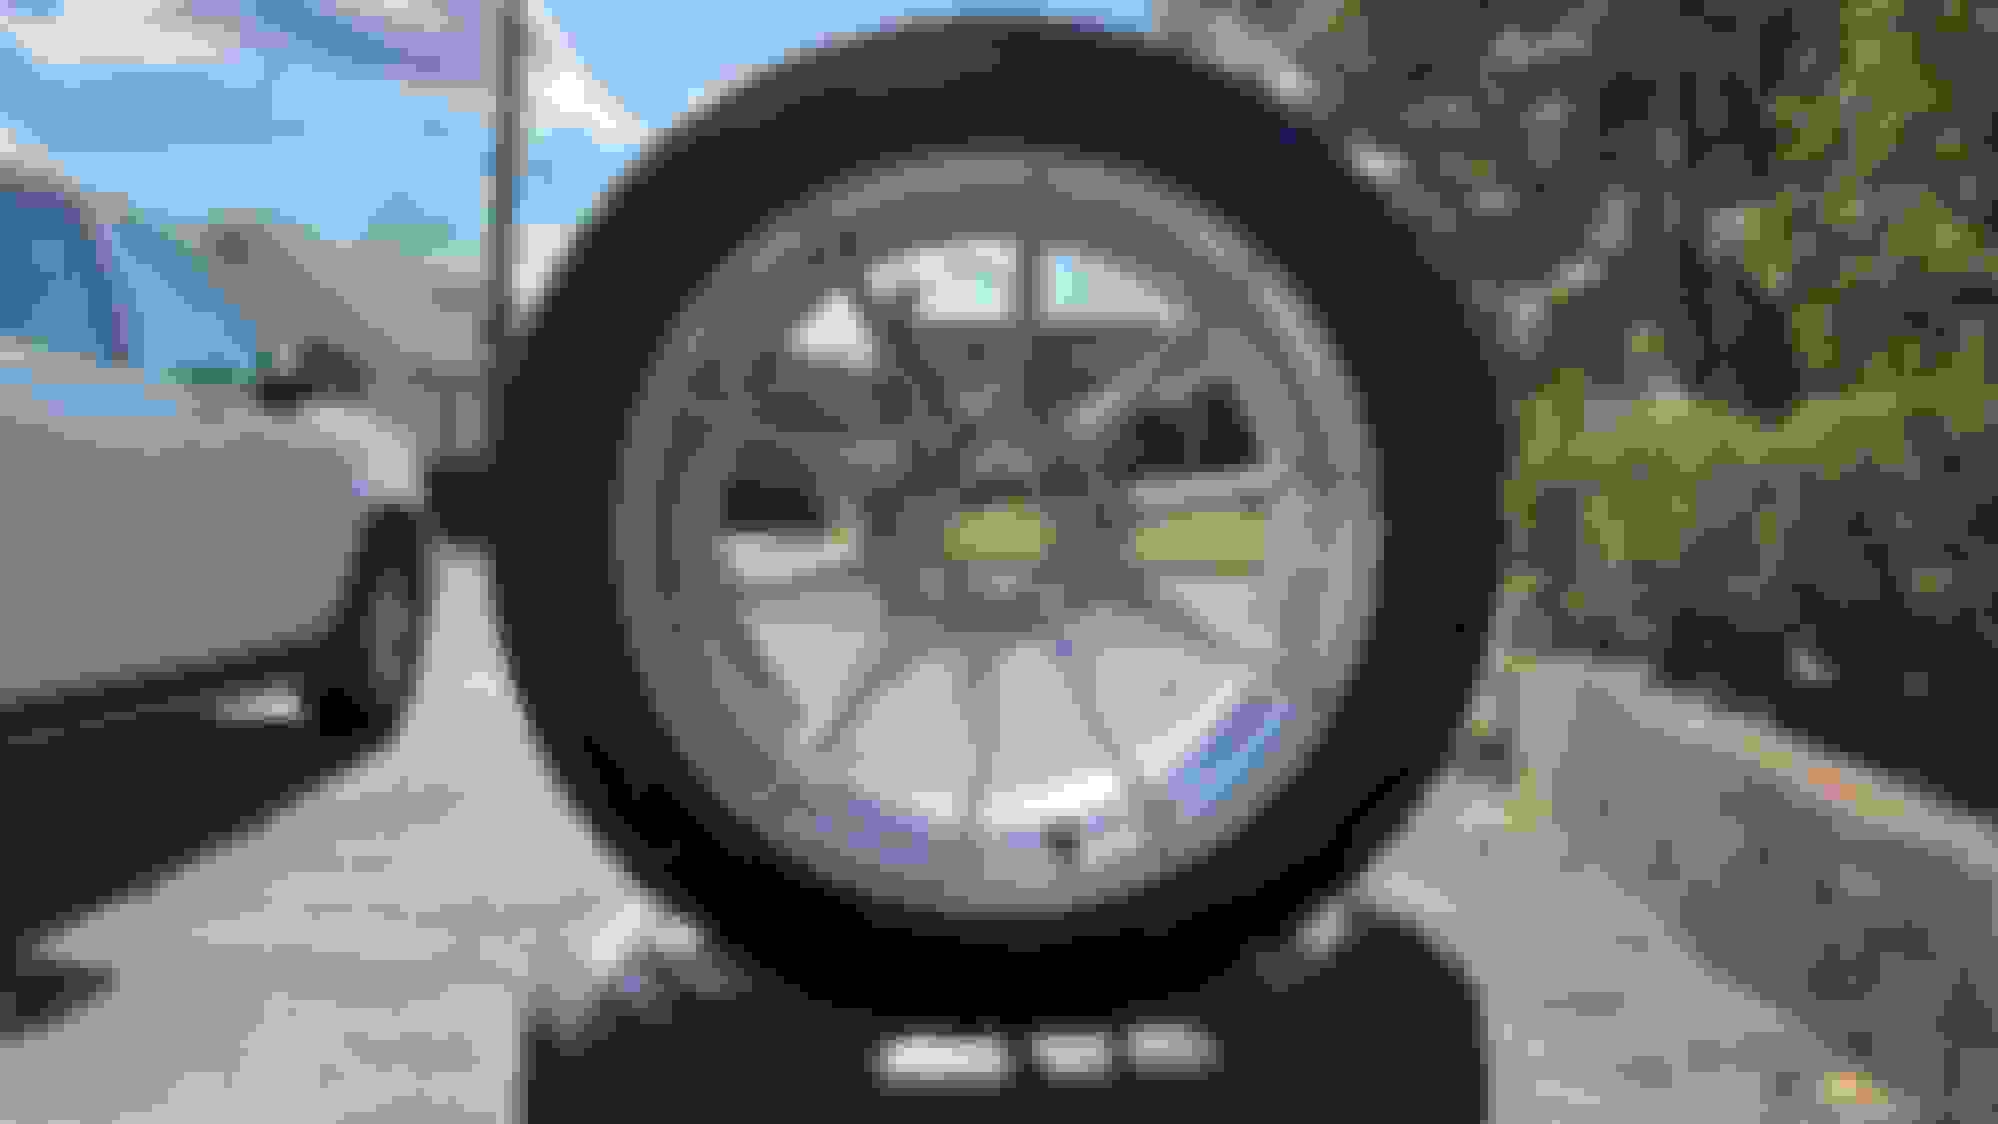
Now I really started to get into some modifications, I bought some silver Advanti Storms in 15x8 +25 from GoodwinRacing and wrapped them with Continental Extreme Contact Sports in 205/50r15. The car looked a little "cooler" with the wheels and tires but was a DOG to drive because the suspension was just too tired to handle all that tire. It also desperately needed some low, here was my monster truck.
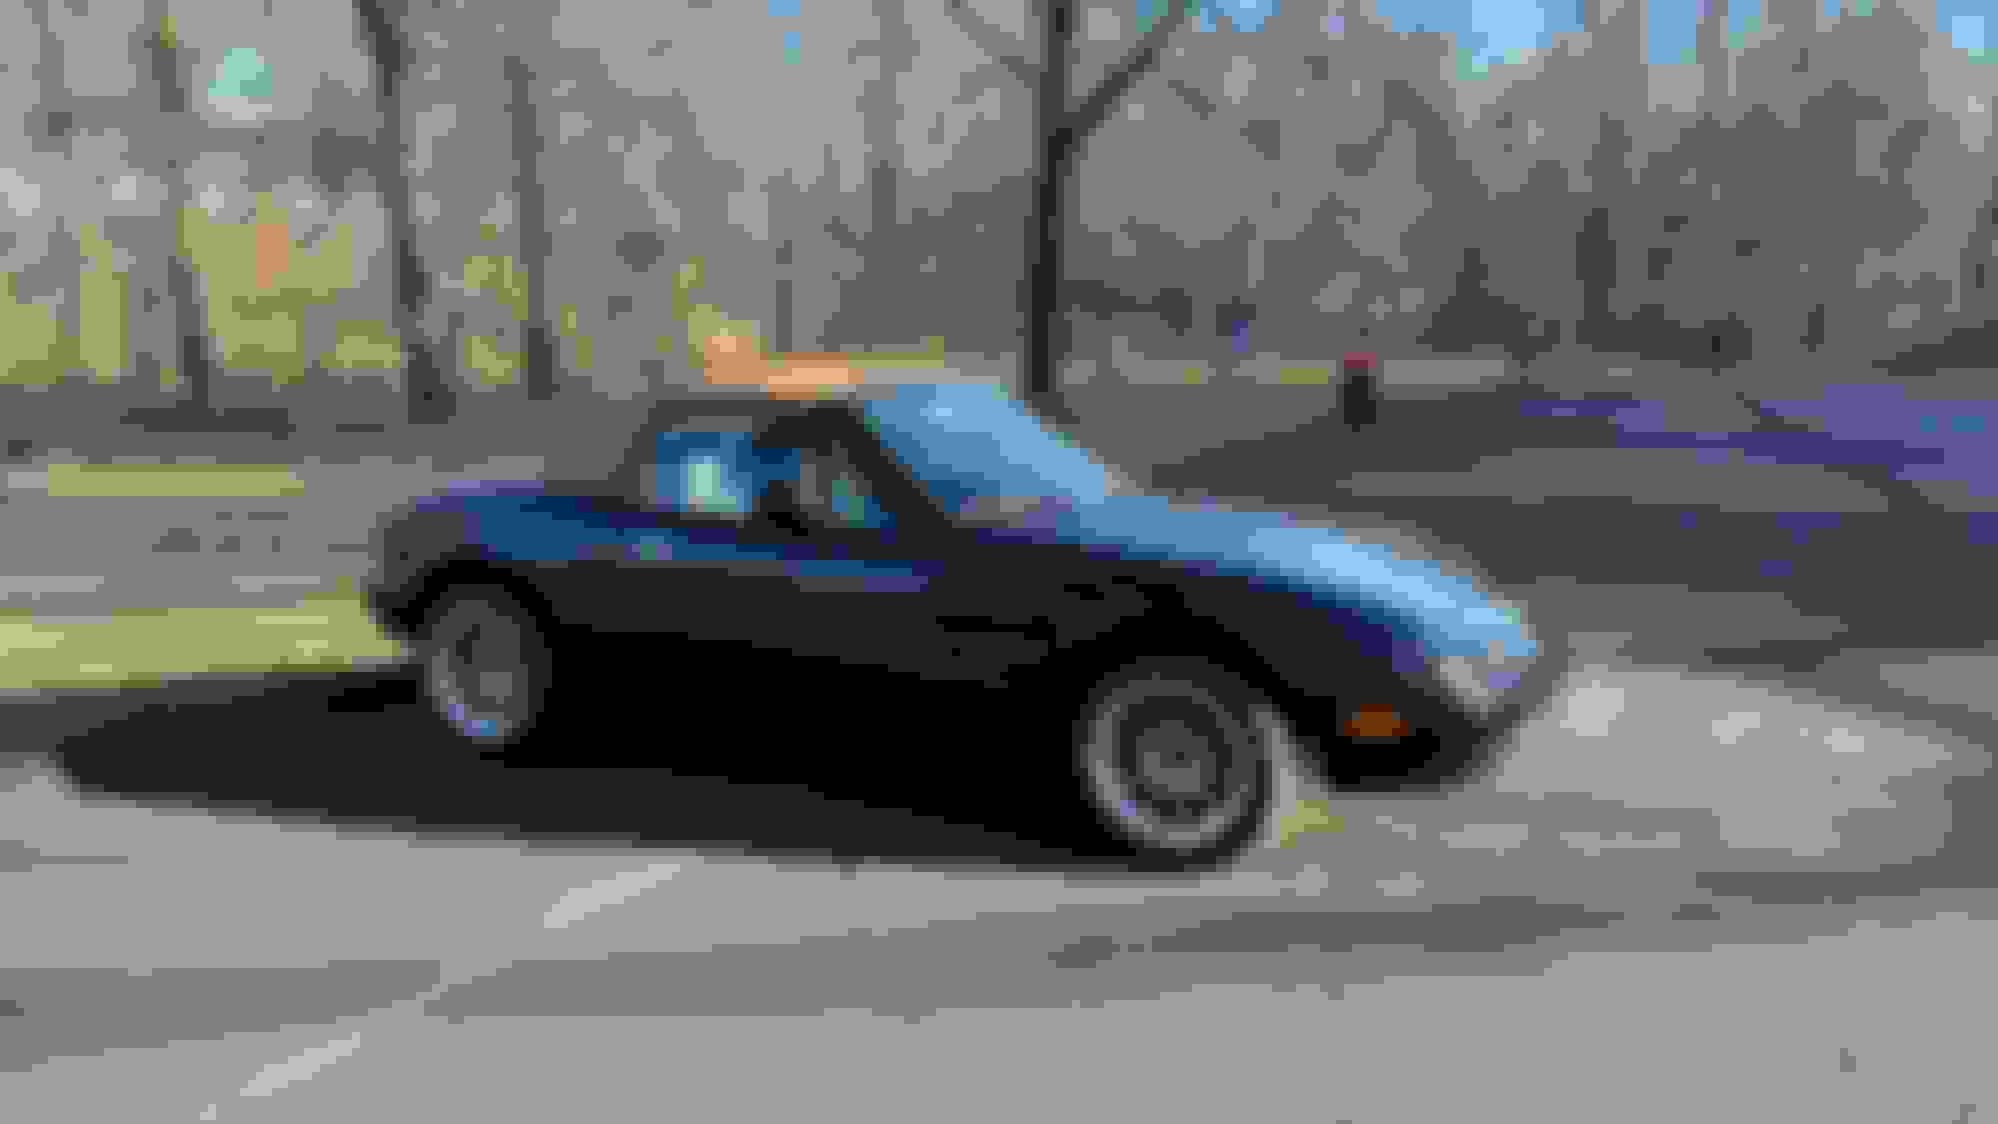
Next up was some suspension, to fix that ride height and the now poor handling. I went with Meister Zeta CRD's as this car is meant to be a spirited street car that will go turbo in the near future with some occasional autoX work and possibly some track time. Installing them was very easy and ride height adjustment took a bit but I got the car sitting pretty good for the street. The adjustable dampening is FANTASTIC for turning the car into a backroad monster after being on basically full soft with my lady in the car. I basically did a 949 DD alignment I think, zero toe at the front, a bit of toe in-in the rear, max caster, and about 2.5 deg of neg camber in the front with 2.0 in the rear. I also tossed in an AWR tow hook and removed the baby teeth somewhere around this time.
Next I tackled the various holes in my rusted exhaust. I bought a BRExhaust OEM like replacement exhaust (I believe they are a magnaflow brand). Getting my old exhaust off was basically impossible I ended up having to cut the studs of the back flange of the cat and get an angle grinder between the front flange of the cat and the flange of the downpipe just to get everything off. I drilled out the cat studs with a corded drill (took an entire day) and used nuts and bolts to rebolt everything back up. About the same time I wire wheeled my calipers and painted them with the G2 paint caliper kit that has proved pretty reslient so far. I also took this opportuity to slap on some generic coated rotors and and power stop z26 pads which I have been happy with even in very aggresive PA hill 'togue' runs.
Next up was some major and minor rust repair that desperately needed tackled. I welded in some mild steel where I previously cut out inner skin metal from the rocker, repainted everything with POR15, Panel bonded outer skin metal with 3m 08115, bondo'd the seam and painted it up with some spray cans from 66 auto color. They are 2k (catalyst hardener) single stage paint matched cans. The color match is spot on, I could not see a difference and the paint has hardened up pretty well. At the same time I did this I also bought, sealed, and sprayed a new driver side fender to replace the dented and rusted one. The process was a little daunting and the between the rocker body work and fender respray I put in a 12 hour saturday in my garage/driveway. It was all worth it though, the fender came out great and so did the rocker repair. I will be wetsanding the fender soon even though I could live with the mild orange peel probably.
Another small but menaingful mod was replacing the lost turn signal canceller piece. I had a buddy 3d print me one, which was very close to toleranced perfectly. I only needed to sand a bit to make it fit. For some reason my car was missing this piece, so the turn signal would not cancel, and the clock spring was also a little hacked up.
My most recent purchase was a black hardtop that is now sitting in my room at college. It makes for a nice converstational piece until I can get it home and on the car. I bought the top more near school and have a hike to get it back home. I also have a momo start fiberglass bucket seat that is waiting on a PCI bracket to be delivered. I am very excited to go to my first autocross event in a few weeks. After driving the car for the past few years I have gotten very comfortable romping on it a little bit and want to dable in some time trial esc events to see if I like it. The car will be receiving some more maintenance this winter including a clutch upgrade and some preperation for boost next summer. If I enjoy these few late summer autoX events I can see the car pivoting that direction quickly. I will be retaining AC and keeping the car street friendly (no gutting, softish motor mounts). I think the goal as of now is to have a super clean street car that will one day be my main track/autox car. Before track events I will of course need a roll bar and some brake upgrades, but thats for another time. I am desperate to get this car boosted...
Last edited by Eli_Swer; Aug 24, 2023 at 02:28 PM.
Hardtop in my room lol. I also forgot to mention I rolled my fenders succesfully with no paint cracking. Keeping the fender lip around 120 F was the key it seemed, now I am thinking about some extended studs in the front with some spacers for beautiful fitment.
Welcome! Man as soon as I saw that first picture I thought it just screamed 'Pittsburgh area' then I saw the pic at AVH which conformed my suspicion lol. I lived in the 'burgh for 29 years, mostly in O'Hara Twp which you are probably familiar with. My dad worked at AVH for his last 15 years or so before retirement.
Welcome! Man as soon as I saw that first picture I thought it just screamed 'Pittsburgh area' then I saw the pic at AVH which conformed my suspicion lol. I lived in the 'burgh for 29 years, mostly in O'Hara Twp which you are probably familiar with. My dad worked at AVH for his last 15 years or so before retirement.
Hahaha, love the burgh. Small world huh? I often pull over for impromptu photo sessions, even if it's outside AVH hahaha.
A few things have happened since my last update, been at school for most of the fall and away from the car. I did manage to get the hardtop installed and did a quick buff and polish, which it really needed. I got a momo start bucket seat in the car with PCI seat mounts. Still working on positioning the seat perfectly, need to do some more trans tunnel hammering. I will be home soon and open up a few new interior bits. Really trying to keep the interior pretty clean and simple. I got a black momo monte carlo 350mm wheel with an nrg short hub and QD as getting in and out of that bucket seat is a pain with the stock wheel. Both black as well. I got a brushed aluminum jass performance shift **** to install as well. It looks to be very similar in shape and size to the OEM ****.
Have some exterior things to do as well. I have a gv style lip to install and test. I want to see just how drivable the car is at its current ride height before I go ahead and paint the lip with some satin black bumper and trim paint. I considered paint matching it with some awesome single stage 2k rattle cans I found from https://www.66autocolor.com/products...-aerosol-paint. I think Ill drive the satin bumper paint first and see how the car looks as it is much cheaper. I am going to try a pretty conservative bumper cut as well and see what that looks like. Also have an LRB speed undertray to mount up.
The plan is to meet up with some miata guys and grab some pictures on the weekend, pictures of all the new additions and photoshoot highlights to follow...
In the meantime here is the hardtop all mounted up.
Some pre-Christmas updates. Last left off the car had no front lip and now it does!
I think it looks great, makes getting in and out of my driveway a little more difficult, but well worth it.
Just last week I started a timing belt/water pump maintenance. It took me a few more days than I thought it would but I ran into my fair share of hiccups. Overall the car seems to be in fantastic shape for its age. I was questioning even changing some of the seals as they just looked so good! The mix manifold hardline o-ring looked brand new, maybe it's been replaced? Among the hiccups was a cross threaded water pump with the mix manifold lower bolt and a front main seal I pushed in too far, smh...other than that all went well.
Full tear down pic.
While I did this I decided it was the right time to do a coolant reroute. I went for the Qmax reroute from Supermiata which was a really stellar kit. A couple snags I hit, the lower stud on the back of the block that holds the new housing in came out with the nut, I needed to separate the two, twist the stud back in then get vice grips back there to hold the stud while I backed the nut off the stud. Secondly, I shouldn't have even bothered trying to install the housing with the EGR pipe in, after a day of struggling I just took it out and replaced it once installed. Lastly, to clear the OEM intake I needed to order up a dayco C71519 and mate it up to the supplied hose from SM with a
.
Linked a video of the car up and running afterward too.
I saved the easiest for last, an NRG QR and Momo Monte Carlo. Got that done in about an hour and a half. Most of the tutorials online show a goofy way of rigging up the horn using a paper clip and deleting the clock spring. I found a
that shows a great method to retain the clock spring, take care of the airbag light, and get the horn button to work. It's MUCH easier than the other paper clip methods that have you take apart the clamshell around the steering column as well.
Still on the docket for the holidays is a bumper cut, leak down test, brake caliper piston fix, and wet sand and buff on my self painted fender.
Last edited by Eli_Swer; Dec 21, 2023 at 10:25 PM.
I have only been home to work on the car once so far. I got a few small things done like rebuilding my front left brake caliper and adjusting ride height juuuuussstt a little bit.
Good news is my caliper doesn't drag anymore but I ended up destroying the new dust boot I bought and had to reuse the old one. Flying miata posted a video of rebuilding a front caliper but IMO they use a poor technique for attaching the piston dust boot. Maybe I'll make a short YouTube video on the technique I used, but it was much easier to insert the caliper side of the boot. Stretch the boot out away from the caliper bore, fit the piston into the boot while keeping it pulled away from the caliper, then pushing the piston carefully into the bore of the caliper, then pulling the boot the rest of the way up the piston and seating it into the groove at the edge of the piston.
I also managed to fit an LRB speed undertray to the car and it is a REALLY nice piece. My bumper must be warped though because it really did not want to fit up. I still need to ream out the back most mounting holes to get the bolts in there because pushing with all my mite, I could not get the tray to slide forward enough to get the bolts in the holes. The side panels hold the bottom tray in place more than well enough though. It would just be nice to get those bolts in.
To keep myself busy at school away from the car, I am developing a CANbus gauge that will fit into the stock small gauge locations (coolant, oil, and fuel) I got the idea from an instructables that I will link here. I am deviating from that project in that this will run off the CANbus from an MS3 (think Canchecked gauge but $50 instead of $300 or whatever it is). I will probably at least make a seperate thread for that project and possibly a YouTube video.
Last edited by Eli_Swer; Apr 5, 2024 at 11:34 AM.
Reason: Link to CANgauge thread added
Wideband and controller installed. Currently have it hooked up to the oem chassis side plug in the engine bay with the simulated narrowband that the spartan3 can output. Works like a charm with the stock ecu. I've gotta run the wideband analog output and CAN wires back behind the driver seat and solder them up to the options plug I bought with the ms3x parts. I've got the analog wideband wire from the ms3x and CAN lines wired into the center section of the chassis side plug so I could leave the narrowband wire where it belongs. This will allow me to switch back to the stock ecu at any point and have that narrowband input in the right place. When I switch to the ms3x the wideband input will not come from the narrowband wire, but rather that center options plug.
I made up a little custom harness that runs from the wideband back behind the block into the cabin and into the spartan3. Then out of the spartan3 back through the firewall and into the stock O2 sensor plug over on the back left side of the block.
Ms3x installed and operational! I initially just tossed the IAT into the air box but later went back and threaded it into the plastic. I made sure to drill that hole off the car and clean out all the plastic bits before returning it. The IAT follows brains instructions and plugs into the MAF plug.
The map line I T'd into the fuel pressure regulator line and ran it through a preexisting hole in the fire wall. There wasn't really enough room to fit the grommet back on there so I just smeared a bunch of hondabond in the gaps.
Tuning was a little interesting at first but I really fell into a groove and got my idle rock solid right around 14.4:1 AFRs when fully hot. Startup could use a tiny bit of tweaking but I want to wait until the colder months and the addition of E85 to mess with it. I used OGPedxing's videos to get the car started and do the idle tuning. That guy is a beast and I've been flipping back and forth between his videos, trubokitty, and the ms3 hardware manual to get me through this process. I've done about 70 miles of VE analyze and really taken considerable measures to try and hit all the fuel cells as much as possible.
The car runs really well and definitely has a touch more pep thanks to brains spark and AFR maps. I also added a sandwich plate and GM scaled oil temp sensor. Note if you try this you will be loosening your intake brace to get oil filters on and off. Not a big deal for me as I don't put a ton of miles on this car and change the oil once a year or so. Just waiting on a resistor to come in for 5V pullup as this sensor is a two wire, thermistor style.
Also I got the spartan3 working on CAN which is very exciting. Waiting on my CANbus shield to come in for my teensy and then I can test my homemade canchecked gauge. I posted the link to that thread earlier in this one if you want to follow.
Lastly I am going to be uploading some YouTube videos on my car and already have uploaded some camping trips if you're into that sort of thing. I'll dive into my wideband setup, ms3x install, idle tuning walkthrough, VE analyze walkthrough, oil temp sensor install, can gauge testing and setup, bluetooth connectivity for the megasquirt, and other short videos. https://youtube.com/@eliasswierczews...kqfygFch44LDqT
I remember the first days of getting the MS set up in my car. It�s so rewarding watching it work in action after months (for me) of doing research on it.
So its been a while since I updated this thread. The season has kicked off and I�ve gotten some driving in. At the end of last year I put some Hankook RS4�s on the car in a 225/45R15. This spring I got some NB, H-style, alignment bolts in the car and took it to get aligned. Only to find out the car was far too low and I could only pull camber out in the rear up to -2.7 degrees. I ended up just telling them to leave it there and my front at -2.4 (I think), they agreed to let me come back at a later date and realign it for no extra charge. More on that later.
I got a RB big tubular bar in the car in place of the OE front swaybar, along with some supermiata bracing blocks. I then went on to run my first AutoX of the year (third ever) and put down some decent times. It was a faster course with some higher speed corners and the car felt good (still learning what �good� feels like). I feel like I am learning a lot about my car and driving in general, its real good fun. The second event I ran this year I didn�t have quite as much fun. There were two relatively low speed corners and the car was PUSHING real hard through those. I originally planned on just raising the car a bunch to be able to pull that rear camber out. Instead, I order some extended lower ball joints for the fronts to run even more front camber like a real car guy should. My FL5 is plenty fun on the street, the Miata seems to be moving ever closer into the track car only realm.
Complimenting the track car theme, I did some innovative 60A motor mounts which made the car feel amazing both at low speeds and high rpm shifting. My mounts had gone full Bluetooth and the NVH from the innovative mounts is actually less than I was getting with my non existent OE mounts because of it. I made a couple more changes to the tune, as I learn more and more about it. Found out my idle screw was set to high and not allowing full range of operation for the idle valve. I unplugged the IACV, dropped the idle of the car down using the screw until it hit about 600 rpm, then plugged it back in and retuned the idle and initial values tables. I was seeing in tuner studio the idle position would bottom out long before its minimum value which tipped me off to this issue. I am still battling injector heat soak on hot restarts during very warm days. Running the car up to operating temp, leaving it parked in the sun for an hour or two and returning will make the idle very unhappy. It will hunt and sometimes die until enough �cool� fuel has run through the injectors to cool them off and allow them to operate properly. A super extended ASE above like 160 degrees has seemed to help but I could even make it longer I think.
I�ve also made headway with my homemade CANgauge. It is officially tested in the vehicle and works well as a node between my terminated Spartan3 and MS3x on the bus. I am going to drive around with it for a bit and make sure it functions well in all conditions before pulling my coolant temp gauge and replacing it with this. I also removed my passenger airbag and plan to relocate my MS3x back there with maybe a slot to slide my laptop into. Im thinking I will put together a thread for that project and likely a YT video too. Contrary to the track car theme, I am picking up some cloth OE seats this weekend. The bucket is too much for AutoX and any street driving I do with the car. I, however, could not stand to put my black leather seats back in the car in this Midwest heat. I finally found a set of decent condition cloth seats that I am going to foamectomy the crap out of. I plan on cutting the rear floor humps too and mounting the OE seats to the floor in the rear with some backing plates. I will likewise mount the bucket to the floor in the rear when I swap it in for track use. Overall, I am mostly on pace to do a turbo kit this offseason! Only a clutch and injectors are in my way now. I have those mods planned for the fall.
Cool updates man, glad to see you are still at it. The car looks really nice.
Thank you! This time last year I was in the middle of starting my now job in a new city and trying to get some funds saved up while adjusting to the move. Prior to that I was on a college budget with this thing lol. Now I've got my big boy job and am settled into my living situation. Really helps move the build along faster. Ive been driving, learning, reasearching, buying, installing, and planning all spring and summer. The project never ends! Ive got plans into oblivion.
The project never ends! Ive got plans into oblivion.
Welcome to the club! My project started in highschool, through minimum wage jobs, and into my career where car budget changed quite a bit.
My only advice there is to plan out what you want ahead of time, and do it right the first time. So many things I've re-done that burnt money and I should have just done the way I wanted right off the bat.
I do a TON of research and even then still get burnt a few times haha.
Originally Posted by Z_WAAAAAZ
Like Fire said, glad to see you've been keeping busy with the car! Updates look good so far.
Everyone's jumping on the CAN gauge program recently, y'all are making me want to tinker with more stuff haha.
Yes! a miata cockpit is not very gauge pod friendly. Not much space and IMO gauges are ugly. A CAN gauge gives me all the data with infinite display possibilities. Already writing code to turn my gauge's background color to red when the car pulls timing based on knock sensor...I have neither a knock sensor nor FI yet.


 0
0