Faefae's New Rape Victim
 03-25-2012, 10:42 AM
#21
Elite Member
iTrader: (2)

Join Date: Sep 2008
Location: Central Florida
Posts: 2,799
Total Cats: 179
So you are keeping the (modified) Forester XT as the usual daily driver, the black NB is going to be a backup if the Forester is down and the turbo NB is the project car?

Reply
 0
0

0
03-25-2012, 11:01 AM
#22
Slowest Progress Ever

iTrader: (26)
Join Date: Oct 2007
Location: The coal ridden hills of Pennsylvania
Posts: 6,025
Total Cats: 304
Min! I just thought of this!!
You have a backup set of 6UL's, right? I assume they're going on the black car...
Aside from a backup set of 6UL's, you also have a backup BEGI cast manifold with an external wastegate and a GT3071...
Know what I'm thinkin?
First and foremost though...Roll Bar.
You have a backup set of 6UL's, right? I assume they're going on the black car...
Aside from a backup set of 6UL's, you also have a backup BEGI cast manifold with an external wastegate and a GT3071...
Know what I'm thinkin?
First and foremost though...Roll Bar.
Reply
0
0
03-25-2012, 11:26 AM
#23
Elite Member
Thread Starter
iTrader: (2)

Join Date: Jan 2007
Location: Los Angeles, CA
Posts: 8,682
Total Cats: 130
I think in a year i will be building the foxzie and putting a siz speed in, going for 500hp or whatever.
Reply
0
0
 03-25-2012, 05:26 PM
#26
Elite Member
Thread Starter
iTrader: (2)
Join Date: Jan 2007
Location: Los Angeles, CA
Posts: 8,682
Total Cats: 130
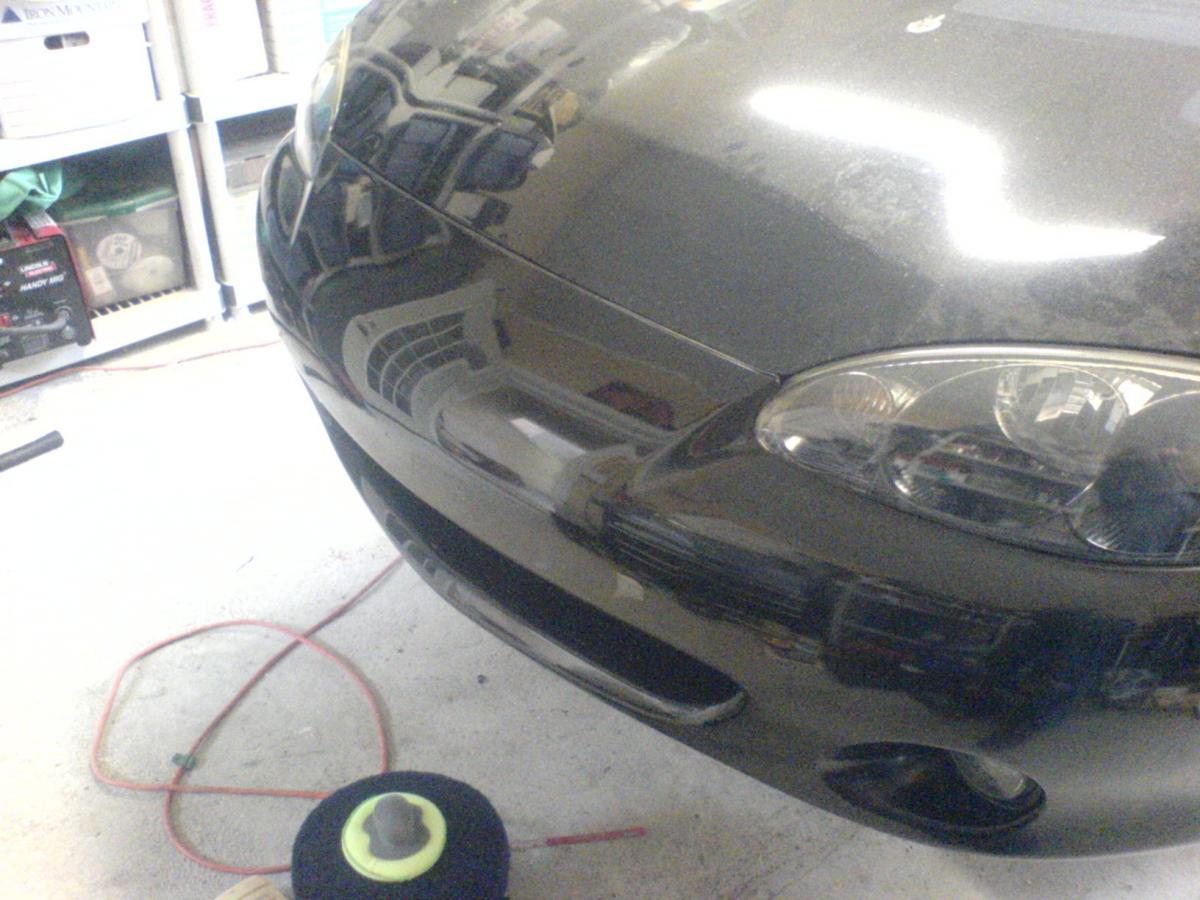
This nat asp motor is actually some frikken bombsauce. I actually want to dyno it because it is really ballsy.
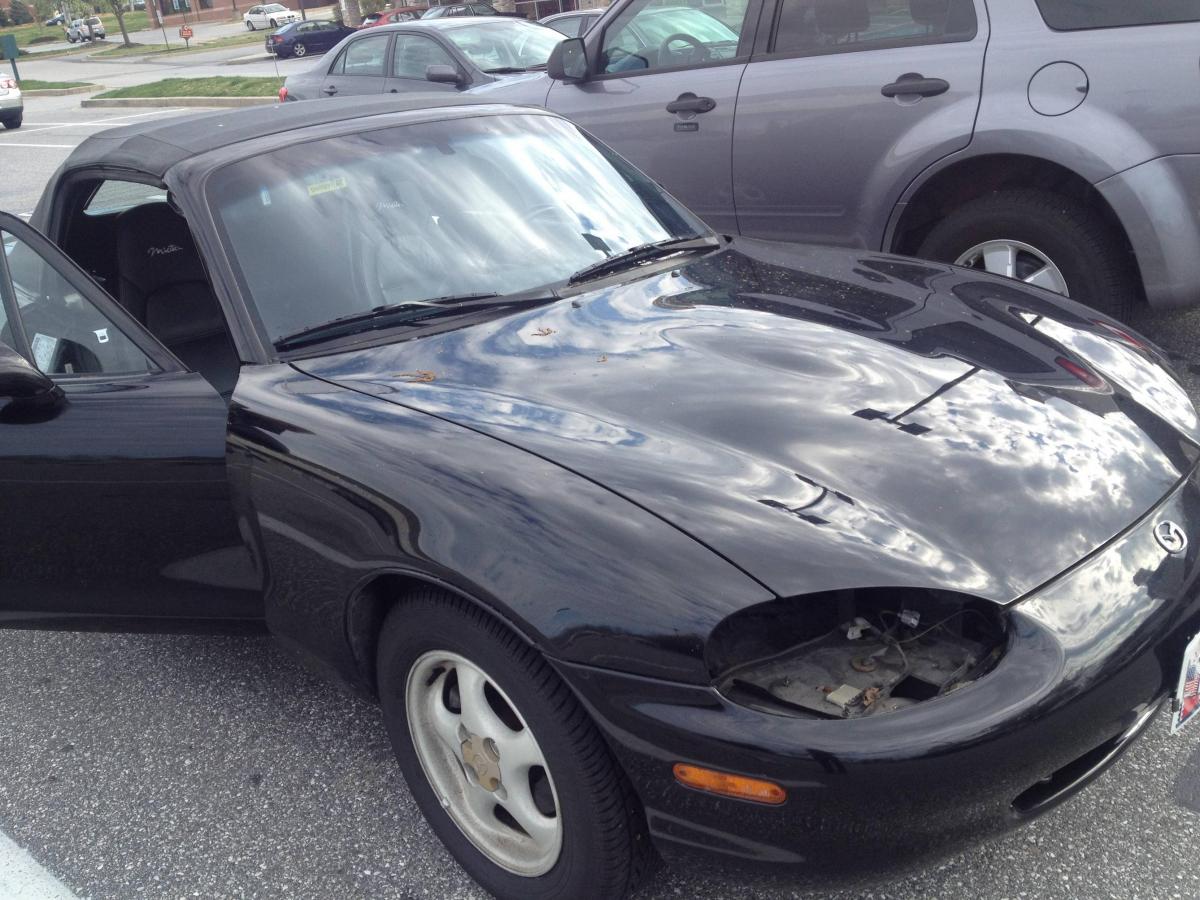
OK so I started molesting it.
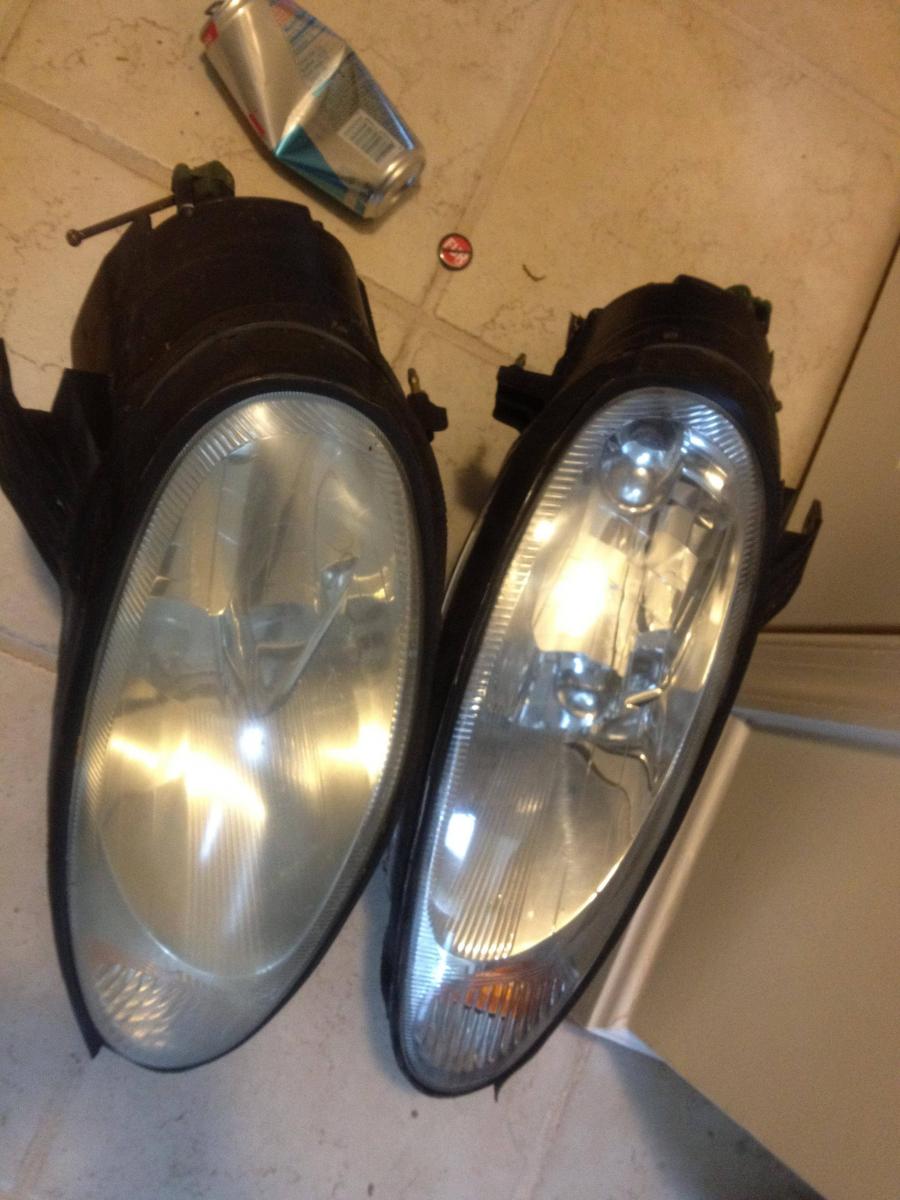
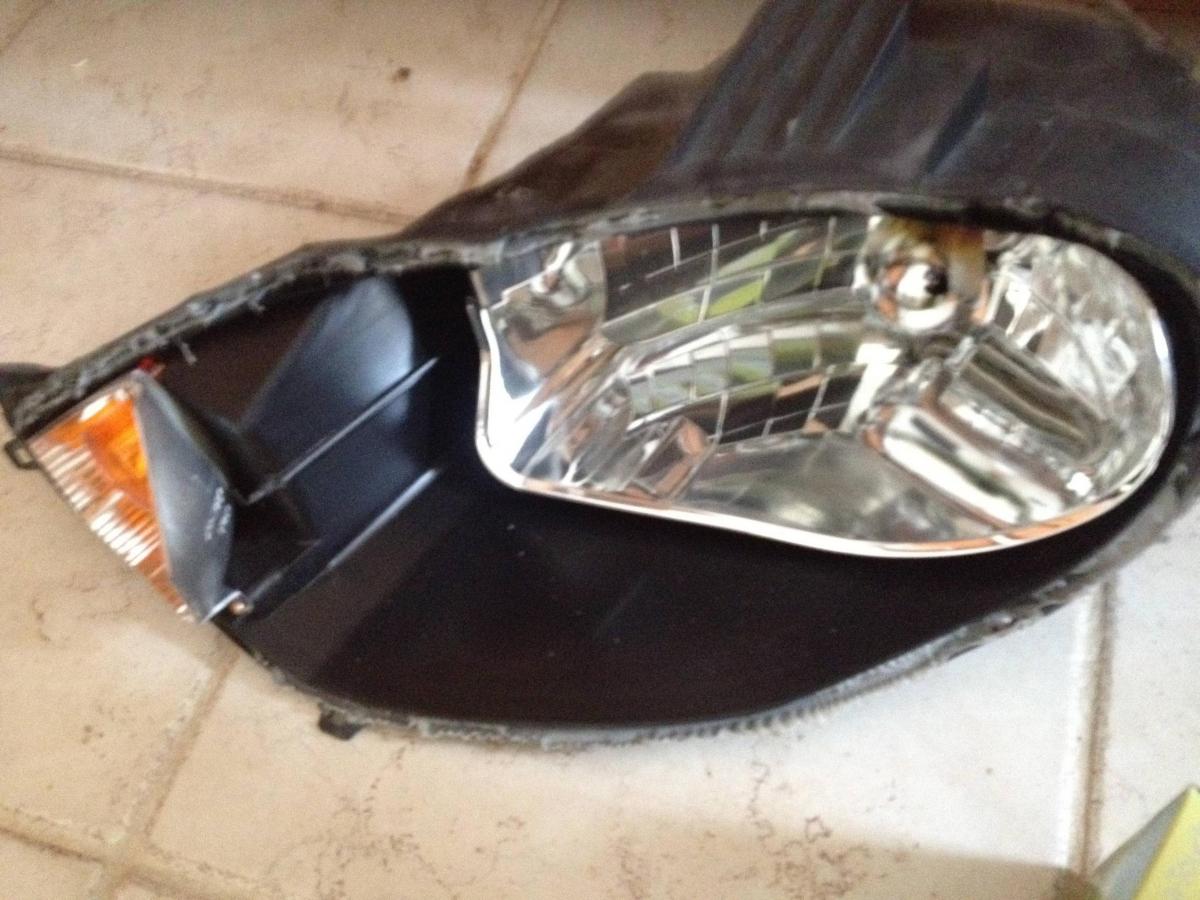
Polished the headlights.
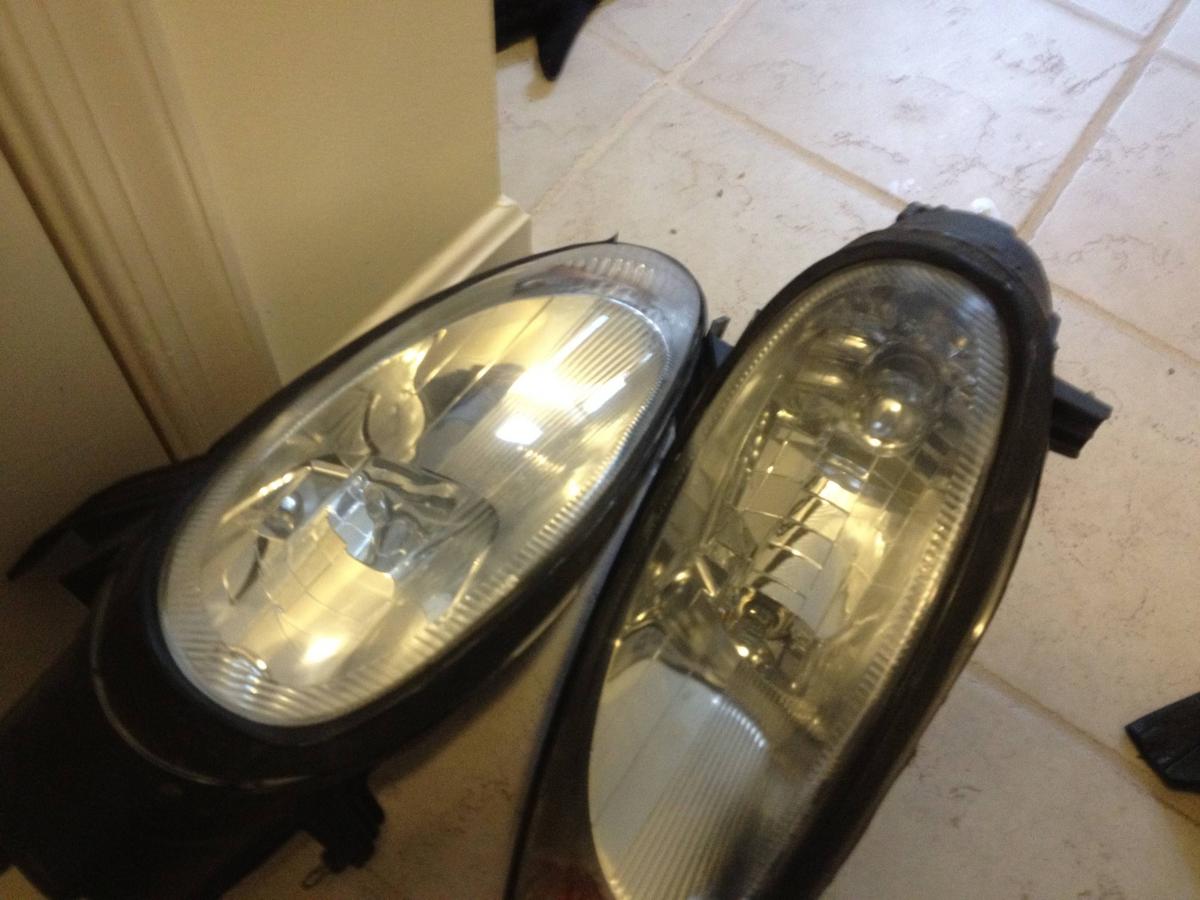
Before/After
After/After
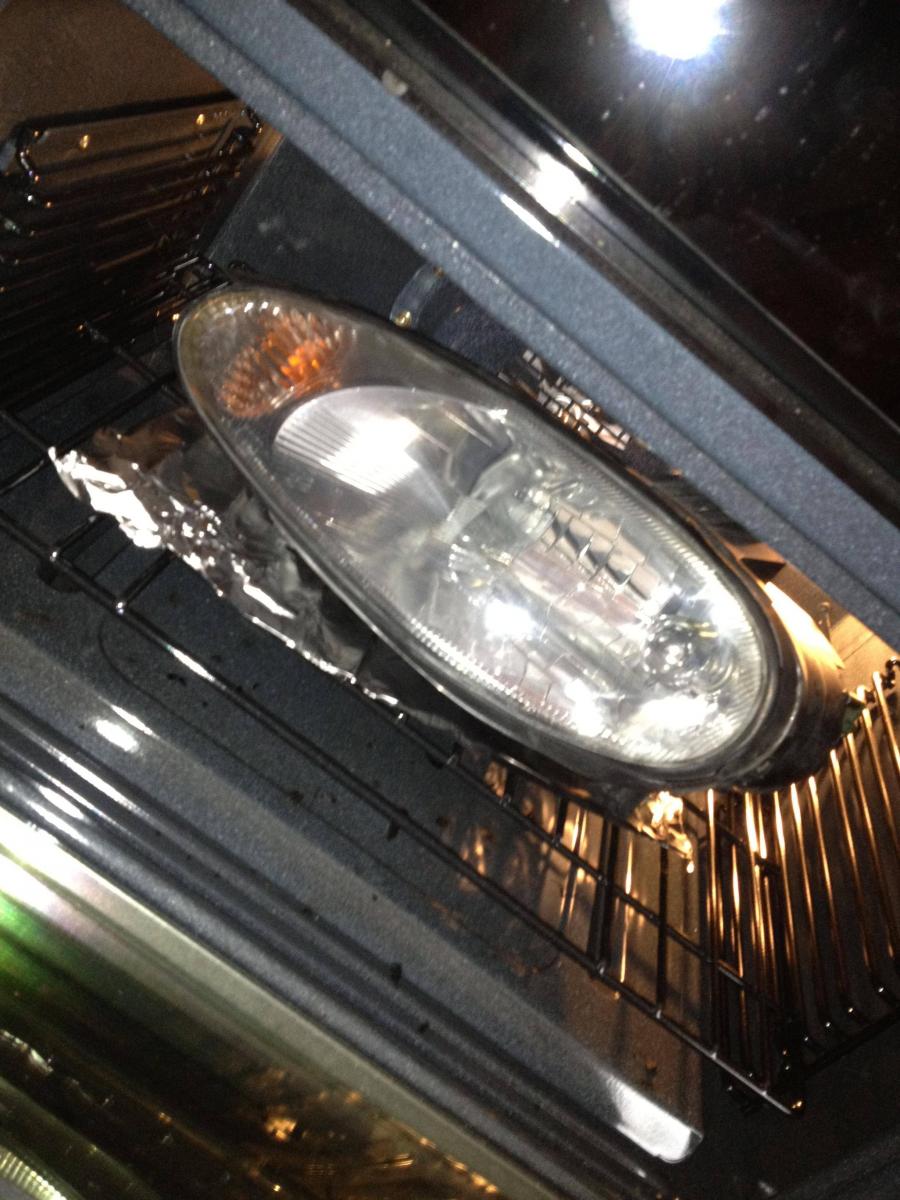
Baked the light
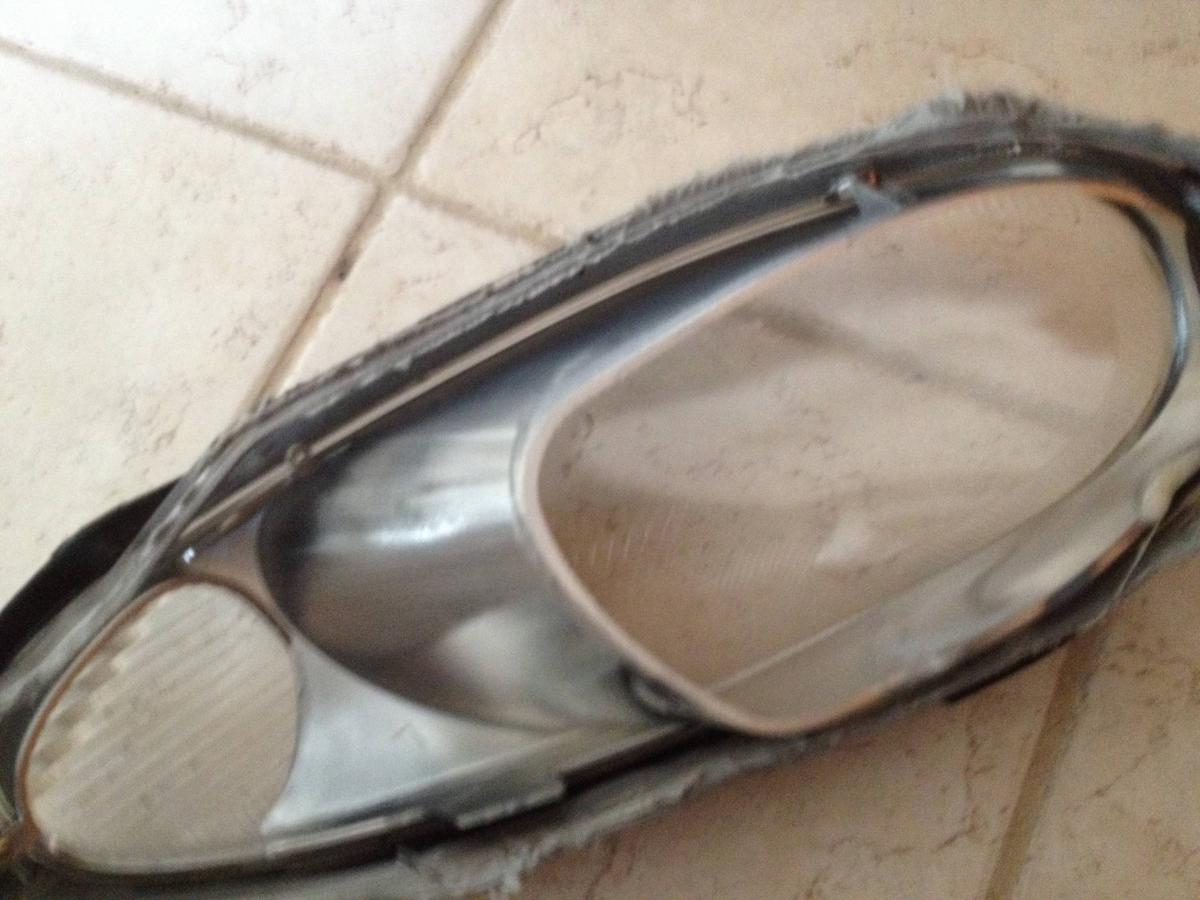
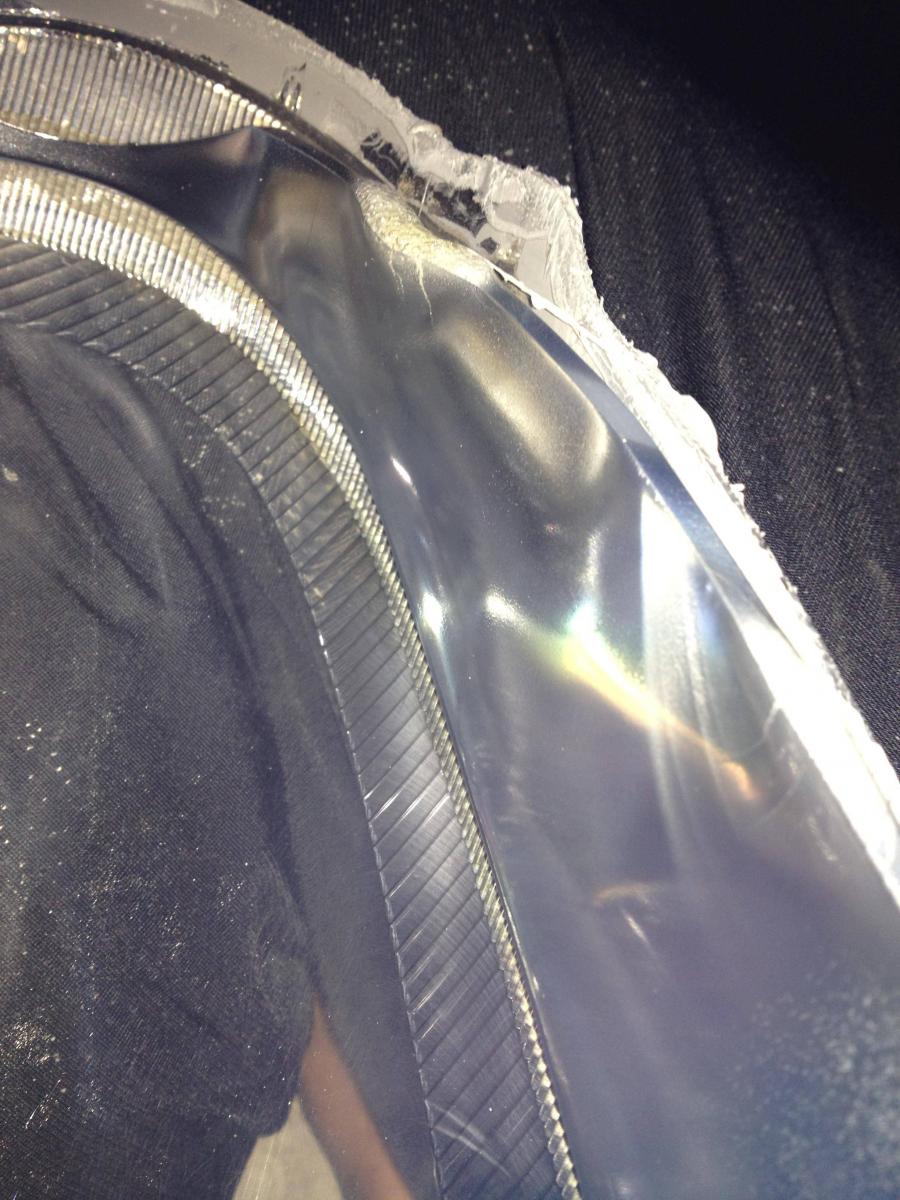
Popped the shz off. Broke the tabs of course. Notice that the plastic is melted??? Wierd huh? Got plain ol bulbs in it too.
Other side
Closeup of melt
Went to get lunch. Got A LOT OF ATTENTION
Reply
0
0
 03-25-2012, 10:25 PM
#28
Slowest Progress Ever
iTrader: (26)
Join Date: Oct 2007
Location: The coal ridden hills of Pennsylvania
Posts: 6,025
Total Cats: 304
Looks good Min, but wayyy too much attention to headlights and not enough attention to important things such as oil drain fittings on other miatas.
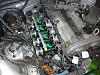
Since you're all into keeping it NA, I am highly suggesting you put these on:
Then get a header and make your engine bay look similar to this:

and maybe, your car will sound like this and still be fun.
Since you're all into keeping it NA, I am highly suggesting you put these on:
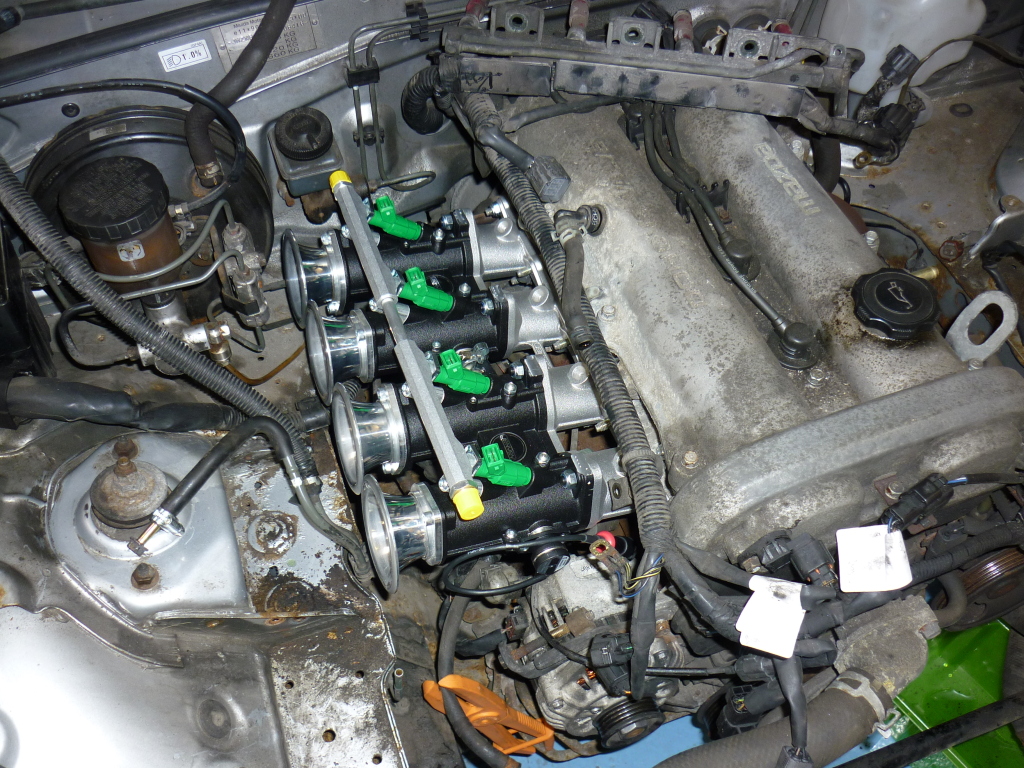
Then get a header and make your engine bay look similar to this:
and maybe, your car will sound like this and still be fun.
Reply
0
0
 03-26-2012, 10:43 AM
#31
Elite Member
Thread Starter
iTrader: (2)
Join Date: Jan 2007
Location: Los Angeles, CA
Posts: 8,682
Total Cats: 130
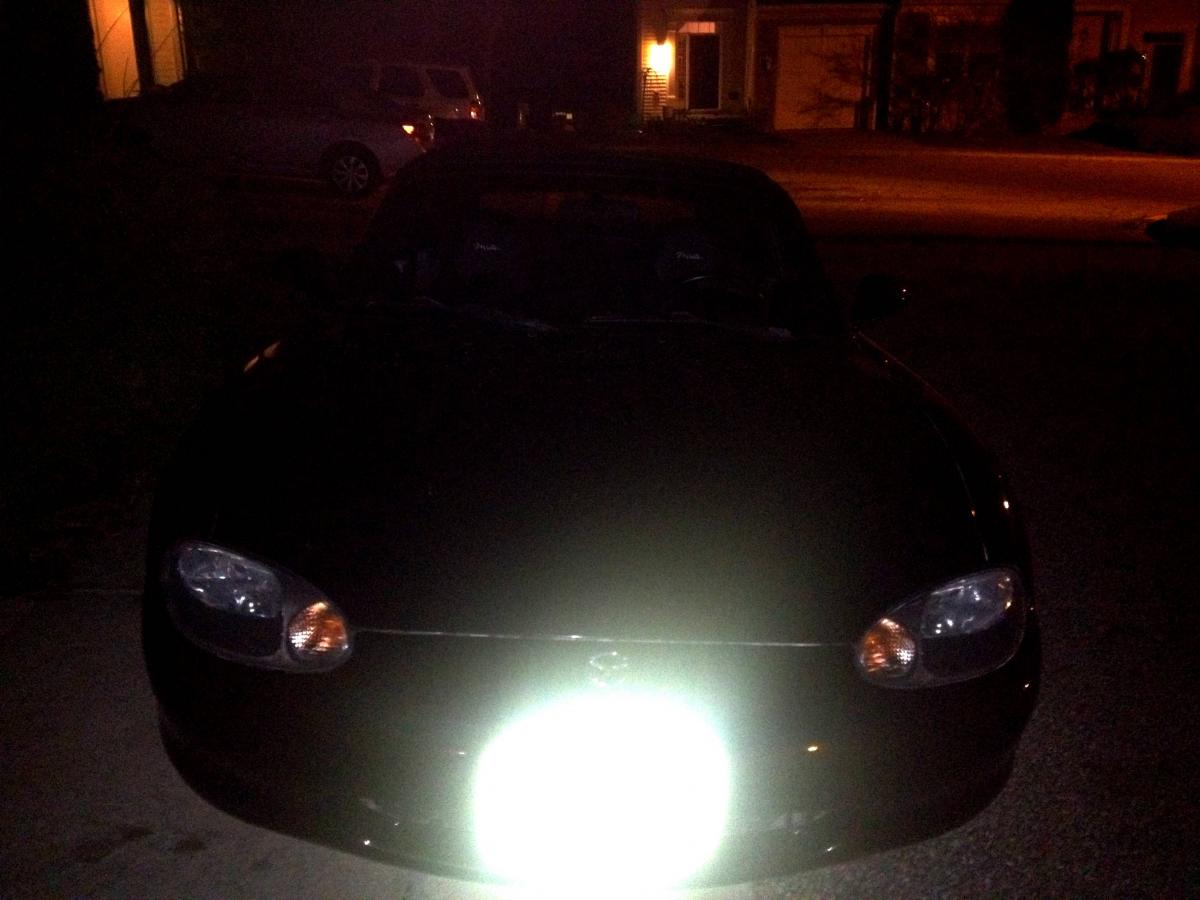
They're not orange. They're actually silver cups. I thought about painting the turn signal cup black for a while before deciding not to.
I really want people in front of me at intersections to be able to clearly see that I am trying to turn. If they don't see it because it's not bright enough that could lead to some serious problems for me.
I will be daily driving this so safety and communication is important.
Speaking of safety
someone sell me a roll bar
Reply
0
0

 03-26-2012, 12:13 PM
#36
Elite Member
iTrader: (3)

Join Date: Apr 2008
Location: Outside Portland Maine
Posts: 2,023
Total Cats: 19
Nice job on the lights! I can't get mine that clear. I got them pretty close, but yours look like new, at least from the pictures here. Maybe this miata will fare better than the "child molester".
Reply
0
0

 03-26-2012, 02:03 PM
#40
2 Props,3 Dildos,& 1 Cat

iTrader: (8)
Join Date: Jun 2005
Location: Fake Virginia
Posts: 19,338
Total Cats: 573
that's a joke right? body filler. bondo. whatever.
I did it quick and dirty but suffice it to say if you want to do it right, you have to take the bumper off.
in retrospect, the "right" way would have been:
1. remove bumper
2. remove badge (insert badges cliche joke here for the weak-minded)
3. rough up backside of area around holes with 40 grit
4. bond some rough aluminum or something that is contoured to fit *fairly well* onto the backside of the hole area with some super strong epoxy and let it cure a couple days
5. jam the holes full of body filler and when it's "green", remove it to nearly flush. let that cure for another couple days because it WILL shrink.
6. rough up the pretty side of the holes and surrounding area with whatever the body filler recommends
7. skim on the body filler to hide the holes, allow to cure. this should be a thin enough coat that it wont shrink unevenly and leave sink marks.
8. sand, with 180, then 320, then prime with gray primer, 2 coats
9. prime with alternate color primer, 2 coats
10. knock down the primer with a few swipes of 400 on a flexible sanding block. check for high spots (will show up as primer color that went down first). respray a couple layers and re-sand until high spots are good.
11. final sand the primer with 600
12. wet sand the area you are going to paint with 1000 to rough it up for repaint
13. paint / clear
14. wet sand with 1500 until you are happy
15. fine cut compound until you're shocked at how glossy it is hand or DA
16. polish (not wax) by hand or DA
17. wait a month and wash and redo 15-16 as needed
18. wax and roll like a boss.
Reply
0
0


