When you click on links to various merchants on this site and make a purchase, this can result in this site earning a commission. Affiliate programs and affiliations include, but are not limited to, the eBay Partner Network.
Hi folks.
I�ve debated quite a bit on whether to start another build thread. So this time I�m gonna do something a little different. I won�t be starting a build thread from scratch but from my HPDE ready car and go from there. Not sure which direction I will go with this car (no walls jokes please), but I�ll keep the thread going while I have it.
A LITTLE HISTORY
I got the car in 2018. A bone stock 2001 NB2 Miata with 60k miles. Considering today�s market, I snatched the car for a good deal back then. Initially I just wanted a weekend car for backroad driving while I was building a 95 NA Miata as a track-day car. Long story short I liked how the NB handled so I sold the NA and started to build the NB instead.
THE CAR TODAY
Fast forward to 2021 and the car is ready for track duty. It took two or three AAA tow truck trips to get there, but it has successfully made it to two HPDE days and back!
The car has undergone some extensive work, but it�s not been aggressively modified. My main goal with this build has been to get seat time first, then slowly upgrade and see how it evolves. Messing with cars is also my main hobby, and a Miata is a fairly easy platform to deal with.
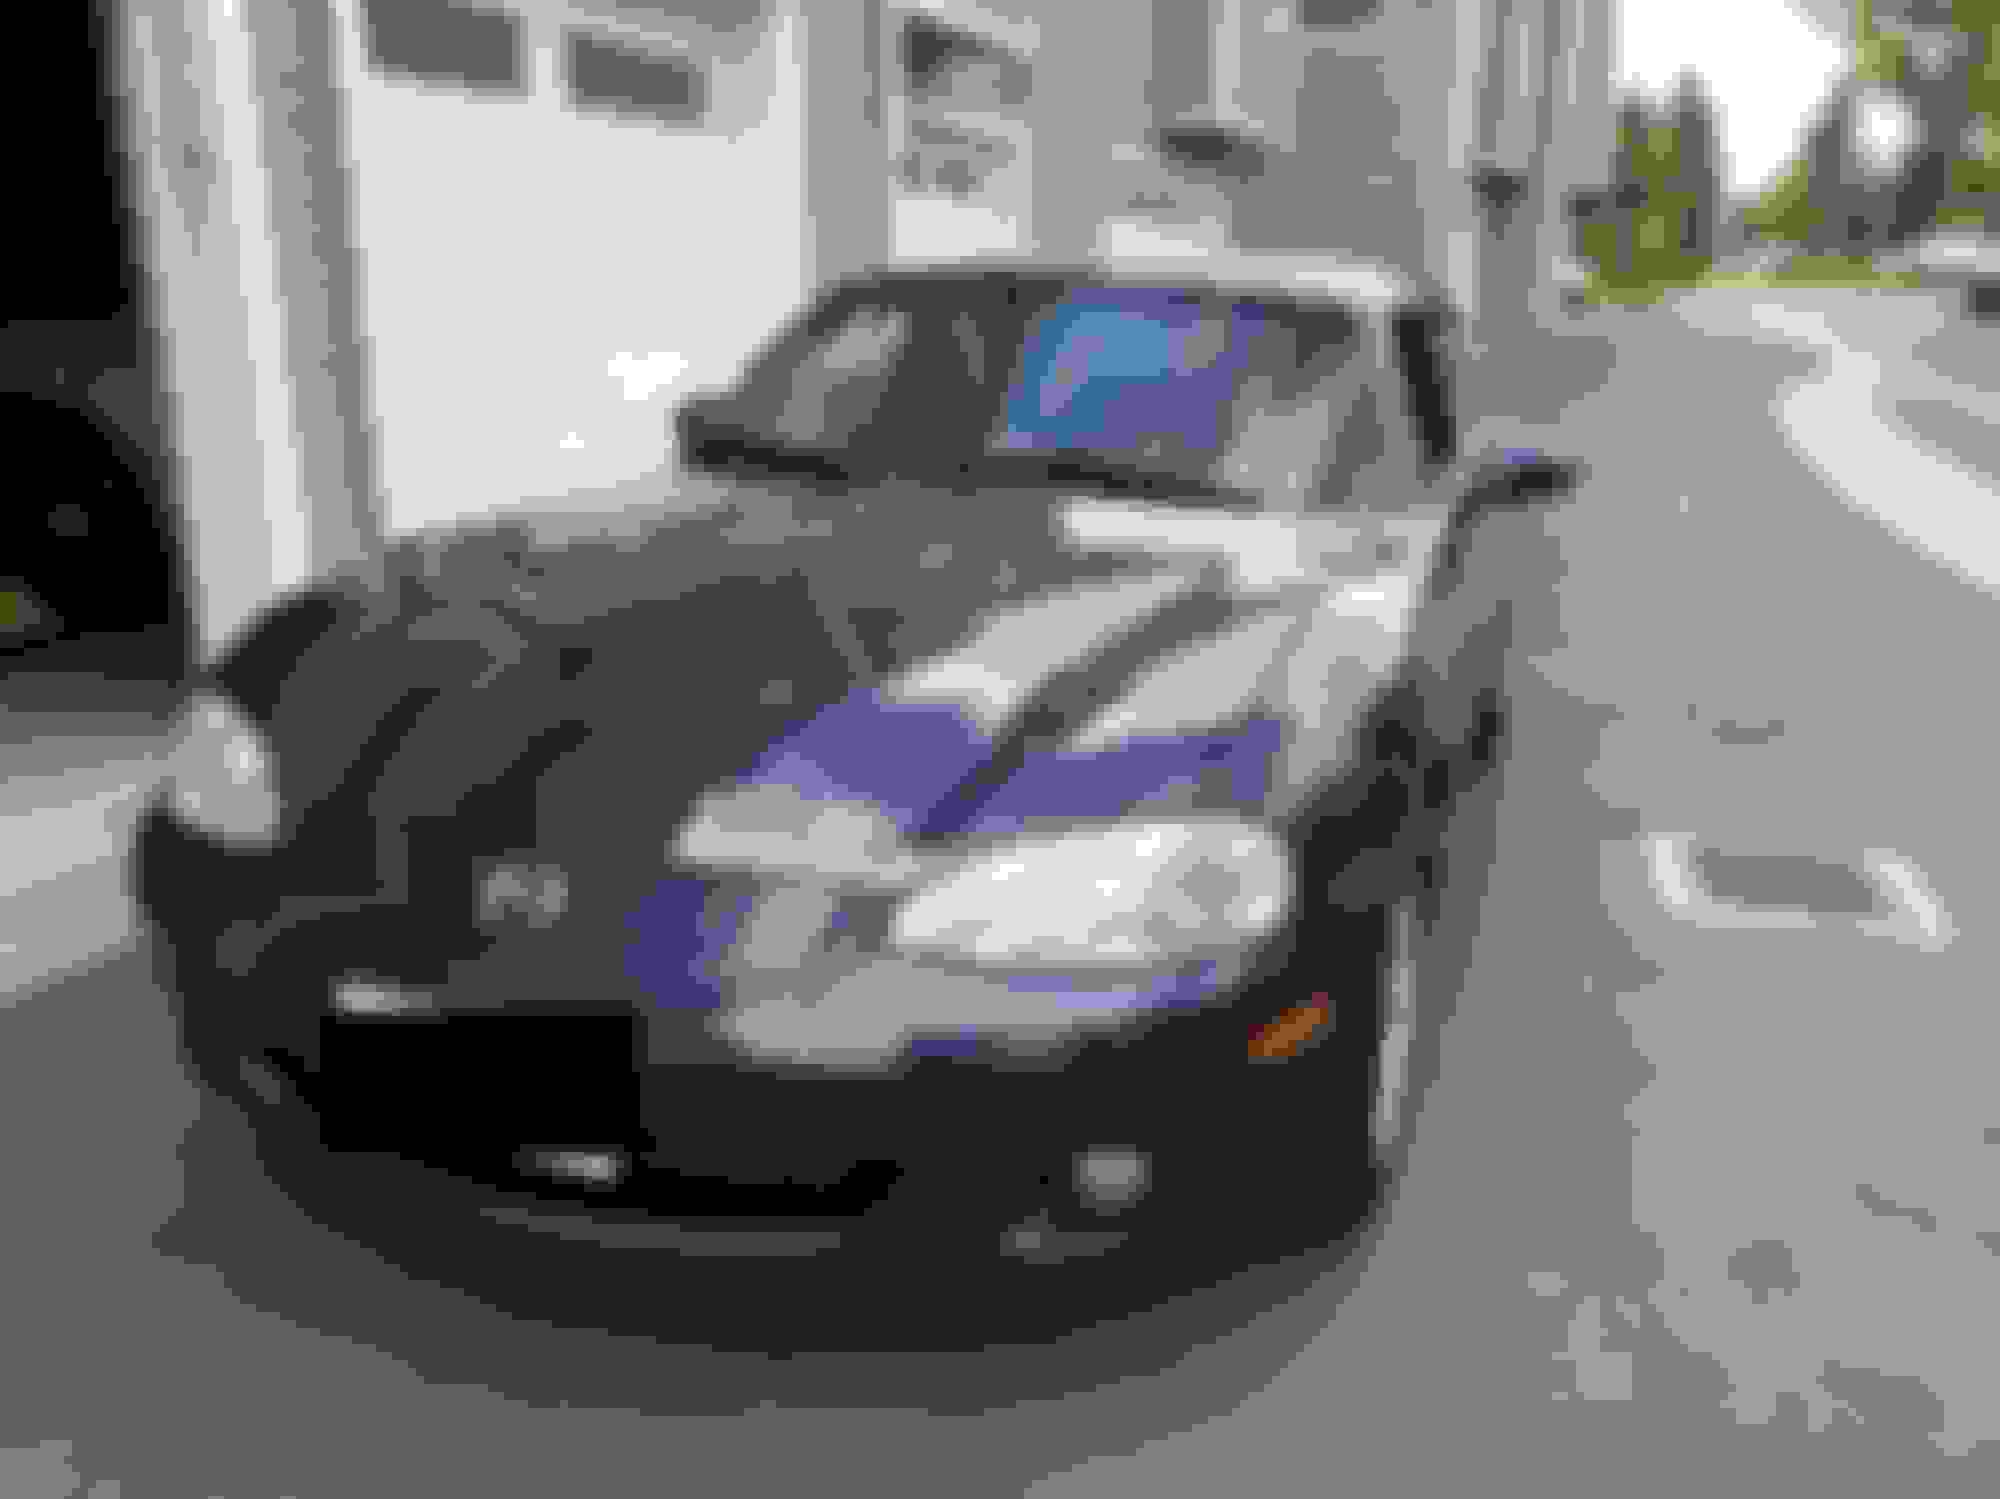
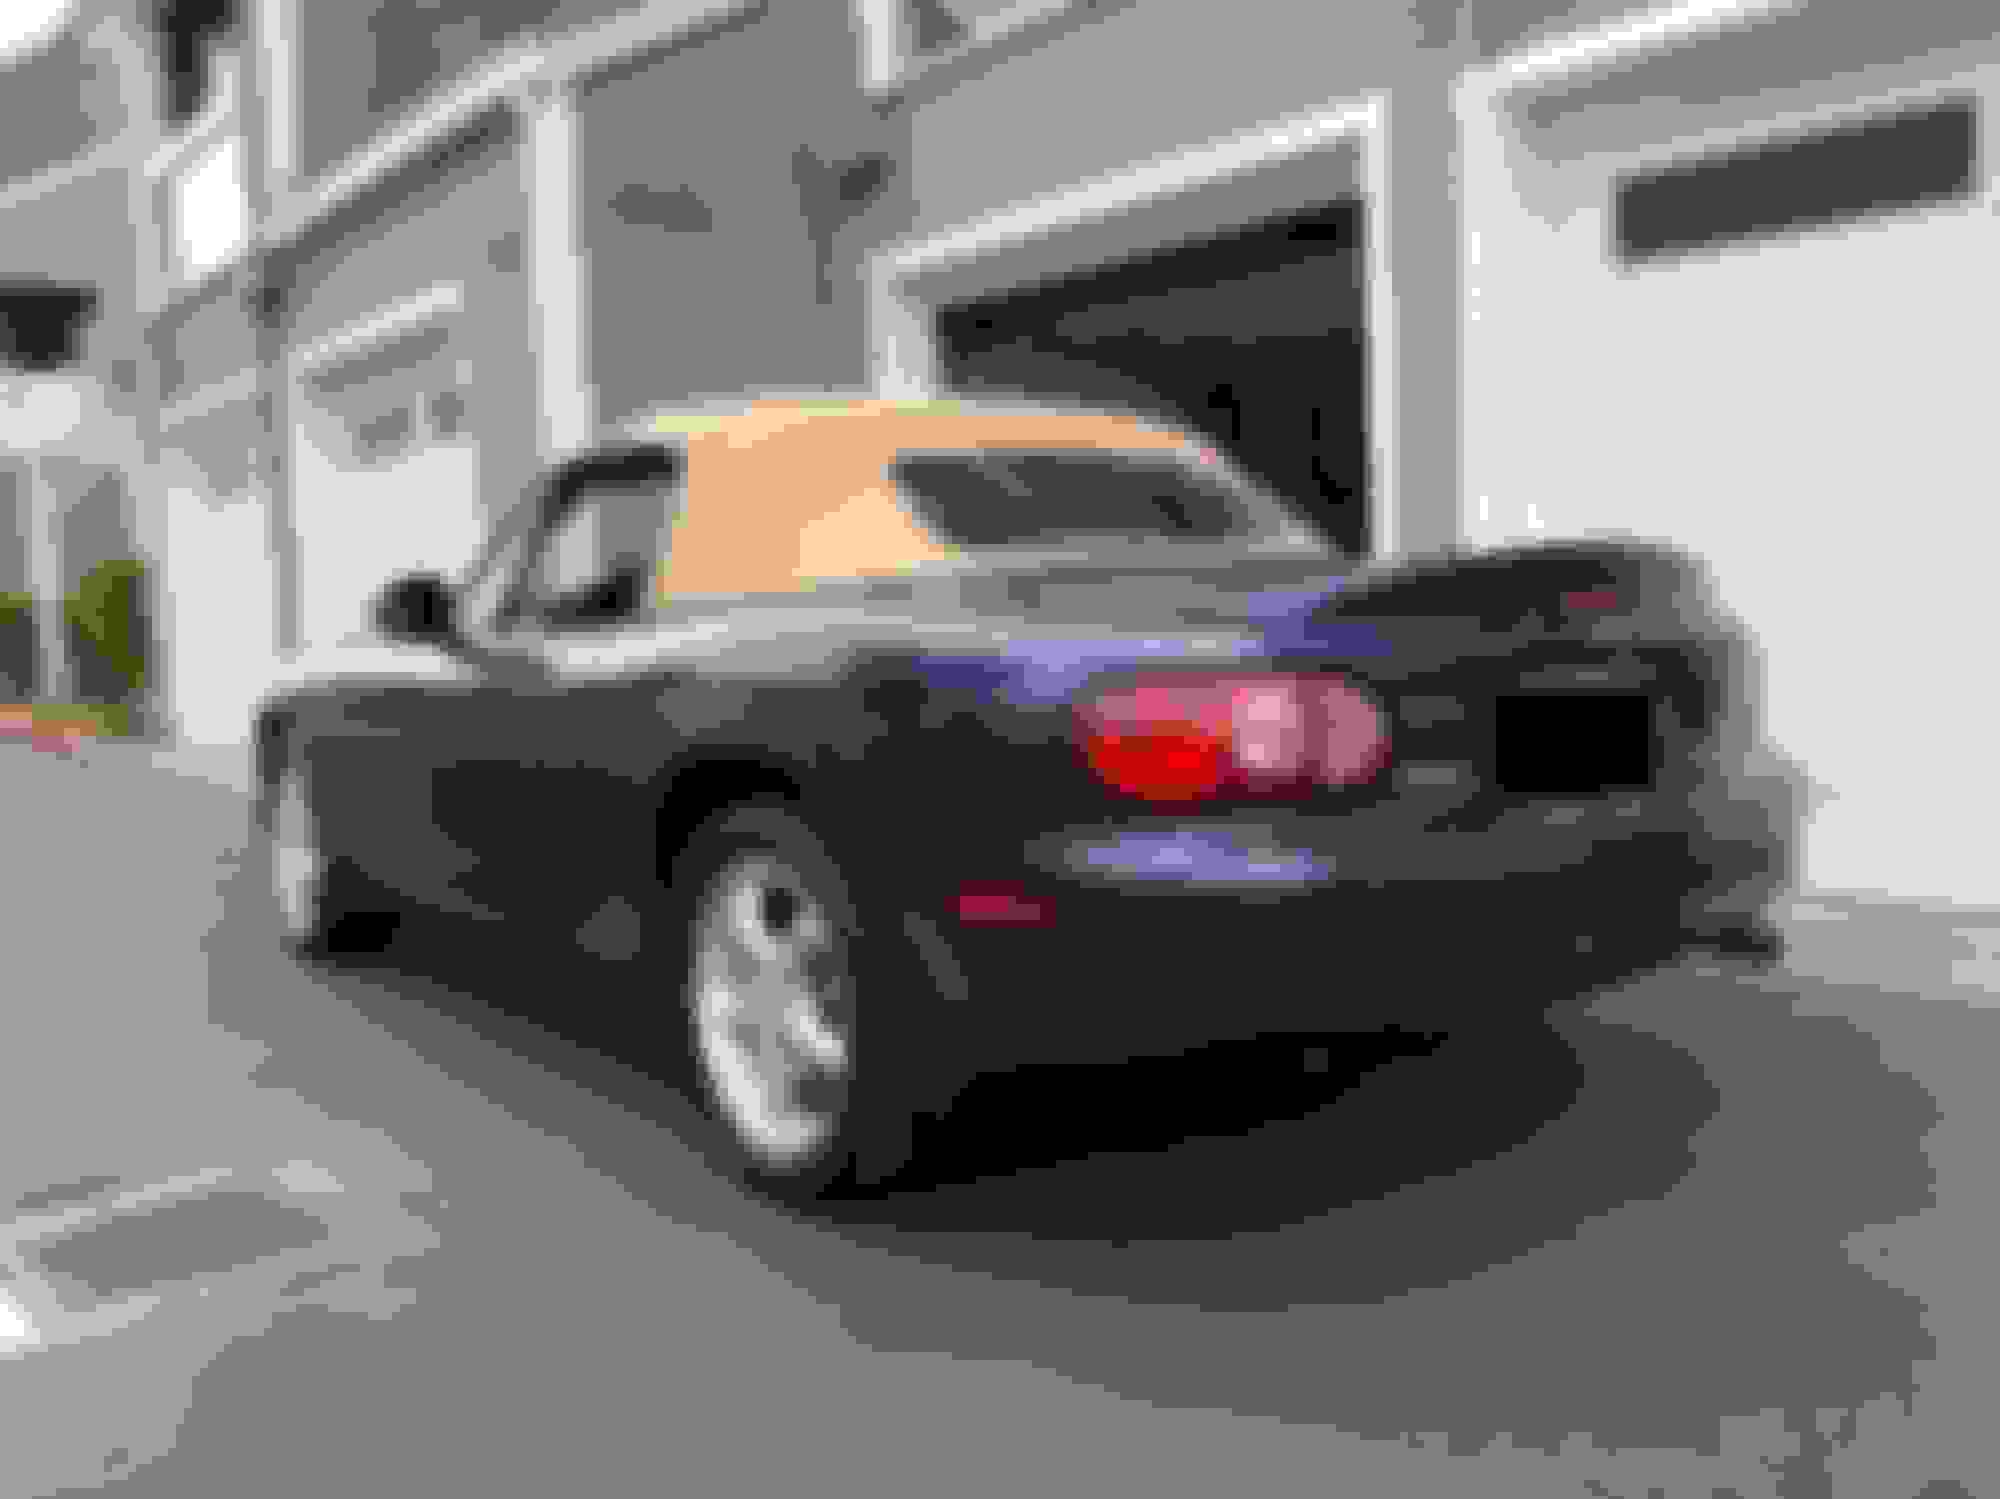
EXTERIOR
The exterior of the car looks pretty much stock, besides the wheels. Swapped the soft top for a hardtop and added a tow hook. I won�t be adding any aero for the time being.
OEM hardtop w/ Jass Performance brackets.
5xracing front tow hook.
Cobalt front license plate relocation.
Retrofitted all lights with LEDs except for the headlights.
LRB aluminum undertray.
Removed fog lights and mud guards.
Gutted the trunk.
Replaced the auto antenna for a fixed short one.
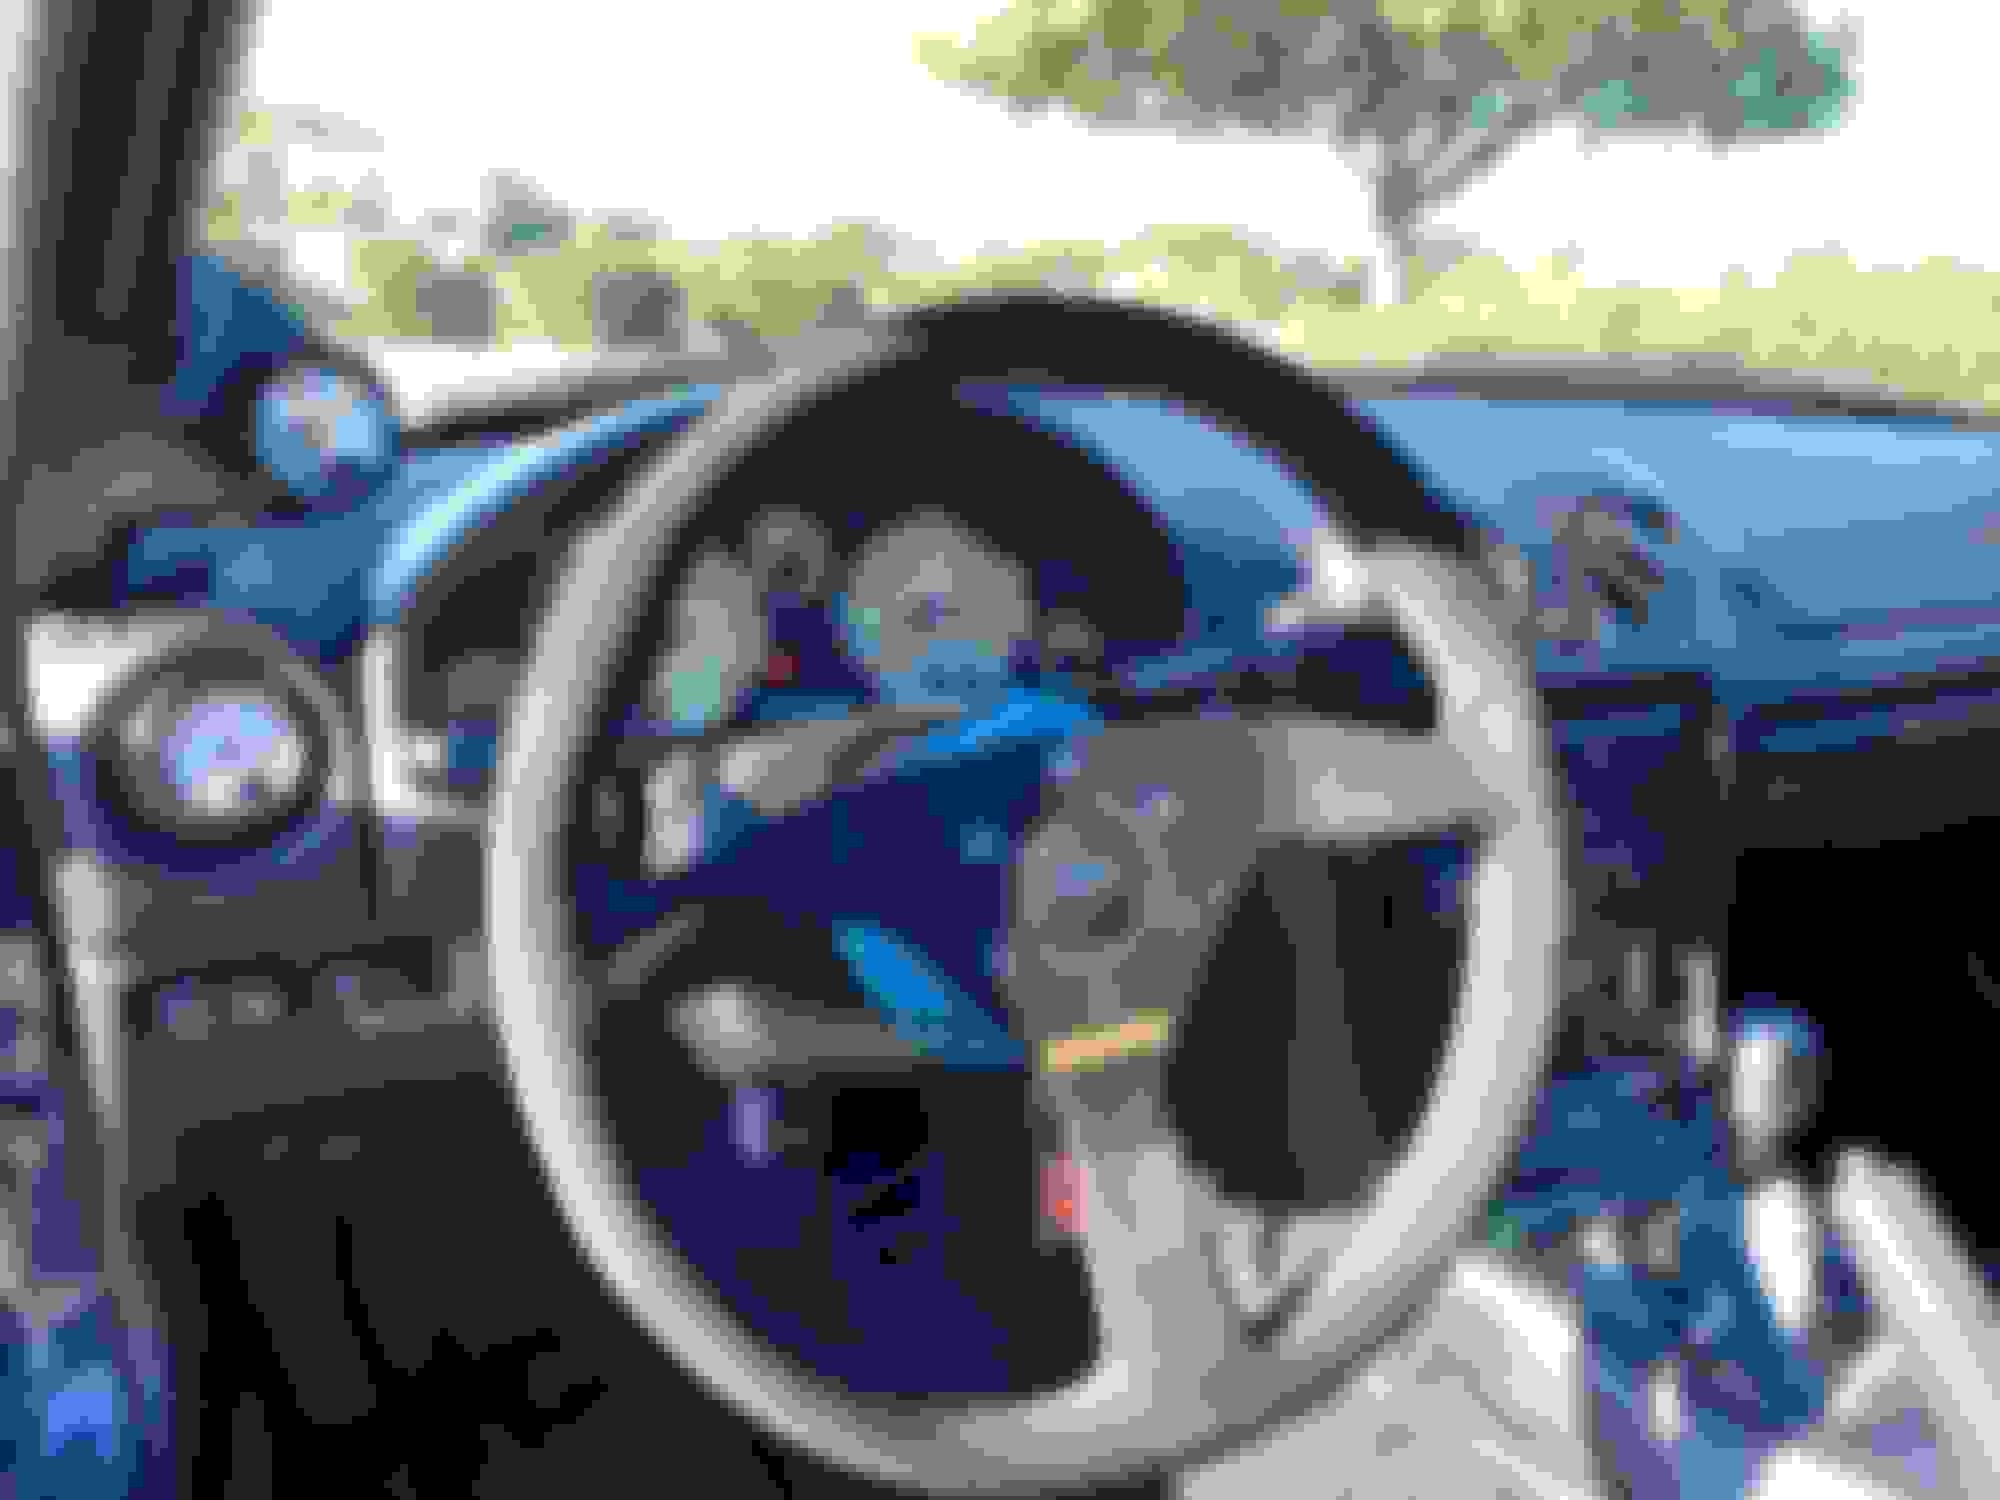
INTERIOR & SAFETY
The interior has undergone lots of safety upgrades but leaving everything else intact. I need to drive the car back and forth from the track so I�d rather keep it looking somewhat decent.
Momo MOD 78 350mm steering wheel w/ NRG 3.0 quick release and 1�� hub extension.
Driver�s seat: Sparco EVO w/ Jerfspeed brackets and lumbar support.
Blackbird Fabworx GT3 roll bar w/ SFI rated padding.
Rebuilt shifter w/ 5xracing kit and brass bushing.
Skunk2 weighted shift ****.
Redline Goods shifter and e-brake boots.
FM gas pedal extension.
Speedhut water temp and oil pressure gauges, mounted to A pillar and left air vent.
Removed both driver and passenger side airbags.
Spiked Performance polyurethane door bushings.
Alpine ILX-W650 touchscreen radio w/ backup camera.
Retrofitted dash with blue LEDs.
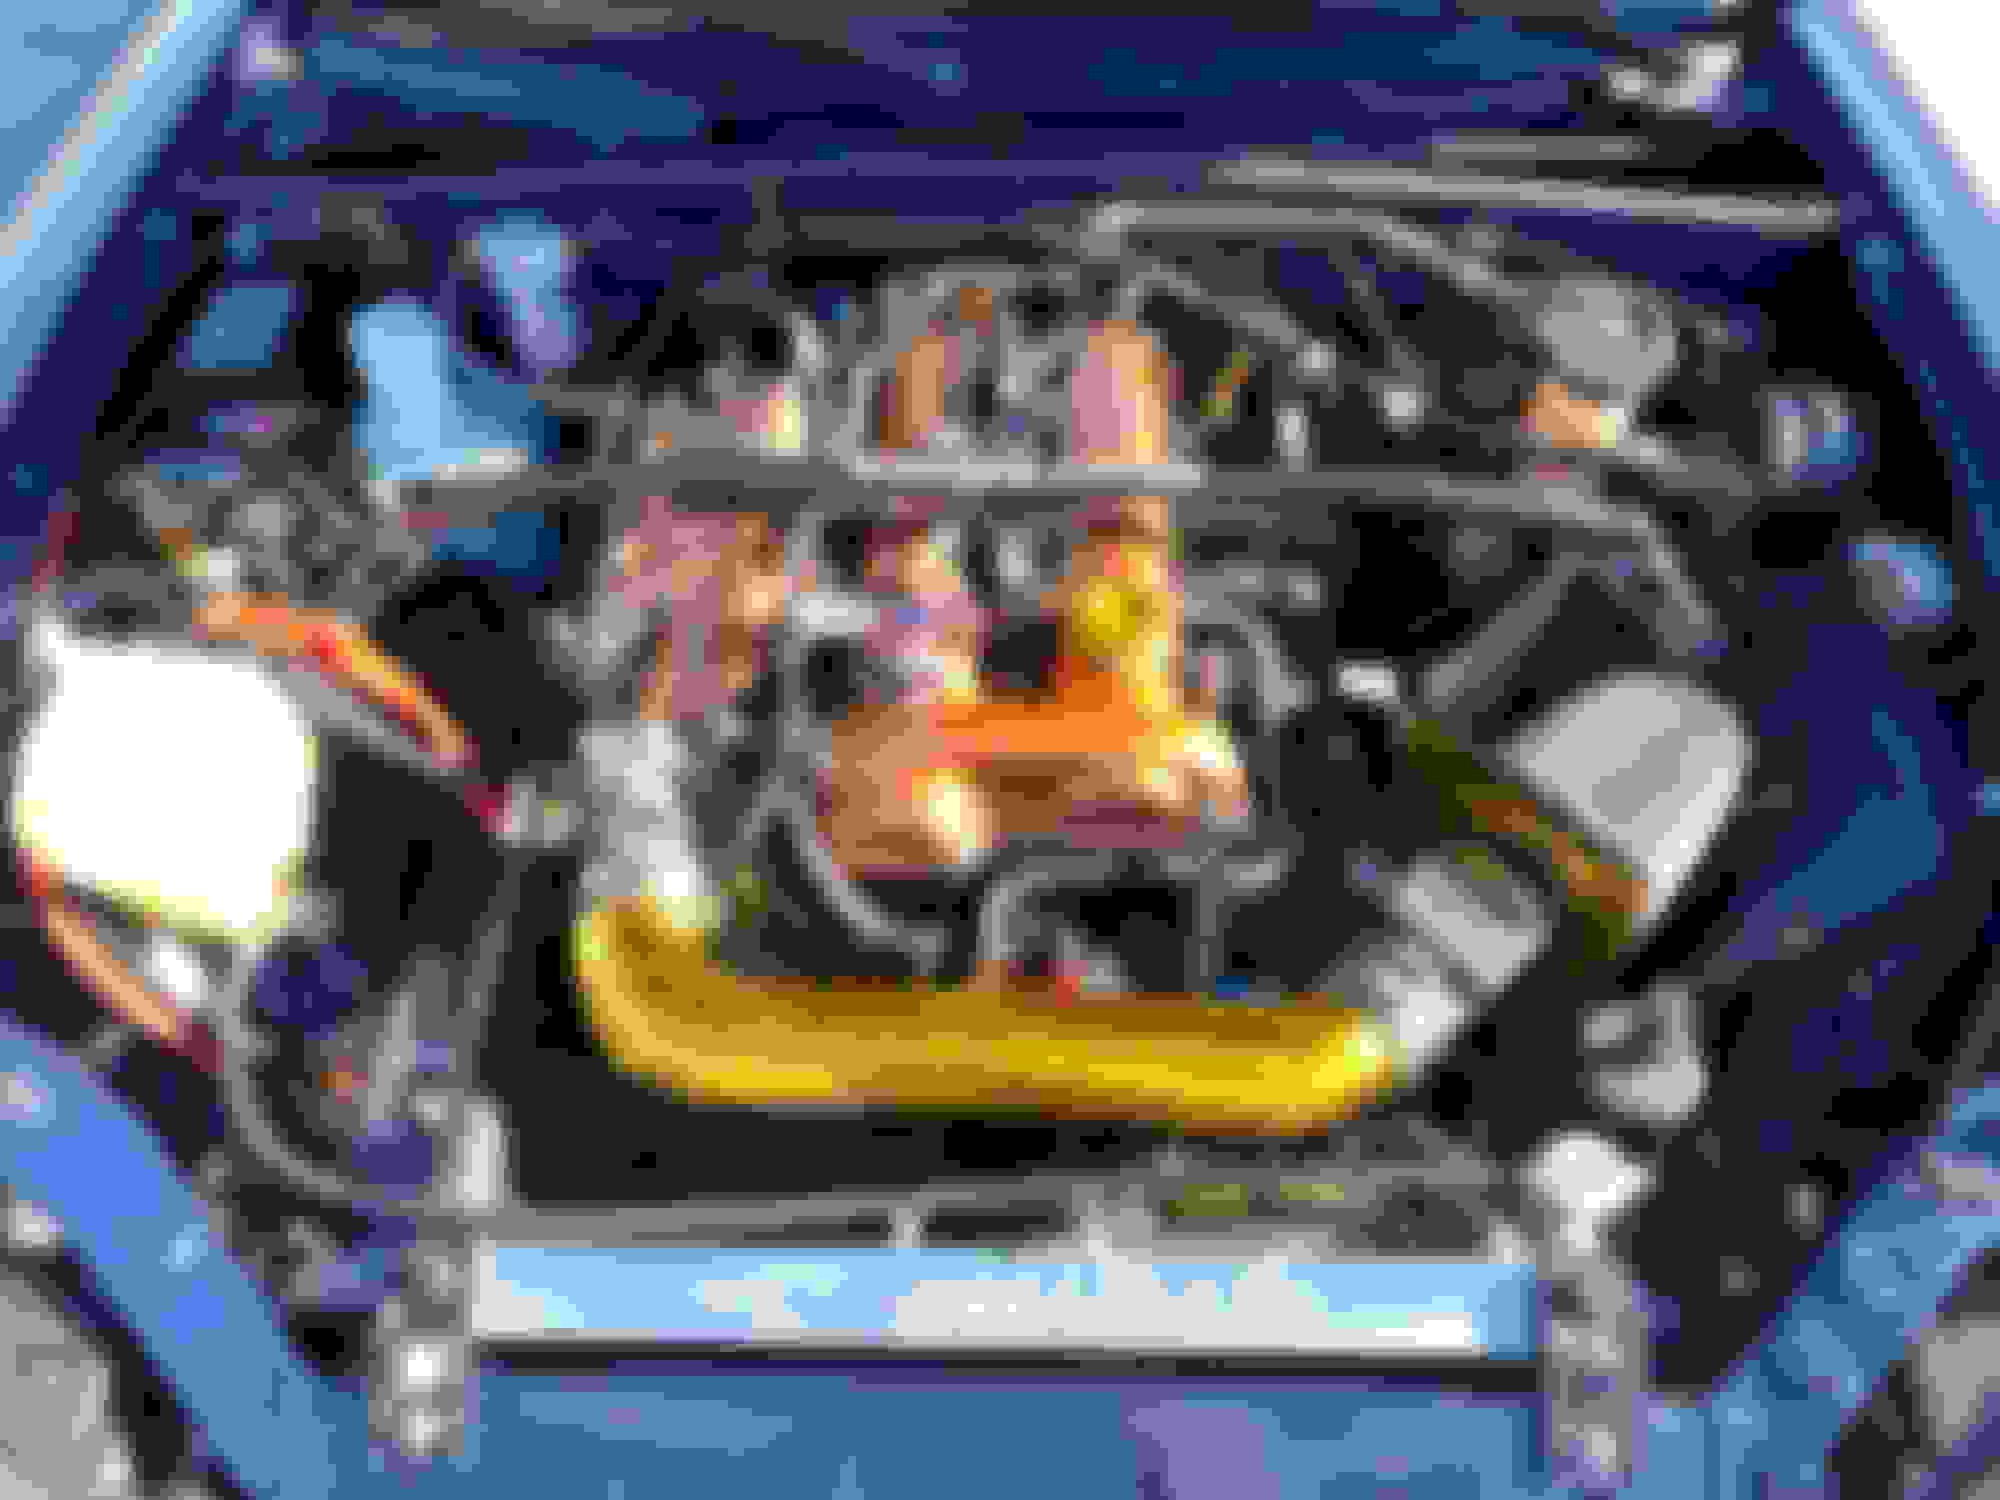
ENGINE & DRIVETRAIN
Engine was rebuilt with stronger components to eventually go turbo, but for now it makes stock-ish power, maybe +5HP with the stickers. On second thought, getting a new engine in a Miata with 65k original miles was probably a waste of money. The 6-puck clutch is quite dreadful on the street and probably overkill for this setup; I am planning to switch to an ACT organic disc when I get some time to tackle that.
Rebuilt engine by Haag performance w/ Supertech forged rods, pistons and valves.
K&N CARB intake and filter w/ custom heat shield.
Racing Beat headers and race mid-pipe, Roadster Sport 4 catback.
Rerouted the second O2 sensor to the engine bay. Mazdaspeed motor mounts.
Moroso oil catch can.
Removed A/C system and bypassed the engine bay charcoal canister.
ACT HD clutch and Prolite lightweight flywheel with 6-puck disc.
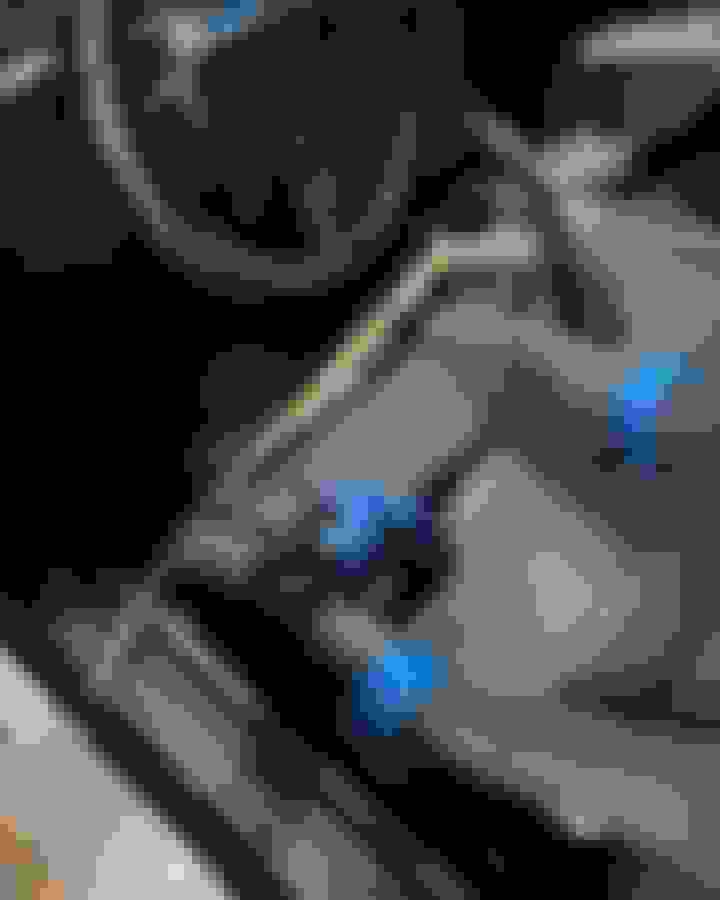
Excedy Master/Slave clutch cylinders w/ 5xracing SS clutch line.
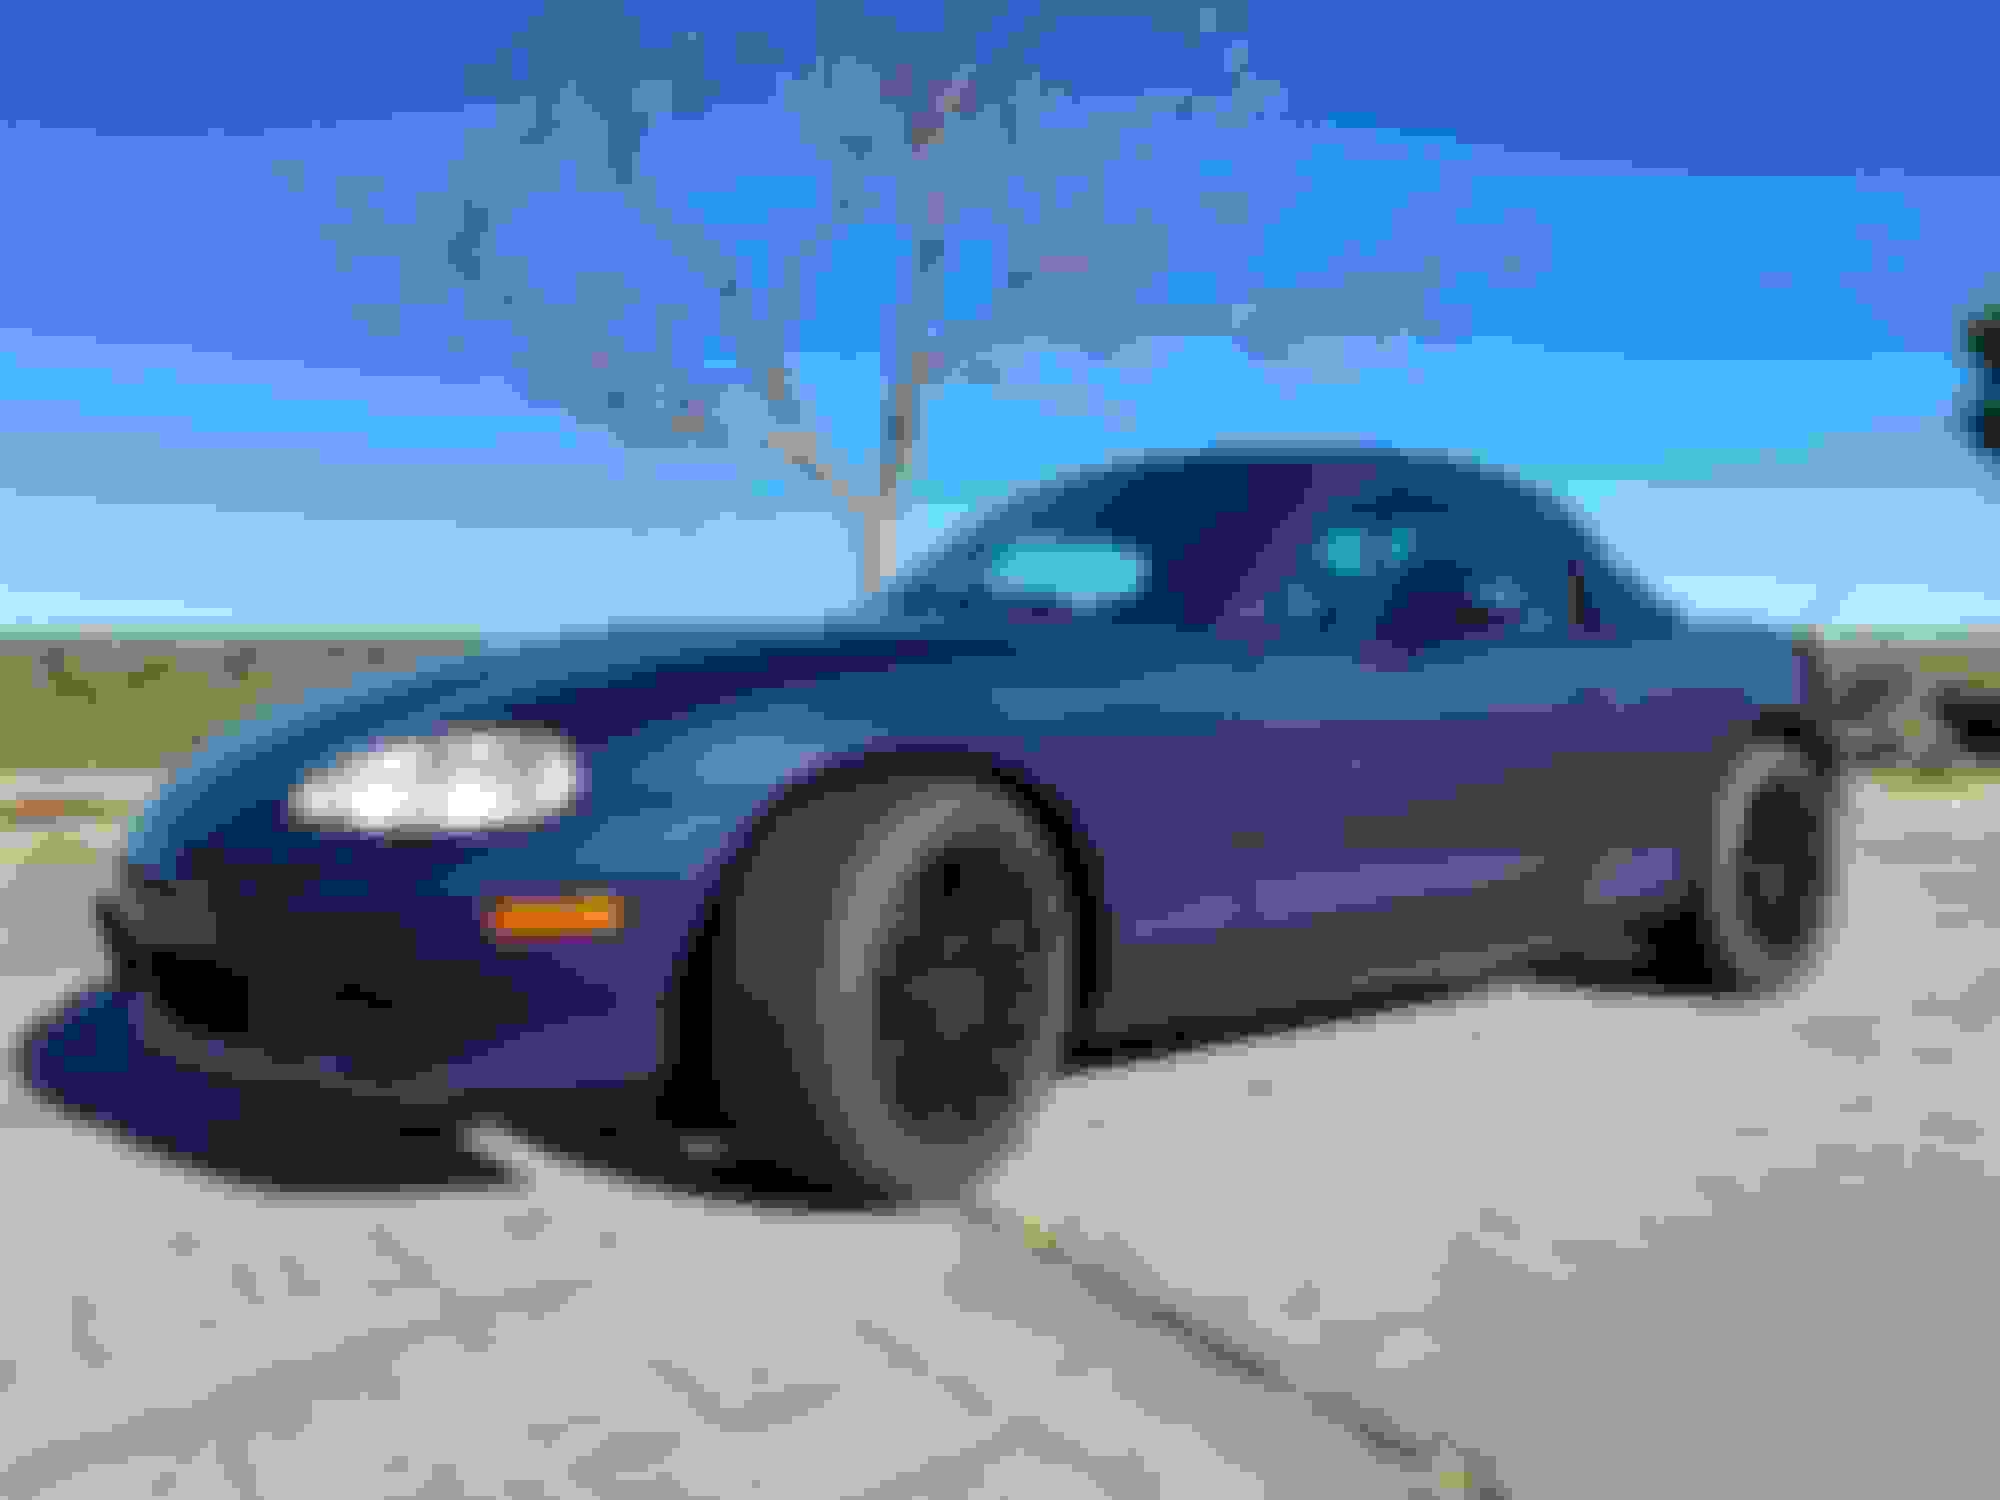
HANDLING & BRAKES
As far as suspensions go, I decided to keep the FM Stage 2 kit. I initially bought it with the intent of having a streetable Miata but the setup is pretty well matched to my current skills and I don�t feel like it�s limiting me. New suspensions may very well be the next big upgrade. Swapping the OEM brake calipers was another thing I could have avoided, I�ve been struggling with adjusting the e-brake since.
Koni Sport (yellow) shocks w/ FM springs (318 Front / 233 Rear).
FM 1�� front solid sway bar and stock rear sway bar.
Supermiata adjustable endlinks. FM strut bar.
Powerstop remanufactured brake calipers w/ TechnaFit SS brake lines.
Konig Dial-in 15x8 +25 wheels.
APR long wheel studs w/ open ended lug nuts.
CONSUMABLES
Tires: Continental ExtremeContact Sport 205/50/15 Brake rotors: Centric premium Brake pads: Hawk DTC60 front, Hawk DTC40 rear Brake fluid: Motul RBF 600 Engine oil: Valvoline 10W-30. Will replace with Amsoil Premium 10W-40 (high Zinc content). Engine filter: K&N HP-1008 Transmission: RedLine MT-90. Will replace with Amsoil Transmission oil 75W-90. Differential: RedLine Gear Oil 75W-90. Will replace with Amsoil Severe Gear 75W-90.
WHAT'S NEXT
So far I've been pretty happy with the setup. The next step will be to perform a full suspension components overhaul: bushings, bearings and hubs.
SUSPENSION COMPONENTS REBUILD
I had a month to get the car ready before a track event.
The rebuild took a few weeks to complete. Results were very satisfying.
Here's a list of what was upgraded:
Mazda Motorsport front hubs
MiataHubs billet rear hubs
A1 Ground Control Nylatron control arm bushings
V8Roadster front upper ball joints
ProForged front lower ball joints
ProForged outer tie rods
Mazda OEM inner tie rods
Mazda OEM alignment bolts
Mazda OEM axle nuts (front, rear)
A new alignment was set as close as possible to the Supermiata Race alignment (w/o ELBJs). Note to self: having a Mazda Motorsports account is a huge plus.
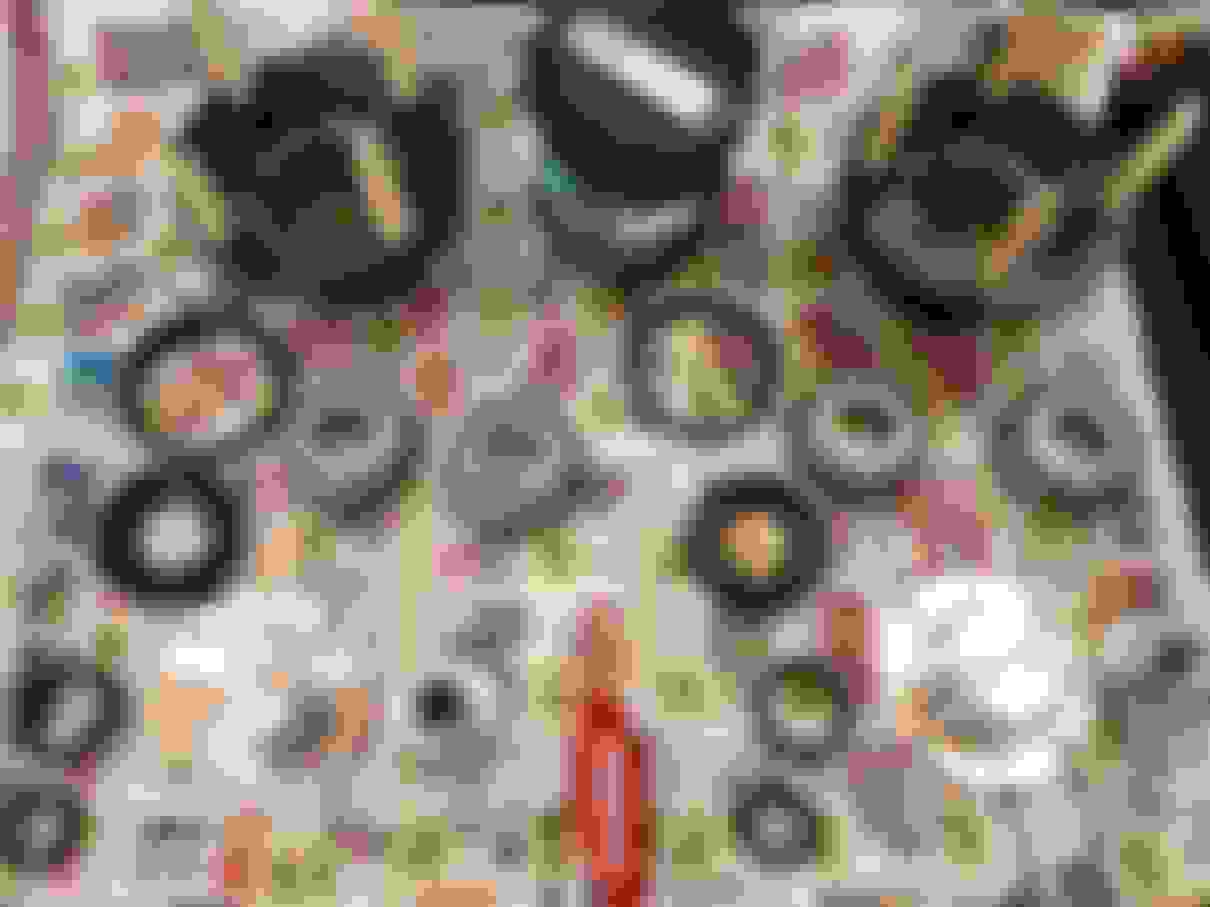
Started the work by removing suspensions, hubs and take the control arms out. Lots of 20 year old dirt...
Definitely I can't go back now.
Next, it was time to get the old rubber bushings out. I was surprised they didn't look bad at all, maybe a sign that the car hadn't been driven hard at all.
Shout-out to TheCarPassionChannel for his video on removing bushings with a puller. This job took quite a while, but was easy enough.
The control arms as they came off.
One by one, they were sanded down to bare metal, to remove as much rust as possible, and repainted. This job was miserable.
Initially I had considered using Steel-It to repaint the arms. I opted for Rustoleum Professional instead... cheaper, although maybe not as scratch resistant?
After letting the paint dry for a few days, it was time for the new bushings to go in. A dab of DayLube and a vice made the process a breeze.
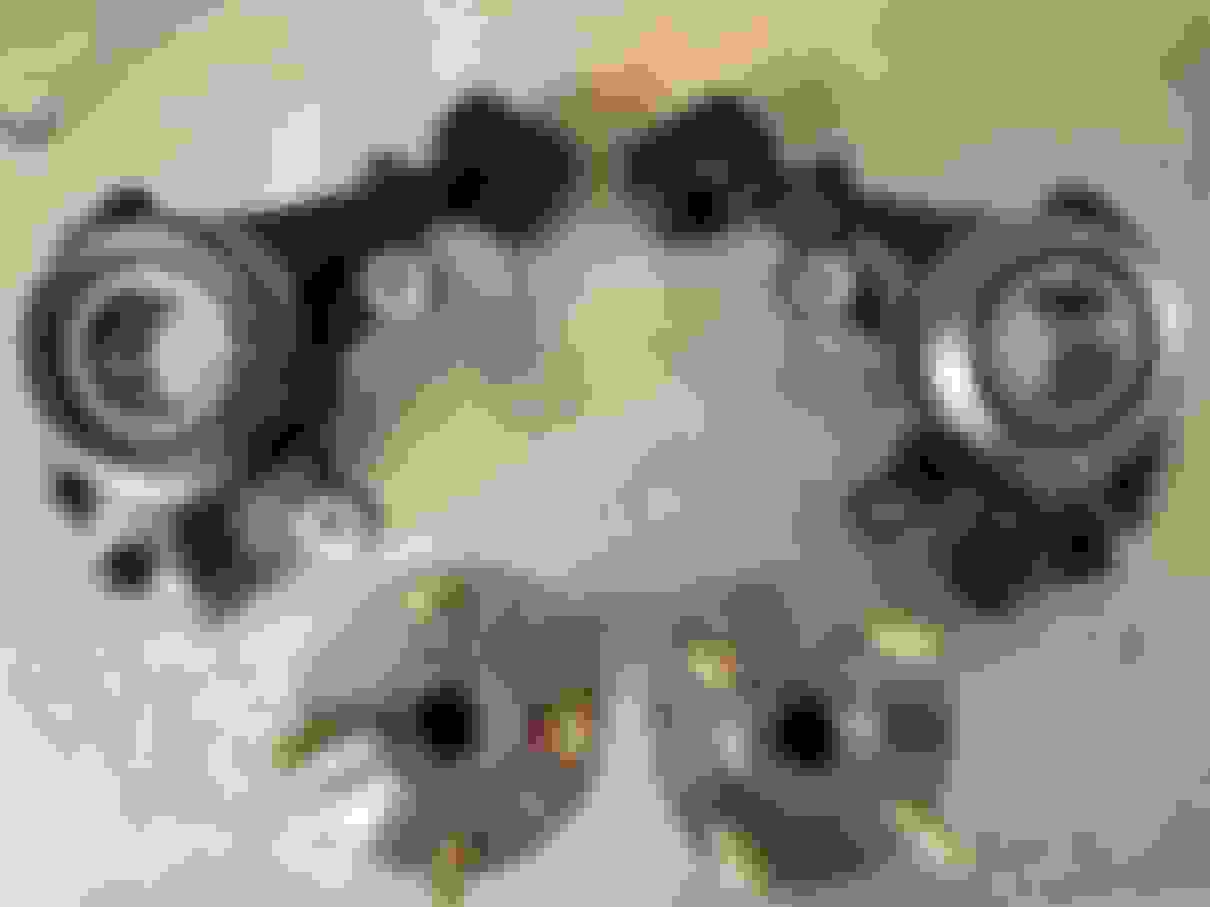
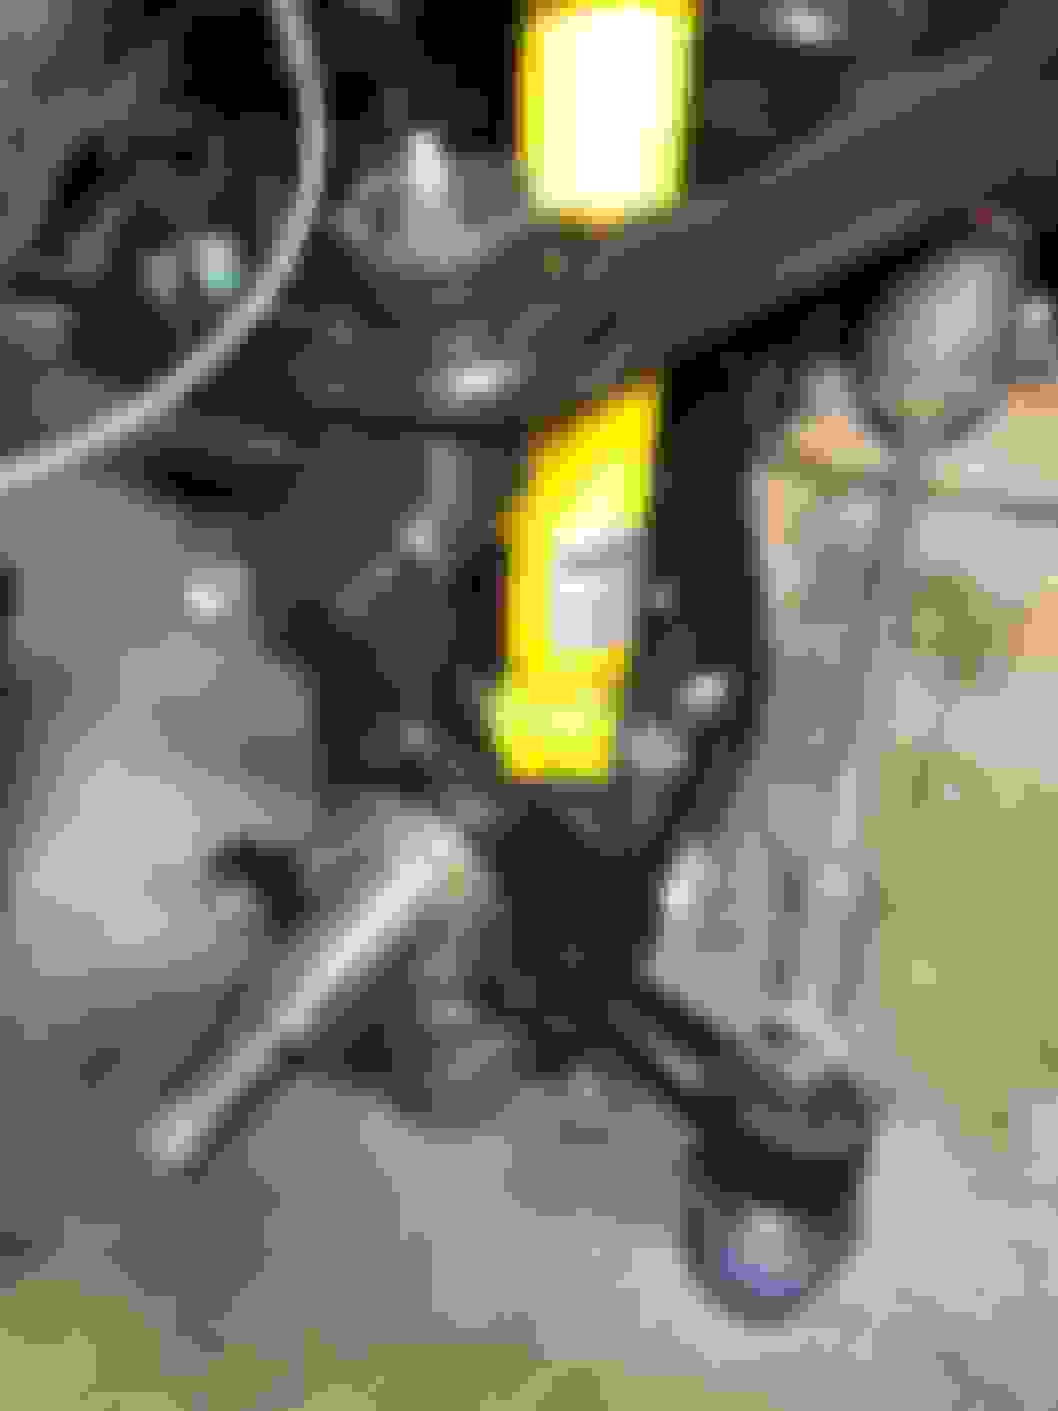
Now it was time to deal with the hub knuckles. During the process, I removed the rear brake shields (because racecar) while I kept the front ones.
Rear knuckles before.
Rear knuckles repainted. Installed MiataHubs rear hubs, new Mazda OEM bearings and seals.
It was great dealing with the folks at MiataHubs. They really came to rescue with fast shipping when the time to get the car ready was running out.
While at it, I also ground down some rust on the rear axles.
Everything was now back together.
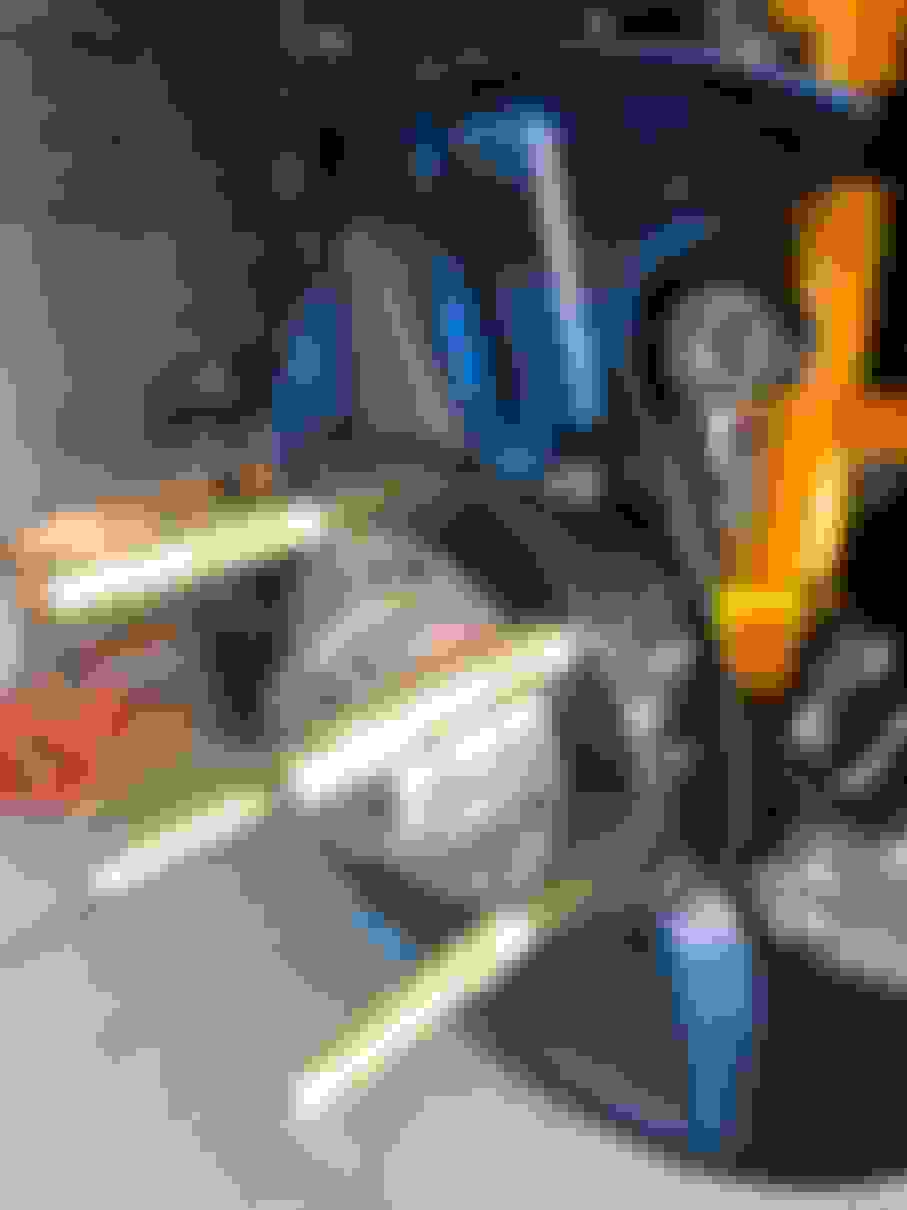
After the rear had been completed it was time to tackle the front, with new ProForged and Mazda hardware.
Fun fact: I had to order the inner tie rods twice... yes, NB ones are tapered differently than NA
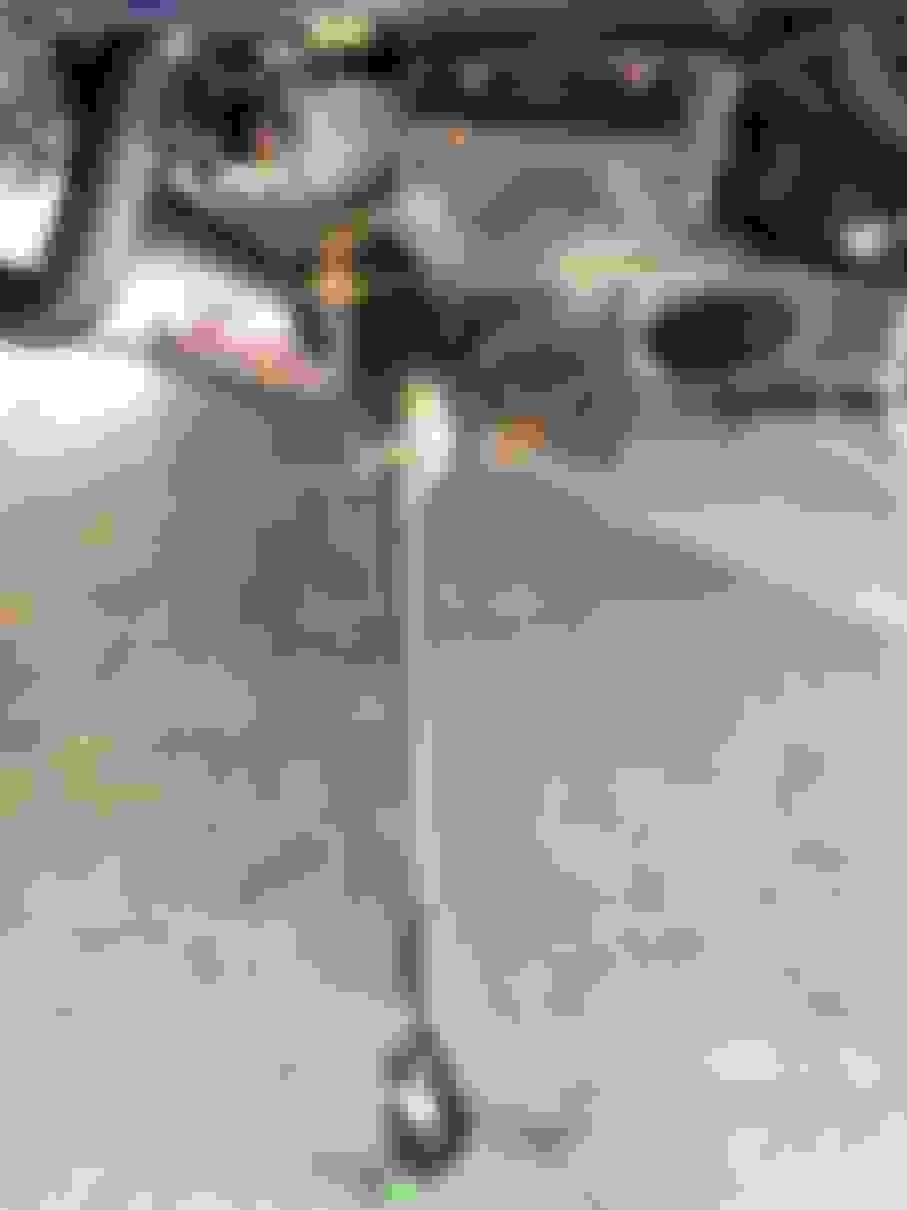
Packing the big boys.
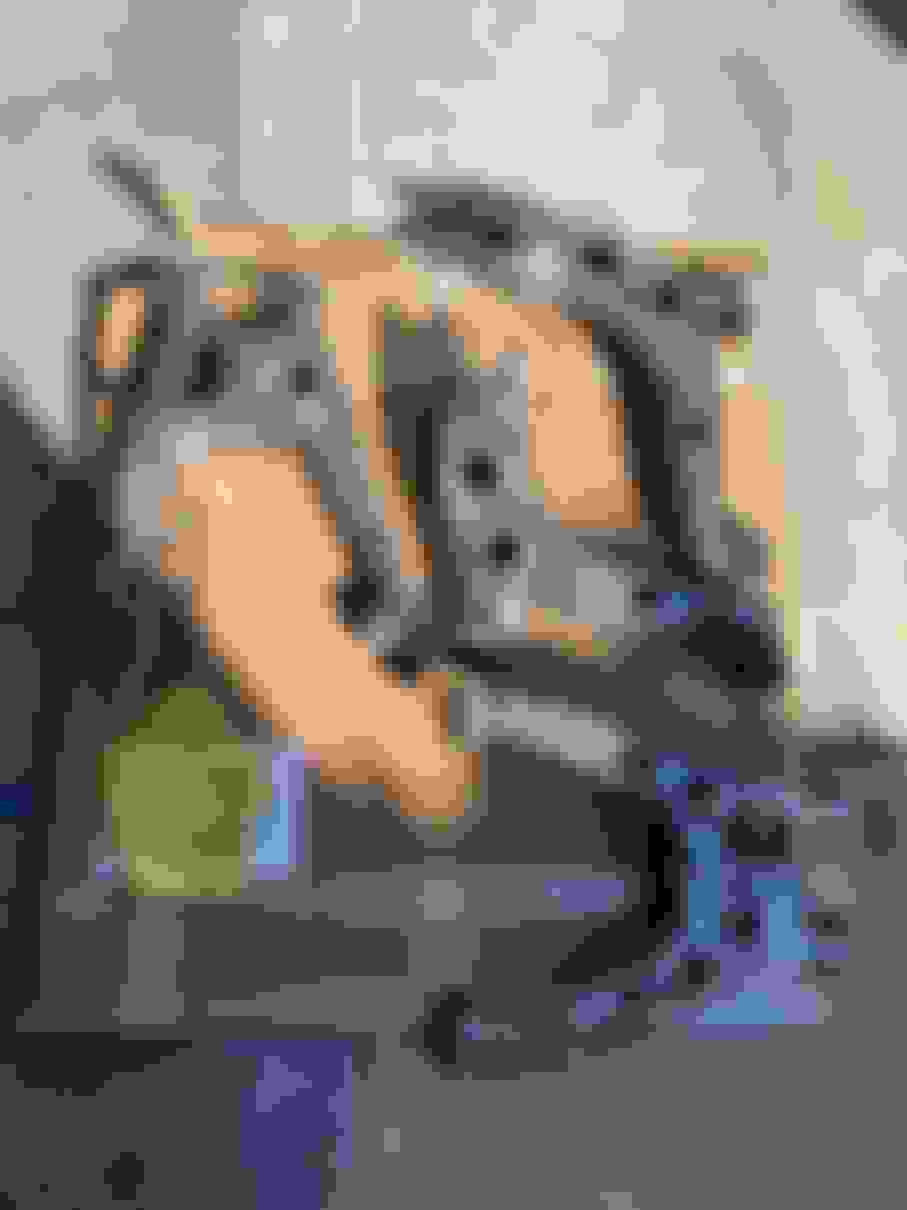
A close-capture of the refreshed front assembly: inner/outer tie rods, UBJs, LBJs, repainted arms and polished knuckles.
And the final assembly
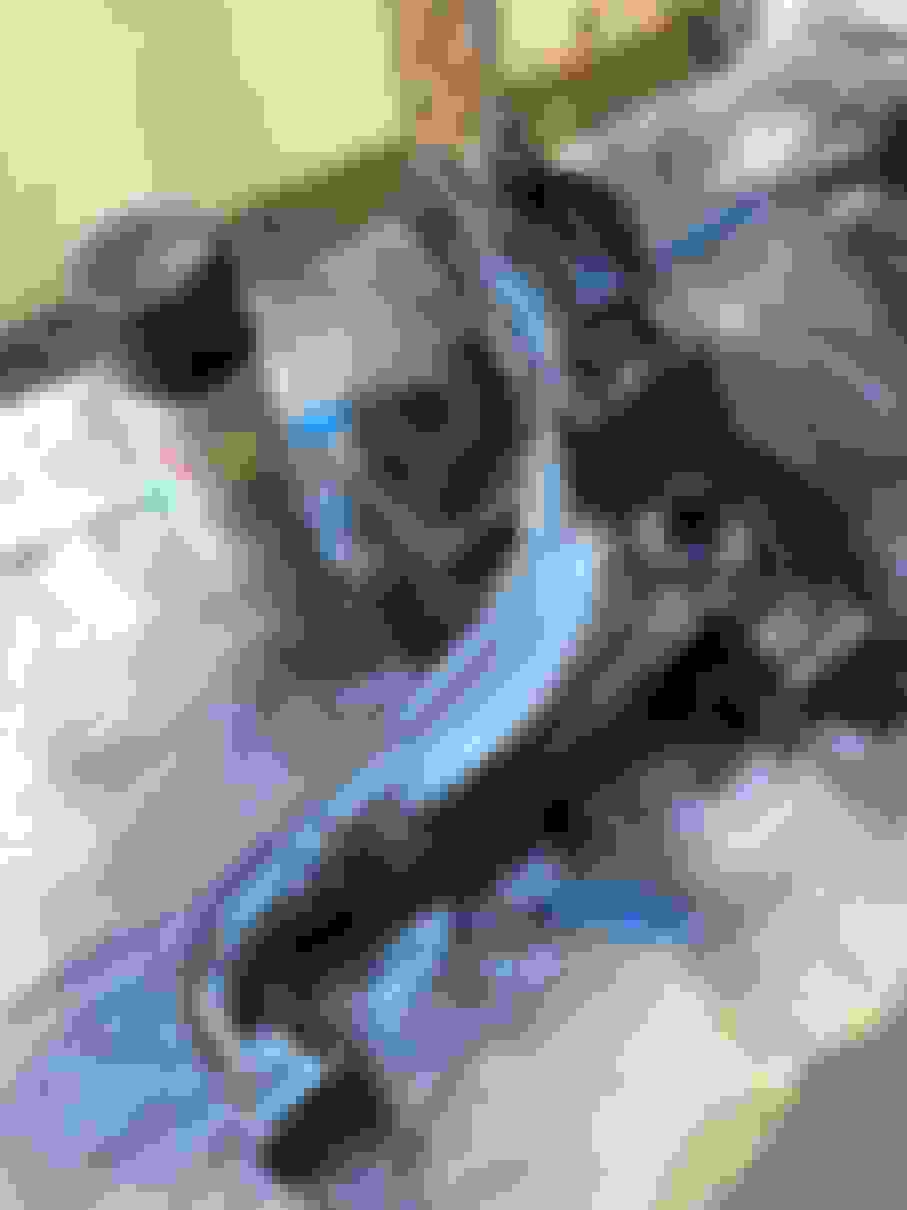
BONUS CONTENT: STEERING RACK DEPOWER
Yes, I wanted to feel the 1980s vibe and remove the power steering system. So while the car was on Quickjacks, @Twibs415 operated on the steering rack.
Lastly, I added new Poly bushings and put the rack back in. Now when I steer the car, I can build biceps instead of blowdrying my hair.
WHAT'S NEXT
Next update will deal with installing new motor mounts and swapping the ACT 6-puck friction plate for the ACT organic one, to make my life easier when driving to and from the track.
CLUTCH FRICTION PLATE SWAP & MOTOR MOUNTS
Let's start with saying that the ACT 6-puck clutch friction plate feels great when shifting at the track. Even with stock-ish power.
The problem was... I have to get to the track (and make it back); driving on the streets the 6-puck was quite painful.
So I decided to downgrade the friction plate to the ACT Organic one for streetability.
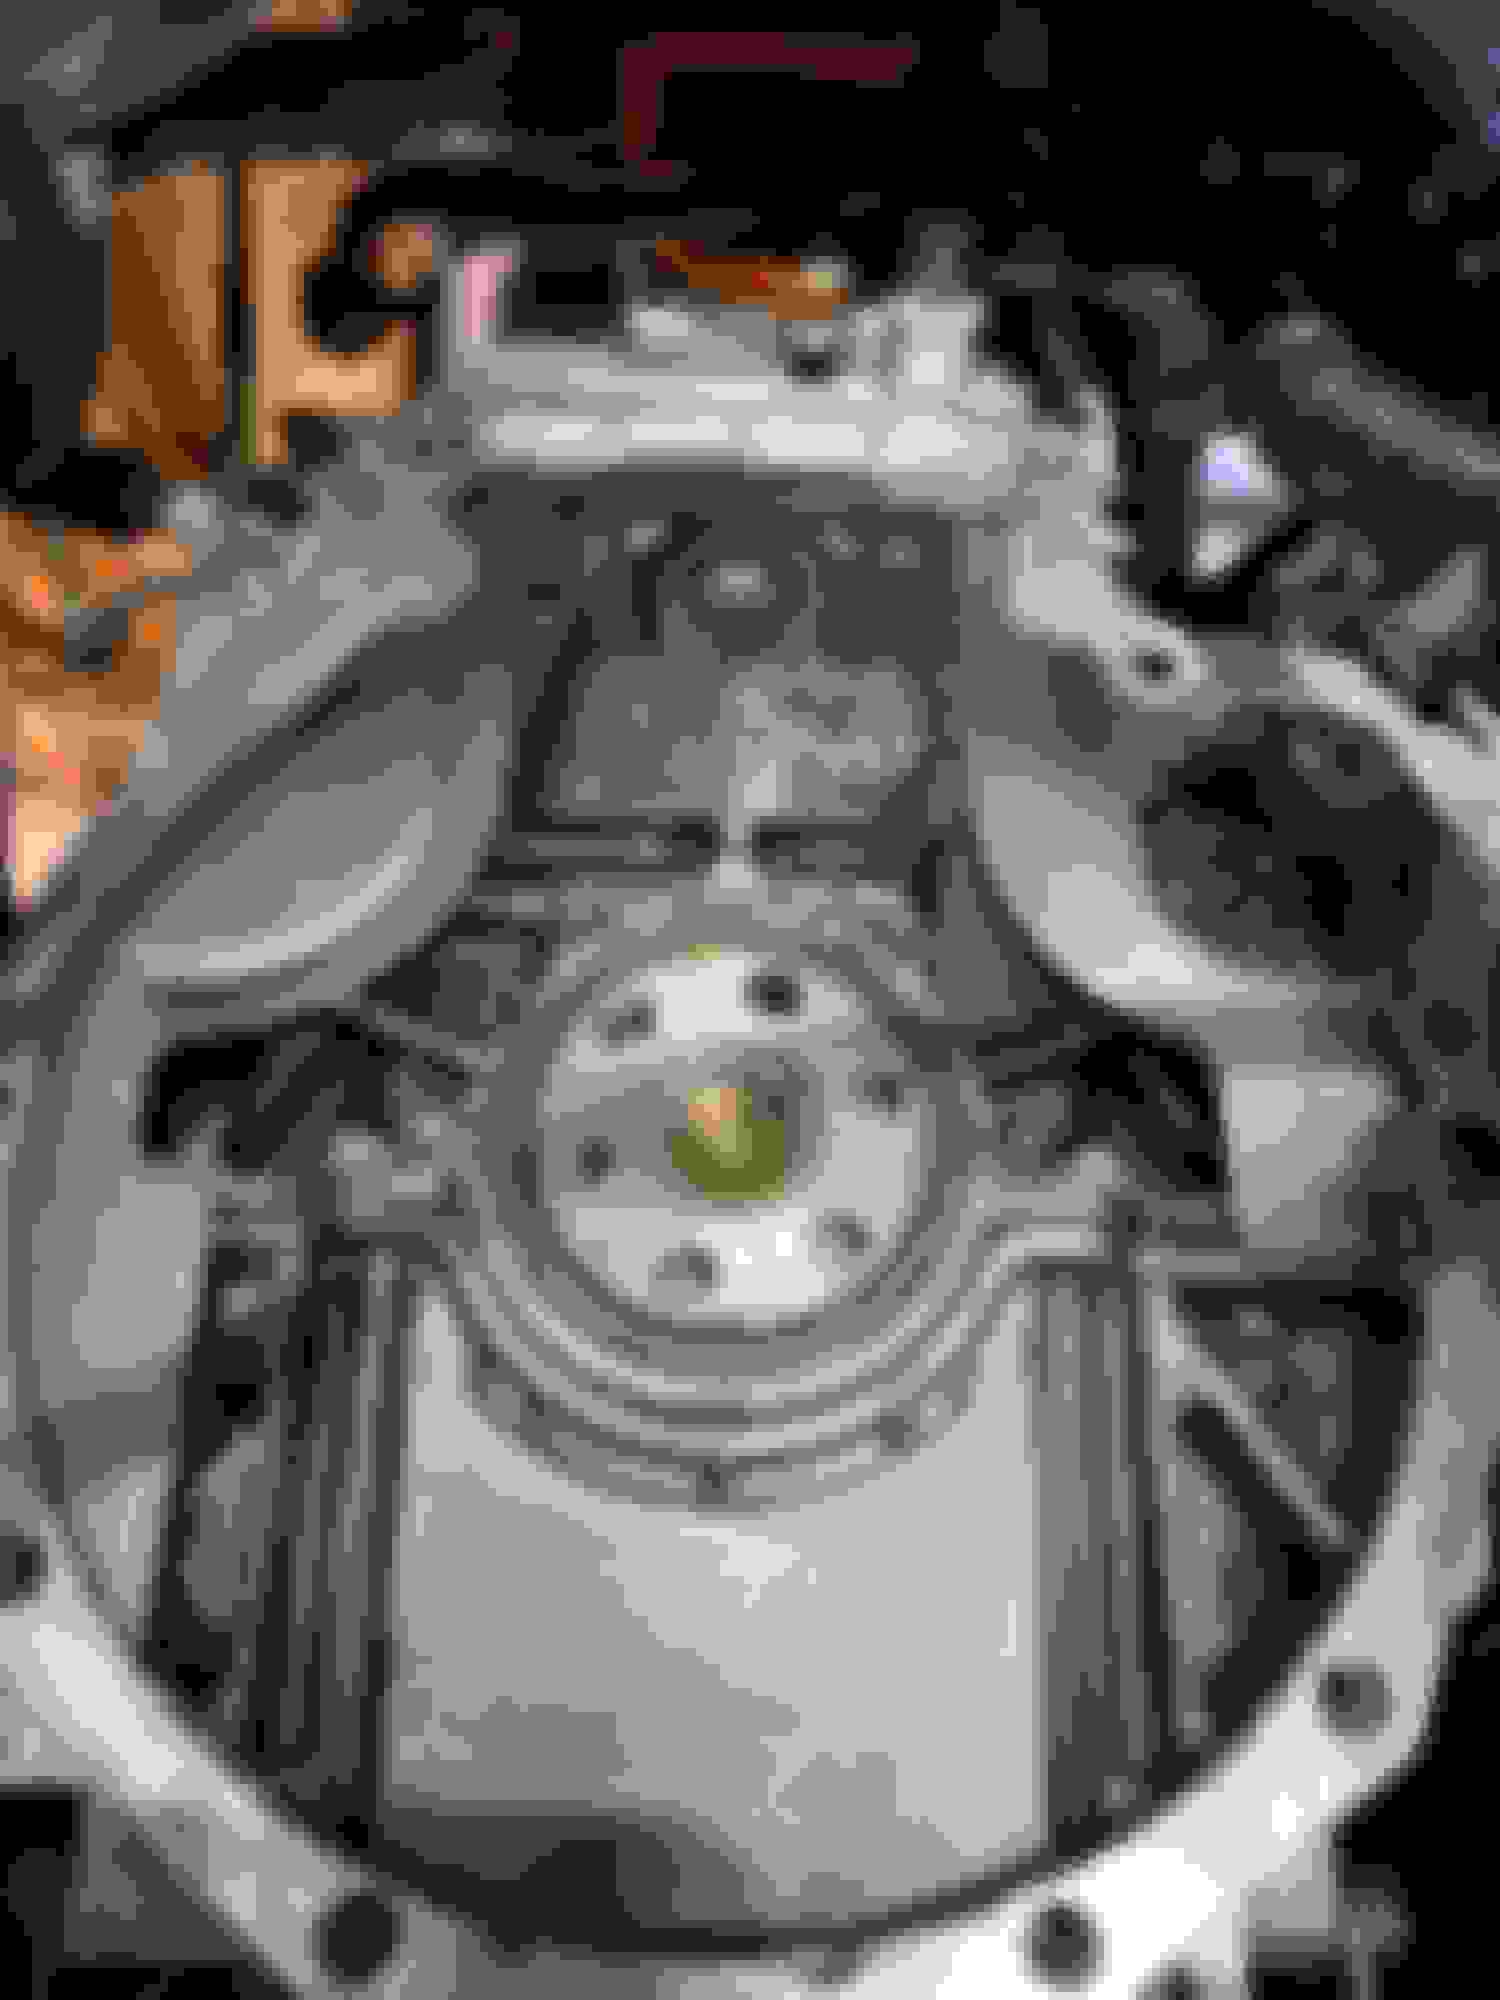
Removing the transmission is my least favorite job, as I do it by myself on Quickjacks. After removing the unit, I was left with a greasy surprise.
Leaking RMS is always fun. - Nobody
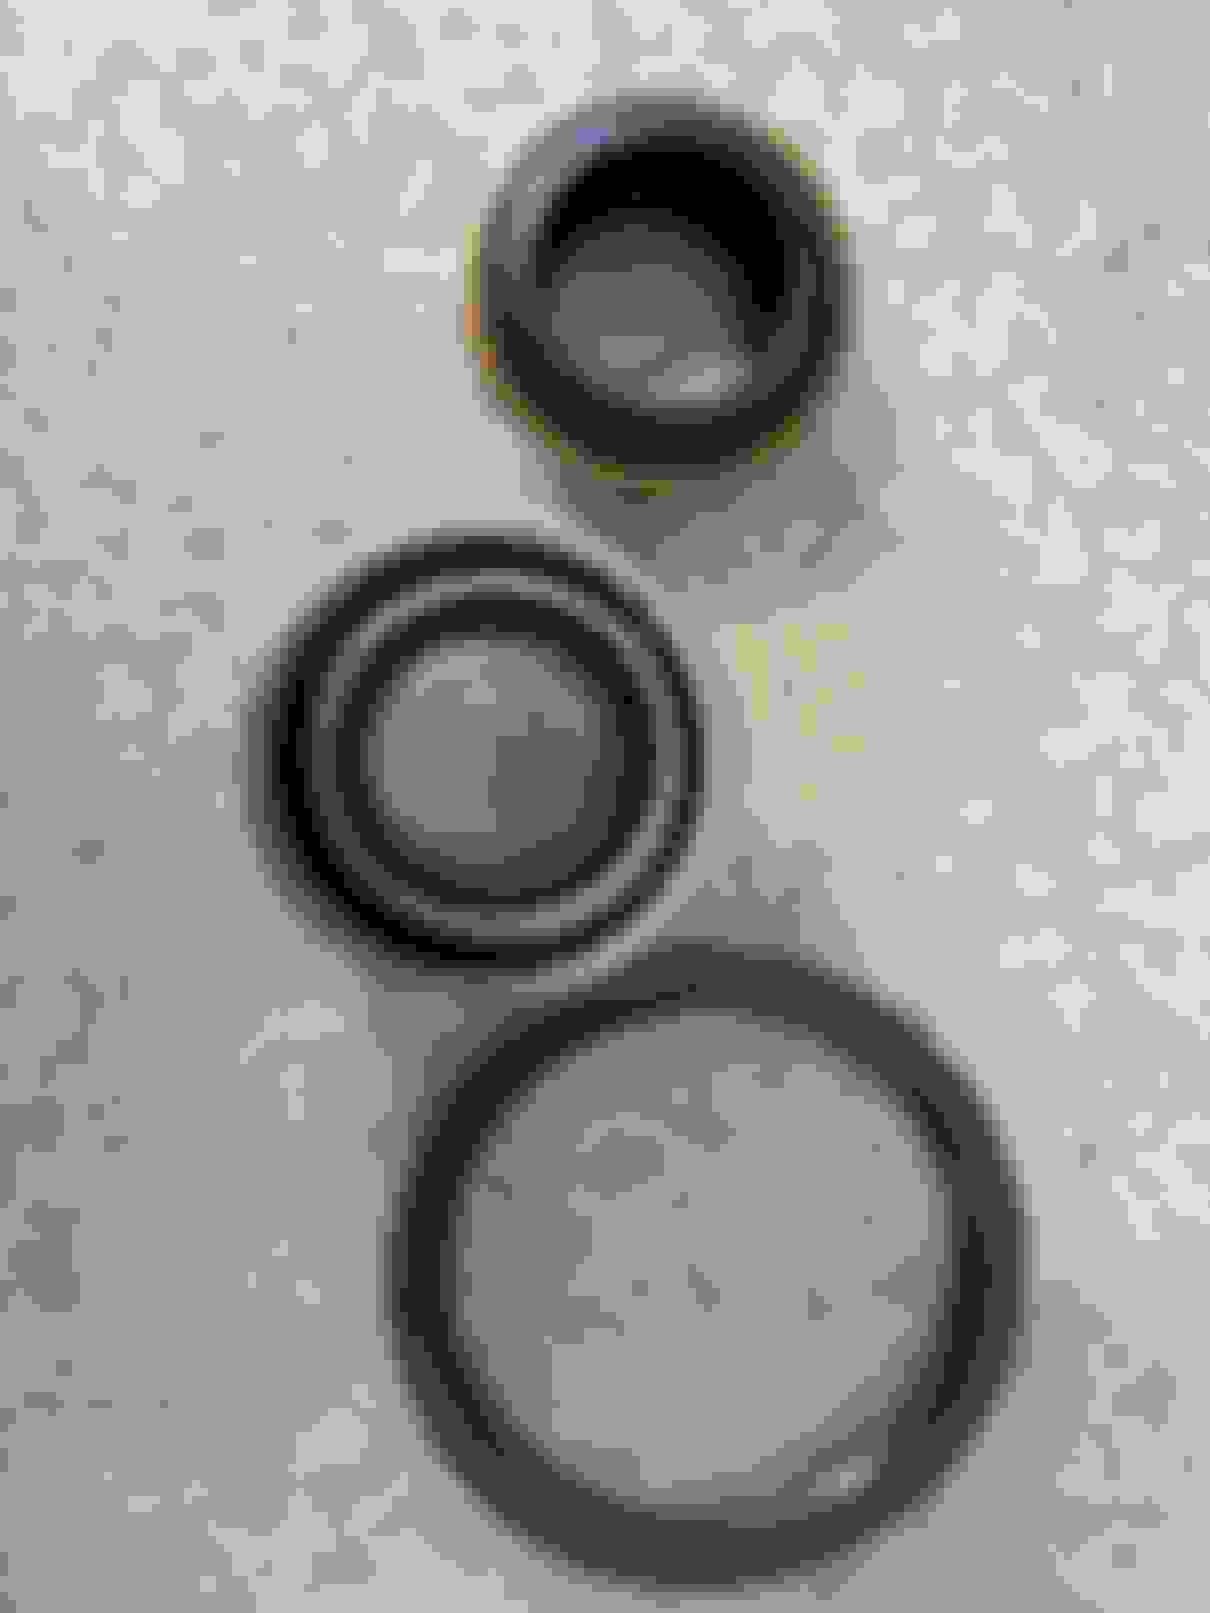
New seals and throwout bearing ready to go in. The pilot bearing was still good, as the full clutch system was installed new when the engine was rebuilt.
Cleaning 20 years of grime.
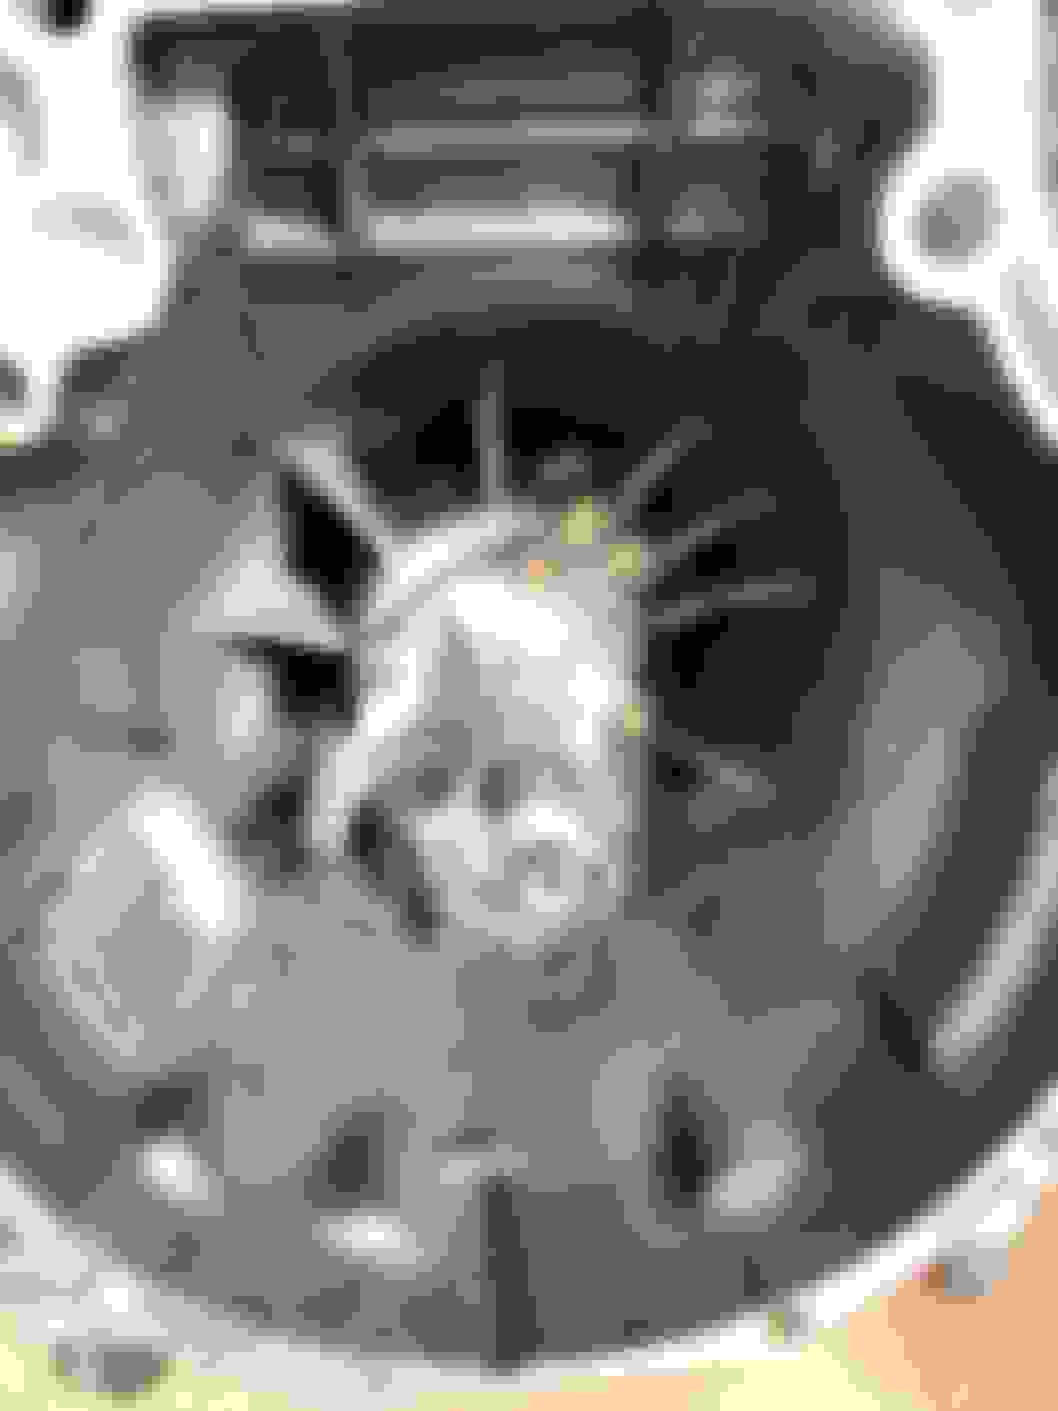
Before...
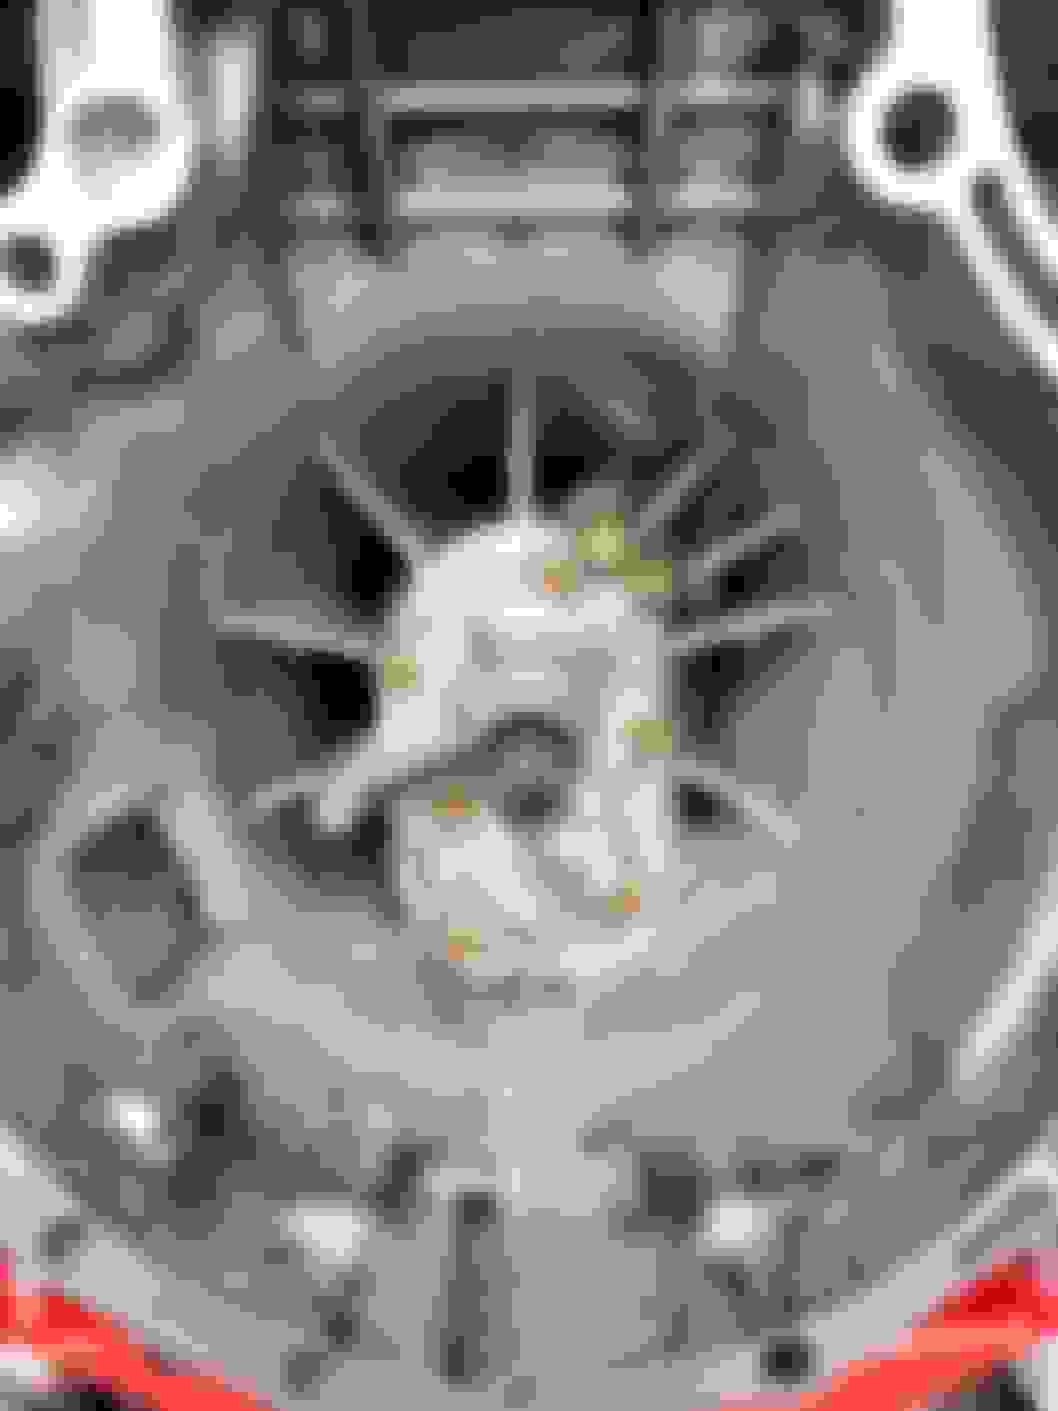
After...
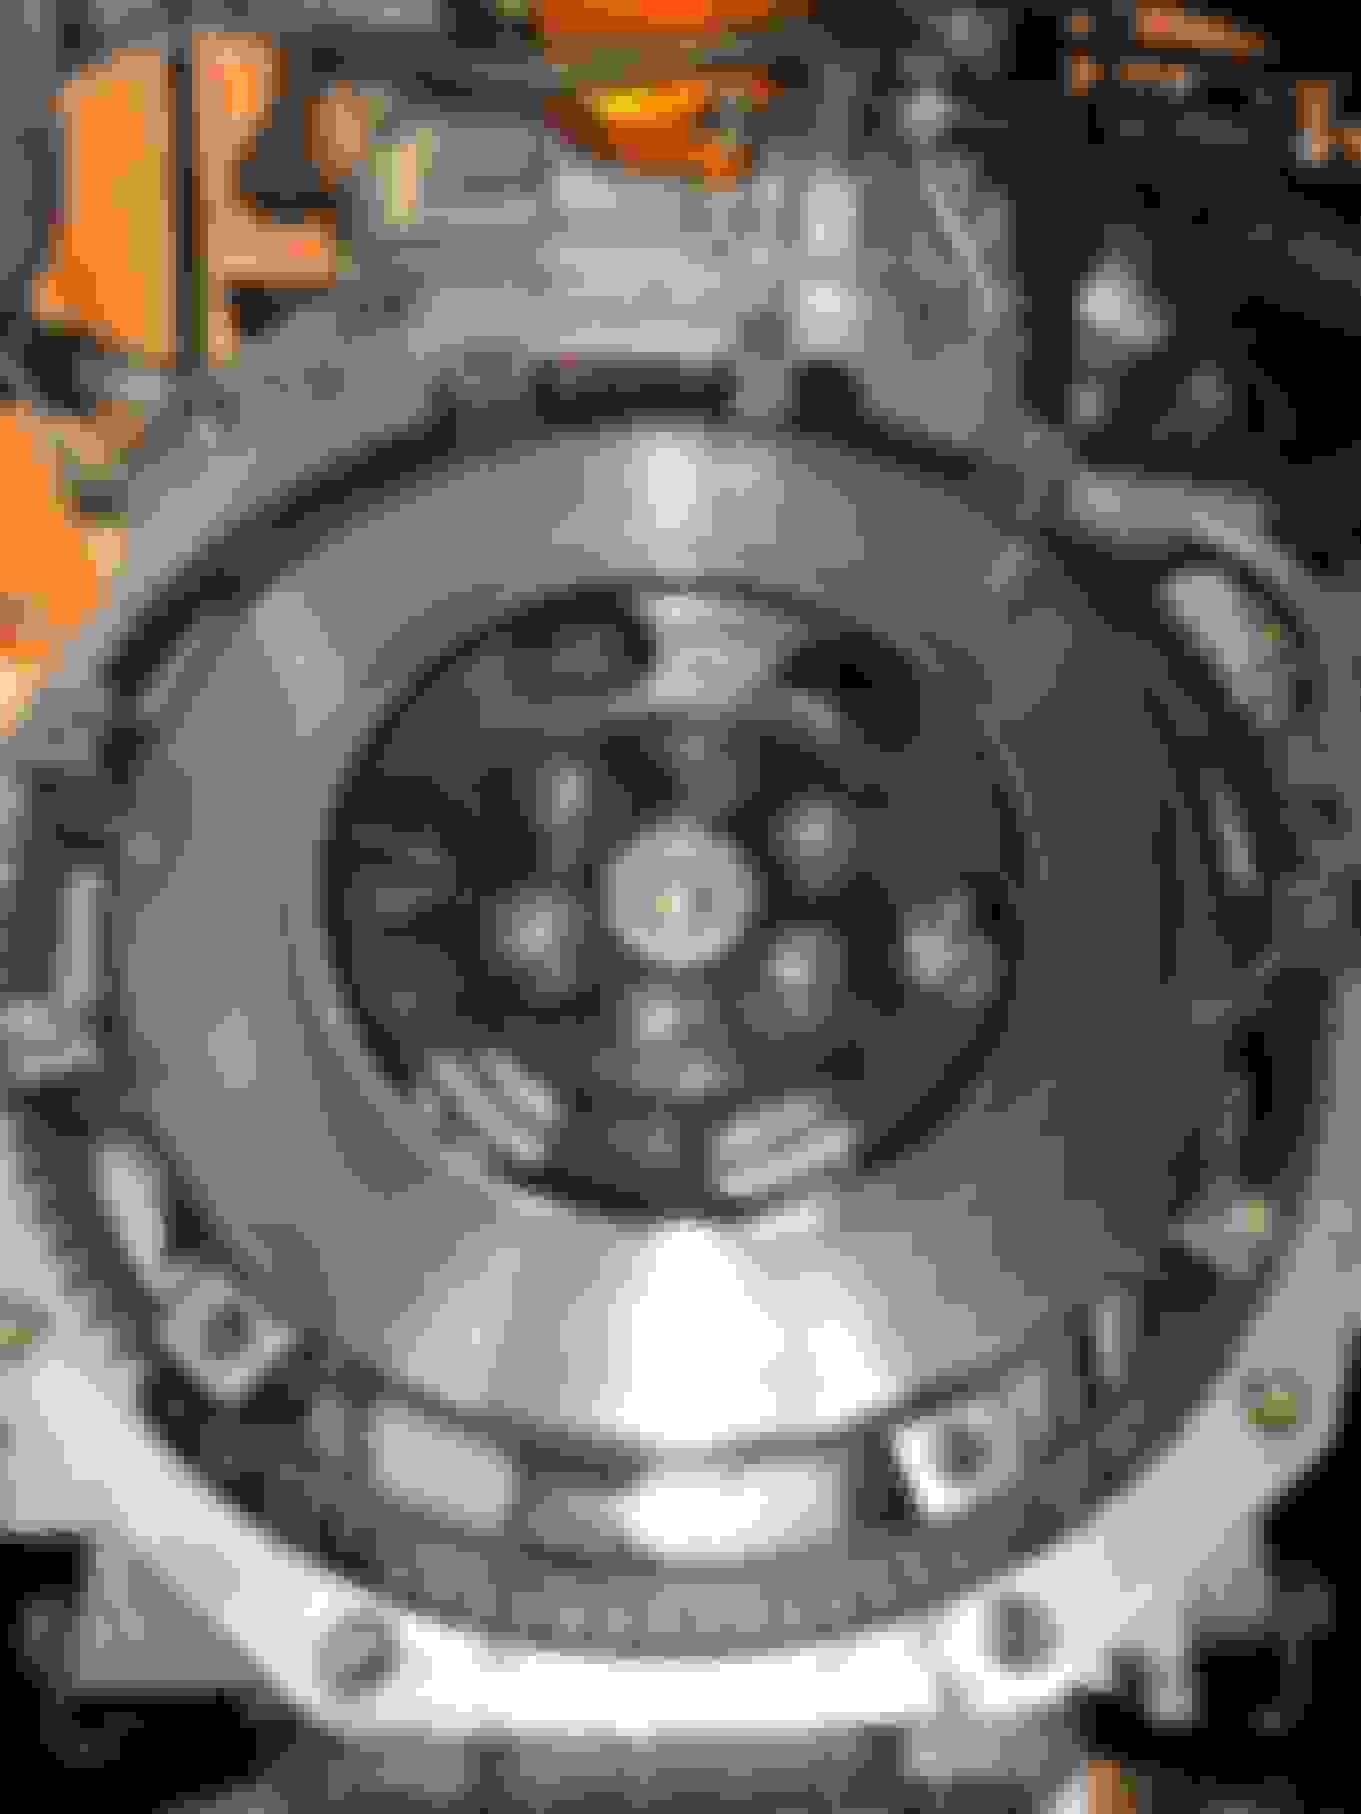
Finally reassembling everything. And yes, had to realign the friction plate as the transmission wouldn't go in the first time.
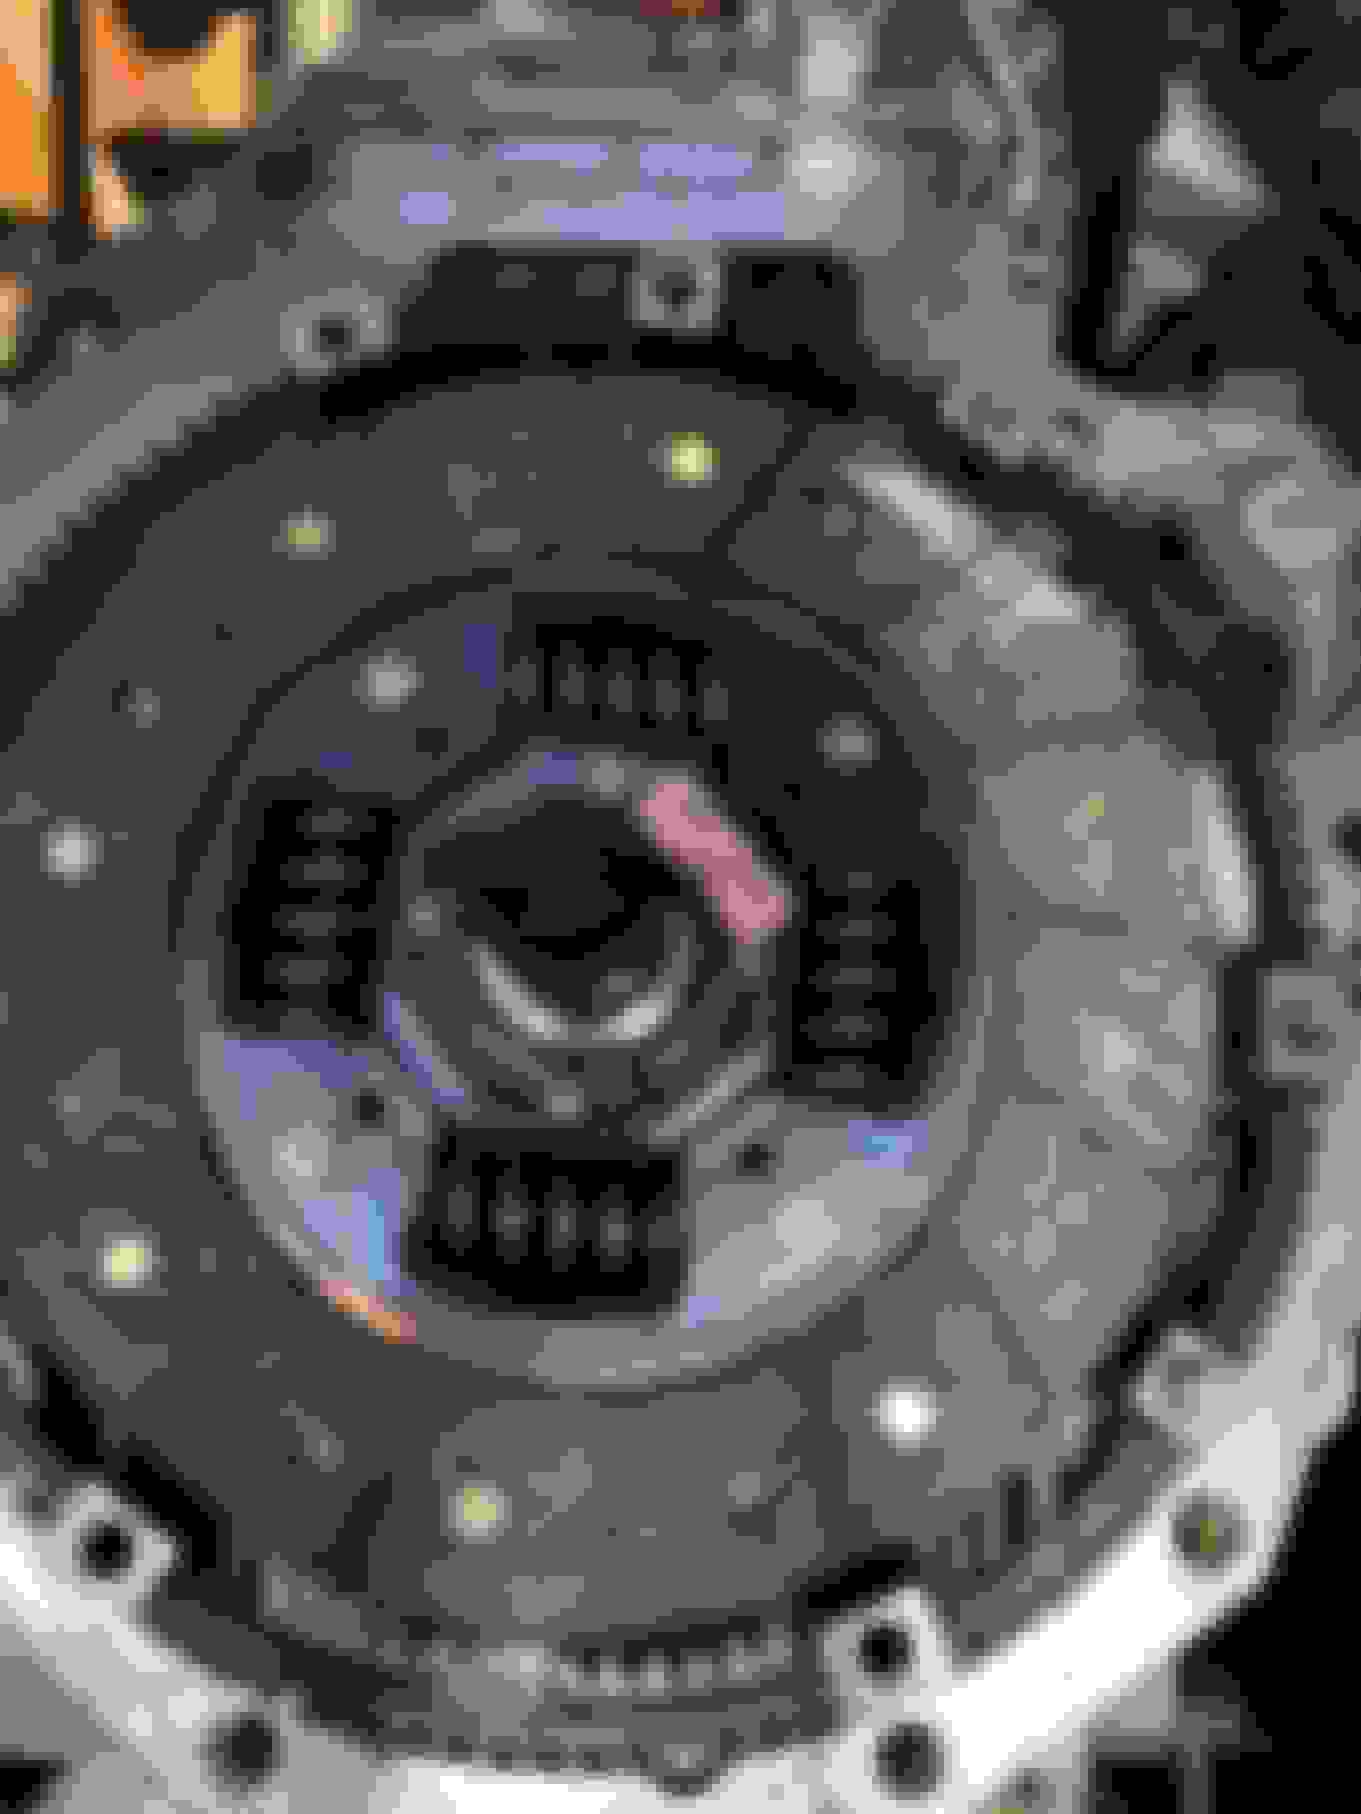
ACT Flywheel and Organic friction plate.
One man jobs require hacky solutions: a strap holds the end of the transmission while I align the shaft to the engine.
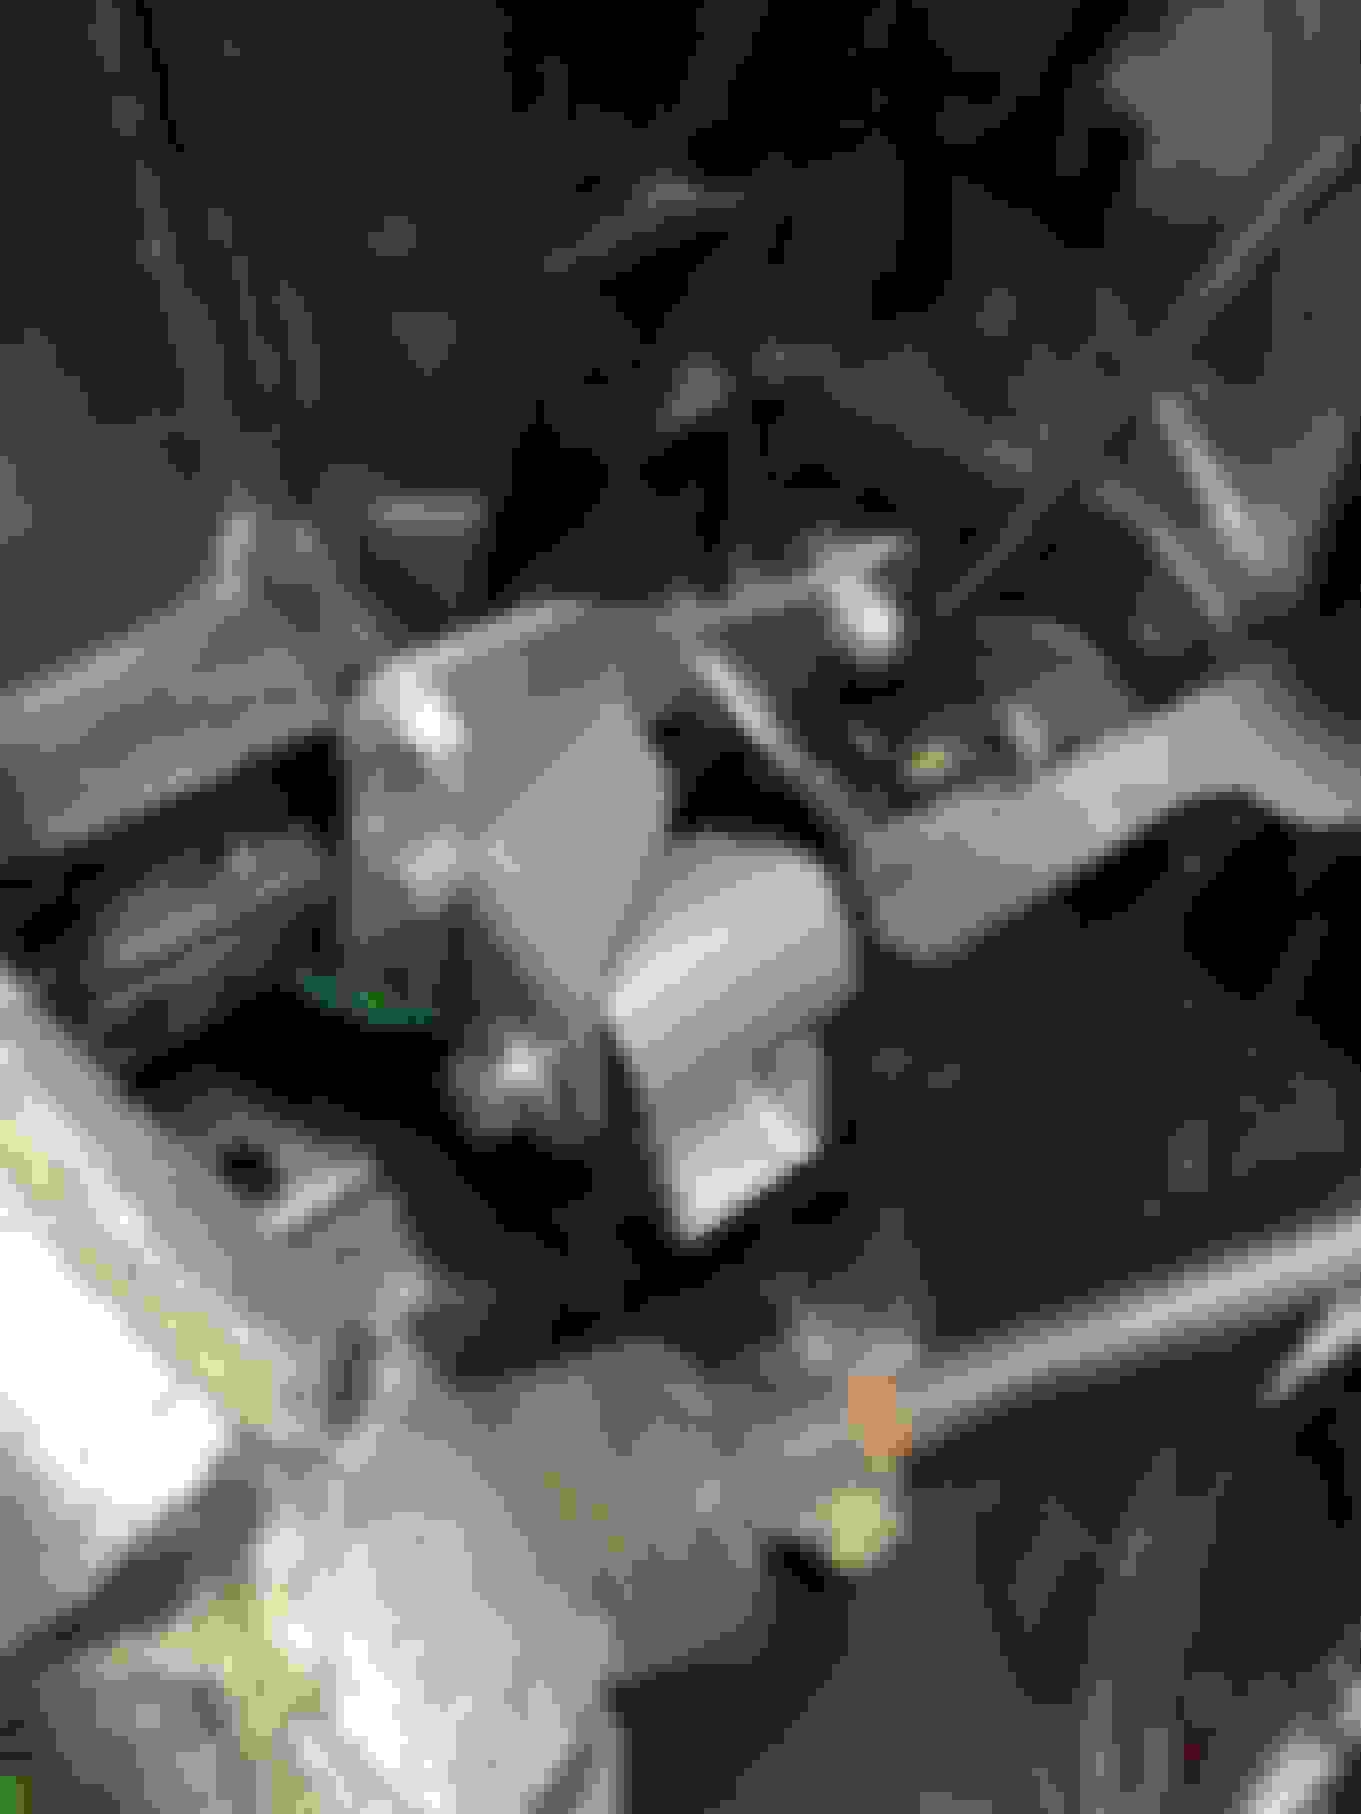
Next, I opted to swap the Mazdasport motor mounts with AWR 70A lowered ones. Let me say these mounts are SOLID and I like the tighter feel of the car. In my opinion, NVH isn't very noticeable; only at idle you can feel slightly more vibrations.
Installation was... hard. The biggest problem I had was to align the engine to the first mount (passenger side), so that second could go in. It took me literally hours of fighting a wiggly engine.
Pictured, the infamous driver's side motor mount. If you have an NB2 and have ever replaced your mounts, you know what I mean.
WHAT'S NEXT
We'll rebuild the rear brake calipers and replace them.


 1
1