When you click on links to various merchants on this site and make a purchase, this can result in this site earning a commission. Affiliate programs and affiliations include, but are not limited to, the eBay Partner Network.
The issue I potentially see with the stock miata one is that it puts out a sawtooth and afaik the KPro wants a square wave.
I found an old Facebook comment where a guy said he wired his VSS on the KPro to the green w/ red stripe wire on his NB2 harness and set ppm to 4000 and filtering to 0 and that worked? So I need to find what exactly that wire is and find the corresponding one for my NB1.
I think I have gotten to the bottom of the knocking issue, and now I am almost positive that it's false knock. The only downside is that I realized it has been changing timing when knocking so I need to either disable the sensor or set the knock ignition tables to 0.
Basically, I have two maps that I made using what my tuner sent me and what I had already. Same fuel and cam angles and whatnot, but one has the timing retarded by 5-6 degrees where I was getting knock. (The advanced map feels way faster now that I set the cam angle up top to 20 degrees whoowee)
advanced table
sped table
I did a pull on the advanced table and logged some knock, and then I parked on the side of the road and threw on the retarded table tune and immediately did another pull and logged some knock.
advanced tune sped tune
So you can see that when it's "knocking" not only is it pretty rich at 12-13ish AFRs, but even with the timing retarded 4 degrees, it's still showing the exact same knock in the same rev range. Based on these results, I have concluded that it's probably not knocking but since I am paranoid I am going to verify with a stethoscope anyway.
Takes the NB VR speed sensor and produces a 0-5v signal. I must have gotten one of the last 12v versions when I bought mine a few weeks ago; only 5v powered ones are available now. Not a huge deal, but a bit of extra work for some use cases.
Supermiata 863 kit went in up front, install was pretty straightforward since I had already bagged and tagged each bushing assembly. I had one little slip up while cleaning up afterwards as I found a loose sleeve on the ground, turns out it fell out of one of the bushings at some point, so I had to tear apart the lower control arms to reinstall it. Fitment of the bushing assembly in the forward FLCA tabs is really tight. New upper control arms with new ball joints because my old ones are trashed, new Bauer ELBJs, new inner tie rods, new outer tie rods, new camber eccentrics.
(I apologize about the BCs. I ran out of money to address those at the moment, but I hope to have them replaced with something better this year)
And for the hubs?
BroFab of course!
And for the brakes?
BroFab of course!
I know what some of you may be thinking, BroFab doesn't offer any brake kits?
These are apparently word of mouth only, based around the now discontinued Afco F88 caliper, which you can find on closeout along with the rest of the Afco catalog.
From what I understand, Stoptech owns Afco, and Stoptech got purchased some time in the last year or two. Besides (allegedly) lowering the quality on Stoptech products, the new owners elected to kill Afco, so everything Afco is on closeout, which is how I got two brand new calipers for $81/piece and rotors for $29/piece.
The hats and brackets from BroFab were $300 and required 30 seconds of die grinder action on the uprights to get the calipers to fit. I elected to buy pre-drilled bolt for the rotor hardware and use safety wire, which ran me about $40. Brand new PFC 11 pads in the 7420 size were $200 for the front axle, and these pads are super duper thick and should last me forever. Lines were about $70.
So if my mental math is close, that's about $800 for a GINORMOUS front brake kit.
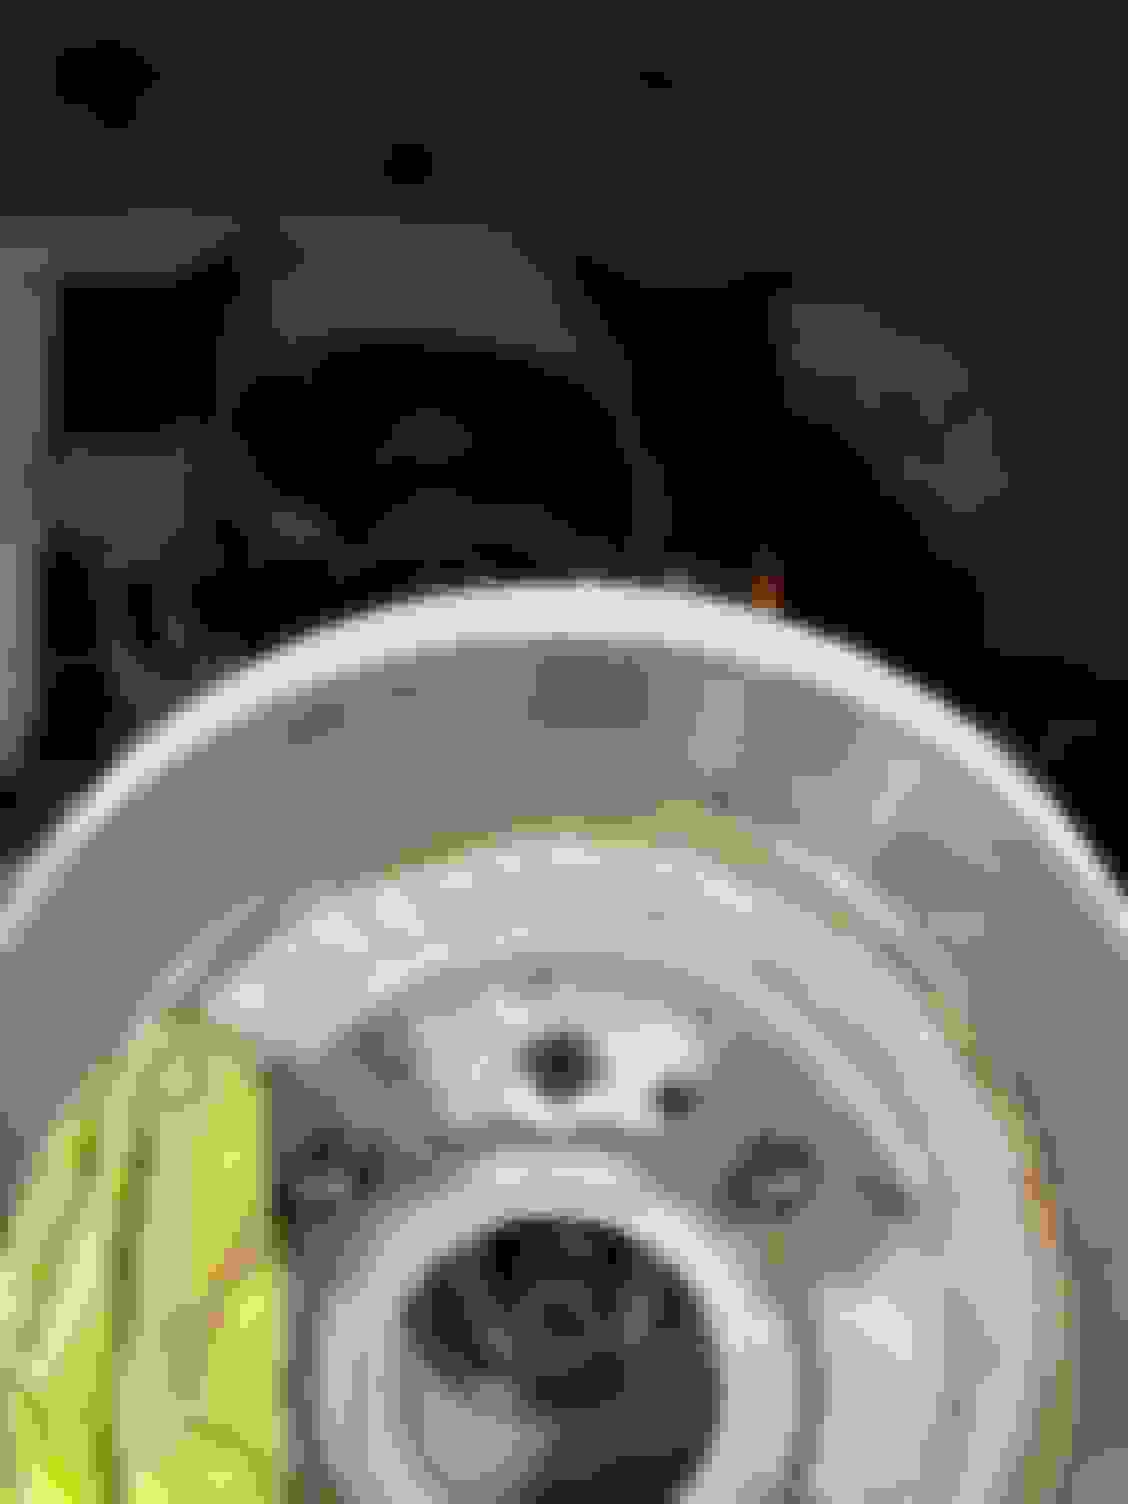
How ginormous? Here's my stock rotor for comparison.
Try 1.25" thick rotors.
I am actually slightly concerned that I have too much brake and not enough power to get heat into them.
I'll keep it short, but I am balancing the front brakes out with the GWR sport rear rotor bracket so that I can keep using my non-sport 1.8 pads. I have a proportioning **** to install as well.
I'll talk more about the rear hubs once I have those installed. I am about 40% of the way done with the rear 863 kit.
will be interested in hearing feedback as I'm essentially using the same exact braking setup as you only with Gloc R12/R10 pads... well, that and I bought my Afco SUPER BIGLY brake kit from Jeff @ Jerfspeed.
I will say Ed, I am slightly skeptical of your spring rate recommendation. Would your suggestion change at all if I said I was not going to be running RT660s all the time and would probably run an RS4 when I am not competing? 1200/600 seems like a lot.
Did I recommend that in an email exchange? If so, bump it for me and I'll review.
1200/600 is a lot but I don't remember what the full setup of the car is.
that's rates for aero + lots of grip + a car that's a bit on the heavy side, but I only see a BBFW spoiler on the car so that doesn't add up.
If you prefer to do it here that's fine too. Need the following info:
-weight with driver
-Tire brand model size (245 RT660?)
-Wheel size
-Aero mods if any
-Purpose of car
That last one is really crucial. It's super common for people to say "I compete on wide sticky super 200s but I daily drive on 15x8s and 205 neo gens, and I want the suspension to work with both." There's no setup in existence that will work perfectly with both of those setups. You need to pick the circumstance that's *most important* to you and optimize for that.
Just recognize that if you optimize for comfort it'll still handle better than you'd expect due to the digressive valving and low friction/high sensitivity dampers, and if you optimize for limit handling it'll still ride better than you'd expect. But choosing something in the middle just means it's never optimized for anything.
-Class weight is 2550 with driver, I probably will have to ballast up a little but not much.
-245 RT660, probably RS4 most of the time otherwise.
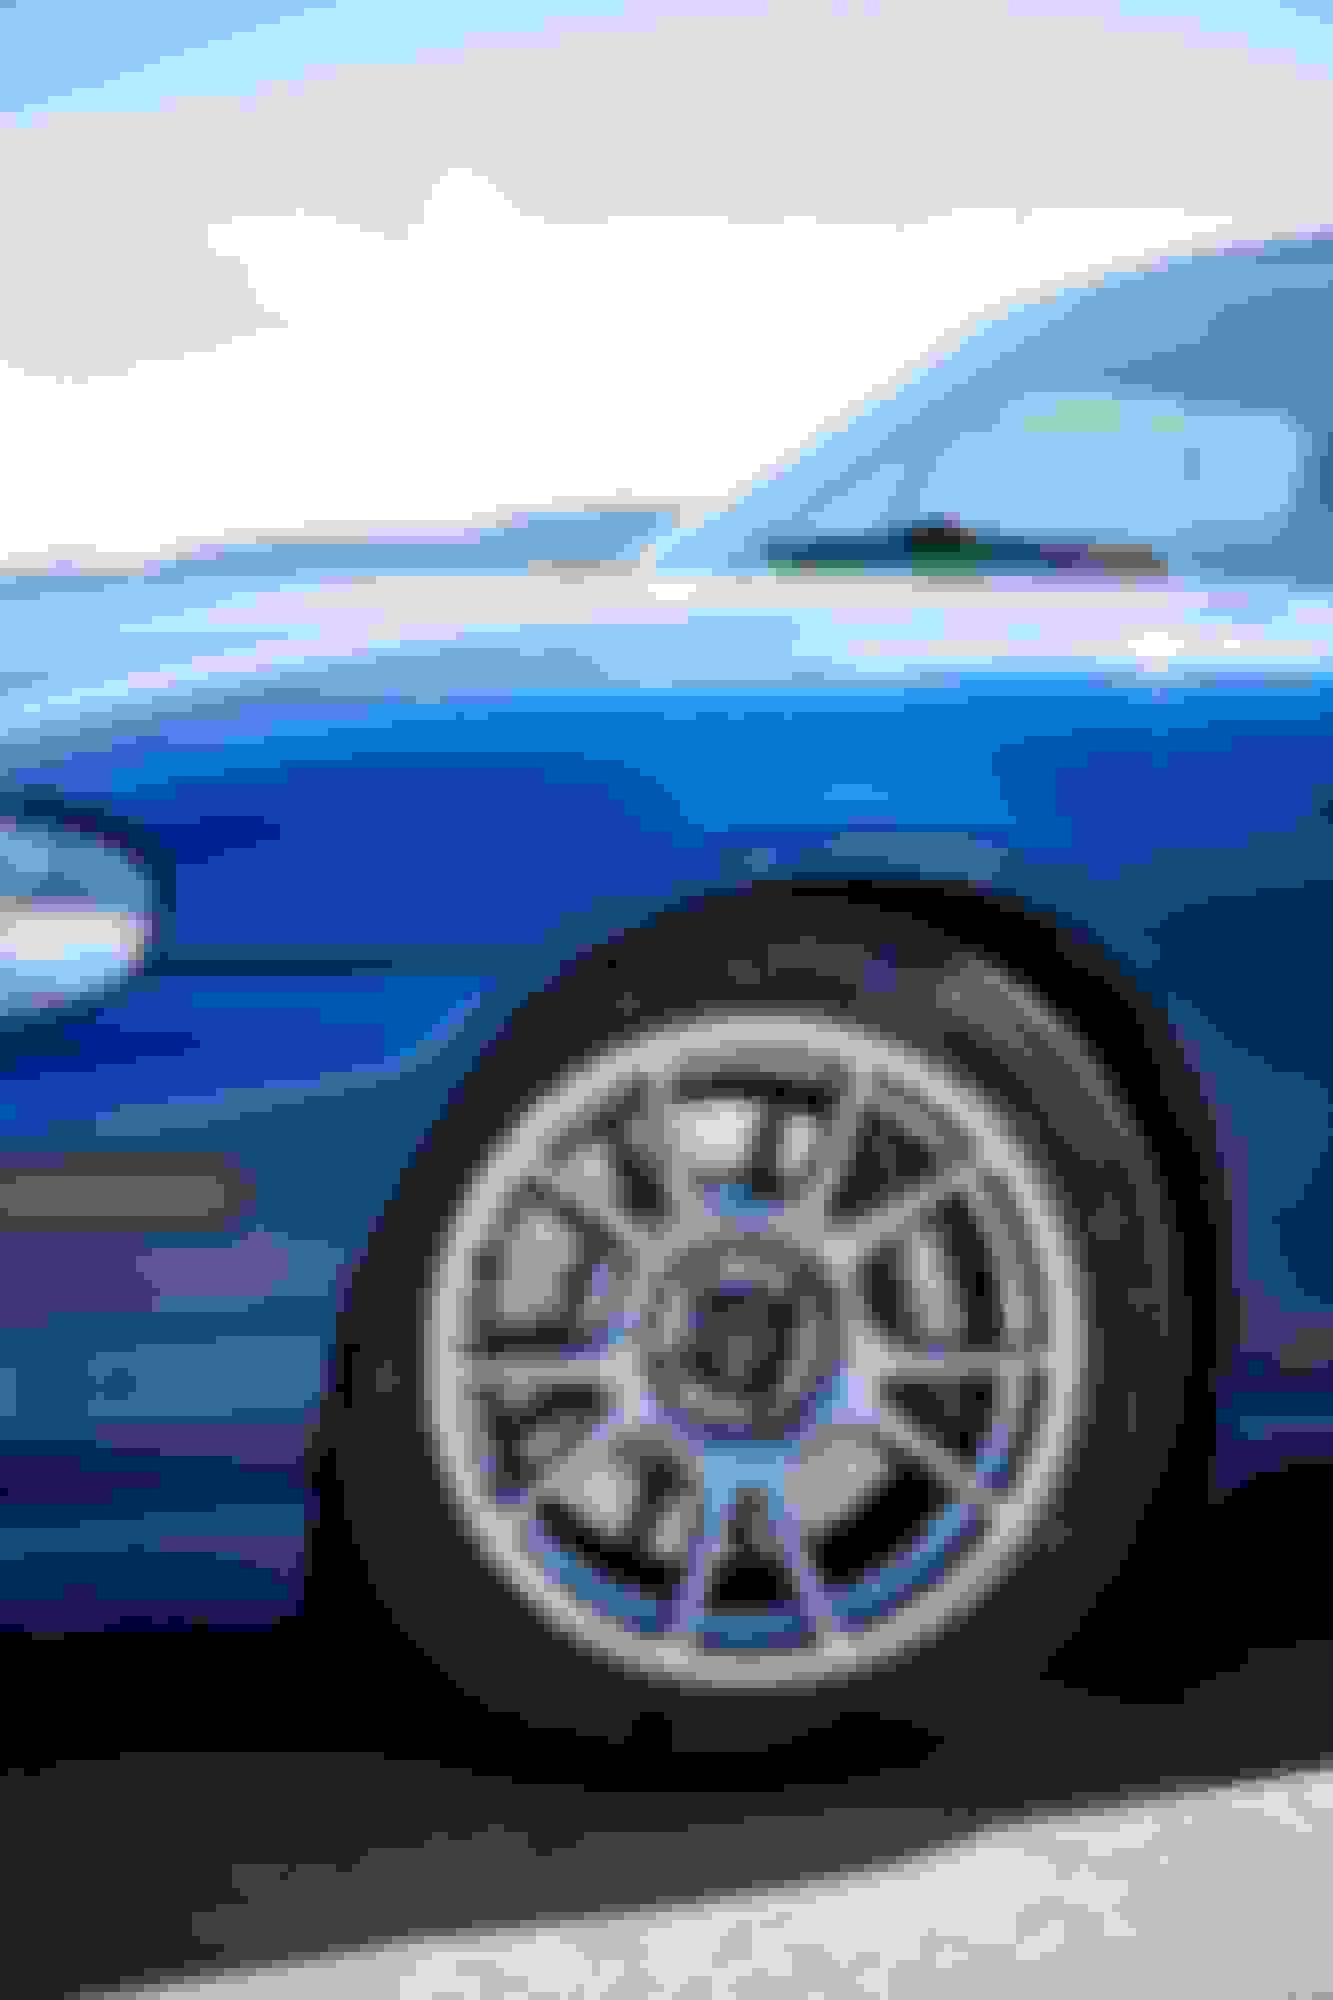
-15x9.5 +29 Freeforms.
-Would like the car to be able to handle a NLR medium downforce kit.
-Purpose of car is to drive to the track, track, and then drive home.
I thought my buddies NA on 1000/500 Xidas rode better on the street than my 560/390 BCs
For context, our S1 Supermiata cars were on 245 RC1 (Prob a lil less grip than the RT660), 2300lbs race weight, similar aero to 9LR medium kit, and we ran 1100/600 or 1200/600 depending. You've got another 250+ lbs and maybe a bit more grip.
You could do 1100/600. You could try 1000/500 but I think that will be on the soft side.
That said, if you don't have the aero yet, do 1000/500. Then re-evaluate when you add aero and see if it's too soft.
Enough suspension chat, let's talk about finishing the car!
So I started a long memorial day weekend by finishing up the suspension work.
I will say at this point that I have a complaint about the Supermiata 863 kit, albeit fairly minor.
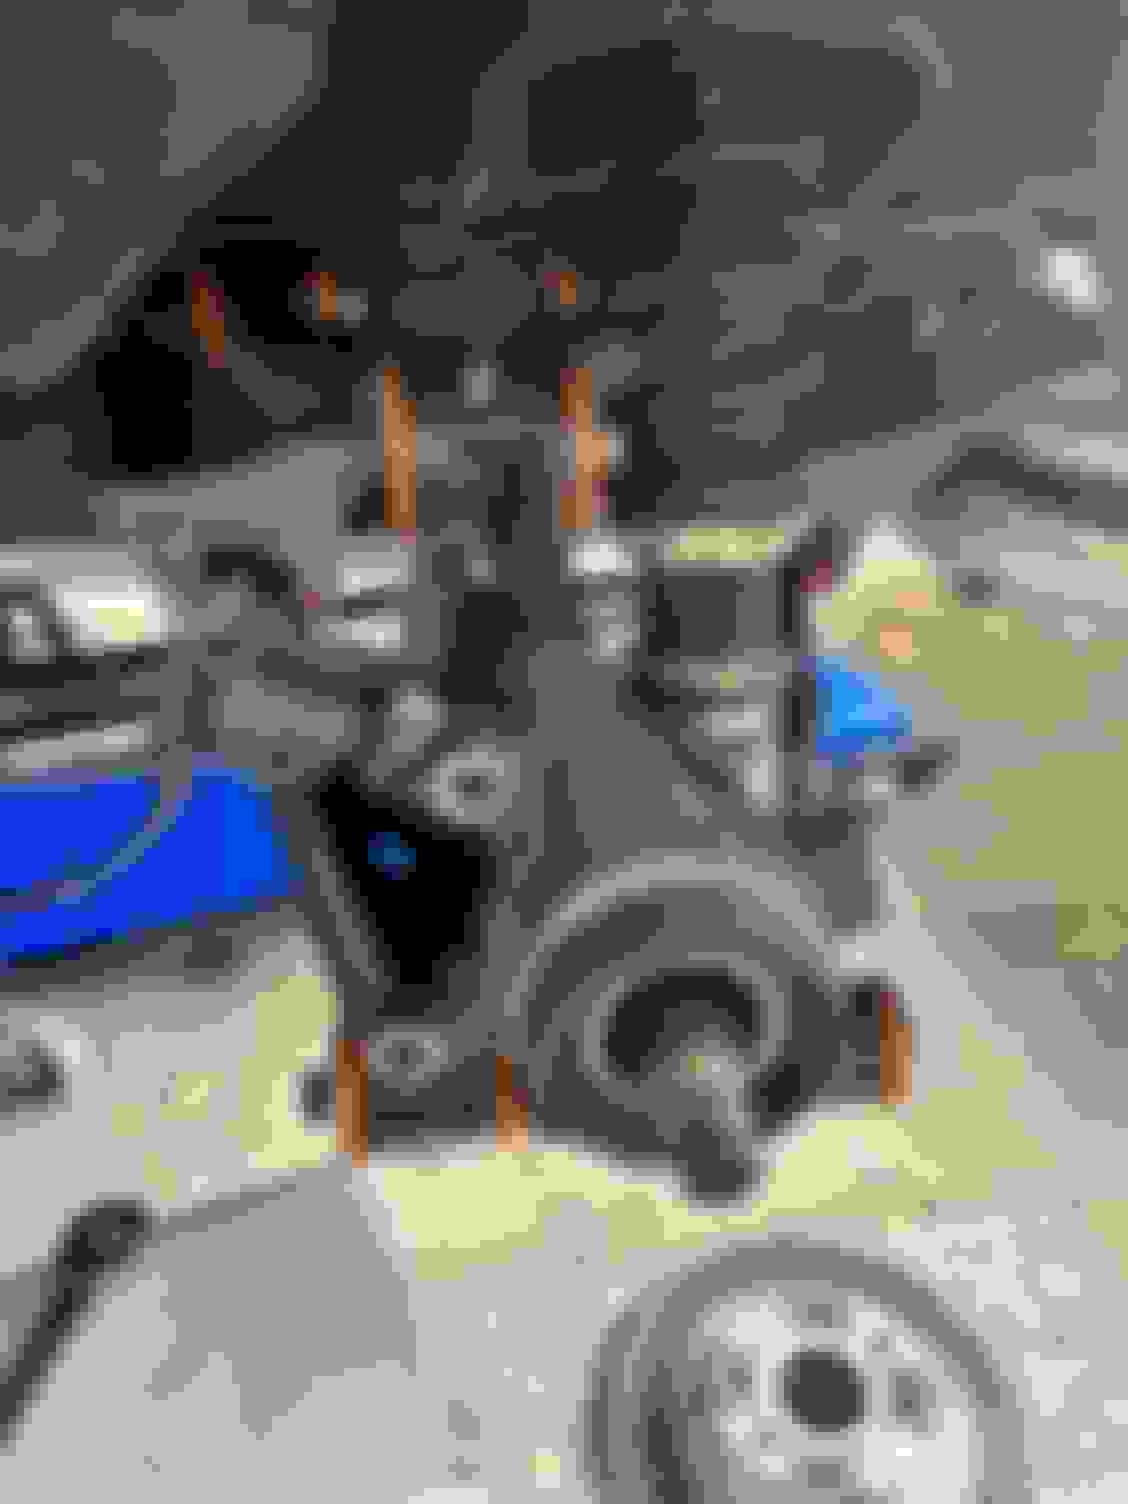
The supplied zerk fittings are too short to use in the normal spots for the rear control arm inner locations. On one side, I was able to get them to barely bite into a hole I drilled into the bushing bore through the gusset hole in the arm(? hard to describe) as pictured below in the Supermiata guide. The problem is that depending on the angle I drilled the hole, I potentially couldn't get a socket or wrench on the head of the fitting.
So on the other lower control arm, I tried to do as pictured above but the angle was different and I ended up having to JB weld shut another hole on the control arm and then I ended up placing them in the top hole as pictured in the SadFab guide.
I still barely had enough sticking out to grab them with a wrench but managed to make it work.
I did try to bore out the area around the hole so I could fit a socket on but this ended up looking like **** and taking forever to drill through, and by the time the full diameter of the bit was through the gusset, the tip of the bit would start to eat into the small hole I drilled for the zerk and I was worried about thread engagement after some prior thread engagement PTSD.
As a result of the zerks being too short I ended up just skipping them entirely on the RUCA inner locations as the only good spot I could see was inside the gusset hole.
Here is what it looks like just sitting in the hole without being threaded in. I couldn't actually grab anything to turn it, and I'm skeptical if a grease gun would even get on there once threaded in. Not a big deal to remove the RUCAs anyway, so I am not particularly worried about it.
For my rear hubs, I am using only the finest in automotive racing technology.
That's right, Toyota Yaris hubs.
So these are BroFab rear hubs, basically what I was told is us Miata idiots dried up the entire core supply of MR-S rear hubs, so this is the viable alternative. They are a direct bolt in like the MR-S hubs, but they are readily available and are basically identical to the MR-S hubs. All I did was change out the rear bearings with new Miata sized ones (easier said than done, fkn snap rings suck), and then threw these on. As far as I am aware, there are a handful of people already running these and the only feedback has been the addition of a washer behind the stock Miata axle nut, which Bronson was happy to very quickly mail me at zero cost as soon as he discovered the issue.
While we're out back, let's address the brakes.
Goodwin 1.8 sport rotor adapter brackets, brand new centric coated sport rotors. Easy button, lets me continue to use the same rear pads, healthy upgrade in rotor size.
I threw in a Wilwood proportioning valve to keep things in check. Install on this was a pain in the *** actually because my fittings kept leaking until I went super mega gorilla tight on them.
With the brakes bled and suspension work addressed, I moved on to fixing the coolant routing.
Here is the new upper hose setup.
Coming out of the radiator is a Dayco 71994 with a 12" aluminum joiner. I bought the 12" x 1.25" OD 6061 aluminum tube from HPS and had it bead rolled at a local race shop for 2 cans of Redbull (thanks Denver Doughnut Autosport!).
Off the back of the head is a Dayco 71378 with the 90 degree turn chopped off and then connected to the back of the head. I chopped the S bend off the other end and joined it to the first hose with another 12" joiner.
Finally, I bought this 5/8" barb bleeder port from Z1 Motorsports for about $45. I spliced it into the upper heater hose to help me get air out of the back of the head.
It definitely made bleeding faster and every time I opened it, I could see quite a few air bubbles come out even with the front of the car 18" above the rear. Would recommend.
FINALLY
I zero'd out the toe on the front by eye so I could drive the car with the steering wheel mostly straight, and took it for a little spin without washing it.
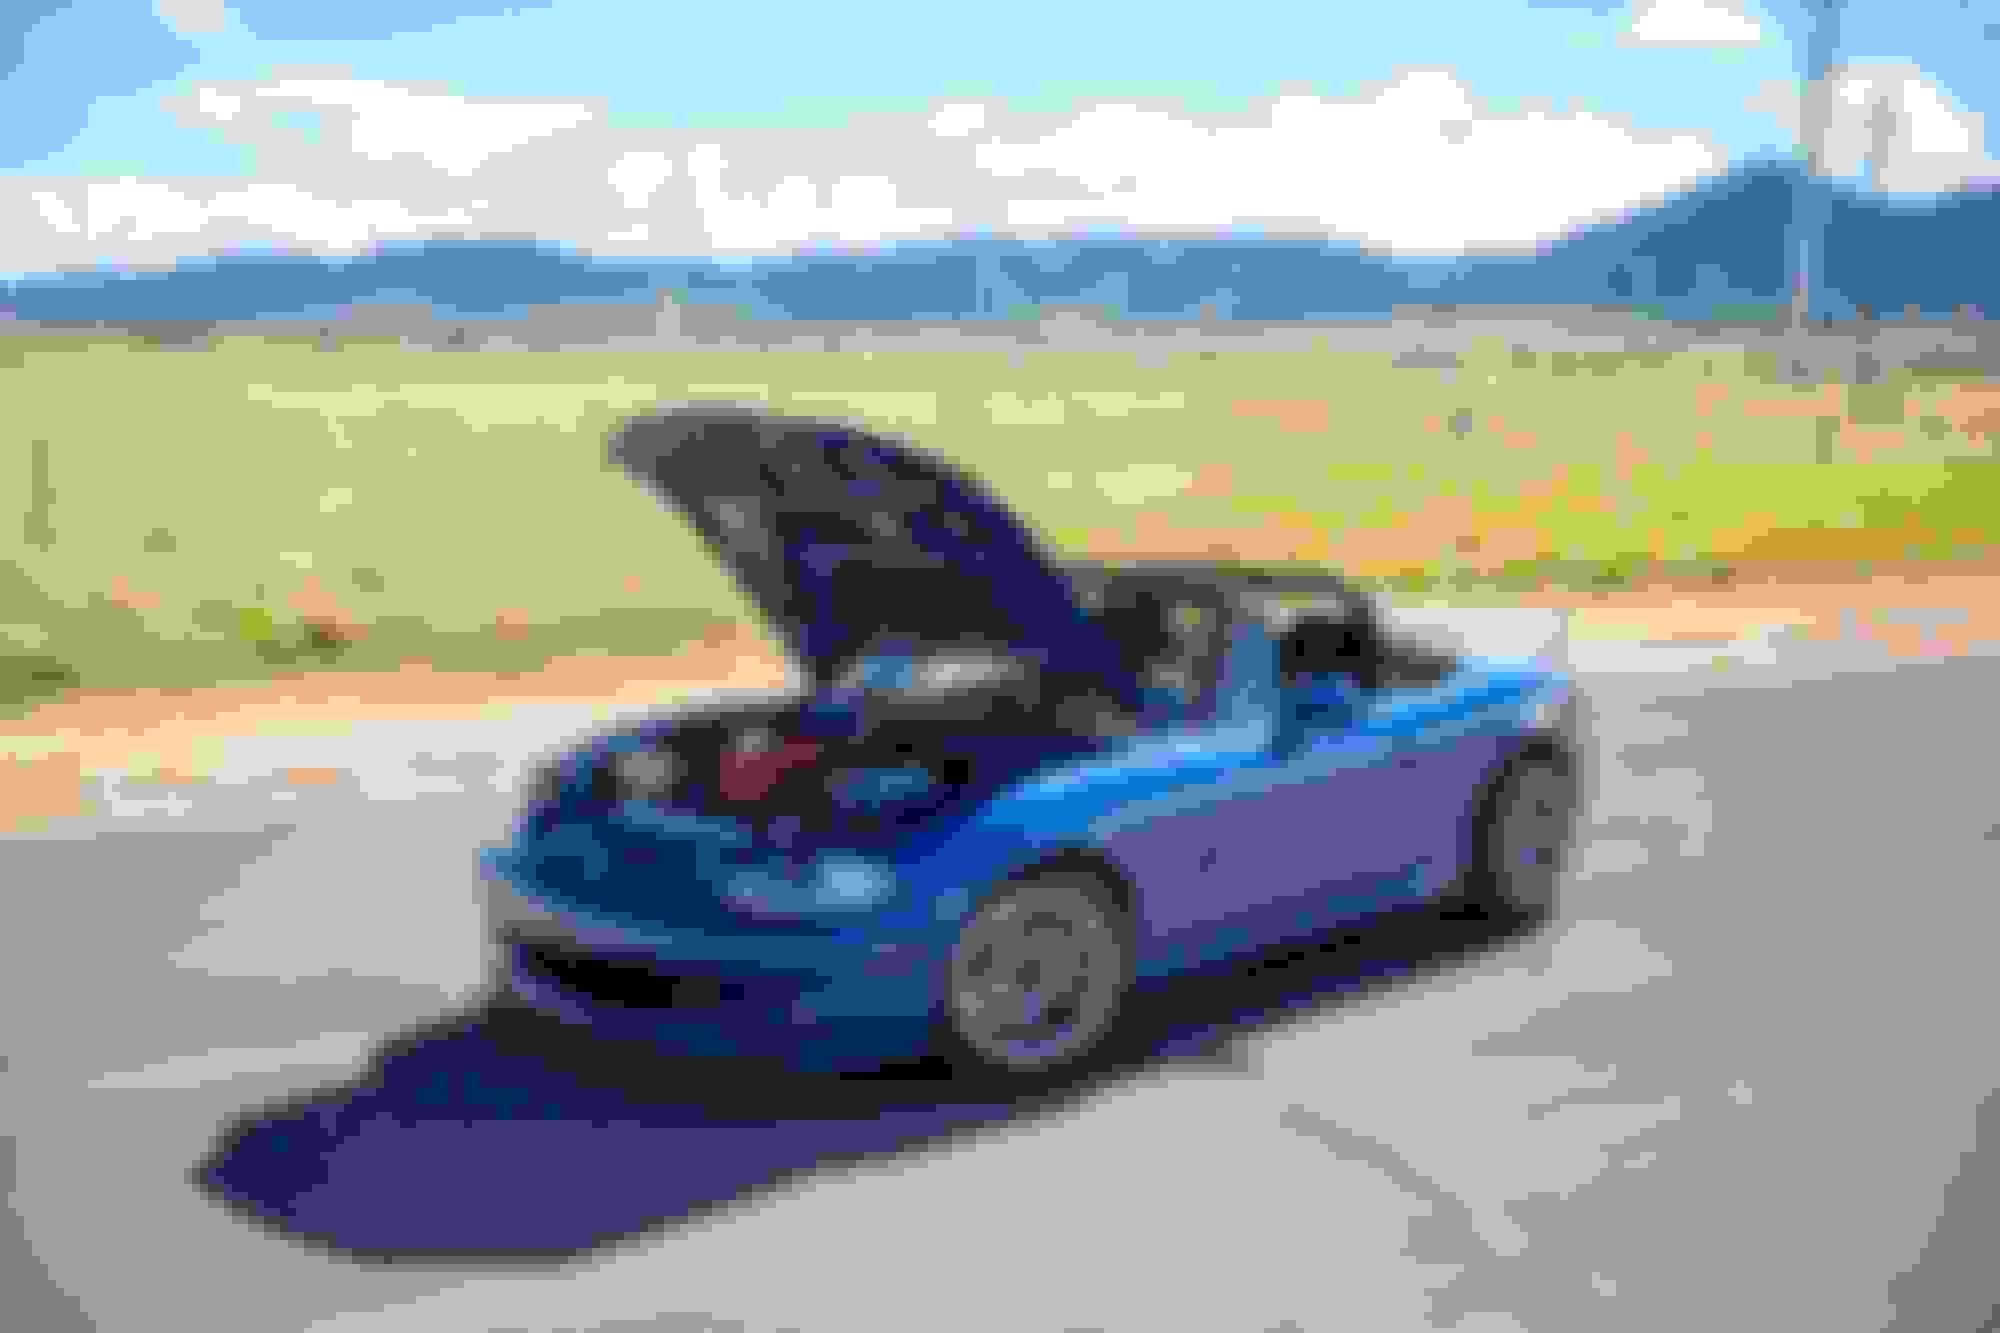
I did a long drive up into the canyons, stopped for tacos in the beautiful town of Nederland, and then back down through Boulder Canyon. Car did not skip a beat, temps and pressures looked great, no weird noises, suspension has a lot more feedback over bumps. Brakes are fantastic feeling, albeit extremely loud and squeaky as soon as I cross under 10mph. Since the alignment is ??? as all I did was put the eccentrics in the middle and zero toe, I could tell that it needs more caster as the steering feedback was pretty minimal and the wheel doesn't self center super hard. Alignment is scheduled for this Friday, and then this weekend I'll finish up the tune back on the dyno and give the car a final once over/bolt check. Track night is planned for June 9th.
It's really difficult to describe what "completing"* this project has meant to me. A KMiata is something I had dreamed of having for several years, since before I bought this car, and a swap I talked about doing to this car as soon as I bought it. It's a little surreal that not only is this one mine, but I built it. Yes I had help from a few very generous friends and I can't thank them enough, but when I started this project, the most intensive thing I had ever done to this car was probably a coolant reroute install. Often I was in completely over my head and definitely was unsure if I could finish it, but here I am after sacrificing basically every free weekend and spare few hours I have had in the last 5 months. I don't think I have cried over the car yet, so I'm not gonna say tears went in, but definitely a lot of blood and sweat.
There was a part of me that was a little worried the car would not live up to the expectation I had built up for it in my mind, but I can honestly say not even having pushed the car that it has exceeded the level of satisfying I imagined it would be, and I really look forward to enjoying it.
*lmao obviously the car isn't complete, I am going to do so much more once I have money again.
I may be bias, but nice little touch on the coolant vent port addition. I honestly am flustered at why Kpower doesn't offer rear water necks with a bleed port provision added.. It makes bleeding the system so much nicer.
So in case anyone is wondering what I have been up to for the last 3-4 months, I will try to sum it up as concisely as I can.
First order of business was I took the car back to the dyno *hopefully* for the final time.
In summary, it made 187whp, the exact same amount of power it made on the FIRST EVER pull before any tuning. My tuner had no idea what was up, AFRs looked good, but he declined to mention to me that he had to add 10% ish of fuel everywhere.
I went home a little sad and while investigating it, I found that 2/3 of the nuts that connect the header to the header had backed off and I had a massive exhaust leak right before the O2 sensor. I reinstalled those nuts as tight as I could physically do and went out and datalogged a pull, finding that my AFRs dropped by about 1.5. I did some street pulls on a closed private course with a trained driver and ended up removing about 15% fuel everywhere to hit my target AFR around 12.5 at WOT. Car feels zippier but I have yet to be back at a dyno. At some point when I find the time and money I will take it to a local Dynojet and finish it myself.
I then promptly took it to the track
And then went full dumbass and tried to get myself up to speed on a car that is +100hp and -100% power steering and new suspension and brakes and I was super rusty and promptly binned it into a hill.
Yes, I am aware that I had a slow reaction and it was my fault.
Fortunately through the generosity of my friends we were able to remount the tire and I actually just drove it home with no major issue besides some new vibration and a cocked steering wheel.
Anyway, one axle, one rear wheel bearing, one rear hub, and one 15x9.5 Konig Freeform later, I had a mechanical repaired car. Shoutout to BroFab who actually sent me a new hub and bearing free of charge so he could see what I managed to bend. Ain't nothing better than destructive real world testing. Turns out a Brofab Yaris hub is stronger than a Miata rear wheel bearing still.
At the same time I decided to throw new tires since the spin fudged mine up pretty good and they were heat cycled out anyway.
In an extremely fortunate series of events, a friend of mine had a 10AE parts car in his driveway that had my name written on the side skirts for a fair and crisp $200, so I went and pulled those off when it was about 100 degrees outside.
While giving the rest of the car my post track day wipeout teardown, I found something slightly concerning.
So anyway, I got those bushings replaced, used less grease as recommended, got the car aligned and was pleased to find minimal bending of stuff in the rear subframe/suspension assembly. I took the car out for another track day hopefully with less crashing and found that non heat cycled tires offer significantly more grip. I also found that after one session it was god damnit slicing through the bushing again.
I suspect the second round of slicing may have been sparked by be failing to deburr the control arm bores after they rubbed against the subframe the first time around and got a little chewed up.
After I got home I put the car back on jackstands and found something more concerning.
For the record, Supermiata was nothing other than helpful through the entire process. They offered to replace everything along the way, inspected sample bushings I sent them, and has revised their parts to hopefully prevent anything like what I have experienced from happening. As far as I am aware, the slicing issue is extremely rare and had only happened to a couple of cars besides mine. The slop in the bushings was just due to the poly being too soft and some slight tolerance stuff. I was told they are awaiting arrival of the revised polyurethane parts and will be reaching out to other customers soon. I just decided to go in a different direction due to an approaching race event I wanted to make. Hopefully my words have been friendly enough that Emilio will let my loved ones go without hurting them.
Long story short is that the car sat on jackstands while I waited for my A1 Ground Control Nylatron bushings to arrive.
Speaking of that racing event, my Nylatron bushings which I was told were going to arrive in early August, then mid August, then early September, ended up shipping out about a week before I needed them. I paid extra via Fedex to have them arrive a day earlier than USPS, which was a mistake. In short, Fedex kind of nearly fucked me out of a race weekend, the driver never stopped at my home, the warehouse lost the packages over Labor day weekend and I was unable to pick them up, and then the Tuesday after Labor day, the driver said "**** you" and skipped my home again. Fortunately, I walked into the Fedex pickup office with an angry enough demeanor that they rapidly found my package, and then mounted the drivers head on a pike.
I don't really have many pics of the install, but I will say that the kit is *very* well organized. Each individual part comes in a labeled bag and there's a neat little map you can reference for what goes where. Not a knock against the Supermiata kit that all comes sorta jumbled together and it's up to the customer to organize, because the Nylatron kit is $250 more expensive.
Some of the Nylatron I was able to press in basically by hand or with a couple gentle mallet taps. Some location took some firmer mallet taps. Because I am a stubborn dumbass and refused to remove my front control arms for the install, I had to build one of those long *** bolt with a bunch of washers tools to pull the bushings into the bores. This one cost me about tree fiddy to make at Home Depot and worked wonderfully!
Well, I got the bushings in at about 11:30PM on Wednesday, did a short test drive, and decided that the car was good enough to get towed down the next day to.....
GRIDLIFE!!!
I have wanted to go to Alpine Horizon Festival for years, and through a combination of sheer luck and zero help from ******* Fedex, I was finally able to make it. The discussion of my Gridlife weekend experience is to be continued...
It was out of round enough that it looked pretty god damn wonky on the balancer. It actually did balance out with only seven 0.25oz weights, but I replaced it out of precaution and also because one of the wheels balanced with no weights, and the other wheels took only 1 and 3 IIRC.
The only proper way to resolve the front control arm ripping through the bushing is replacing the big one with a delrin bushing. I tore through many brands of rubber and poly bushes before putting a delrin bush in and never had an issue again (yes installed properly and all that). The race suspension setup guy I use doesn't believe its "twisting" and sawing through, maybe it is a little, he believes it's the arm bore just ramming with force into the bush collar with sticky tires and strong brakes and eventually brakes the surface and then the tearing accelerates with each subsequent brake. Hopefully your replacements solve it, but if not, put a delrin bush on each front arm.
Car looks amazing by the way!


 0
0