When you click on links to various merchants on this site and make a purchase, this can result in this site earning a commission. Affiliate programs and affiliations include, but are not limited to, the eBay Partner Network.
It's a bummer, because it seems like you did a pretty decent job with the actual fiberglass. The mold just looks like total ***. Would like to see a second go at a mold.
Aidandj: It might happen in a couple months if I can put the funds together and have the time to do it. I would definitely go about it completely differently if I did it again.
I saw someone do that in the DIY aero thread, I just can't afford the $1000 and up hardtop to start with. If I could convince someone to let me borrow theirs for a couple weeks I would be set, I just don't know anybody locally. I agree though, I would much prefer that curve to the BS I've got right now.
several s awarded for entertainment value. Looks like absolute *** though. I wish for your sake it looked better because that was an insane amount of time you spent on that thing.
Thanks for sharing! I'll make sure to never attempt something like this because it would look like fat black *** (not flat black ***, like yours... mine would be worse) and would probably never get finished.
Haha thanks man. Hopefully in the coming months it will look like slightly less smashed ***.
I had seen several other DIY attempts and most were failures and never completed, so even though it's not great, I count myself among the winners.
I'll bet you learned a lot during this. Looks like you put forth a lot of effort. If you can make a good looking fastback it would be worth your while..
Ok, updates:
Built an intake, along with piping. Figured I could use some home depot dryer ducting (spoiler: you cant) used some pvc and some polycarbonate for a pod filter adapter to afm adapter. ended up running a tube made of duct tape for a couple weeks, I broke down about twice a week, though it was actually from a different problem that I had a bitch of a time figuring out. The duct tape liked to collapse under load when heated, and choked off the engine with it, so I had about 15 minutes of driveable time before I had to stop and let it cool off.
Last edited by Zajicek; 04-29-2018 at 08:02 PM.
Reason: format
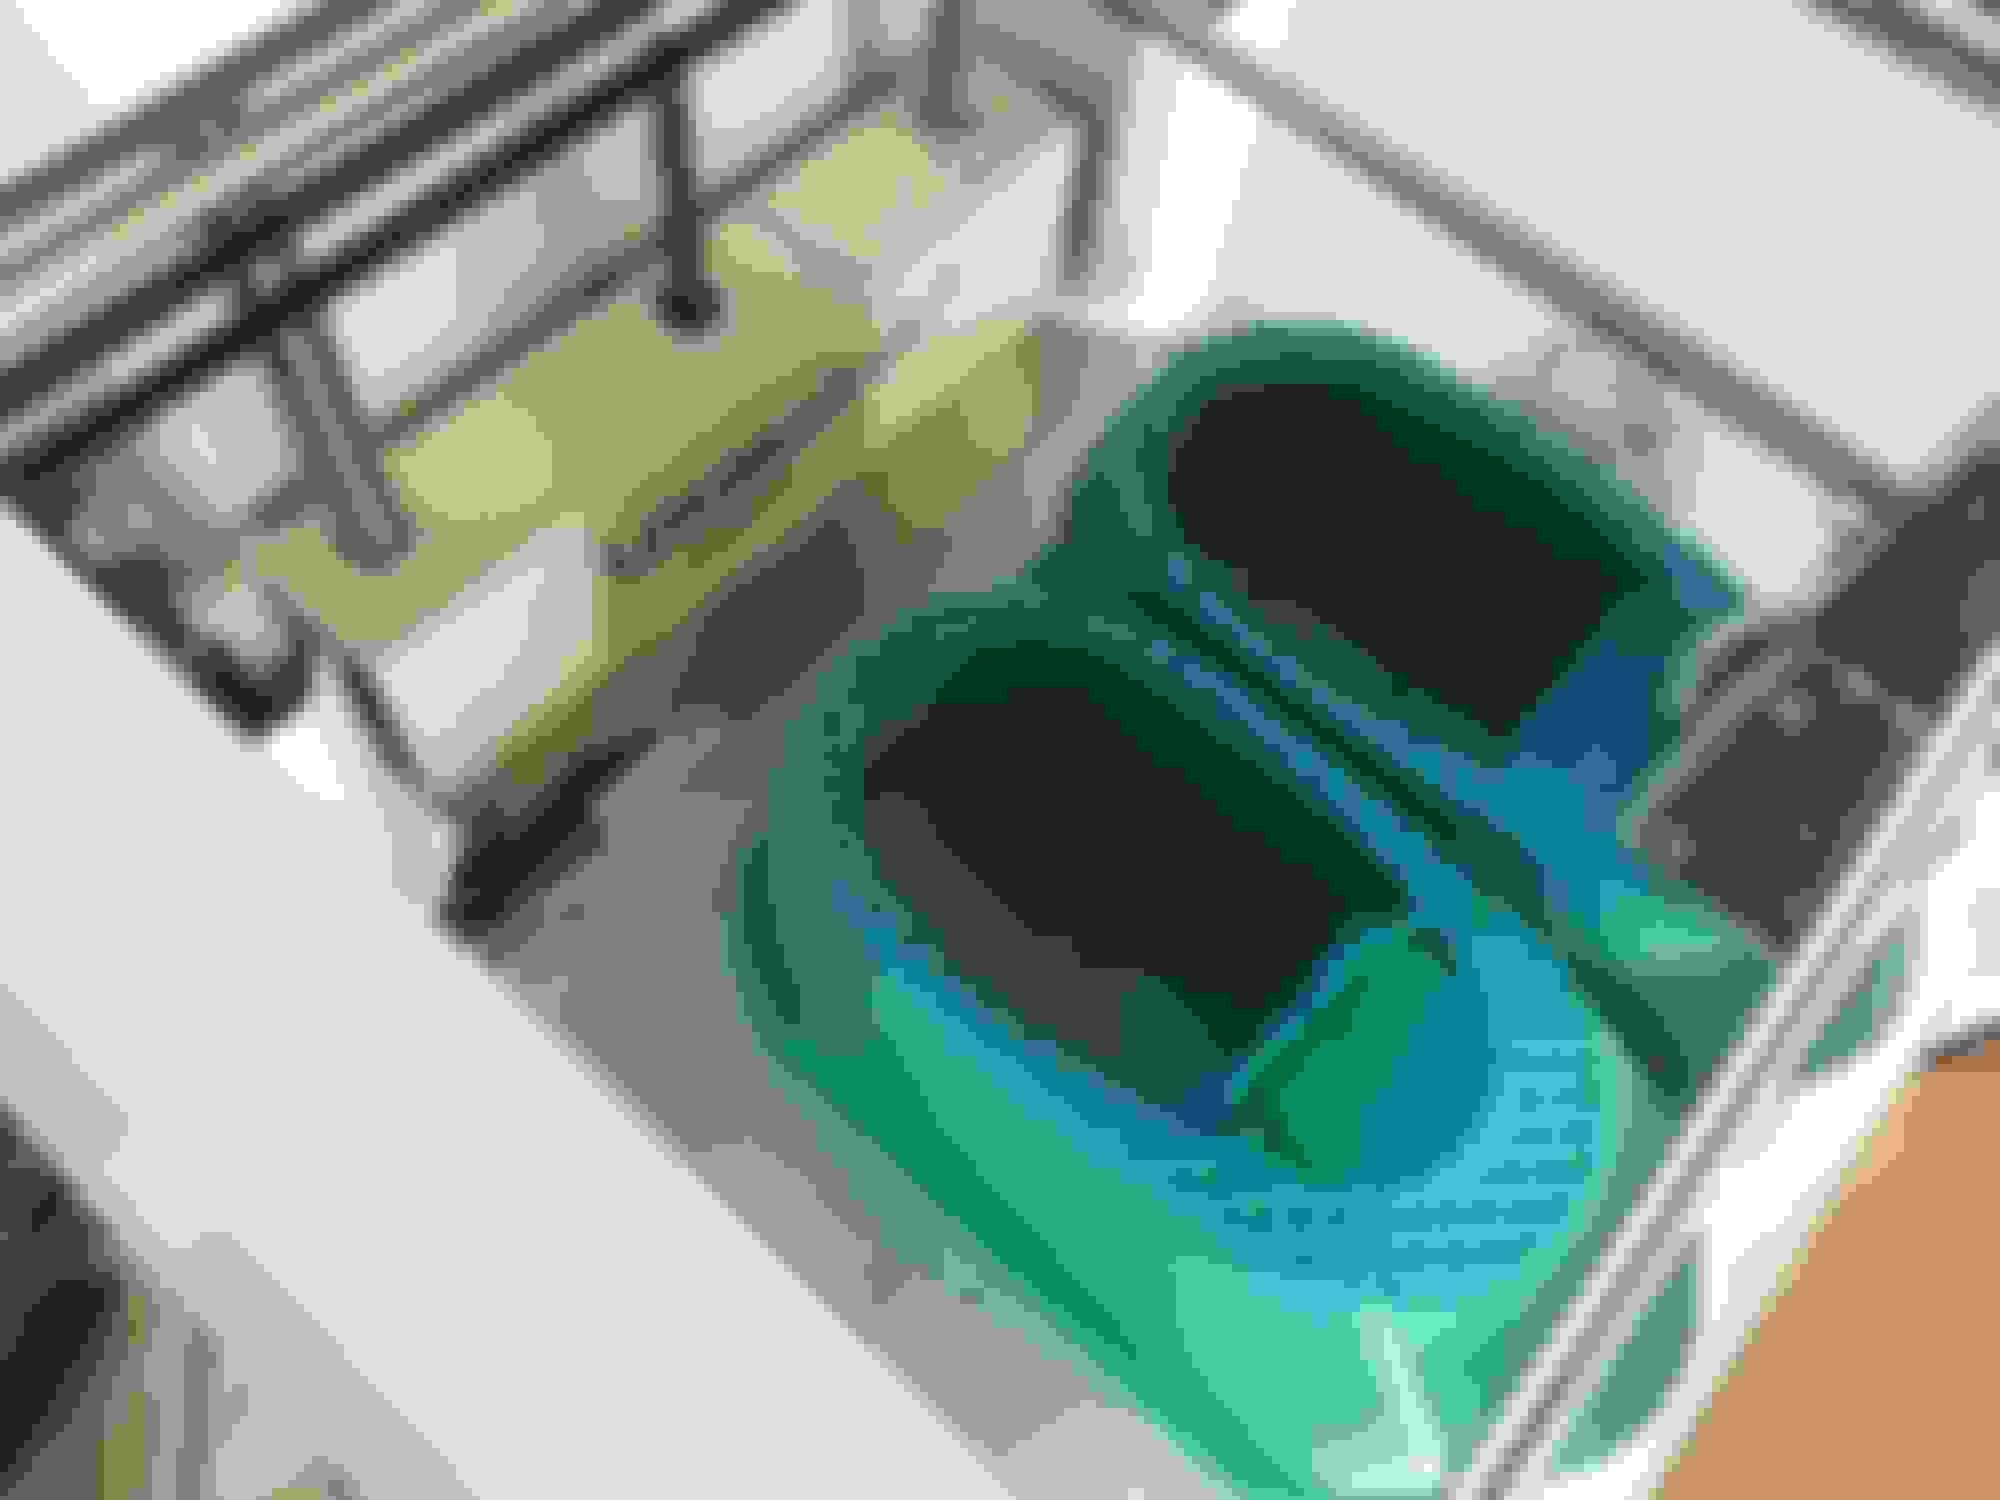
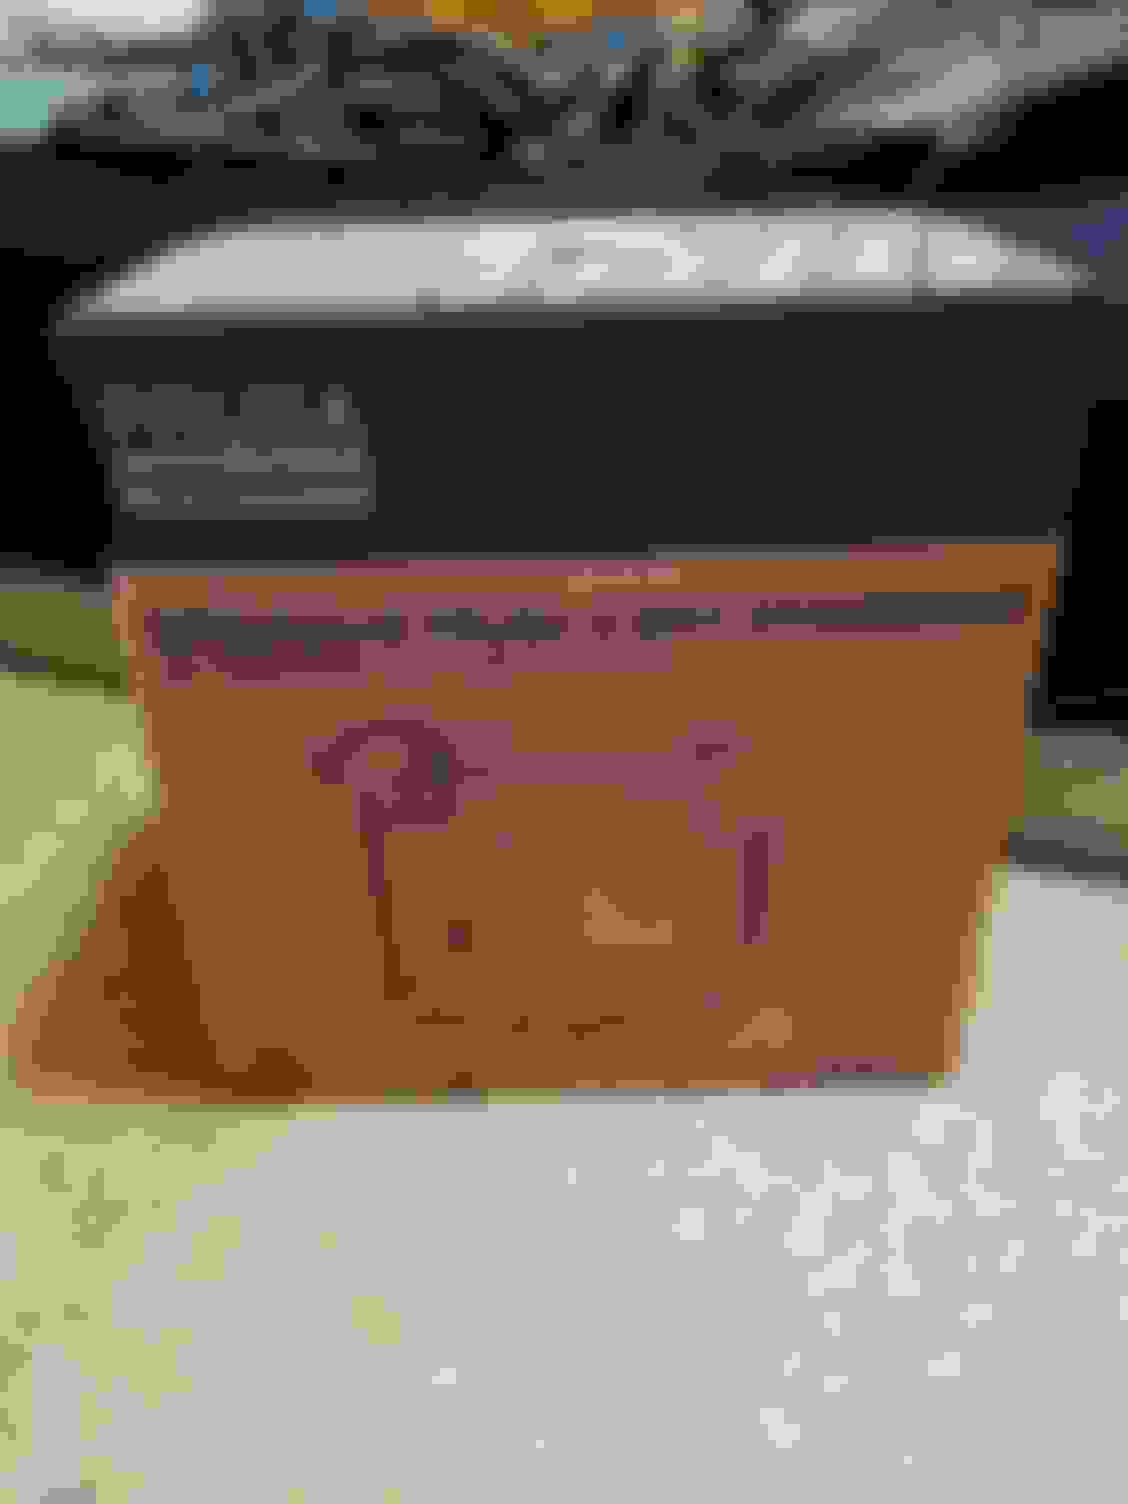
Found a hard top for $500 bucks, had a busted out rear window, been sitting for a couple years off car so it was slightly warped, and the paint was rough, but it was cheap. Picked up a lexan rear window from treasure coast and installed it.
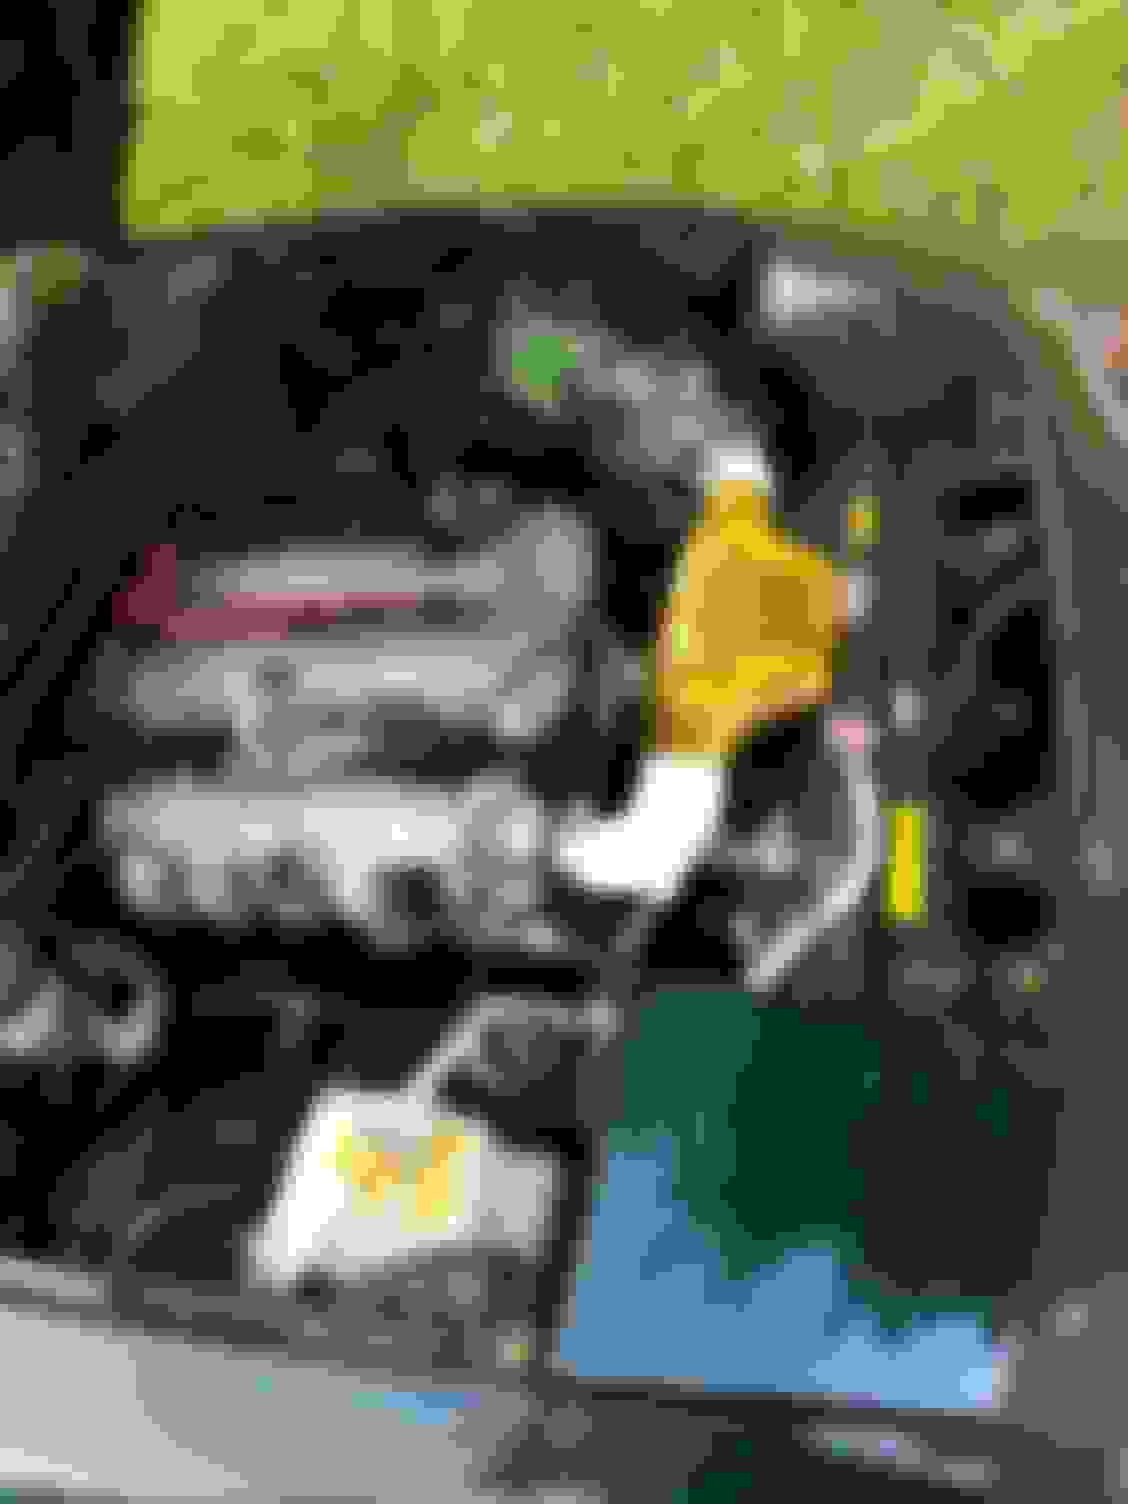
Got into 3D printing and printed an intake courtesy of my school's makerspace. Went in and asked what programs I needed to learn to design things, and how the printer worked. Started designing the next day, taught myself the program and fleshed out the intake. Printed it in 5 pieces over the course of a few weeks.
Original design was too fat and long to fit, redesigned it and printed the whole thing again:
The filament I had available at the time was PLA. melting temp is plenty high, but it has a glassification temp of 65C (140 ish) so I wrapped the whole thing in DEI gold so it could handle the temps. It did fine for several months but I melted it by letting it idle for too long without airflow, so I reprinted the outer ends in PETG for now. PETG has an even higher melting temp, and a glassification temp of around 85 (160 ish) which will handle the temps much better. ABS (glass temp 110 (220)) would be an even better option, but my printer doesn't like it and PETG works for now.
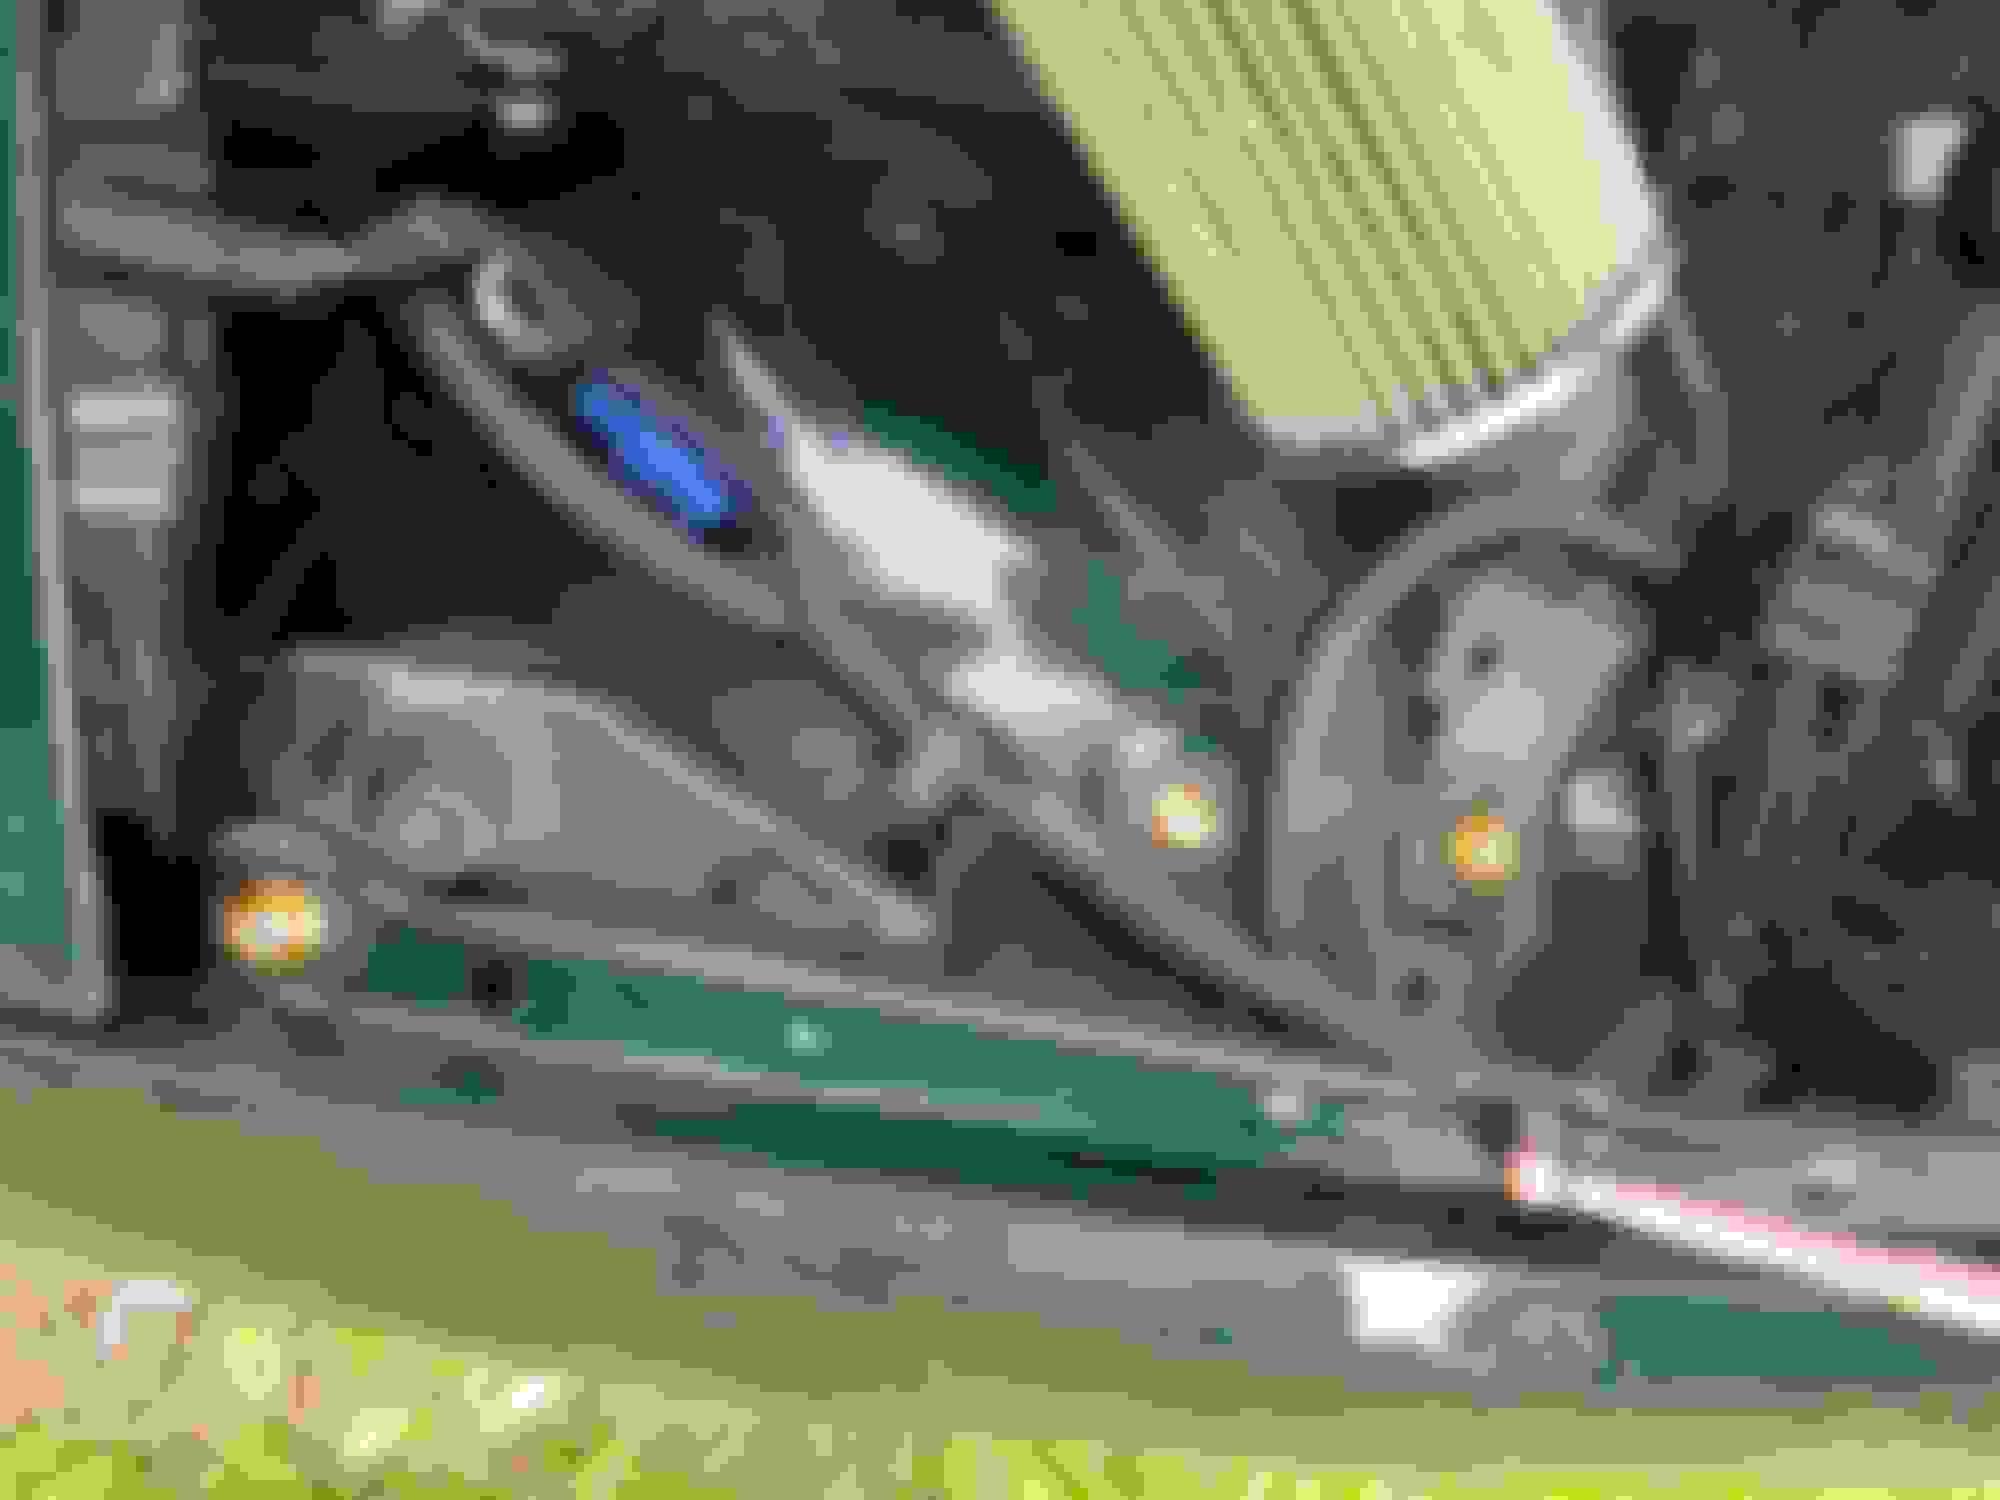
Had a really bad stumbling, idle, throttle droop issue for a while that I couldn't figure out. Figures it was an air issue given all the changes I made, but it was there beforehand too. Finally figured out it was the rear temp sensor. A bad rear temp sensor sends your car into a limp mode of sorts, and it runs stupid rich as a safety. Replaced it and problem solved. No A/C or PS or airbox in the way made getting to it way easier than it would have been otherwise. Replaced the completely black plugs and added new wires while I was troubleshooting.
FM rear cannon brace. The jdm cars apparently already have that lower brace found in the later cars which I didn't realize. I ended up just sawzalling the mounts off to install this. Figured it would be better to have a fully boxed rear even it wasn't much of an upgrade now.
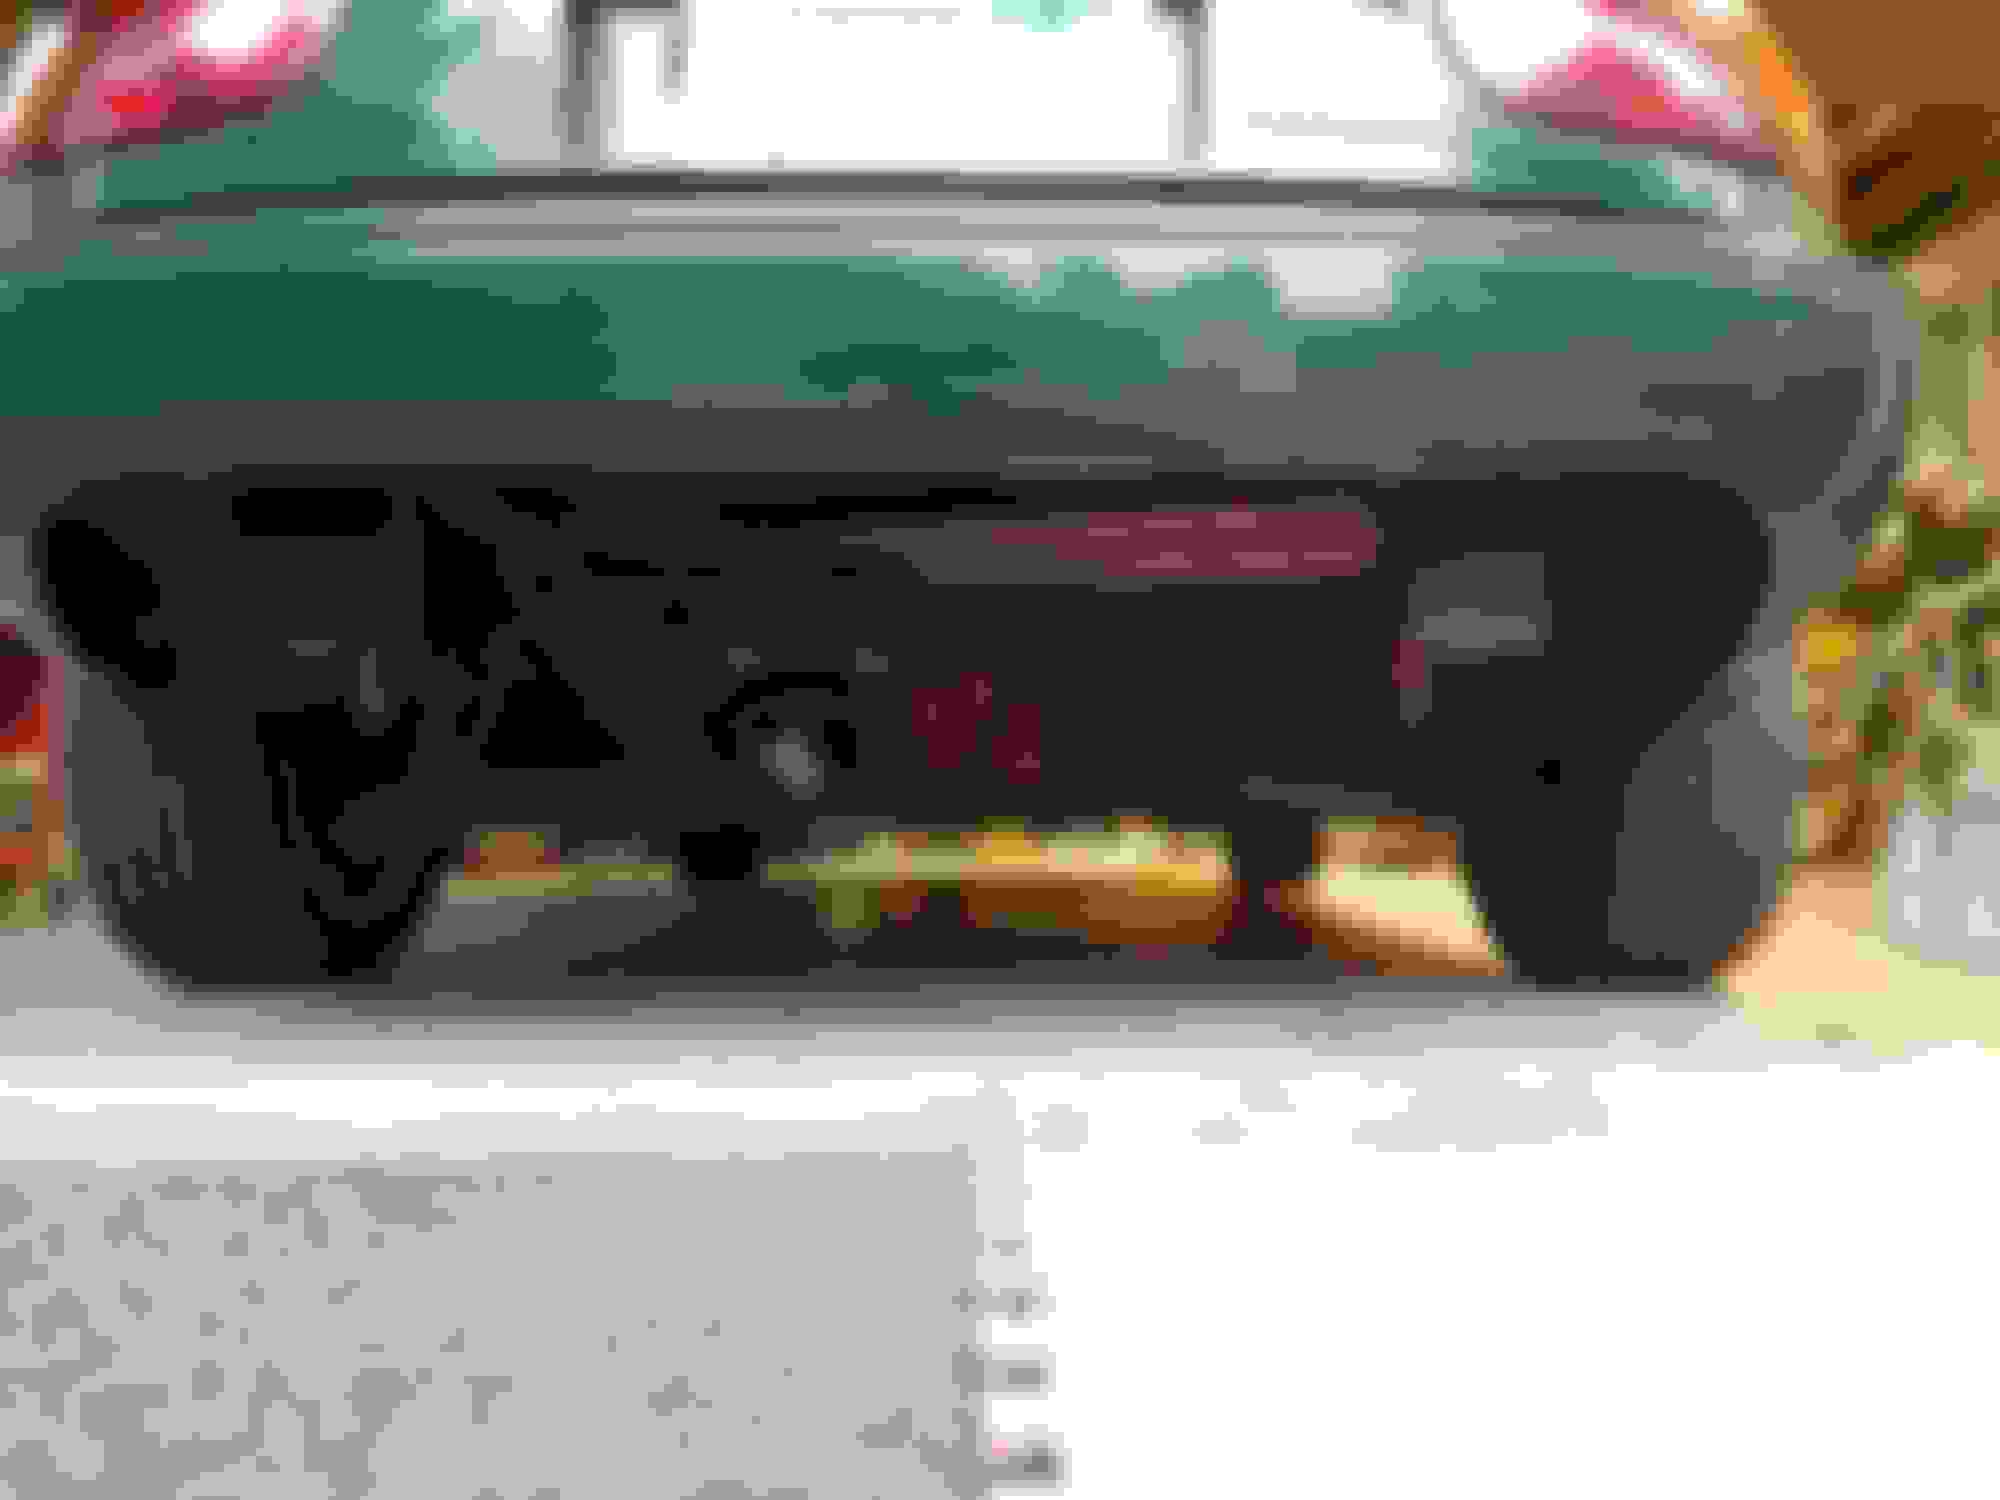
rear bumper cut to go with the new rear end goodies:
It's a little cleaned up from this picture, but not much honestly. Take a look at the rest of the car and you'll see why I didn't bother.
redid some of the loom where wires seemed shitty
fixed a leaky bit with lots of silicone
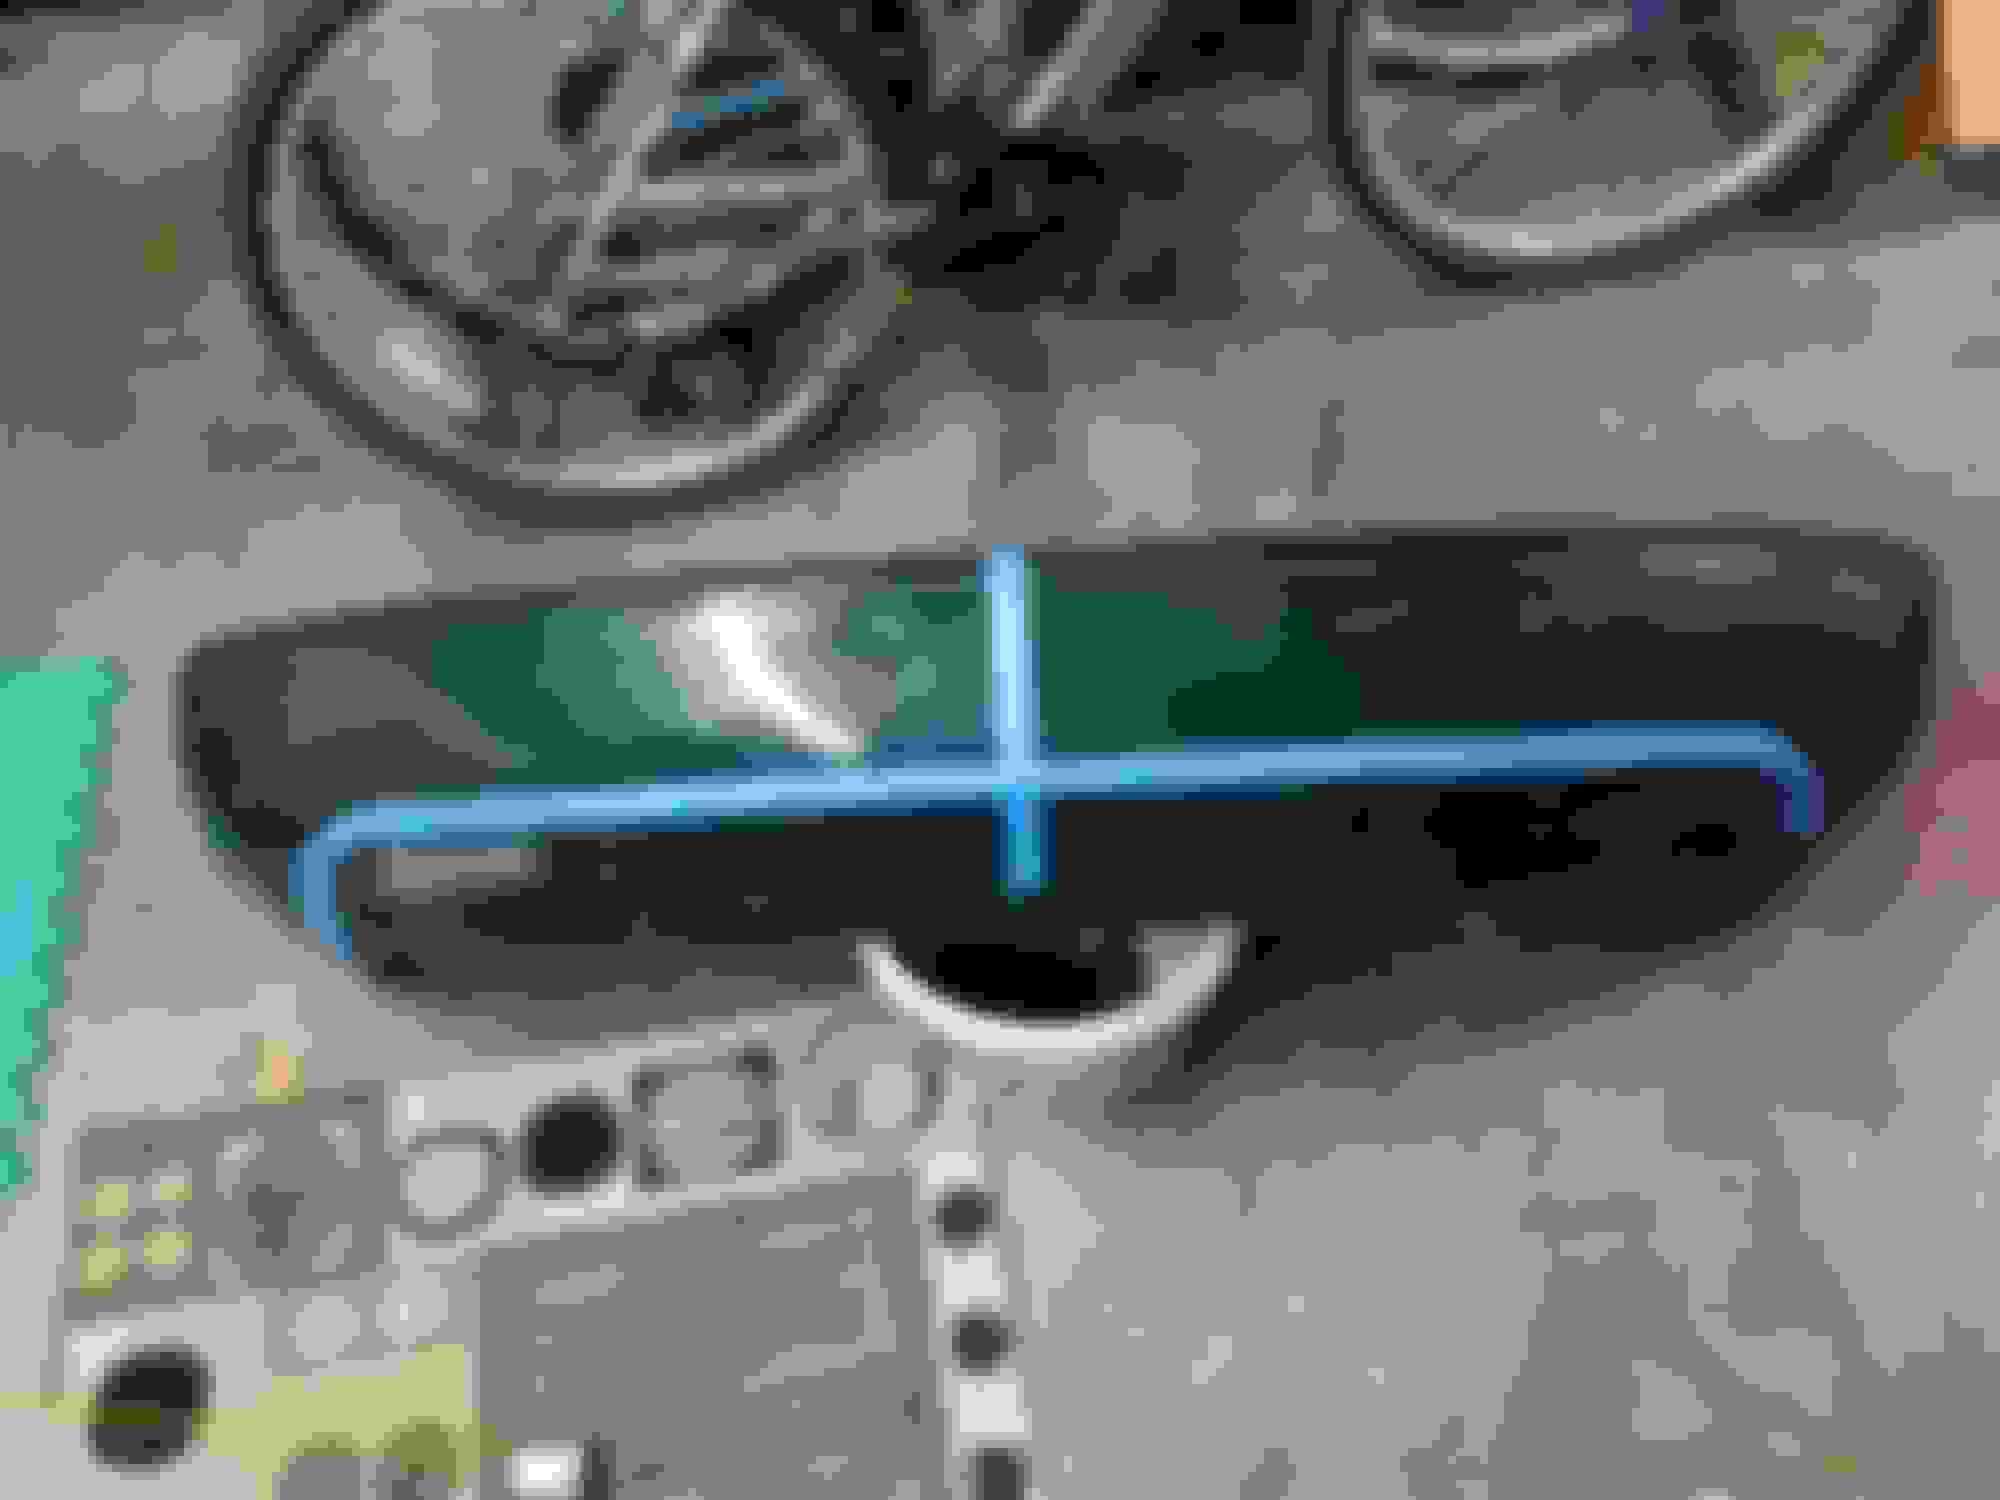
Picked up a 323GTX valve cover that'll need some modification to work, stripped the crinkle black paint.
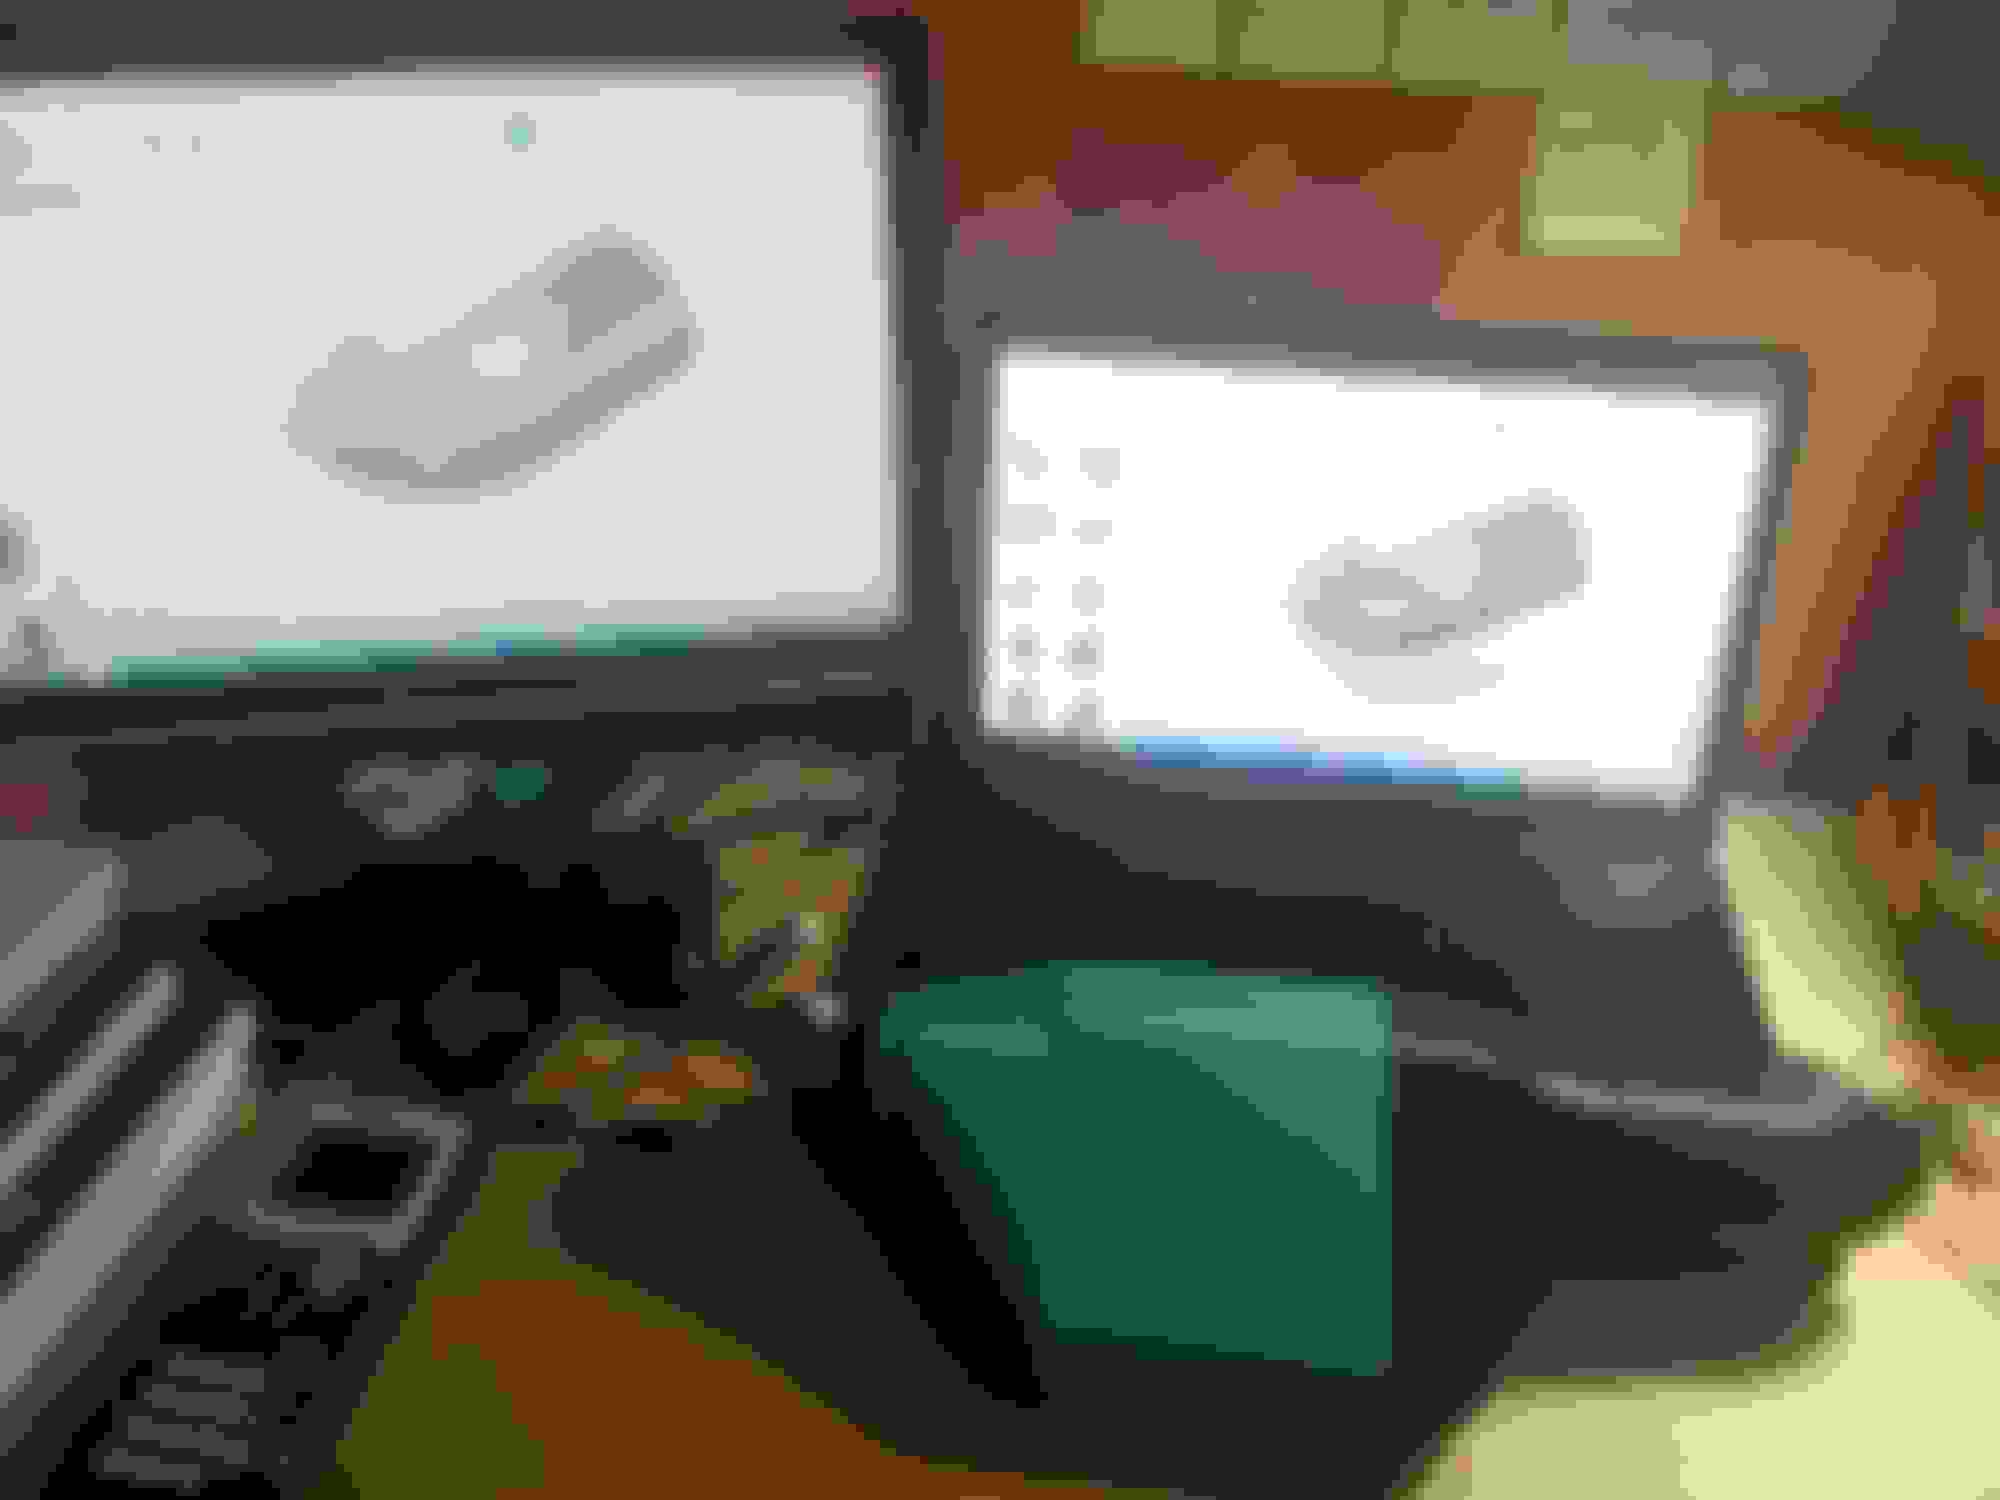
Pulled my gauge hood and started leather wrapping it. 3 months later I'm not done and I'm probably going to say **** it and just 3d print a new one.
caution: graphic images ahead
went the hacksaw route on my muffler. I actually really enjoyed the sound. A little deeper and a little louder on throttle, but no drone and minimal rasp. I was quite happy with it.
Prepped and painted the valve cover. Went with what I thought looked good at the moment since I apparently have no color scheme on this car at current.
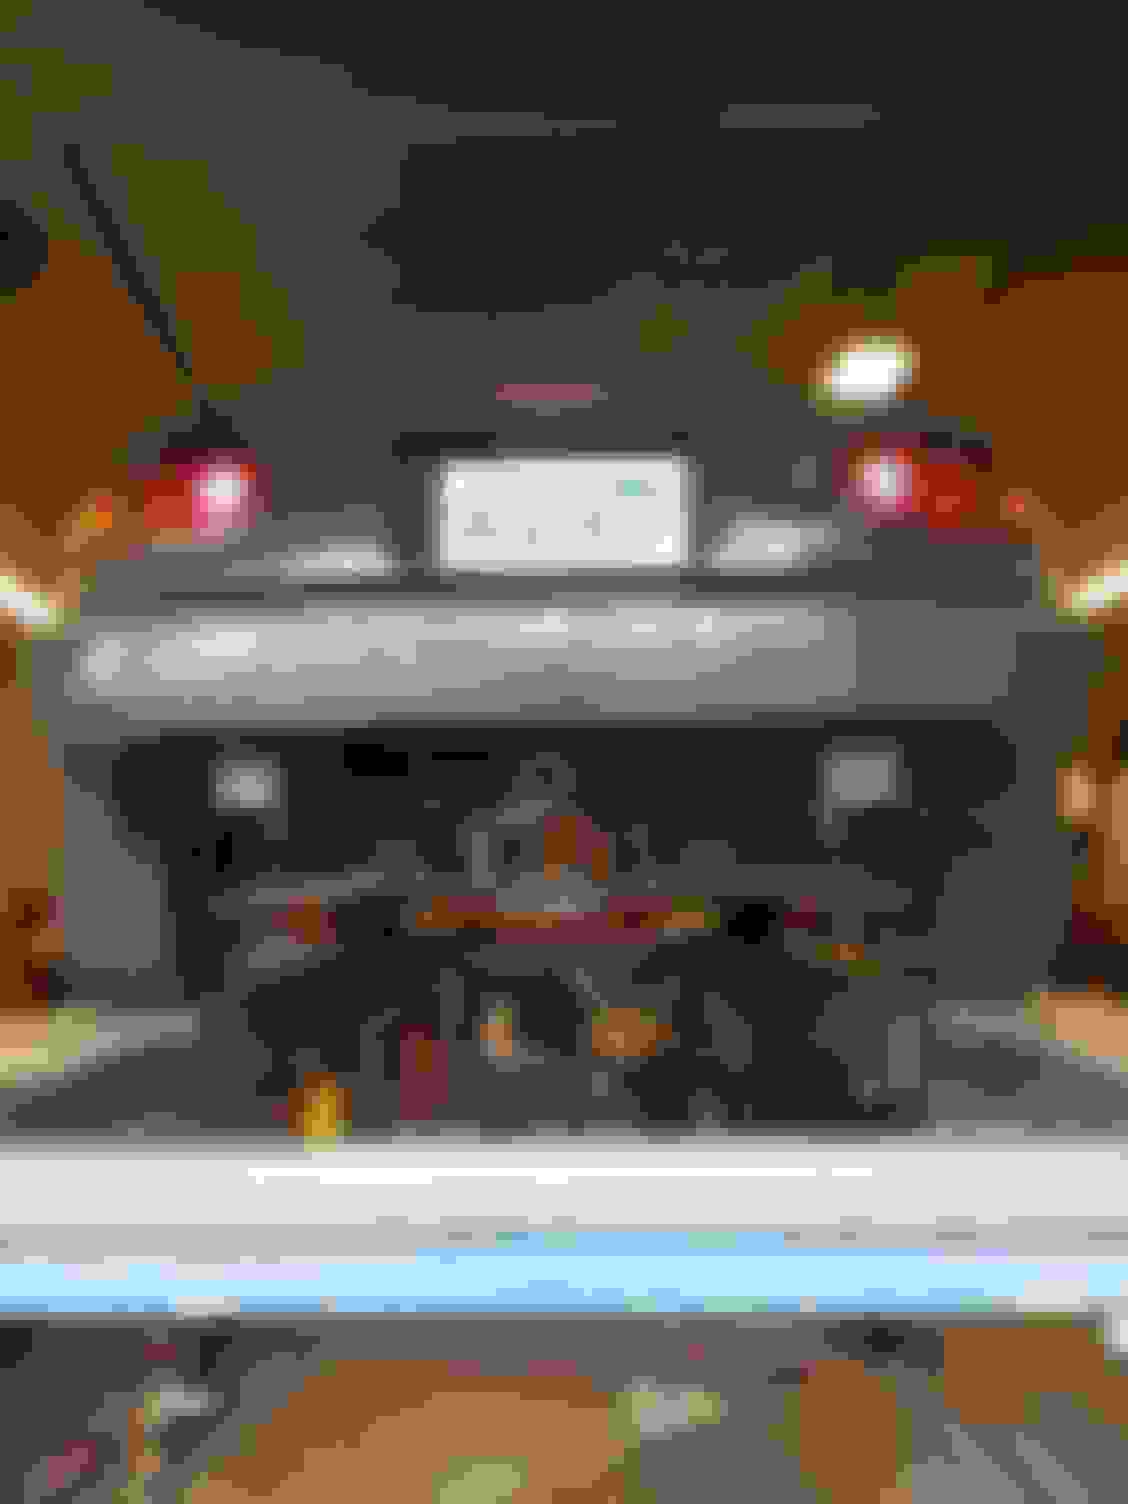
Started designing this years retarded summer project, a complete front end redesign, completely 3D printed.
Picked up a racing beat header. Really happy with the quality, but it started me down a dangerous road exhaust wise.
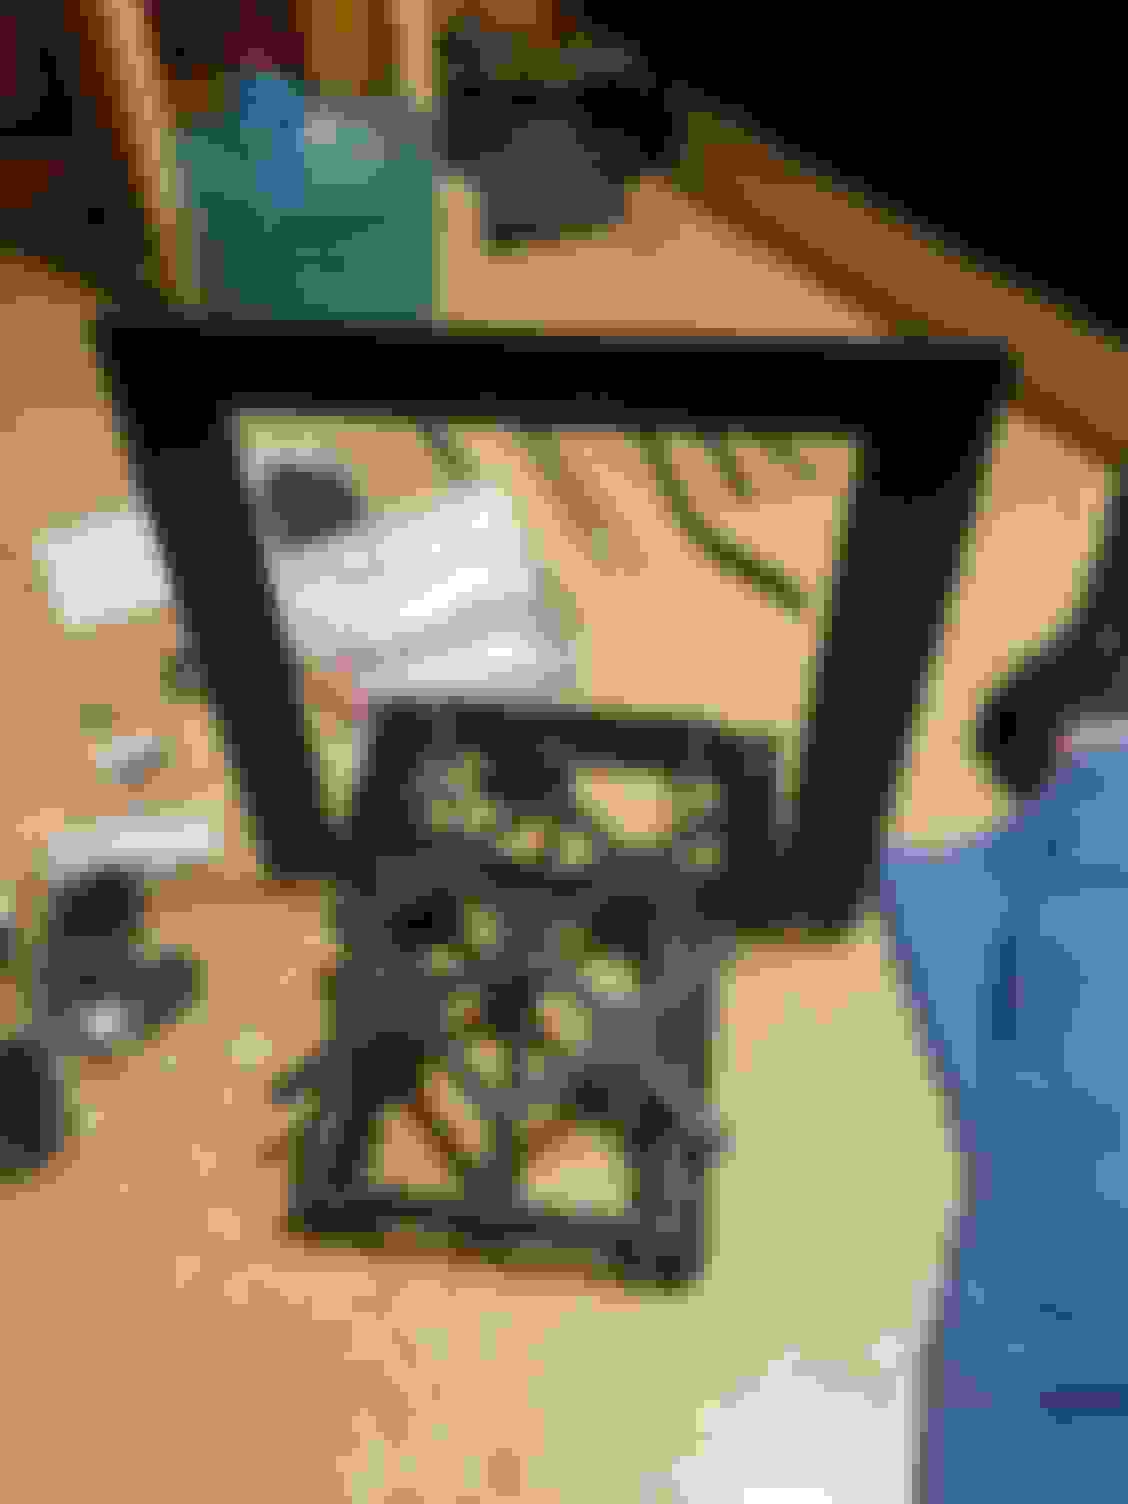
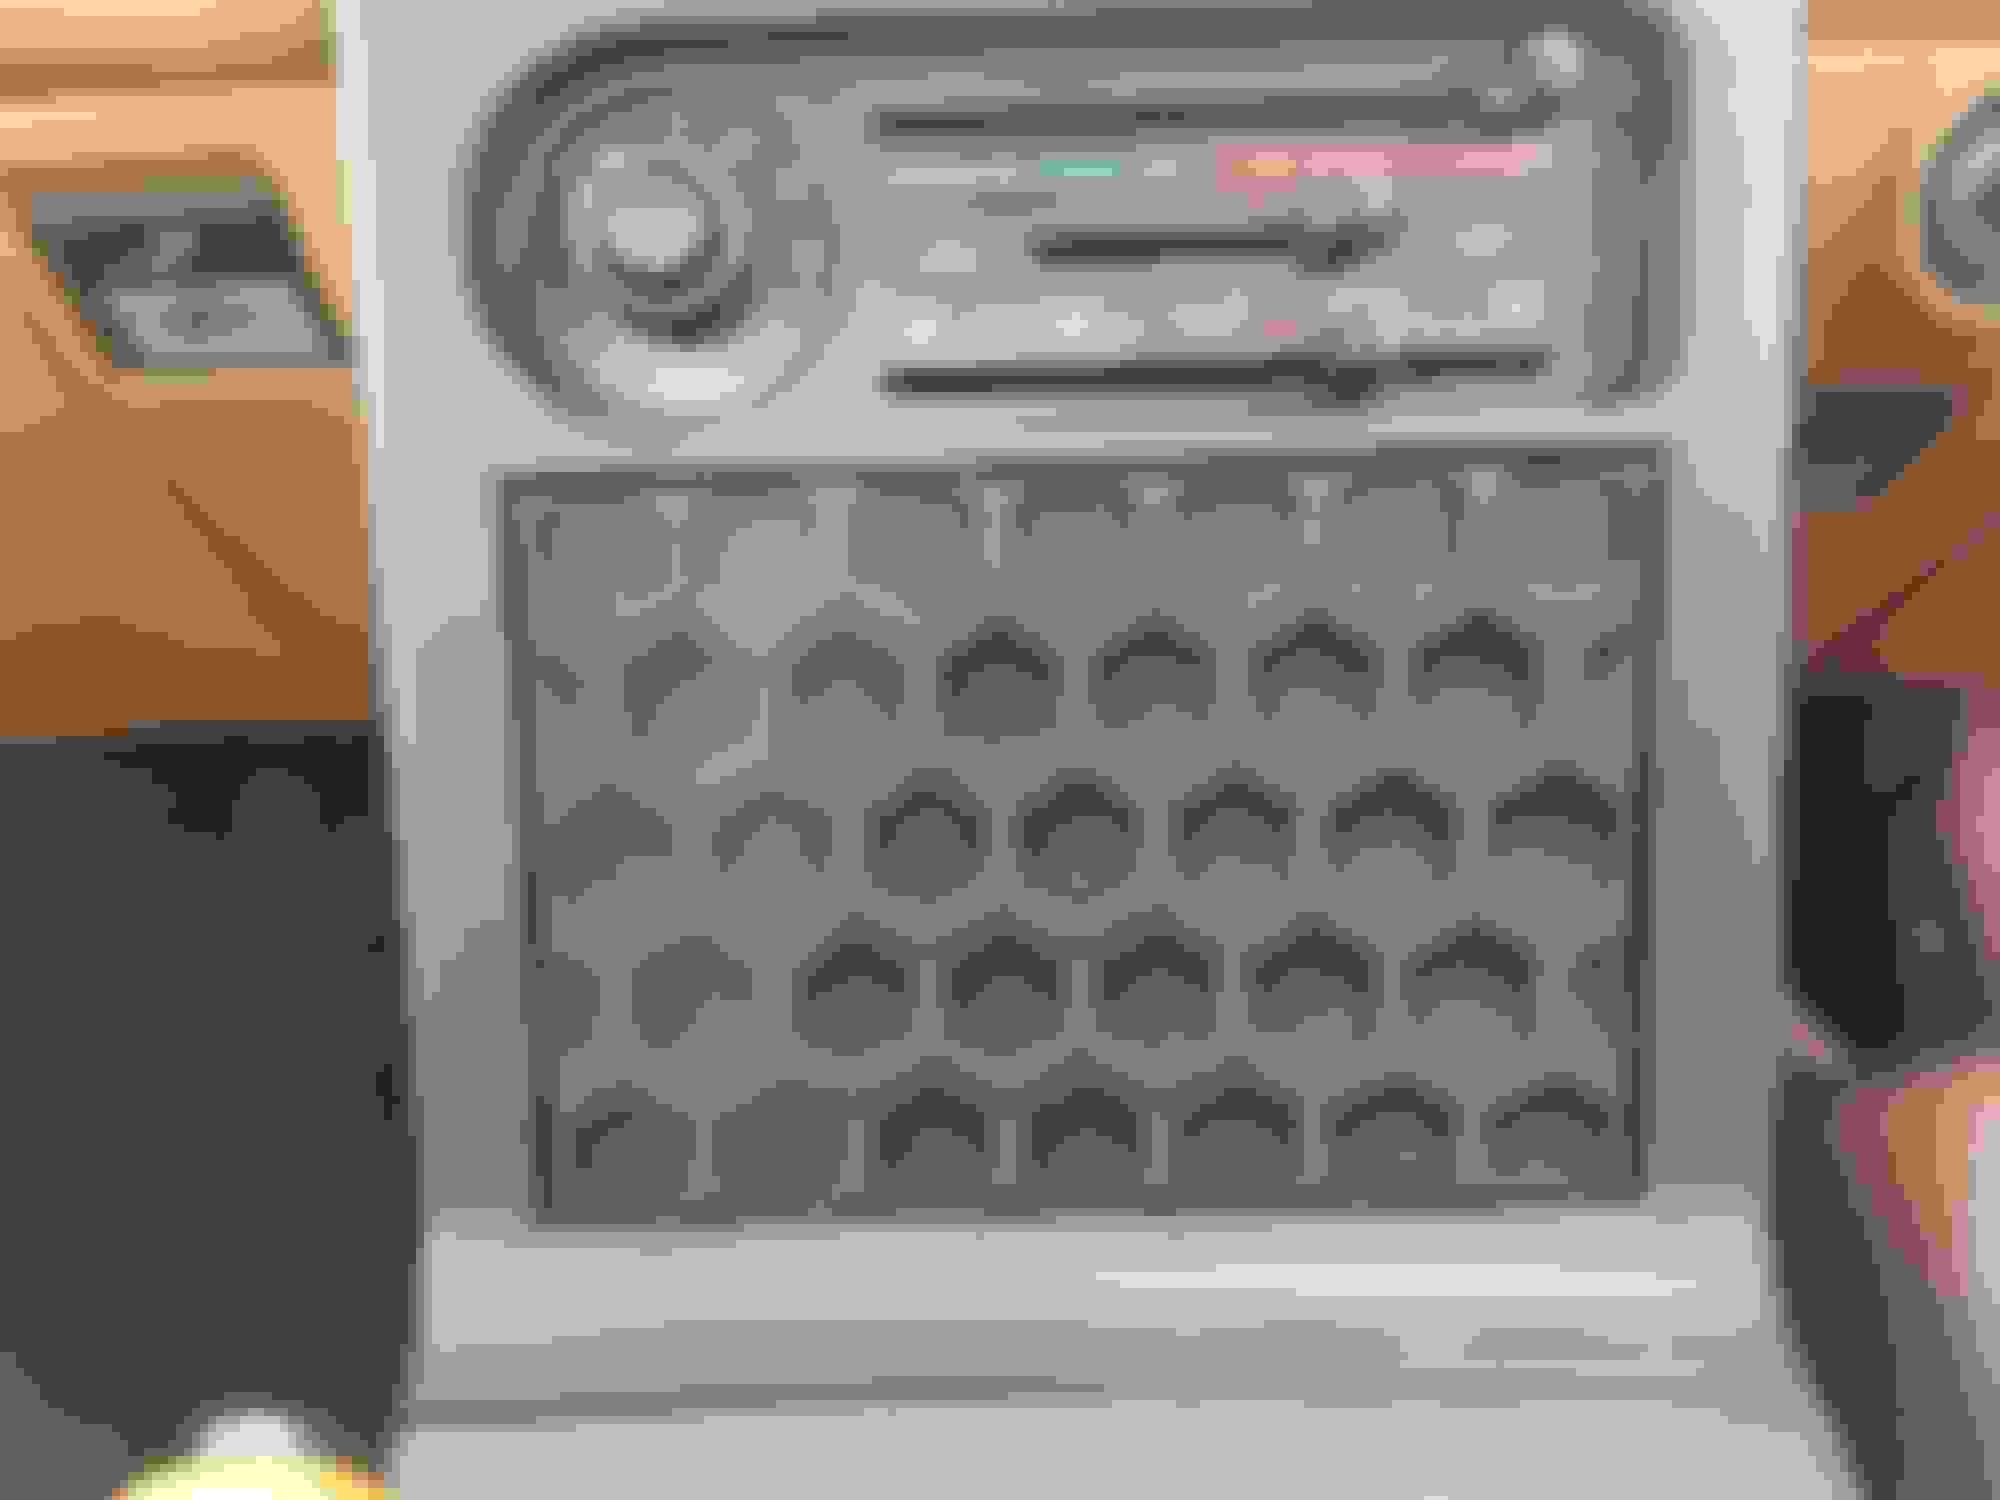
Purchased and built my own 3D printer so I didn't have to wait in line at the one at my school to make parts. Kind of hoping I can take it off into a business. I'm really enjoying working with the design program and printing things. Just finished a radio delete panel for my car, my intake obviously, and a bumper intake duct for my buddy's prelude. Hoping to make parts for other people, so let me know if you have ideas.
First radio delete panel prototype. Ended up finalizing it on the 4th iteration. Fits perfect now, bolts in cleanly, no tight edges or rubbing, so I'm pretty happy with it.
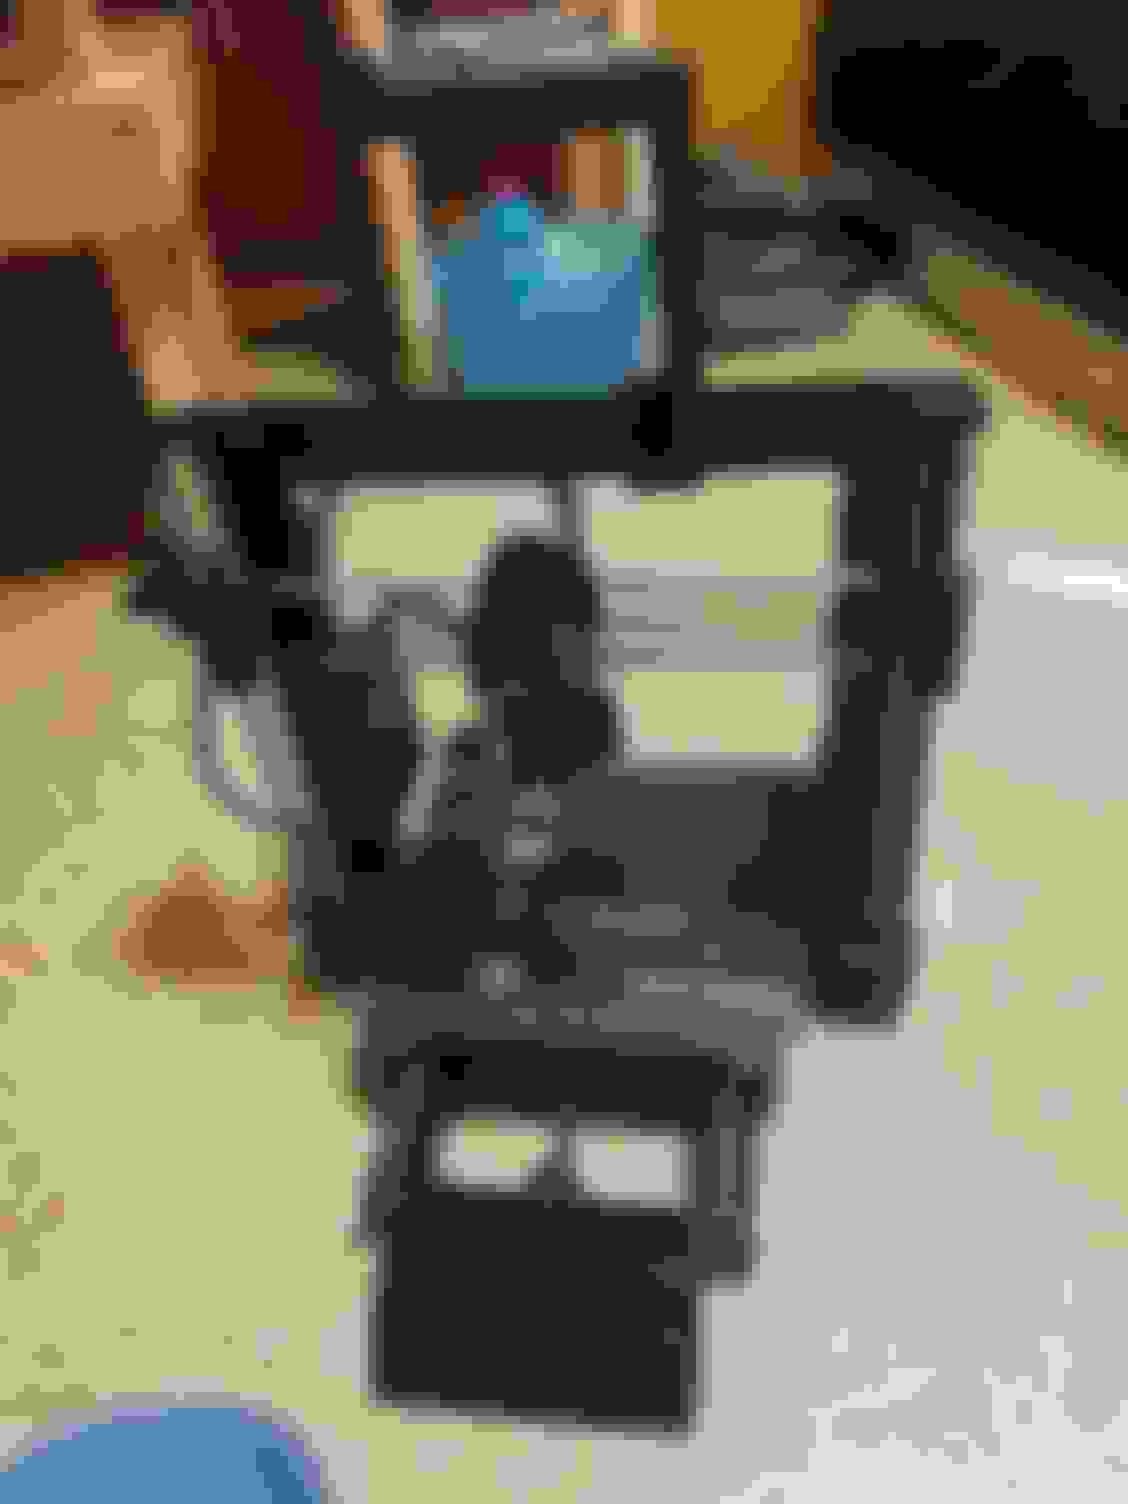
current iteration:
FM butterfly brace installed, exhaust was rattling really badly against it, so I got a new exhaust. No cat, no resonator, no muffler. Please don't do this. It's ******* atrocious. I just picked up a new cat and muffler that are going to go on it. How I haven't been pulled over yet is a ******* mystery.
Video of exhaust (not running, you don't want that)
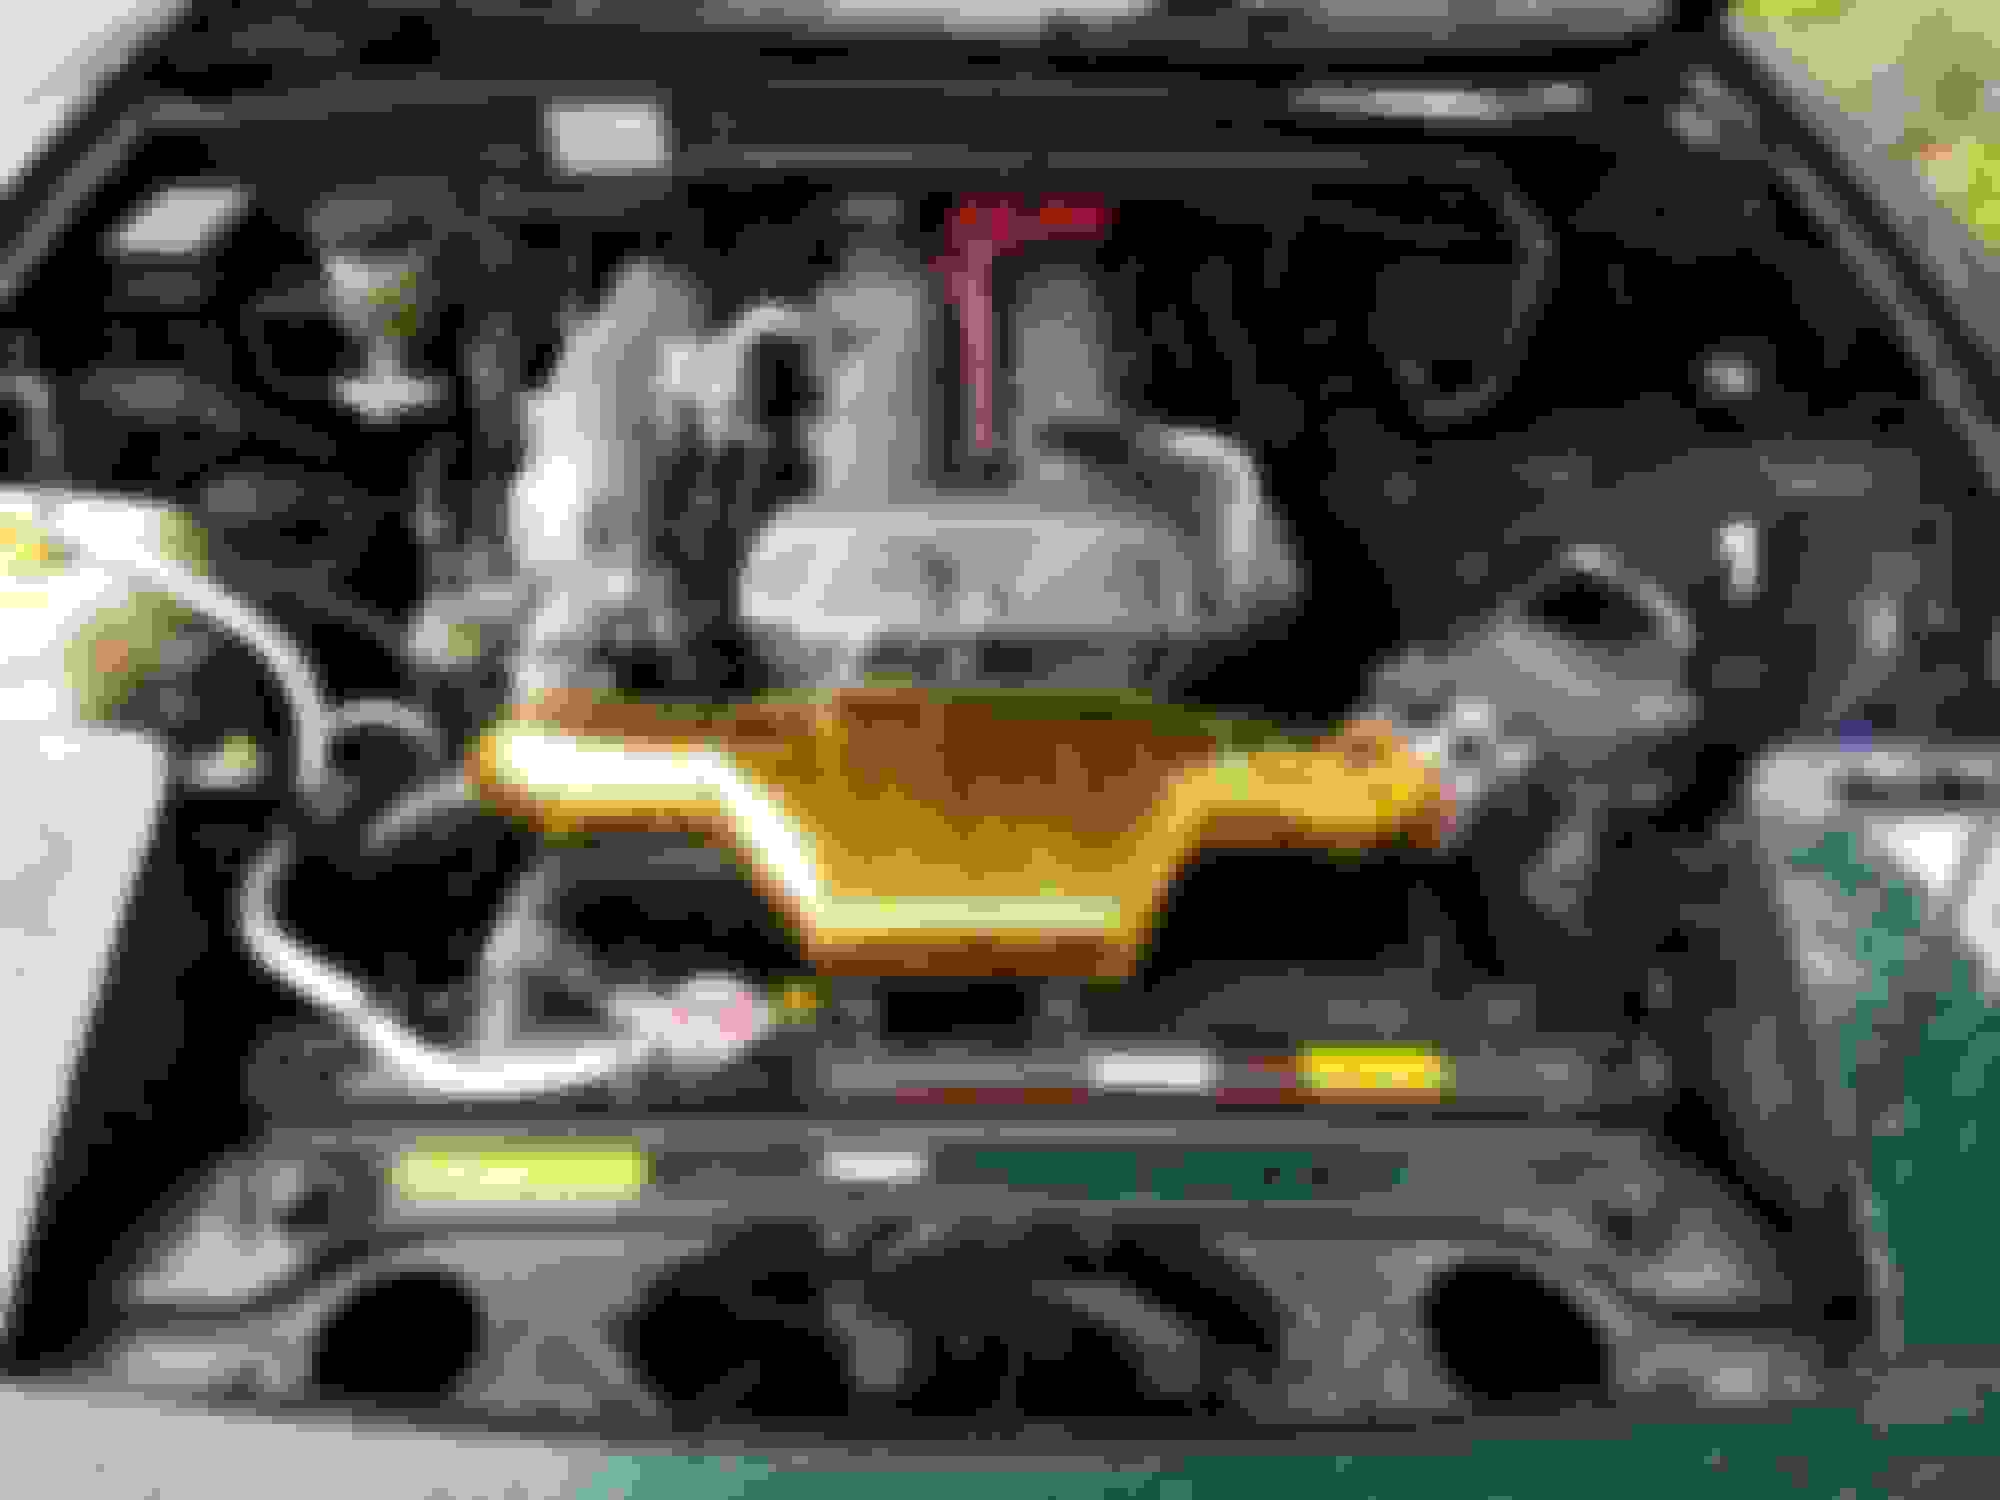
Vodka wash on the headers turned them a really beautiful gold, it's only gotten deeper with time and I'm in love.
side filter now because I snapped a piece of the intake off and decided not to reprint it. Just filled it with silicone and got one of these. less engine clutter. No oil weeping from it, so that's a good sign. I'll have a proper catch can recirc when I install the new valve cover.
For anyone else with an auto and no header options, the racing beat will fit with slight modification. you can see in the video above where it was cut and spliced into the new exhaust. Even a semi competent exhaust guy can do it for you. I walked out the door for $200 bucks with the modified header and full new exhaust. Tipped the guy another 100 because it was done same day and i was honestly shocked about the price. At a different place, I got a new cat back installed in my old BMW 6 series, cost me $700 out the door for nothing but 2.5" pipe and 2 bends welded to the existing cat.
Anybody in western Washington, check out Mike at Shoreline Muffler.
(yes it currently sounds like ****, but that's what I asked for, and I bet you I'll come out the door under 200 again with it fixed and new parts installed.)
Helped my buddy get his mazdaspeed 6 running with a bigger turbo and **** tons of other parts:
Hood struts from Rspeed. Their customer service is spectacular by the way. Install was easy enough, hood sits a little funny, probably an alignment issue from when I took it off for the rear temp sensor fix.
Decided that when I take it in for the new exhaust it'll be going out the side now. Props to Tommy (@bossroadster) for the tips on routing and sharing his setup with me
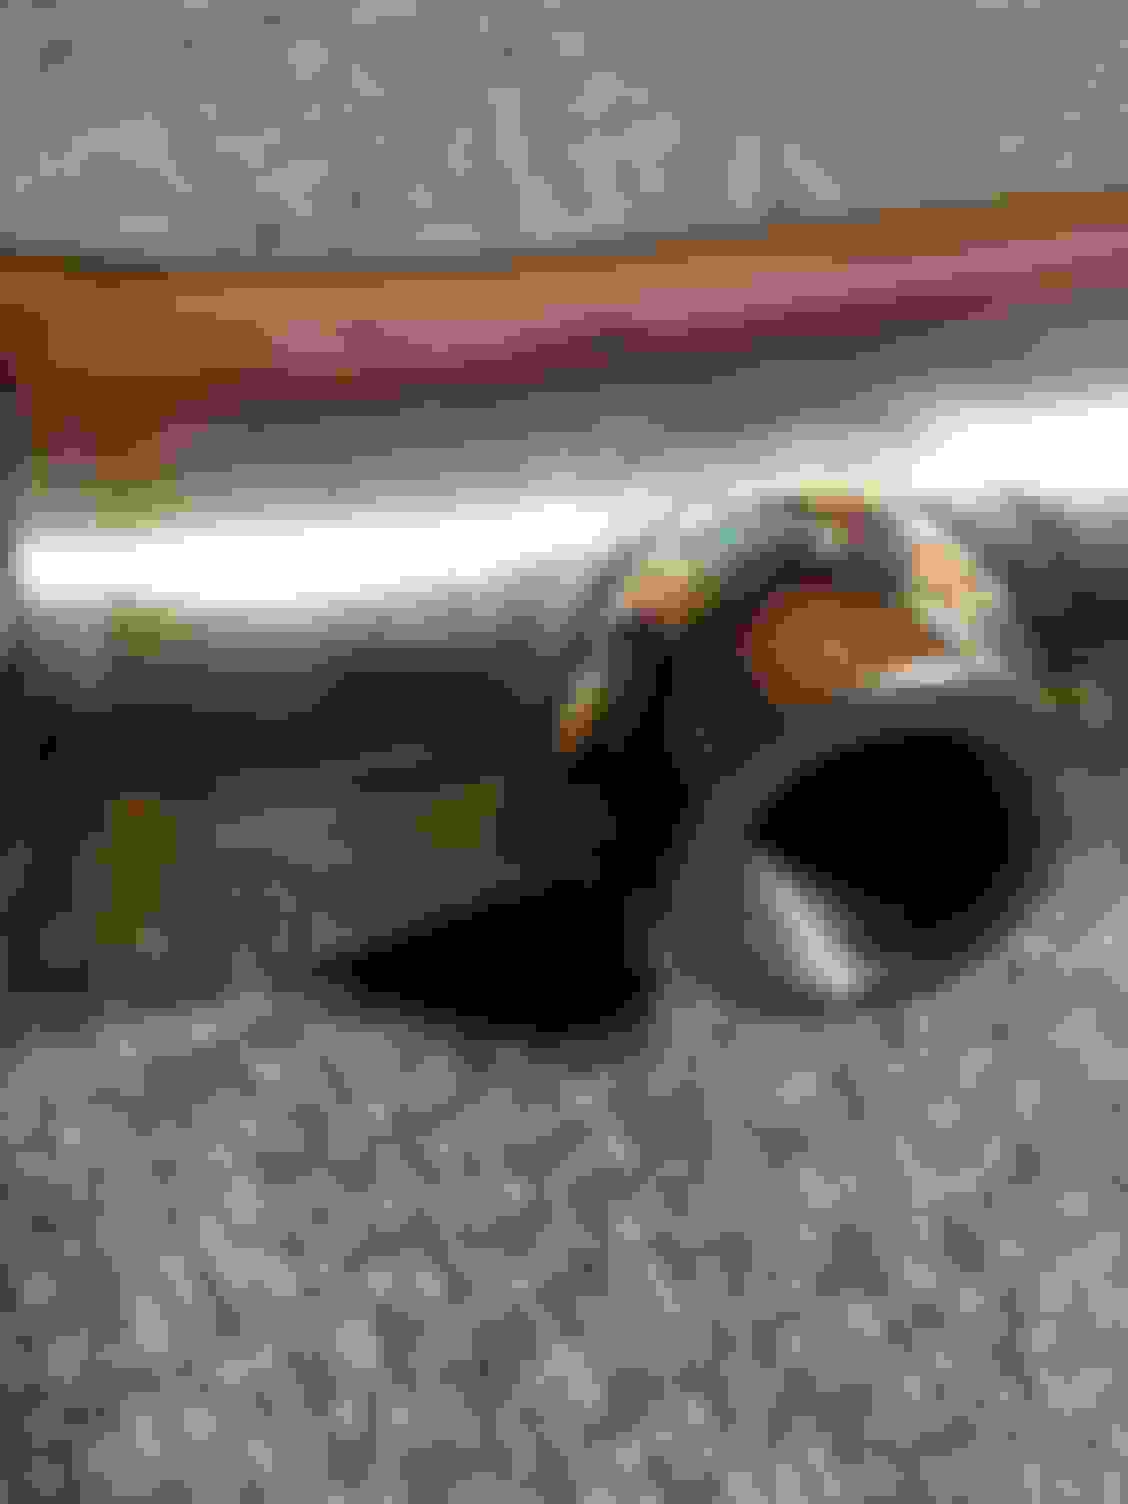
Needed a bigger hole after some thinking about it:
bandanas are OSHA approved, right?
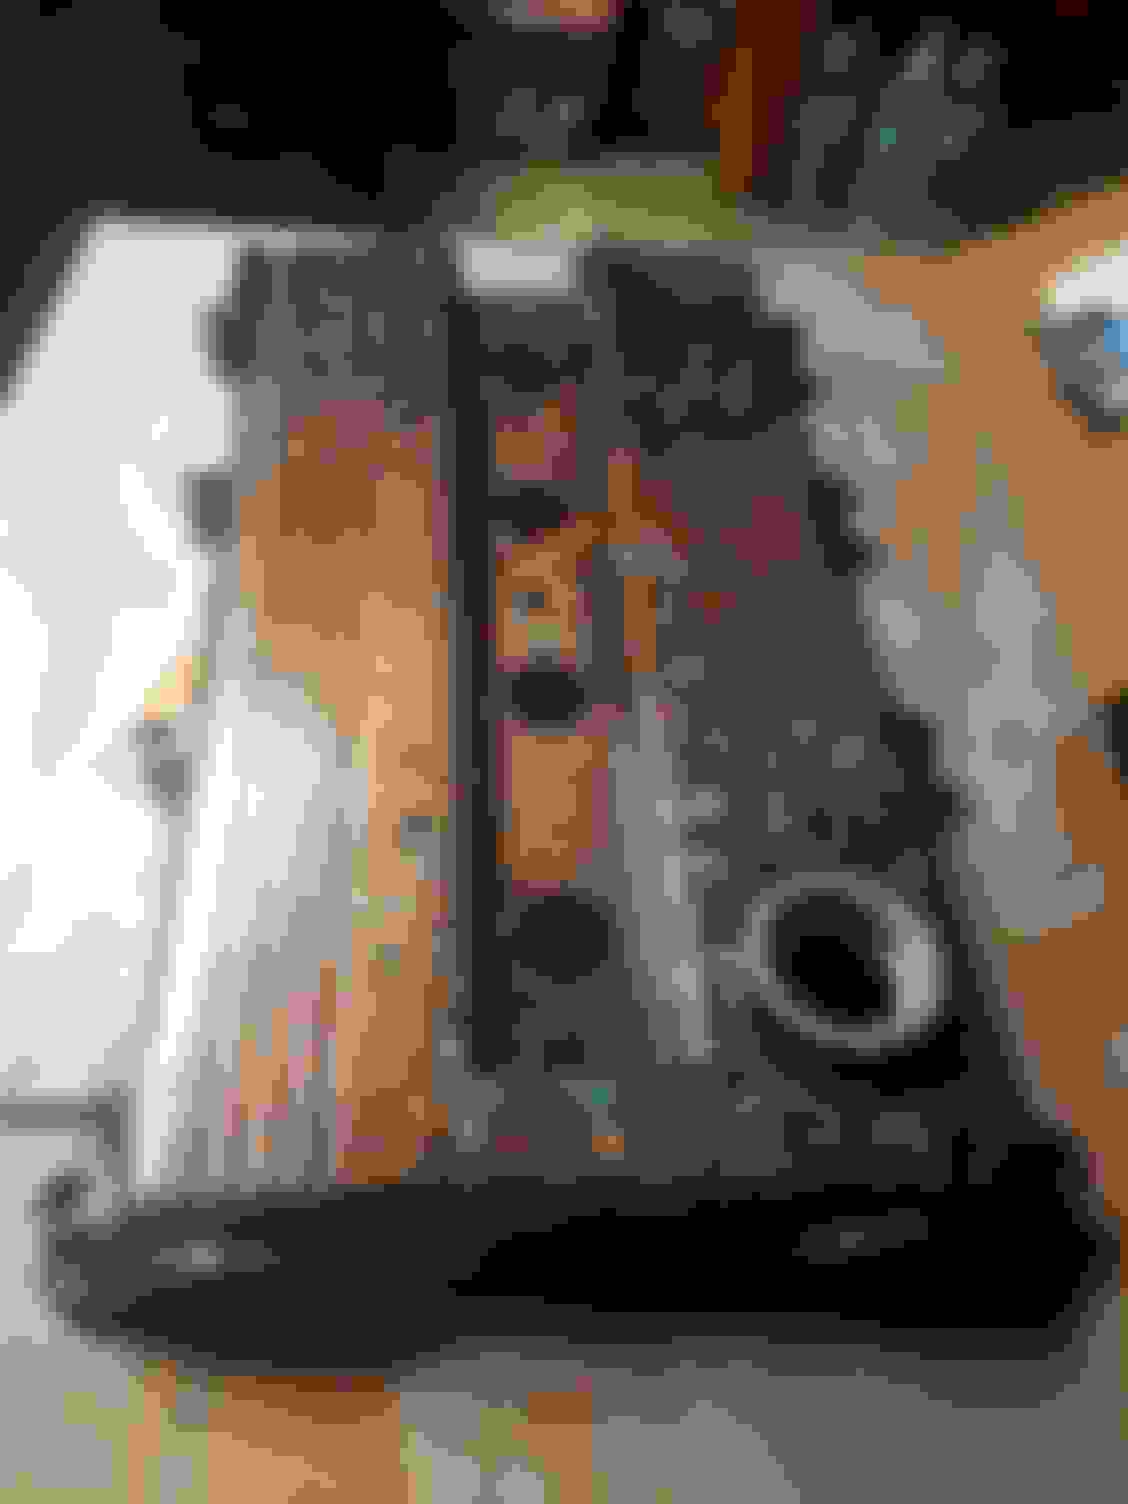
heat shield plate ideas:
figured I'd make the inner hole bigger than necessary to eliminate and interference or rattling. Air gaps also allow it to stay cooler, and it'll be getting some sort of heat protection back there. The heat shield is where i'll make the outlet fitment nicer.
Bought an RX7 AFM, which might be plug and play into the harness, but is certainly not plug and play to the intake. Luckily for me I can just design a new intake end and plug it in, so I'll get to that eventually. It'll need new couplers and clamps. I might do a whole new intake design, in which case my current one will be for sale.
Bought a carbon kevlar bride vios 1, help with mounting thoughts would be appreciated. (my driver seat, your passenger, will be for sale when I get it mounted. Tan leather, decent shape, no rips, could use leather conditioner)
picked up some engine bay dress up hardware from racethetix.com. He makes stuff specifically for the speed 6, but the bolts are the same sizes. Installed his stuff on my buddy's car, it's quality, prices are low, show him some love.
Still need to install my AF/R meter (can anyone point me towards a comprehensive install guide?) I'll be running it by itself until I get another MS3, so I assume it just needs to be plugged into the exhaust, and a 12v source and ground for the gauge? anybody know of any convenient unused 12v sources? The radio should have one, right? So I could use that since I'm deleted.
Waiting to install the harnesses on the new seat and a roll bar (anybody want to sell me a hardcore x brace or blackbird bar for NA with hardtop?)
Got my dress up bolts in. Ran out of good places to put them since I can't install them under the hood lifts, so I just started putting them in any random hole I could find (sounds familiar). Ended up plugging some old airbox mount holes and whatnot. I like them, but I would like a nice uniform place to put them so they really stand out, they seem kind of random right now. I'm looking into getting a set for my rear window bolts, and a set for my valve cover when I get around to the install.
I'm kind of leaning towards a BRG/gold color scheme. It seems pretty nice and I would just need some body work, detailing and a respray instead of a full paint job. Probably switch any non accent pieces in the bay to black, clean up the BRG paint, and pick 2 or 3 pieces to be solid colored to cement the scheme with little pieces here and there like these bolts.
 06-12-2017, 09:07 AM


 0
0