
How to do a proper 1.8 budget build


so now you can blame me for those numbers.
Reply
 0
0

0


Thread Starter
Joined: May 2006
Posts: 15,235
Total Cats: 1,700
From: Charleston SC
Uego is fixed now. Scott told me the wrong wire colors to use, swapped the wire over 1 pin in my connector and it started working. Set timing, then got a decent idle set up. Went out and did a little bit of autotuning and the car drove decently. Got home and realized that I never set timing back from fixed at 10 degrees. So I guess my autotuning for today was done in vain. Will hopefully go out for a bit tomorrow and tune some more. Still waiting on injector harness connectors to come in. Once those are in the Mustang EV14 injectors will go in.
Reply
0
0
Thread Starter
Joined: May 2006
Posts: 15,235
Total Cats: 1,700
From: Charleston SC
On Monday and Tuesday I spent a bit of time out in the garage in the horrible cold weather. The plan was to drill my oil pan drain hole. Yet again I could not get the big *** drill in to fit. So I ended up pulling off the AC compressor and removing the AC bracket. I picked up an angle drill from HF and am planning on using that to get in and drill the hole. Will most likely be using a step bit.
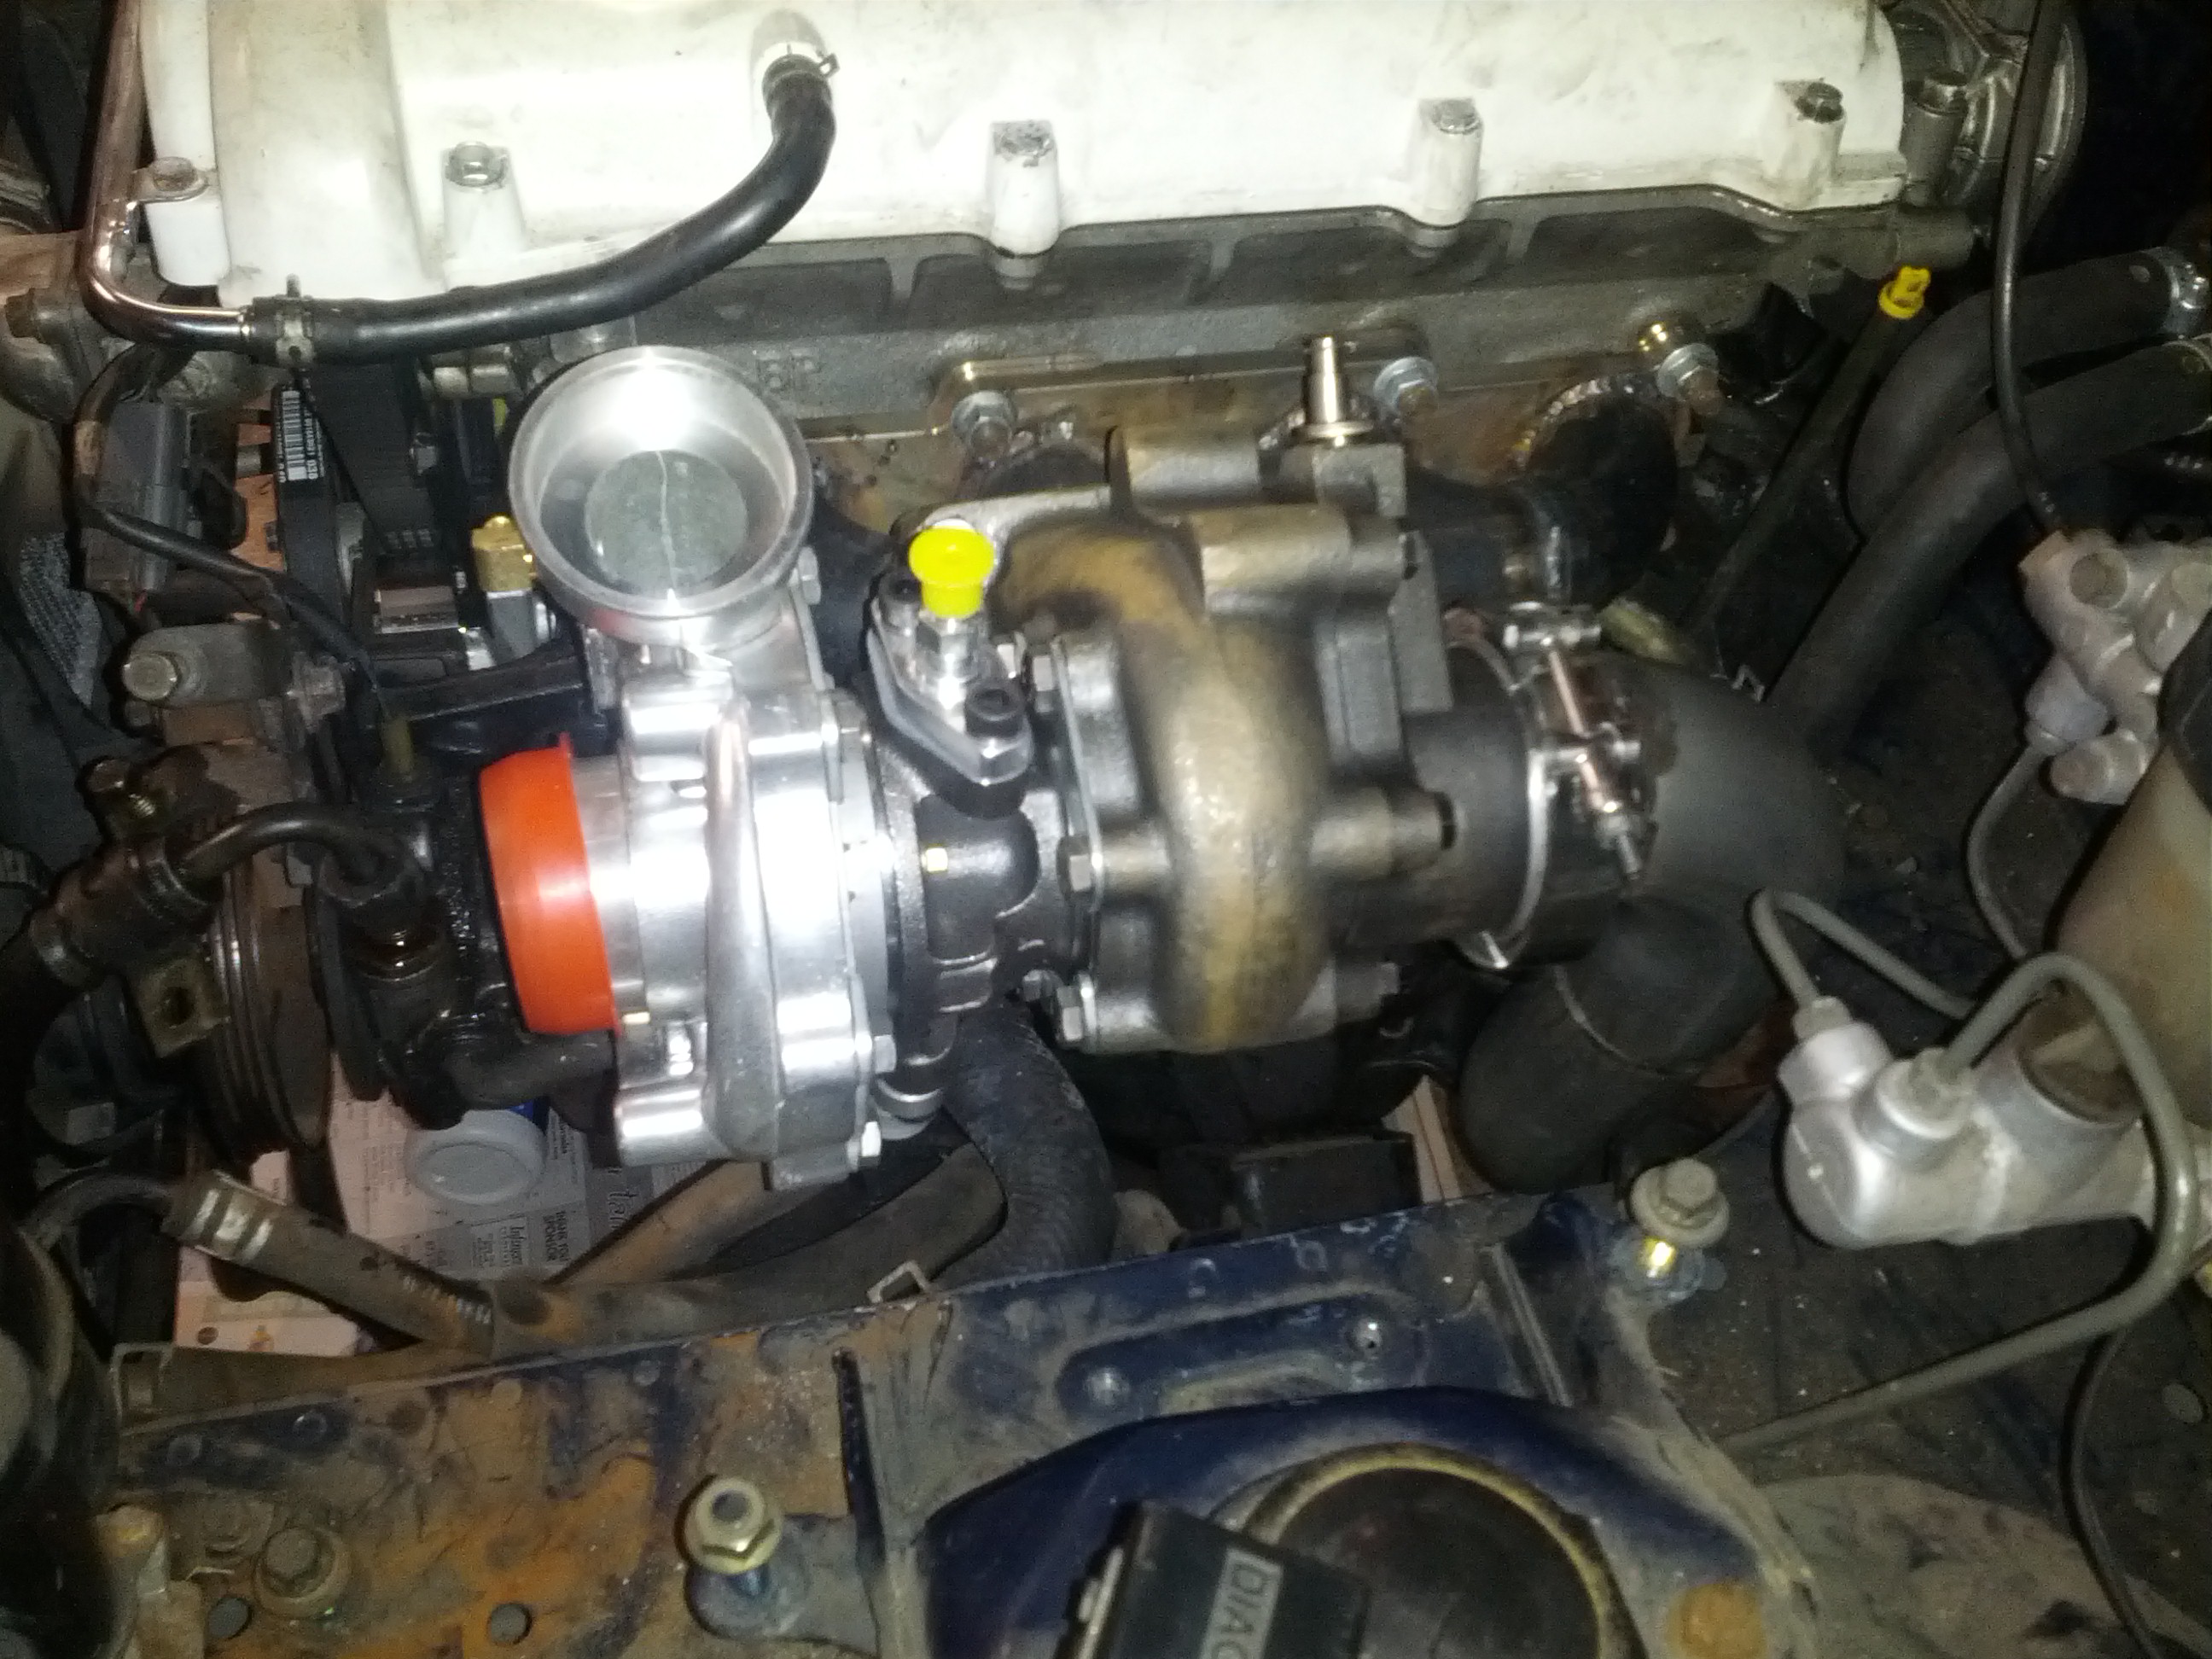
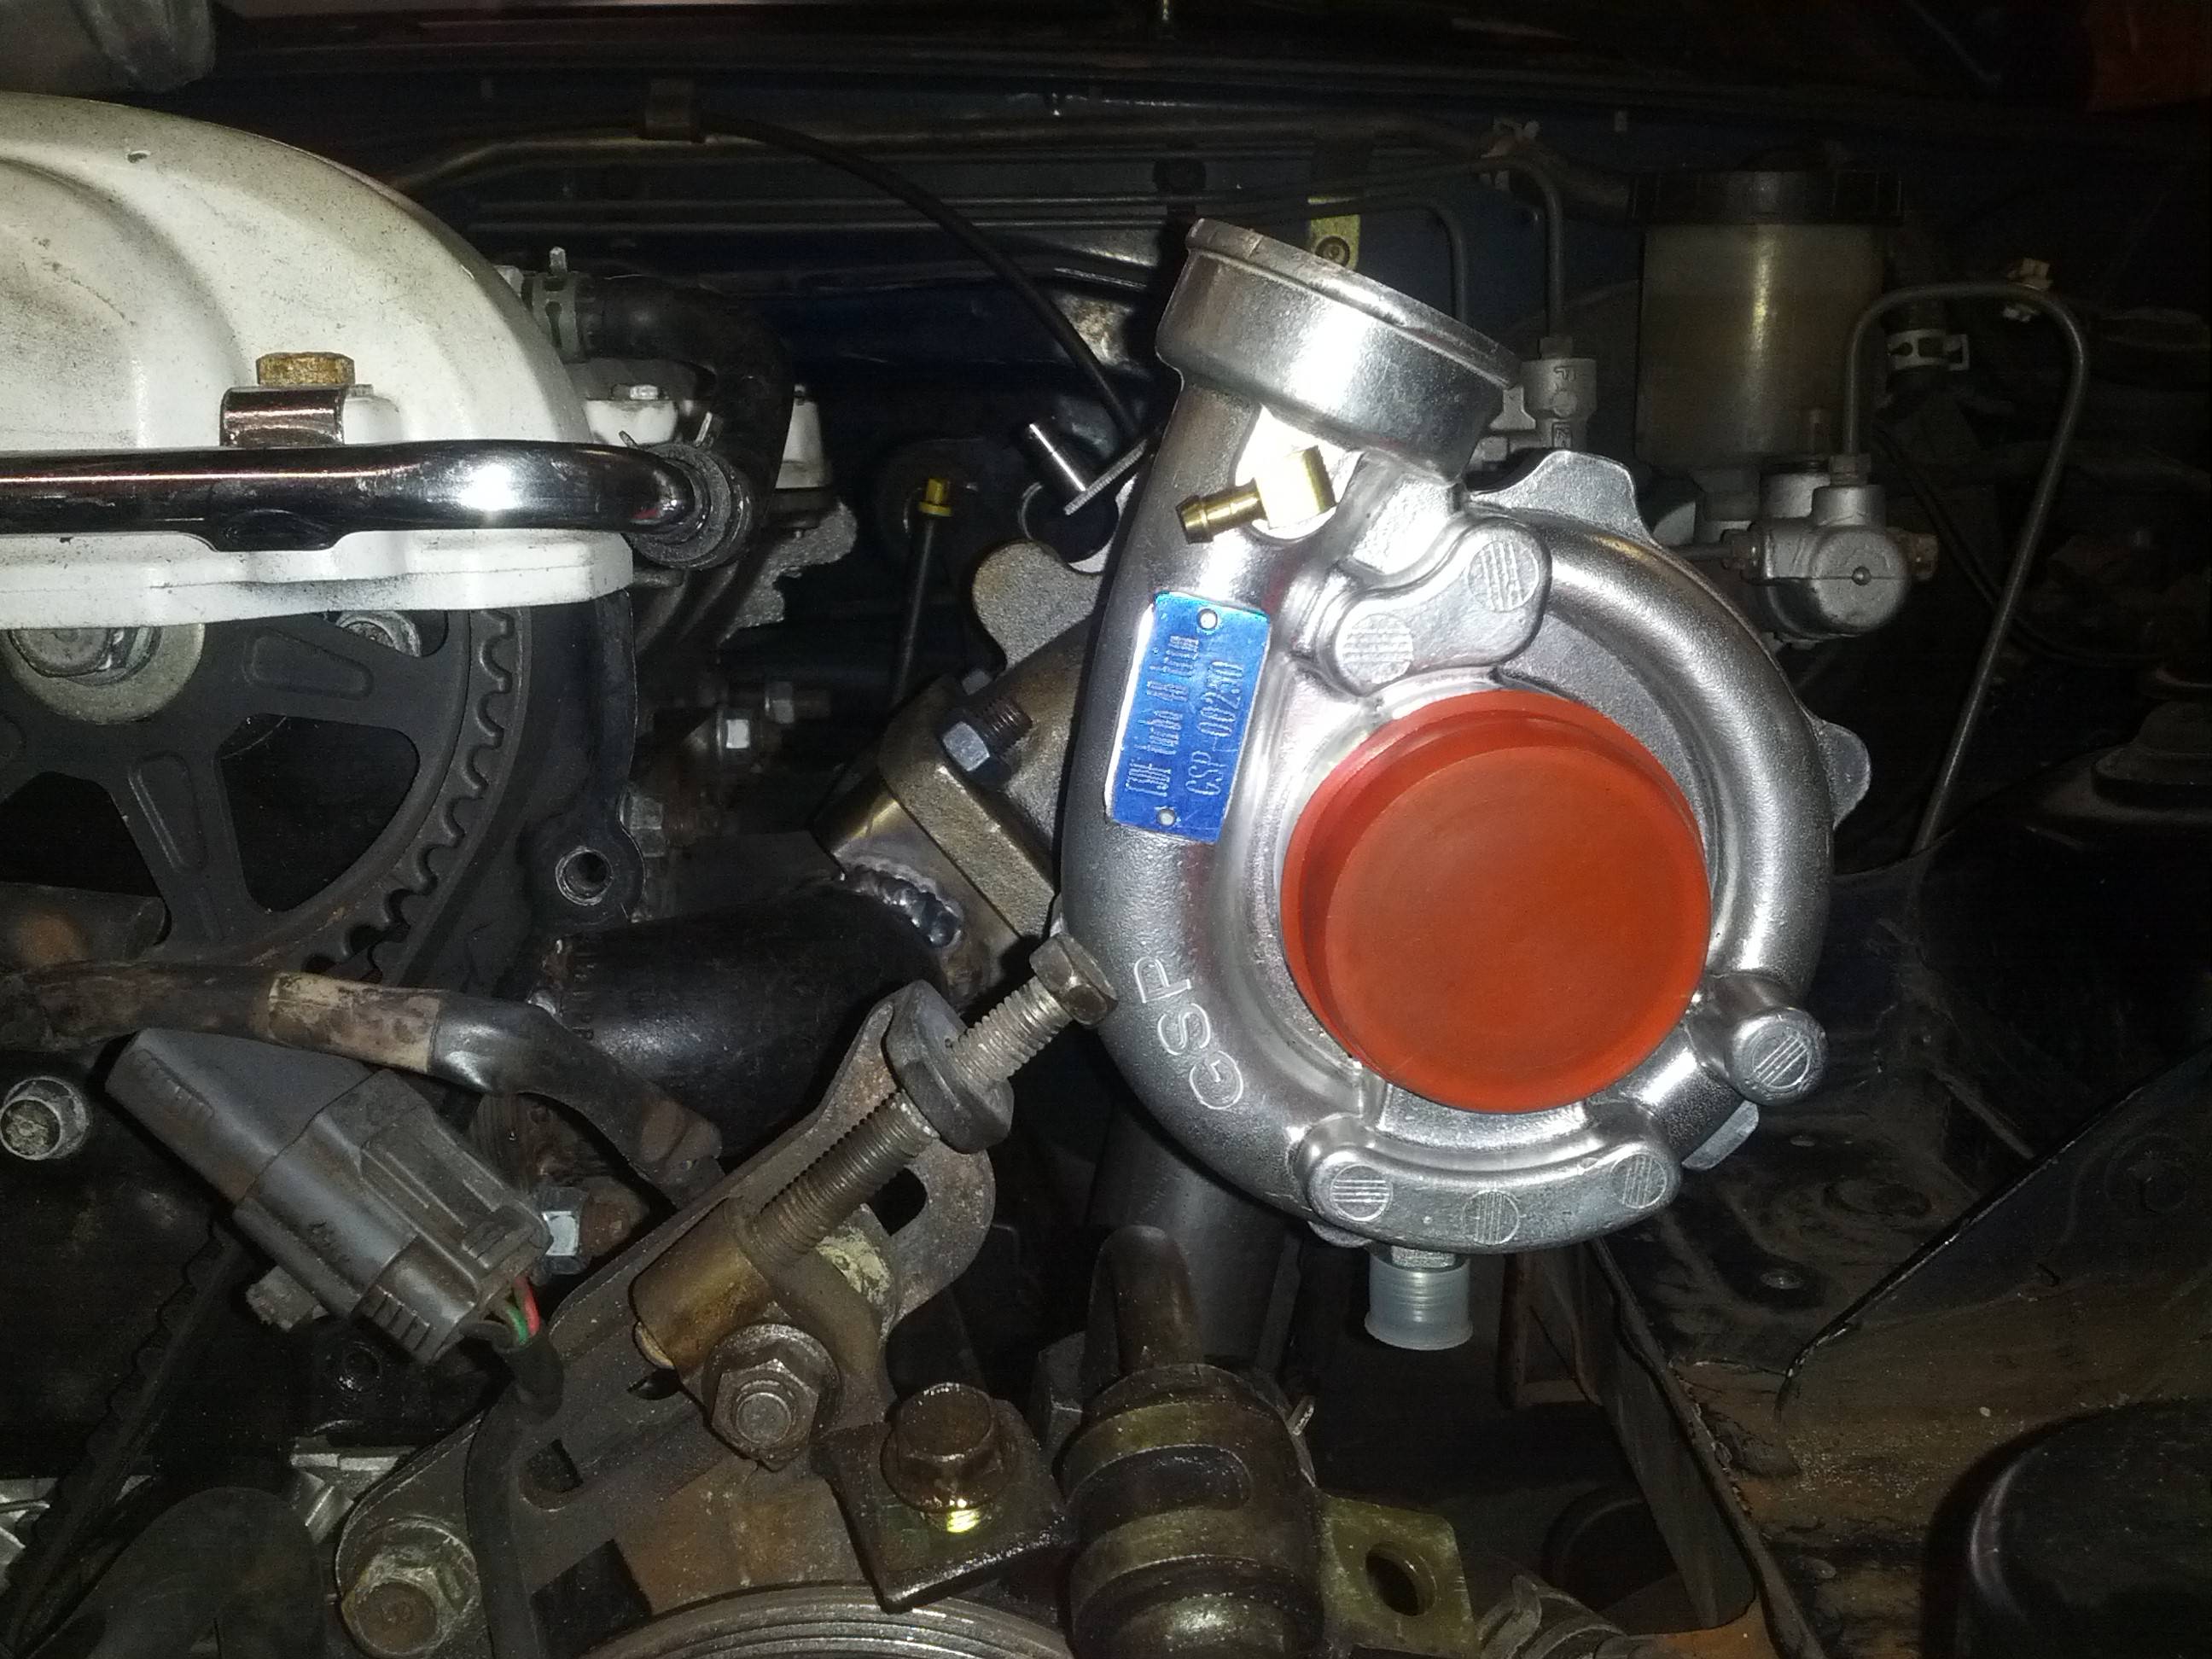
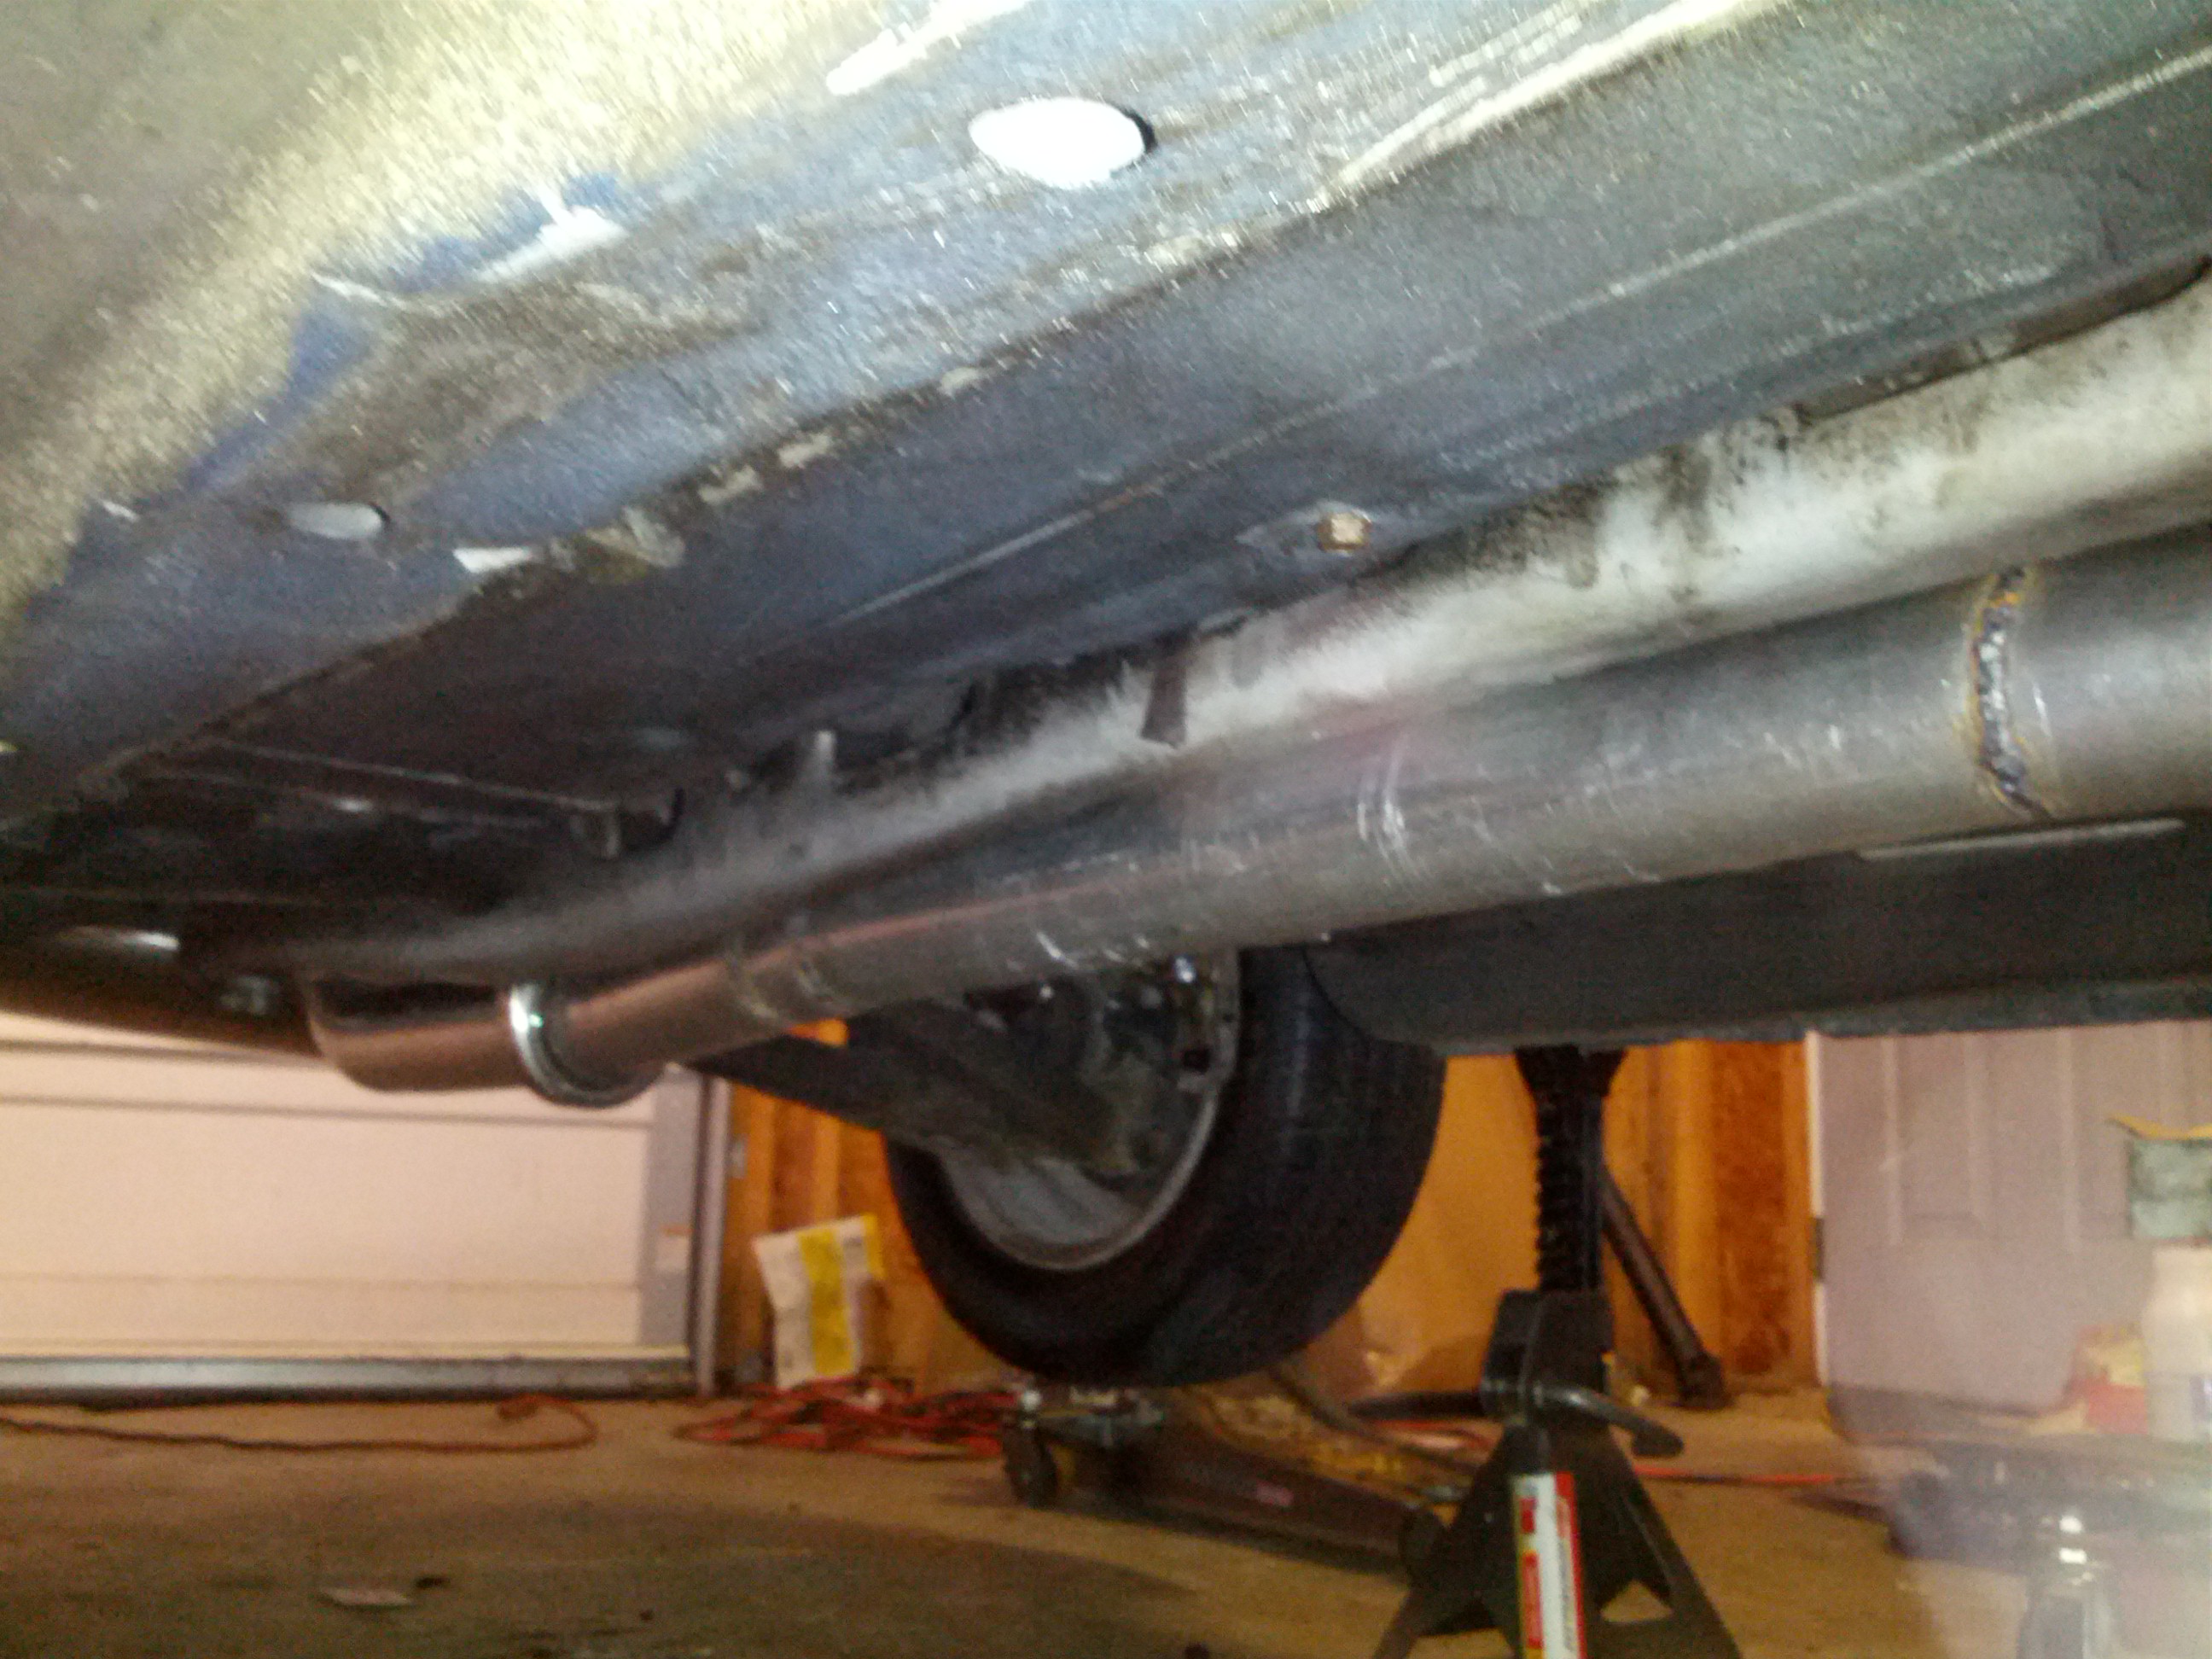
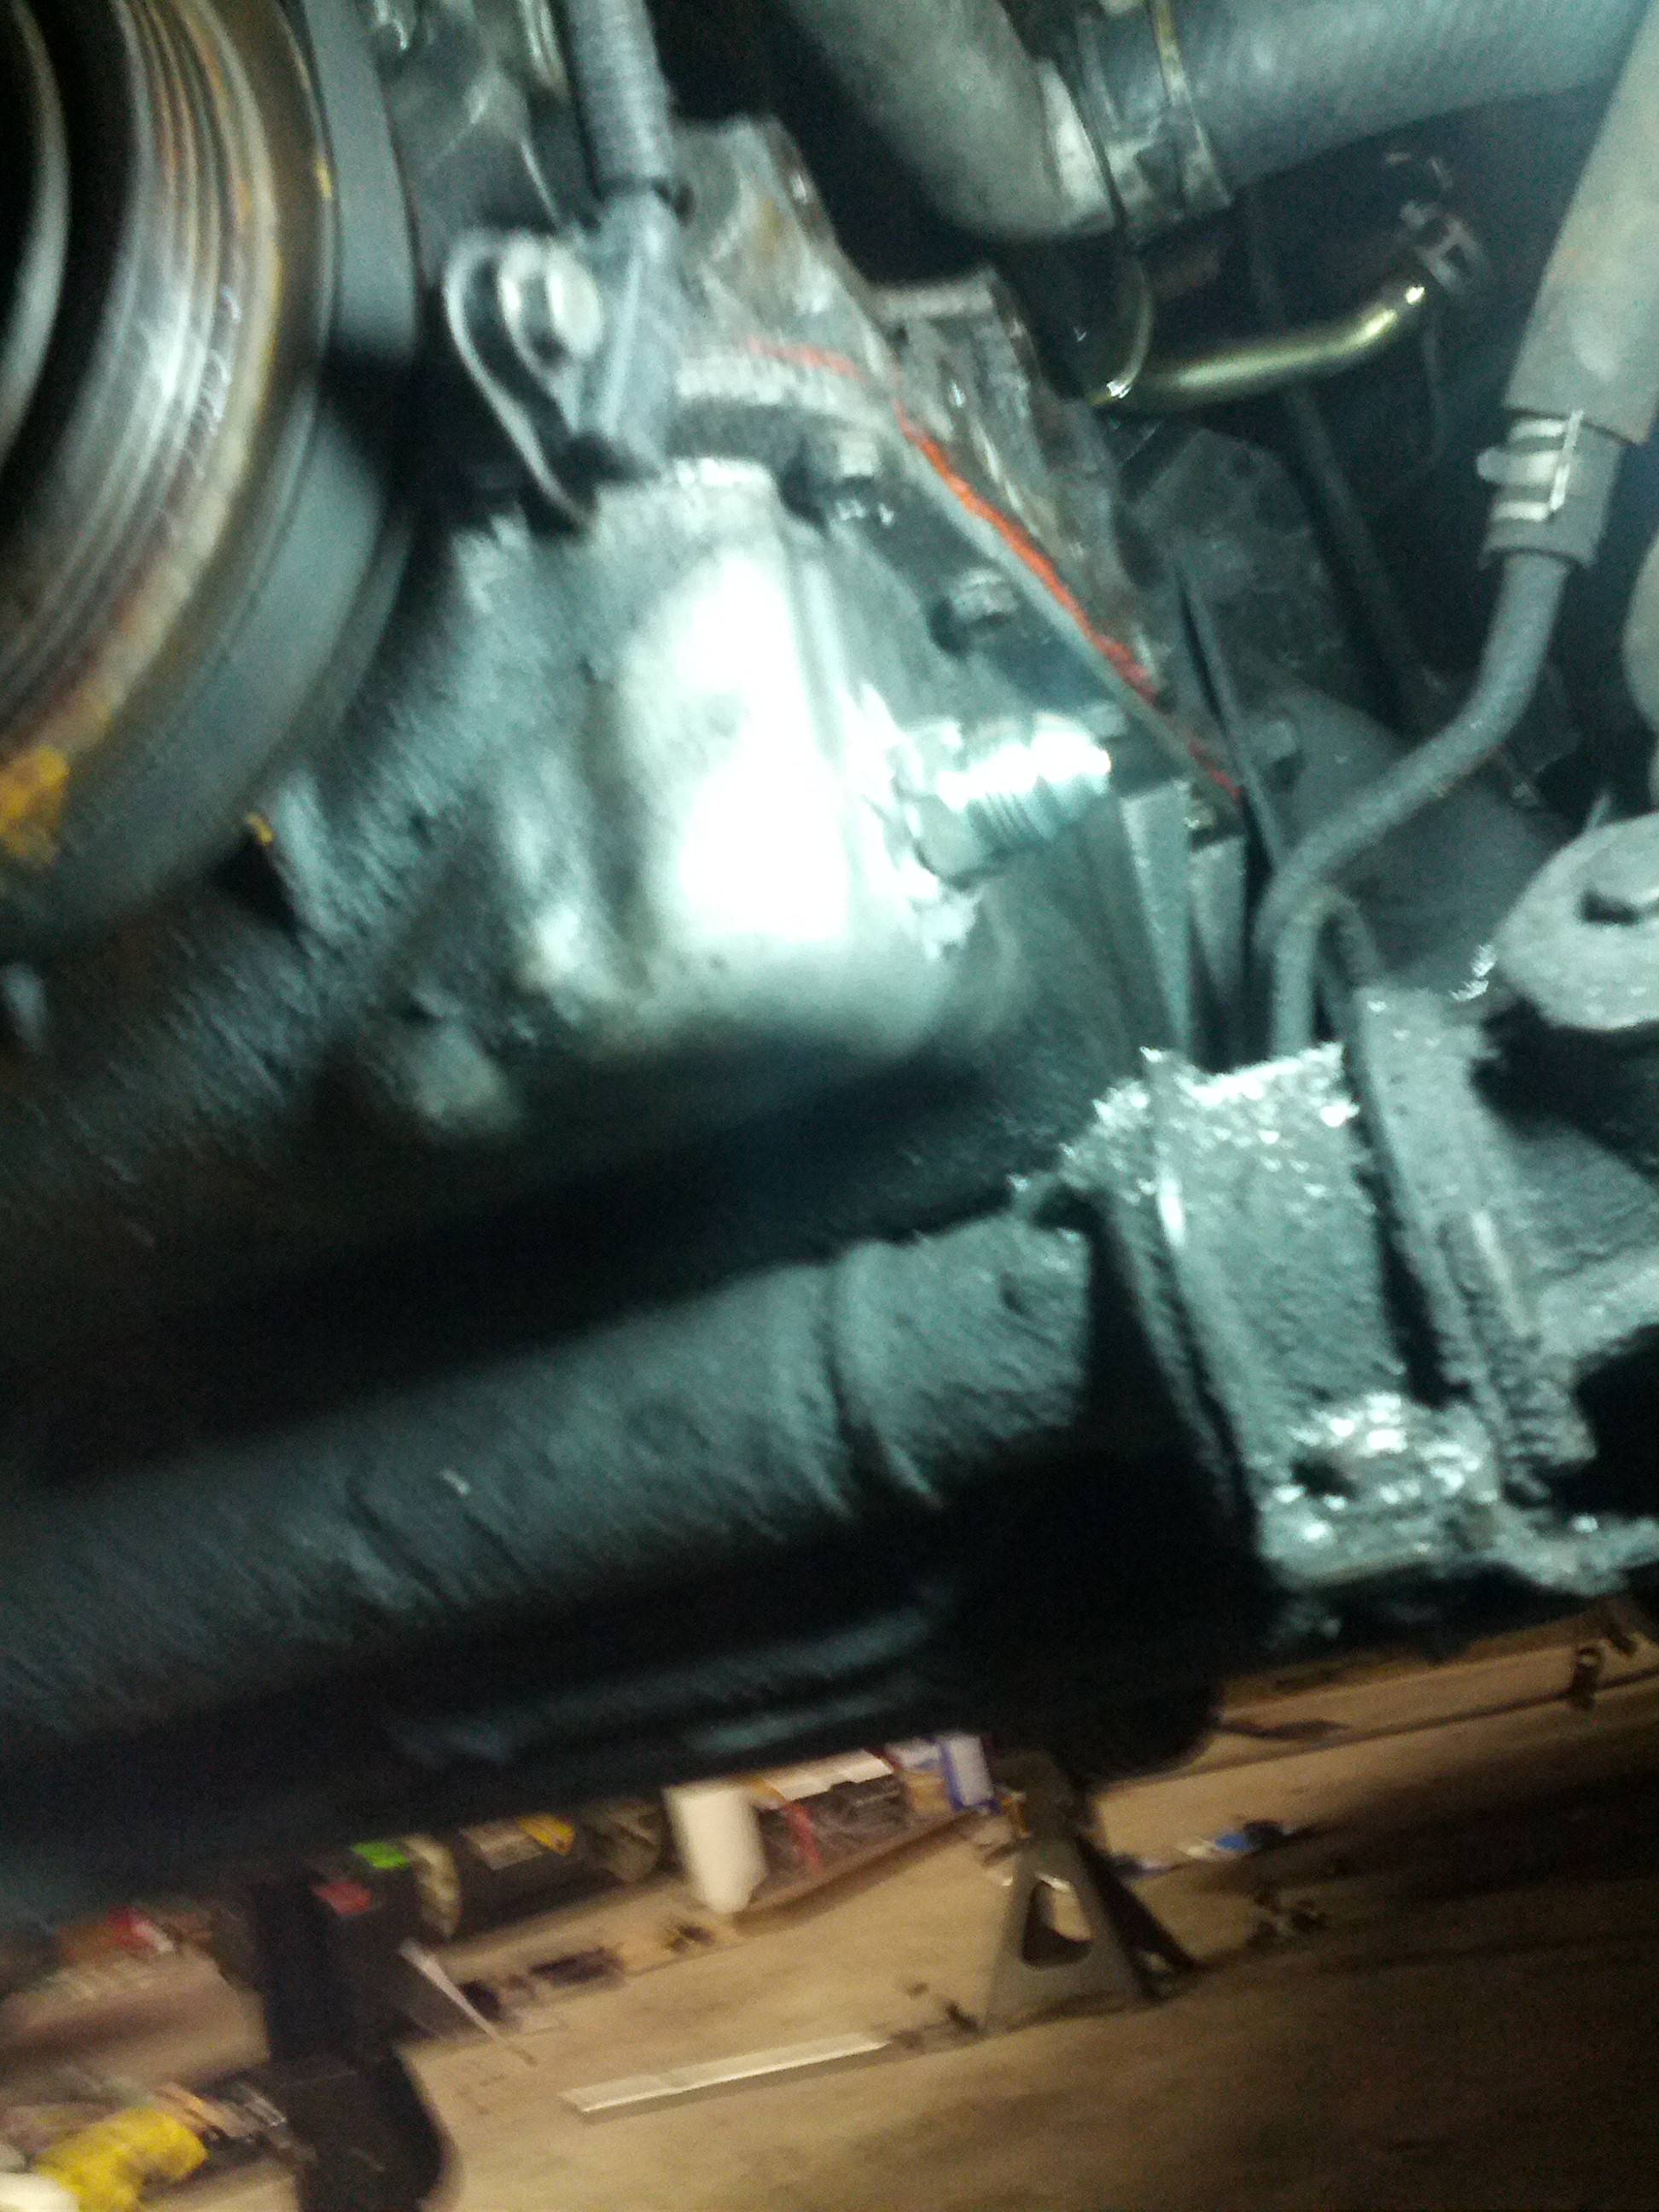
I also decided to say **** it and start installing turbo goodies. So after removing all the stock exhaust the new mkturbo setup went on.
Tonight I need to figure out where exactly I want the O2 sensor, then take off the downpipe and weld that on. After that will hopefully be drilling oil return, then figuring out how long of oil lines I need. I might also work on fabricating some of the intercooler pipes.
Reply
0
0
Post a pic of how you routed exhaust around the differential and axles, please.
Hard for me to picture it when it was not installed.
Wait, this is the NA, I'm wanting to see the NB. But, both would be nice, actually.
Hard for me to picture it when it was not installed.
Wait, this is the NA, I'm wanting to see the NB. But, both would be nice, actually.
Reply
0
0

Thread Starter
Joined: May 2006
Posts: 15,235
Total Cats: 1,700
From: Charleston SC
It is in the works. Details will be coming soon.
Reply
0
0
Thread Starter
Joined: May 2006
Posts: 15,235
Total Cats: 1,700
From: Charleston SC
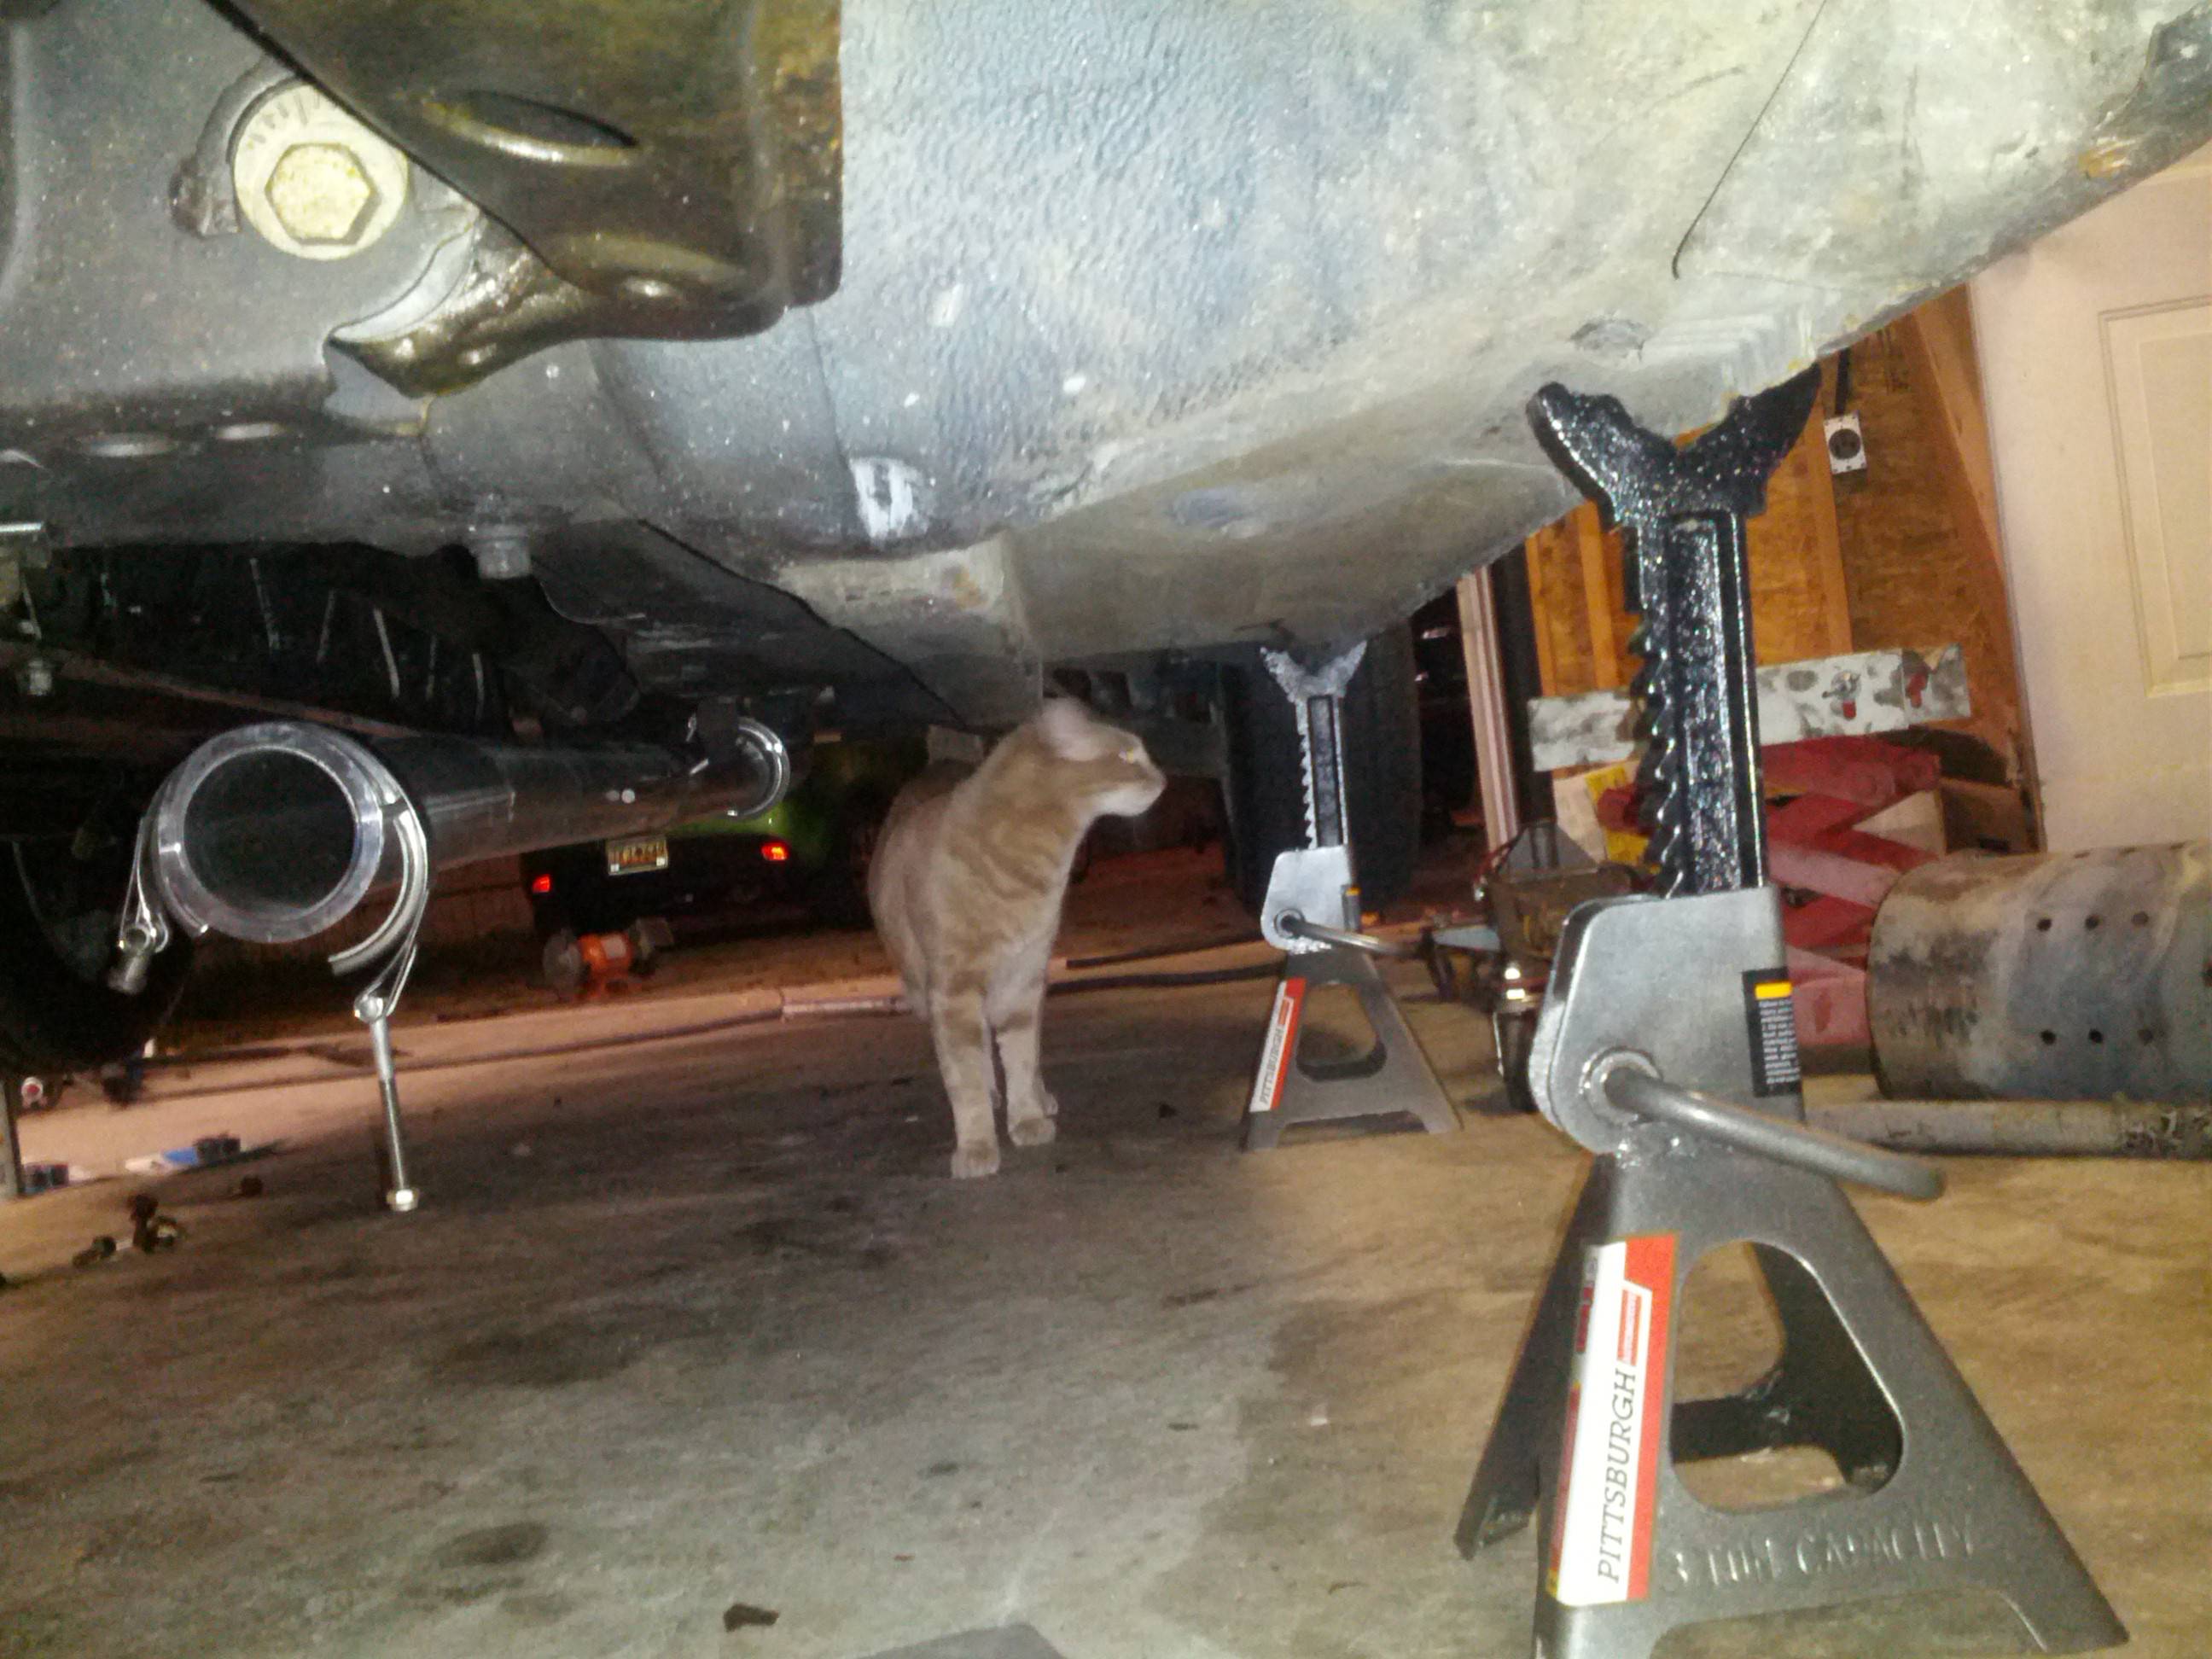
Last night I finally got the oil pan drilled and tapped.
Drilled hole. I used an angle drill and a step bit to go to a 1/2" hole. Then tapped it from there. I ended up removing the AC compressor and AC bracket to get in and have room to do the work.
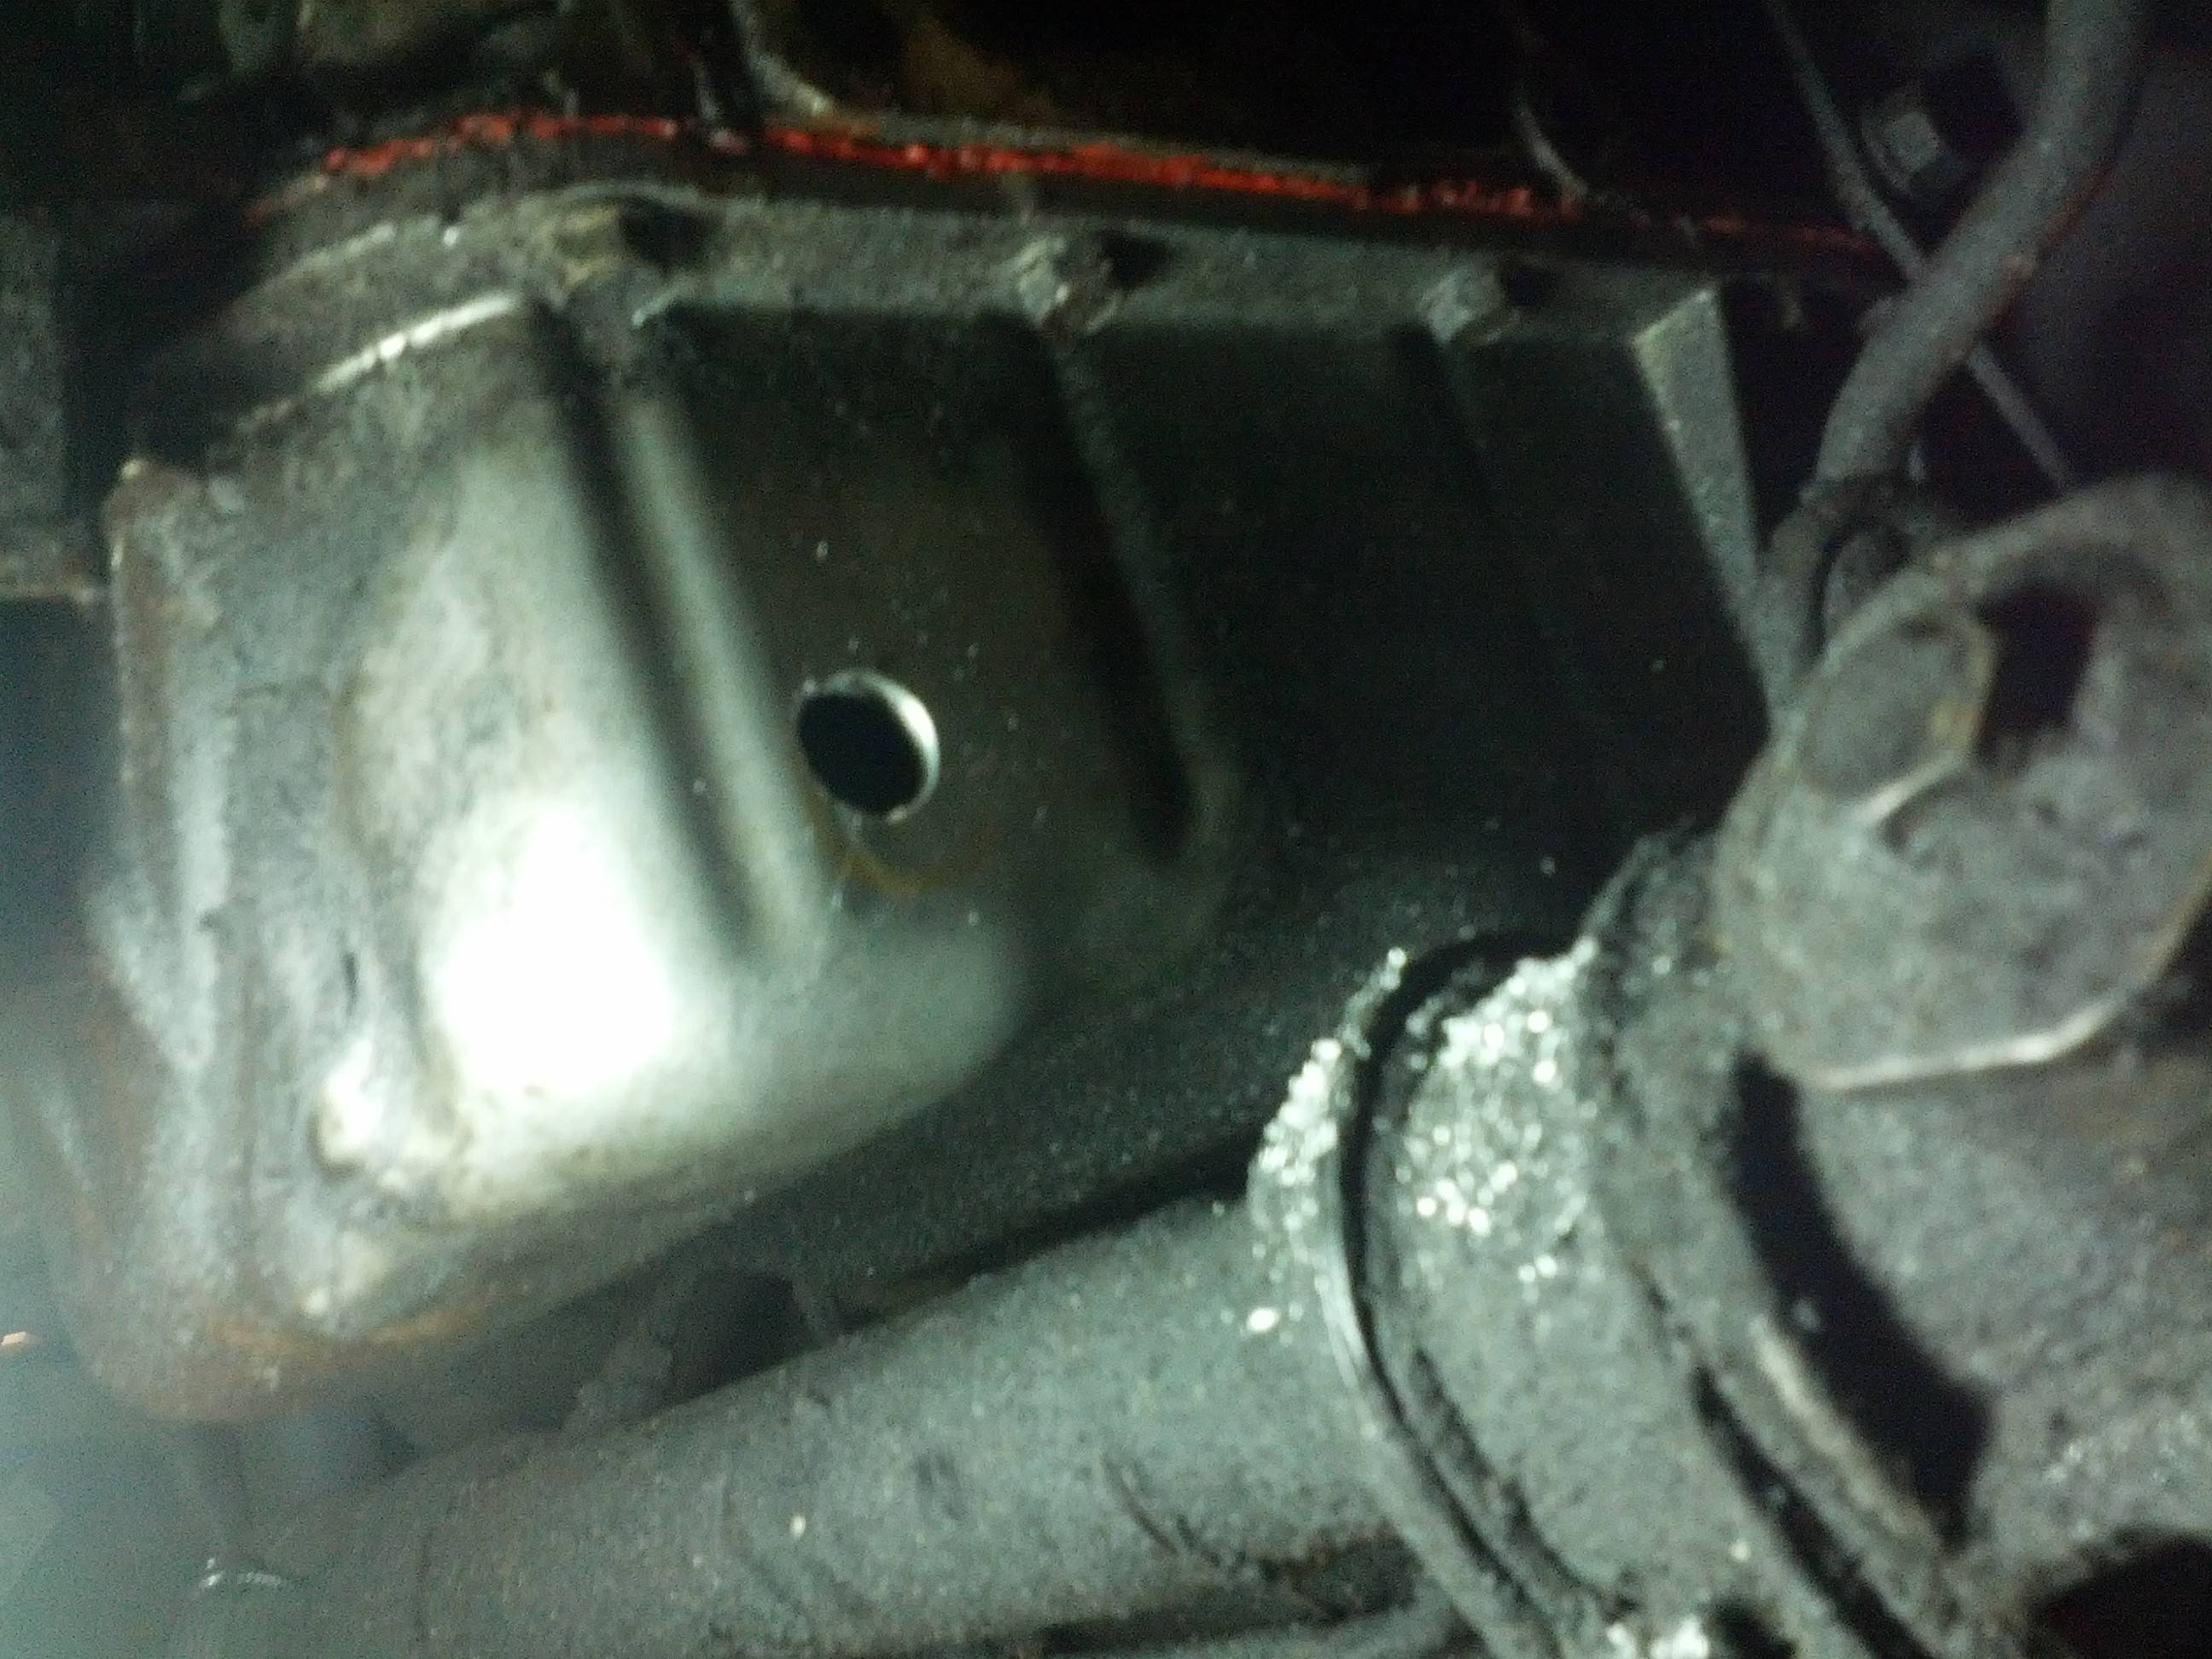
Fitting installed and JBWeld on it.
Safety inspector Ivan making sure that the jack stands are in the proper locations.
Drilled hole. I used an angle drill and a step bit to go to a 1/2" hole. Then tapped it from there. I ended up removing the AC compressor and AC bracket to get in and have room to do the work.
Fitting installed and JBWeld on it.
Safety inspector Ivan making sure that the jack stands are in the proper locations.
Reply
0
0
No rush, whenever it happens. My is done, but I'm intersted in how you did it 'cause of natural curiosity. Or Schuyler could get me a shot when he installs his. He will have a rack.
Reply
0
0

It'll be January before I will be able to get to a lift, but I can snap those pictures for you then, and get some under the car ones when it's just on jack stands during the install. I have a willing helper in Easley, so I'll be doing most of the work there. Time permitting, I'll try to swing by and let you see it when it's done. Looks like I'm going to be pretty down to the wire at this point though.
Reply
0
0
Thread Starter
Joined: May 2006
Posts: 15,235
Total Cats: 1,700
From: Charleston SC
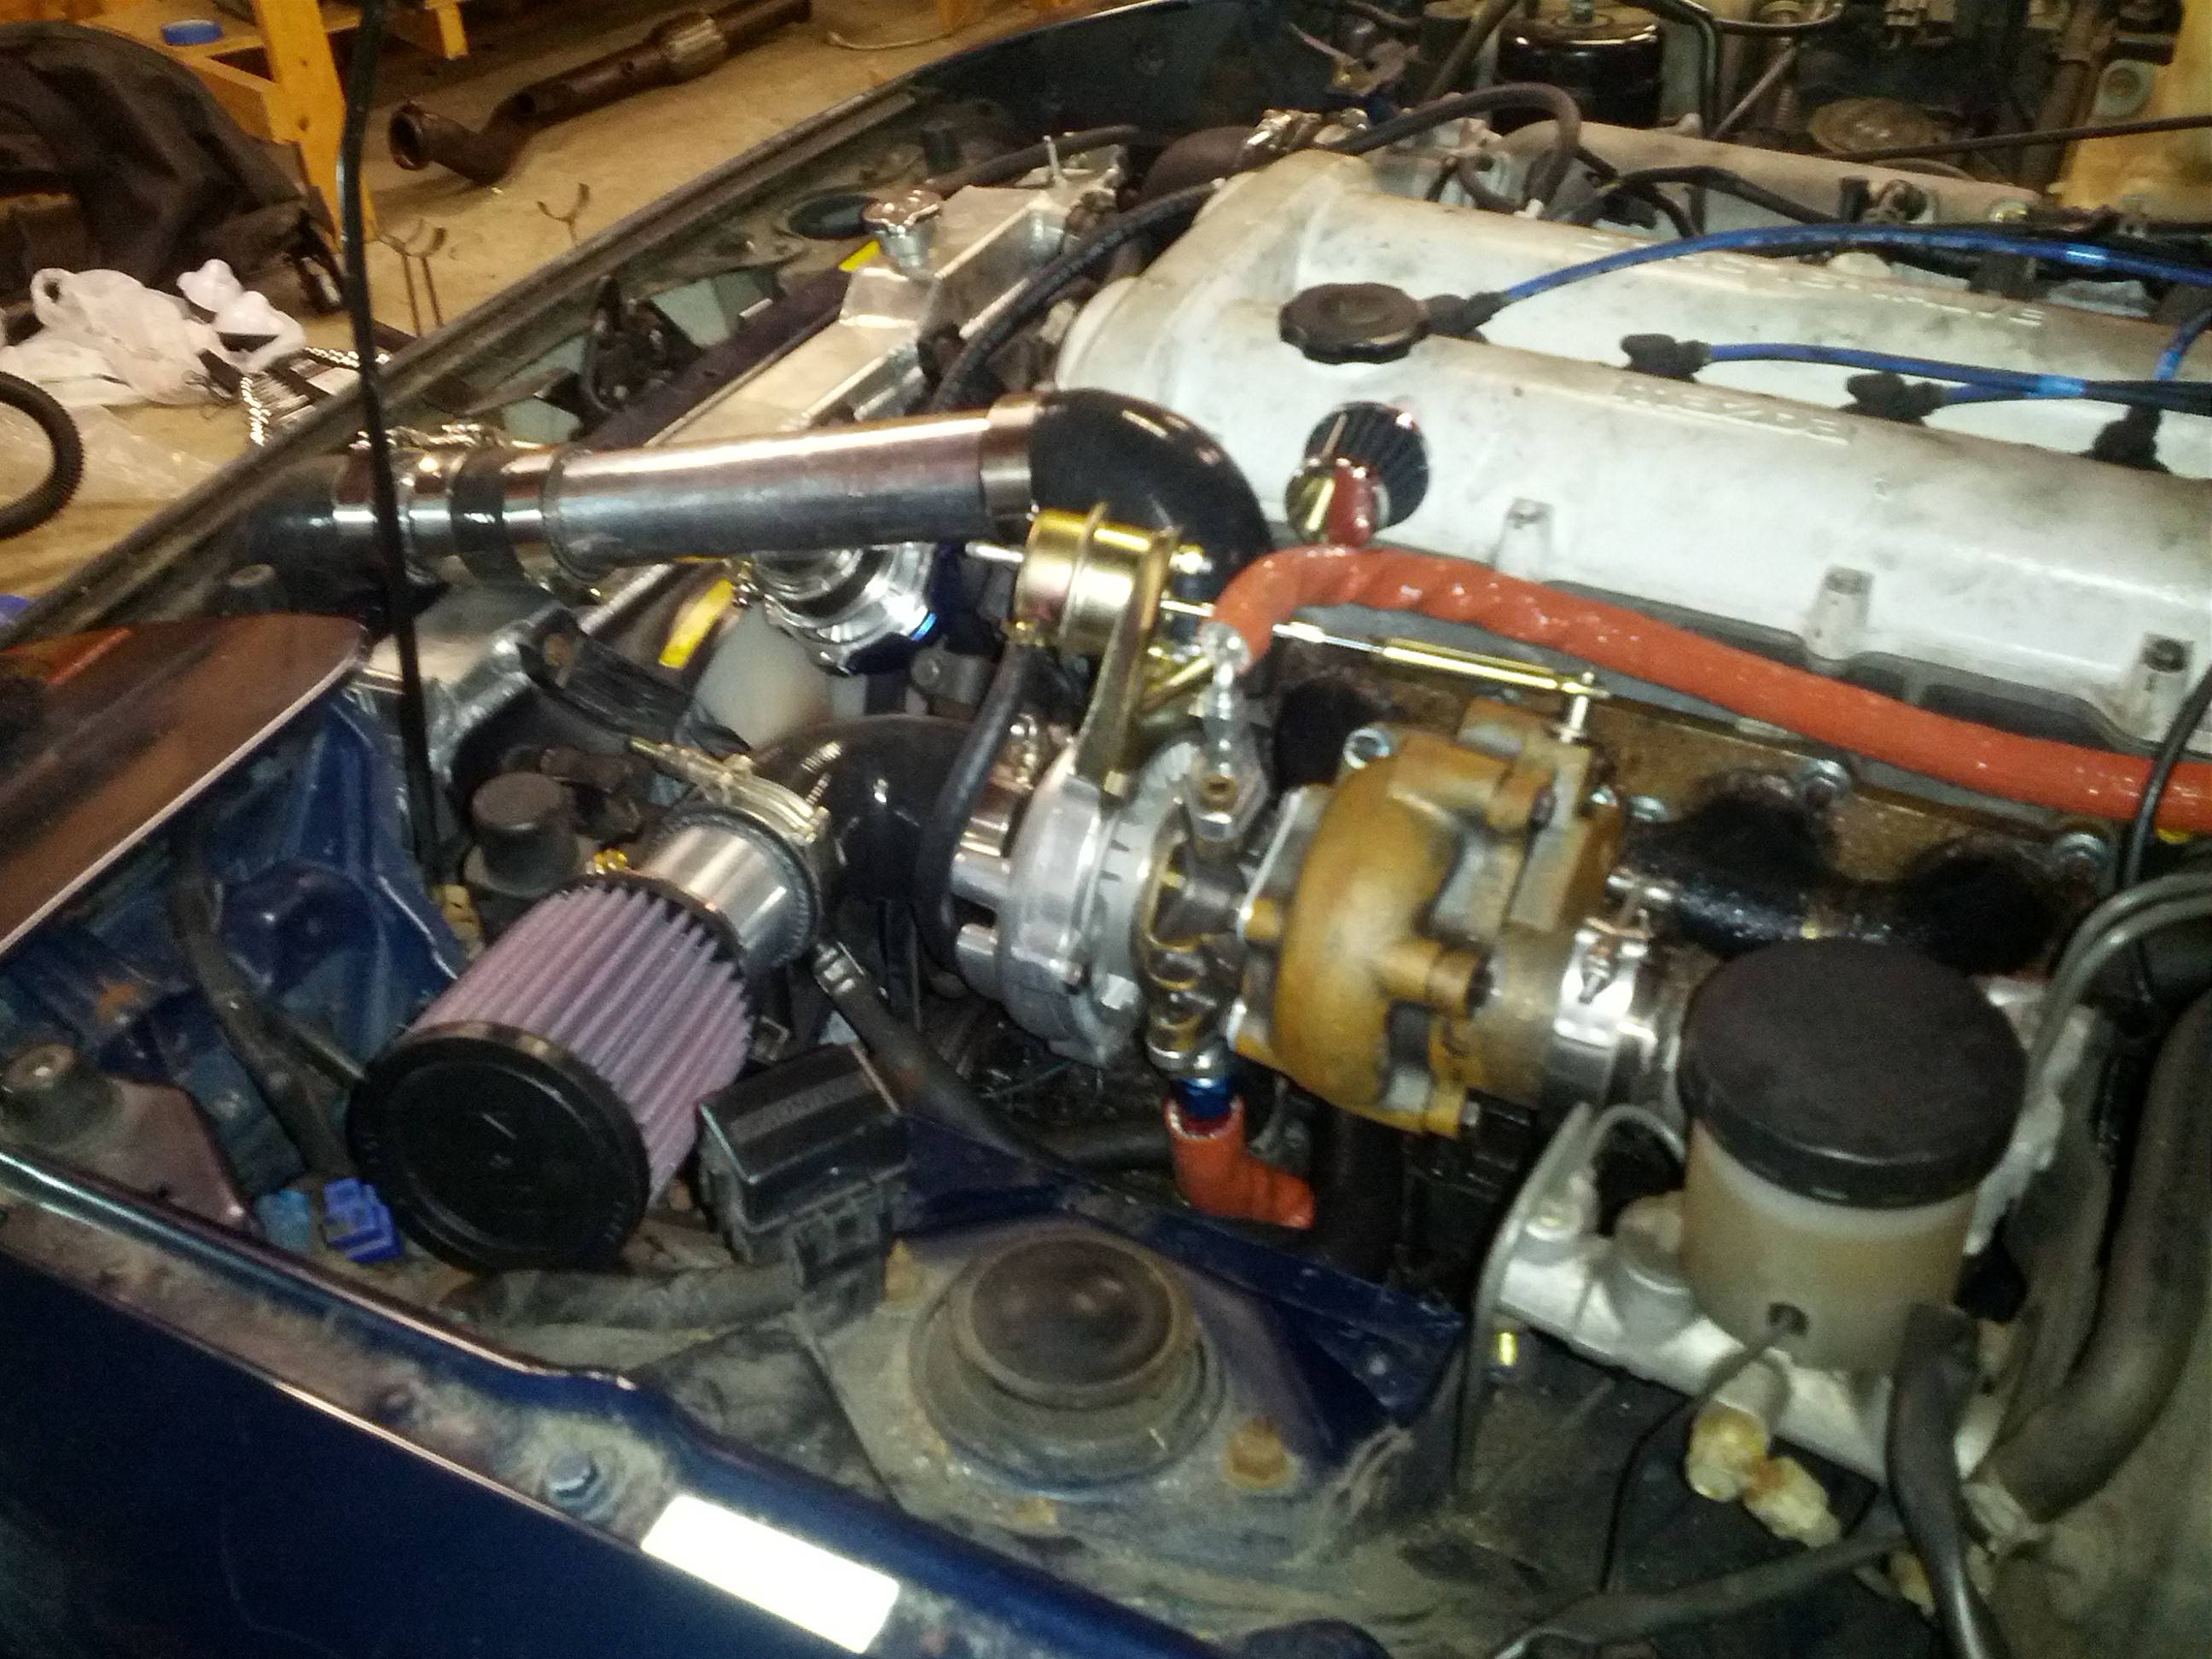
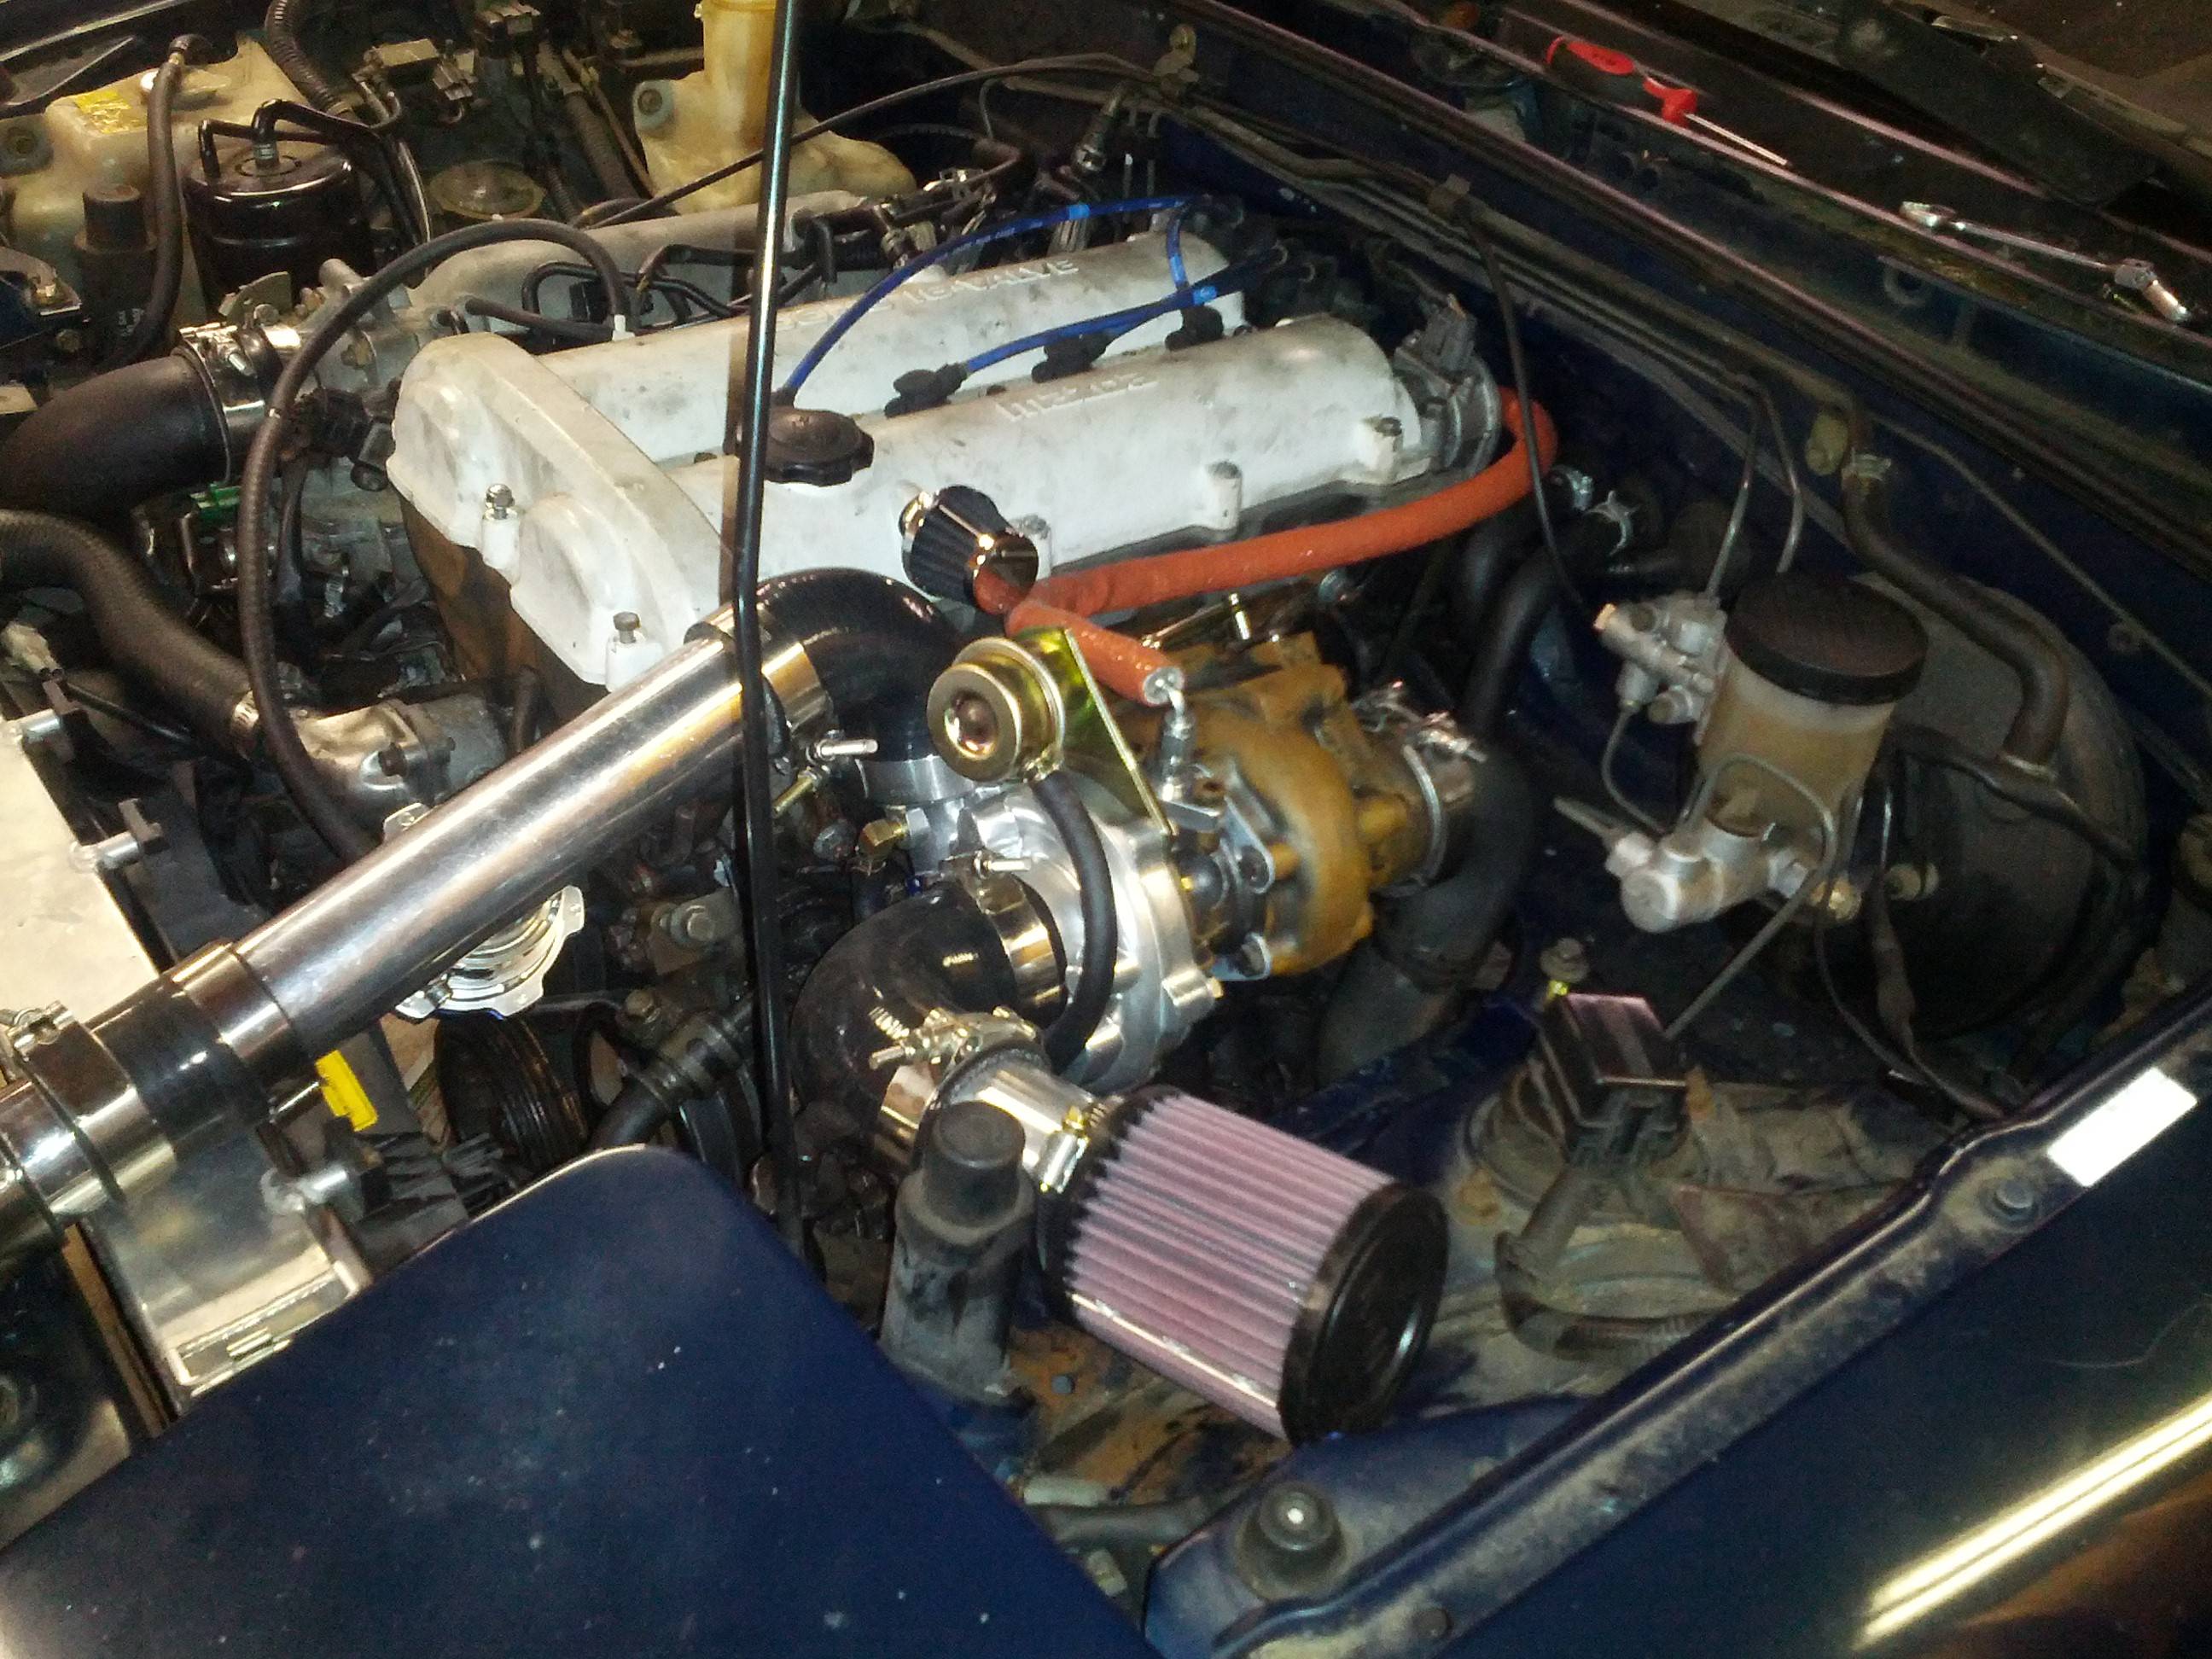
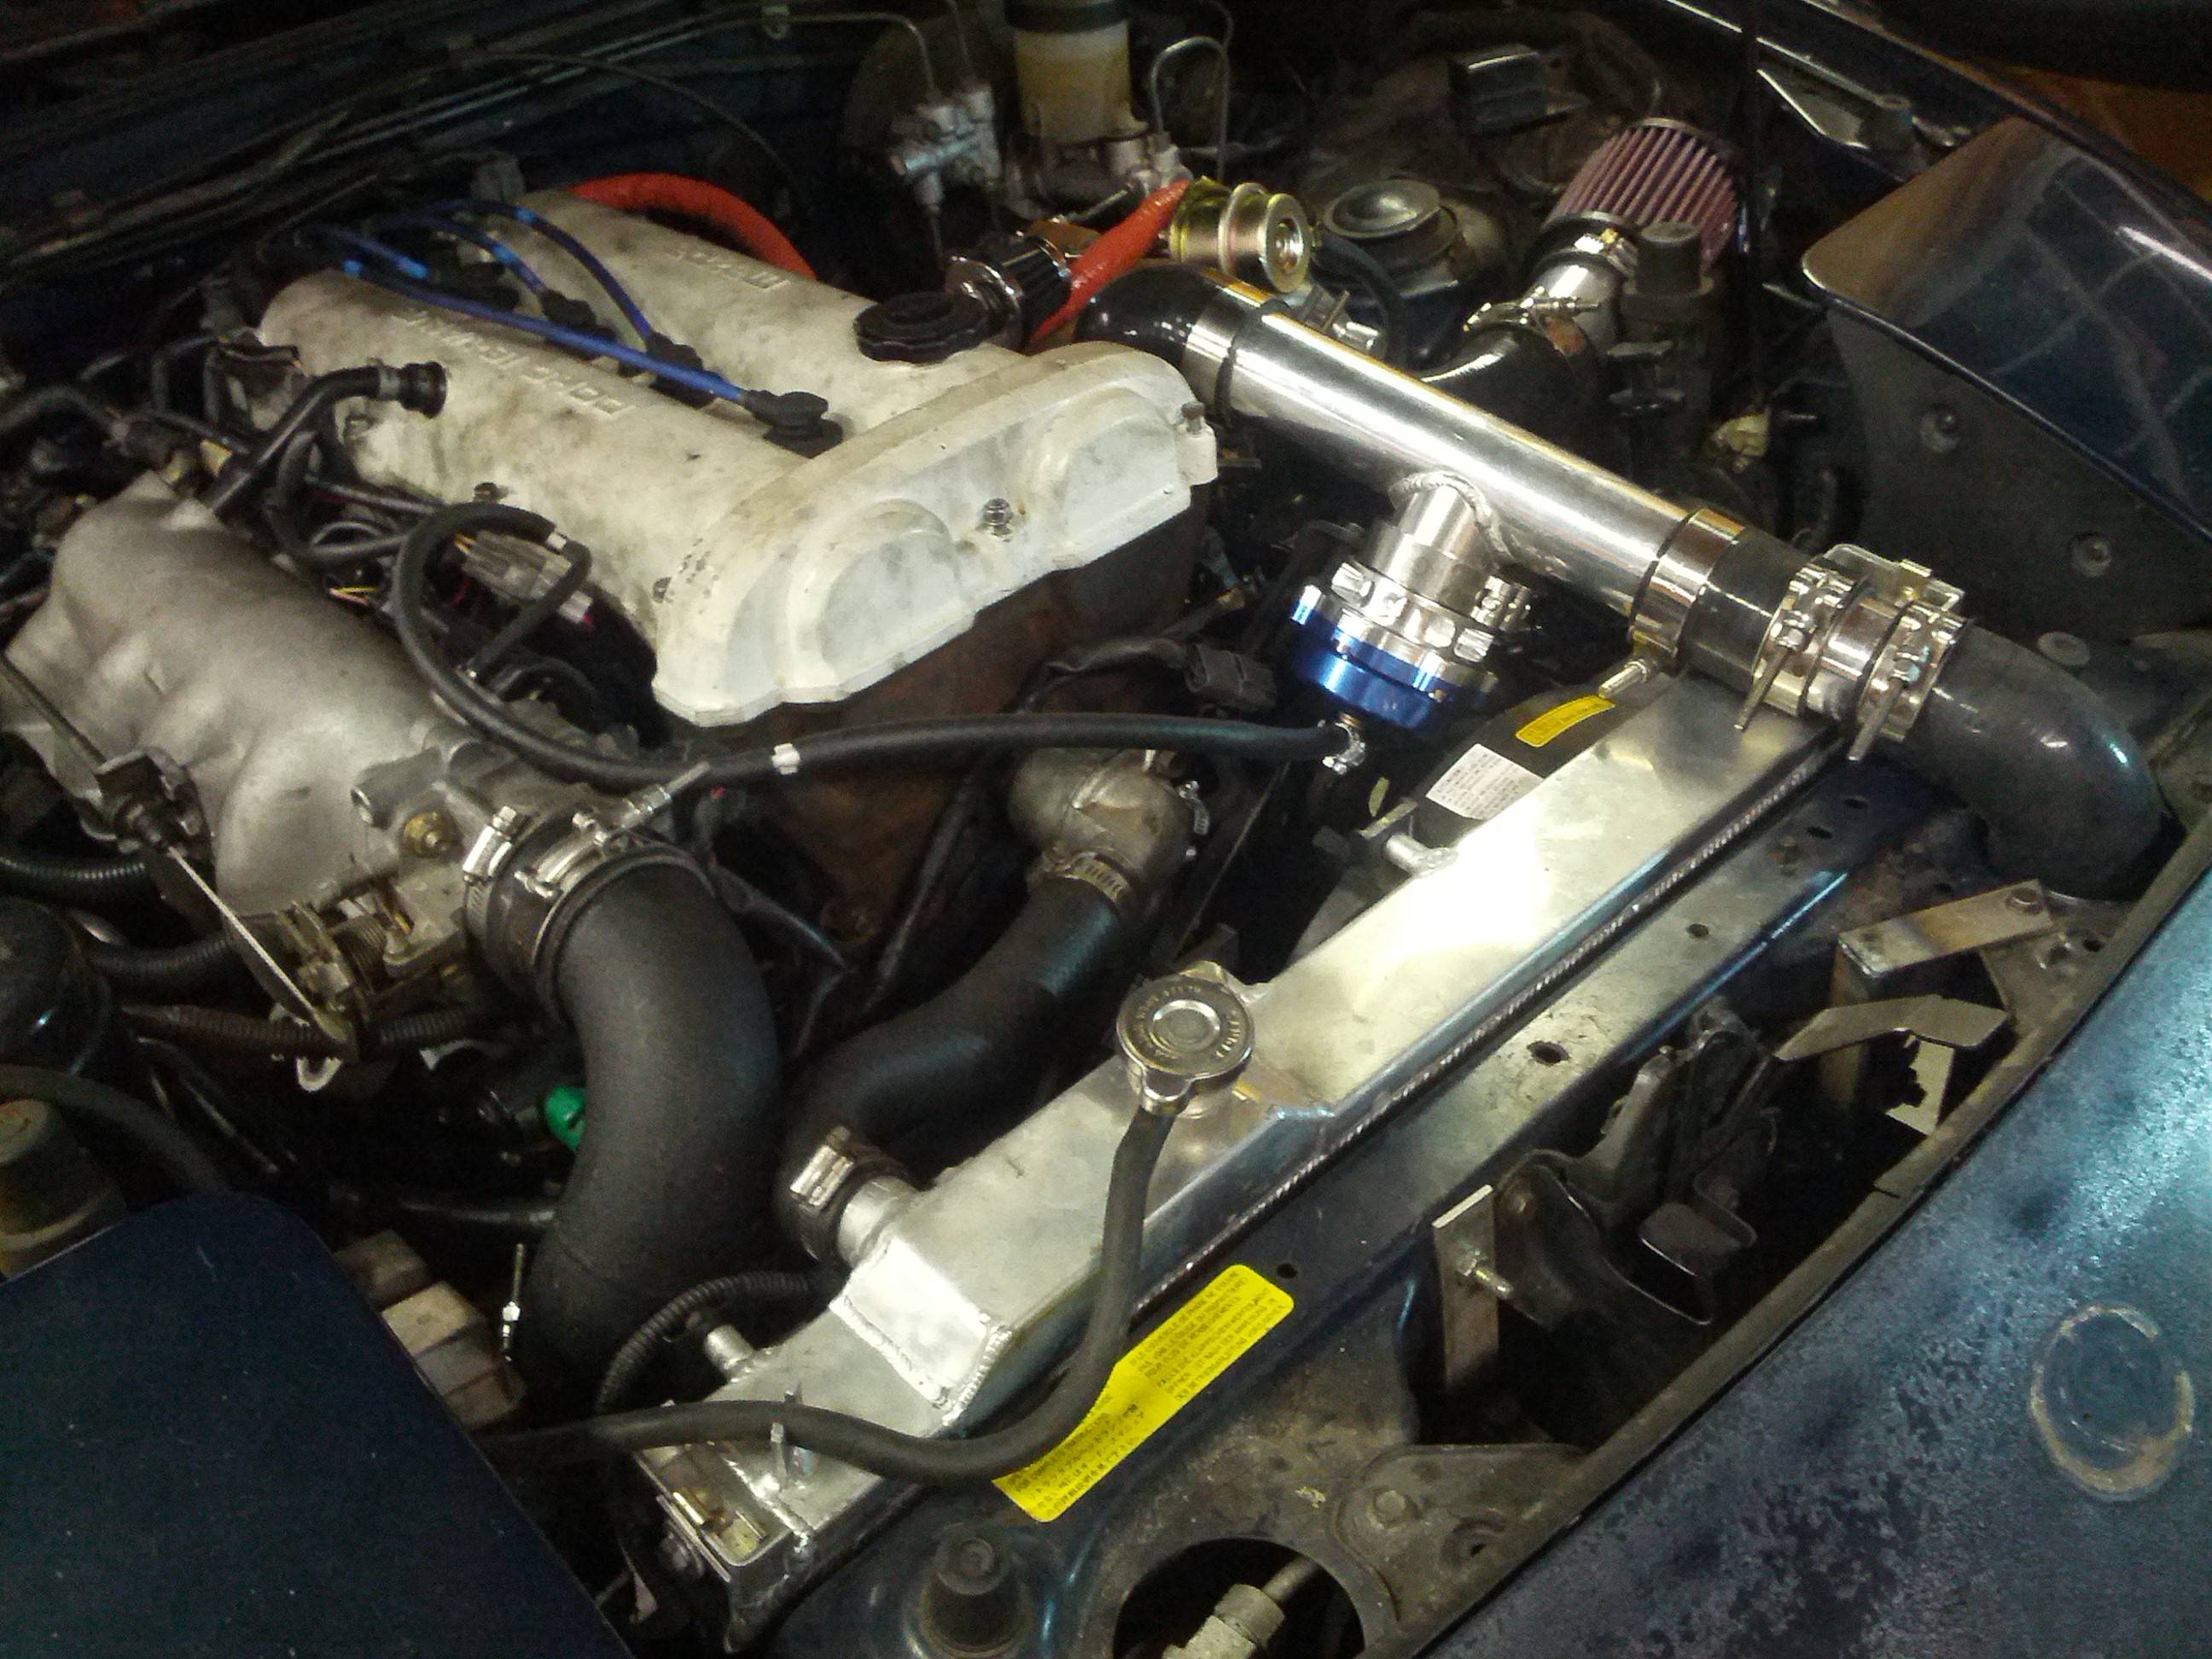
I have been slowly working on this car, mostly waiting for all the small bits and pieces I needed to come in. Over the past 2 days I think I have installed just about everything needed to run the car with the MKTurbo T3 setup.
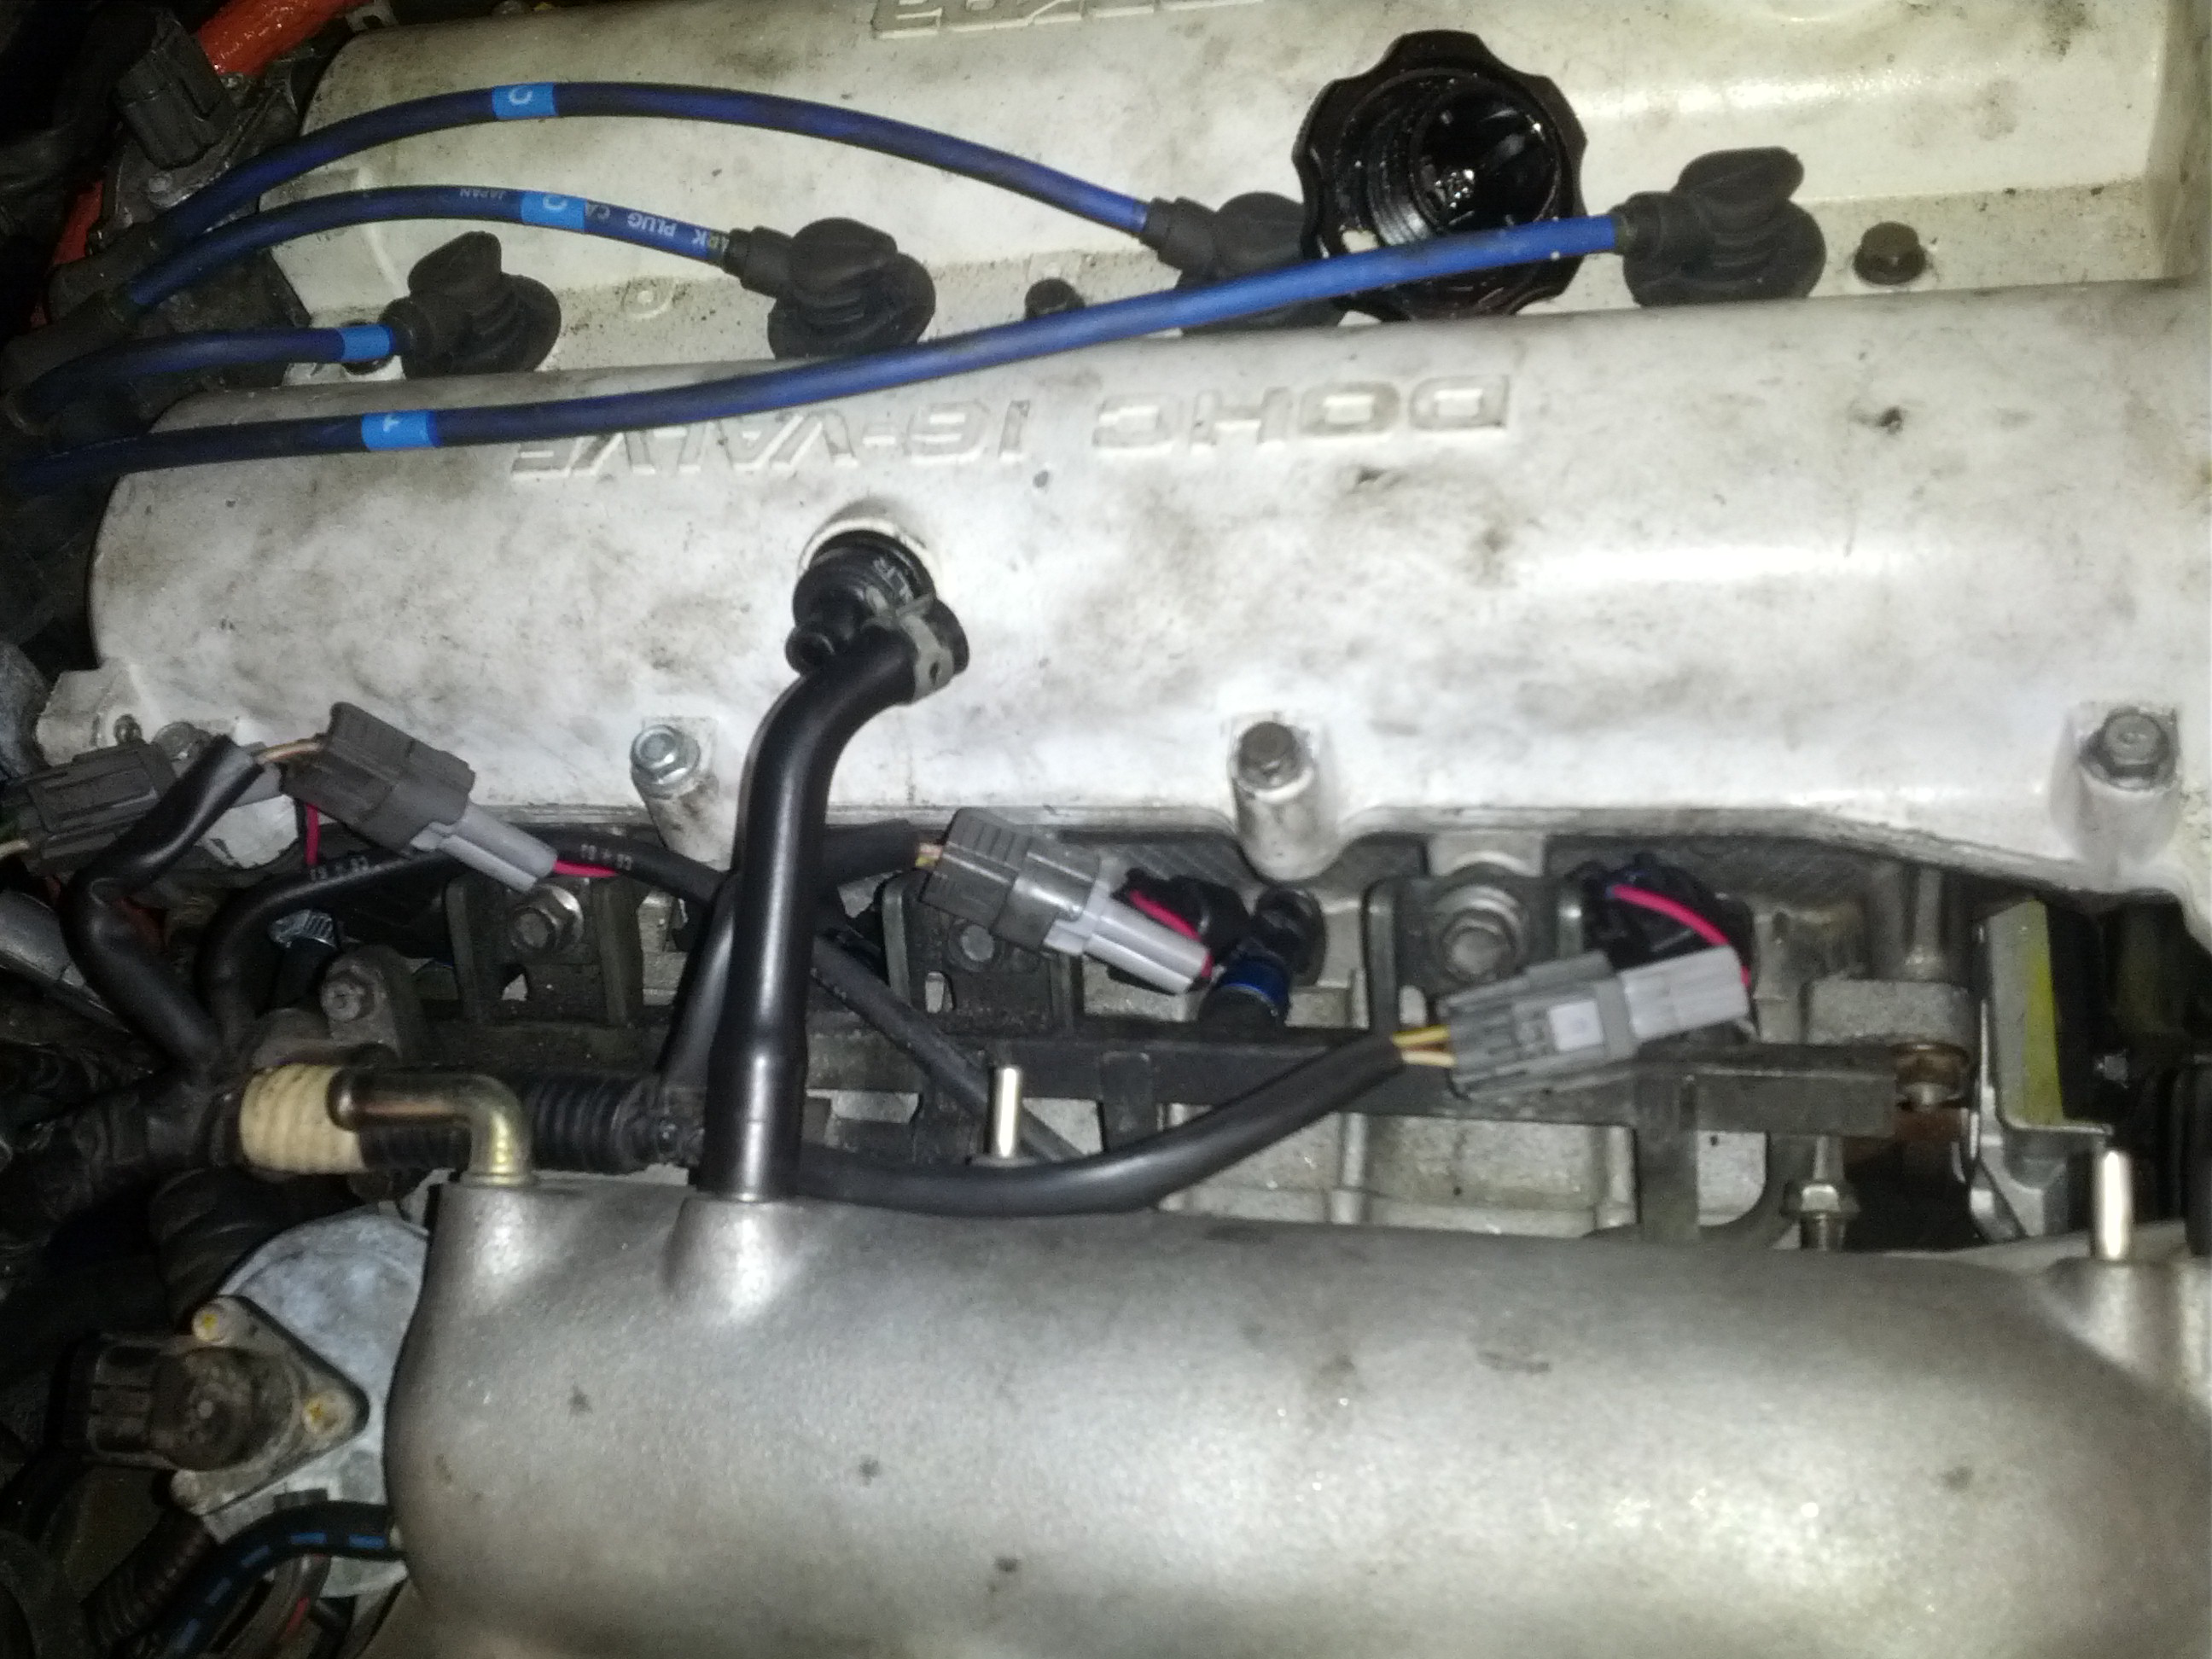
Injectors are installed.
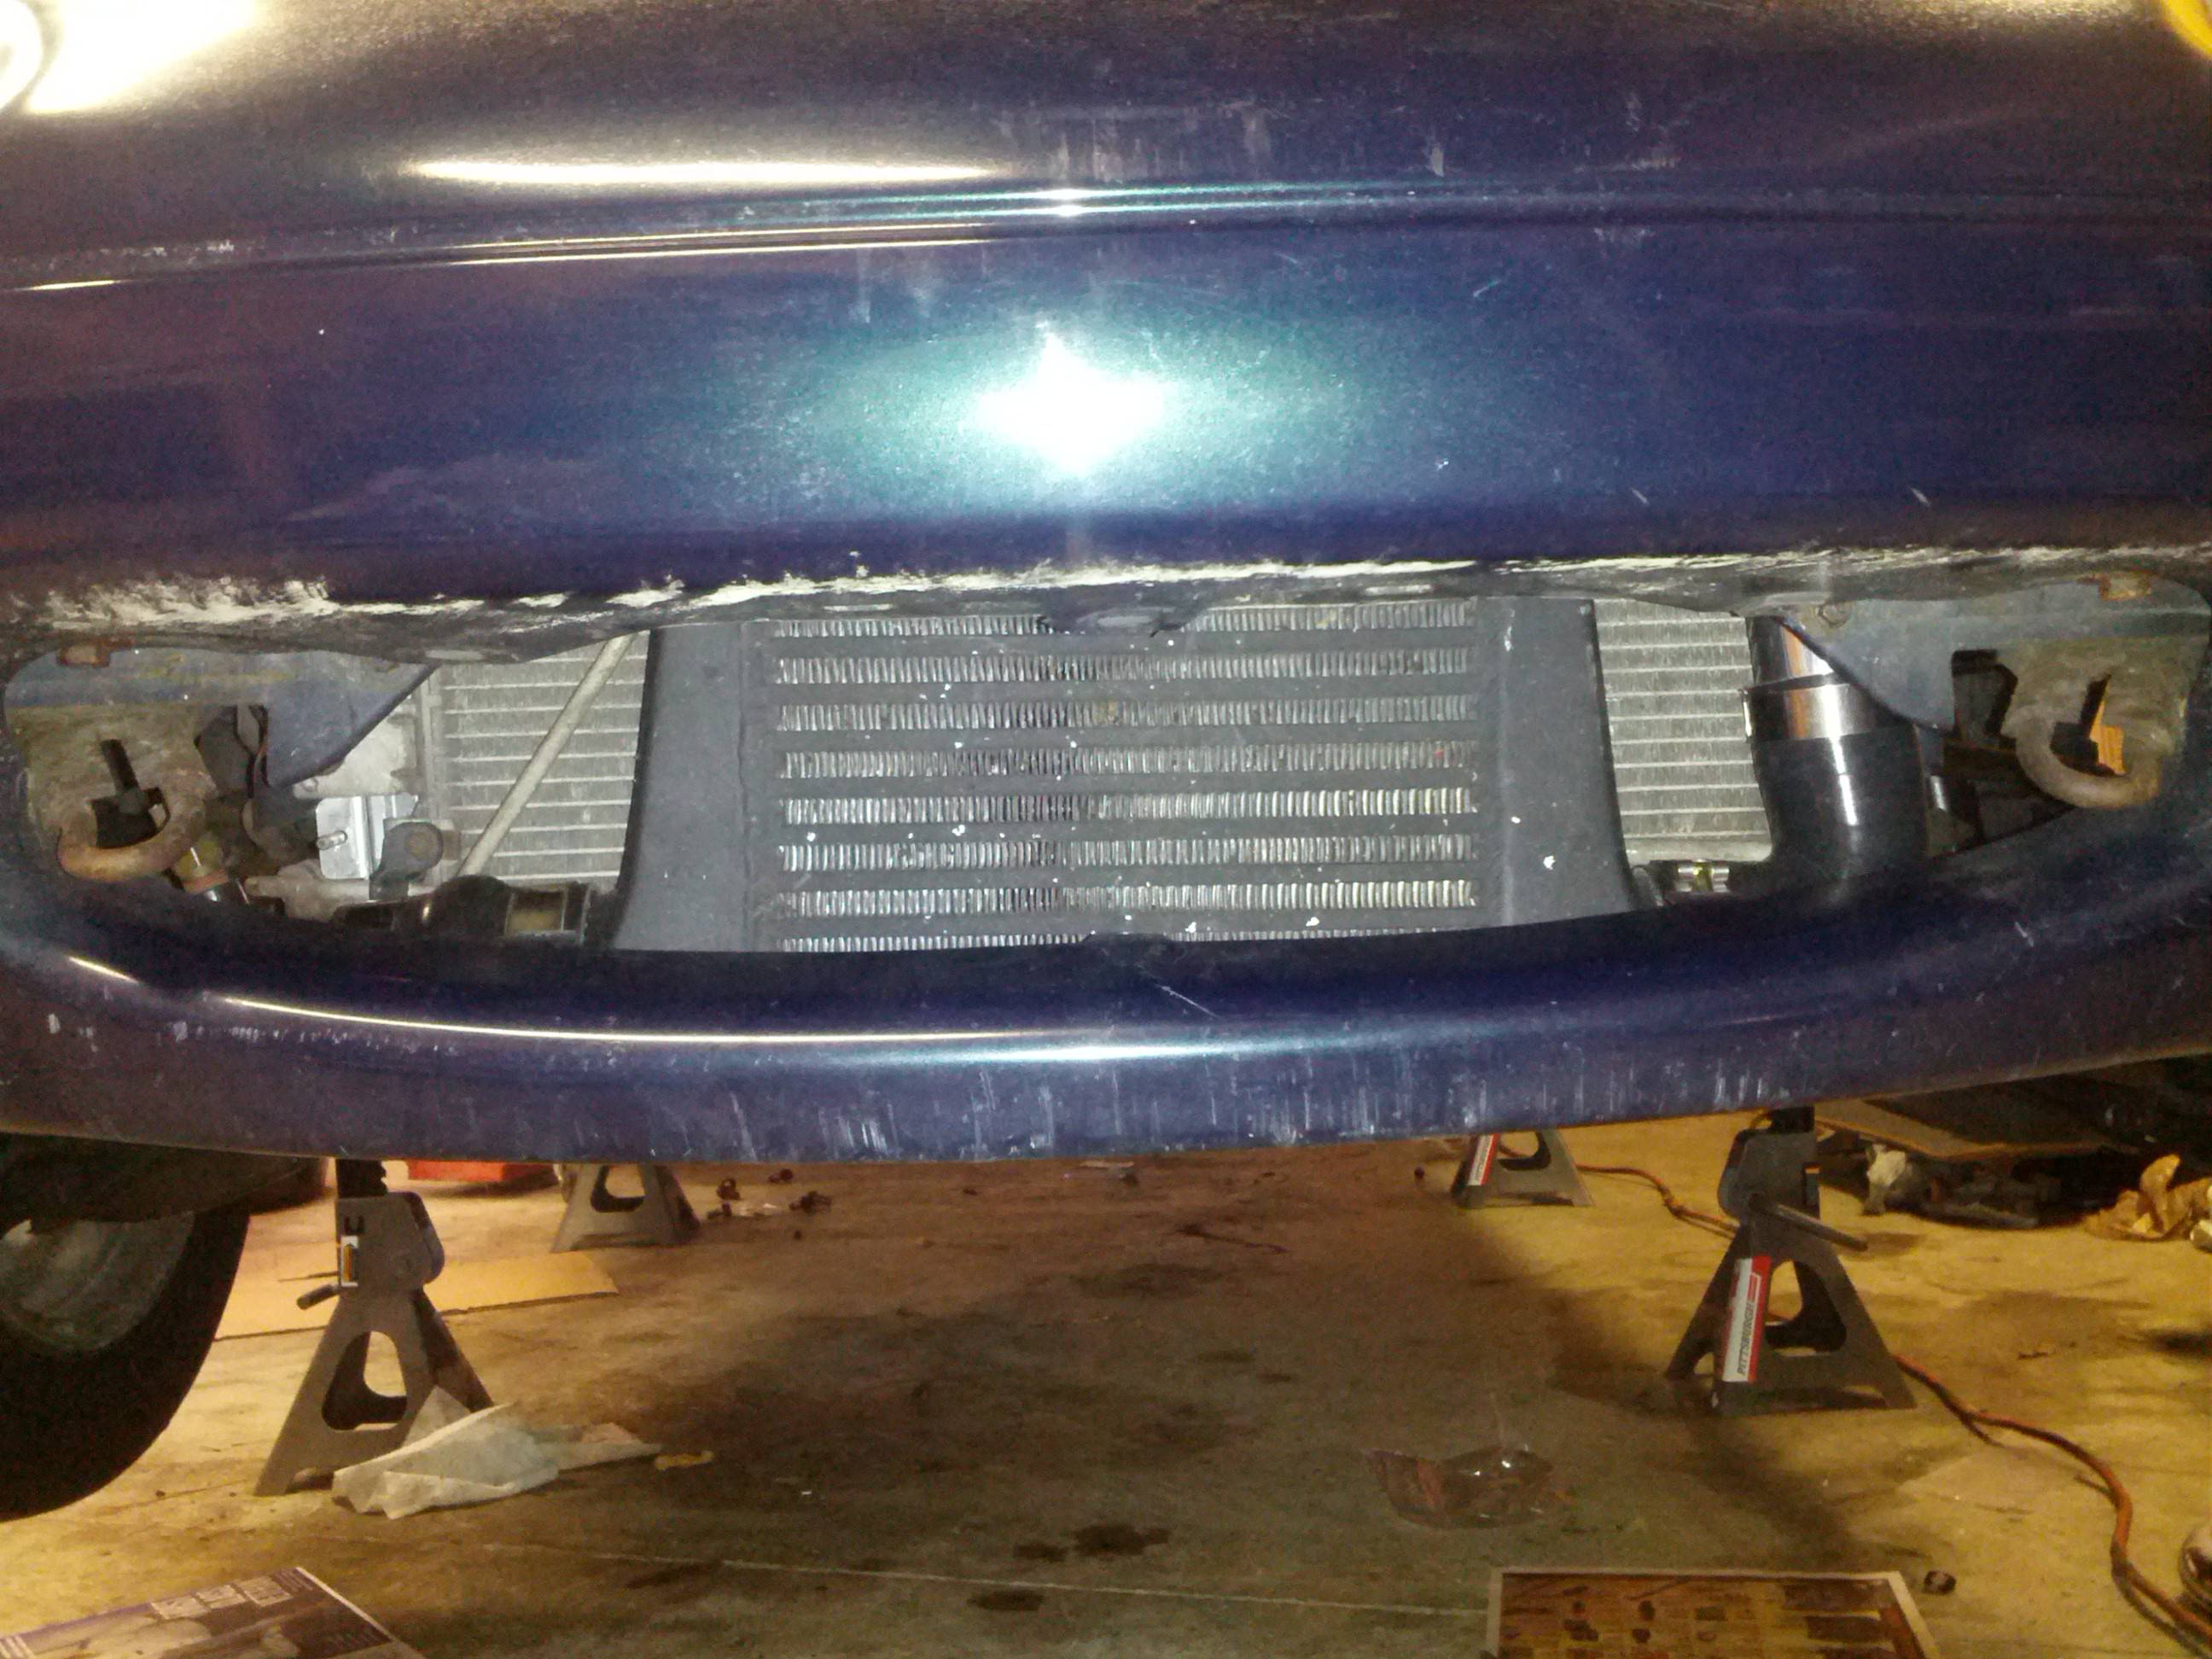
Intercooler mounted.
Pictures of turbo and hotside IC piping.
It still needs the IAT sensor hooked up, wideband to be hooked up, and the tune updated. Hopefully get some time to do those over the next few days, I really want to get this car running.
Injectors are installed.
Intercooler mounted.
Pictures of turbo and hotside IC piping.
It still needs the IAT sensor hooked up, wideband to be hooked up, and the tune updated. Hopefully get some time to do those over the next few days, I really want to get this car running.
Reply
0
0
Thread Starter
Joined: May 2006
Posts: 15,235
Total Cats: 1,700
From: Charleston SC
I updated my tune today and hooked up my wideband. The car started right away. After tightening up a few vacuum lines idle kpa was good. Car rattles a good bit, will need to go through tomorrow and find those and try to fix them. I also still need to hook up my IAT sensor.
Reply
0
0


Thread Starter
Joined: May 2006
Posts: 15,235
Total Cats: 1,700
From: Charleston SC
160kpa at 3k rpms in 5th gear. I think I had EBC hooked up wrong and that is why boost kept building to around 200kpa.
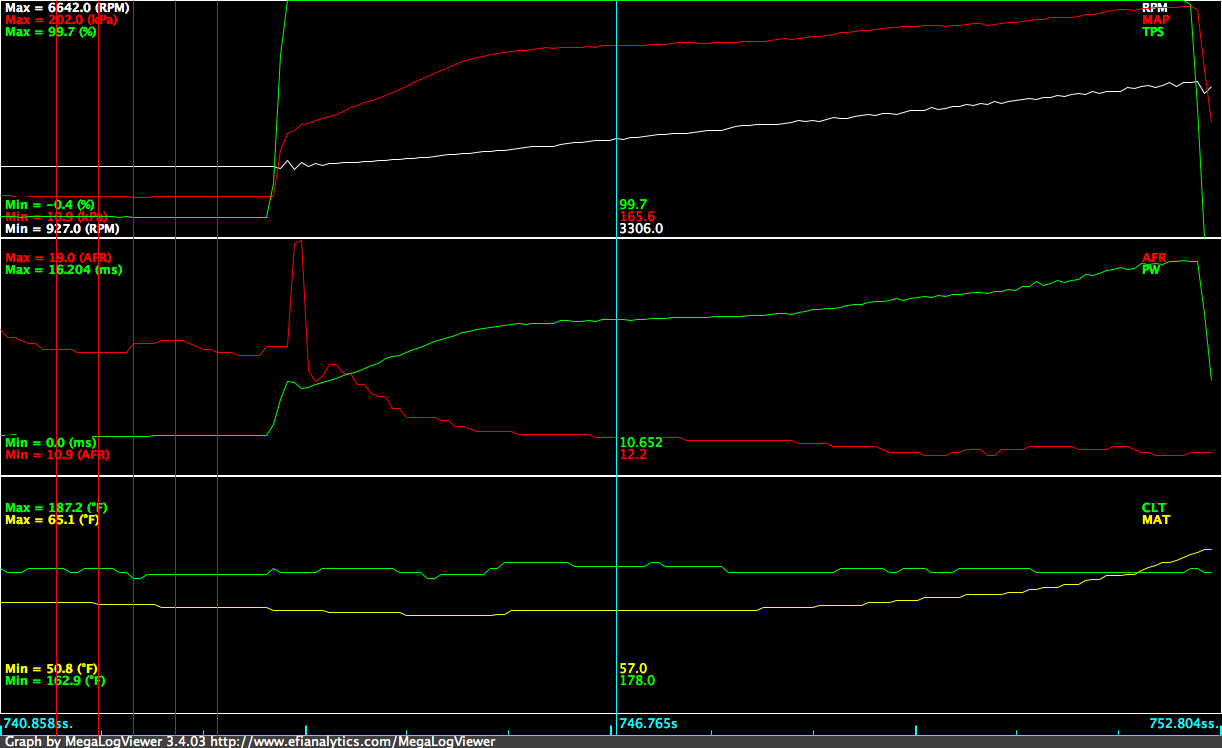
Also with the following values my AEM wideband still reads about .5AFR leaner in TS then the gauge. I am ignoring it for now and just know that I will be a little richer then I need to be.
0v = 10AFR
4.25v = 18.5 AFR
Also with the following values my AEM wideband still reads about .5AFR leaner in TS then the gauge. I am ignoring it for now and just know that I will be a little richer then I need to be.
0v = 10AFR
4.25v = 18.5 AFR
Reply
1
1


Thread
Thread Starter
Forum
Replies
Last Post
JesseTheNoob
DIY Turbo Discussion
15
Sep 30, 2015 02:44 PM


