
Ian's 99 build thread


Thread Starter
Elite Member

Joined: Mar 2007
Posts: 5,306
Total Cats: 888
From: Santa Clara, CA
Well, when I get enough progress on the faceplate/Arduino setup to be actually installing it (which is probably the next time that Chris and I get together and spend a day on it), I'll be pulling all that stuff out anyway. At that point, it's just a 5 minute scope job, so no biggie. 
--Ian
--Ian
Reply
 0
0

0
Thread Starter
Elite Member
Joined: Mar 2007
Posts: 5,306
Total Cats: 888
From: Santa Clara, CA
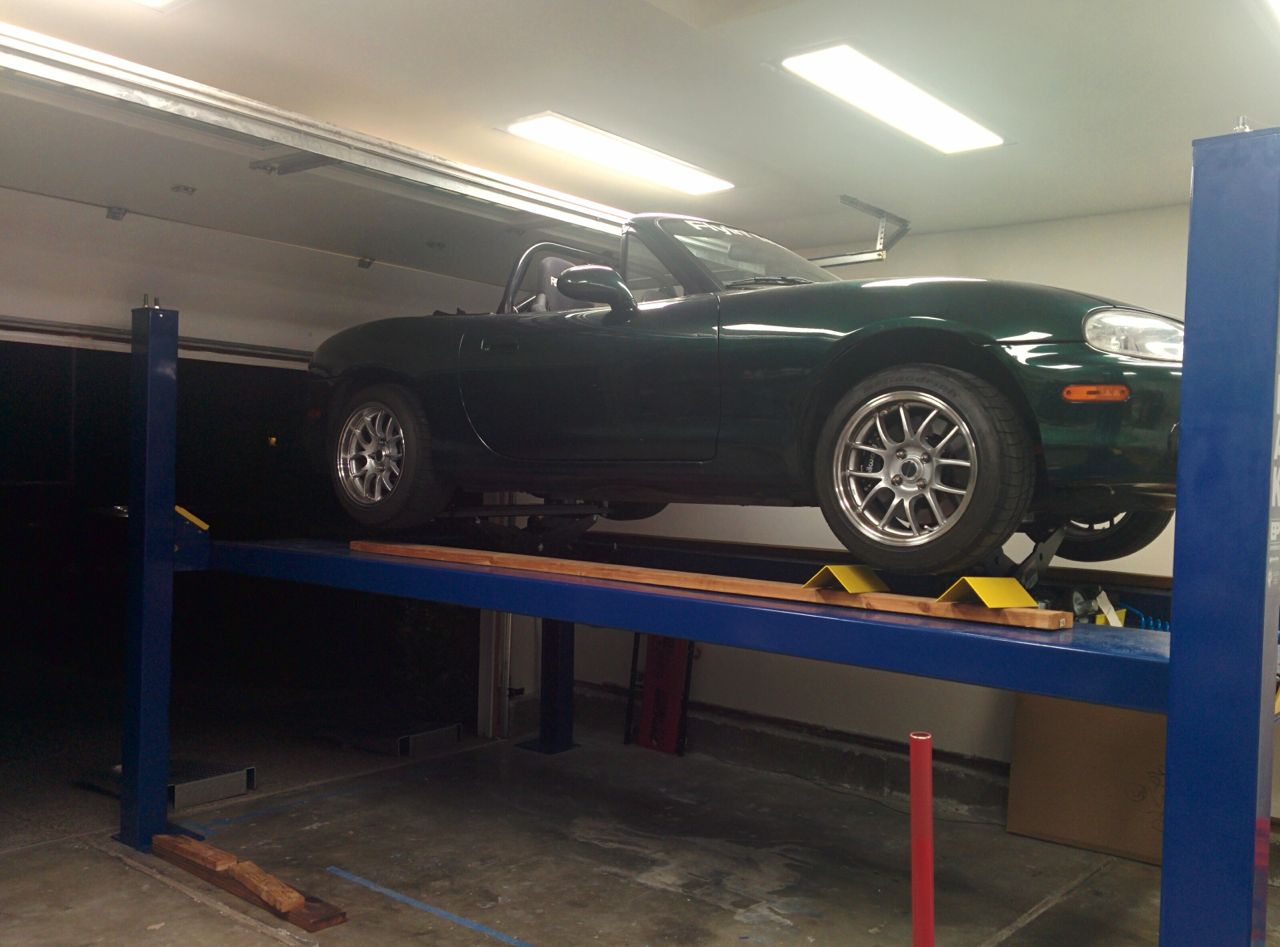
No progress on the car, but I did get the garage cleaned up to the point where I could get both cars into it:

There's a long way to go on sorting it out though -- this got the crap off the floor, but it's still not organized.
--Ian
There's a long way to go on sorting it out though -- this got the crap off the floor, but it's still not organized.
--Ian
Reply
2
2

Thread Starter
Elite Member
Joined: Mar 2007
Posts: 5,306
Total Cats: 888
From: Santa Clara, CA
Roller jacks work:
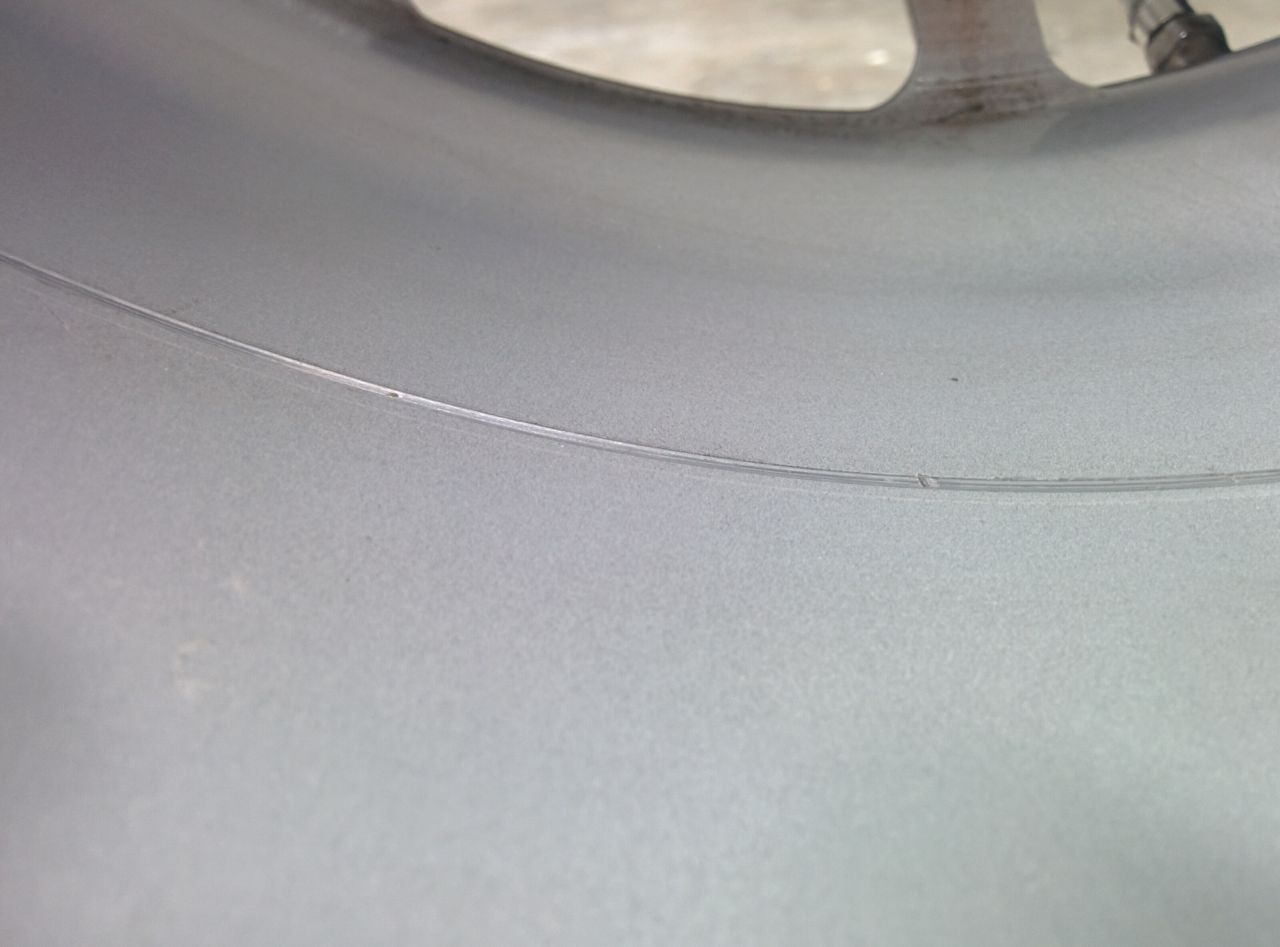
Unfortunately, the parking brake arms on the rear Wilwoods turn out to be too long, and have gouged up the wheels. Argh:
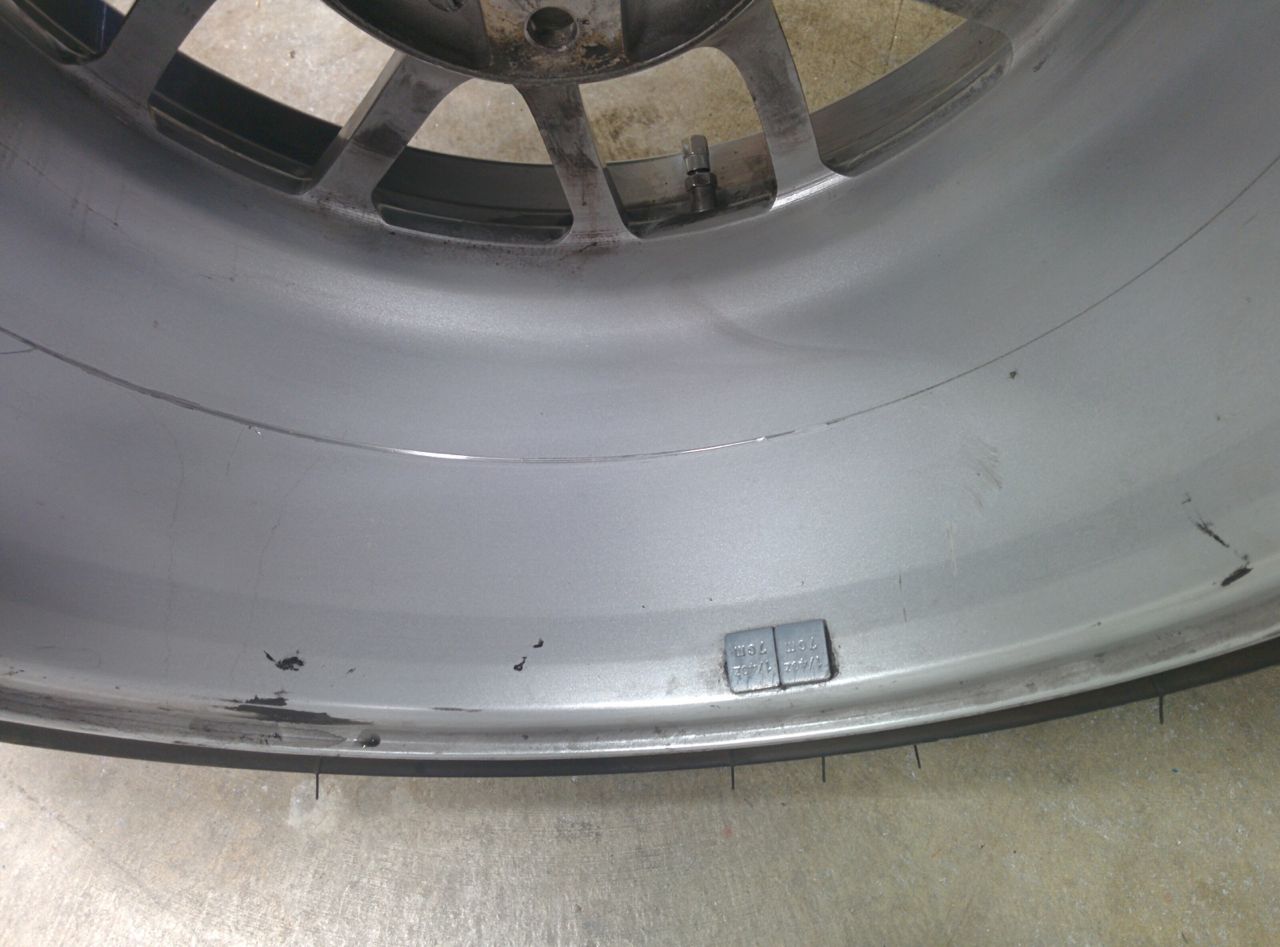
Looks like I need two more 15x9 6ULs in silver. The tire shop is probably also going to refuse to remount my existing tires citing wear depth, so I probably need to buy new ones of those as well.
V720s are sold out in 225/45R15. RS3v2s or Rival-S? Opinions?
--Ian
Unfortunately, the parking brake arms on the rear Wilwoods turn out to be too long, and have gouged up the wheels. Argh:
Looks like I need two more 15x9 6ULs in silver. The tire shop is probably also going to refuse to remount my existing tires citing wear depth, so I probably need to buy new ones of those as well.
V720s are sold out in 225/45R15. RS3v2s or Rival-S? Opinions?
--Ian
Reply
0
0

Thread Starter
Elite Member
Joined: Mar 2007
Posts: 5,306
Total Cats: 888
From: Santa Clara, CA
The wheels might be OK, but I'm not inclined to risk it. Wheels are... kind of important.
--Ian
Reply
0
0
Thread Starter
Elite Member
Joined: Mar 2007
Posts: 5,306
Total Cats: 888
From: Santa Clara, CA
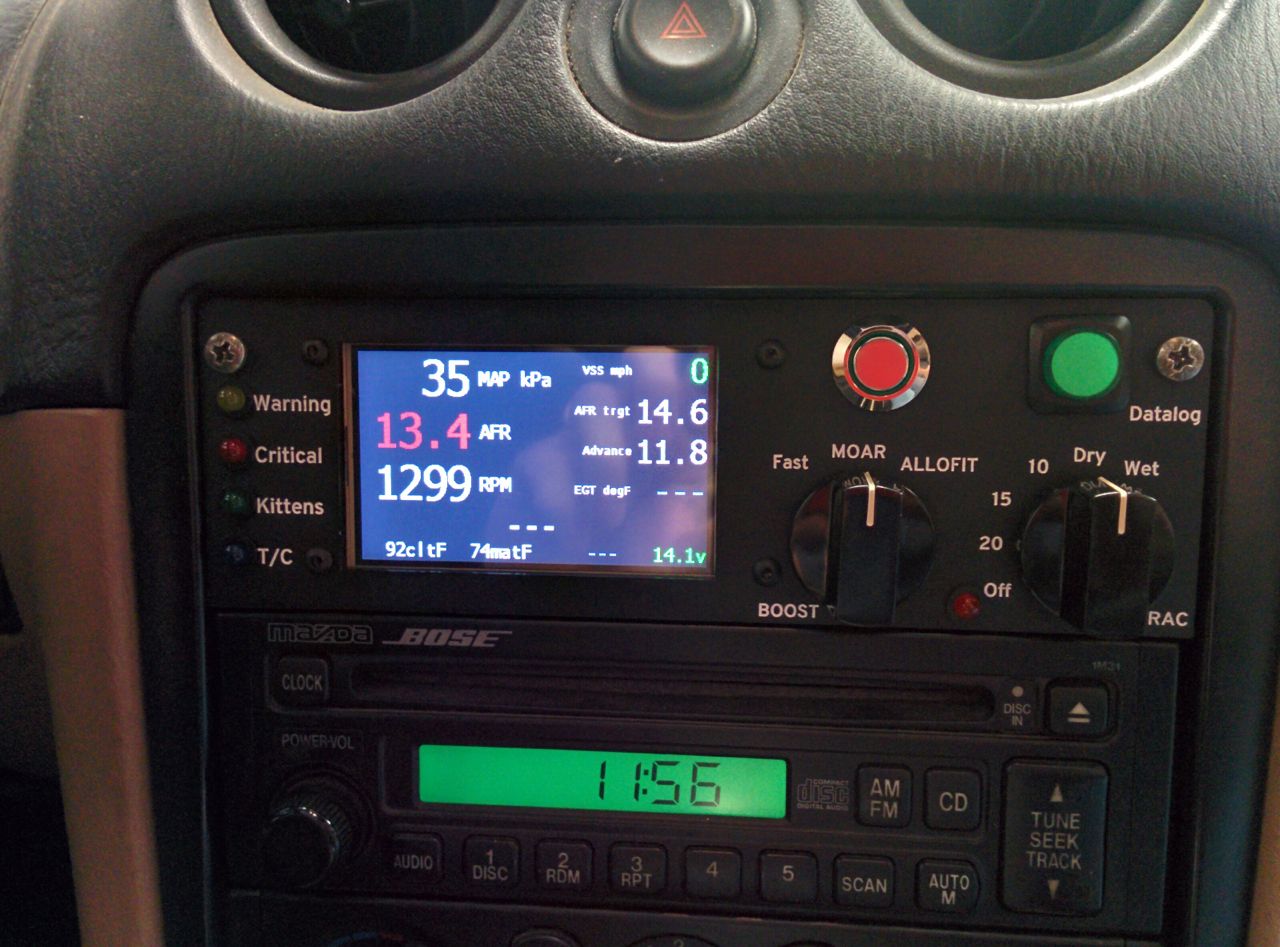
TK and I banged on the display some more the last couple of weeks, got it mostly wired up and working. It's an Arduino Uno with a Seeedstudio CAN bus shield, listening to the MS3's CAN bus broadcasts and talking to an LCD panel (not sure of the brand -- Chris found it) over a serial port. The power supply is a cheap switching 5v supply intended for charging phones and the like.
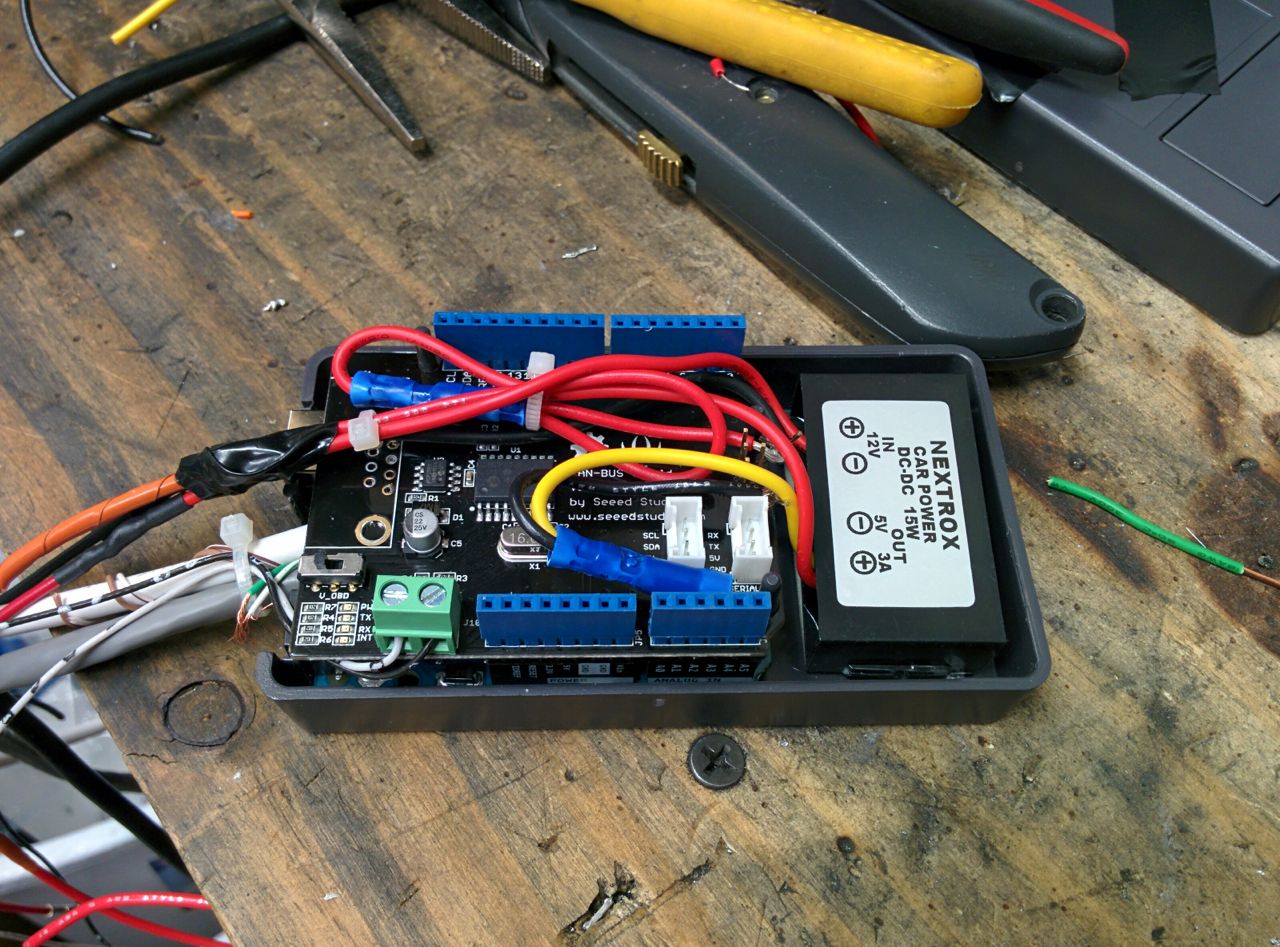
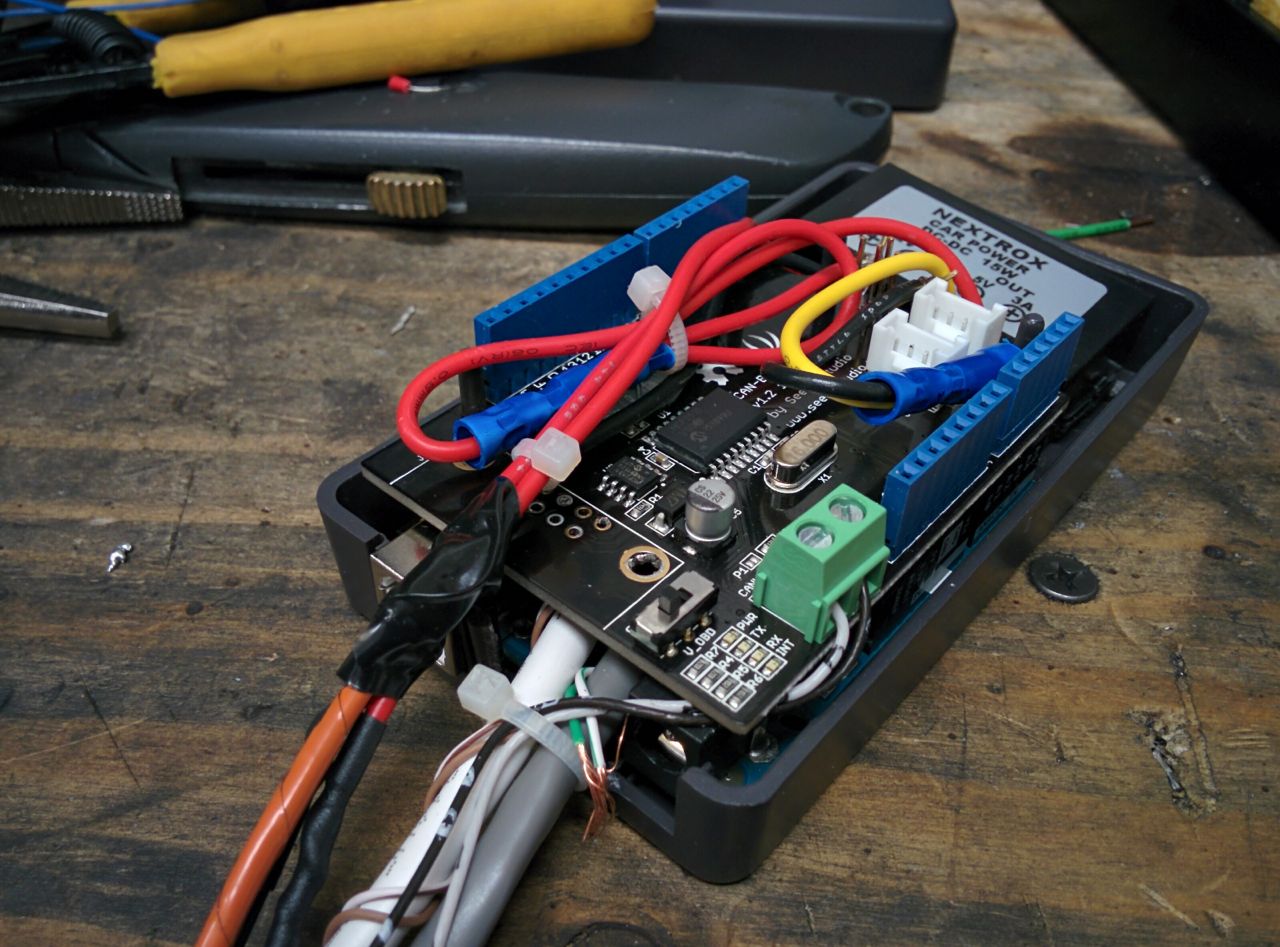
(The exposed copper is the extra wires in the cable that aren't in use)
Buttoned up with a Molex .062 connector on it:

Installed:
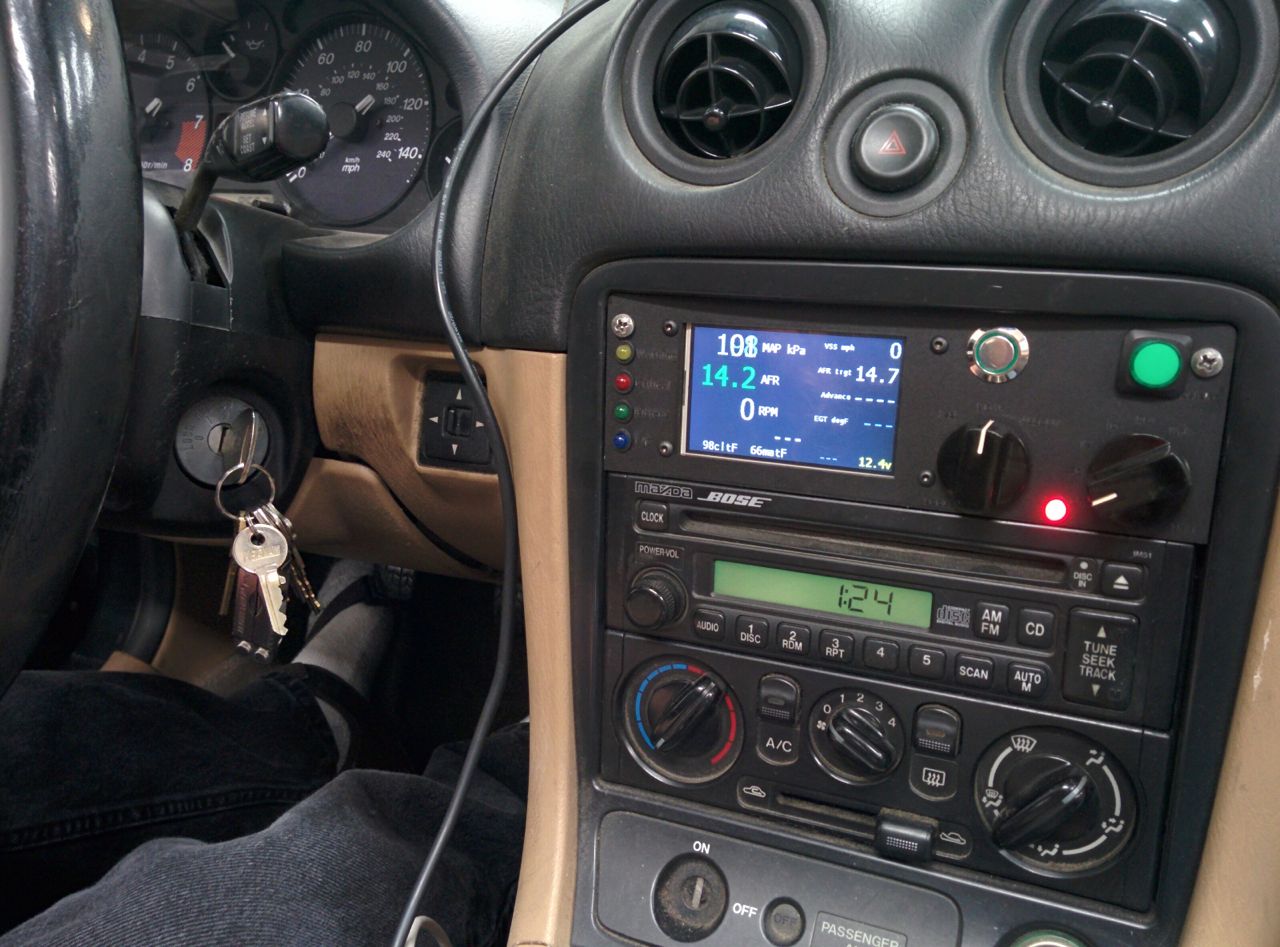
Right now the software isn't doing anything with the LEDs on the left, and the traction active LED isn't wired up to the Racelogic yet. The button on the top right is loose -- it wound up being too close to the bracket that the panel screws to. (These are basically pieces of aluminum stock bolted to the vertical uprights in the center stack, bent over at the front and drilled for screws. It's what used to hold the three analog gauges I had in there). Need to make another faceplate with the button moved over 5-10mm.
Demo:
--Ian
(The exposed copper is the extra wires in the cable that aren't in use)
Buttoned up with a Molex .062 connector on it:
Installed:
Right now the software isn't doing anything with the LEDs on the left, and the traction active LED isn't wired up to the Racelogic yet. The button on the top right is loose -- it wound up being too close to the bracket that the panel screws to. (These are basically pieces of aluminum stock bolted to the vertical uprights in the center stack, bent over at the front and drilled for screws. It's what used to hold the three analog gauges I had in there). Need to make another faceplate with the button moved over 5-10mm.
Demo:
--Ian
Reply
6
6
Cover your sins with loom, you heathen! 
Actually you should just ignore me, I'm incredibly jealous because that is very very cool. How is the visibility on that panel in direct sunlight?
Edit: Didn't know you were a 'socks and sandals' kinda guy
Actually you should just ignore me, I'm incredibly jealous because that is very very cool.
How is the visibility on that panel in direct sunlight?Edit: Didn't know you were a 'socks and sandals' kinda guy
Reply
0
0
Thread Starter
Elite Member
Joined: Mar 2007
Posts: 5,306
Total Cats: 888
From: Santa Clara, CA
I'm holding the camera, those are Chris' feet!
--Ian
Reply
0
0
Thread Starter
Elite Member
Joined: Mar 2007
Posts: 5,306
Total Cats: 888
From: Santa Clara, CA
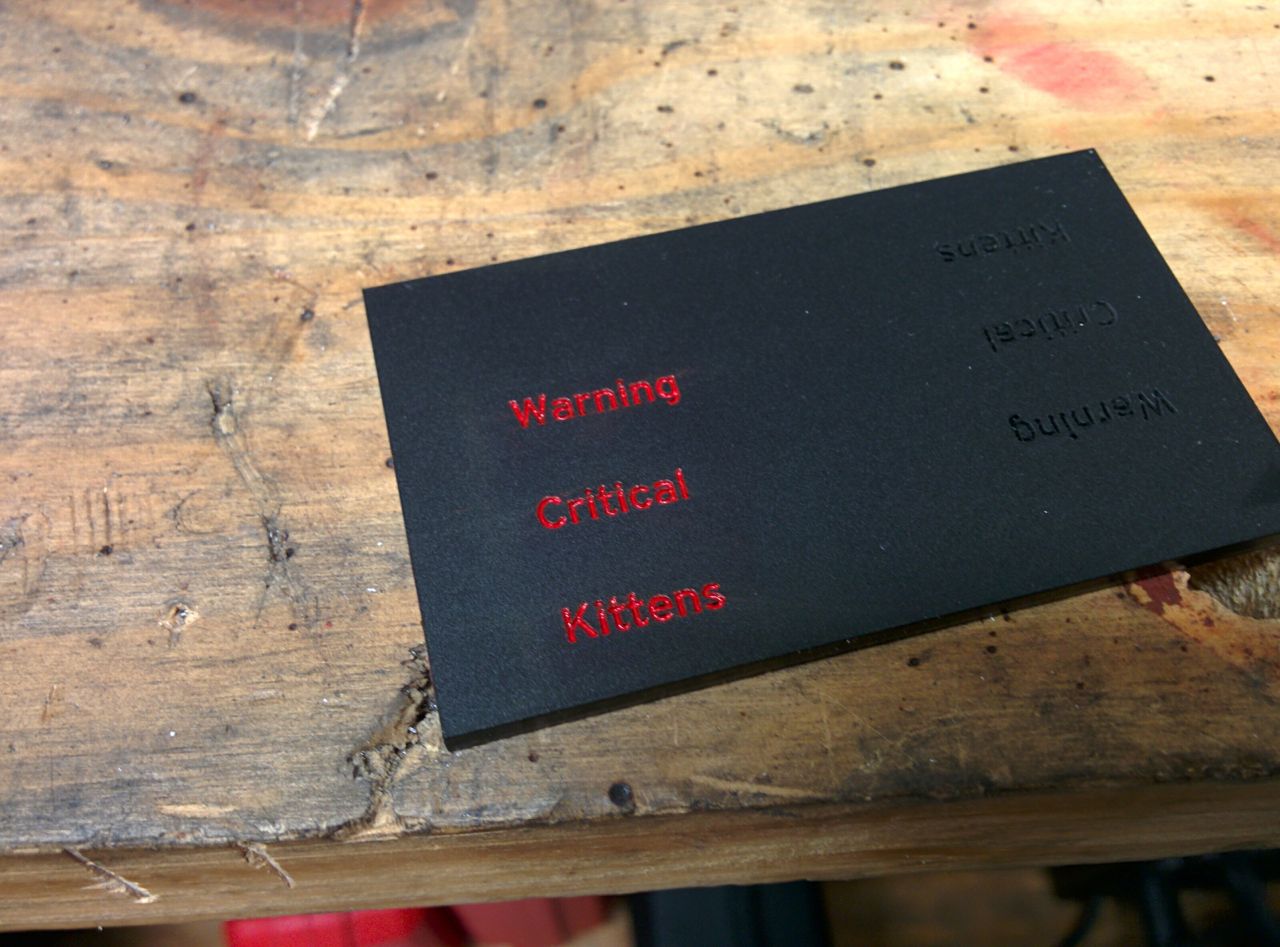
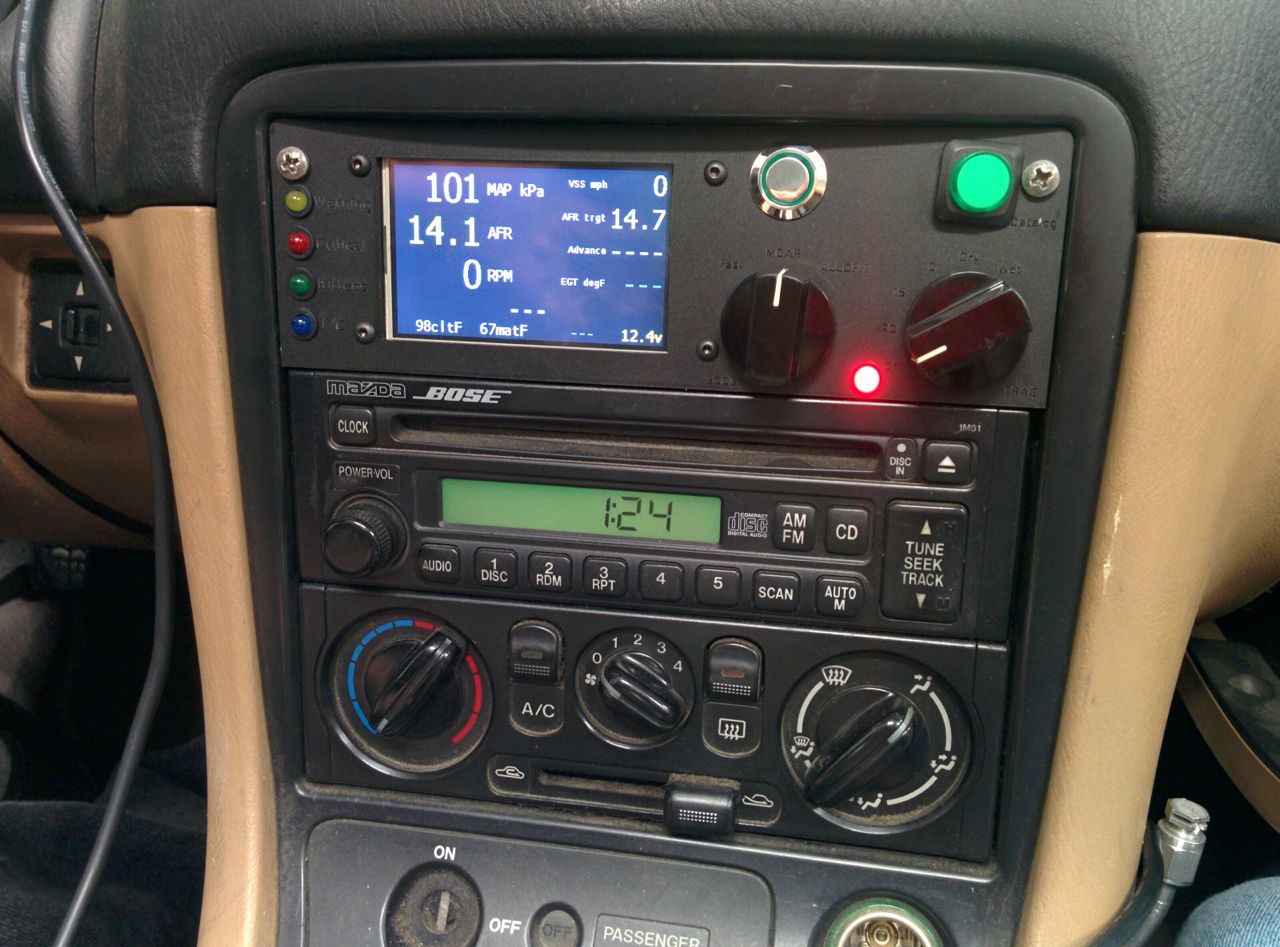
So TK adjusted the spacing on the various components and laser cut v3 of the panel. This one actually got painted, plus the traction control LED is wired up. The hardware is "done" at this point:
The paint turned out really well, the panel visibility in direct sunlight is OK, but not great. Unfortunately the Nextion displays don't seem to have one with a good non-flary screen coating. We're considering either some kind of laptop anti-glare screen cover thingey (which will unfortunately probably make it dimmer) and/or hacking it to try to turn up the brightness on the LED back/side light.
Now I need to write some some more software for it. Anybody have an Arduino RTOS to recommend?
--Ian
The paint turned out really well, the panel visibility in direct sunlight is OK, but not great. Unfortunately the Nextion displays don't seem to have one with a good non-flary screen coating. We're considering either some kind of laptop anti-glare screen cover thingey (which will unfortunately probably make it dimmer) and/or hacking it to try to turn up the brightness on the LED back/side light.
Now I need to write some some more software for it.
Anybody have an Arduino RTOS to recommend?--Ian
Reply
3
3


Ian I really like your setup. It's pretty slick/clean.... those screws kill it though. I know you like wearing socks and saddles and all but common. take like the 5 seconds to put some black screws in. Black Oxide Button screws.
Reply
0
0
Thread Starter
Elite Member
Joined: Mar 2007
Posts: 5,306
Total Cats: 888
From: Santa Clara, CA
The screws are a holdover from the previous gauge mount system, I'm not wild about the mounting system, but it works. Maybe I'll throw some paint on the screw heads or something.
--Ian
Reply
0
0


