When you click on links to various merchants on this site and make a purchase, this can result in this site earning a commission. Affiliate programs and affiliations include, but are not limited to, the eBay Partner Network.
Imitation is the Highest Form of Flattery - NA6 mkturbo project
I just heard from Lars that my mkturbo setup will be delivered today, so in that excitement I though it would be helpful to share my journey thus far and document the future.
Like any project, my goals and focus has changed over the years, but I always tried to leverage what everyone here preaches. Successful or not, I found my own path for the Miata while basically copying what has been successful for others over the years.
Step 1: Coming Home
October 2013 I found a clean 1993 example in red that had just been re-painted (with clear coat) by a body shop owner. Before him, only one owner. ~80,000 miles.
Step 2: Refresh
Car drove well, but needed TLC. Did a full refresh: radiator, hoses, shifter rebuild, transmission and diff fluid change, timing belt, water pump, cam and crank seals, accessory belts, brake fluid, blah blah blah
Step 3: The Rabbit Hole Opens
Now that I had a perfect example of the stock 1.6, I drove it a few times and started throwing money at it. First was suspension I found on cragslist (Koni yellows w/ ground control sleeves 450in/lb front, 300in/lbs rear) that I refreshed (seeing a trend?)
Next came wheels and tires
Then a rollbar
Add some seats and harnesses in because I am a tall person
Replace some ball joints
Finally, refresh those nasty brakes
Step 4: Now We Dance
After all that, I did a bunch of autocross and went to the track (VIR to be specific)
Step 5: Analysis Paralysis
After all the years of building the car to be a dual-duty street/track car, I decided that I didn't have the *****, money, or time to dedicate to the track.
New focus: street car. Fast street car.
Step 6: Into the Back Hole
I decided that I wanted more power because let's face it, as fun as this car is on the street, it is slower than everything.
Started the journey with a DIYPNP built using the trubokitty.com instructions (THANK YOU)
Add BMW vTPS
Add wideband (14point7), remove AFM, make temporary intake, wire things up. Tune it (THANK YOU SEARCH), drive it.
Add flow force injectors. More tuning, more driving.
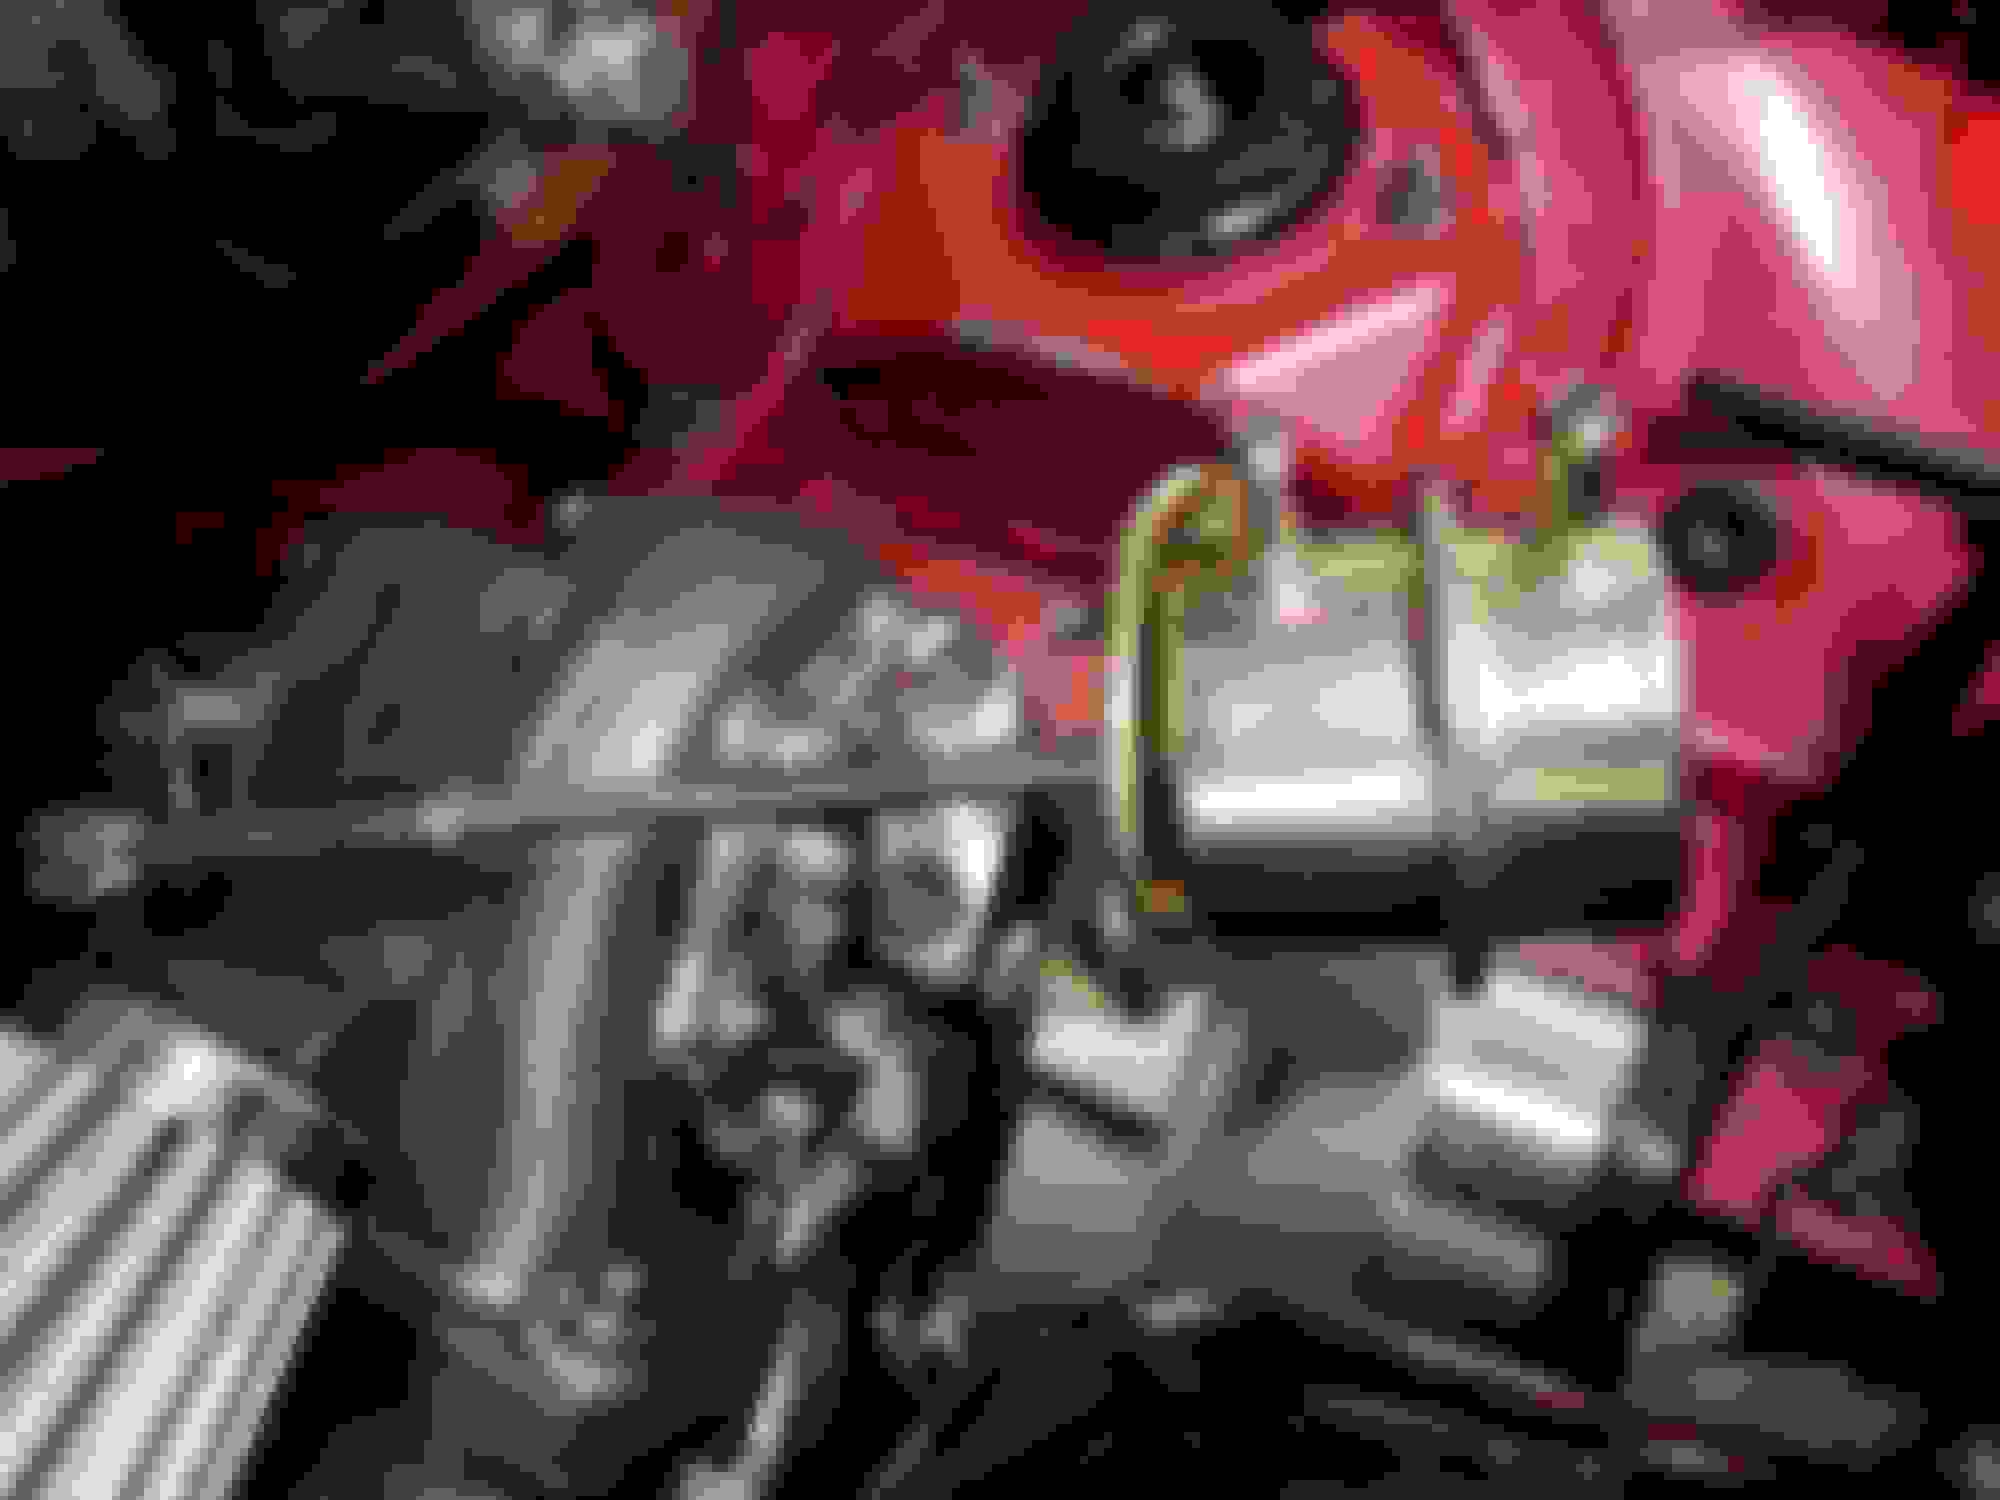
Step 7: My Block is Ready
That basically brings us to today. I should be getting a full MKturbo kit, intercooler kit, and oil line kit hand delivered by the man himself today.
Lots to do and lots to order before I can see some positive pressure. More coming as I get time.
We have basically the same car- I mean almost identical. I finally got done installing my MKTurbo kit a few nights ago, and the results are amazing. You're gonna love it. Check out my build thread for a whole lot of mistakes that you shouldn't repeat.
It was good to meet you Keith. Hopefully the install goes smoothly and quickly.
It was good to meet you to Lars, thanks for making the trip!
Originally Posted by Schroedinger
We have basically the same car- I mean almost identical. I finally got done installing my MKTurbo kit a few nights ago, and the results are amazing. You're gonna love it. Check out my build thread for a whole lot of mistakes that you shouldn't repeat.
Fitting thread title I guess; I will take a look at your build for sure.
You are gonna love it. And yes, doing everything in the right order with the right parts makes it super easy. I helped a friend put in an MKturbo kit back in the spring (first used one that came up.) And the install went smooth as butter with the car getting right back on the road and tuning up nice.
Started by doing an initial port to the turbine housing. This is where I ended up when my drill ran out of battery. I think I will try to widen it some more and extend the trough to the flange opening.
Took me about an hour of work to get to this point.
Initial:
After initial porting:
Also made a little room for the wastegate flapper. Not much range of motion when bolted to the turbo.
Finally, I got the stock header and downpipe removed. I was able to wrestle the header/downpipe out without having to undo the triangle flange. Still broke off one of the nuts on that attach the downpipe to the cat, but I expected as much.
I took a minute to beat on the heater core hard pipe as suggested by Lars and managed to break off my dipstick handle. Not sure how much it needs to be massaged, but I will be test fitting and making adjustments later this week hopefully.
That trough you're cutting won't do much to prevent boost creep; you need to hog out the diameter of the hole from the other side. I didn't port mine enough the first time and had boost creep, had to go back in a 2nd time when it was on the car. It's a lot easier to do on the workbench.
Put a film of grease on the whole wastegate flapper. Bolt the v band/flapper assembly to the turbine body and push the flapper closed. Now take the v band/flapper assembly back off; the grease will have left a circular mark on the face of the turbine where the flapper will close against it. Get a sharpie marker and draw a circle right up to the edge of the grease mark.
Now that you know the footprint of your flapper, open up the entire diameter of the wastegate hole until it's 1-2mm inside of the flapper footprint. A carbide cutting dremel bit is really helpful here.
After reading a lot of the MKturbo thread I think I agree with you. I ported the hole the way you described and will see if it will be enough.
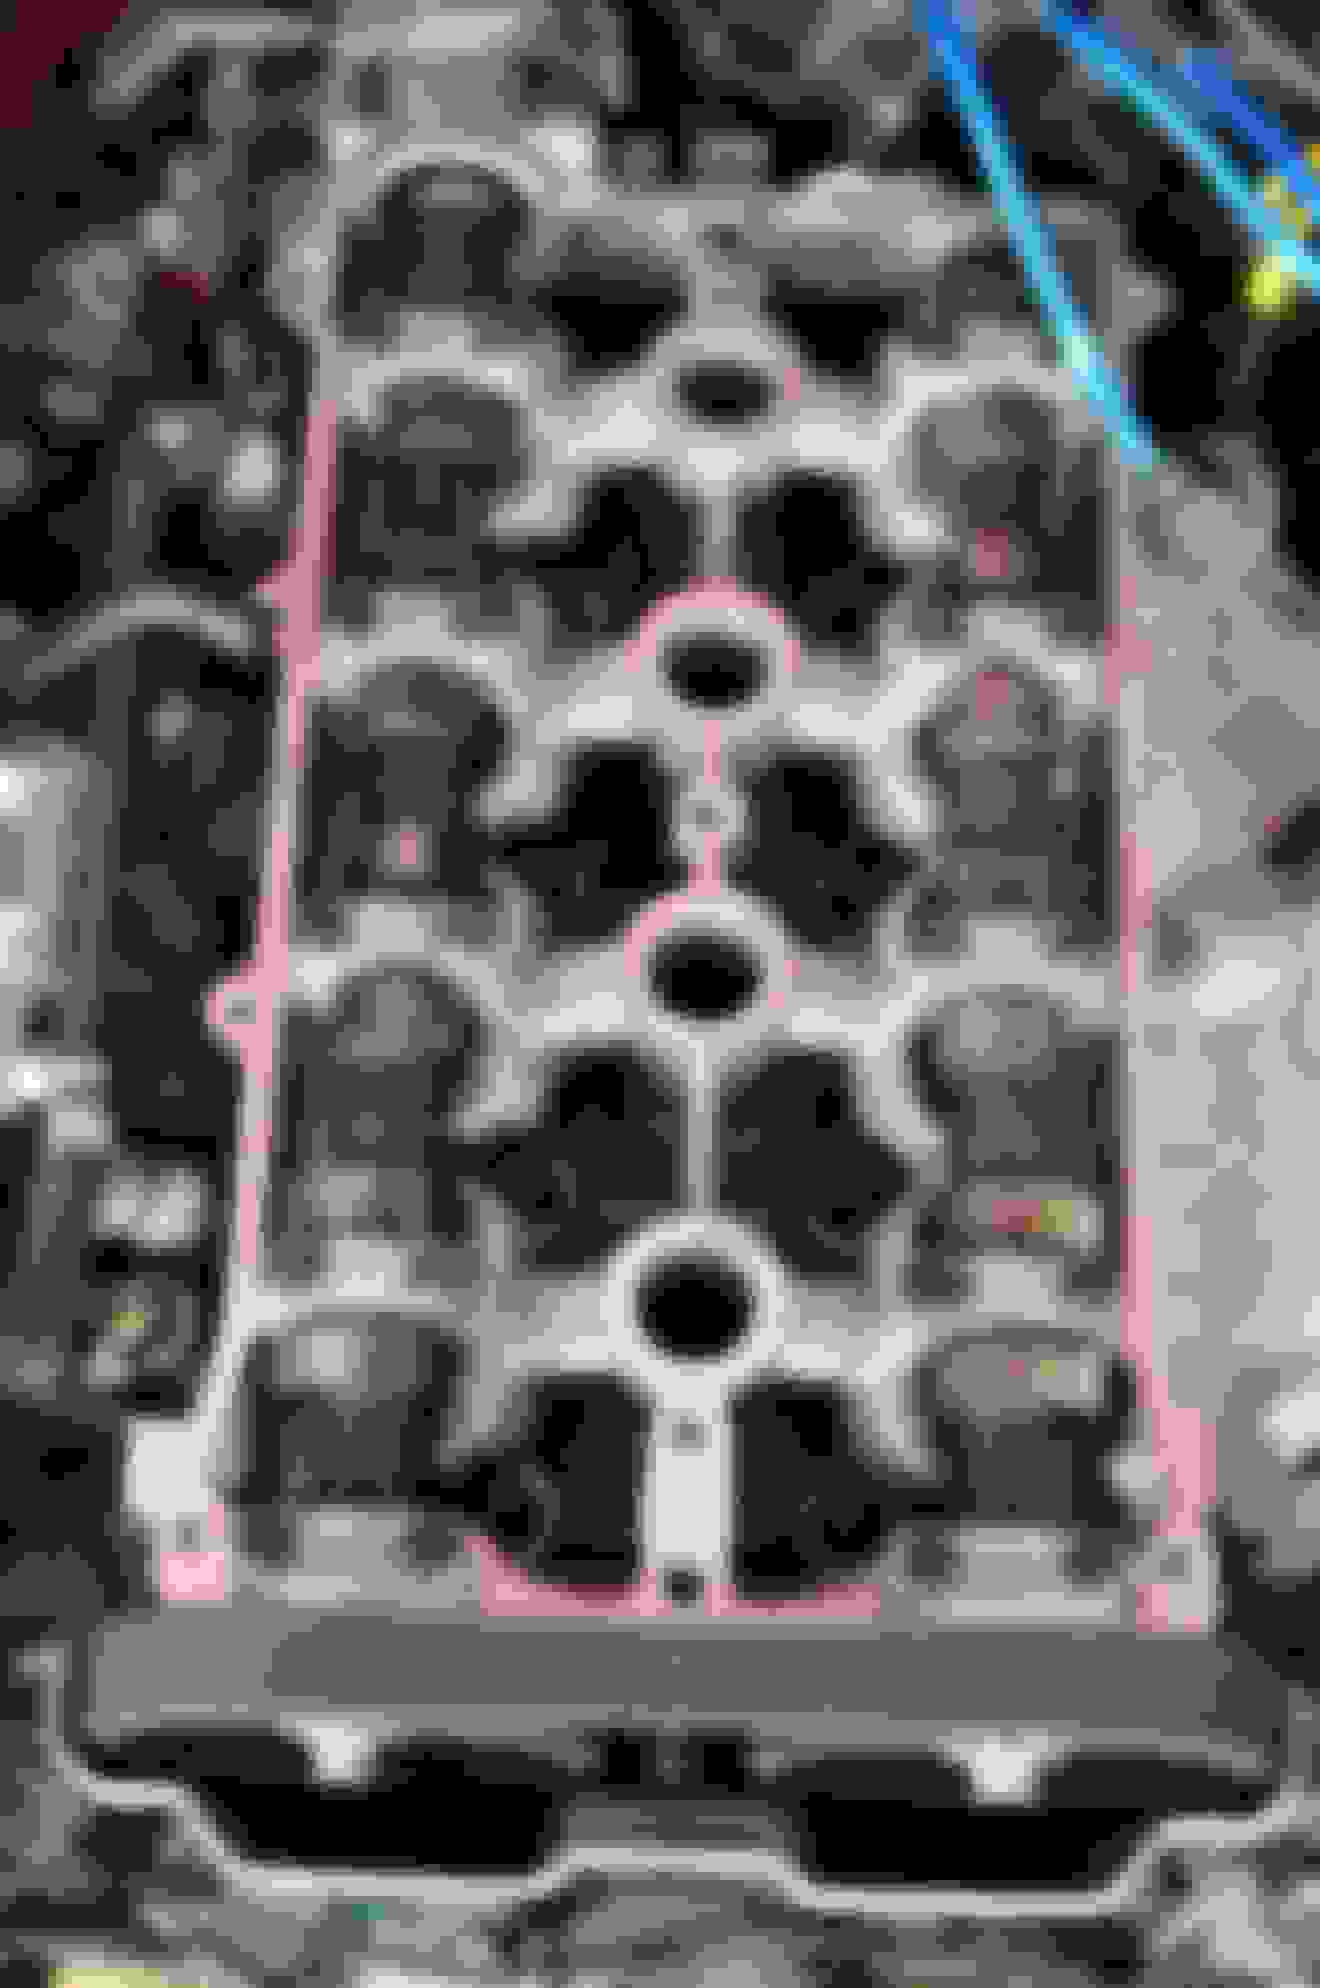
Got most of the prep work out of the way at this point:
Drilled and tapped the oil pan. Installed the drain fitting with JB weld.
Moved the upper power steering hose out of the way
Put on the majority of the heat shielding. Still need to order some more for the brake lines/master cylinder area.
Ordered remaining nuts/adapters to bolt the rest on
I bought some 3003 aluminum that I will be making a heat shield out of. Waiting until I get everything mounted up before I start making a template and transferring to metal.
I am still worried about heat management, so I am wrapping most of the obvious things in reflective heat shield. I did the underside of the hood as well and ran out of supplies before I got to the brake lines and other small pieces.
Finished up most of the install this weekend, but ran into fitment issues with the waste gate actuator lining up with the flapper arm.
I clocked the compressor housing as far as I could and attached what looks to be the correct wga mount, but the rod doesn't really line up with the arm. I shimmed one side of the waste gate to get a better angle, but there rod is still approaching at an angle. Is this OK? Suggestions on how to get a better fit?
Not good. You need to clock the compressor housing differently. And you need to keep the actuator squared up on the bracket.
Clock the housing so that the discharge heads more towards the top side of the drivers fender above the frame rail. Try it with the actuator between the compressor discharge and the head.
It strange that your wastegate flapper arm opens in the opposite direction from most of the ones I think I've seen, too.
 10-10-2017, 01:19 PM


 1
1