When you click on links to various merchants on this site and make a purchase, this can result in this site earning a commission. Affiliate programs and affiliations include, but are not limited to, the eBay Partner Network.
Brief background for the project - there's a company on this site that makes the real "Eliminator" kits and sells them - props to them - buy their stuff.
I love the idea (stripped and caged Miata) - however - I'm poor - and I want to do something slightly different, albeit heavily inspired by the guys at Salvagwon.
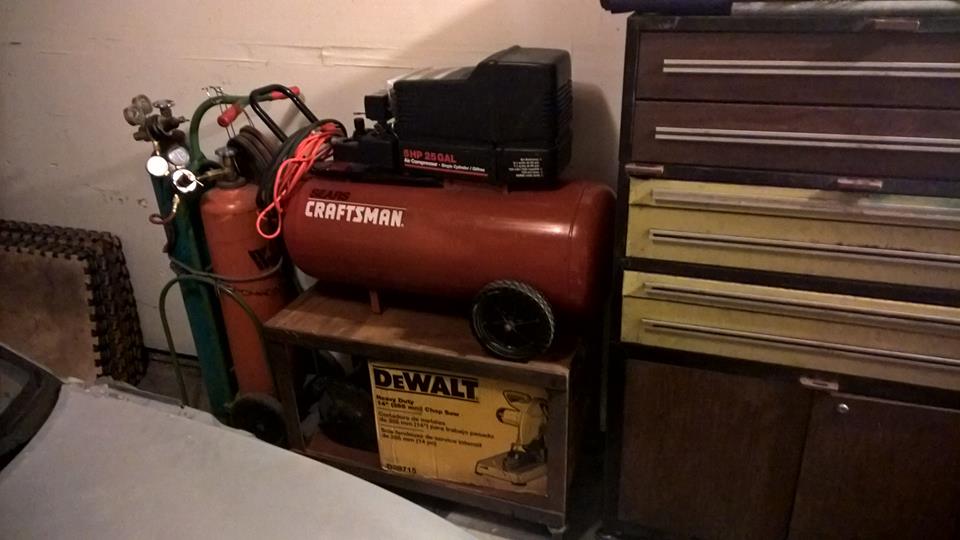
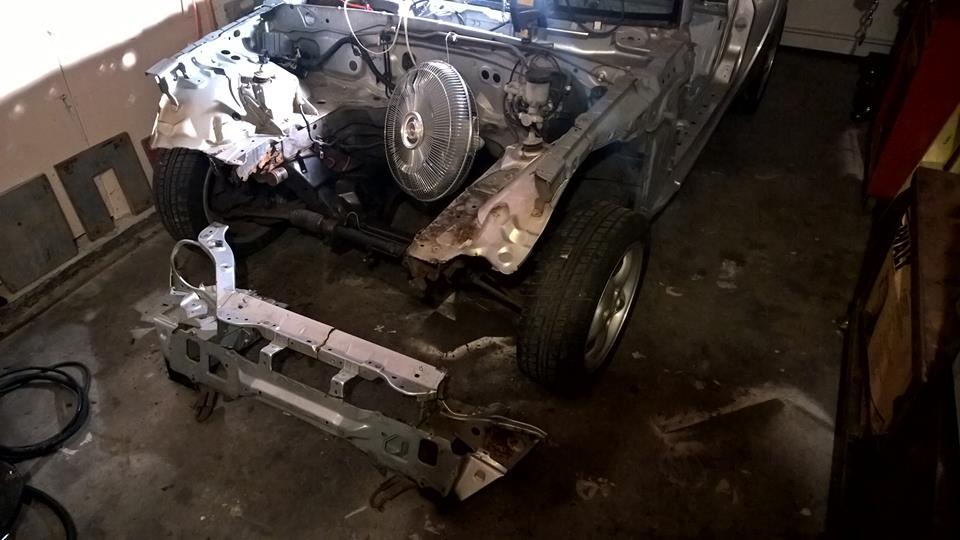
Car - 1999 Mazda Miata - Bought the Miata for $1300, needed a radiator. I've bought, sold, and traded in an effort to keep this project at a net-zero cost - which I've been successful at so far (including purchasing a Forecut 62i plasma cutter, Lincoln 210mp welder, full Acetylene torch set, air tools, compressor, heavy workbench, engine hoist, vice, drill press, chop saw, etc, etc)
Heavily consulted multiple rule books for sizing / construction / cage req's. I don't plan on necessarily tracking it often, however it's always good to have options for enjoying the car at a track/club without having to rebuild the cage - so why not do it right the first time?
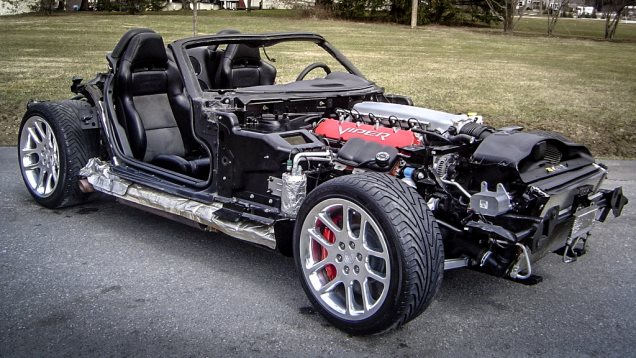
The inspiration (Think Exocet, Ghettocet, Catfish, etc)
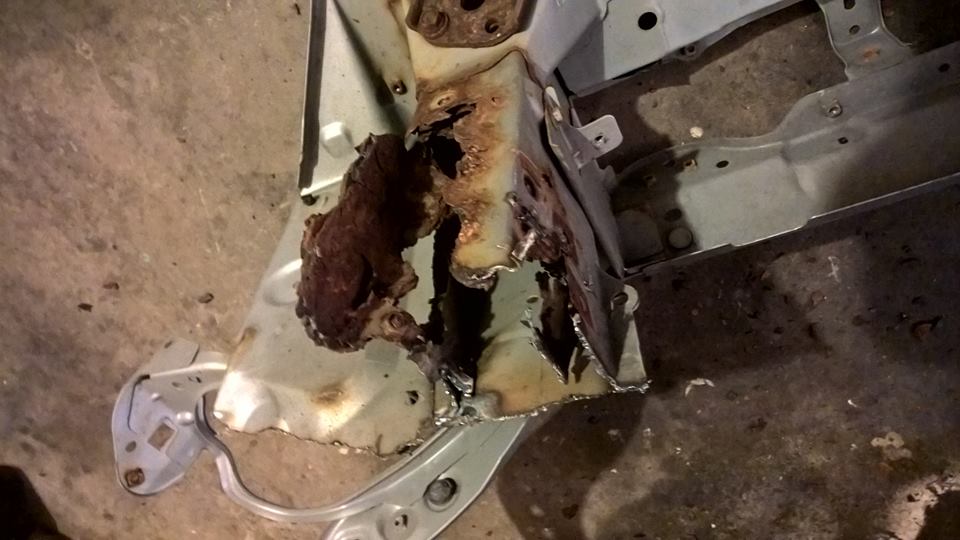
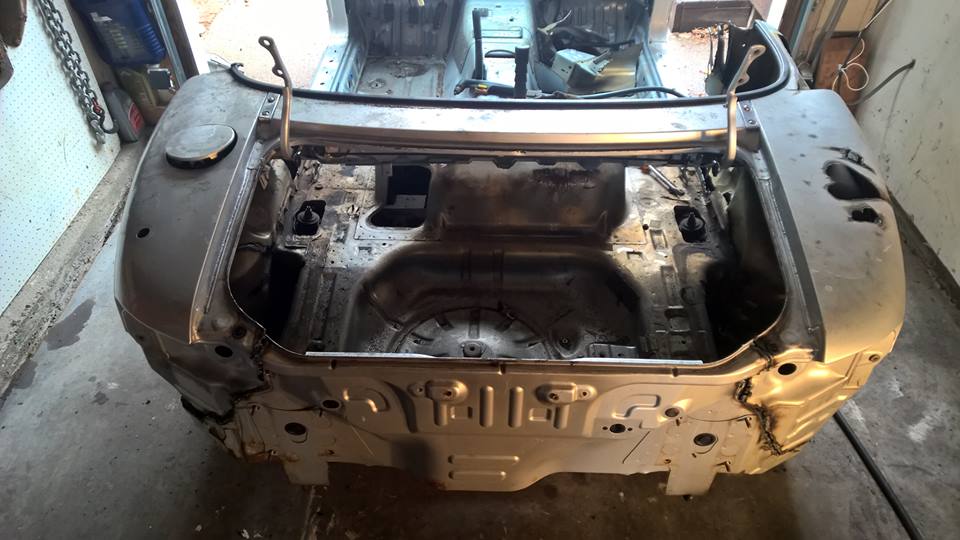
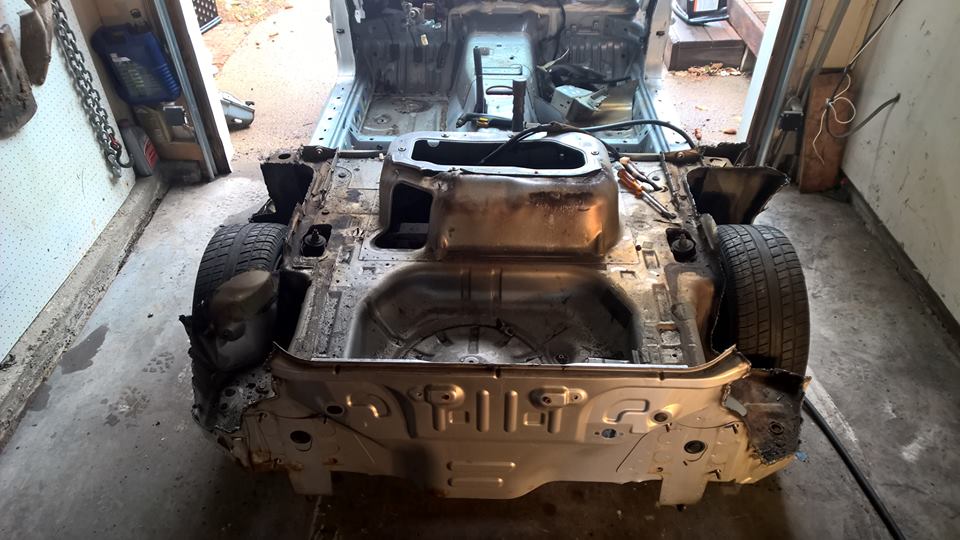
This SHOULD have been a solid box-section, part of the front-end... a lifetime spent in Illinois said "NO!" (I don't feel bad about chopping up this car - think what you will)
Well - lots has happened recently - mostly "back of shop".
Bender, dies, tube and plate purchased. I chose mild steel, 1-3/4" with .120 wall tube. Base plates will be (mostly) 1/8" plate, formed to fit as req'd.
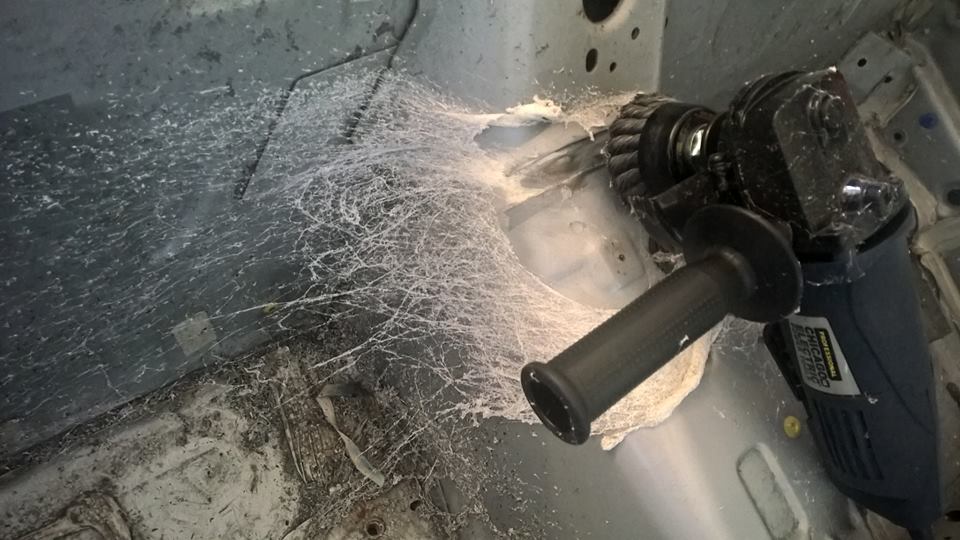
While waiting for items to ship/arrive, I took most of the seam-sealer off the unibody for "stitch" welding. When using a knotted wire wheel the result is a crazy, sticky cobweb!
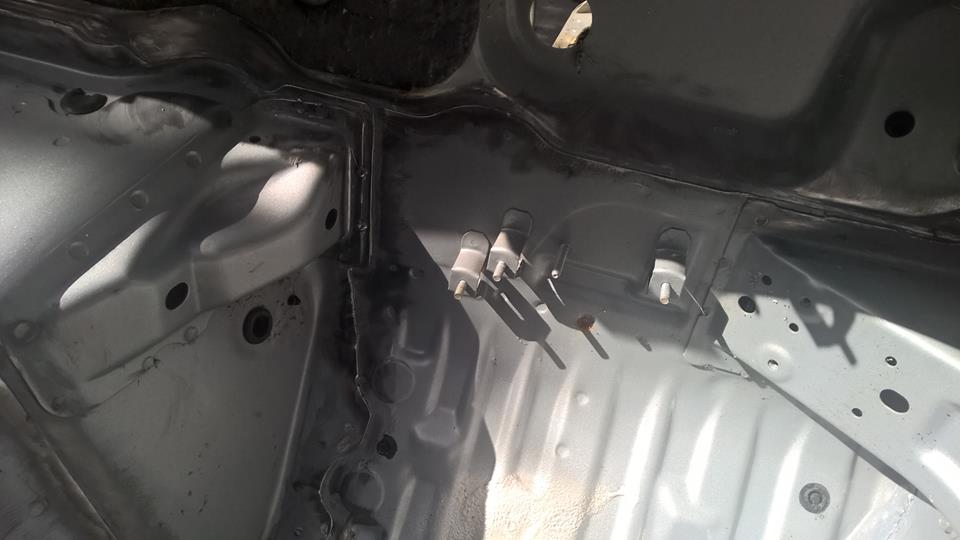
But, after the mess was cleaned up, everything looked great, ready to move forward.
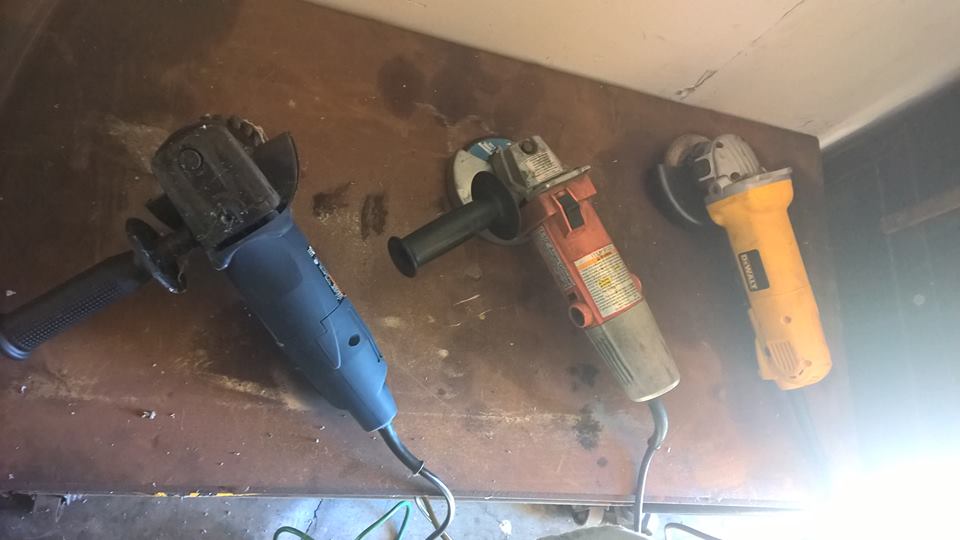
Can't have too many!
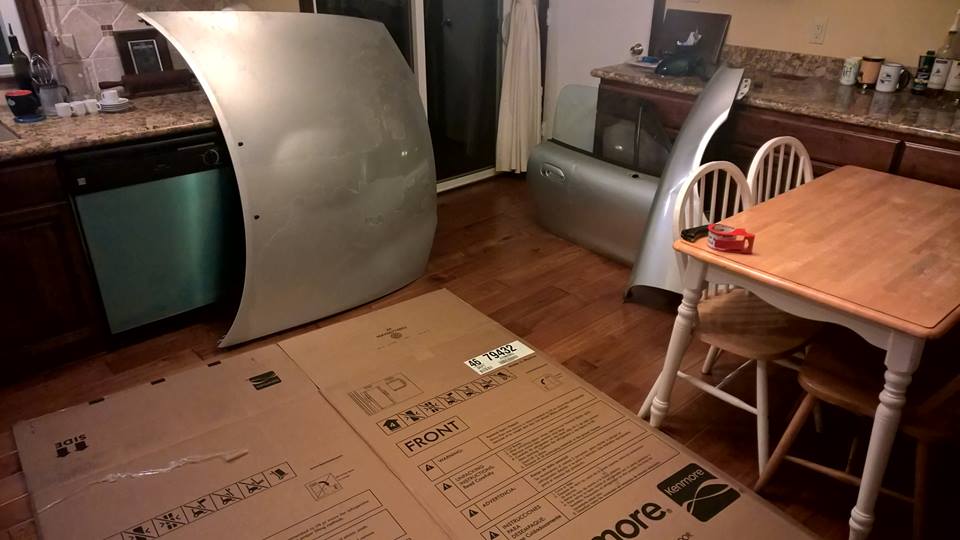
Selling parts to buy parts!
Last edited by bawward; Sep 16, 2019 at 12:15 PM.
Reason: Photos Missing (TinyPic)
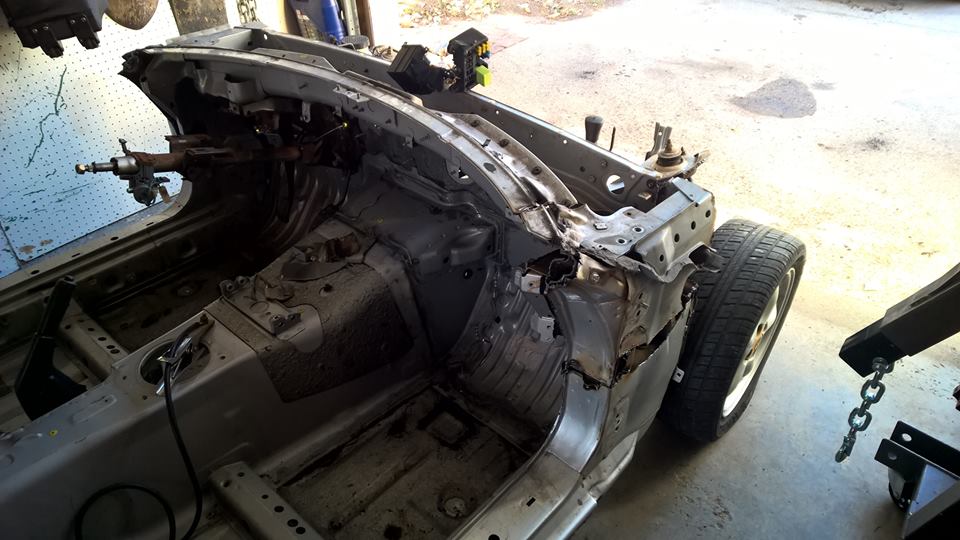
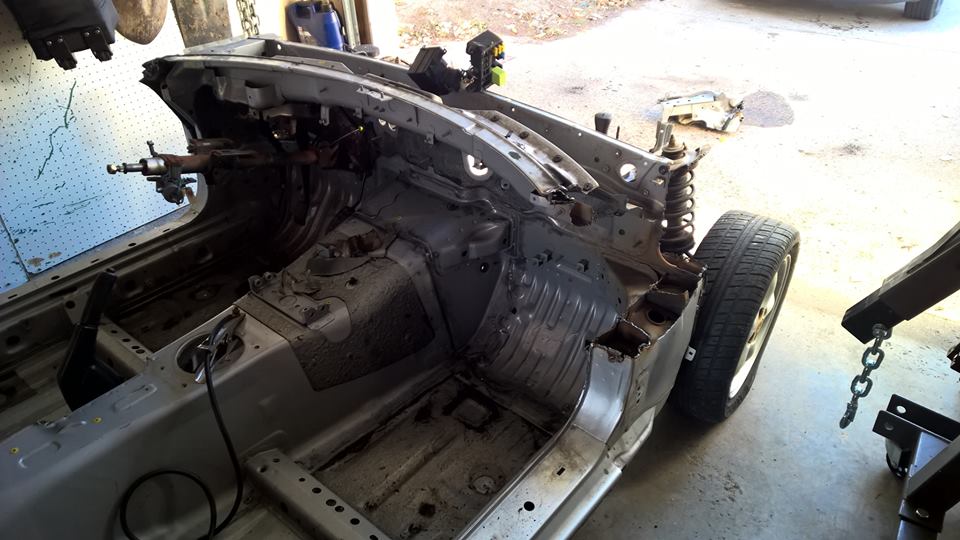
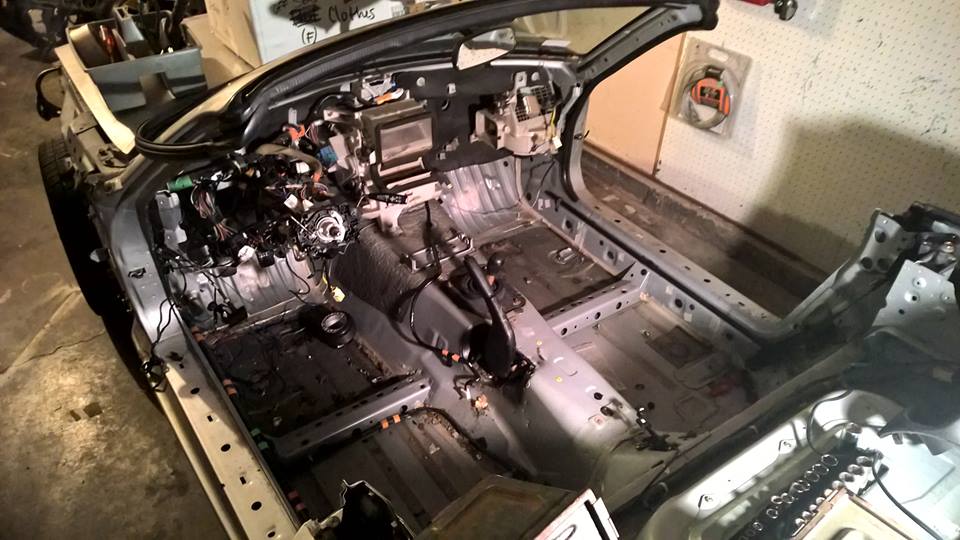
The front A-Pillars were cut back and down to the primary structure - everything above this point was not reinforced or layered - mostly just one-member-thick bent panels.
The Front main-hoop and reinforcing FIA bar will both be incorporated at this point:
The rear main hoop will sit on this point:
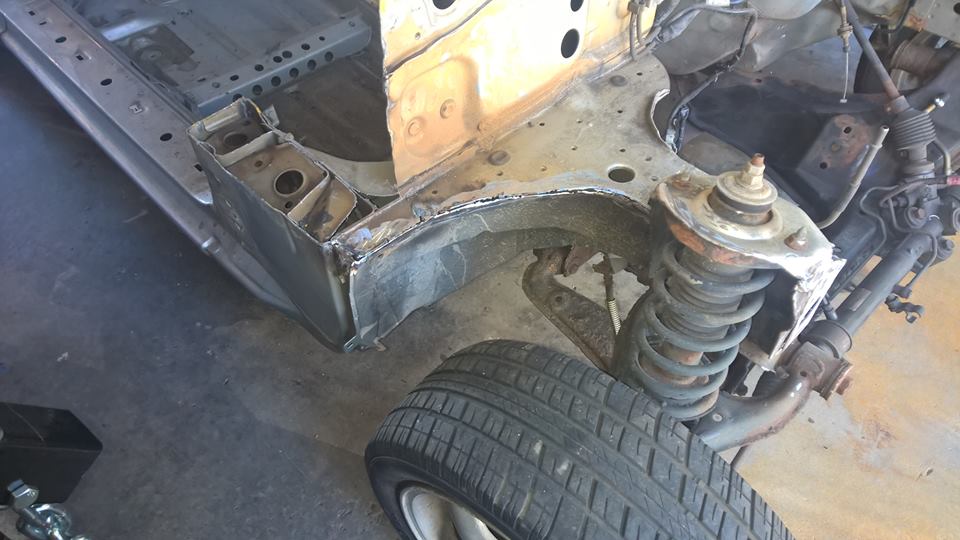
The structural frame-rails are also retained:
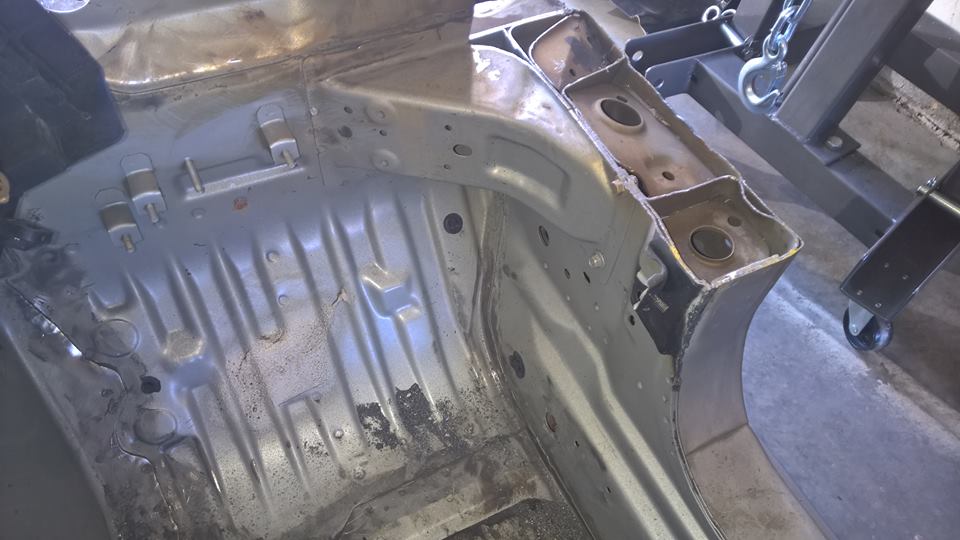
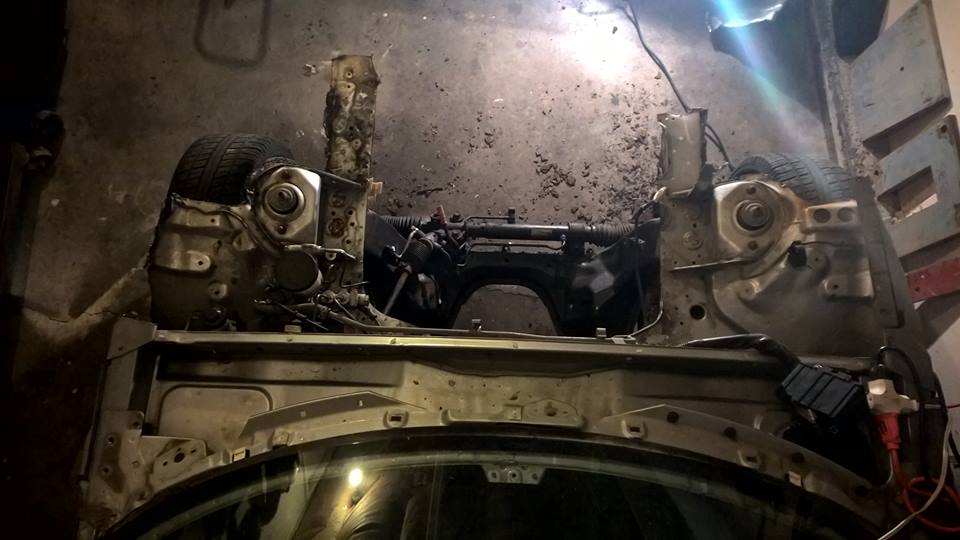
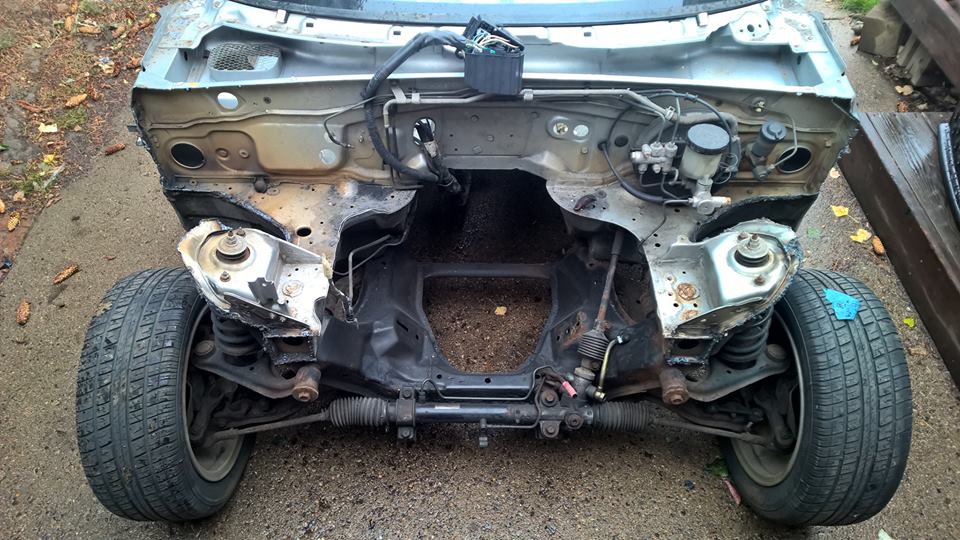
Cleaned up the front strut towers as well:
Last edited by bawward; Sep 16, 2019 at 12:18 PM.
Reason: Photos Missing (TinyPic)
So - this post is dedicated to the other newbs out there (like myself) and not so much the esteemed members of the board.
Don't do this:
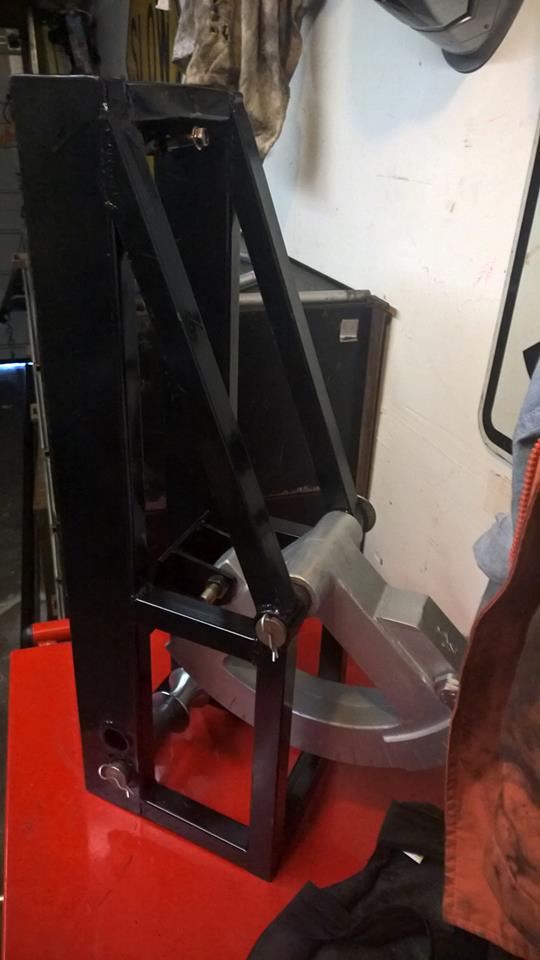
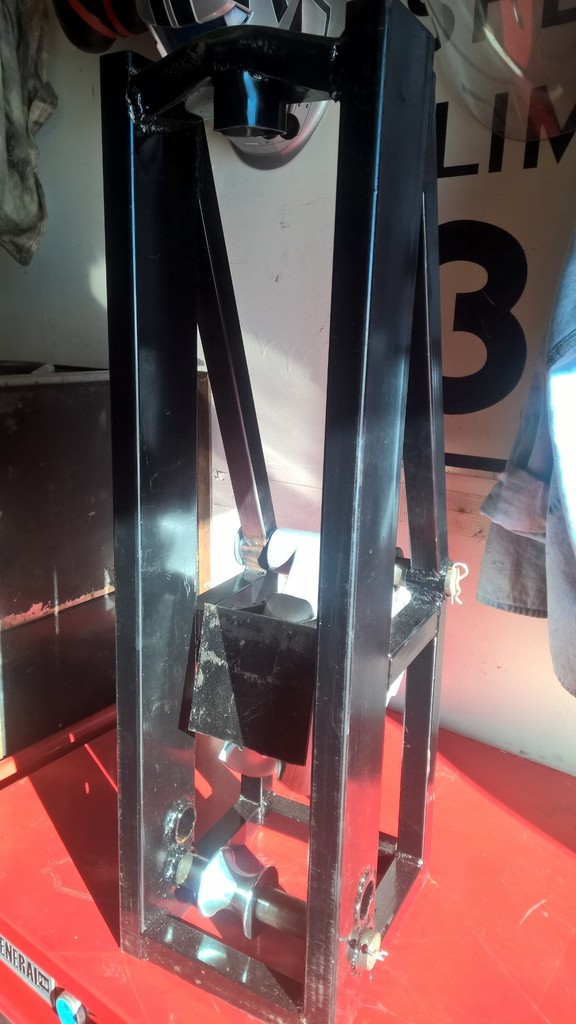
In considering my build, I knew I only had to make (at most) 10 bends. I looked around a bunch of the rock-crawler forums, chasis forums, etc to find an affordable bender. I understand the JD2-Model 2/3 benders are the best - but for 10 bends, I decided to go another route.
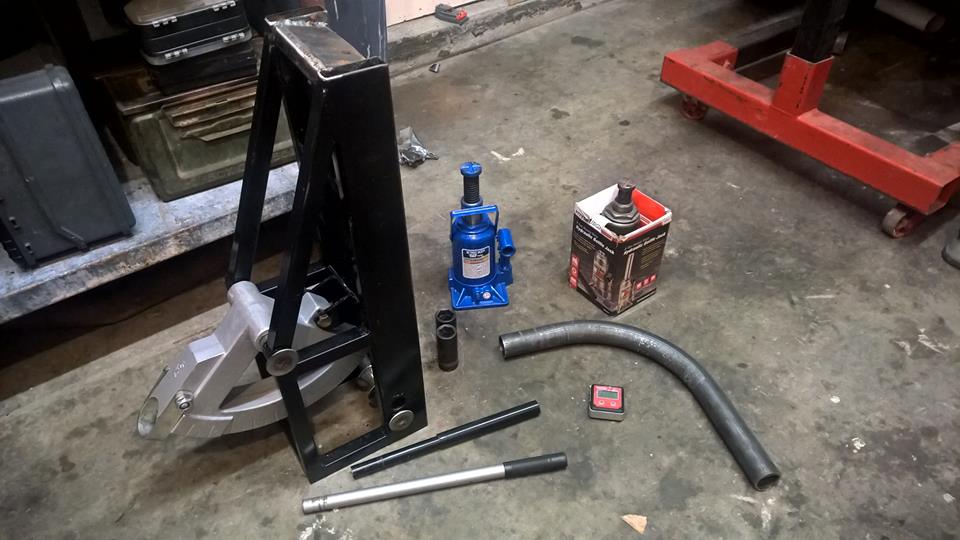
I grabbed a hydrolic bender for a decent price (if you want to know, I'll tell you... ok, it was $75 shipped with the pins) and also a die/follower from Speedway for $149. I already had a 8-ton bottle jack that would work just fine.
Happy story so far right?
Read on my friend and take notes.
Some Other Details:
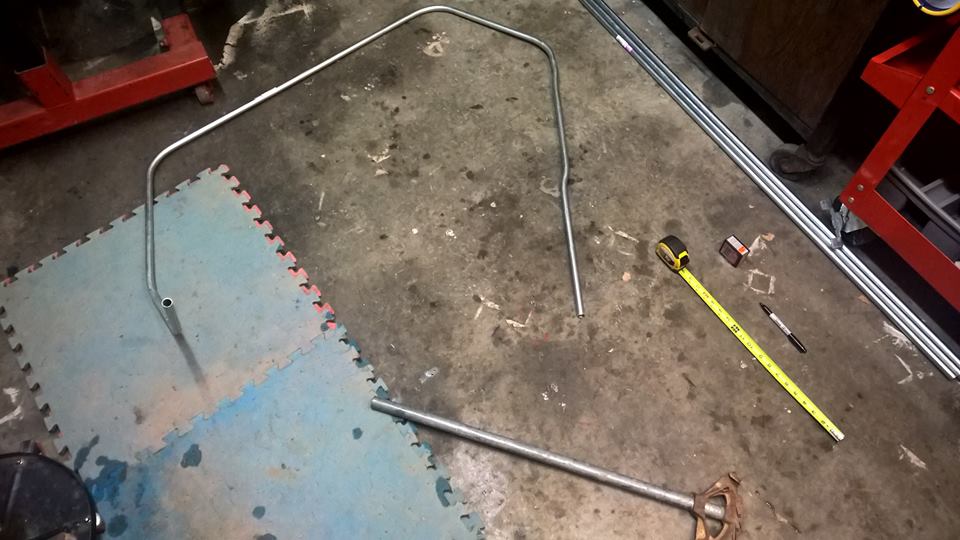
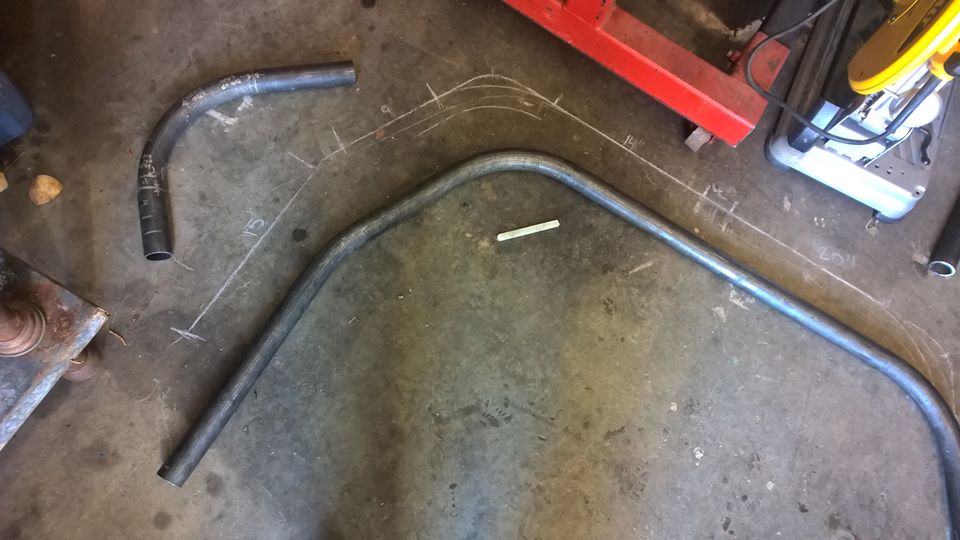
I chose to bend up the main hoops with 1/2" electrical conduit, and use this as a template for all my bending angles, leg lengths, etc. It worked AWESOME!
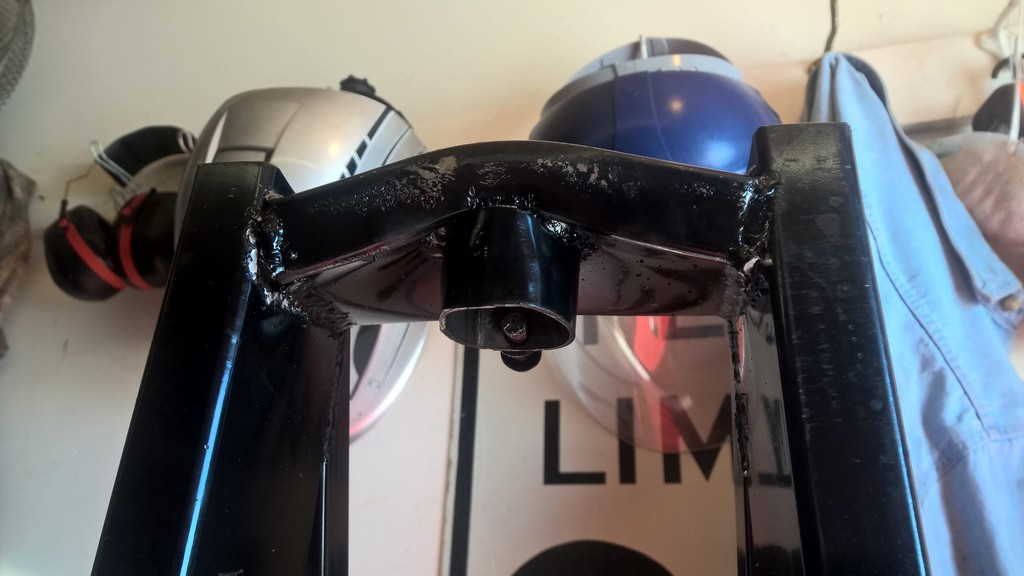
But this is what happens when you bend the wrong way...
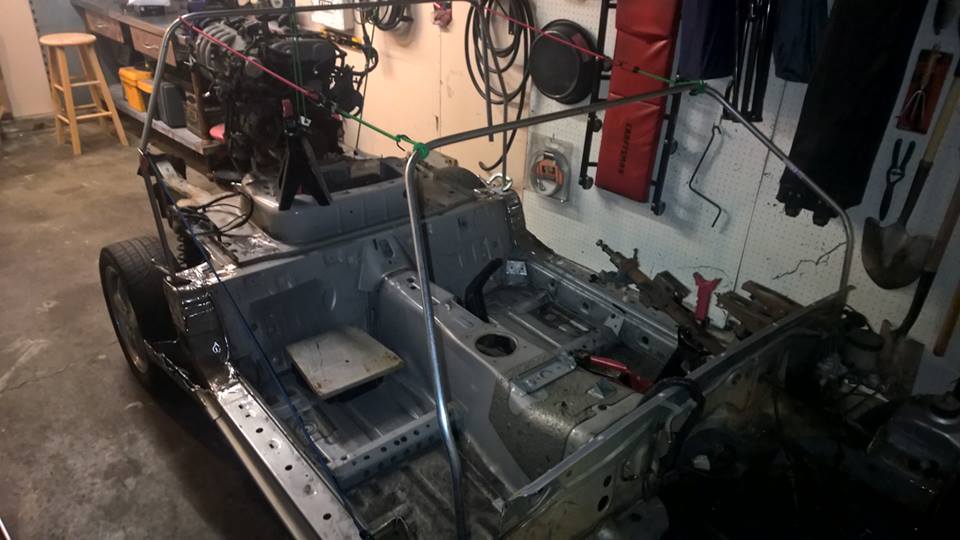
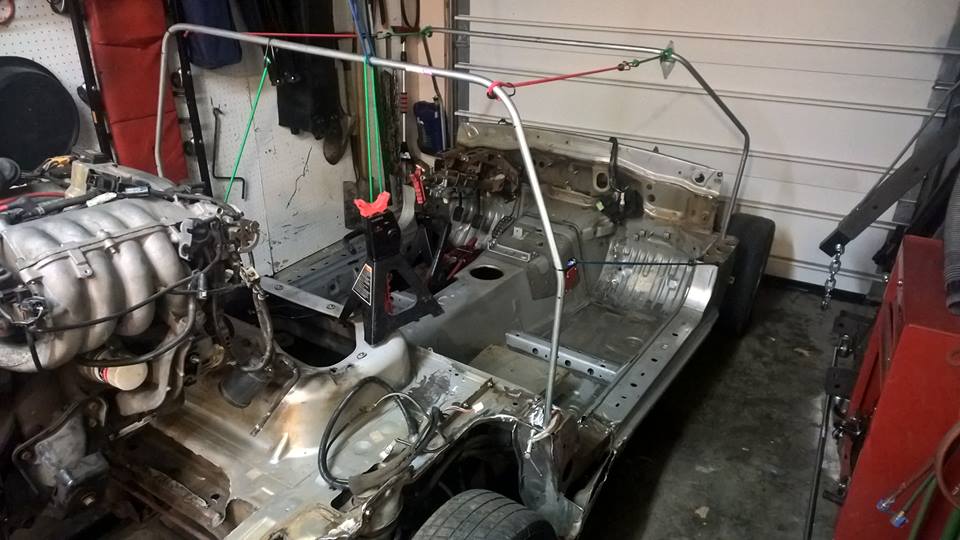
Mocked up - Yes, I was using jack stands for counter weights, and bungee cords to keep everything held together. Worked really well!
Last edited by bawward; Sep 16, 2019 at 12:21 PM.
Reason: Photos Missing (TinyPic)
So. That was last weekend. In the meanwhile, I've cut the bent piece off and welded in a 1" solid plate.
Also - in trying to bend this tube, aside from bending my bender, I blew the 8-ton bottle jack. So, I grabbed a replacement 12-ton (limited by size - the jack had to fit into the bender - my 20ton did not fit)
SOOOOO
After all this, I gave it another try and got a successful bend with little/no alteration to the geometry of the tube - VERY happy!
But-Hey! It's Friday, tomorrow I'll start bending the main hoops! Wish me luck, I'll update when able.
Last edited by bawward; Sep 16, 2019 at 12:26 PM.
Reason: Photos Missing (TinyPic)
Subscribed! Curious to see what you come up with design-wise. Out of curiosity did you contact Salvagewon about a cage-only price? There is another batch of cages scheduled for production in June; may only be moderately more expensive than building your own.
Subscribed! Curious to see what you come up with design-wise. Out of curiosity did you contact Salvagewon about a cage-only price? There is another batch of cages scheduled for production in June; may only be moderately more expensive than building your own.
MAJOR PROPS to Salvagwon - They've done a lot of the time investment, trial and error, and track-side testing - their engine knowledge, general Miata knowledge, fab skills, welding skills, etc are ALL beyond myself.
Also - I've followed your build NickT entirely from day one (Along with Genesplicer's) - awesome stuff, awesome outcome. Saved basically all the photos from your thread for detailed review!
In regards to your question: You would know better than me regarding pricing. The Salvagwon guys are HARD to get a hold of. I tried pursuing the "purchase" option first - just to see what I was up against. I know the $5500 number includes seats, cage, plans, etc. I'm not sure of the "bare cage" number.
Cost for my cage so far:
$440 - -60'-0" of 1-3/4" DOM tube, 0.120 wall (yes, the tube is oversized - SCCA tech specs this pipe for 4500lb cars - but that was on purpose)
$40 - 16'-0" of 1/8" plate (6" wide planks)
$75 - Bender Frame
$149 - Bending Die
$20 - 8-ton bottle jack (It blew up in service of its country)
$35 - 12-ton bottle jack (Bleeding fluid, but still kicking!)
$75 - Random measuring scales, angle finders, levels, digital levels, etc
$130 - Tube notcher
$80 - Metal Hole-saw set
$1500 - Lincoln 210MP w/ purchased C25 tank and 33lb of welding wire
-------------------------------------
$2550 - Add another $300 for mistakes / additional tools - And I get to keep the welder
Last edited by bawward; Sep 16, 2019 at 12:26 PM.
Reason: price correction
I started laying all my tube out, cutting, double checking, etc.
(FYI - there's a great tutorial on Pirate 4x4 forum for how to easily setup your bends, leg lengths, etc)
Got all my drawings layed out on the floor with chalk and started bending - main hoop finished, and within 0.8* of square / flat (HARD to do with this sort of bender!!)
Then I hit a snag - the roof in the garage I'm working in is 7'-10" - while bending the hoop, the tube insisted on becoming acquainted with the attic...
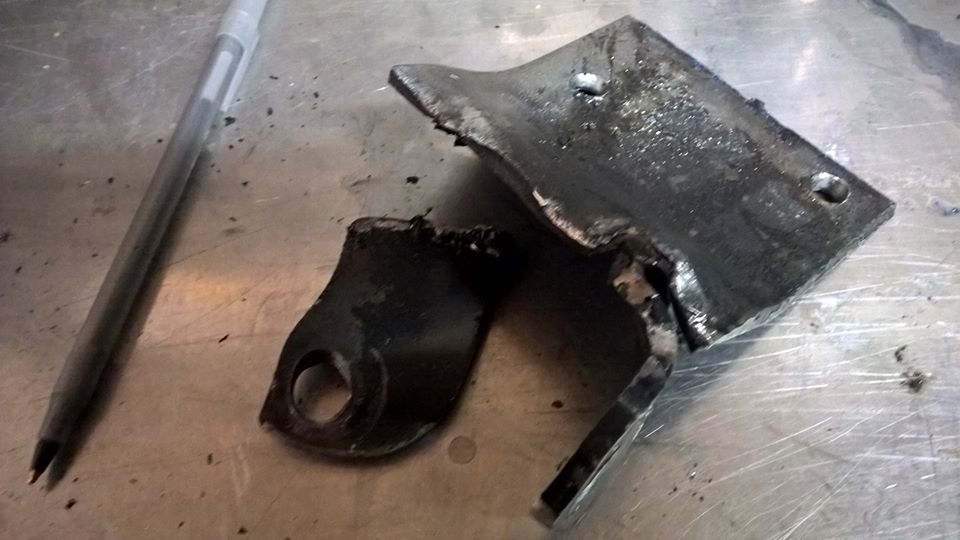
After the main hoop was bent, work started on the windshield hoop (much trickier!) - I've got bends in three-planes... and almost as soon as work begun, this happened:
that's the base plate for the bottle jack, connecting it to the bending die. I fragged it.
SO - what to do? BUST OUT THE NEW WELDER!!
Last edited by bawward; Sep 16, 2019 at 12:27 PM.
Reason: Photos Missing (TinyPic)
Awesome project!
I talked to the Eliminator guys last year when I was in Atlanta anyway. Made a quick trip to AL. They are really nice IF you get a hold of them. If memory serves me right, the cage only option was about $4,000 or so. I'll still build one, but first I have to build the house that holds the garage where I can build the eliminator.
Also - I've followed your build NickT entirely from day one (Along with Genesplicer's) - awesome stuff, awesome outcome. Saved basically all the photos from your thread for detailed review!
In regards to your question: You would know better than me regarding pricing. The Salvagwon guys are HARD to get a hold of. I tried pursuing the "purchase" option first - just to see what I was up against. I know the $5500 number includes seats, cage, plans, etc. I'm not sure of the "bare cage" number.
Yep, and don't get me wrong - totally get what you are doing and am excited about it! That's the path I was originally going down, but was going to order an off-the-shelf miatacage.com cage and then modify it somewhat. Once I started everything up I was pretty close to the "cage only" price on the Eliminator.
Had the stock 1.8L - no VVT :( - BUT, I did pick up a 4:30 Torsen!!!
Originally Posted by Roda
Great project. I'd love to do this but I think my wife'll kill me if I try to bring home another project... By the time you finish the cage, you'll wish you'd just bought a JD2 bender...
Yeah... up to this point, the wife (and my bank account) hasn't contributed any money to the project - just profit made from selling parts off the car... and buying/selling several thousand pounds of Legos... and buying/selling three-dozen 70" smart TV's... and stuff.... I did HEAVILY consider the JD2 - and my bender has been a PAIN - but, with my "improvements" it's now working REALLY nicely! (well, aside from the couple blisters...)
Originally Posted by stefanst
Awesome project! I talked to the Eliminator guys last year when I was in Atlanta anyway. Made a quick trip to AL. They are really nice IF you get a hold of them. If memory serves me right, the cage only option was about $4,000 or so. I'll still build one, but first I have to build the house that holds the garage where I can build the eliminator.
$200 local CL...
Yup - totally agree - I've heard / read nothing but GOOD reports about the Salvagwon guys - and NickT's thread has shown how much they do care about Miatas, modding and workmanship, I just haven't been able to connect yet. That price is reasonable (Especially for closer to $2500, as I've heard) for such a purpose-built unique cage - great option for some folks!
That price is pretty good for that style bender - however you need to be careful. Over a year of research led me away from that style bender (similar to Harbor Freight bender)
Some issues to watch out for:
-Often those benders (and the dies that come with them) are "pipe" benders not "tube" benders - difference being that "pipe" is measured by inside diam., tube is measured by exterior/overall diam
-Another note: Those benders are notorious for "kinking" the inside radius of the tube when you bend. IE: they create an oval shape of the tube at the bend, instead of maintaining a clean "O" shape at the bends. Some people try to get around this by filling the tube with sand - then capping the ends before bending - the big thing is just verifying that you have a TUBE die, and that it's the same size as what you're bending.
Ideally you want a "mandrel" style bender - where the tube is drawn along a die (pulled) rather than the die form/shape pushed into the tube to create the bend. My style bender is the very, very "poor mans" version of the JD2/JD3 (and others) which are the best option.
So far, I've had zero to little deformation of my tubes - which is good, because tubes are expensive!
Some Links:
-Regarding the wrong tool to bend roll cage tubing:
Yep, and don't get me wrong - totally get what you are doing and am excited about it! That's the path I was originally going down, but was going to order an off-the-shelf miatacage.com cage and then modify it somewhat. Once I started everything up I was pretty close to the "cage only" price on the Eliminator.
The "cage only" price is currently $2500 btw.
That's an awesome deal - wondering if they ship to Colorado?
The fit-and-finish on your Eliminator is extreme, and set a high bar to live up to! I've got so many designs floating in my head (and on paper - maybe I'll upload a couple) - Also encouraged to see your lap times be so solid, especially compared to the green machine!
I have kicked around the idea of contacting Salvagwon just to get those SICK seat covers!!!
Did some work over the weekend - knocked out one of my MANY things on the list - Rear-Main-Hoop base-plates!!! (sorta)
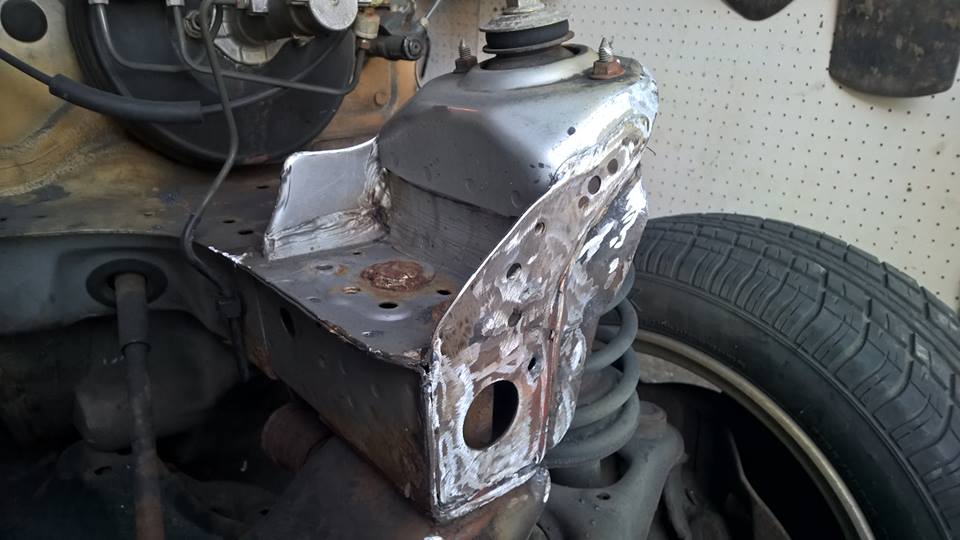
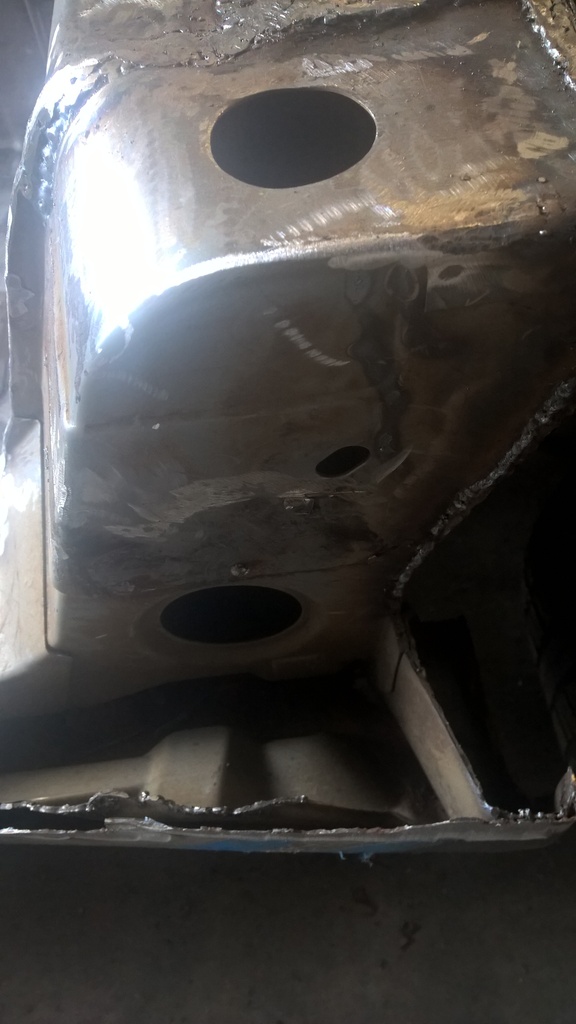
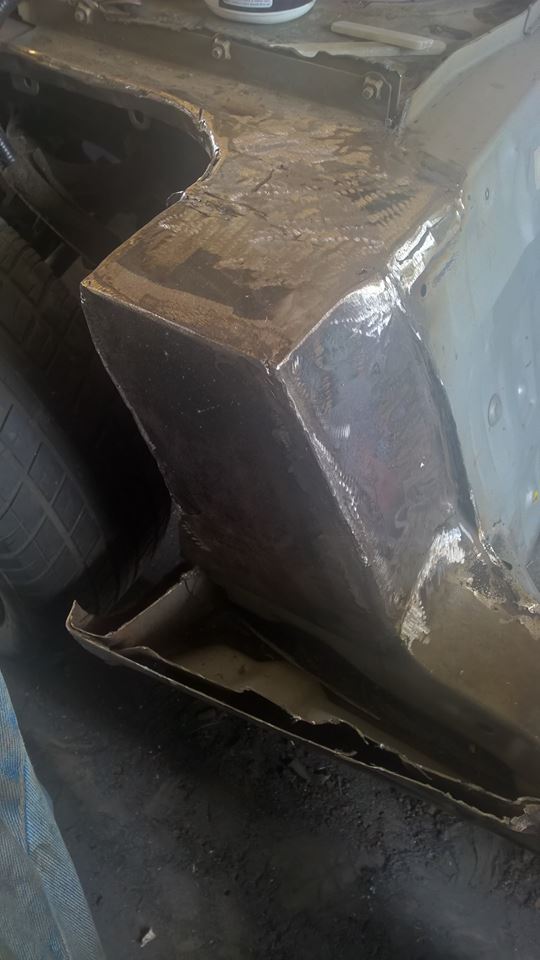
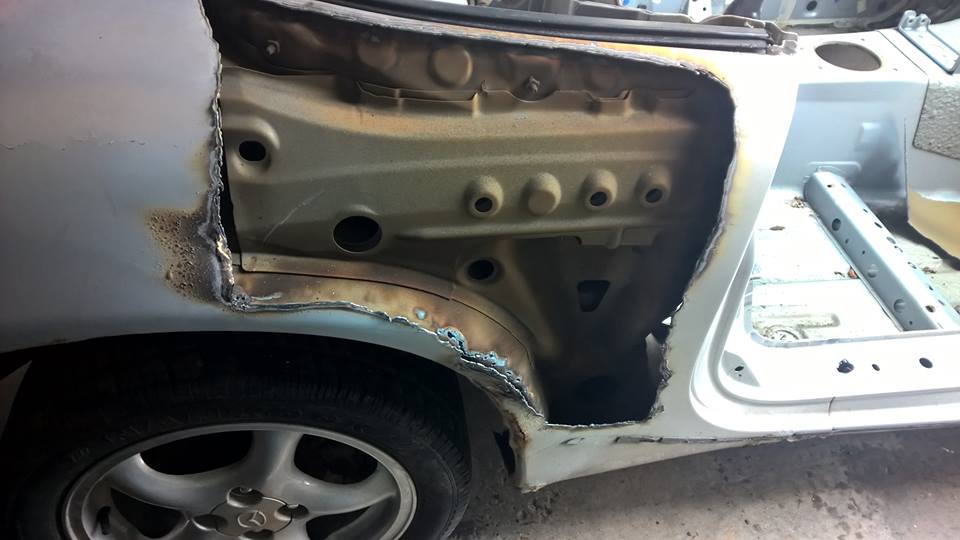
This is what everybody's B-Pillar structure looks like (when you remove it's skin!!!) - it's 18ga metal - multiple seams and joints - I cleaned everything up and seam welded all the joints that I had now exposed that were not previously exposed (this photo was taken after a good amount of cutting, grinding, prep, cleaning and leveling)
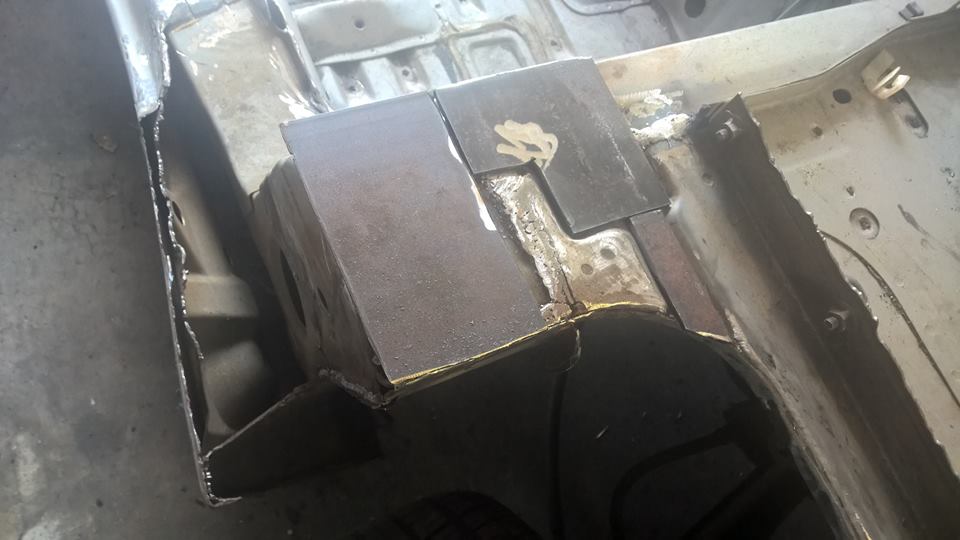
As I flattened things out and welded the seams in prep for the 1/8" thick base plate at each corner, I realized I wasn't happy with the structural attributes - so I reinforced!!!
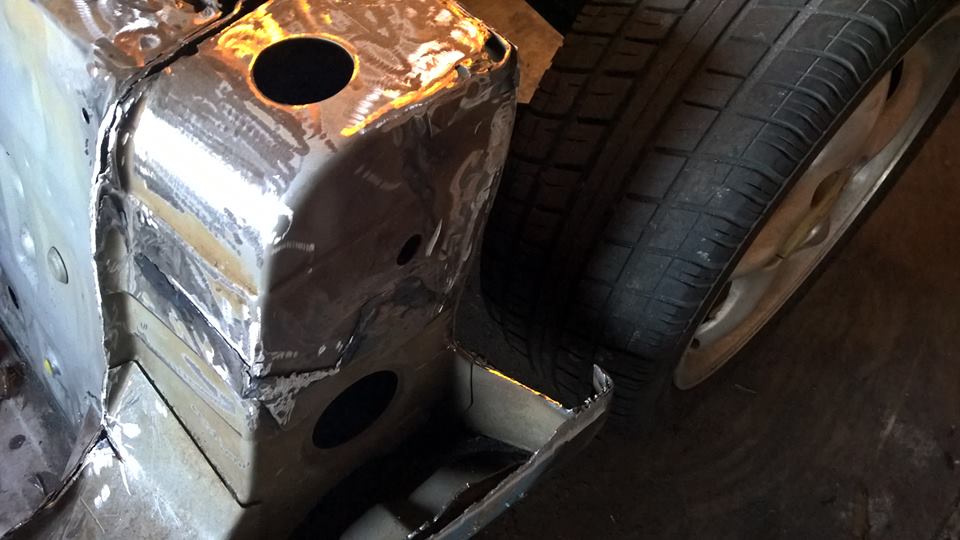
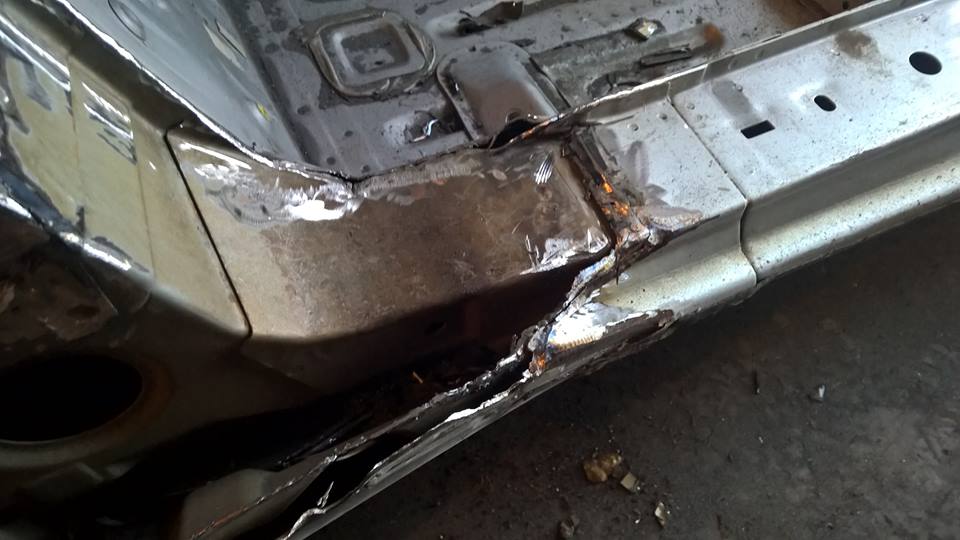
These pieces are 1/8" flat stock - cut to fit the indentations that were pre-existing in the Miata unibody - there was a lot of tapping/leveling of the surfaces to make these plates sit flush in the indentations, as well as be flush and level with each other - but eventually we got there.
Pieces cut:
I incorporated the large vertical plate, the small infill/reinforcing pieces, and the door-bar mounting point into one unit - I did this so all the overlaps/edges of the new metal would be nice and clean - all lining up, giving me an easy work surface to mount the ACTUAL base-plate for the rear-main-hoop.
SO - the ACTUAL rear-main-hoop base plates will be coming soon - then on the A-Pillar location!
Last edited by bawward; Sep 16, 2019 at 12:30 PM.
Reason: Photos Missing (TinyPic)


 0
0