Konmo's 1990 Turbo VVT Swap
 05-18-2017, 02:52 PM
#61
Junior Member
Thread Starter
iTrader: (2)

Join Date: Dec 2014
Location: Salinas, CA
Posts: 307
Total Cats: 23
You're right, that's what I'll be doing first. The current turbo has maybe 300 miles on it, if that. So it should have plenty of life left in it if I don't push it too hard. Reading Sonofthehill's thread, I can see that these little turbos can take a beating though. I'm not too far from him either, maybe I can get some tips on the porting that he did on his.

Reply
 0
0

0
 06-09-2017, 07:20 PM
#63
Junior Member
Thread Starter
iTrader: (2)
Join Date: Dec 2014
Location: Salinas, CA
Posts: 307
Total Cats: 23
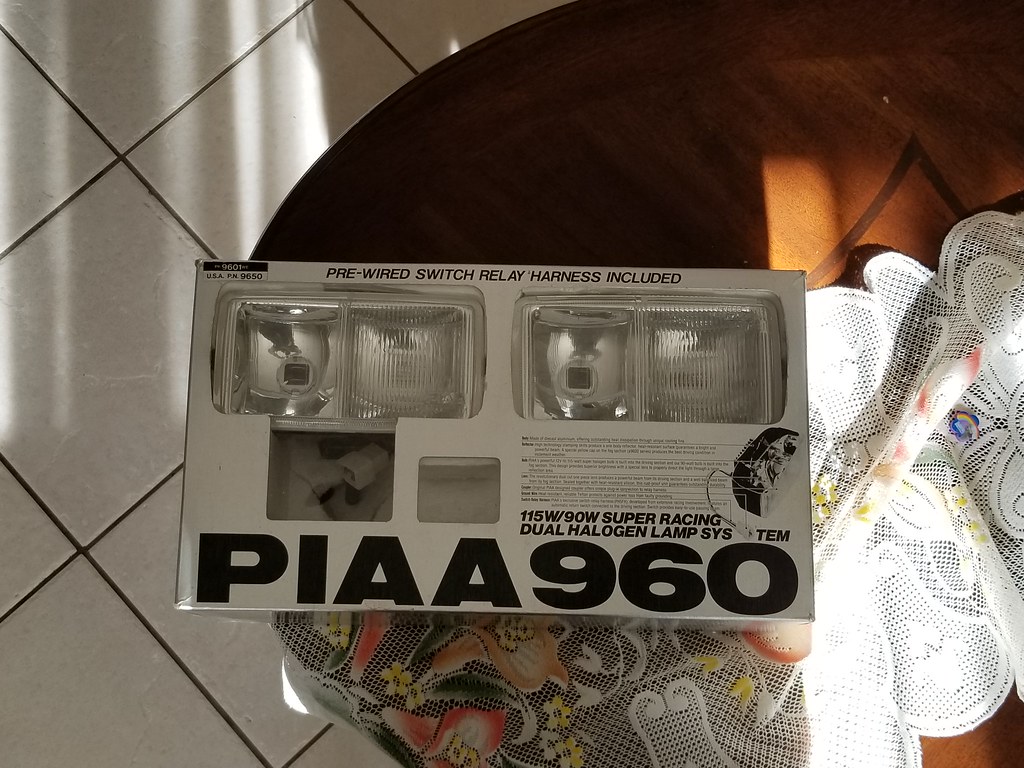
I bought a few more shiny bits for my build. These will add more bling to my car 
On the table I have: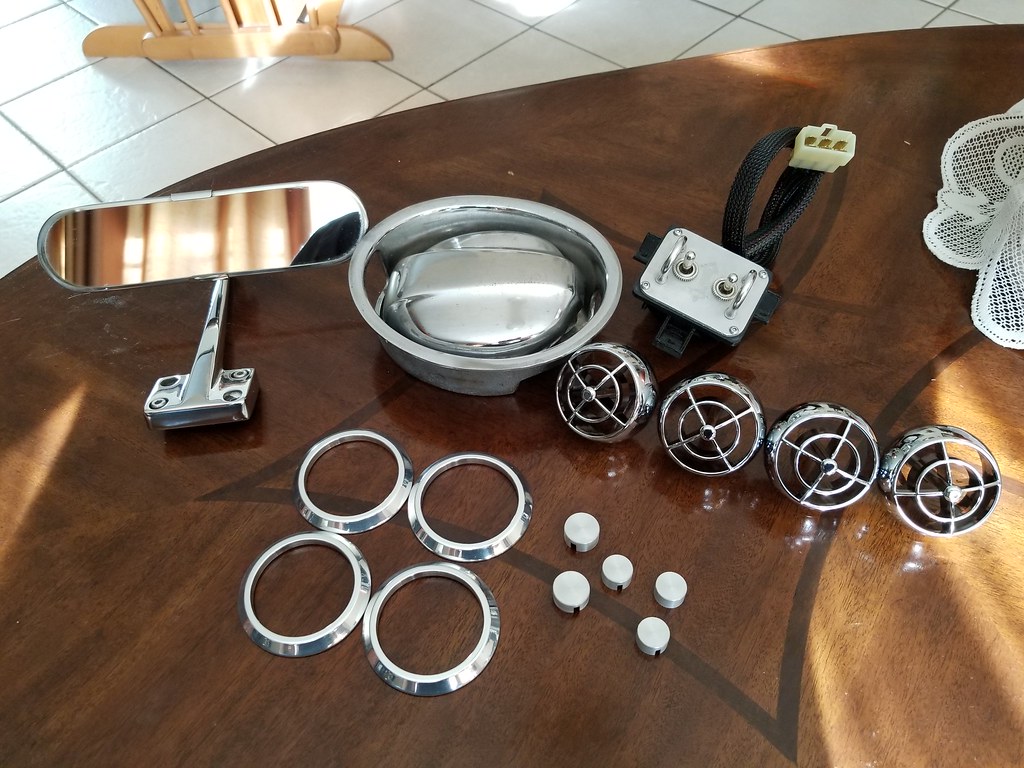
On the table I have:
- KG Works rear view mirror
- KG Works eyeball vents
- RevLimiter Air vent rings
- RevLimiter Window switches
- Brainstorm Performance Fuel lid
- Garage5 Needle Caps
Reply
0
0
06-09-2017, 07:46 PM
#64
Junior Member
Thread Starter
iTrader: (2)
Join Date: Dec 2014
Location: Salinas, CA
Posts: 307
Total Cats: 23
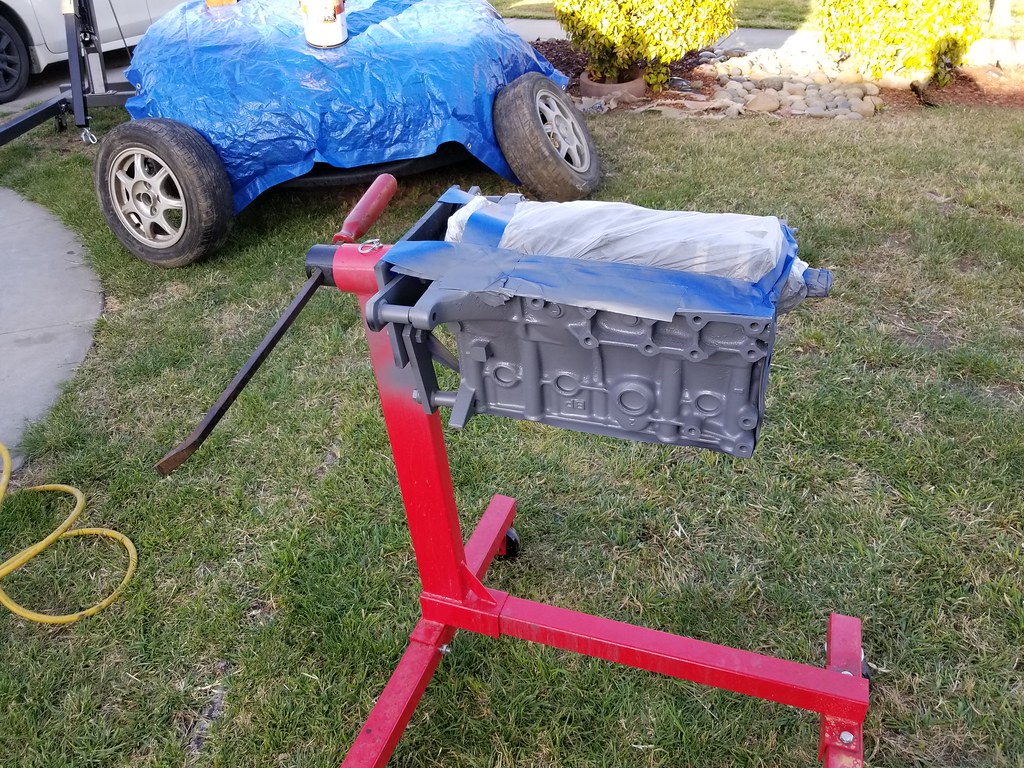
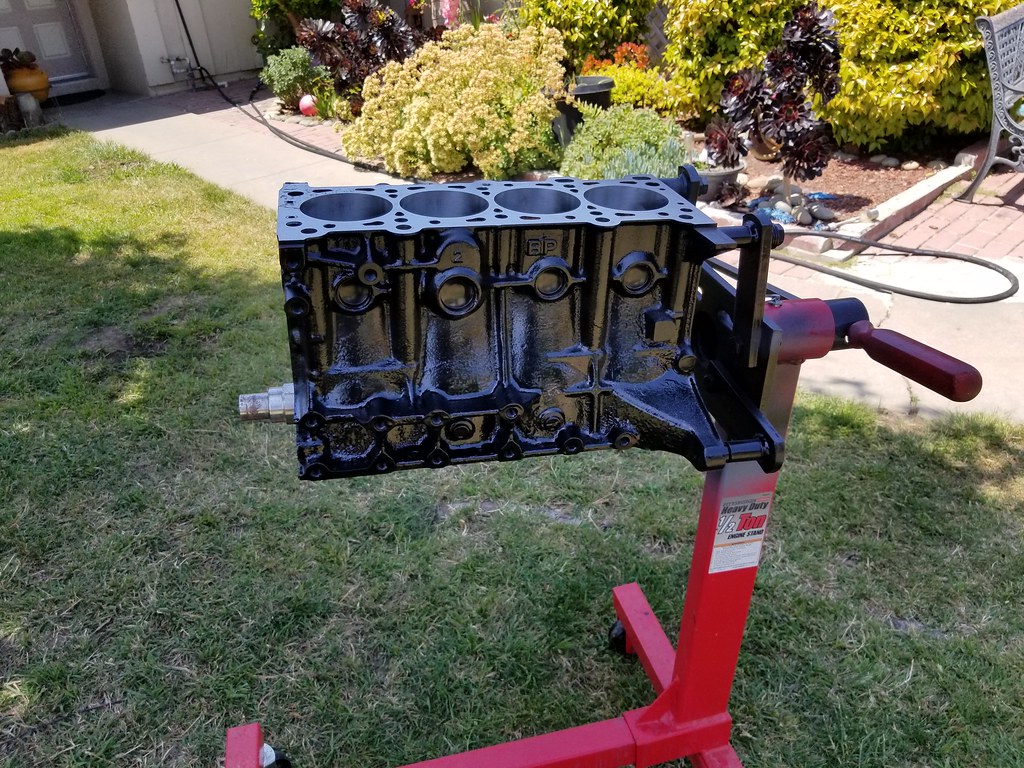
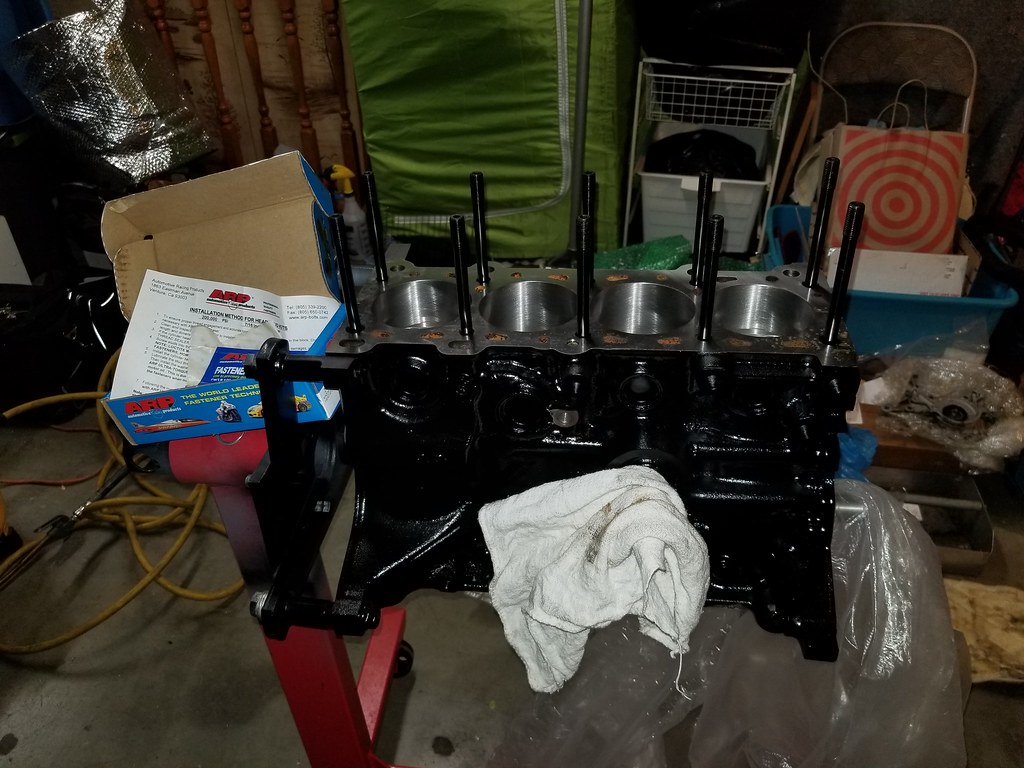
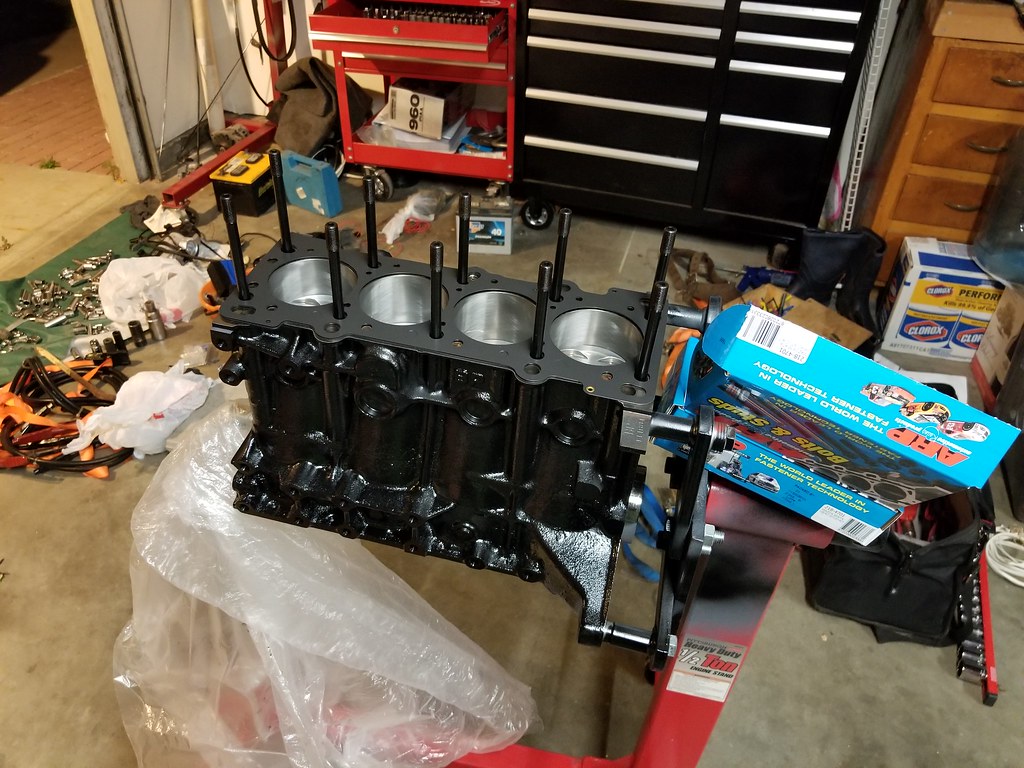
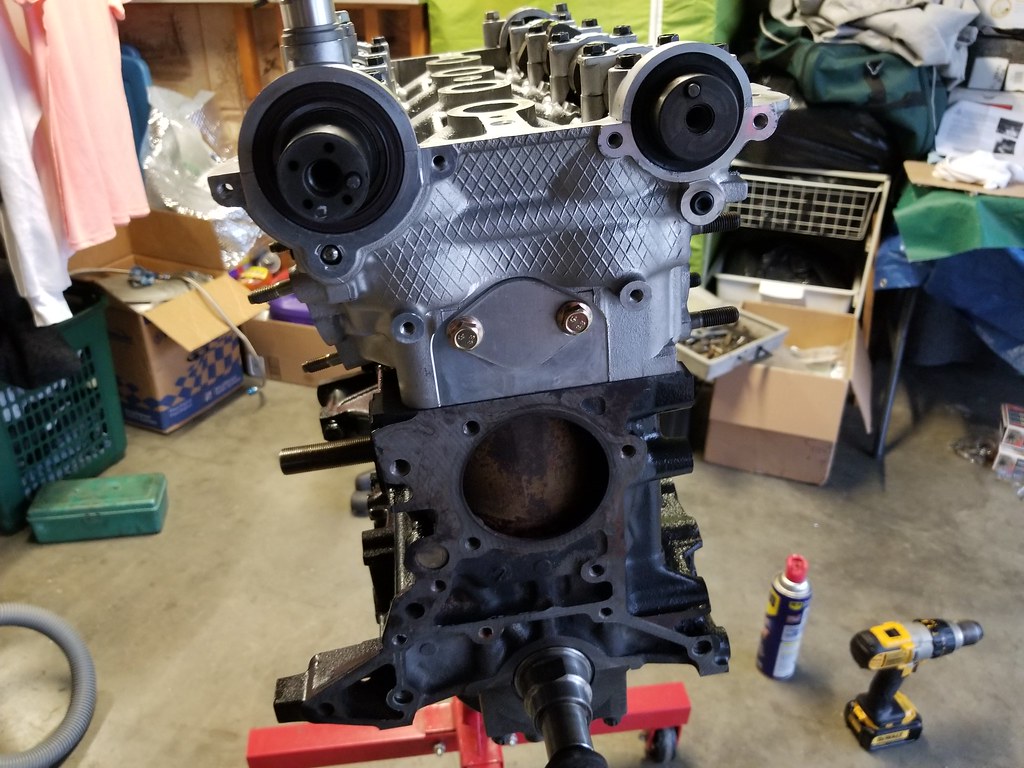
I decided to paint the block black before putting it all together. First I sprayed a few coats of Rust-Oleum engine primer and I let it dry overnight. The next day I finished it off with another few coats of Dupli-Color semi-gloss black engine enamel. I think it turned out pretty good.


Reply
0
0
 06-09-2017, 07:52 PM
#66
Junior Member
Thread Starter
iTrader: (2)
Join Date: Dec 2014
Location: Salinas, CA
Posts: 307
Total Cats: 23
Not too long ago I purchased a 3.63 R&P to put into my spare torsen LSD. This probably won't be going in until later this year or early next year. We shall see.

Reply
0
0

 06-10-2017, 02:58 AM
#69
Junior Member
Thread Starter
iTrader: (2)
Join Date: Dec 2014
Location: Salinas, CA
Posts: 307
Total Cats: 23
yeah I got some paint on the oil filter sealing surface and around the stud. I was planning on just removing the paint on the sealing area, but didn't think about the paint around the stud. I did tape off the small port in there so it not entirely covered in paint. You think it'll come off with the oil once it's ran?
Reply
0
0
06-12-2017, 01:47 PM
#70
Junior Member
Thread Starter
iTrader: (2)
Join Date: Dec 2014
Location: Salinas, CA
Posts: 307
Total Cats: 23
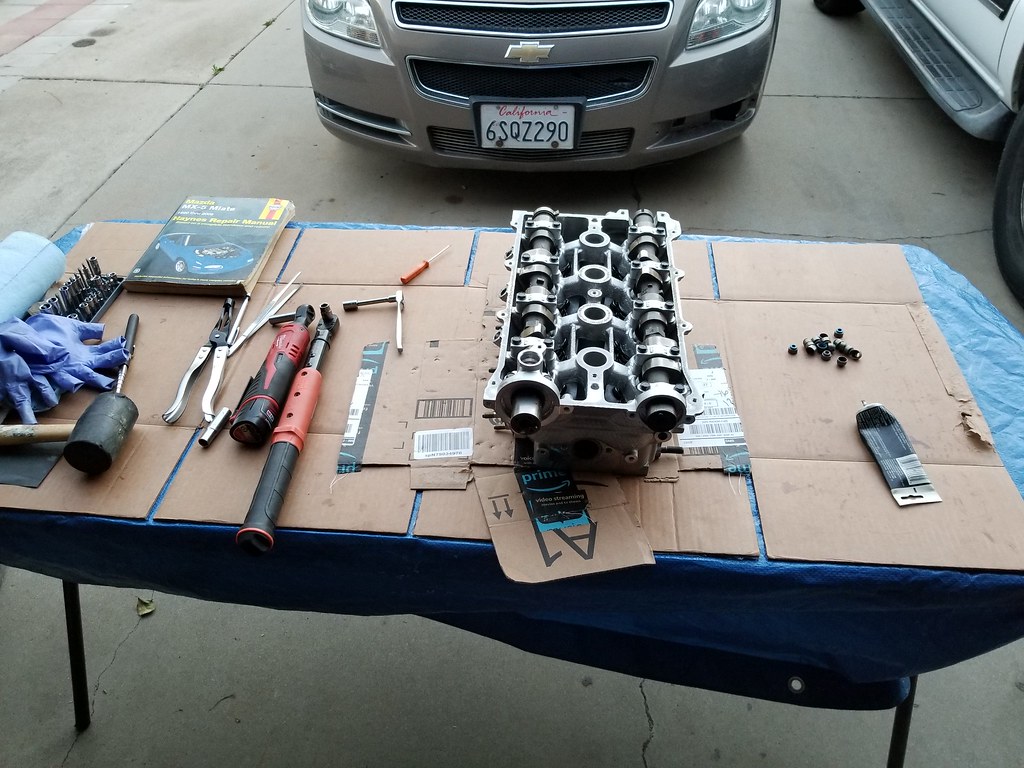
I've been reading a lot about leaking Supertech valve stem seals and I had just recently got my head built and I used new Supertech seals for it. I didn't want to risk getting leaky seals so I purchased some 949 Racing valve stem seals and worked on replacing them while the head was still off the block.

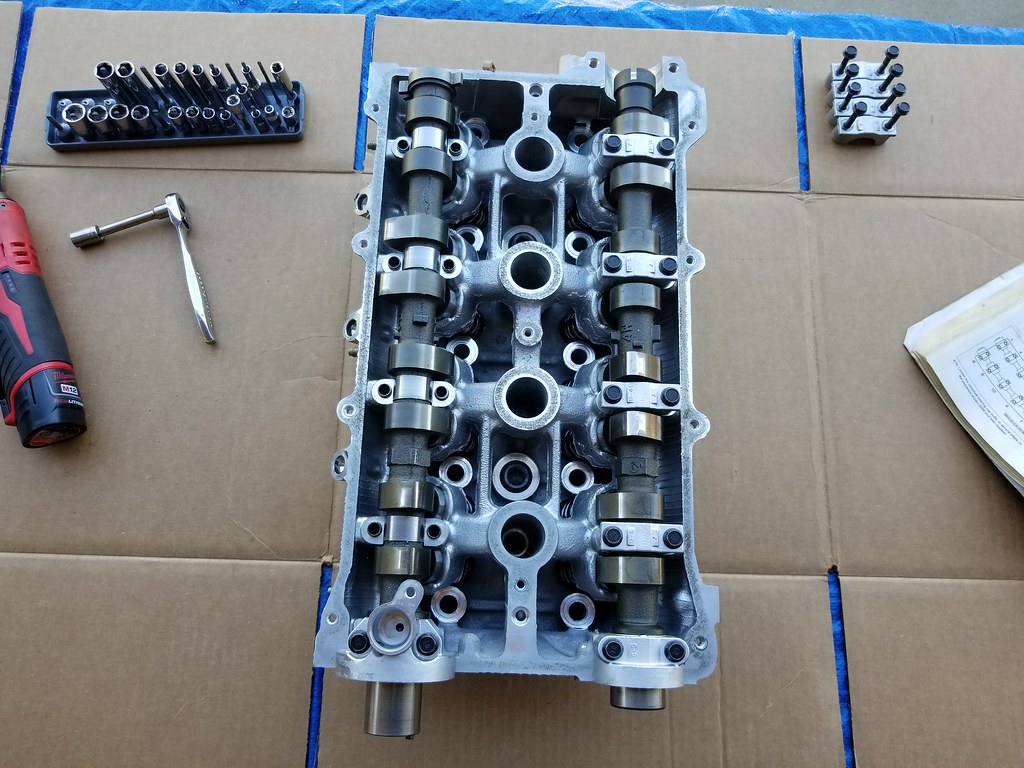
removed the cam caps, cams, and MMD bucket lifters.

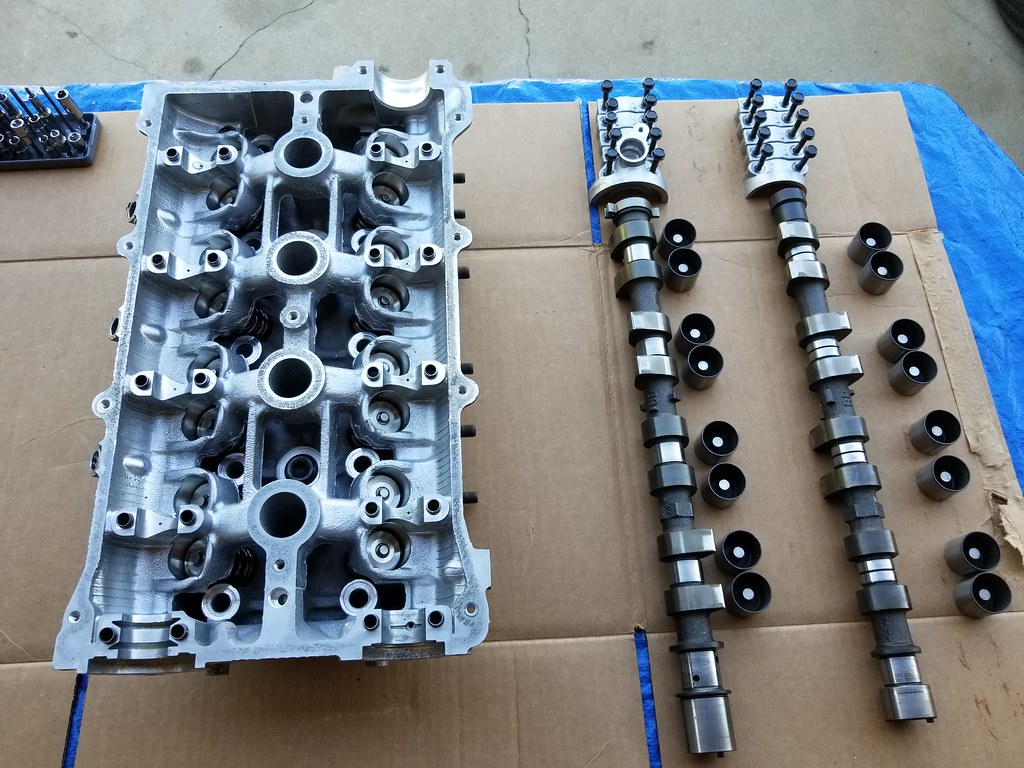
I then removed the supertech springs and valves to get to the valve stem seals.


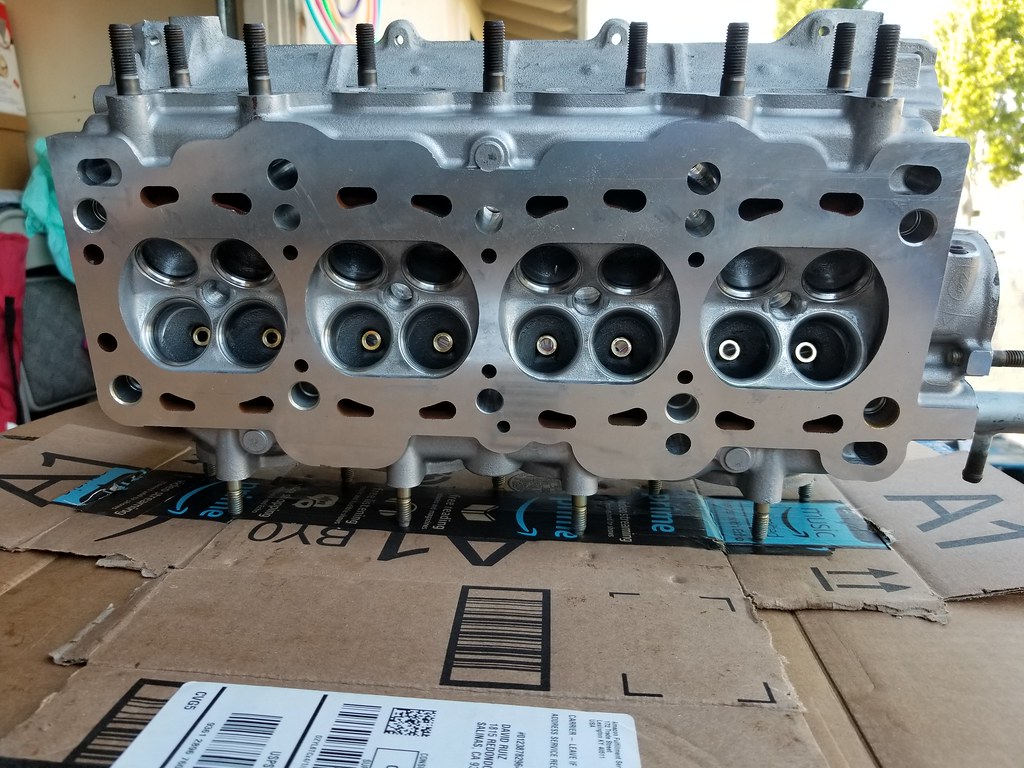
Top seals are the Supertech and bottom are the 949 Racing seals
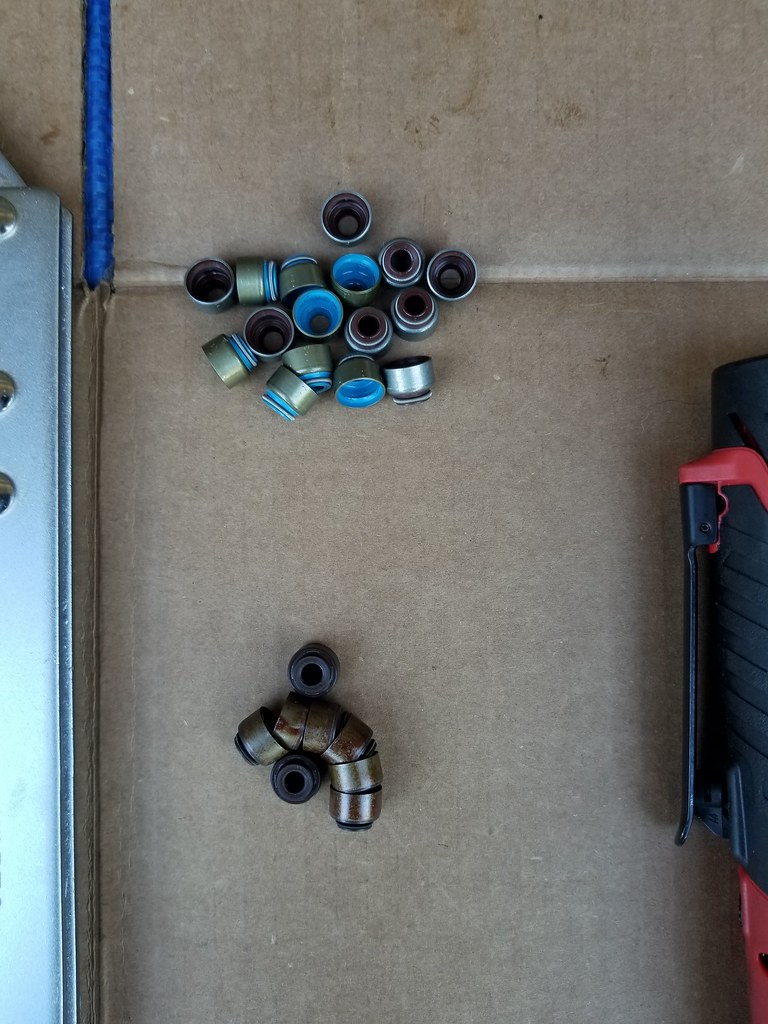
All Done. Hopefully the 949 Racing seals won't leak.
removed the cam caps, cams, and MMD bucket lifters.
I then removed the supertech springs and valves to get to the valve stem seals.
Top seals are the Supertech and bottom are the 949 Racing seals
All Done. Hopefully the 949 Racing seals won't leak.
Reply
1
1
06-12-2017, 02:00 PM
#71
Junior Member

Join Date: Mar 2012
Posts: 323
Total Cats: 23
yeah I got some paint on the oil filter sealing surface and around the stud. I was planning on just removing the paint on the sealing area, but didn't think about the paint around the stud. I did tape off the small port in there so it not entirely covered in paint. You think it'll come off with the oil once it's ran?
I would not want any paint in that area. Best bet is to remove any paint on the seal surface and inside surrounding the port.
Reply
0
0
06-12-2017, 02:21 PM
#73
Junior Member
Thread Starter
iTrader: (2)
Join Date: Dec 2014
Location: Salinas, CA
Posts: 307
Total Cats: 23
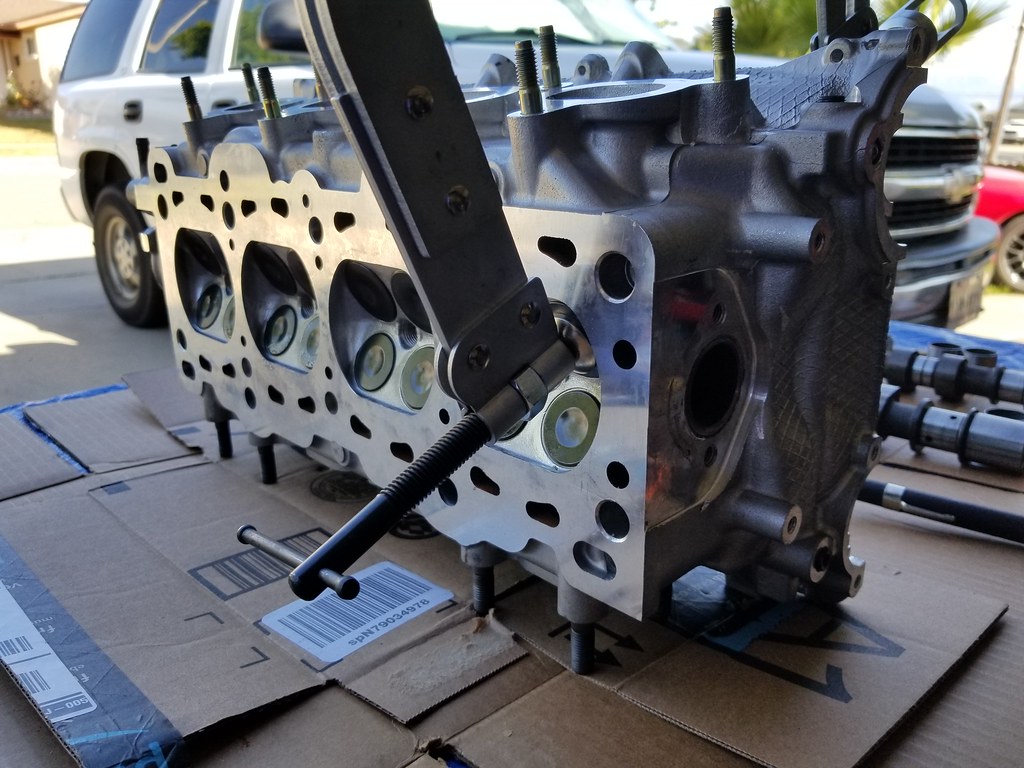
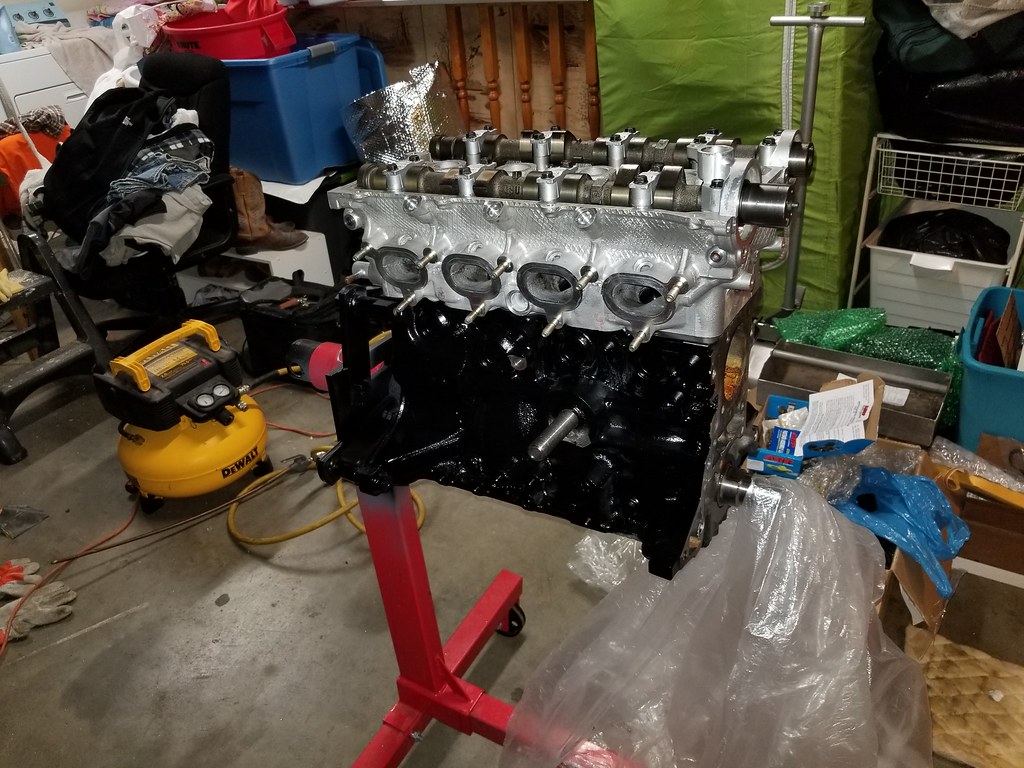
Next I started working on putting the head on the block. I purchased ARP head studs to use on the engine. I chased the threads on the block using an old head bolt even though they looked clean. Then screwed in the head studs hand tight and used the supplied ARP lube to torque them down to 65 ft-lbs in three steps. I also ditched the supplied ARP washers and used the stock washers instead since they have a slightly bigger outer diameter.


Reply
0
0
06-12-2017, 02:29 PM
#74
Junior Member
Thread Starter
iTrader: (2)
Join Date: Dec 2014
Location: Salinas, CA
Posts: 307
Total Cats: 23
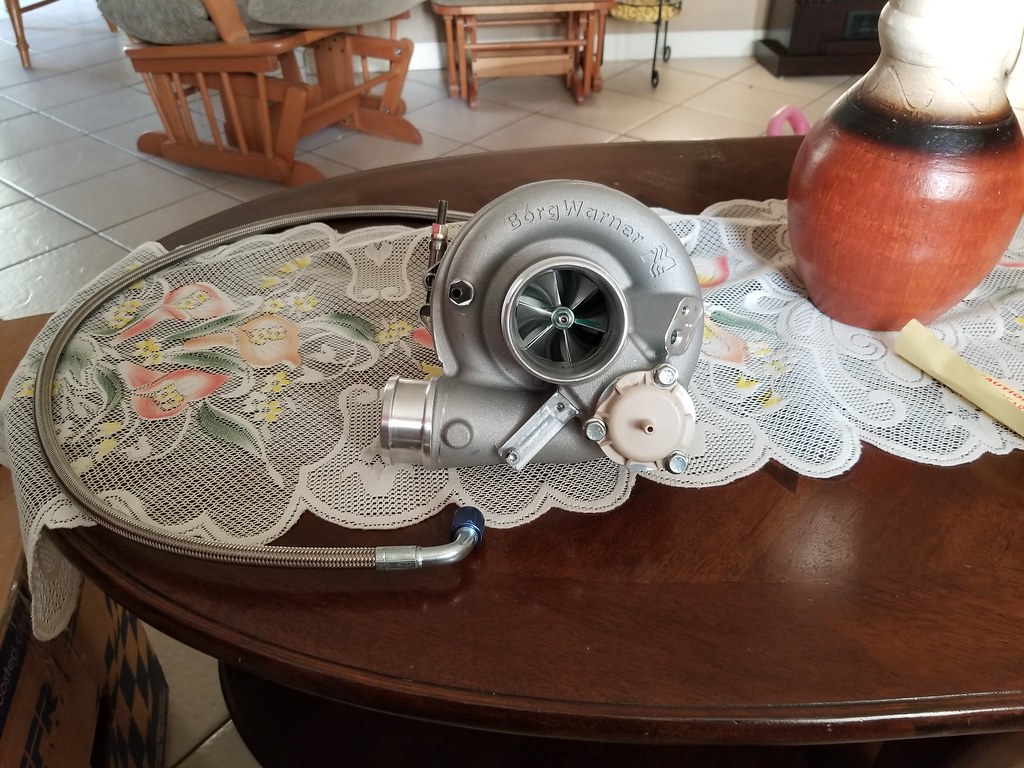
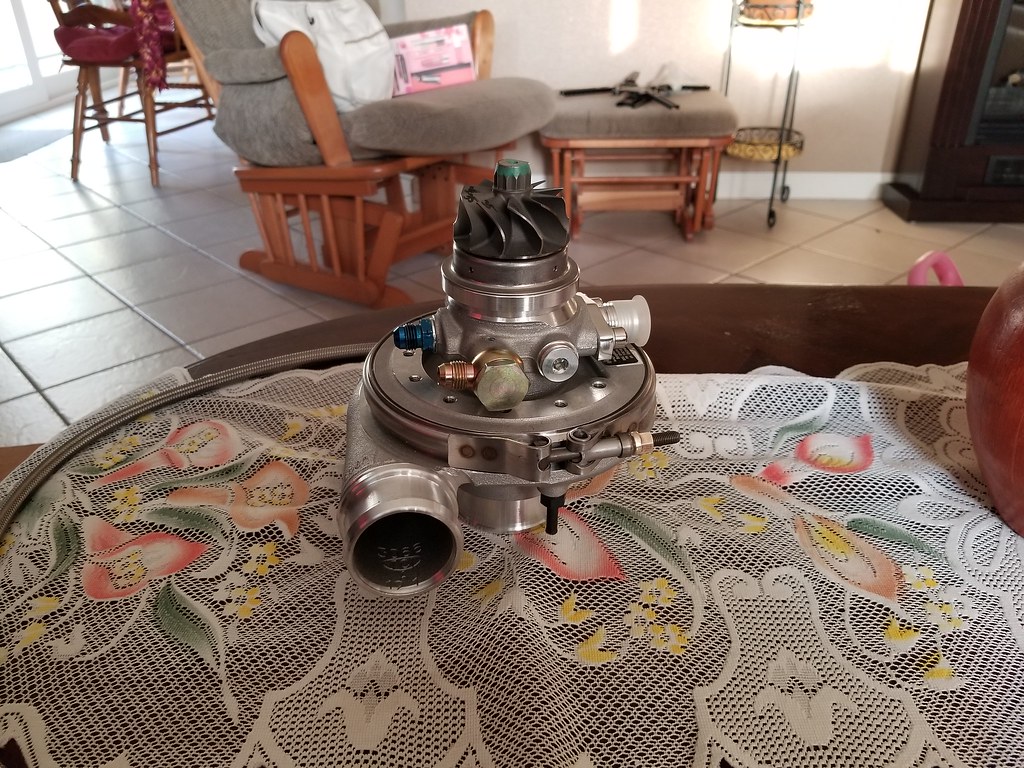
I was not planning on getting a better turbo until I wore out or broke the MK turbo kit I bought, but I ended up getting a Borg Warner EFR 6758 Aluminum Supercore from @psyber_0ptix so this means I'll be soon running a EFR setup. I already purchased a turbo manifold and downpipe for it as well as the exhaust turbine housing.

Reply
0
0
06-12-2017, 02:37 PM
#75
Junior Member
Thread Starter
iTrader: (2)
Join Date: Dec 2014
Location: Salinas, CA
Posts: 307
Total Cats: 23
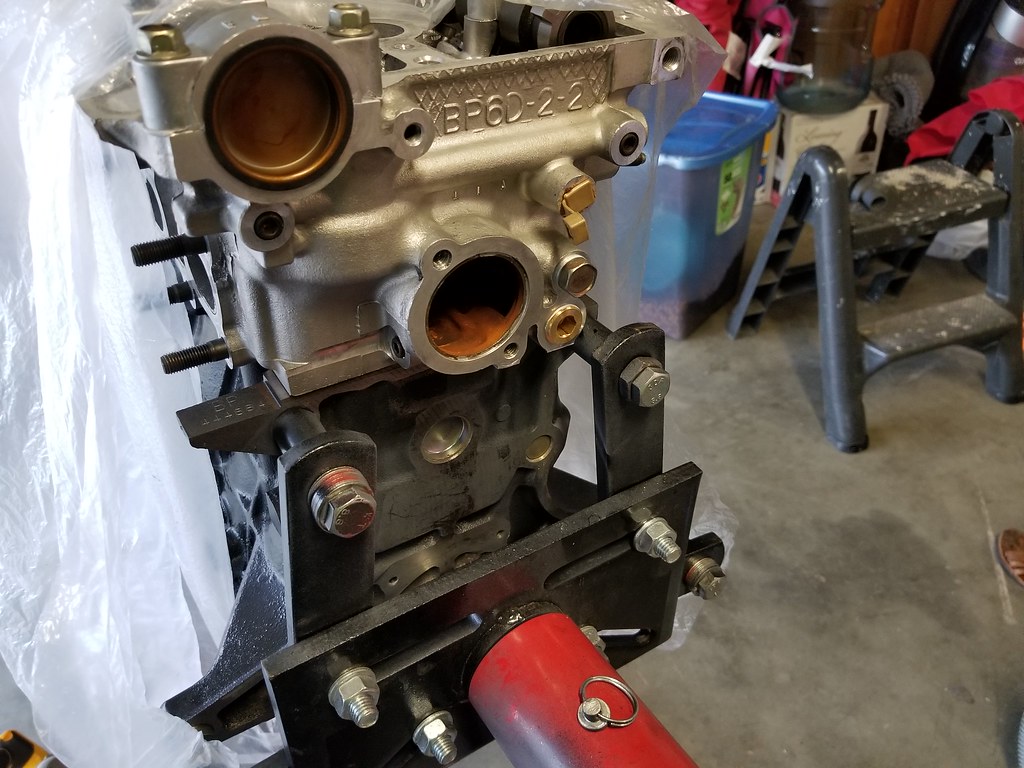
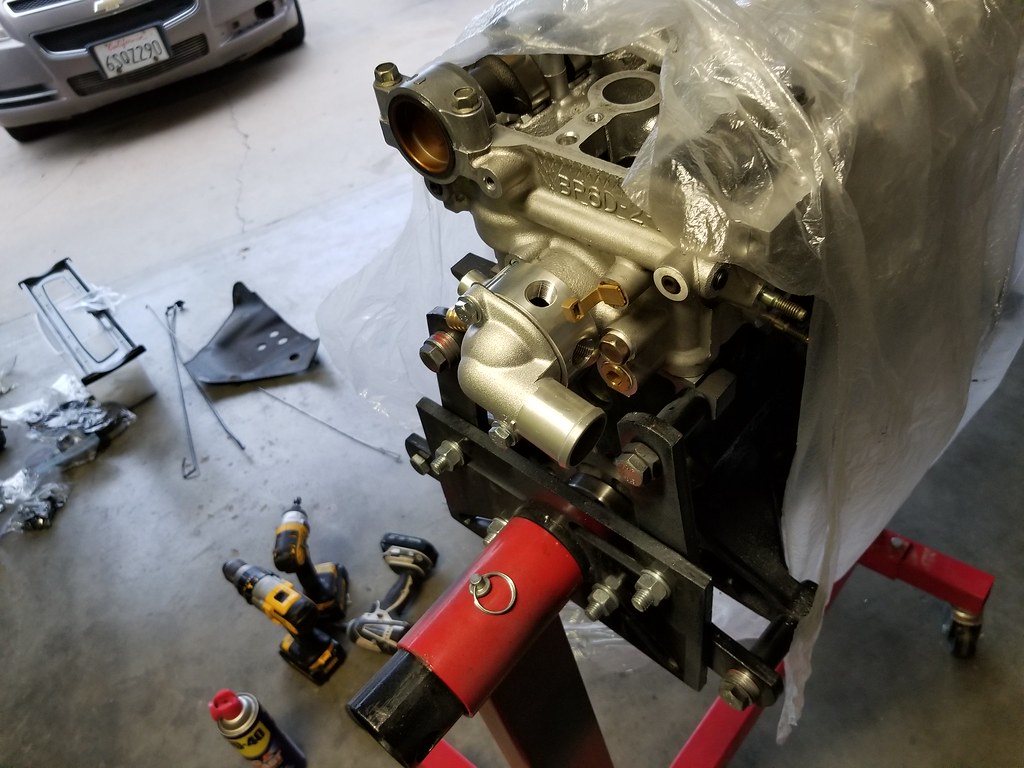
I removed the water nipple at the back of the head since I was no longer going to be using the stock oil warmer and I also wasn't going to use the stock throttle body. No coolant lines are needed on that side for my setup. I purchased a 1/2" NPT tap that already came with the 23/32" drill bit that is needed from amazon and also purchased a brass plug. (Thanks to @aidandj, got the info off one of his threads)


Reply
0
0
06-12-2017, 02:46 PM
#76
Junior Member
Thread Starter
iTrader: (2)
Join Date: Dec 2014
Location: Salinas, CA
Posts: 307
Total Cats: 23
Next was installing the coolant reroute. I purchased a Begi reroute spacer and the Kia water next. I am using a Stant superstat 180* thermostat with this.
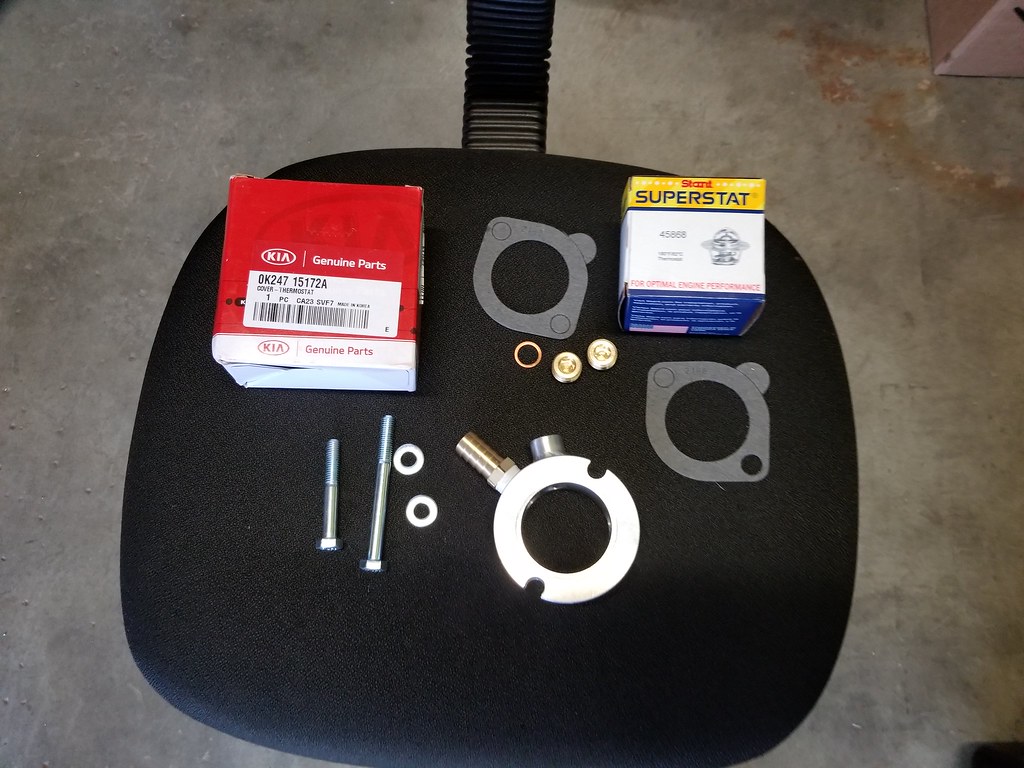

I purchased a front water neck block off plug/plate from TrackSpeed Engineering to clean up the front of the engine.
I purchased a front water neck block off plug/plate from TrackSpeed Engineering to clean up the front of the engine.
Reply
0
0
06-12-2017, 02:51 PM
#77
mkturbo.com


iTrader: (24)
Join Date: May 2006
Location: Charleston SC
Posts: 15,177
Total Cats: 1,681
I am pretty sure that 100% of my customers who have decided to build a motor and upgrade their turbo setup's have ended up with TSE. I have zero issues with that and I think it is the perfect upgrade path. I would love to see you max out my setup though.
Reply
0
0
06-12-2017, 02:58 PM
#78
Junior Member
Thread Starter
iTrader: (2)
Join Date: Dec 2014
Location: Salinas, CA
Posts: 307
Total Cats: 23
Lars, I got you, no worries! I am not going to run the EFR setup until I have the engine on a good tune, I also have not figured out what I am going to do about the exhaust. I'll probably have someone fit your mkturbo exhaust with the TSE downpipe if that can be done easily. Until then I will be running the MK turbo kit and most likely will be hitting the dyno with it as well.
Reply
0
0
06-12-2017, 03:07 PM
#79
mkturbo.com
iTrader: (24)
Join Date: May 2006
Location: Charleston SC
Posts: 15,177
Total Cats: 1,681
Lars, I got you, no worries! I am not going to run the EFR setup until I have the engine on a good tune, I also have not figured out what I am going to do about the exhaust. I'll probably have someone fit your mkturbo exhaust with the TSE downpipe if that can be done easily. Until then I will be running the MK turbo kit and most likely will be hitting the dyno with it as well.
Reply
0
0


