When you click on links to various merchants on this site and make a purchase, this can result in this site earning a commission. Affiliate programs and affiliations include, but are not limited to, the eBay Partner Network.
Thanks for the link. I ended up using a chisel on the back side of that narrow part and with 5-6 hard hits the shields came off in one piece. Took a total of 30 seconds.
Pulled off the rear subframe to get it powder coated the same color as the front and get the Getrag bracket welded on. Shandelle is going to help me with this part. Also went ahead and bolted in the front subframe. My new hardware for the control arms will be here Monday so then I can finish installing the fronts as well as the Xidas.
The subframe was pretty close to spot on. Had to beat the **** out of two parts on the car near middle bolts but all in all wasn't too bad to get it in. Was going to install the frame rails but hit a little snag. Some douche wad used the passenger side as a jack point and smashed it like a pancake so now I need to figure out how to rectify that so I can install them. Any advice on how to do that would be much appreciated. I may need to wait till its running so I can get it on a full lift I dunno.
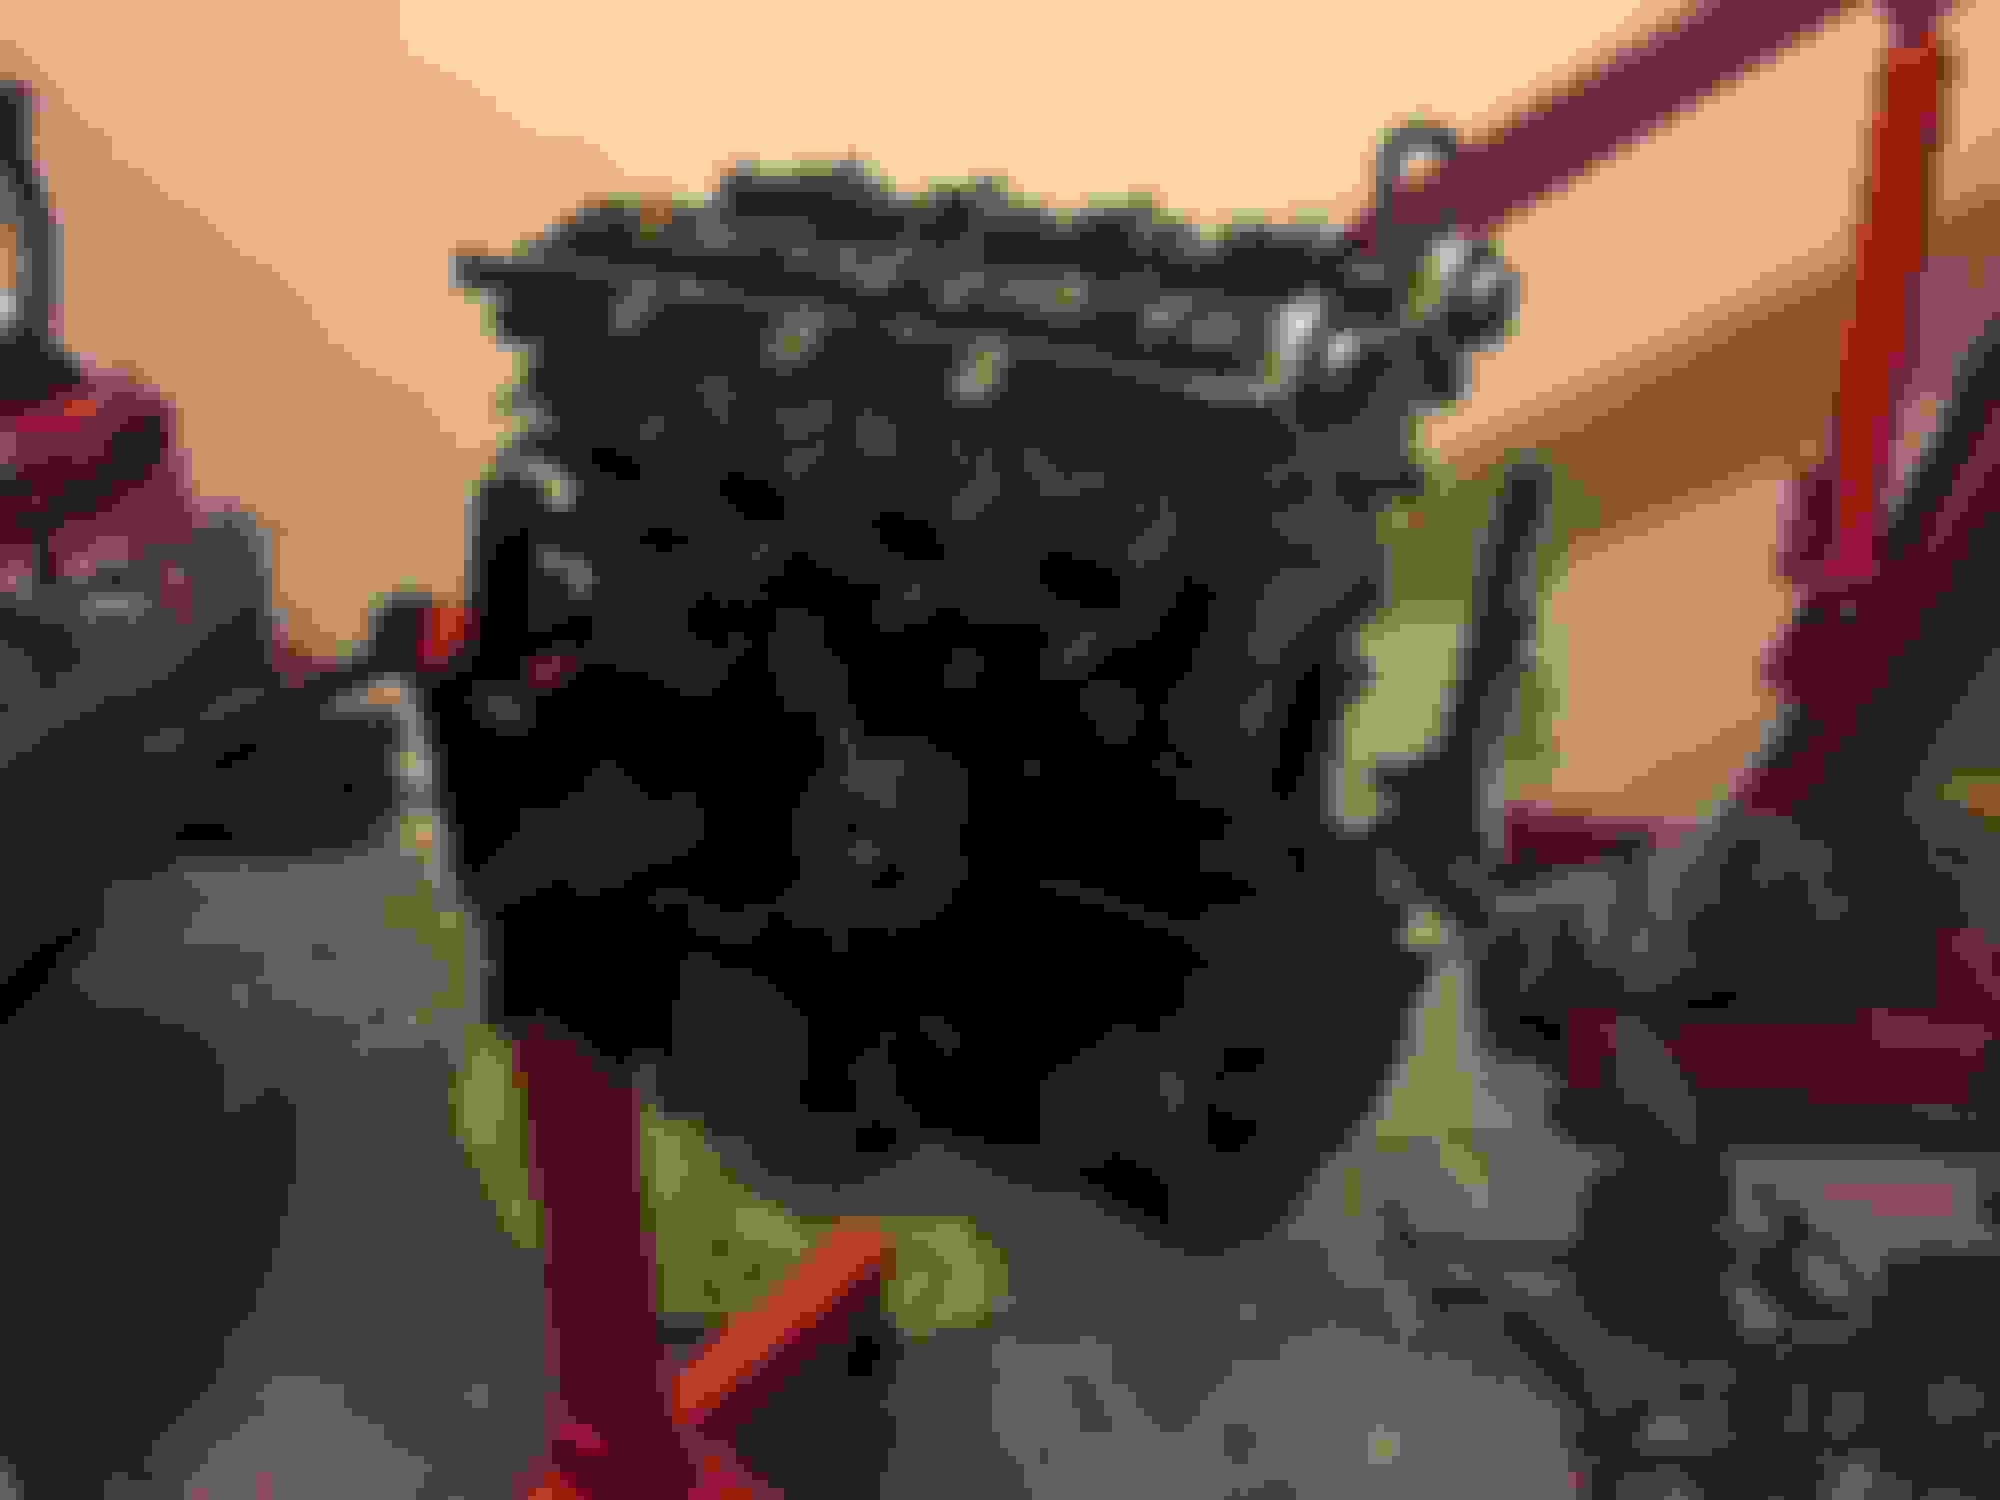
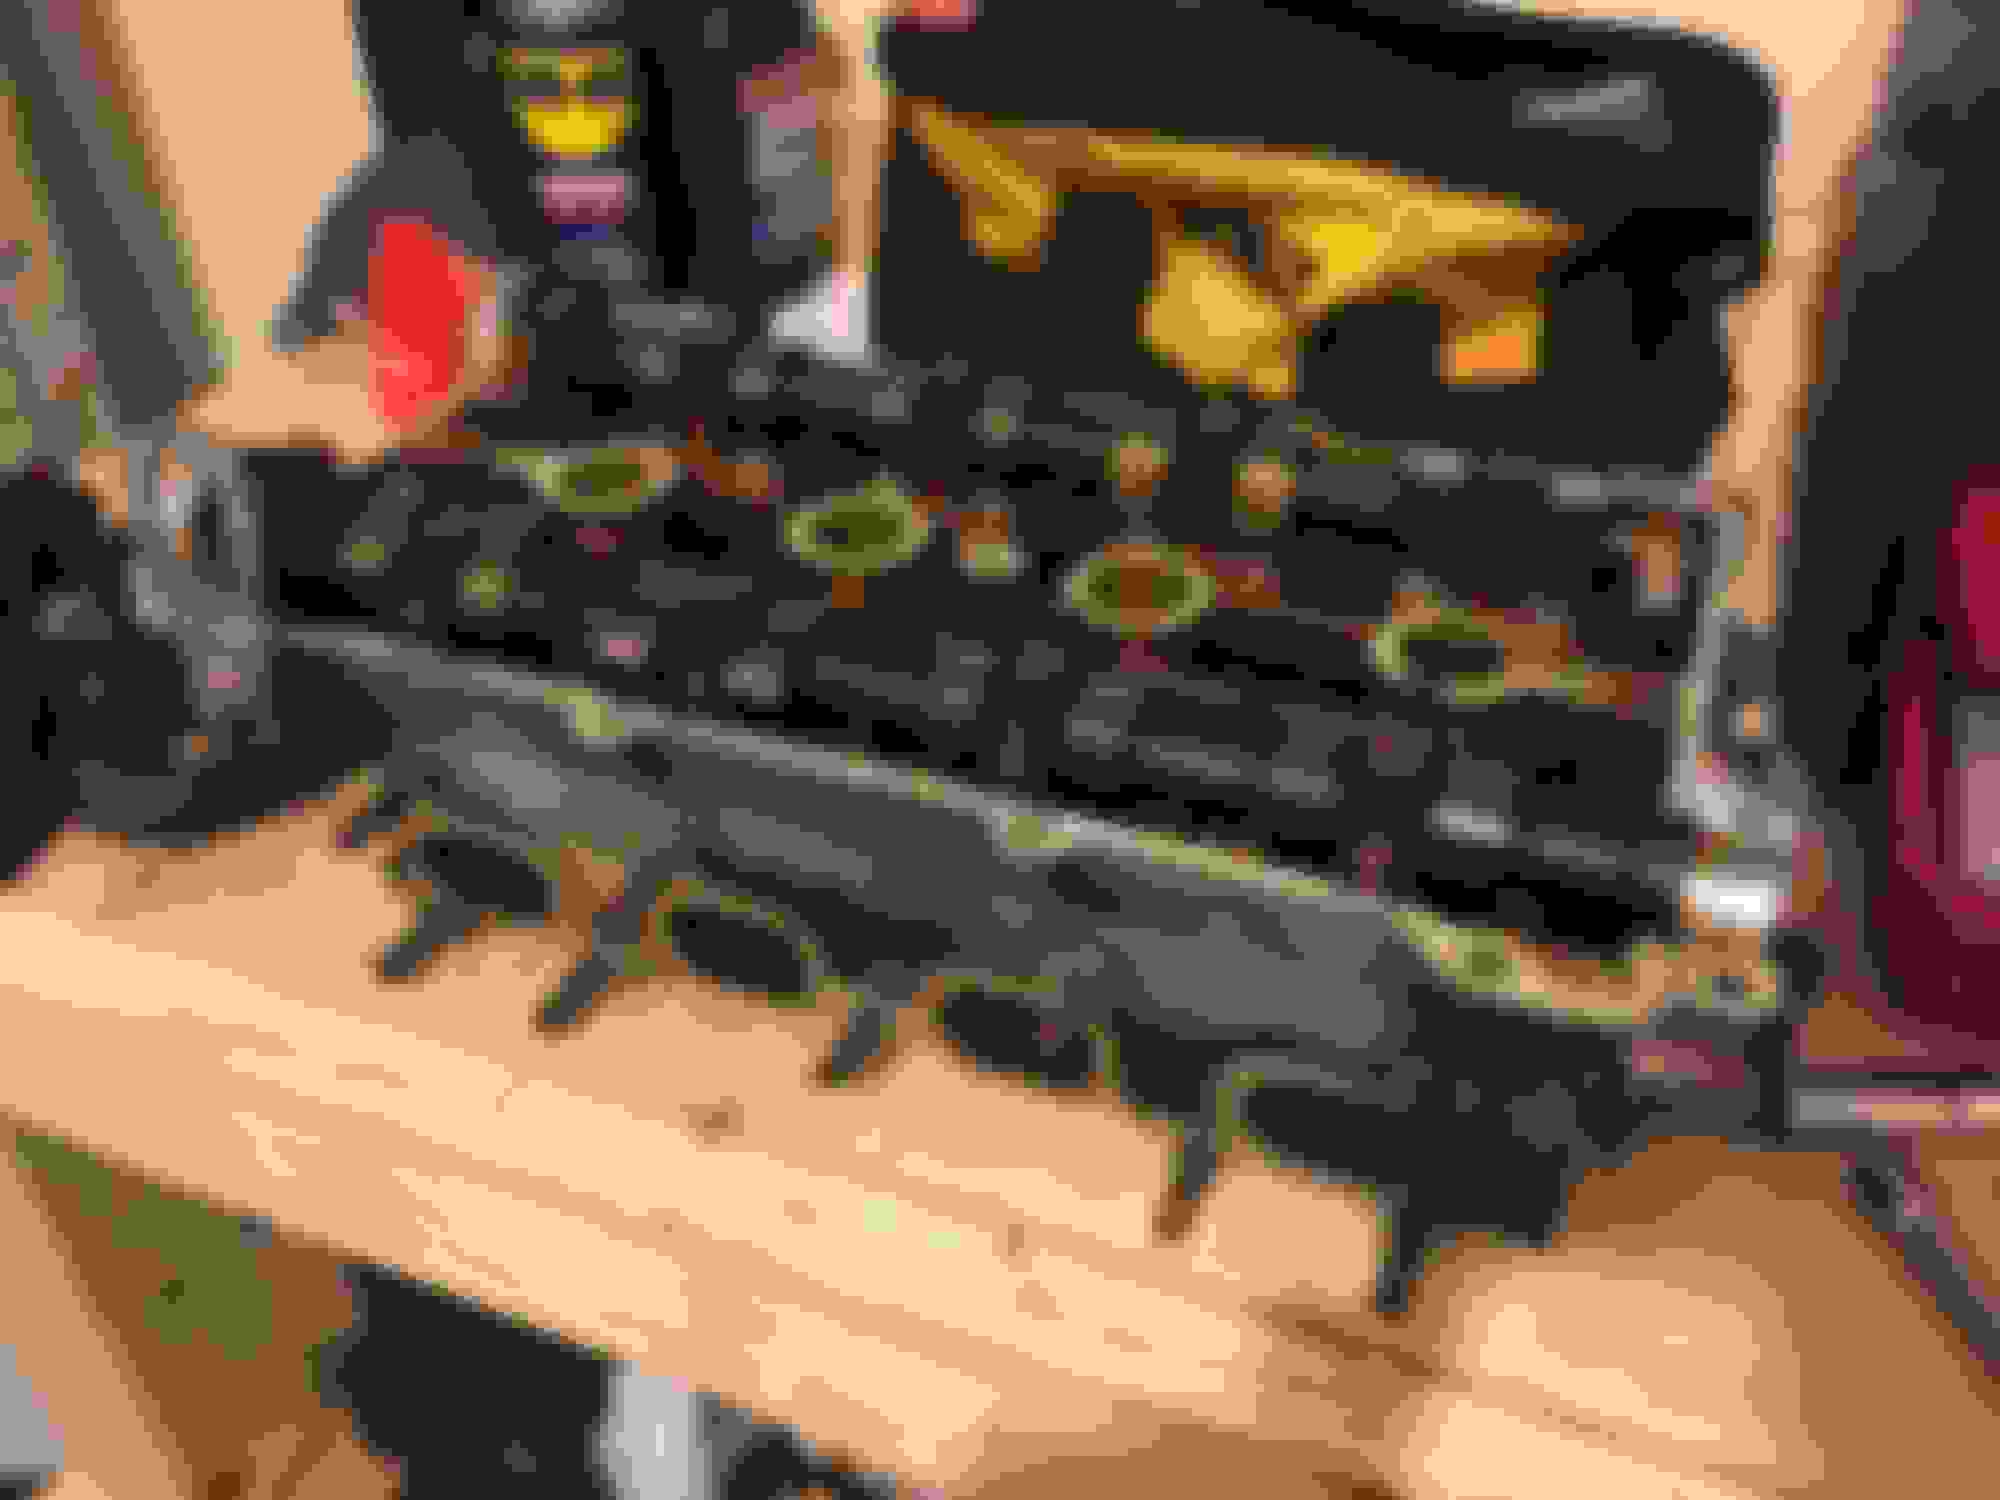
All the accessories off...will pull the head tomorrow and finish disassembly to get her ready for the machine shop. My new suspension hardware should be in tomorrow so I should be able to get the front components on the car Tuesday.
Does anyone have pictures of how they removed the rear hub dust shields?
No pictures, but you could use a cutting wheel to notch the shield in a couple locations, then twist the thing off. I used two big channel lock pliers.
This is probably not the correct way to do it, but thats how I did it.
No pictures, but you could use a cutting wheel to notch the shield in a couple locations, then twist the thing off. I used two big channel lock pliers.
This is probably not the correct way to do it, but thats how I did it.
Appreciate the follow-up but got them off in 5 seconds with a chisel
As I said before, I used tin Snips on mine but it sounds like it was much easier the way you did it with the Chisel.
As for the frame rail, I had to adjust the sides of one of mine with a hammer to be able to slip the aftermarket frame rail over the factory one. I did not pull the bottom of it back out but simply hammered the sides inward where it was mushroomed.
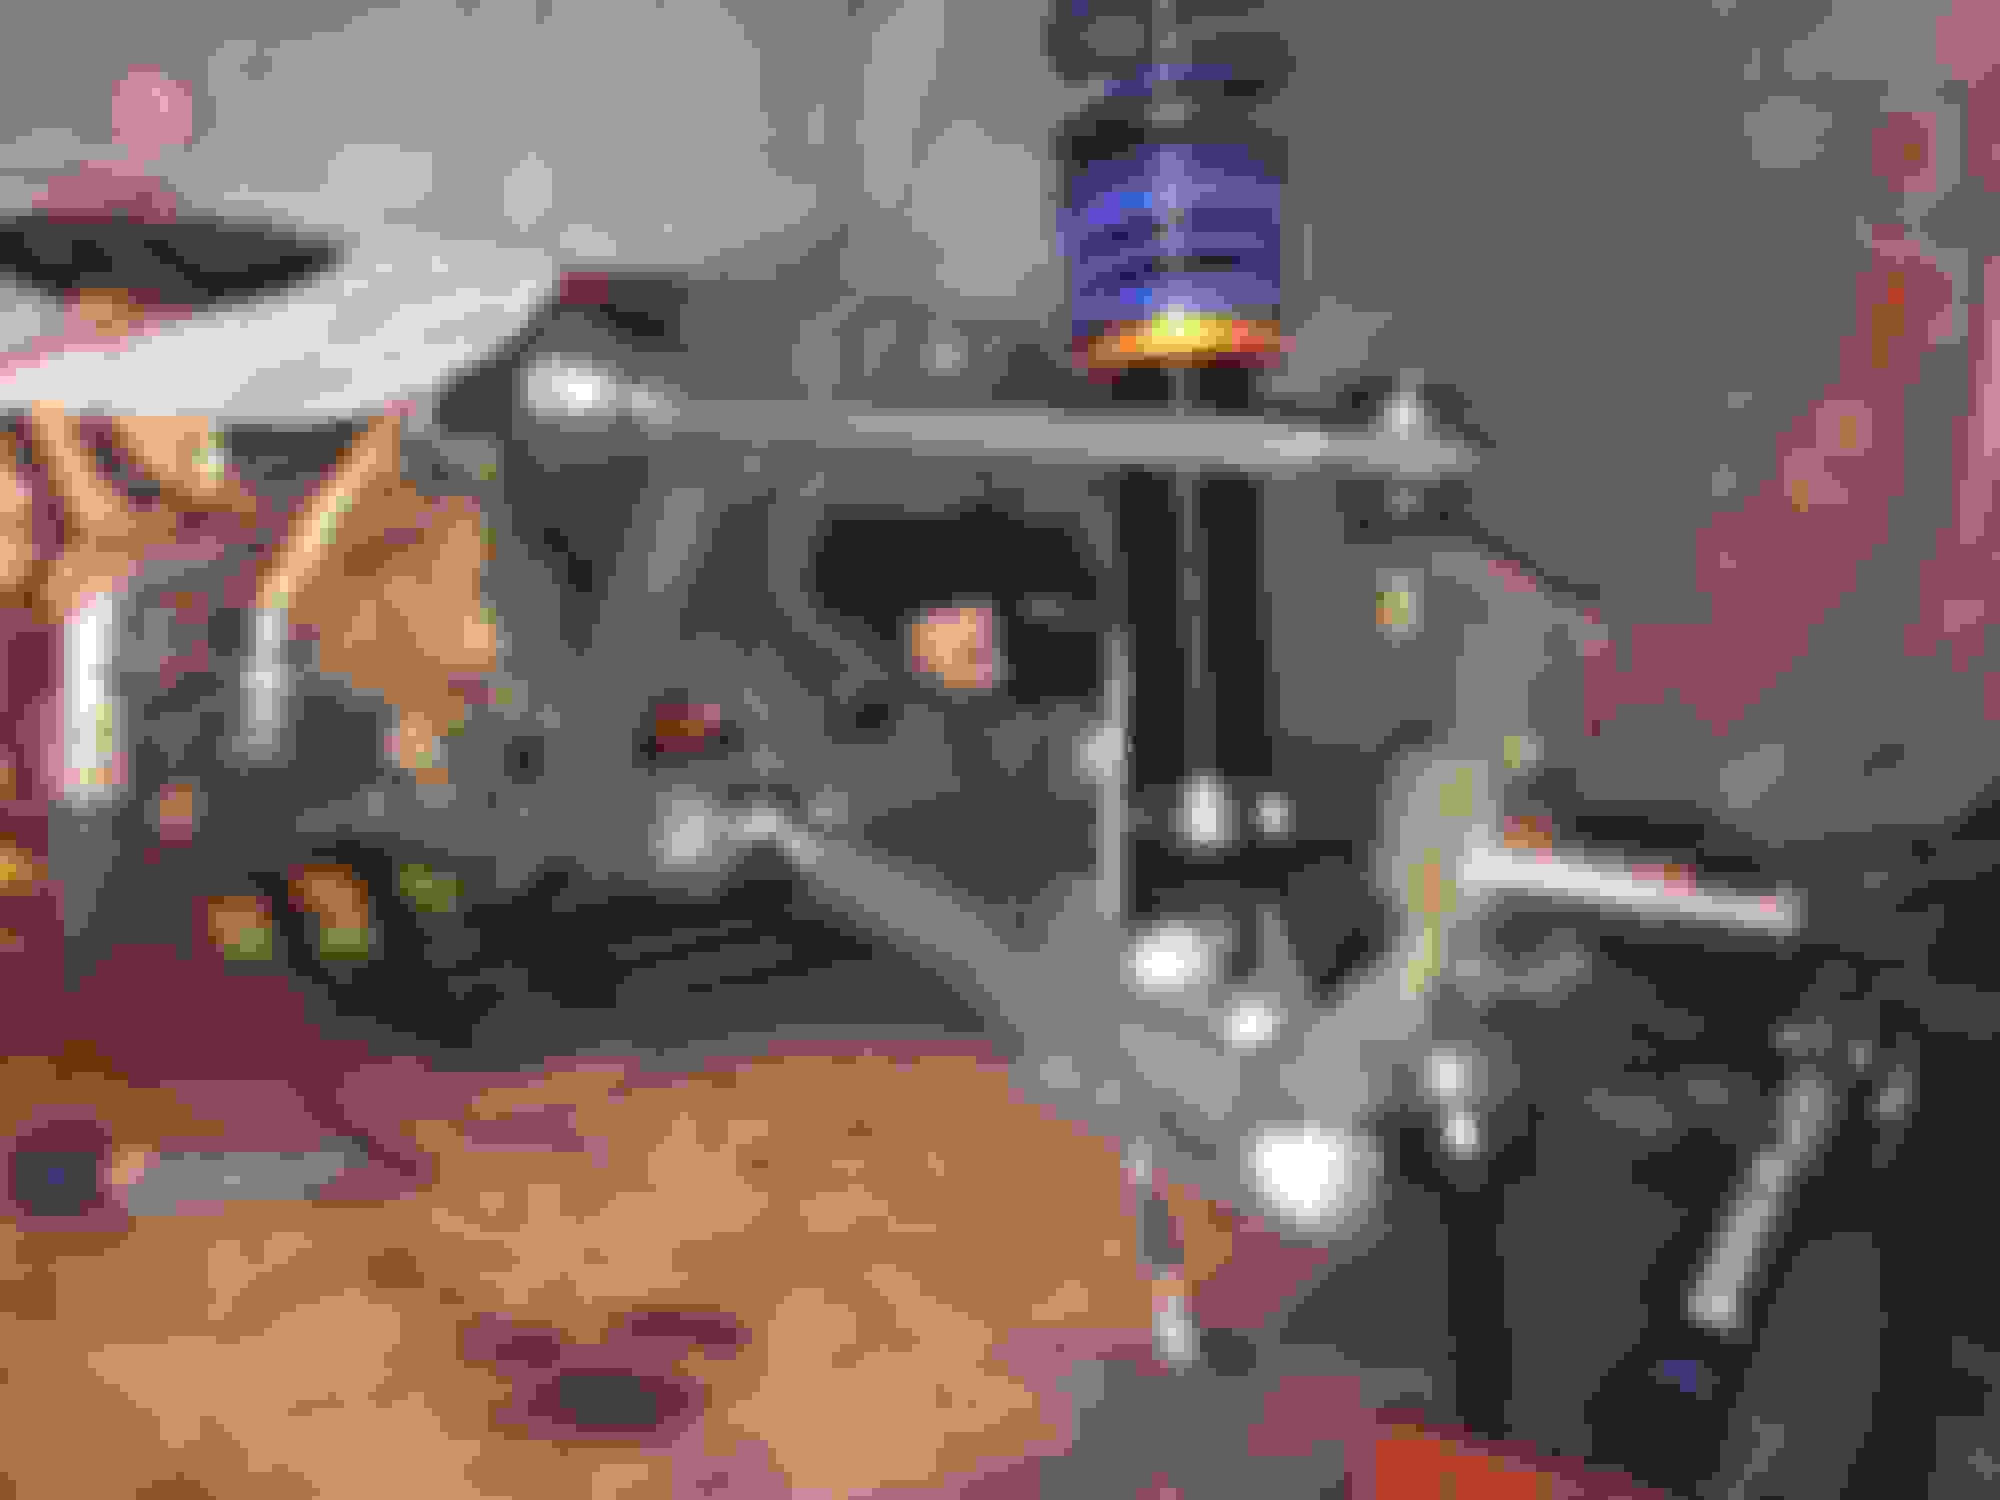
Got the front control arms on tonight with the coilovers. Wasn't too terrible overall. The fit is snug so a rubber mallet and some persuasion was required. Haven't totally torqued everything down but so far doesn't look too bad.
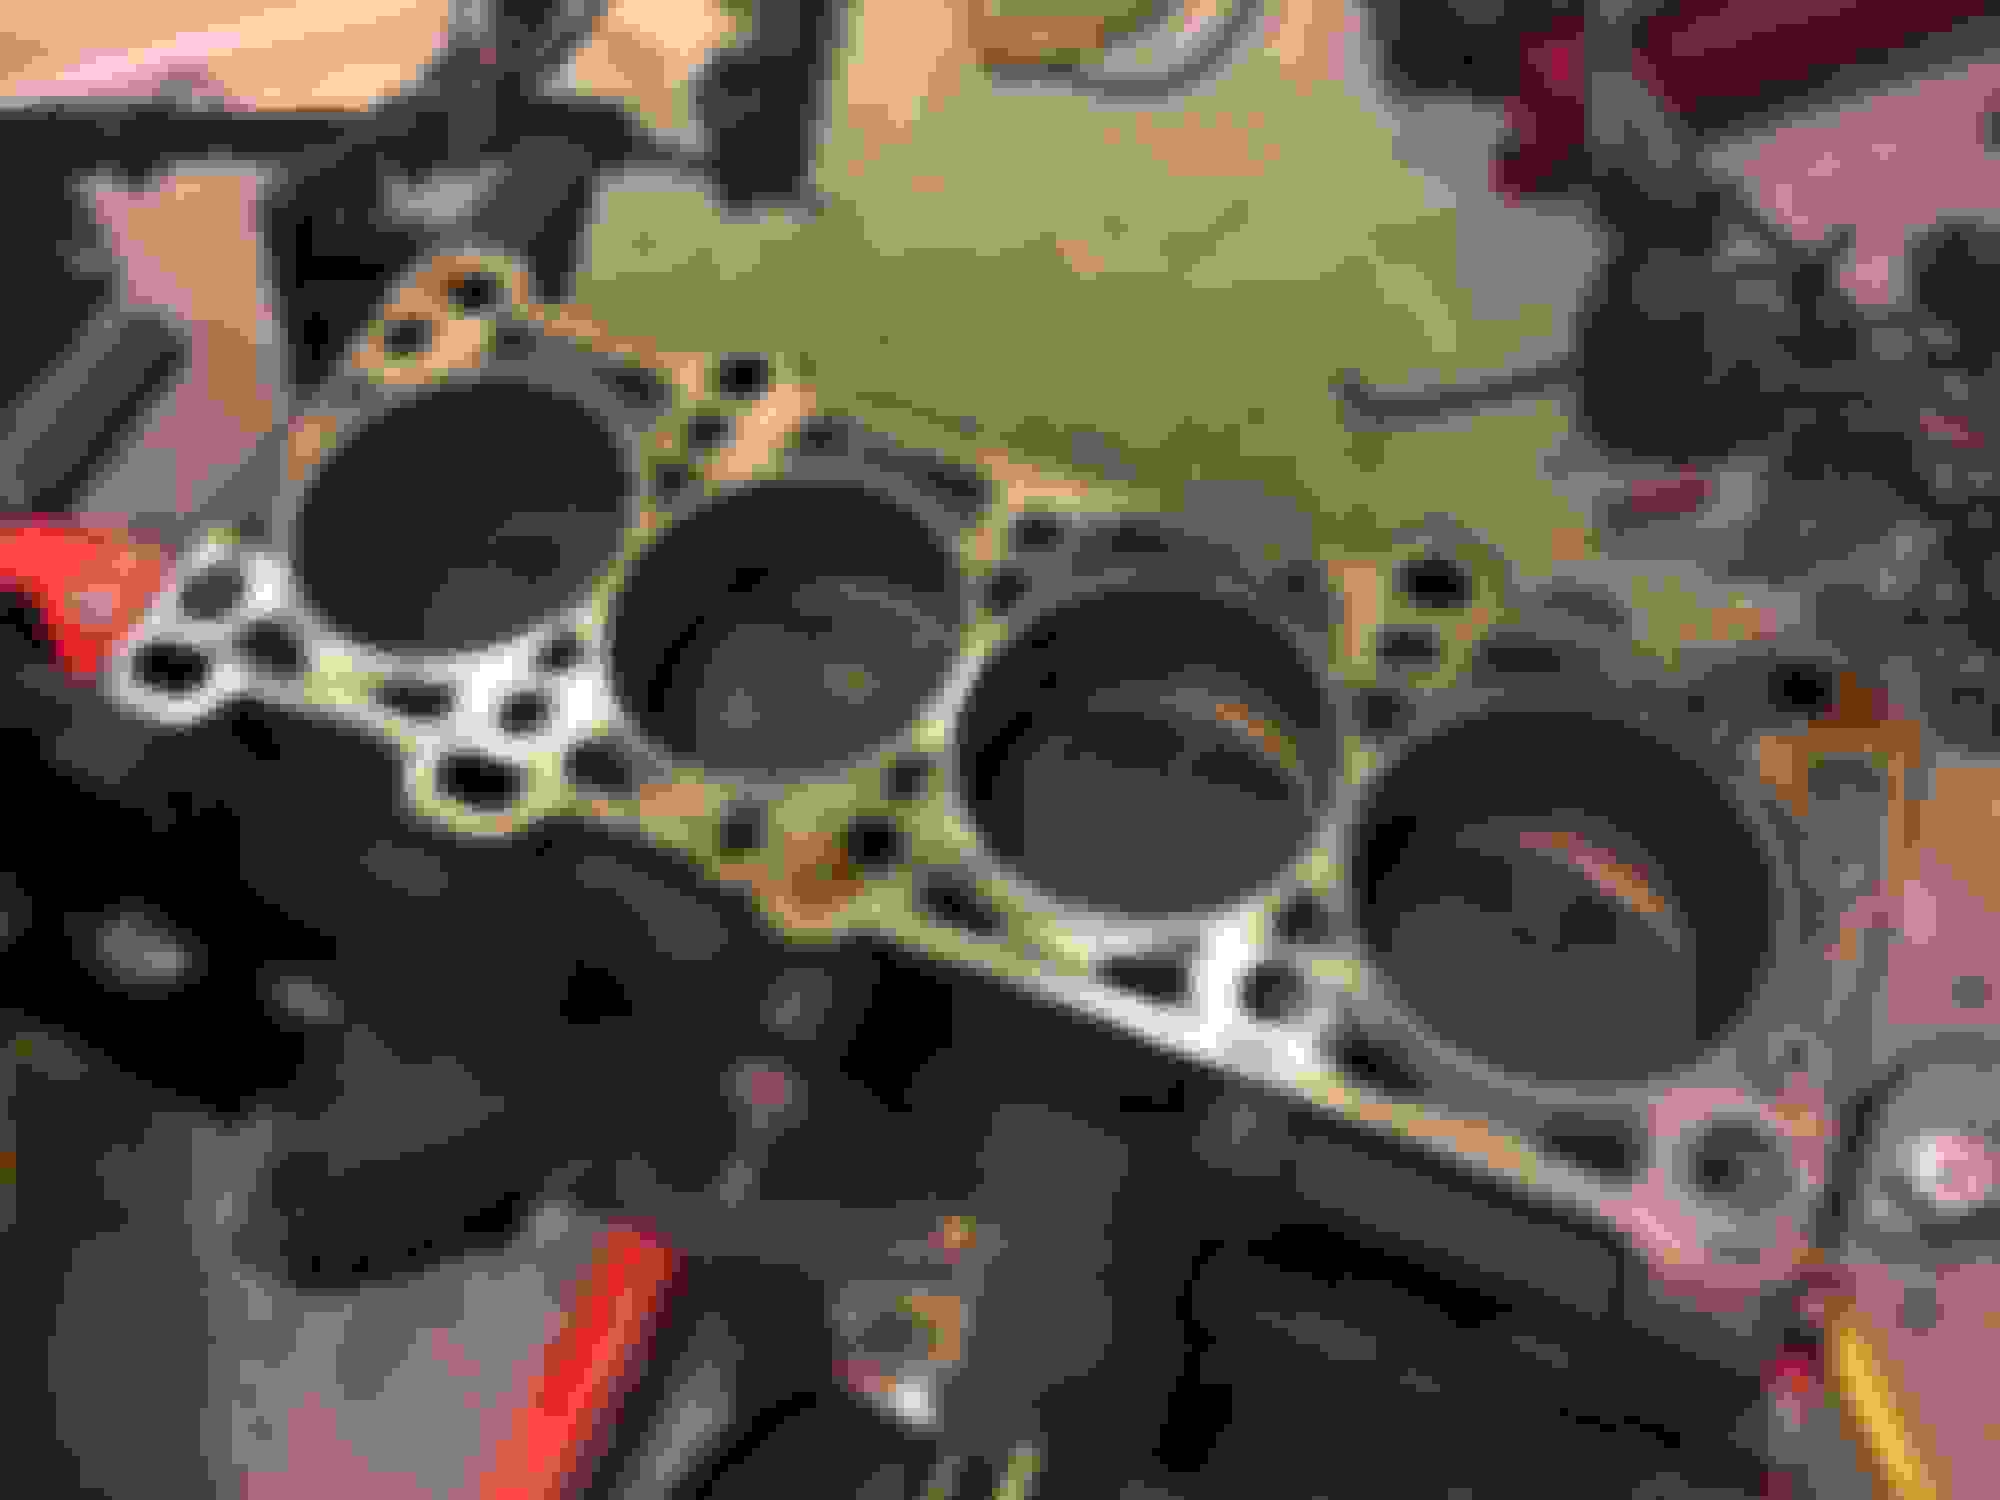
Also pulled the head and and got a look at the original pistons. Here's a look at the inside. Excited for the new stuff to go in. Taking the motor on Thursday to Mazworx in Orlando where Sixshooter had his motor built.
Work at night to stay cool. Its nuclear in the garage right now during the day.
Im on call tonight so won't get much done sadly but had a few things show up today. Got lucky on my injectors and got a new set of the 1050x injectors. New SUB lifters also arrived so the motor is off to the builder tomorrow. Since I'm still waiting on the basically the whole drivetrain Ill likely start looking at what I want to do on the interior as far as seats, gauges, and such. Give me something to do on my 3-4 week wait on the motor. Any recommendations on gauges/monitoring I should do on the car. I presume ill do boost, oil temp, water temp, and afr. Ill probably swap the oil pressure gauge for the the 90-93 version and use that in the stock location. Any other thoughts not this?
This is an incredible #allofit build thread! Will this car end of being a dedicated track car? You may look into getting a race dash rather than going with individual gauges that will have to be installed out of your main line of sight. If you go with individual gauges, I would skip the boost gauge if you're using the EBC and MS.
I used a huge set of channel locks to straighten my frame rail. the metal is very soft and pretty easy to manipulate with a bit of leverage. I did this because I wanted a bit more control than a hammer.
Thanks for all the advice on the frame rails. Ill get out there and give that a try. I hope i have better luck. I hit the **** out of it with a hammer and it didn't seem too soft to me but Ill give it another go. In other news took the motor to orlando to these guys.
Excited to get that back. On the way back I received the email on my desired transmission option and promptly placed my order. Pretty excited about it too. I linked it below for those that don't get the newsletter.
Does anyone have pictures of how they removed the rear hub dust shields?
you can buy completely new rear assemblies from Mazda, which is the upright + hub + dust shield and stuff all assembled, and things are clean enough to take apart and simply remove it.
Or you can buy completely new rear assemblies from Mazda, realize the rear dust shields block some of your rear suspension grease points (because you are going to bronze/poly, and zerk them, right?) and simply cut them off with tin snips from Harbor Freight. Takes all of 30 seconds. You just start cutting and leave a little ring around the hub, because who cares, rasekar.

 07-21-2017, 07:53 AM


 0
0


 I'm so jealous, this is coming along nicely.


