When you click on links to various merchants on this site and make a purchase, this can result in this site earning a commission. Affiliate programs and affiliations include, but are not limited to, the eBay Partner Network.
Picked up this cutie last winter in Michigan. Last registered in 2008, and it smelled and looked like it. Non-running and $1500. Came from Idaho. Brought back college memories of chugging a solo cup of Jager at a house party in Moscow, Id no less. ******* mold and spiders nest everywhere. A super crusty steering wheel cover that had turned hard and brittle. After finding the fuel tank drain plug- I changed plugs/wires/fuel filter- It fired up! It actually ran great in open loop until it warmed up. Turned out to be a shitty o2 sensor. **** off They were $200 from a coworker A metric **** ton of vinegar, alcohol, and vacuuming
I fucked with this hard for a good week. Some bangers. Weekly airport trips w my son Stefan Steigerwald sleeves. 450/300 Jegs springs - were $25ea on black friday lovin it. Rockville 10" under his feet. Doubles as his foot rest. $50 on Marketplace. Turned out to be a type 2 from a '97 The guy had to cut the PPF in half cause the bolts were stuck. As of 2 days ago
Plans for it? I thought my car was filthy when I bought it after sitting for only four years lol. Awesome change from the first pic to the one where the car is outside.
Yeah It looks great if you squint! So were collecting turbo parts, as you know. FM Mani/DP are in my garage, and I just scored a GT2560R with a 12-14 psi actuator. Stock block and will probably hold of on e85 for now. Pretty sure were going with a Beer Money ECU; just waiting for the new CanGauge they have to come out. I really like the onboard wideband and Can options/dash cleanliness.
List of stuff that needs to be done before spring - Its still snowing/freezing, so no motivation
1. Foamectomy
2. Roll bar
3. Coilovers
4. ECU
5. 5X shifter rebuild
6. General fluids change
Quit stealing all of our cars! This is why we have no good ones in Idaho.
Joking aside, glad to see you're taking care of it. Go Vandals! I still make the trip up to Moscow about once a year with my car. Boise->Moscow is one of my favorite drives (at least the first half or so).
My 3 year old was so excited to use the wire cutters. He was on cloud 9 helping me wire up some sensor leads in preparation of the ecu. Love/hate with wiring as it�s a time suck- but hangin w my boy made it fun. Used some good ole Tesa tape and a slick Fuel Tech ev1 connector for the Bosch KS4-P knock sensor.
Completed the leads for the AIT/FP jumper, Fuel Pressure gauge, and Knock sensor. Will be working on the boost controller, sequential injector harness, and CanBus gauge next.
NA6 Sequential harness with EV14 connectors. DEI (design engineering inc) makes full interior Boom Mat kits and Under-Carpet-sound deadening/insulation kits specific to the Miata. All my under carpet was nasty, so in went the precut mats. The coolest thing about the door and floor boom mats kits, is they have strategic places where you install the butyl/adhesive mats.
Never seen those precut mats before. Good to know about those, the 30 year-old carpet in my car is showing its age haha.
The difference in resonant noise with and without the dynamat was huge when I built my van. Bet the stuff makes a sizable difference in these wobbly little cars as well
I expect a HUGE placebo effect. Its really just a while-I'm-in-there thing. I run a sub to the pass side floor and needed to clean up the wiring. The old under-mat was gone - so I had the carpet pulling out from under the plastic door kick panel/trim covering. #nonracecarproblems.
On another note - I had issues at the gas station anytime I was filling up- Pump handle would click immediately when trying to put gas in. It required a two-handed, ever so slight pull on the nozzle- followed by a 10 minute filling process. Checked all the typical things related like the filler neck rollover valve and the check valve on top of the tank. What I ended up finding is the overflow tube going up to the neck was rusted. The tube is 5/8" and with rust buildup, it tapered down to an 1/8" hole. I cut out 6" of the hard tube, and replaced it with rubber hose.
[QUOTE=douginjenison;1647698]I expect a HUGE placebo effect. Its really just a while-I'm-in-there thing. I run a sub to the pass side floor and needed to clean up the wiring. The old under-mat was gone - so I had the carpet pulling out from under the plastic door kick panel/trim covering. #nonracecarproblems/QUOTE]
Totally get that haha. I also had the same hankering to add some leftover deadening from another project when I pulled my carpet last week. Couldn't bring myself to do it though because the extra two pounds might make me slower than my buddies #RaceCarProblems
Did the tubing fix your filling issue? I had a similar concern with my car a while back but it ended up being two clogged check valves in the tank to evaporative emissions canister vent line.
This "POS" is certainly getting some nice touches. I'm "the" wiring guy at my shop, and I've got to say I'm impressed with your cleanliness on your injector harness. Doesn't mean **** if all your crimps are bad, but I'll just assume they're perfect
When I originally added sequential, I had a DT2 like you do, but later when I completely remade the harness like you did, I cut the OE plug off and used a DT8, converting the chassis harness too.
Edit: ignore me if this is just an off the shelf bracket, you rich lazy bastard.
I won�t know on the filler neck fix for a bit, but the evidence was enough for a conviction.
off-the-shelf harness, its gorgeous. Hahaha it was not that much. I knew some of the original clips would break, so I added up the cost of replacement connectors, my time, and potential drywall holes in my house; then chose premade.
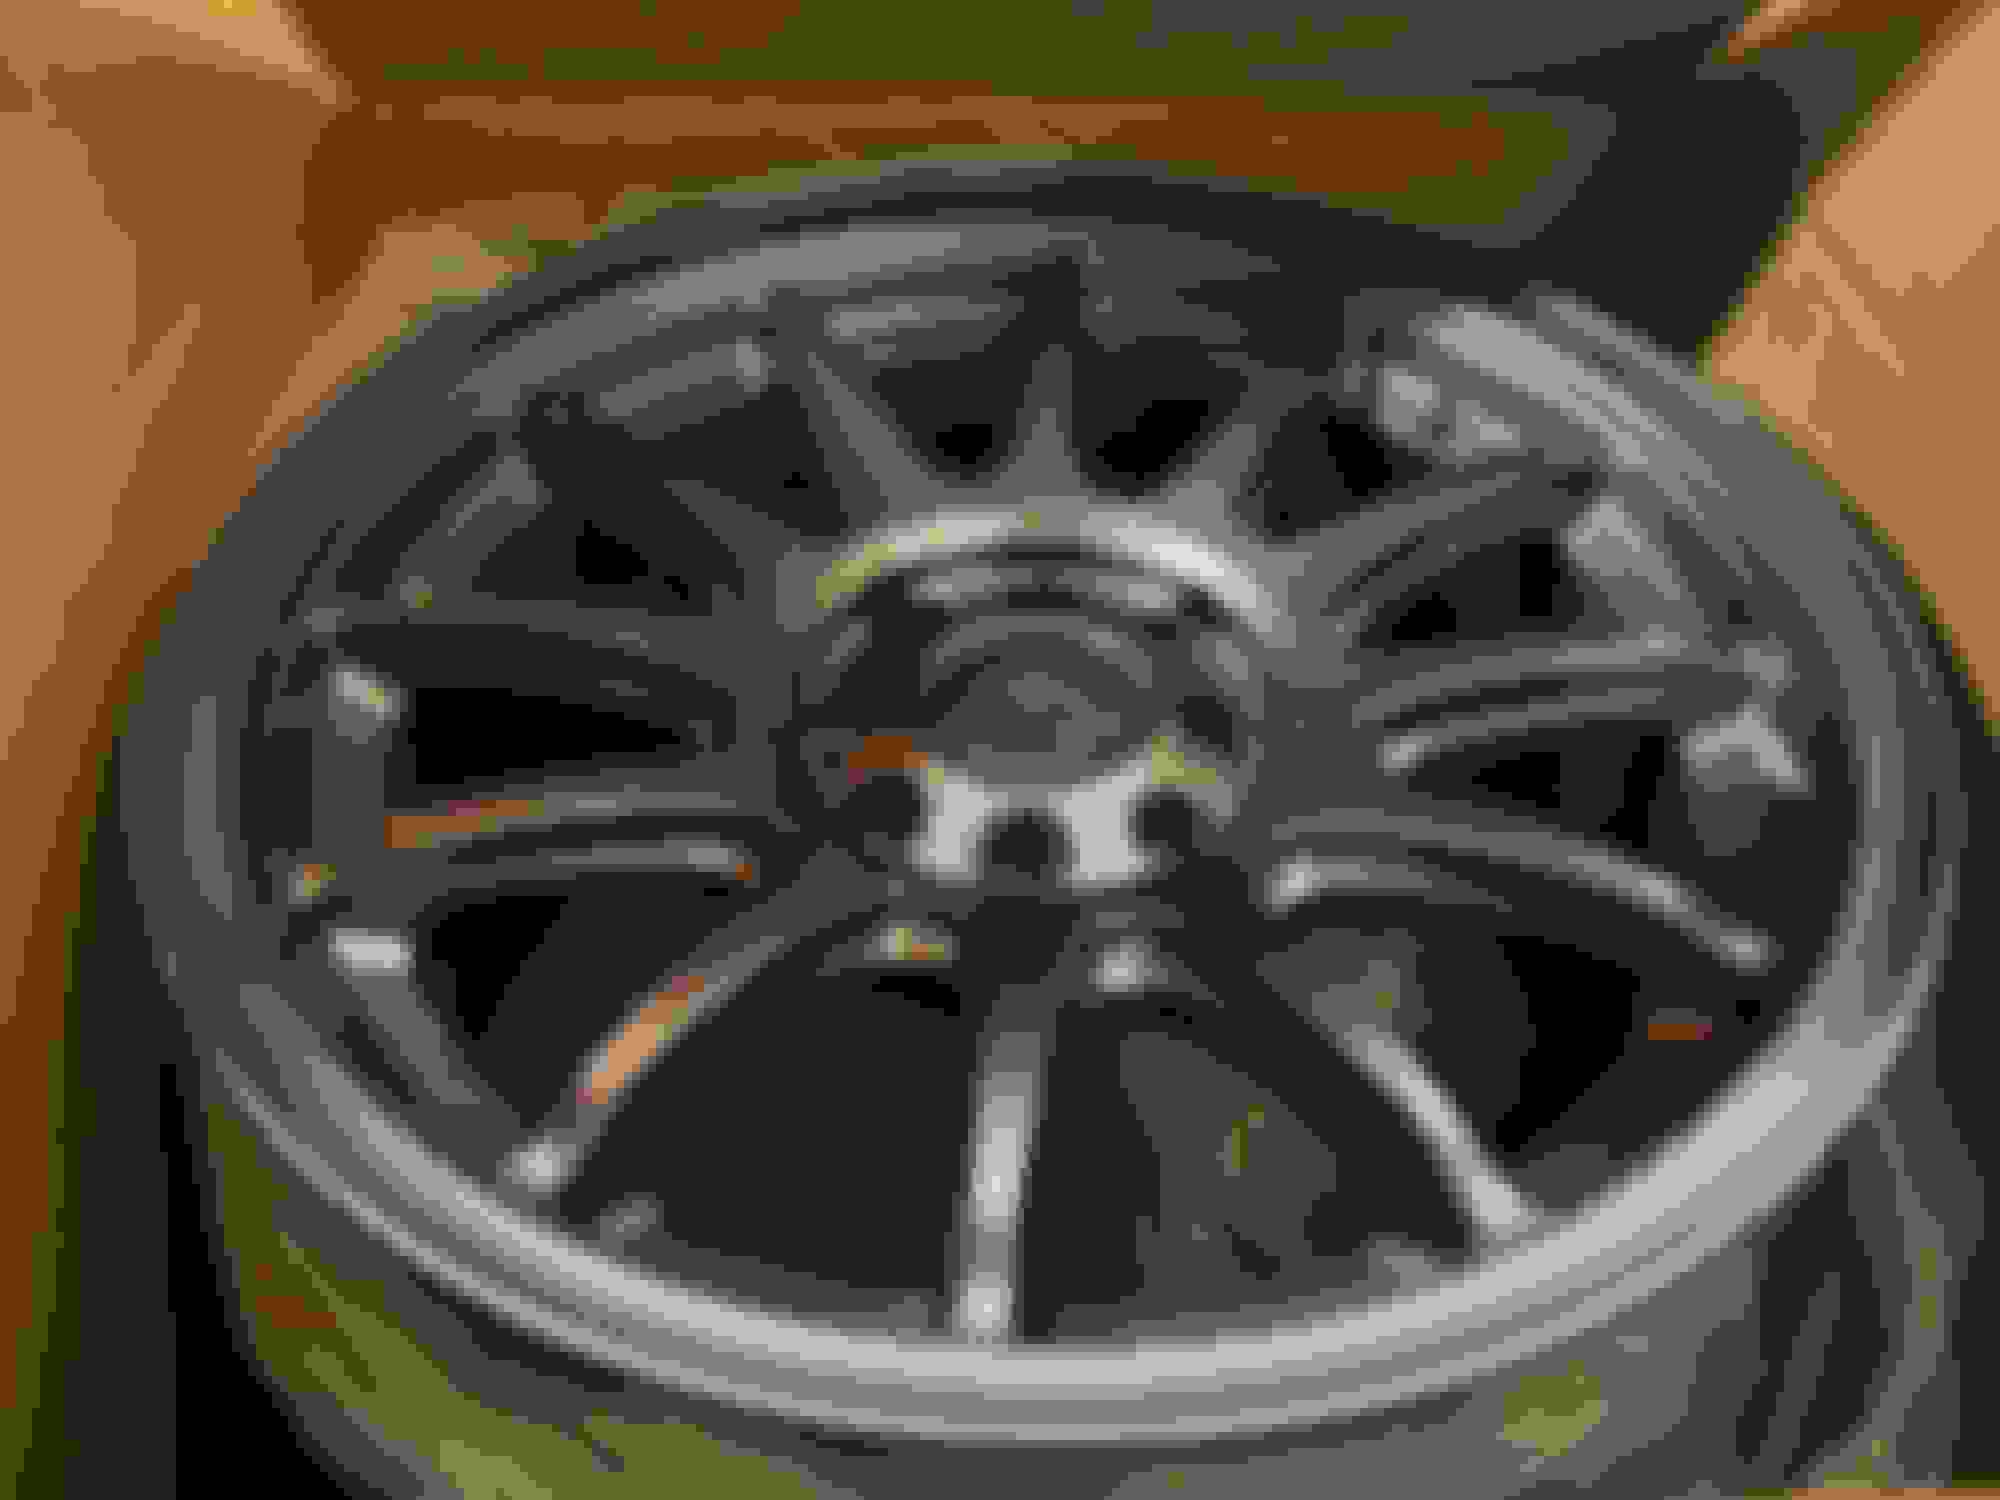
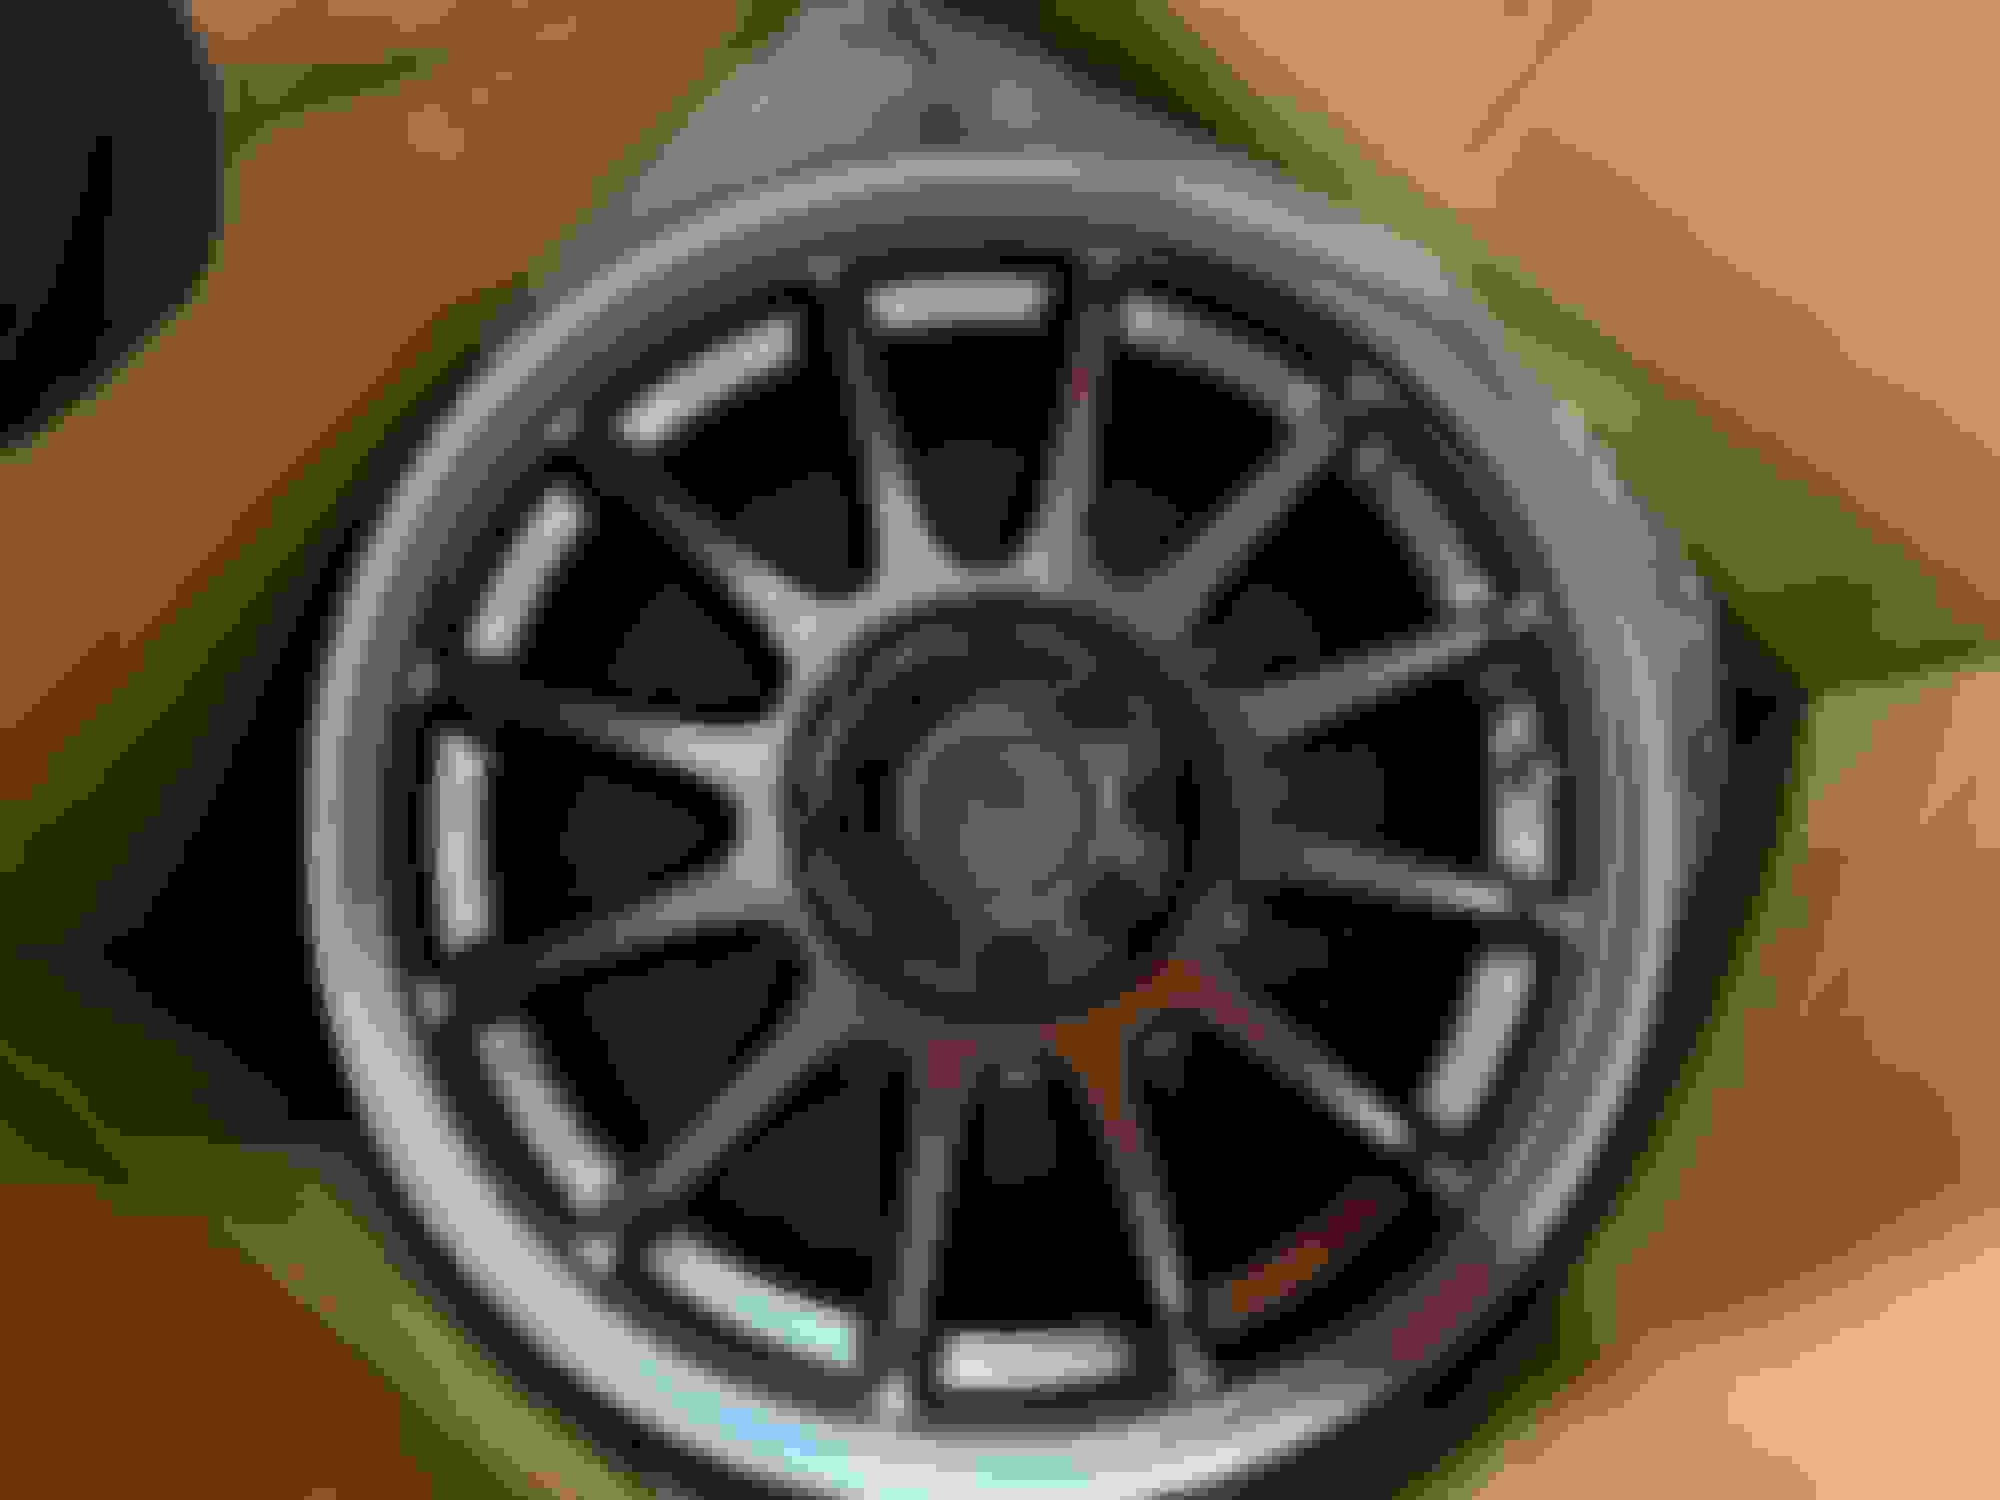
wrapped up the Boom Mat and insulation tonight. Then these round things showed up.
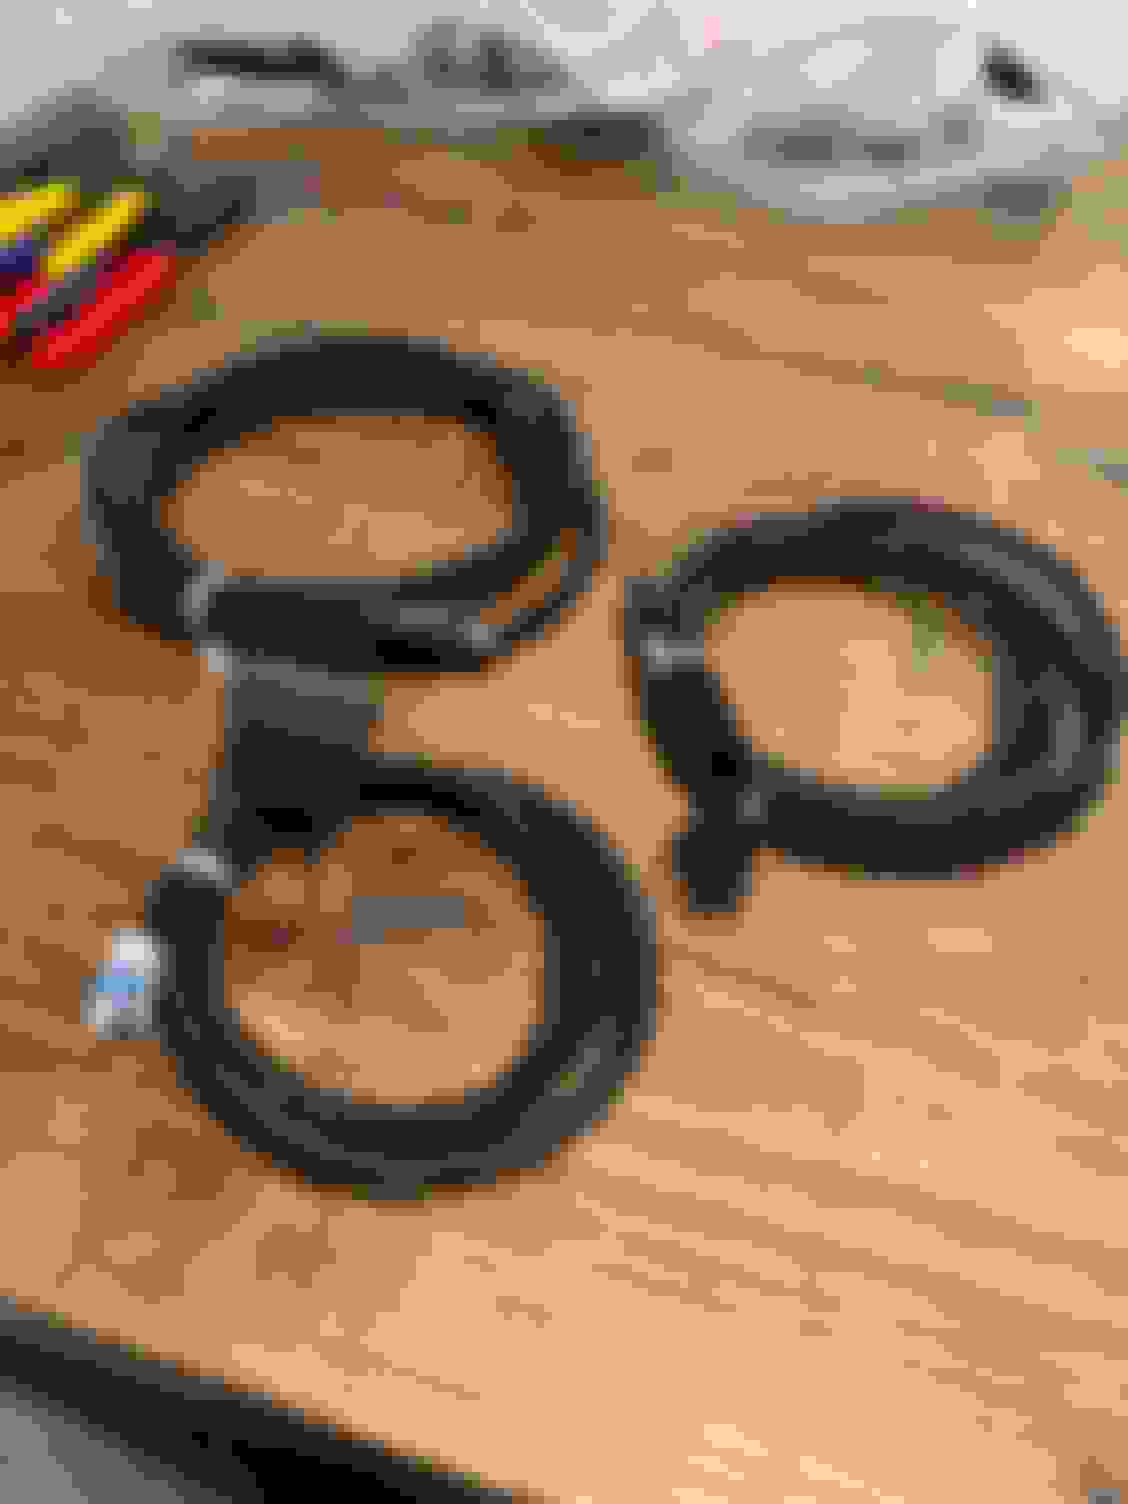
Rebuilt shifter and moo skin boot with 5X kit and bronze bushing
Flex fuel sensor and bracket came in
Received my Stop-tech 309 F/R pads
Ordered Azenis RT615K+ in 205/50/15 for said 15x8 wheels
Didn�t want to remove the washer system, but it got in the way of sensors. Go kart master and a little wiring got me this. Flex sensor, knock sensor, FF640, sequential harness, and fuel psi sensor installed. AV Delete plate in as well. Welded up a bracket to hold the intake. Also welded in an ait bung. Dei heat shield between mani and filter. Wrapped up the AFM delete, TPS install, AIT wiring.
Thanks! I think its far from that lol, but she will be fun for the summer and learning to tune. Gonna be NA til fall/winter. Its hard enough not driving it while the weather is nice.


 They were $200 from a coworker

 1
1