When you click on links to various merchants on this site and make a purchase, this can result in this site earning a commission. Affiliate programs and affiliations include, but are not limited to, the eBay Partner Network.
So worked saturday, had half a day into last night for fuckery
Before I went out to the barn i righted the wrongs of the turbone coroporation while fuxxing with my wastegate bracket
I cut a notch out of the bracket so the hole line up and the wastegate actuator is in a straight line. Cool
Then I got the ole angle grinder out and cut the baking tray
.trimmed it a little then started drilling and riveting. Starting at the door side I guesstimated where to put my channel, riveted it on then drilled some 1/4" holes for my stainless BHCSs.
Yeah, that smear in teh middle is my blood.
Nutserts.
I actually had to shave the nutsert on the top left near the door. It was too long and hit the tank, so needed it to sit deeper before it locked itself in. So took ~3mm off the back.
Rear view, more blood. Braced top and bottom as quite floppy. I riveted it all together then realised it sounded like a snare drum when you tapped it. So drilled all the rivets out, put a bead of permatex right stuff (as it was open) and reriveted. Much quieter.
Inner side is angled and inset so carpet can tuck behind and just so the top and bottom were not in a dip where I wanted to set the nutserts.
After that gave it a clean and a quick zip with some paint. Was drying and had a little time before bed
It begins
And done. No going back,
And identifying what I need to hit with BFH before I get the mani and trubo on,
I am off work 23rd to 2nd, so hopefully get a pile of work done.
Heater showed up yesterday with a dent in the tank and the paint flaked off where the dent was.
Returned today to TSC. that model number comes up today as "not found" so just ordered the same one from amazon, for 10 bucks more. I fucken despise giving bezos money but here we are. Will have it in about 2 weeks. Lame.
Ok. So have done a little, but not much, what with christmas and various jobs around the house. Working around renovation of the last room in the house
So
ordered a new grommet so would be easier to feed wires in for the ECU. this is the 3/4" one from haltech
unfortunately, like all 3 of their grommets it requires a 2" hole which is a waste of about an inch really. You end up needing a big fucken hole for this bad fleshlight looking thing. And it has this tail sticking back into the cabin.
I can do better than this.
Perrin makes an STI grommet for the vapist crowd. https://www.perrin.com/shop/engine/firewall-grommet
18.47 delivered from bay of E. 1.4" so that means give or take 1mm I can use a 1 3/8 hole saw. Saves 5/8 of an inch, or about 16mm, so that works for me. Ordered. If it gets a bit tight getting the step drill in there, I have a HF one that is blunt on the first couple steps so take those off with the grinder to make clearance and bore the ****** out.
So waited for that
next
A white christmas indeed
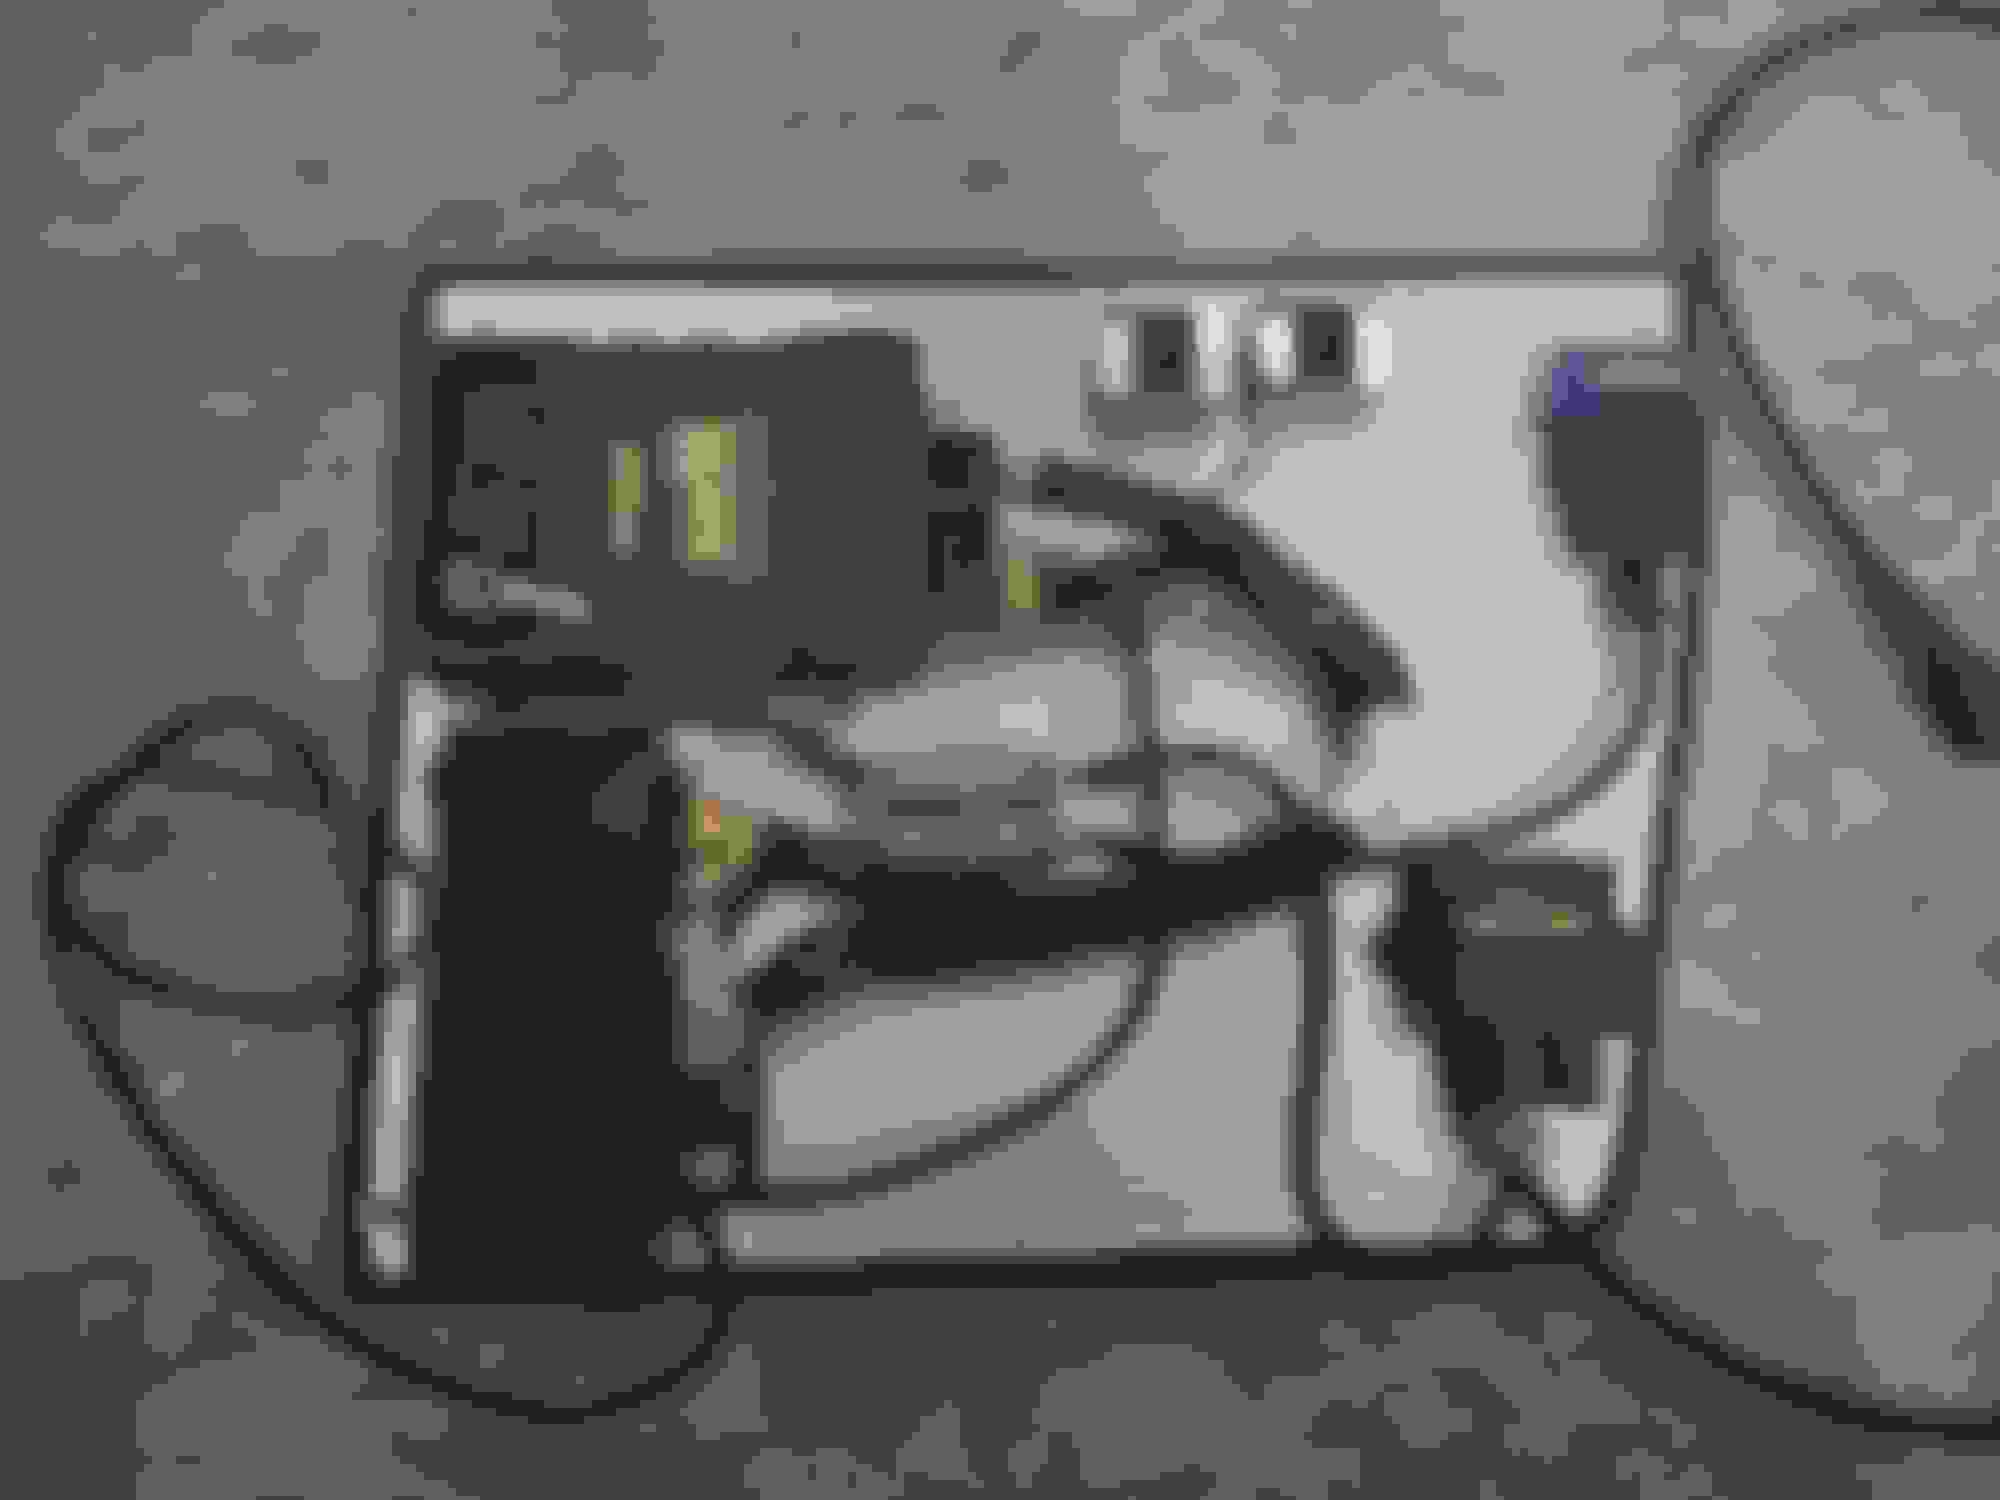
Stripped the paint off and rubber trimmed the edges of ECU mount Scuffed up the surface rust and **** with a wire brush and a little krylon perfessional Mounted the bumper support bar
Can see that sweet chassis tweak Tweaking so hard. bolted in the ECU got some velcro down and rough markup Batman nordic slippers knitted by the missus for xmas This week's snack. 2 days of jerking my meat. Grommet arrived today, is warm so will try and get out to the barn later.
been renovating house, and had a few other things on. Managed to scratch my eyeball a couple of weeks back that wasted a day, did some OT and have achieved largely **** all.
But here we go
So I left you with the grommet\
So the next step was to drill the firewall with the step drill, maybe cut the step drill with an angle grinder so not too much went thru and I don;t hit anything.
Guess what this dumb see-hunt did? One more step he said. It'll be fine he said
Nailed the fucken main wiring harness. Oops indeed. To find this I pulled the glove box out, then removed the HVAC blend box.
I had a look on the ebays, and I did find that I could buy a replacement harness with that part number from several vendors for around about 100 bucks. But I am so, so cheap and I need to tap into the 12V and ground anyways to feed the power for the WB controller, so figured I'd at least save this one.
That yellow and black one there I joined is the CEL wire the PO cut.
So what I did was pull the connector apart, and depinned it one pin at a time. THe majorly damaged wires, if which I think there were 2 or 3 I cut, and spliced in new wire with a taco crimp and adhesive heatshrink over the top. Any dame to insulation got heatshrink. I also took the opportunity to remove the vampire taps from the p-p-p-p-p-powercard install, and heatshrink over those wires to try and keep it all together. Groce, but you gotta do what you gotta do.
Drywall. He's halping.
Got more of the ECU plate done. Shortened the DTM 4 connectors used for the CANBUS connectors and the OBD harness. THis is largely the finished product but I do not have the DT2 connector tapped in off the power and gnd wires on that harness to feed teh WB module. I then spent 11ty billion dollars and bought a couple of DTM 12 pin connectors. I will run everything that comes in from the engine bay to these and then to the busbars or ECU. Why? so I can unplug and remove plate if needed.
Last edited by msmola2002; 01-18-2022 at 10:32 PM.
DickRocket finally delivered my barn heater. THey punched the expected delivery date back by ten days the day it was due then updated so delivery would be in 3 days. It then was "early for delivery". I wish i could cook my metrics that easily at work. Wonder why it took nearly 3 weeks to show up? Thing is well travelled. This thing has been coast to coast and its carbon footprint before i even filled it with kero is pretty spectacular.
Stapled up a bunch of plastic drop sheets over holes in the roof and segregated off rear half of barn. Airtight and insulated? nah. but if i can get the thing to not be -20, close enough.
some days are just shitty cold mornings and you have other priorities.
Big bore View from up under the dash. NOTE WHERE THE GODDAMN WIRING HARNESS WENT. D i g i t a l. Had to cut the scored lines. Once the wires are in will ziptie it up to keep water out. Eyyyyyy! Note fire extinguisher powder I miised. oops. from the inside. Stripped back insulation from around hole so wires don't need to do a 90 as soon as they go in I used camper seal from blue HD to re foam the HVAC box. I also had a **** of a time getting this fucken thing back in. In the end I hogged out the lower firewall side mounting bolt hole to get it to pop on. Box is in place and clamped to AC, need to find the screws and reinstall blower motor and glove box stuff.
so, uh
Dumb **** happened today. I did work on the car last weekend and need to document that but today was a big thing.
It's a whole thing and it involved MT members and interstate logistics
But I now own a low mile built bottom end with supertech 8.6s, some flavour of rods, ATI superdamper and a VVT boundary oil pump screwed together by mazworx. I also acquired the head that was on this as well, a bp05 with +0.75mm valves and ST double springs and a port job. Needs a water pump, head gasket and some ARP studs, and we are good to boogie. I'll also swap over my exhintake cam and VC with the NB pickups.
For now, need to sell some ****, get the car running on the engine in it then come a long weekend swap it over to this thing
Ok, probably should sit down and do some updates, has been a while.
January 29th decided to run down to the local U-pullit, and snag a part I've been thinking about Beautiful january day. Found one! Volvo S40 PS pump. Cost me like 15 whole bucks Roached RX7 was there As was this cool merc.
Dummied it up on a fuel can in front of car to see where i can maybe sneak it. Radiator bar makes so much room for activites
Yeah, that hose ain't gonna work This hose needs to really move back Plan is to trim metal work back a .little further and tuck it under that cutout for the ABS washer fluid bottle Random engine bay pic?
Giant box holding a cap for the PS res. Is a vented hydraulic reservoir cap. Screws into an NPT socket, which I will JB weld into top of PS res. I/O12 I snagged off aussie ebay arrived! Feb 20, whole bunch of rain flooded barn. No power outlets are in the water, don;t worry Which then all froze up gross
Now time to make downpipe and heater hoses all fit at the back of the engine bay, getting into april now. How she looks after a little love with the BFH. pipe touching dipstick tube got the pipe in line with the little shelf looks like she gonna hit trimmed the hose down a little Made love with the BFH to the shelf NOW we have clearance And here we have no clearance. ****. that WG housing is a ways from the compressor. I slotted the holes on the bracket where both the actuator goes and on the turbo mount m a s h e d hello thar, IC piping checking in bought an NB hose to make a little more room over that side of bay
disappeared to iceland for a couple weeks with the missus in a camper. Drove the ring road. Here are some puffins
Egilsstadir had some sweet bro trucks. Icelandinc bro trucks are best bro trucks.
Got the engine I bought on a stand.
Bit of damage to the ATI. I'll tap that out with a brass drift i think. bendy
Kinugawa WG bracket and actuator, 0.5 bar spring. Outlet hose is doubled back, and i trimmed the aluminium pipe. I need to reclock the turbo to raise the outlet. On the list.
So much room from the bonnet/hood.
nice cranked arm.
Was getting some exhaust blowing by the included V band clamp.
The car was parted out, the engine was split and the head and lower end sold to two separate MTers in Indy.
One of whom has family within an hour. Both parties sold their parts to me, so I have this engine, still in 2 pieces. Needs a head gasket, and I will reinstall the head studs and head, and replace the water pump which had the alternator ear snap off.
Then at some stage install it. That's the engine story. We are at about the 4th July weekend now. Sold my core engine i was keeping to rebuild and got the built engine on the stand, and as of today is still on the stand and a headgasket is in my amazon cart.
Raced some pitbikes down in Milford CT
Then went to Canada to visit the in laws. Drove to Toronto.
Hells yeah
LES DENTS
Then flew to Alberta to see the fam. Cute.
Say what you will about the canucks but they know how to make some straight roads. 25 mile drive. 7 Bends corners.
Came back
raced some pitbikes again
This time at Monticello NY
Backed the miata out of the barn, but the rear brakes were seized
Looks like we are topping out at about 5psi which is a bit lower than I'd like. So, may have a boost leak, or maybe the kinugawa WG actuator has an inaccurate spring rating. Whatevs.
BOV is fucken obnoxious, so over winter, plan is check for boost leaks, maybe throw a different WG spring in, and sort some plumbing. Want to reclock the trubo so it exits pointing down to 6:00 and tee a 90 off that out to the front then down.
So drove that a little then I got a call from someone updating their meotter to a Haltech IC7 dash, and had an IQ3 at a decent price. So despite having zero need whatsofuckingever for one of these things, I said yes Front Rear proposed mounting location
The thing has been powered up and was displaying stuff for the PO, but his car has not been operational, and the upgrade. My gauge faces were a gift and will remain, so Another mounting option required. THe dash is quite thicc. I dummied it up on top of the steering column but it will hit the gauge hood. If I move it forward enough to clear, it fouls on the control stalks. So bought a mounting bracket thru holley, and will attach adjacent to the hood. Big question now is where to put the CAN keypad when i get to one of those.
So the cluster is waiting to go in. I also just sourced an AEM CAN hub, as it works out about half the price of a haltech unit. I plan to run a can cable from the ECU location, up to behind the stereo and having the hub up there, and runnigng hte gauge and a CAN keypad. I will remove the OBD dongle from the other CAN port on the ECU as it is now redundant, and put the IO12 expander into that port. About the only other CAN device I may want to add is a TCA2 thermocouple amplifier, if a used one hits the market, which I would use to monitor exhaust temperature but I am not paying RRP for that, but I do keep an eye on ebay.
What next?
Picked up a pedal box to play with. The top left stud is in the correct location. bottom right, will bend the side of the frame down flat and tack in an M6 BHCS for the lower right stud Bend at the yellow marks, in the red direction - this ****** should damn near bolt in for DBW goodness.
Next arrival was not parts but something completely alien and different Say hello to Brooke, as I say goodbye to money and spare time
Few days later got some parts in the mail from the UK
G19 engineering in the UK has developed this natty little gubbin for running a ZF/Cherry hall effect sensor on a BP4W or BP6D head. I ordered a spare as well, and a couple for a homie. Postage was via royal mail by request which saved a few shekels. Look forward to installing this, and converting from CAS on rear of head to NB triggering with a 36-2 trigger wheel. I also ordered a second ZF to use with my LowDoller driveshaft collar to use for VSS.
As it stands now I have no VSS, so with the IQ3 will be able to run displayed gear, run launch control with speed based shutoff, fuel cut on overun, or any other feature that requires VSS. Most importantly, TC.
Parked up for the season
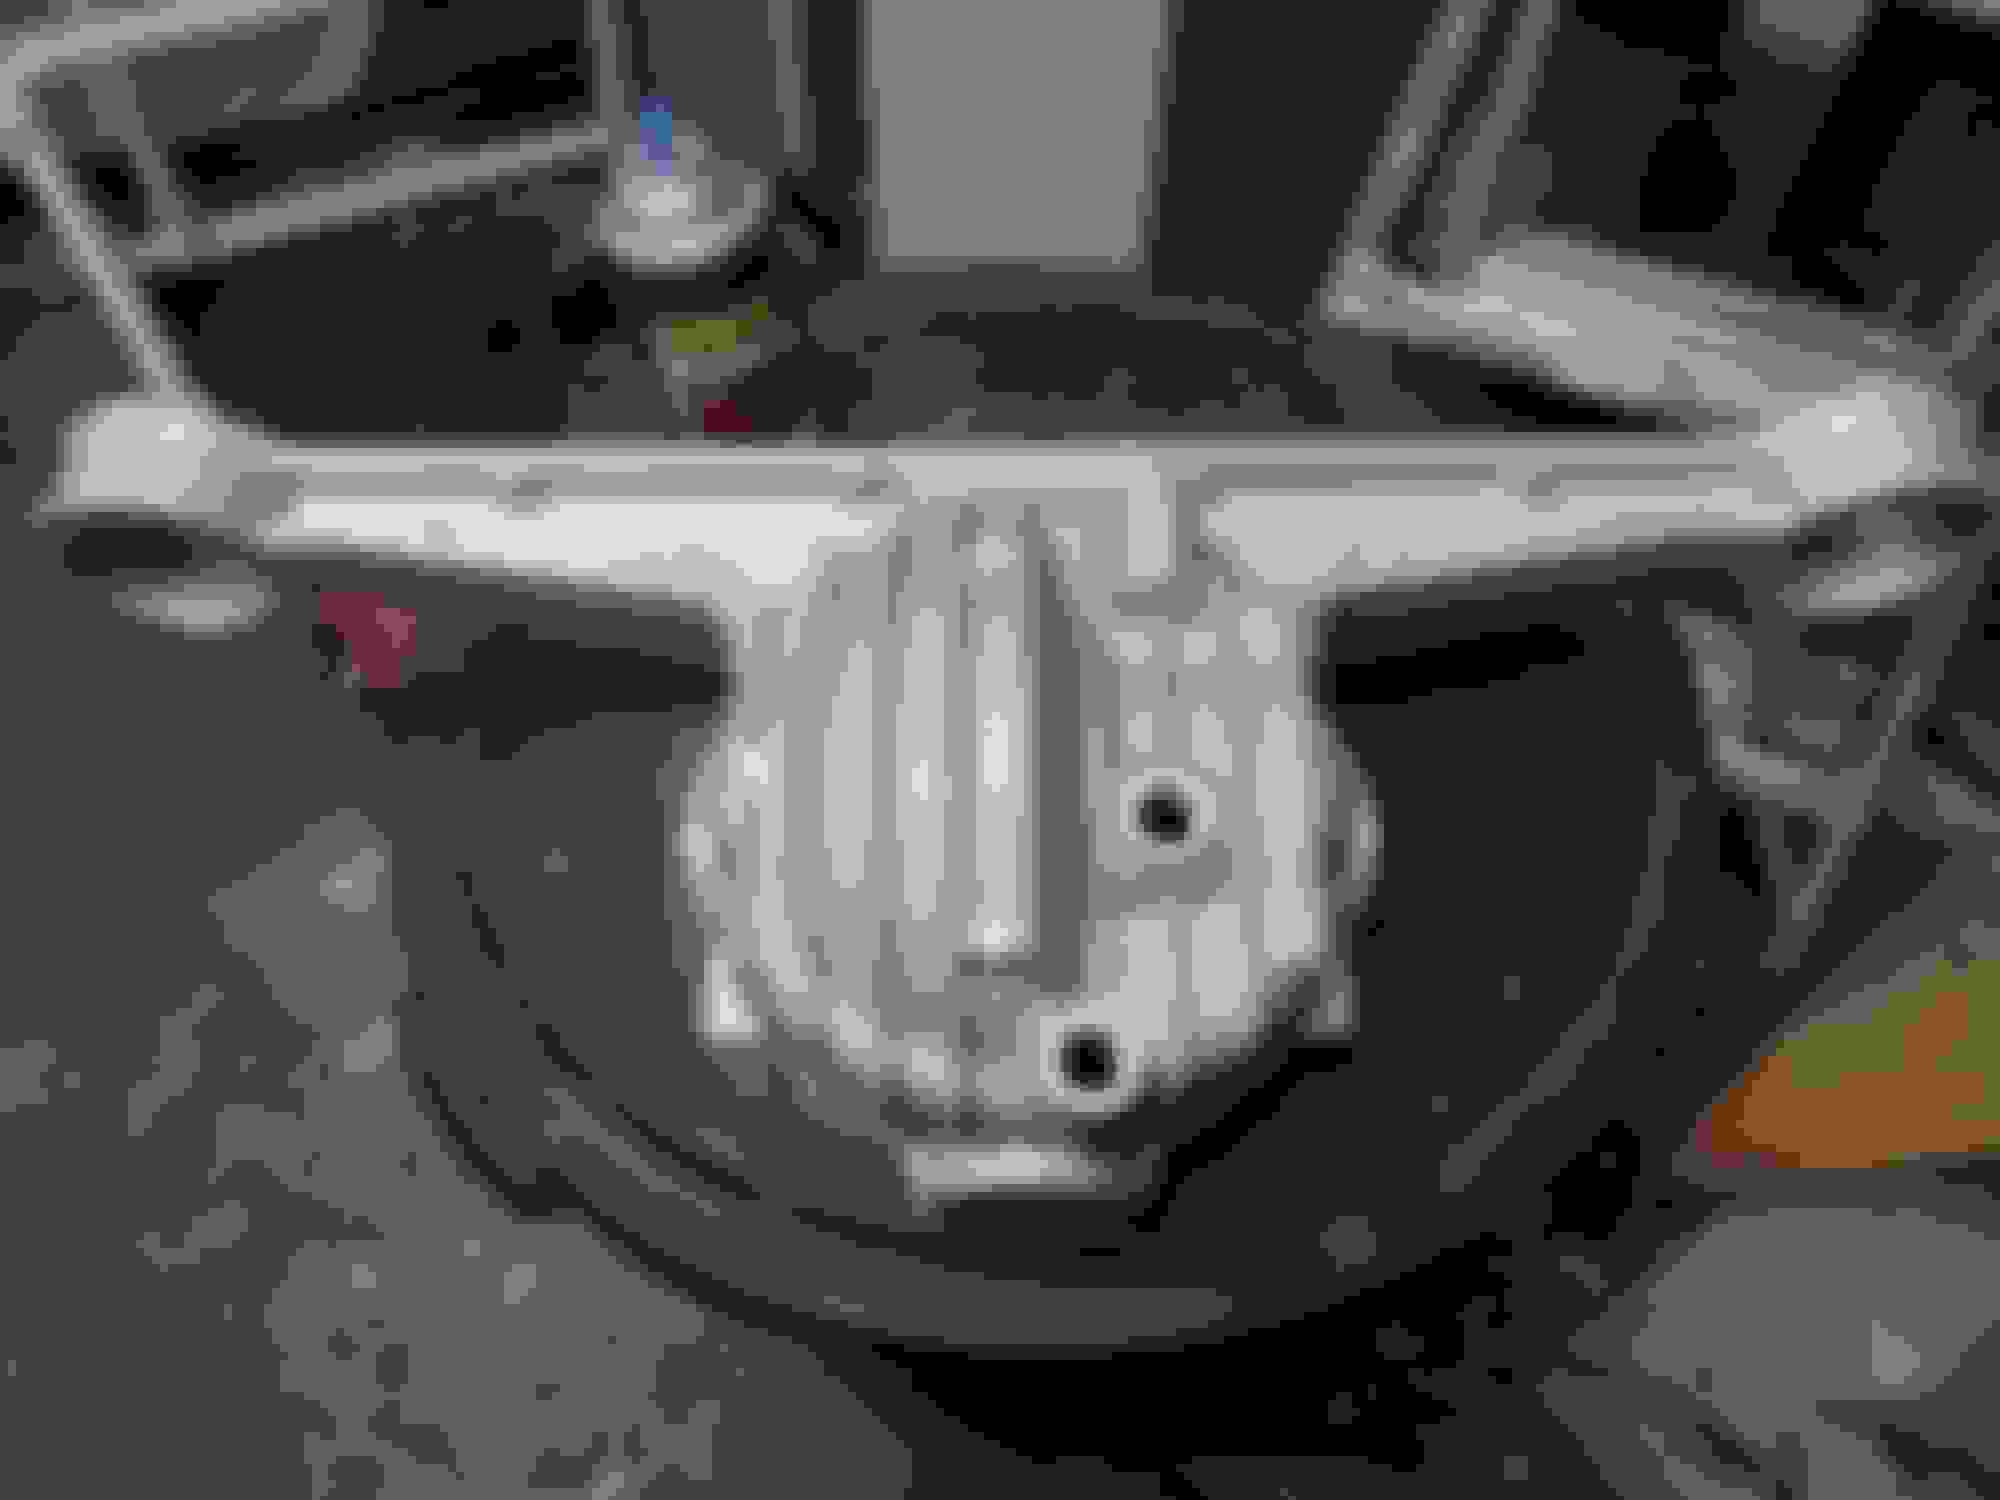
And started playing with my very Northeastern Torsen 4.1 I bought a few years ago. Gonna clean up, paint, and swap on my RX7 housing
Wire brushing and chiseling that crust.
Only rounded off two of the 10 bolts. So gonna dremel off the heads I guess. The housing is quite rusty. So tomorrow will split the housing from the pumpkin and then treat the cast iron with the phosphate treatment and hit with some POR15. the RX7 Housing I'll hit with simple green, and since it is fucken winter I'll take it to the car wash and pressure wash clean, then slap a coat of silver paint on it, cos why not make it a little pretty since I'm in there. Then get car off the deck, drop the PPF from the trans, unbolt my 2 pc drive shafts and drop the diff and PPF.
And final thoughts, need to work out if I want/need an 8 or 15 button CAN keypad, and where to install. Also need to decide on future plans - I am 99% sure they involve a Garrett T3 turbine housing to suit a GTX2860, and a Pulsar 2860 Gen 2 supercore. I plan to remain limited by injectors (640s) as basically the reason I bought the built engine was for reliability and limiting that fuel keeps me from trashing drivetrain, needing to buy new injectors, pump, etc etc and getting into an arms race with myself. It's a feature, not a bug. Only exception would be if a station carrying E85 opens up near me, which is unlikely - nearest is an hour or so.
Last edited by msmola2002; 01-16-2023 at 06:03 PM.
add in ~10 bucks of tax and connectors and shipping and **** and BF free ship from oz for the syltech means that for about 20 each extra (~95USD each, delivered) I could have nice DTM connectors instead of dealing with fuckass pull to seat GT150 packard bullshit.
5 bar to run fuel pressure, (should do 4 bar gauge pressure of fuel pressure) and one for coolant pressure.
Also available from dorifto supplier in florida if you wish to buy US local.
Minor updates. printed out a template for the haltech CAN keypad and need to work out where I can locate it in teh cabin. 15 button would be better for when am eventually able to do DBW and cruise control, gonna burn like 4 for that. need one for AC, leaves 1 for say, map levels, one for antilang and maybe 1 for log. 15 may be overkill tho. Can also put in a launch, thermo override and some others. will see where I have I can put it. Not a lot of real estate. I plan to go double DIN stereo for the android auto at some stage and that will take up the whole space the DDMworks bracket and single DIN is. I look forward to pissing off the AEM WB and cheap parts store bosch boost gauge, now I have the IQ3.
The Easy Button would be **** the whole stereo off, hide an amp or something somewhere and bluetooth off the phone with a RAM mount and put a 15 key on the blanking plate. I literally use the head unit to play from a USB stick, or stream via BT. So maybe there is a hidden option I need to look into.
anyways. AEM CAN HUB. works out about 50 bucks cheaper than a haltech
What I will do when I buy the keypad is also order a 10' haltech CAN cable. And once I know what goes where, I will cut it. need a run to behind the tombstone where I will put this hub, then a run to keypad and a run to the IQ3. Need to see what the keypad comes with and what I need for the IQ3, I have some stuff with that. or I could buy some wire, some heat shrink and twisted pair my own CAN cable. yeah, nah, **** that. easier to just cut a long one and stick a DTM 4 on the end
I pressed out the bushes, cleaned up the RX7 housing then slapped the exhaust paint on it. looks good, will be a gouged up POS by the time I get it anywhere near the underside of the car.
Have installed a brand new vent, will reuse the magnetic drain as a filler and have a MiataRoadster neodymium SUPERMAGNETOMGWTF for the drain. Also got a pair of fresh side seals.
I have slapped a coat of paint on the diff pumpkin and hopefully will be able to mate the two this weekend, jsut went and got a fresh toob of THE RIGHT STUFF.
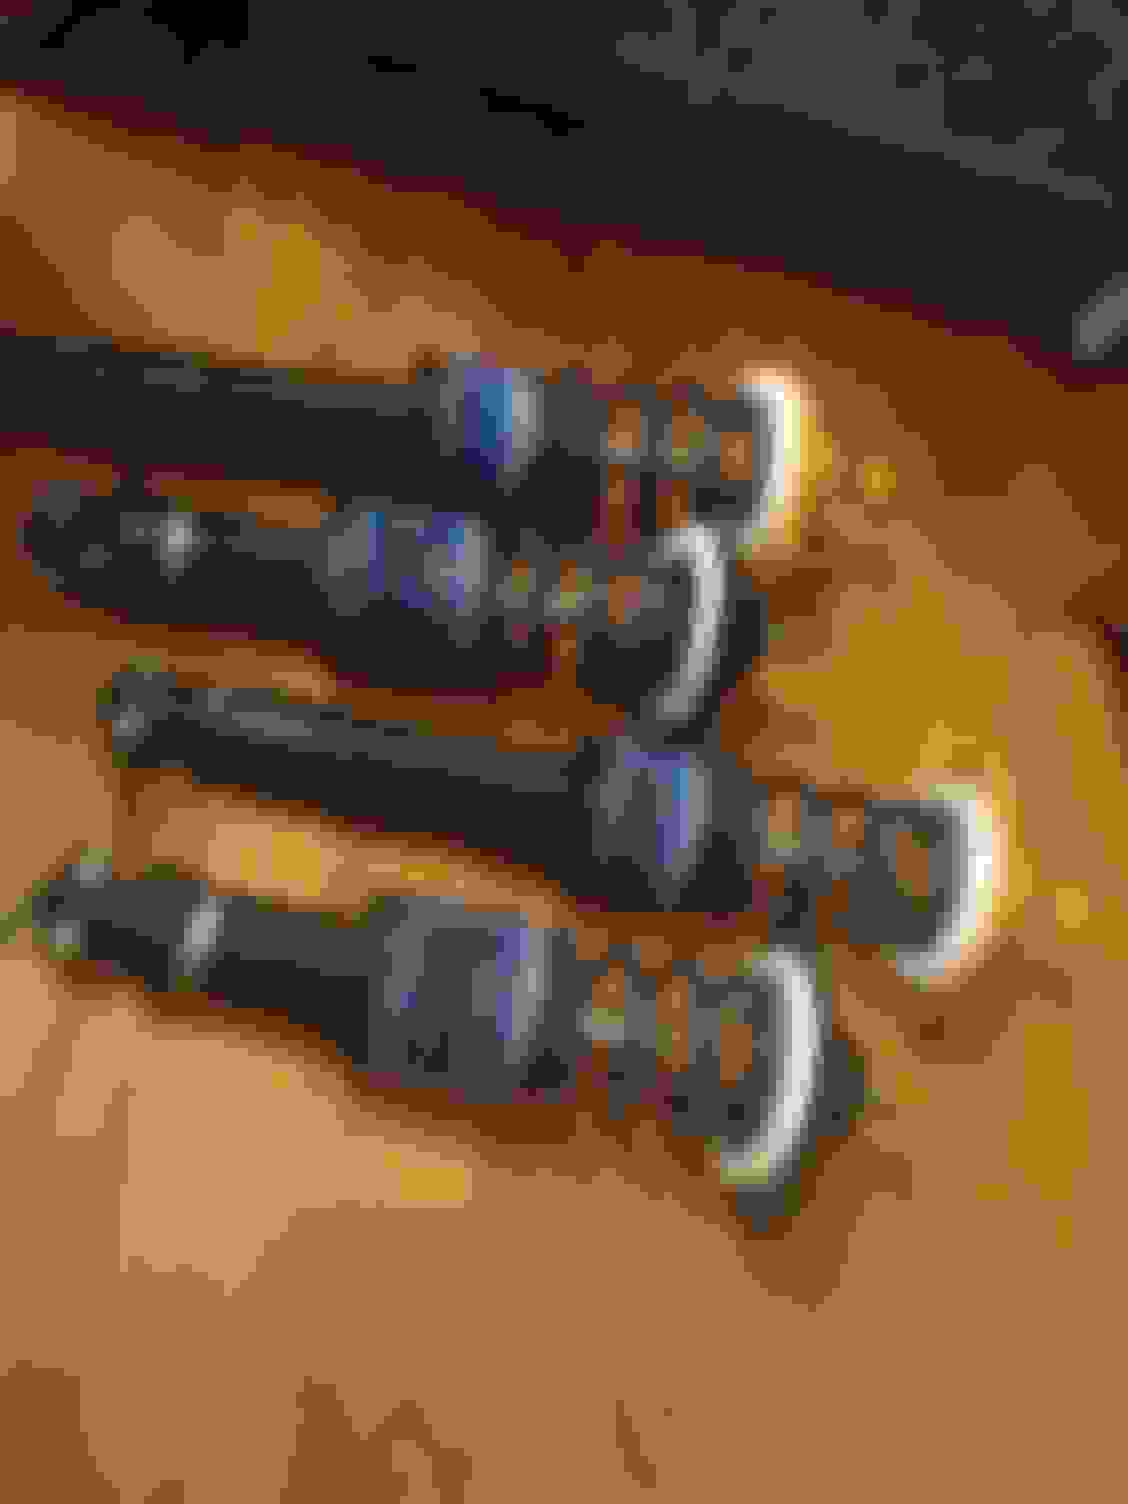
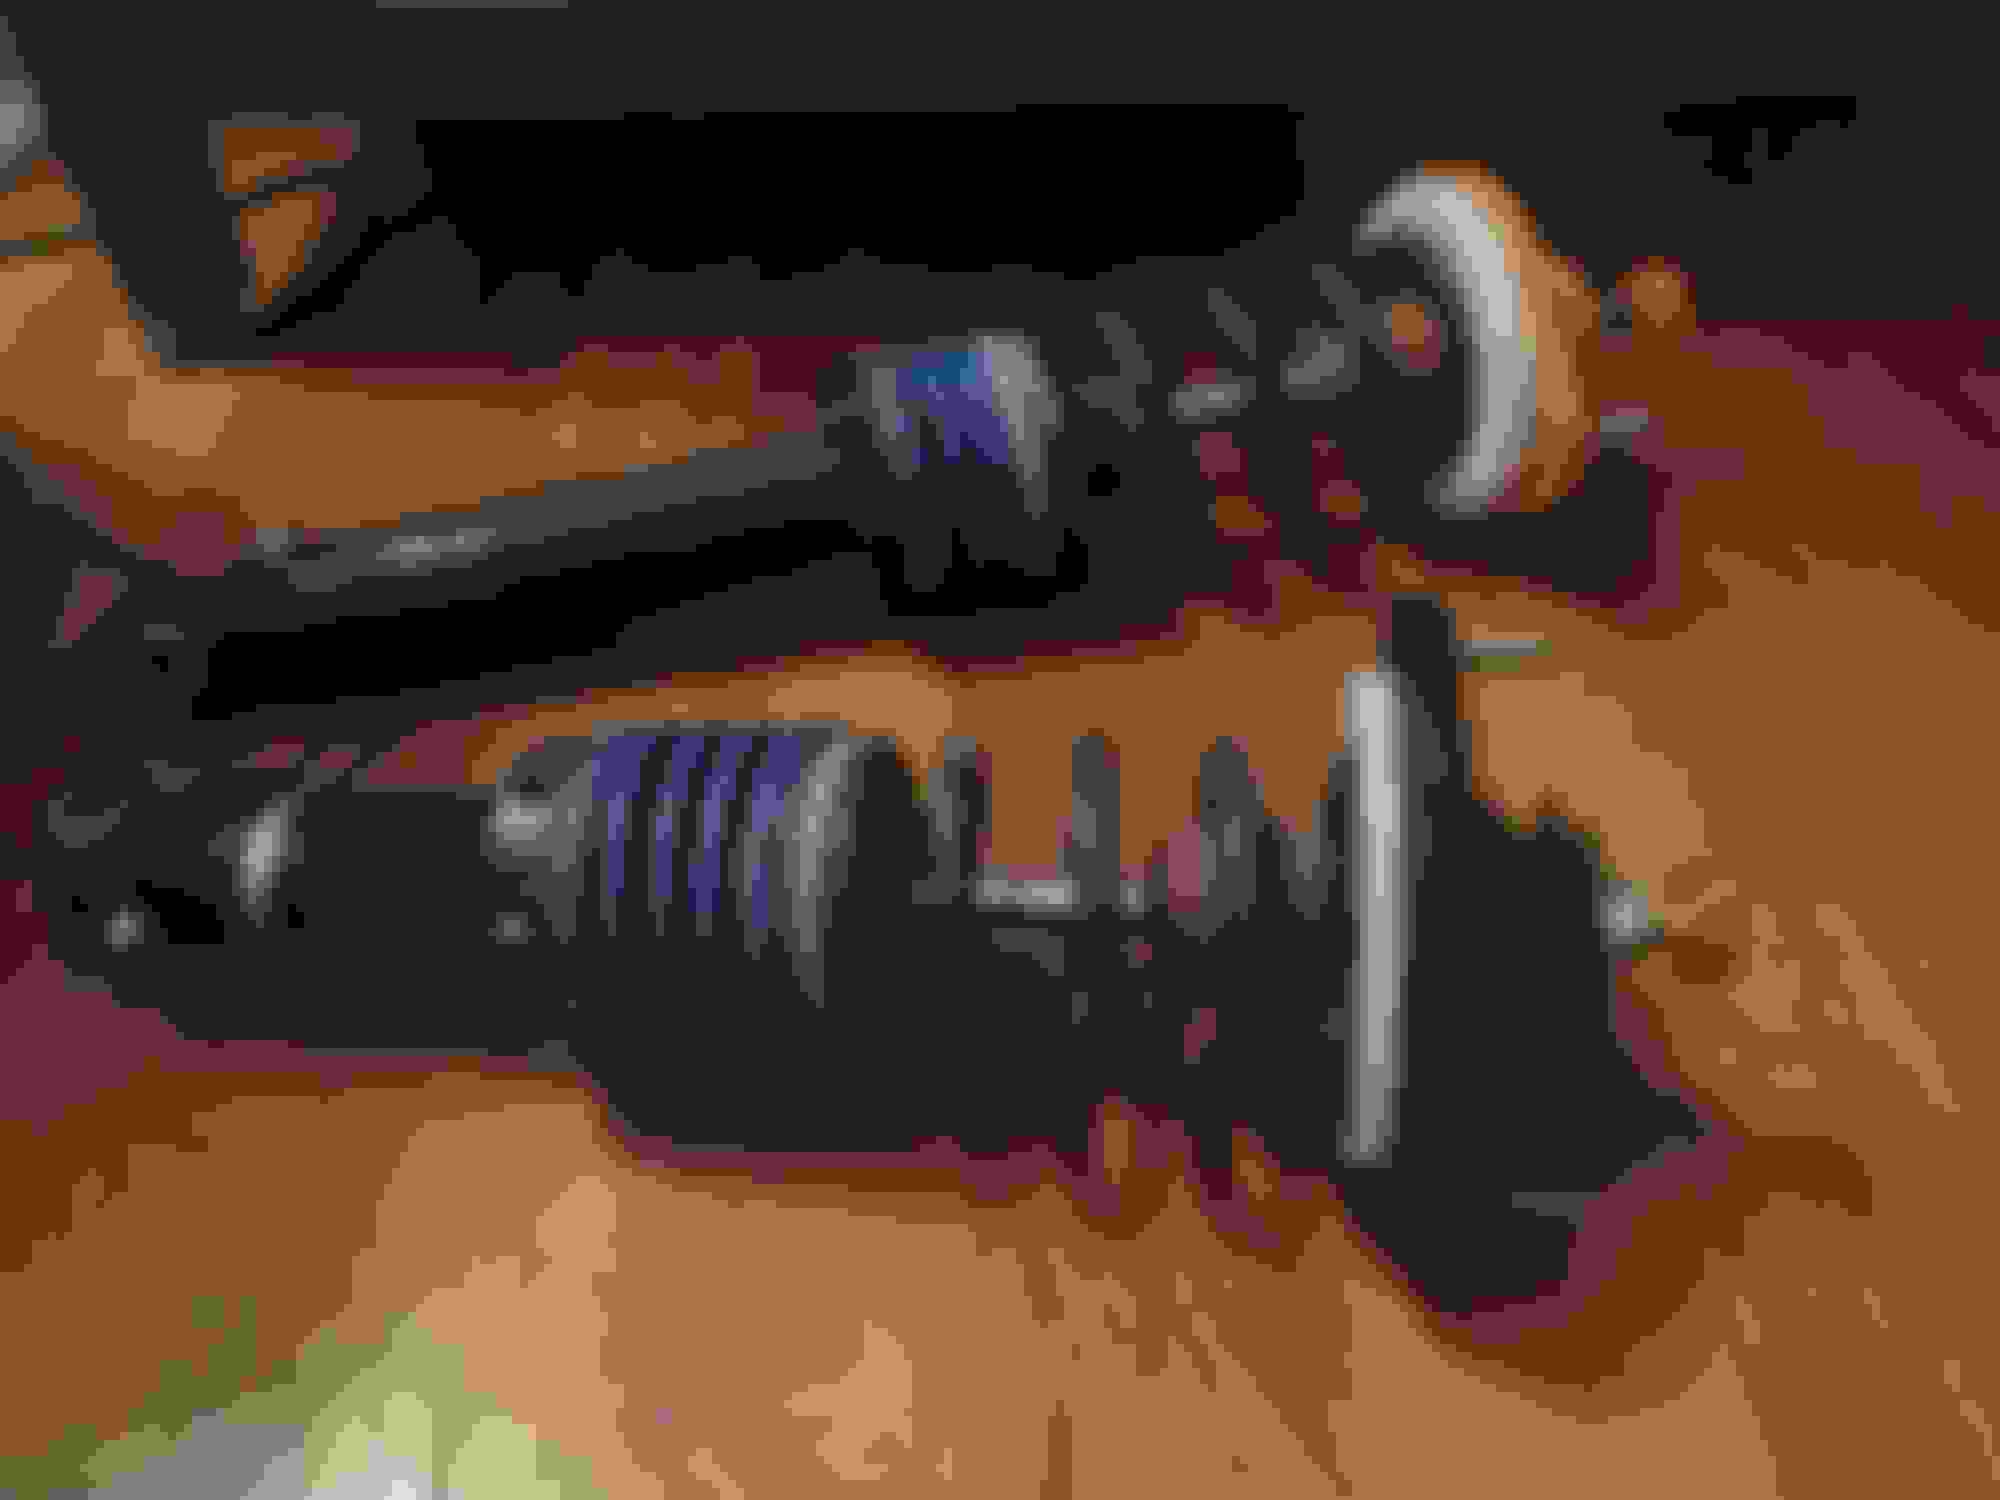
I also managed to sell my VVT head and the diff housing that came off the torsn, so that eases the pain on these fellas that came from the Mental partout SO MUCH ORANG
Basic specs - as per the listing, last rebuilt ~<5000 miles ago, 550/350 spring rates. These are the Gen 1 AST based units.
I'm gonna grab a set of shock condoms to try and keep em as minty fresh as possible, as a rebuild was quoted as 275 per corner from the current service guys, which is a little spicy so I'd rather avoid that if at all possible.
 12-20-2021, 02:14 PM


 0
0