
Not exactly sure where this is going but


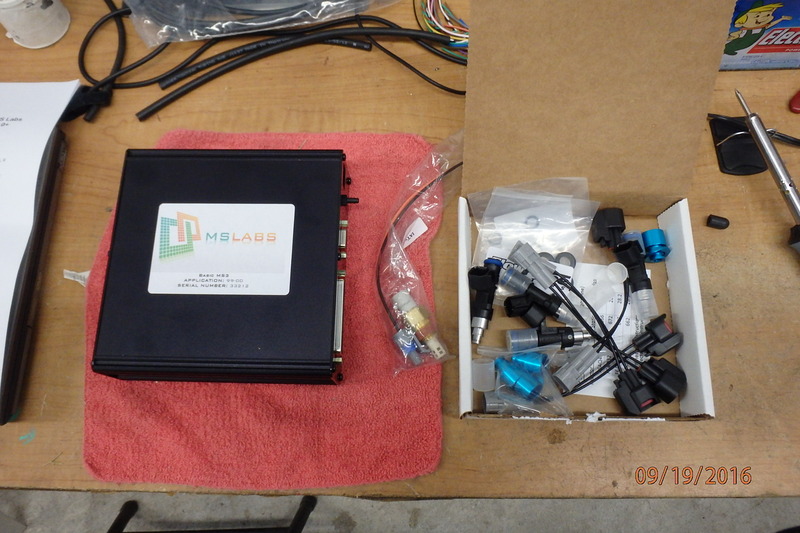
starting with a MS3 from Rev and Flow Force injectors from TSE. I really enjoy a fast throttle response so maybe s/c or small turbo.
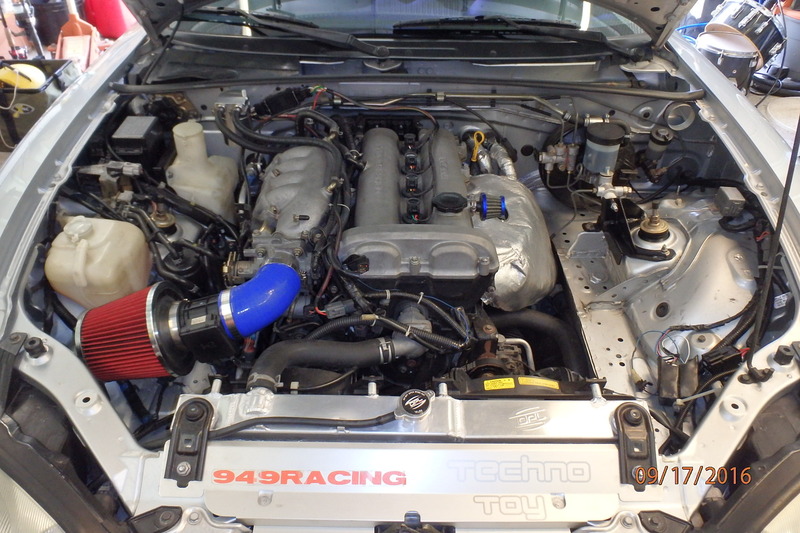
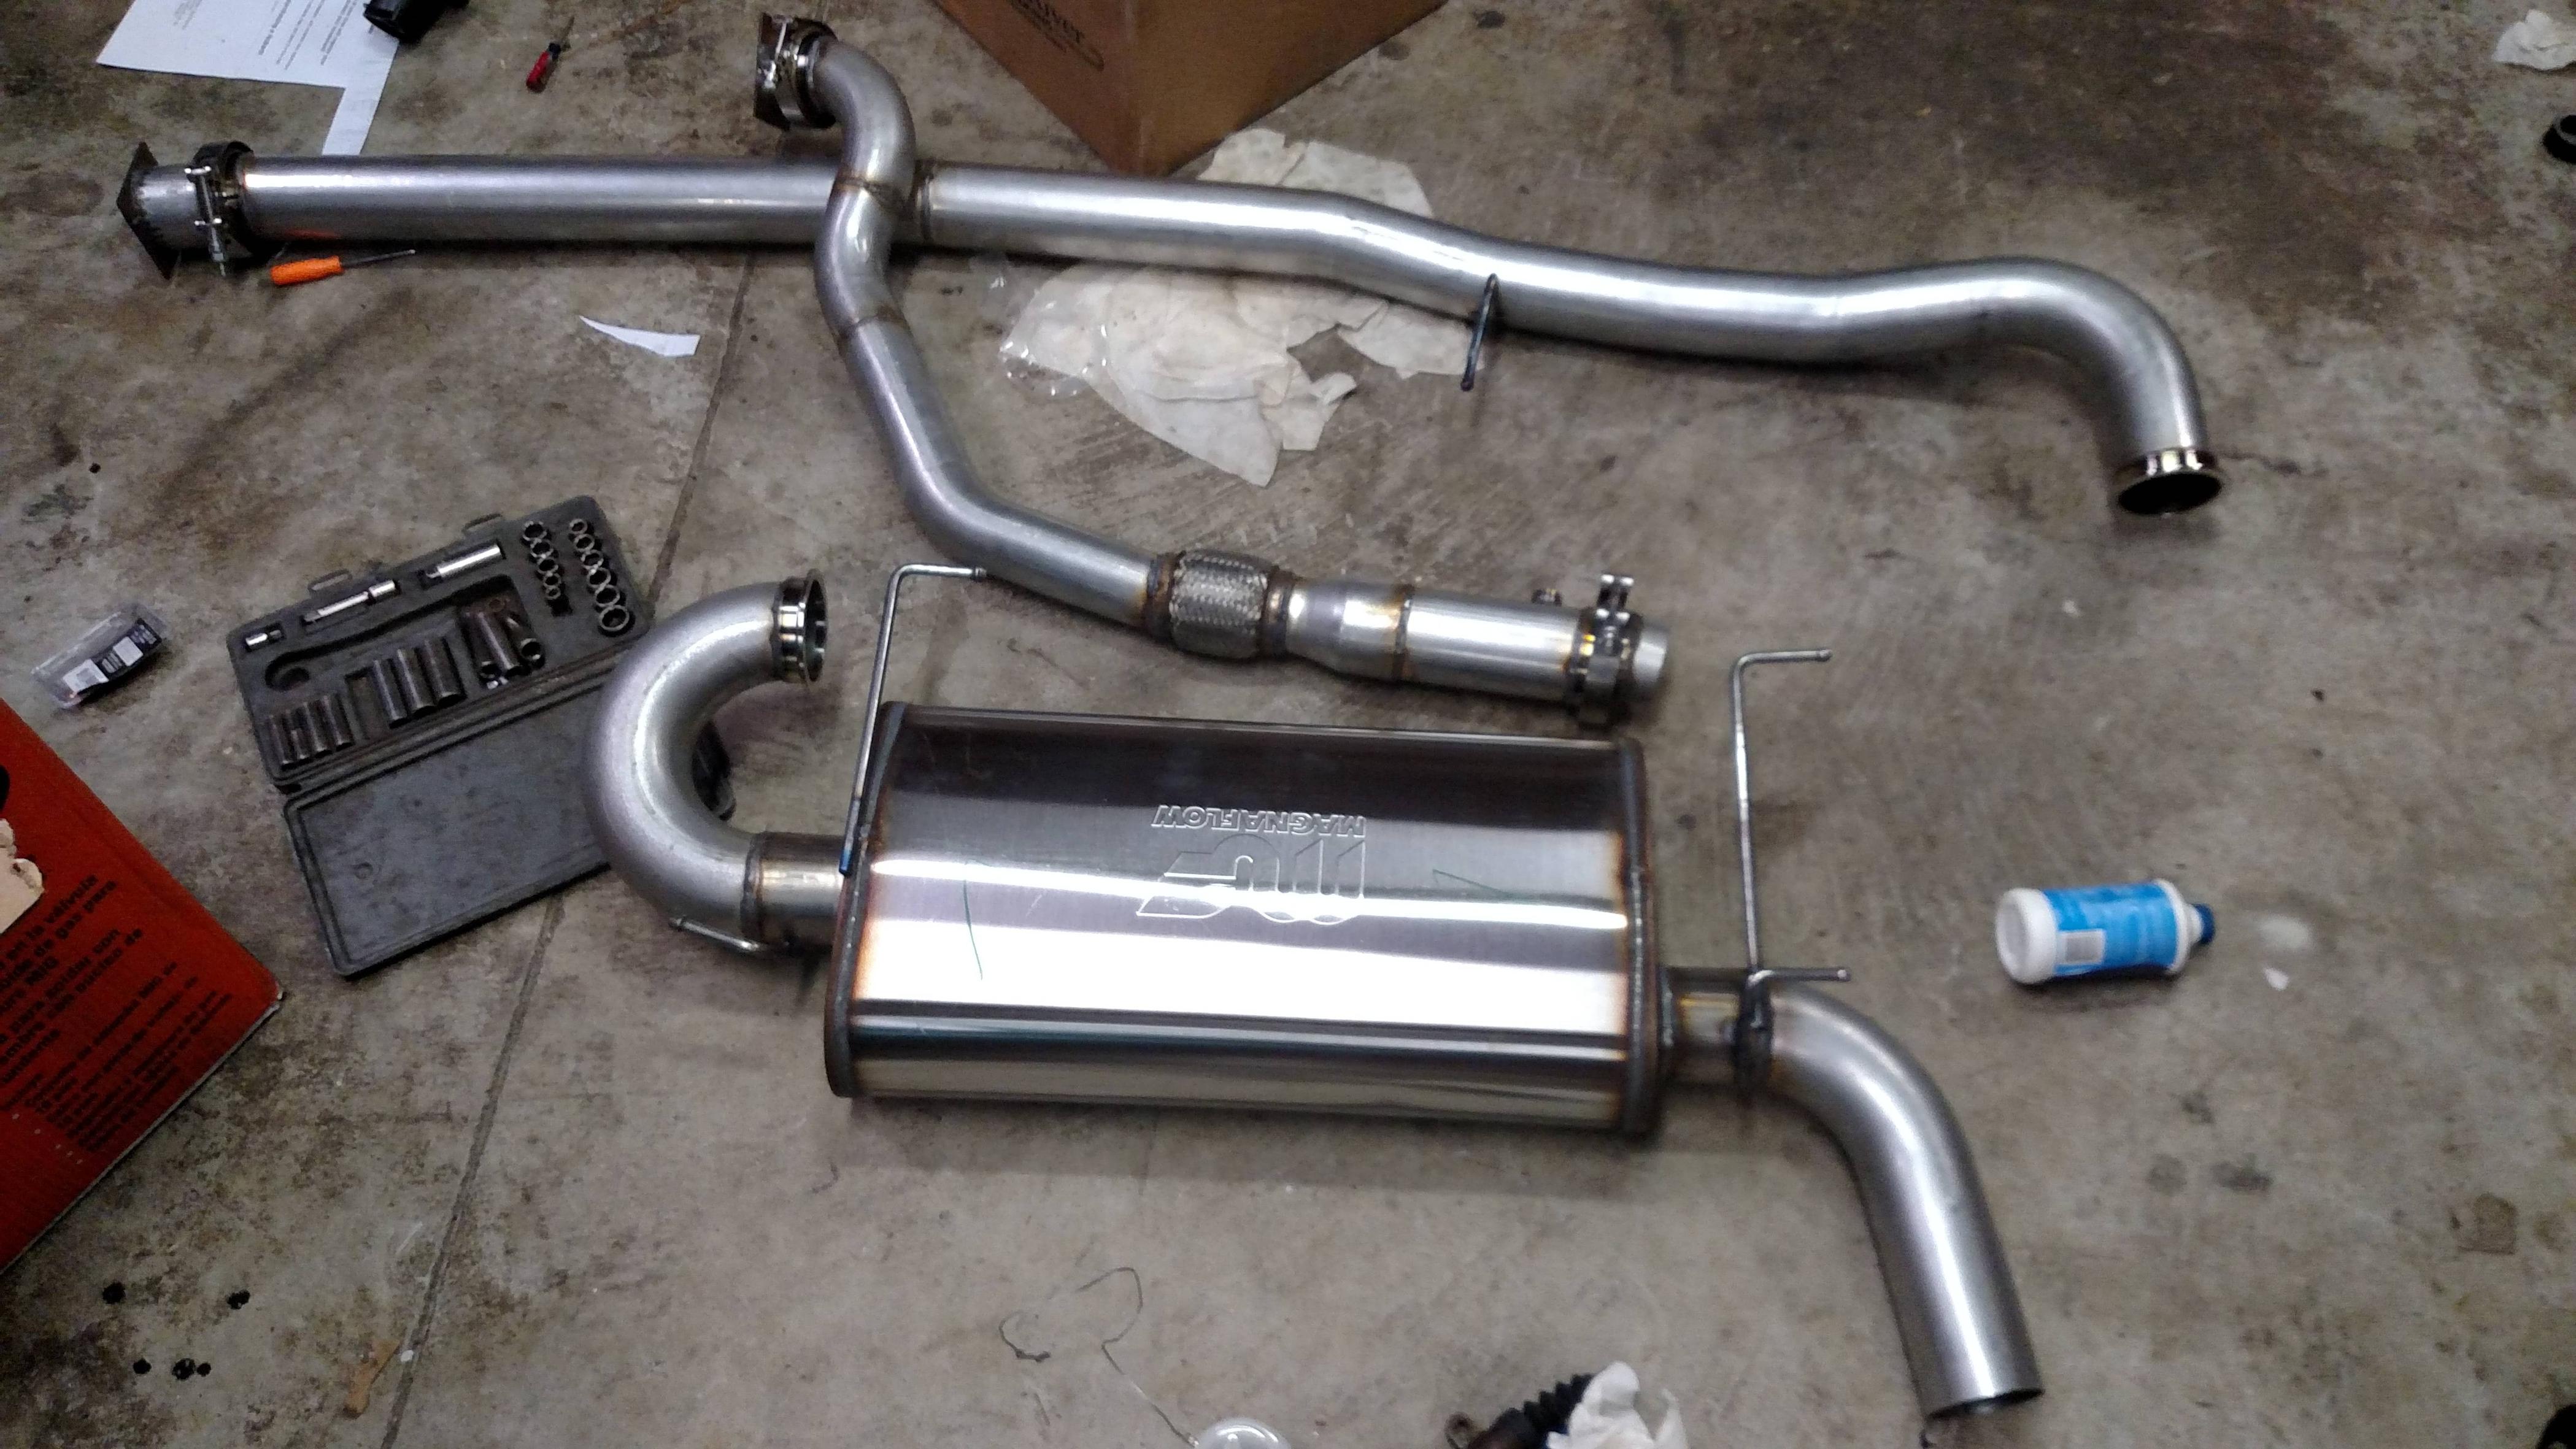
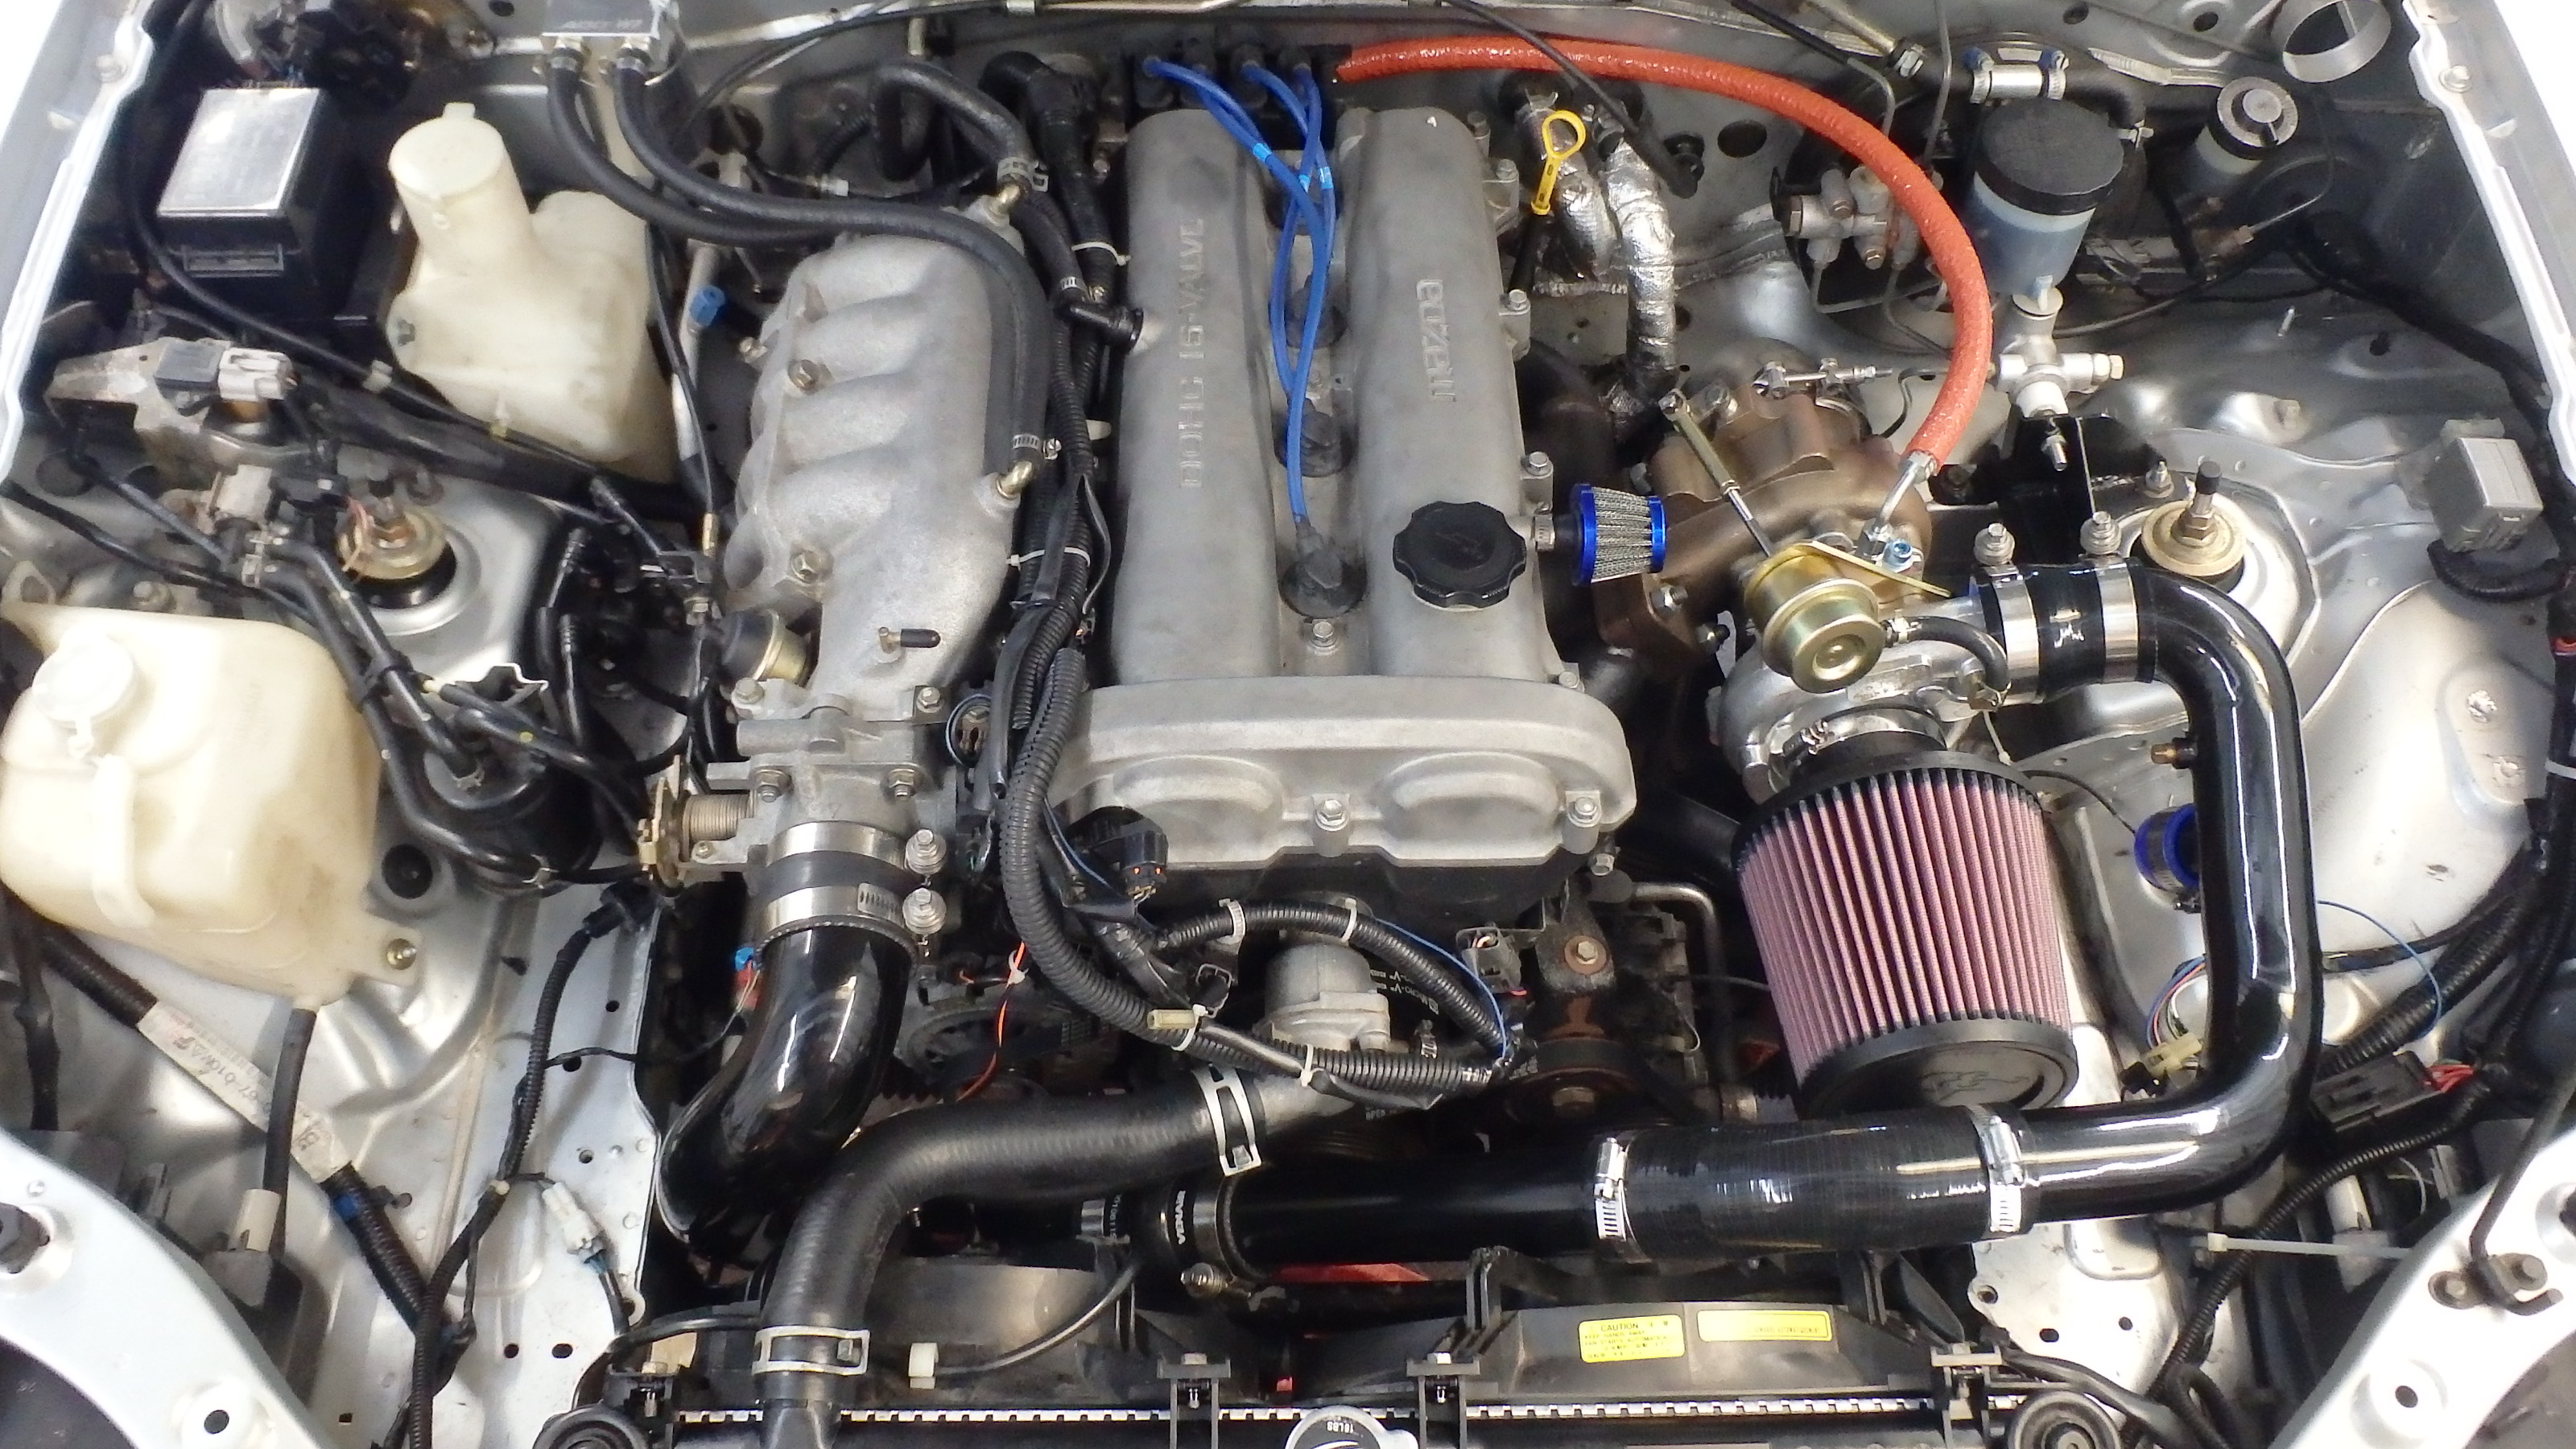
Current set-up with RB header, BP5A cam, catless but resonated mid pipe, RS3 exhaust, 949 1.6 clutch and LWFW, and Fab 9 cops...
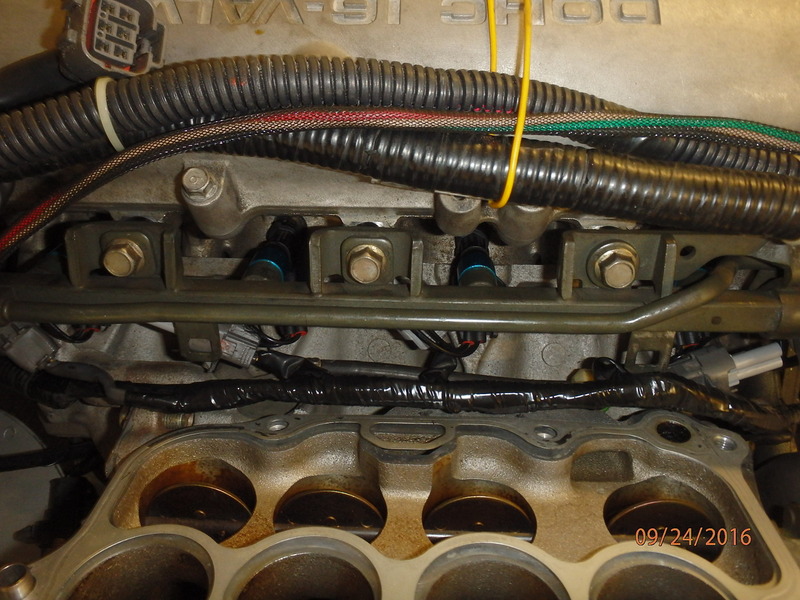
After getting rid of the plastic box holding the wiring harness, injector installation was a breeze.
GM IAT installed in place of the OEM sensor.
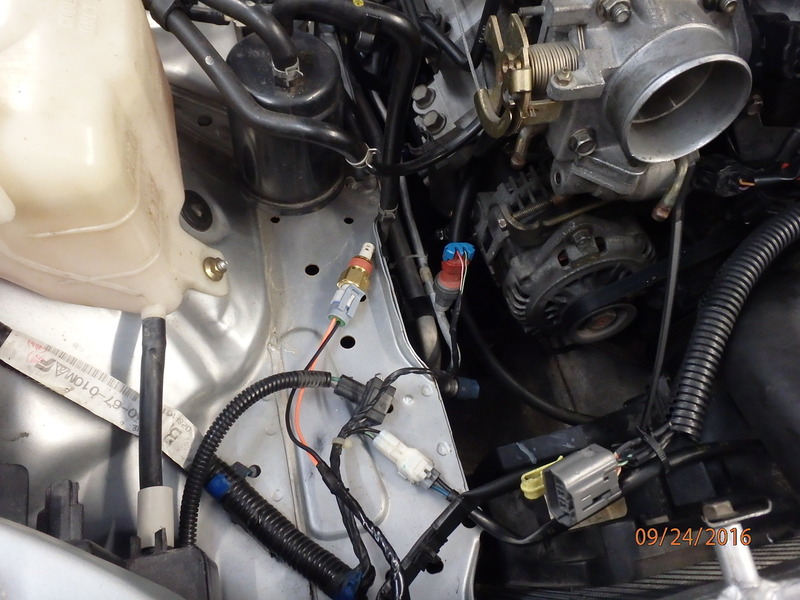
Wideband wired into the MS3 connector.
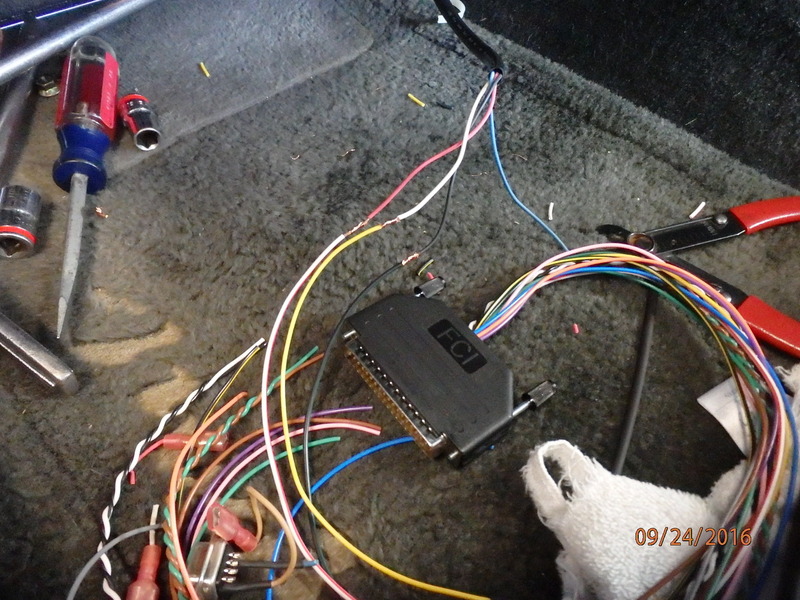
Not a lot of room for the much bigger MS3 ecu. Ugh

Current set-up with RB header, BP5A cam, catless but resonated mid pipe, RS3 exhaust, 949 1.6 clutch and LWFW, and Fab 9 cops...

After getting rid of the plastic box holding the wiring harness, injector installation was a breeze.

GM IAT installed in place of the OEM sensor.

Wideband wired into the MS3 connector.

Not a lot of room for the much bigger MS3 ecu. Ugh

Reply
 0
0

0
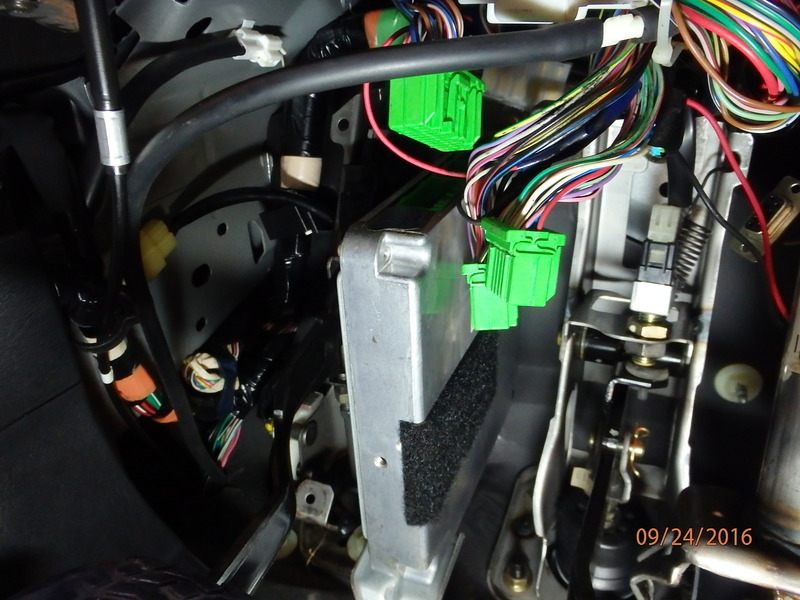
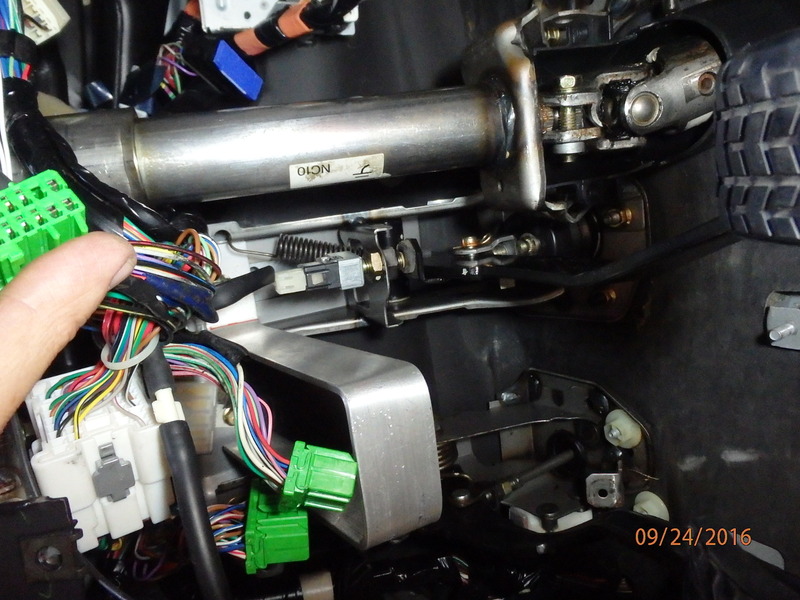
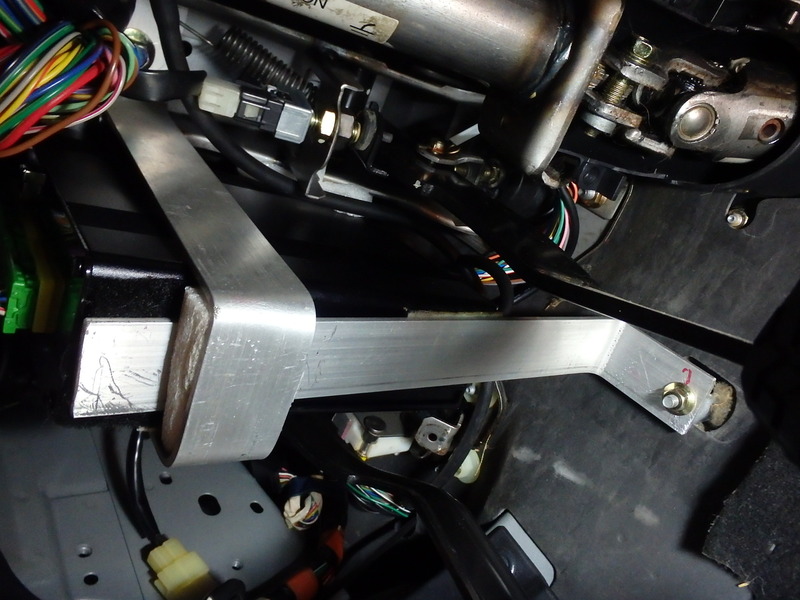
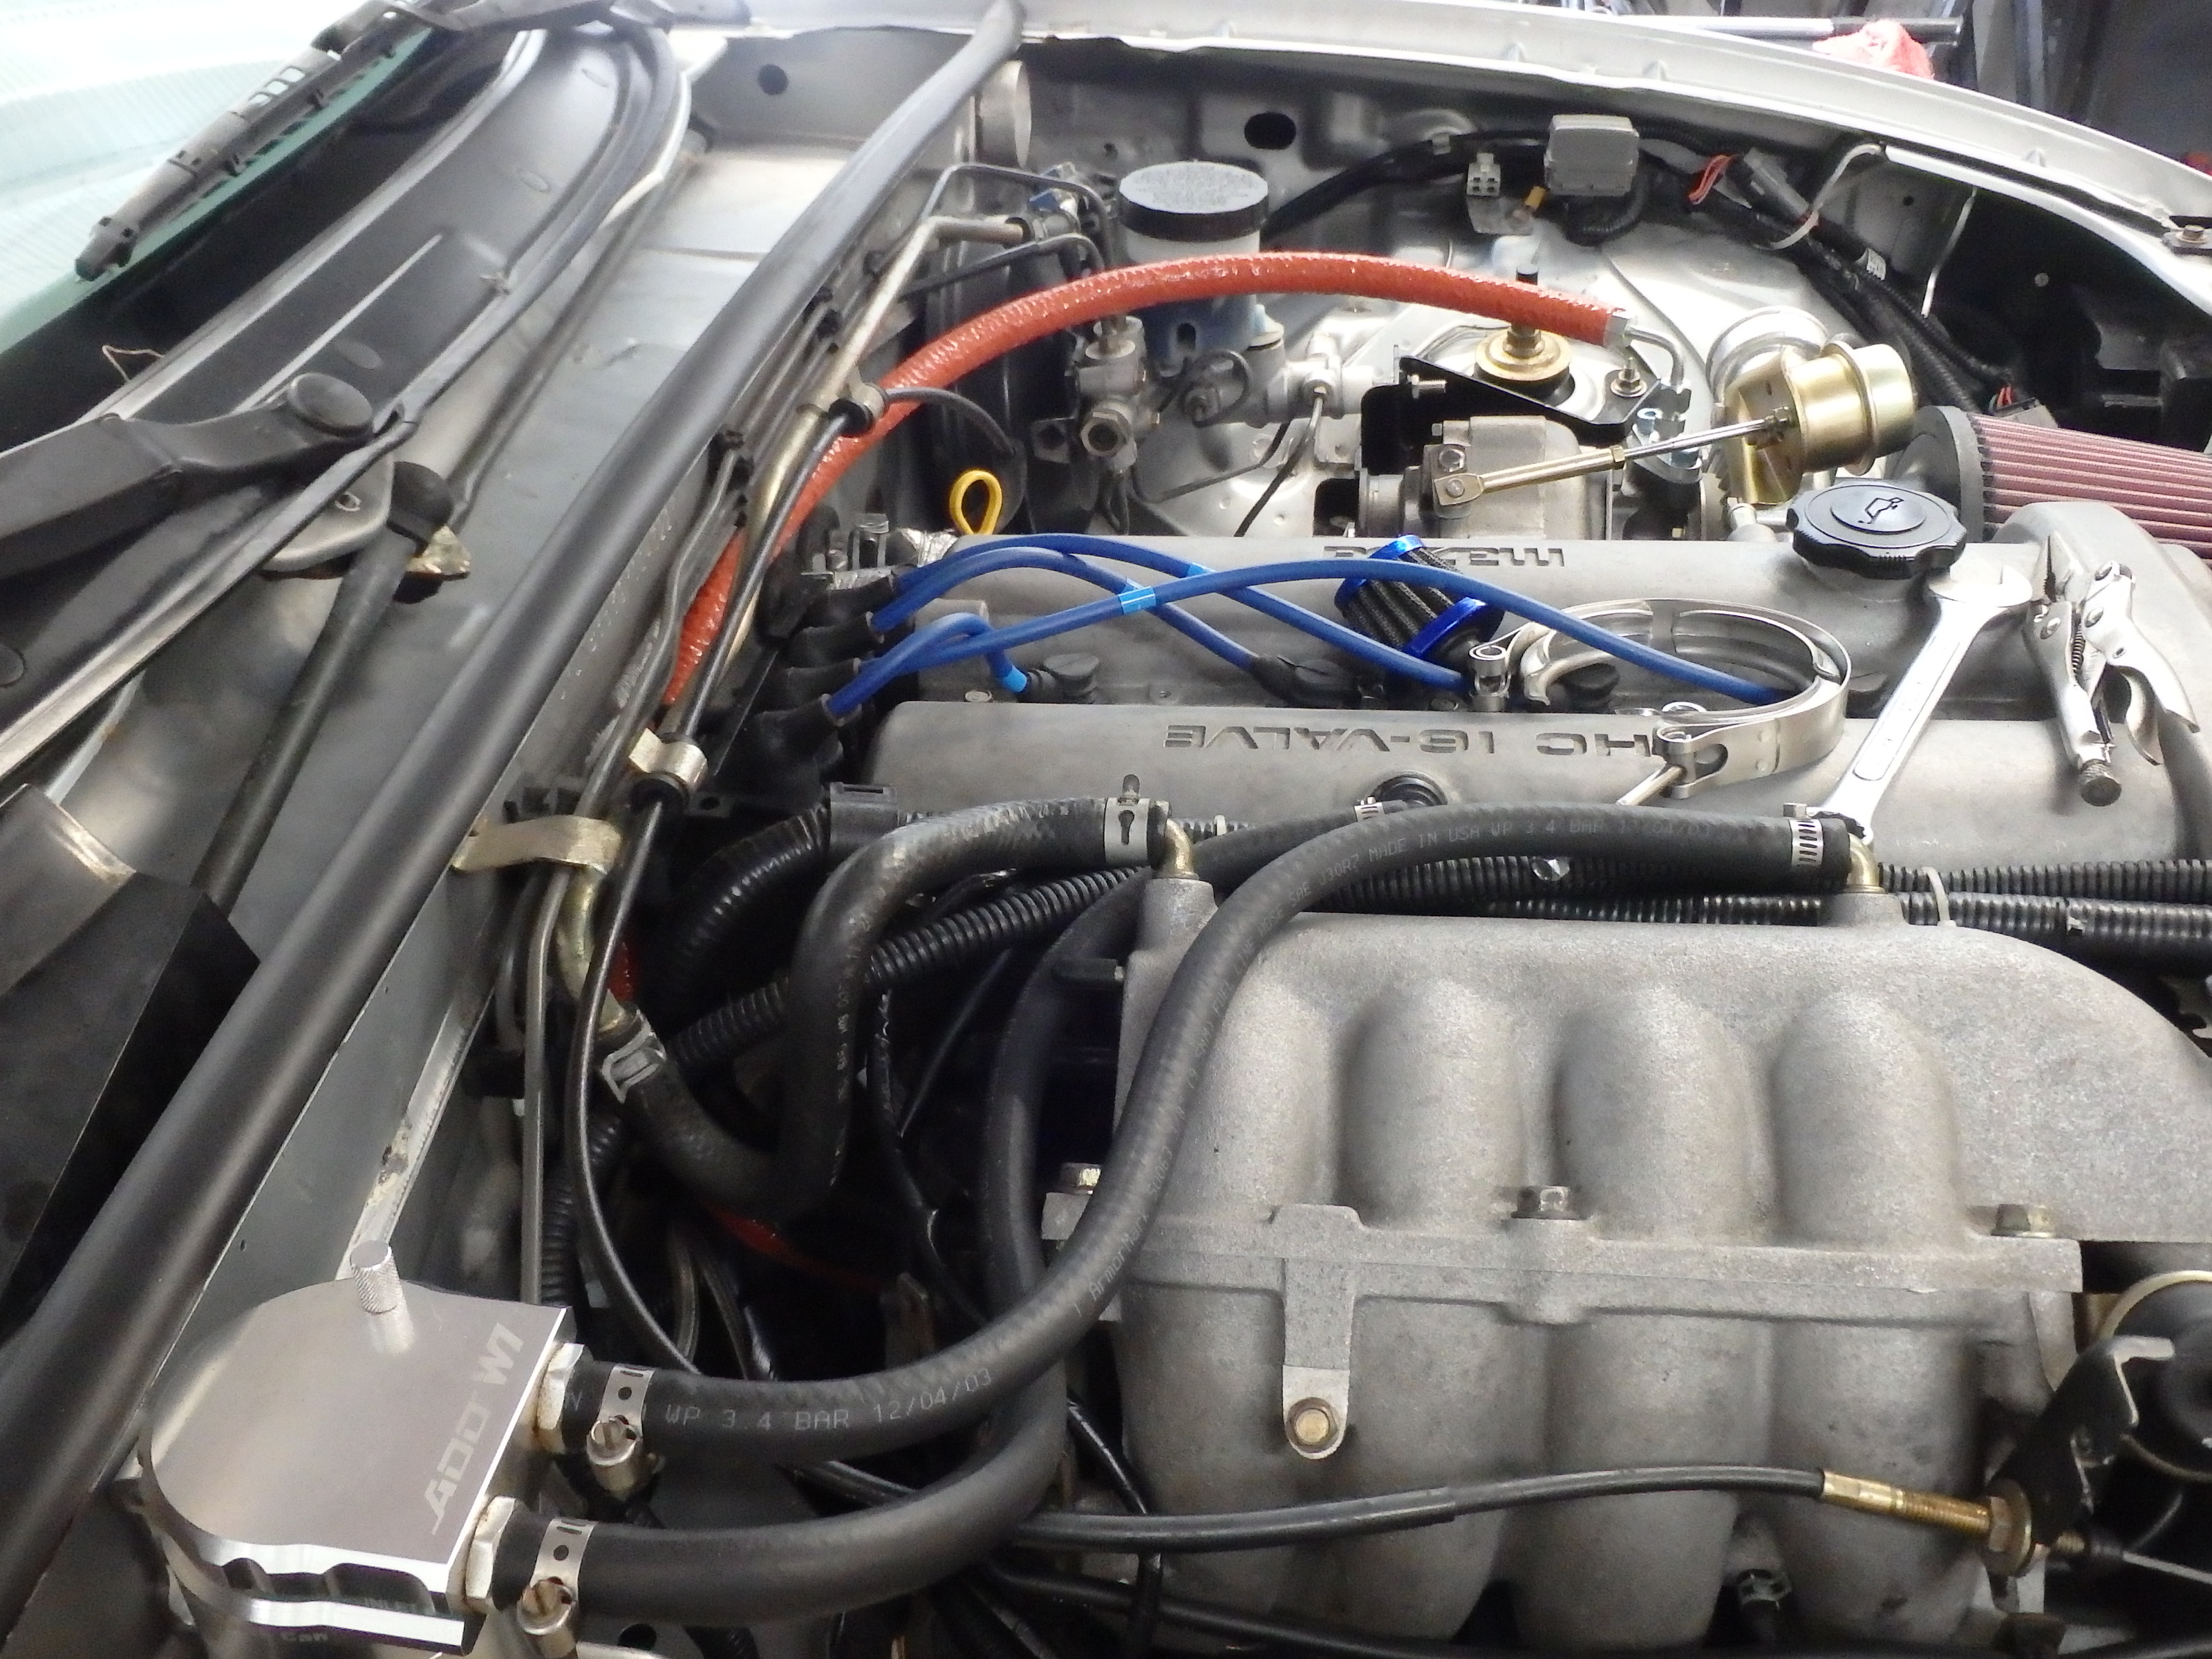
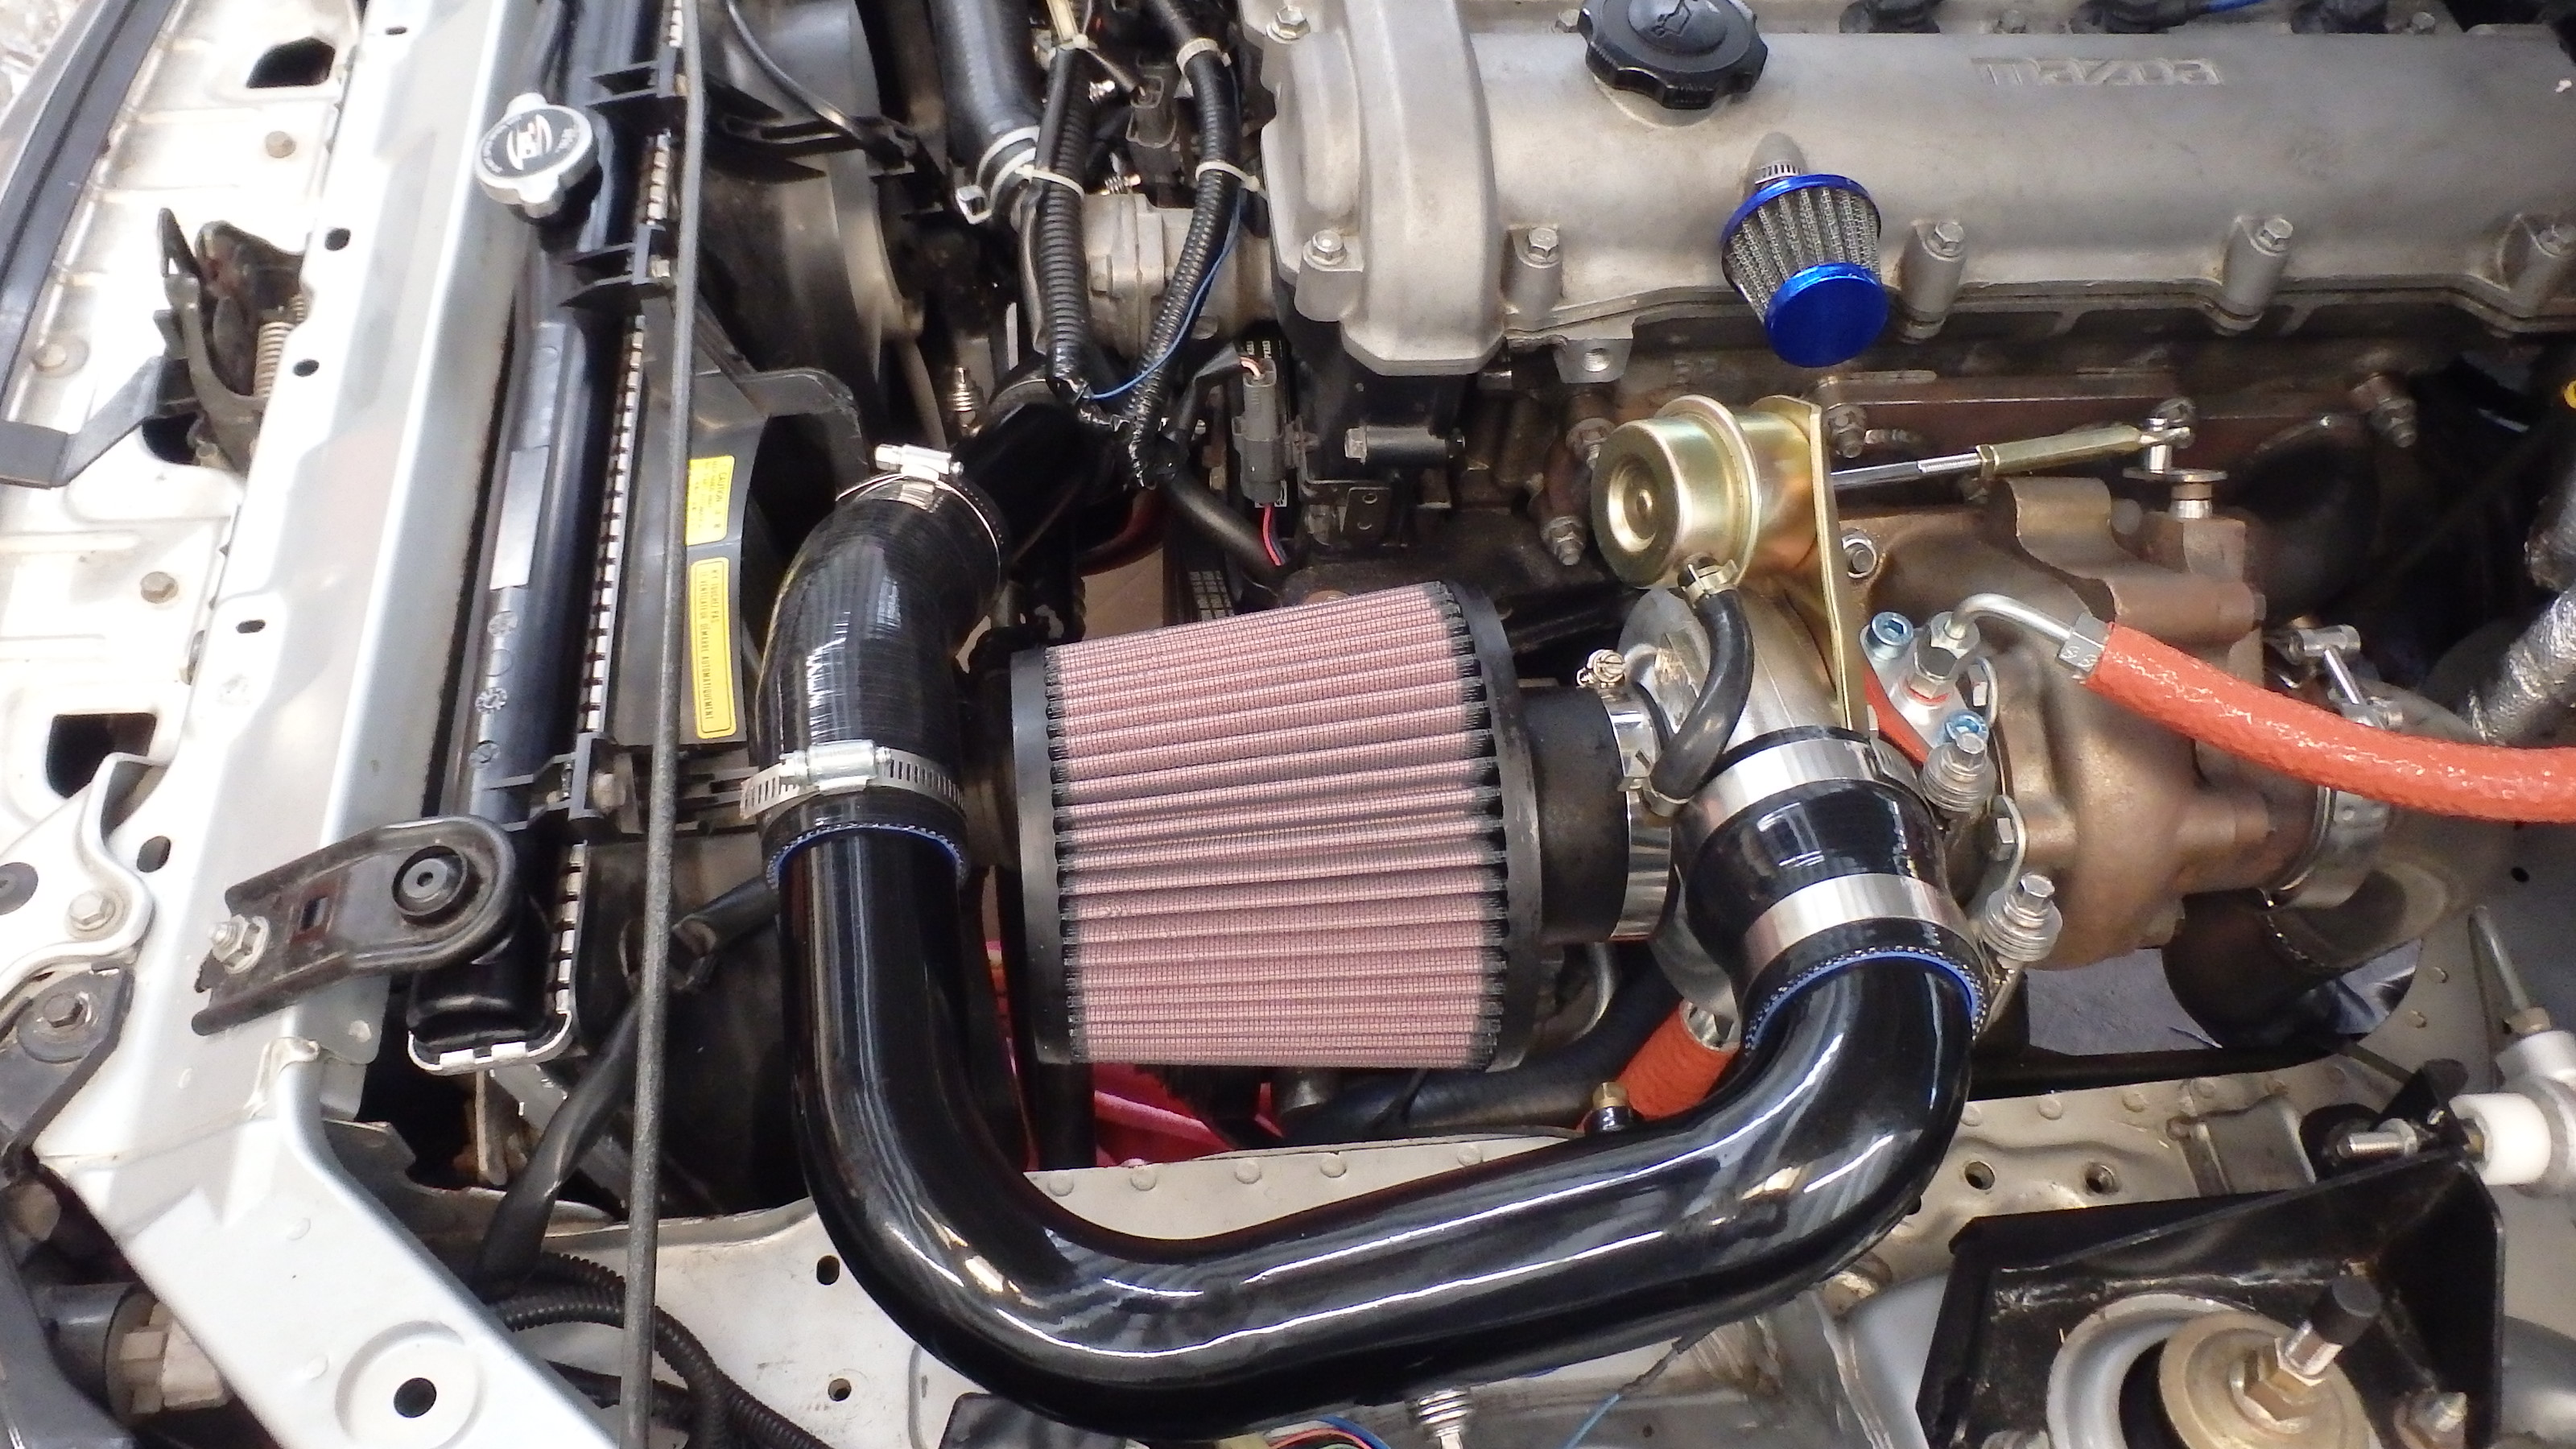
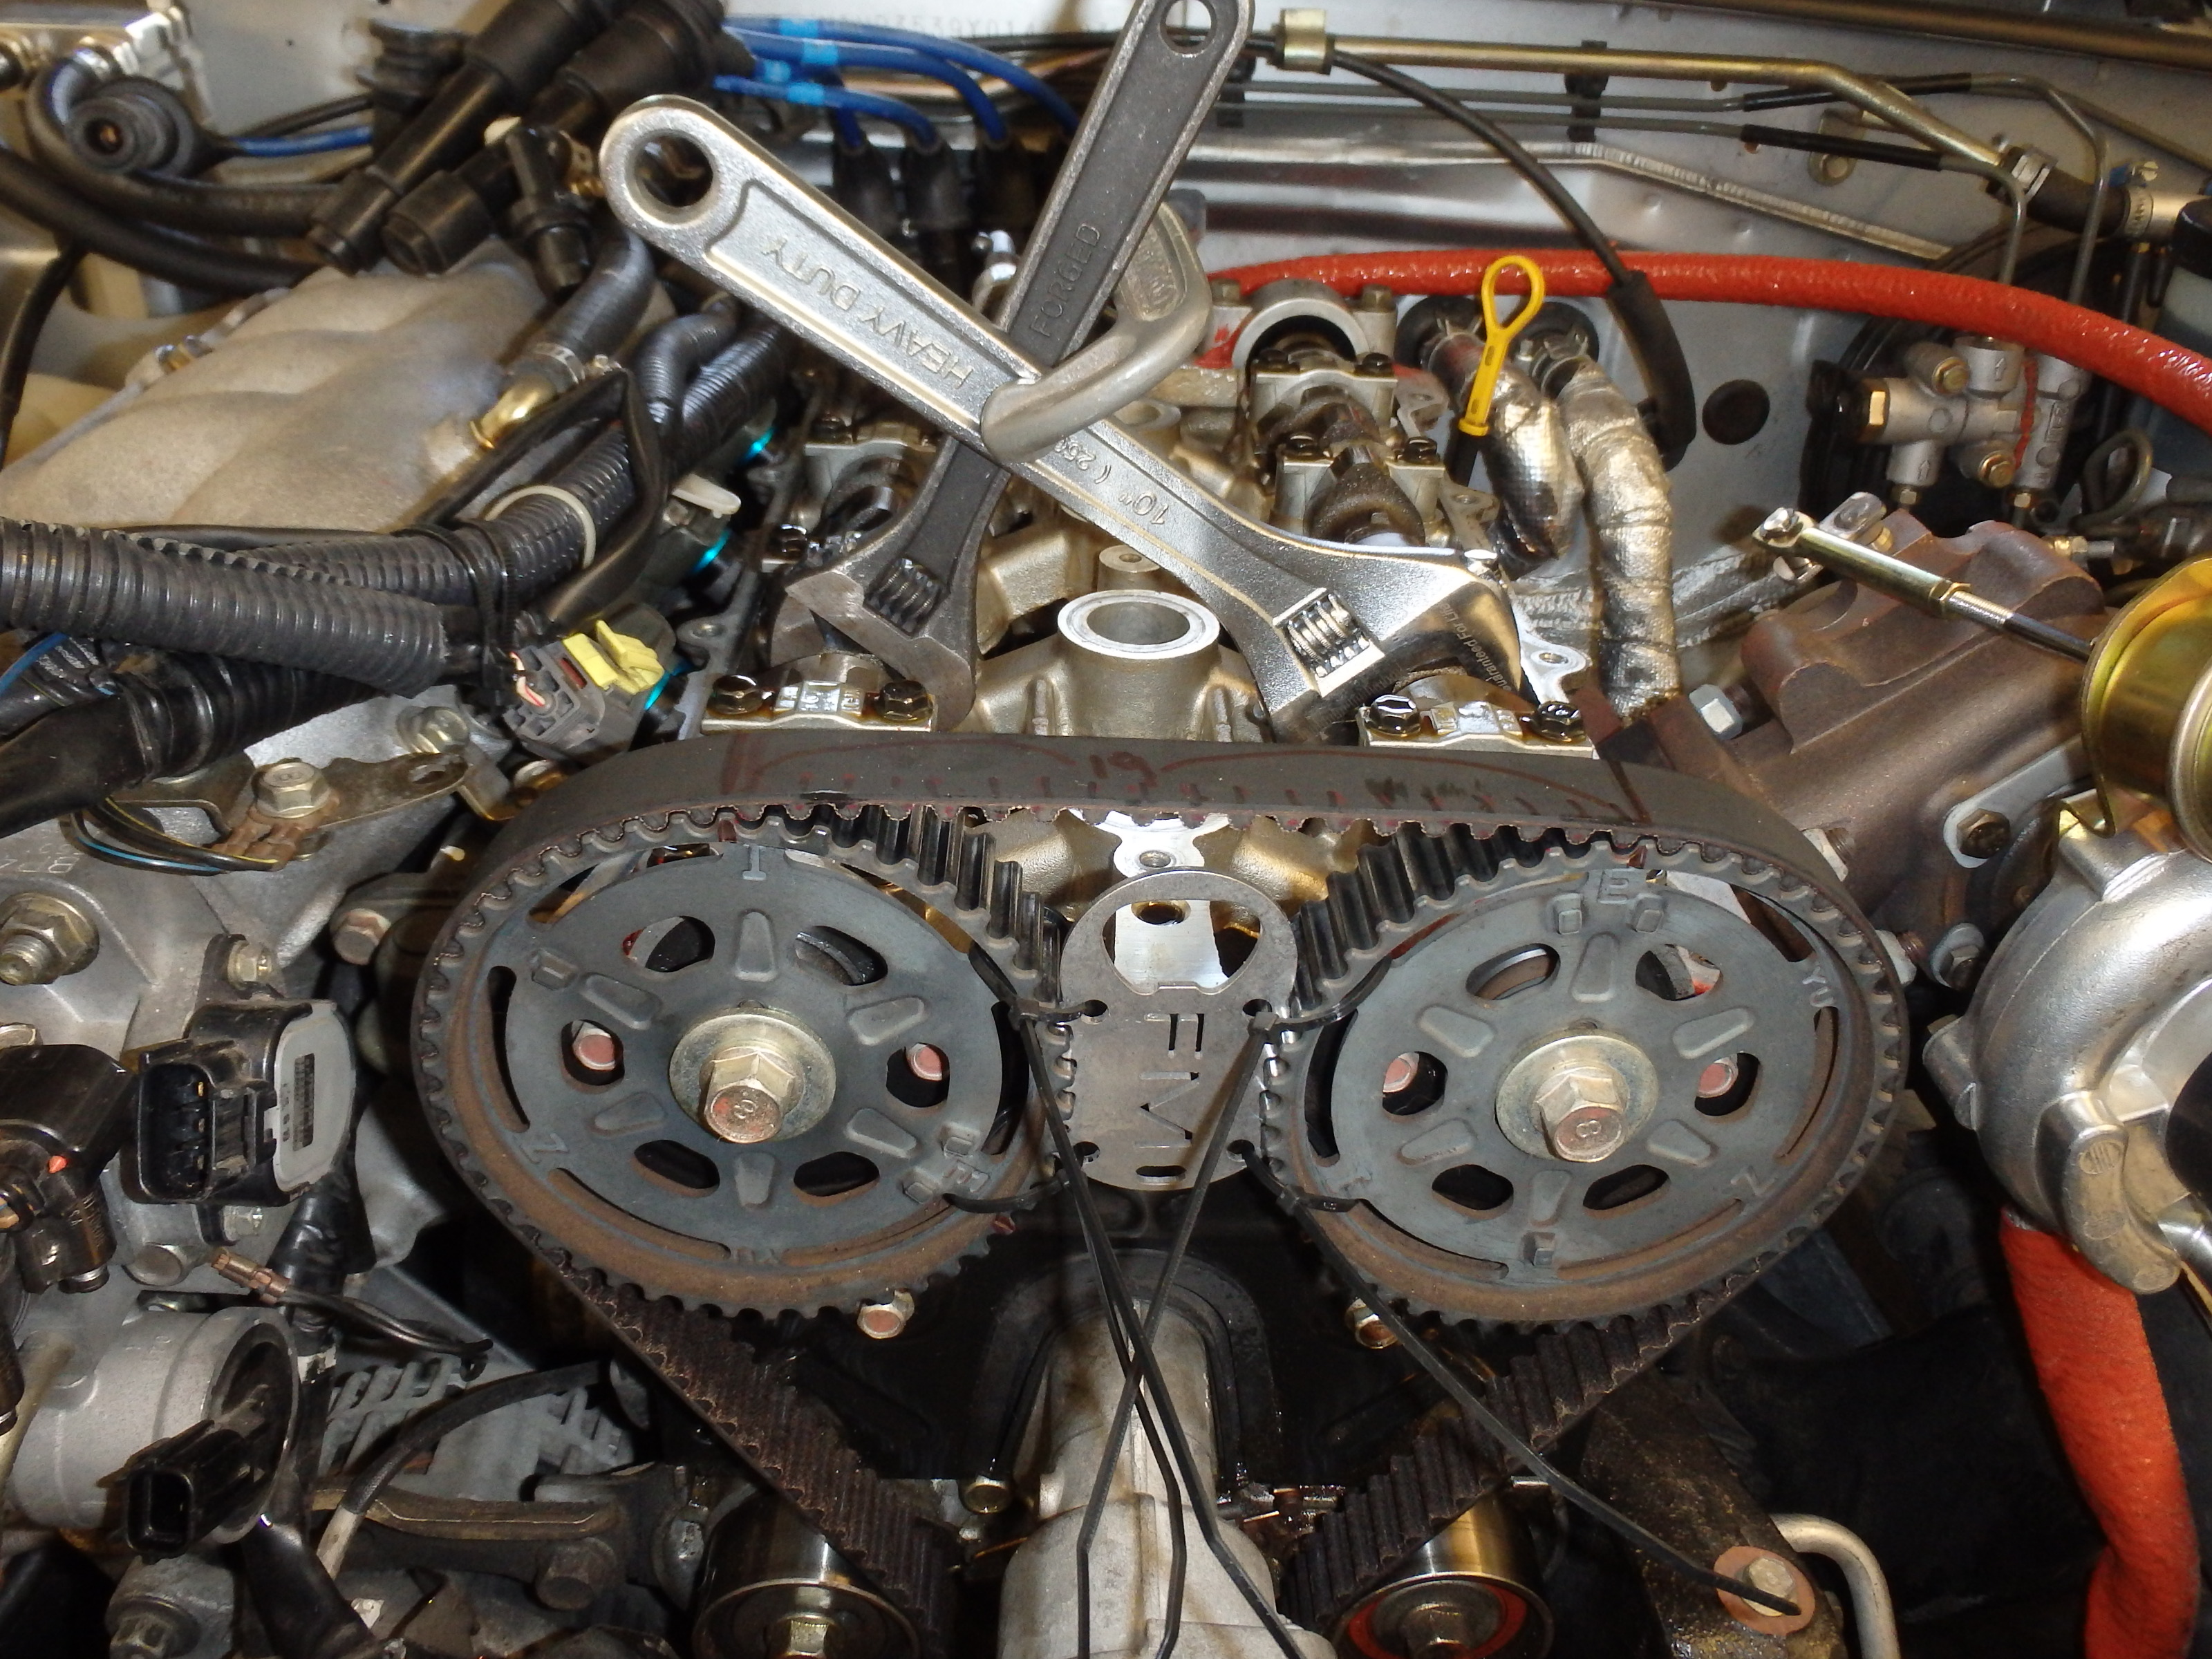
Not the prettiest installation but it works.
First start. Base map was good enough to get the car on road. Nice work MSLabs.

http://vid16.photobucket.com/albums/...pspn4dxta9.mp4


First start. Base map was good enough to get the car on road. Nice work MSLabs.
http://vid16.photobucket.com/albums/...pspn4dxta9.mp4
Reply
0
0


I got your axle back done and its on my build car. Will be working on the rest of the exhaust sometime over the next week. I also started cutting up pieces for the manifold.
Reply
0
0

Oh hey! I sold my SV to buy the miata. Miss that bike!
How did you figure out the intercooler piping? Did you just measure the path and clearances or buy a kit and cut it down?
Where are you located?
Can't wait to see how your build turns out. I'm jealous of your exhaust setup! Lars does sick work.
How did you figure out the intercooler piping? Did you just measure the path and clearances or buy a kit and cut it down?
Where are you located?
Can't wait to see how your build turns out. I'm jealous of your exhaust setup! Lars does sick work.
Reply
0
0
Sold the SV many years ago but have been itching for a new bike.
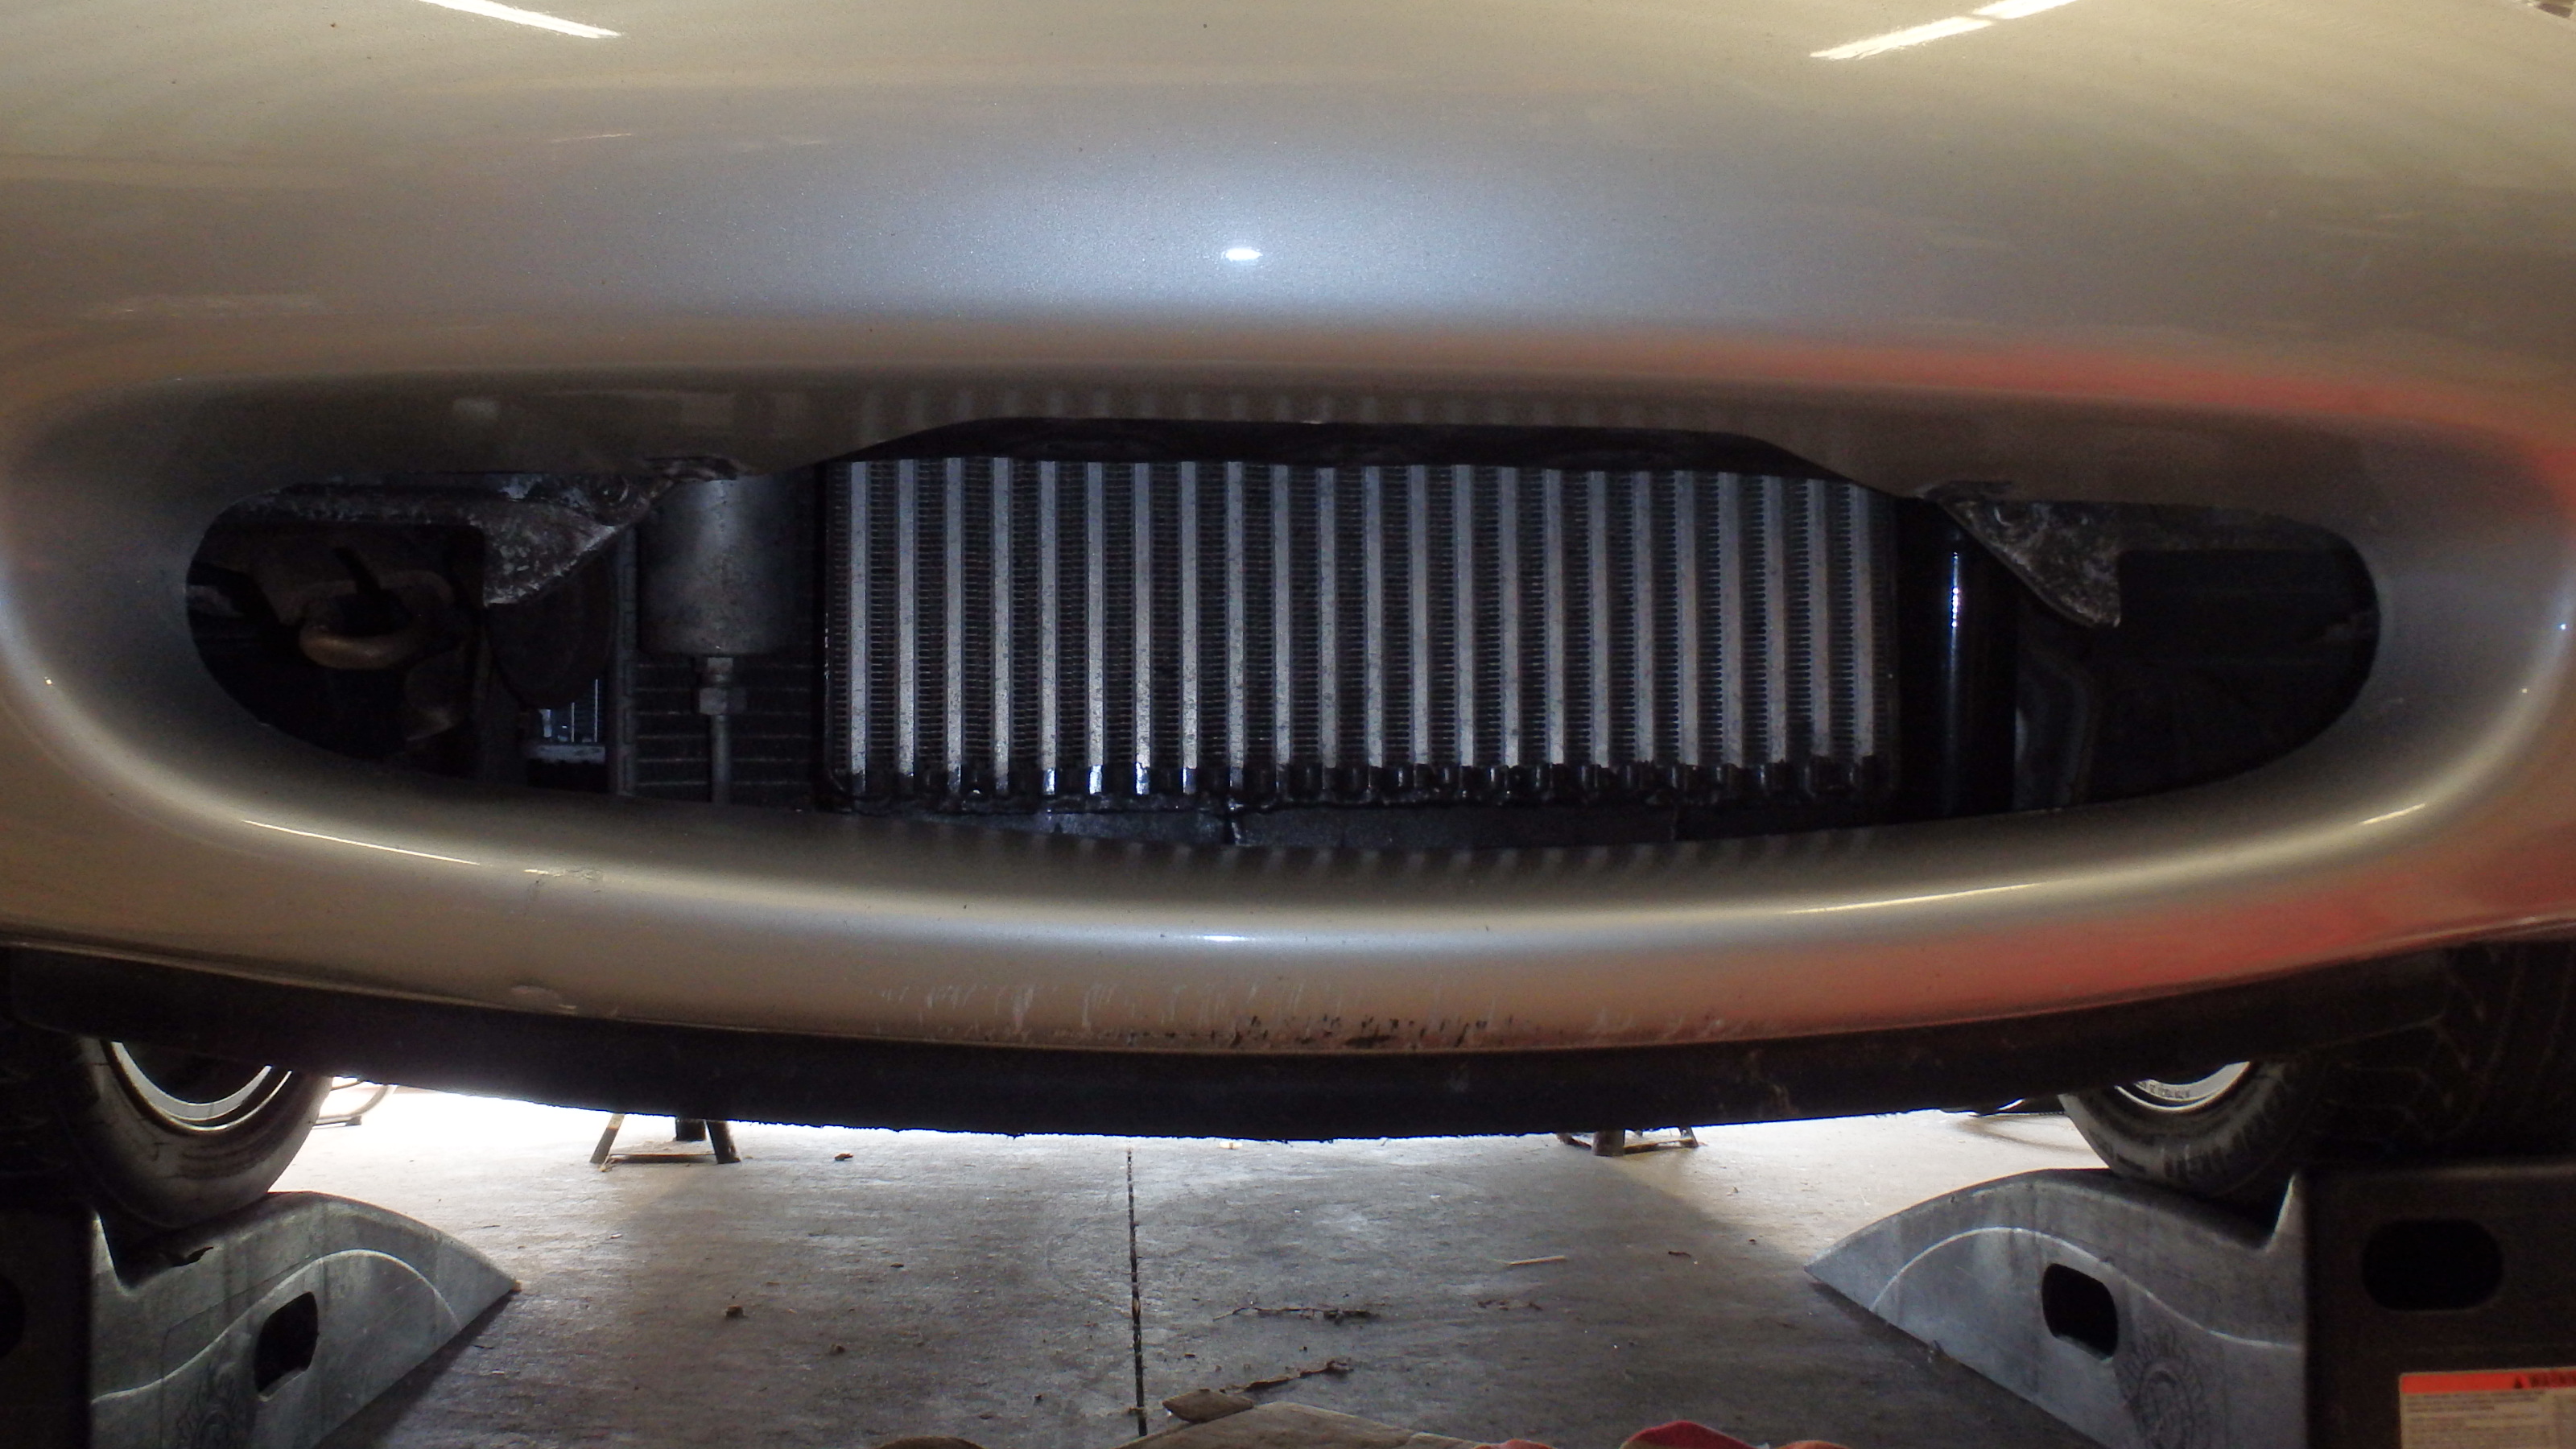
Intercooler and piping is from an older FM/Begi setup that I'm hoping will only require minor modifications to make work.
Great service from Lars. He drove all the way to my house in Florida to deliver the exhaust system. Lol.
Intercooler and piping is from an older FM/Begi setup that I'm hoping will only require minor modifications to make work.
Great service from Lars. He drove all the way to my house in Florida to deliver the exhaust system. Lol.
Reply
0
0
Reply
0
0
Reply
0
0
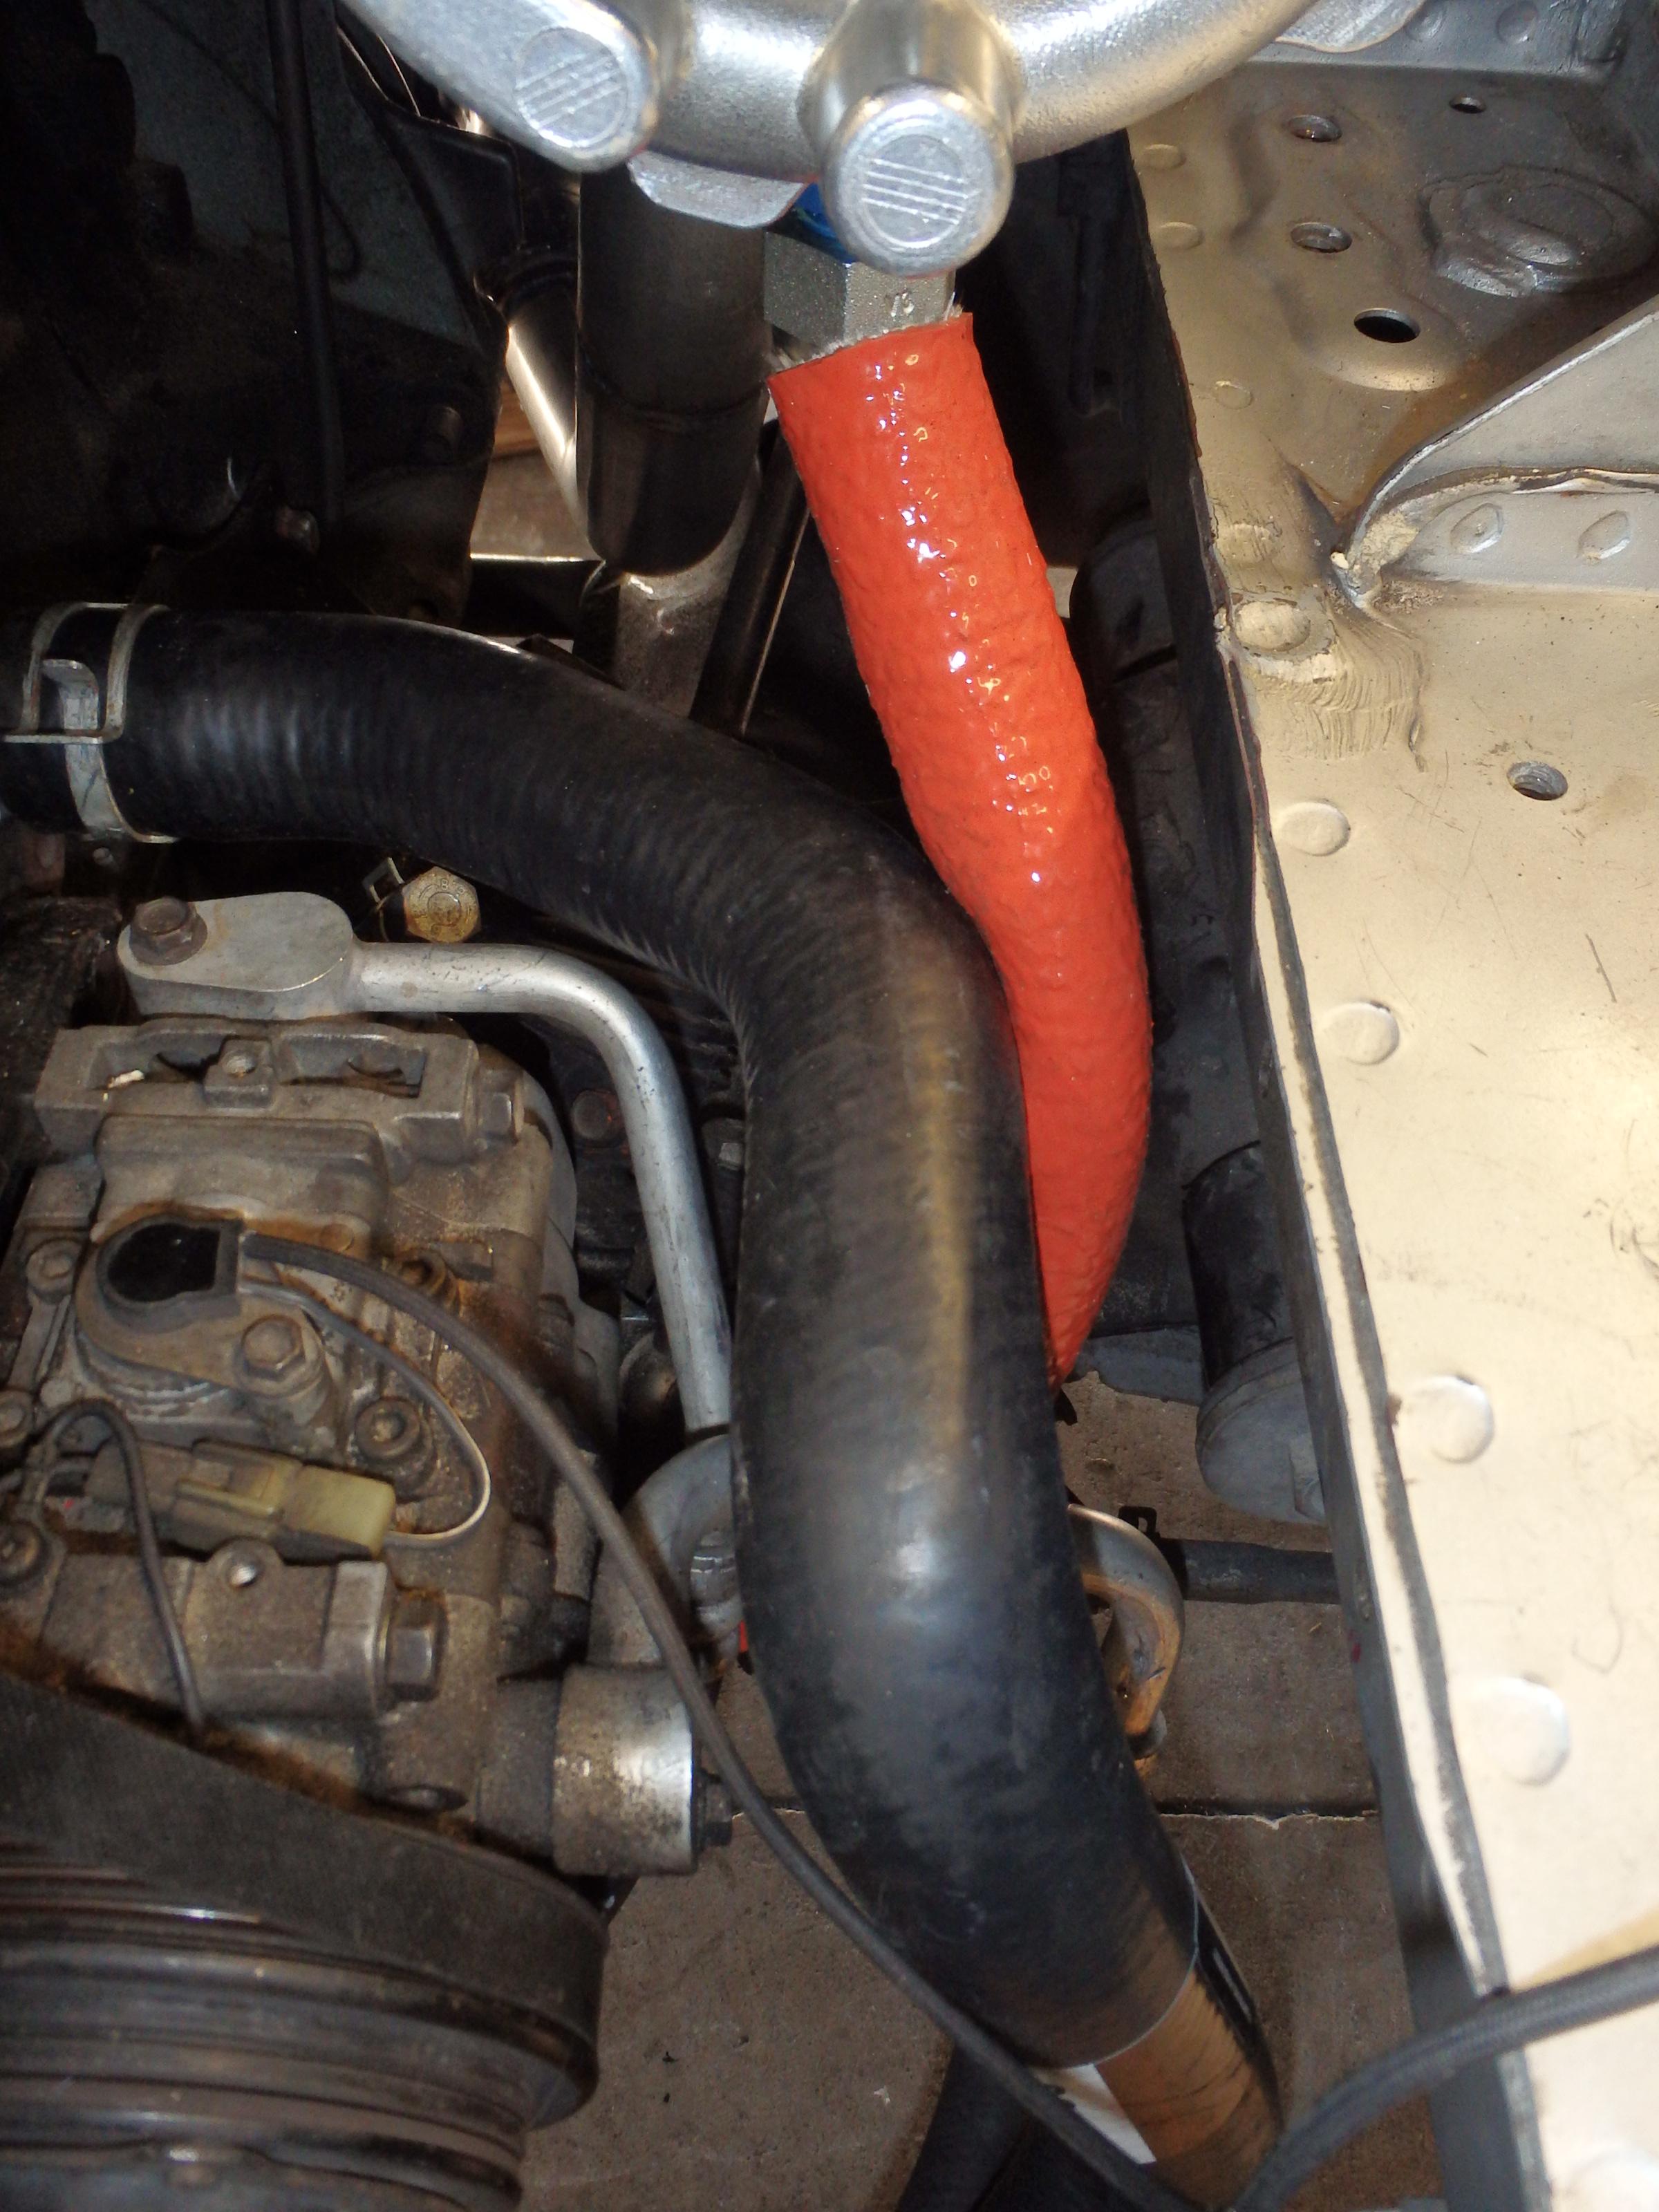
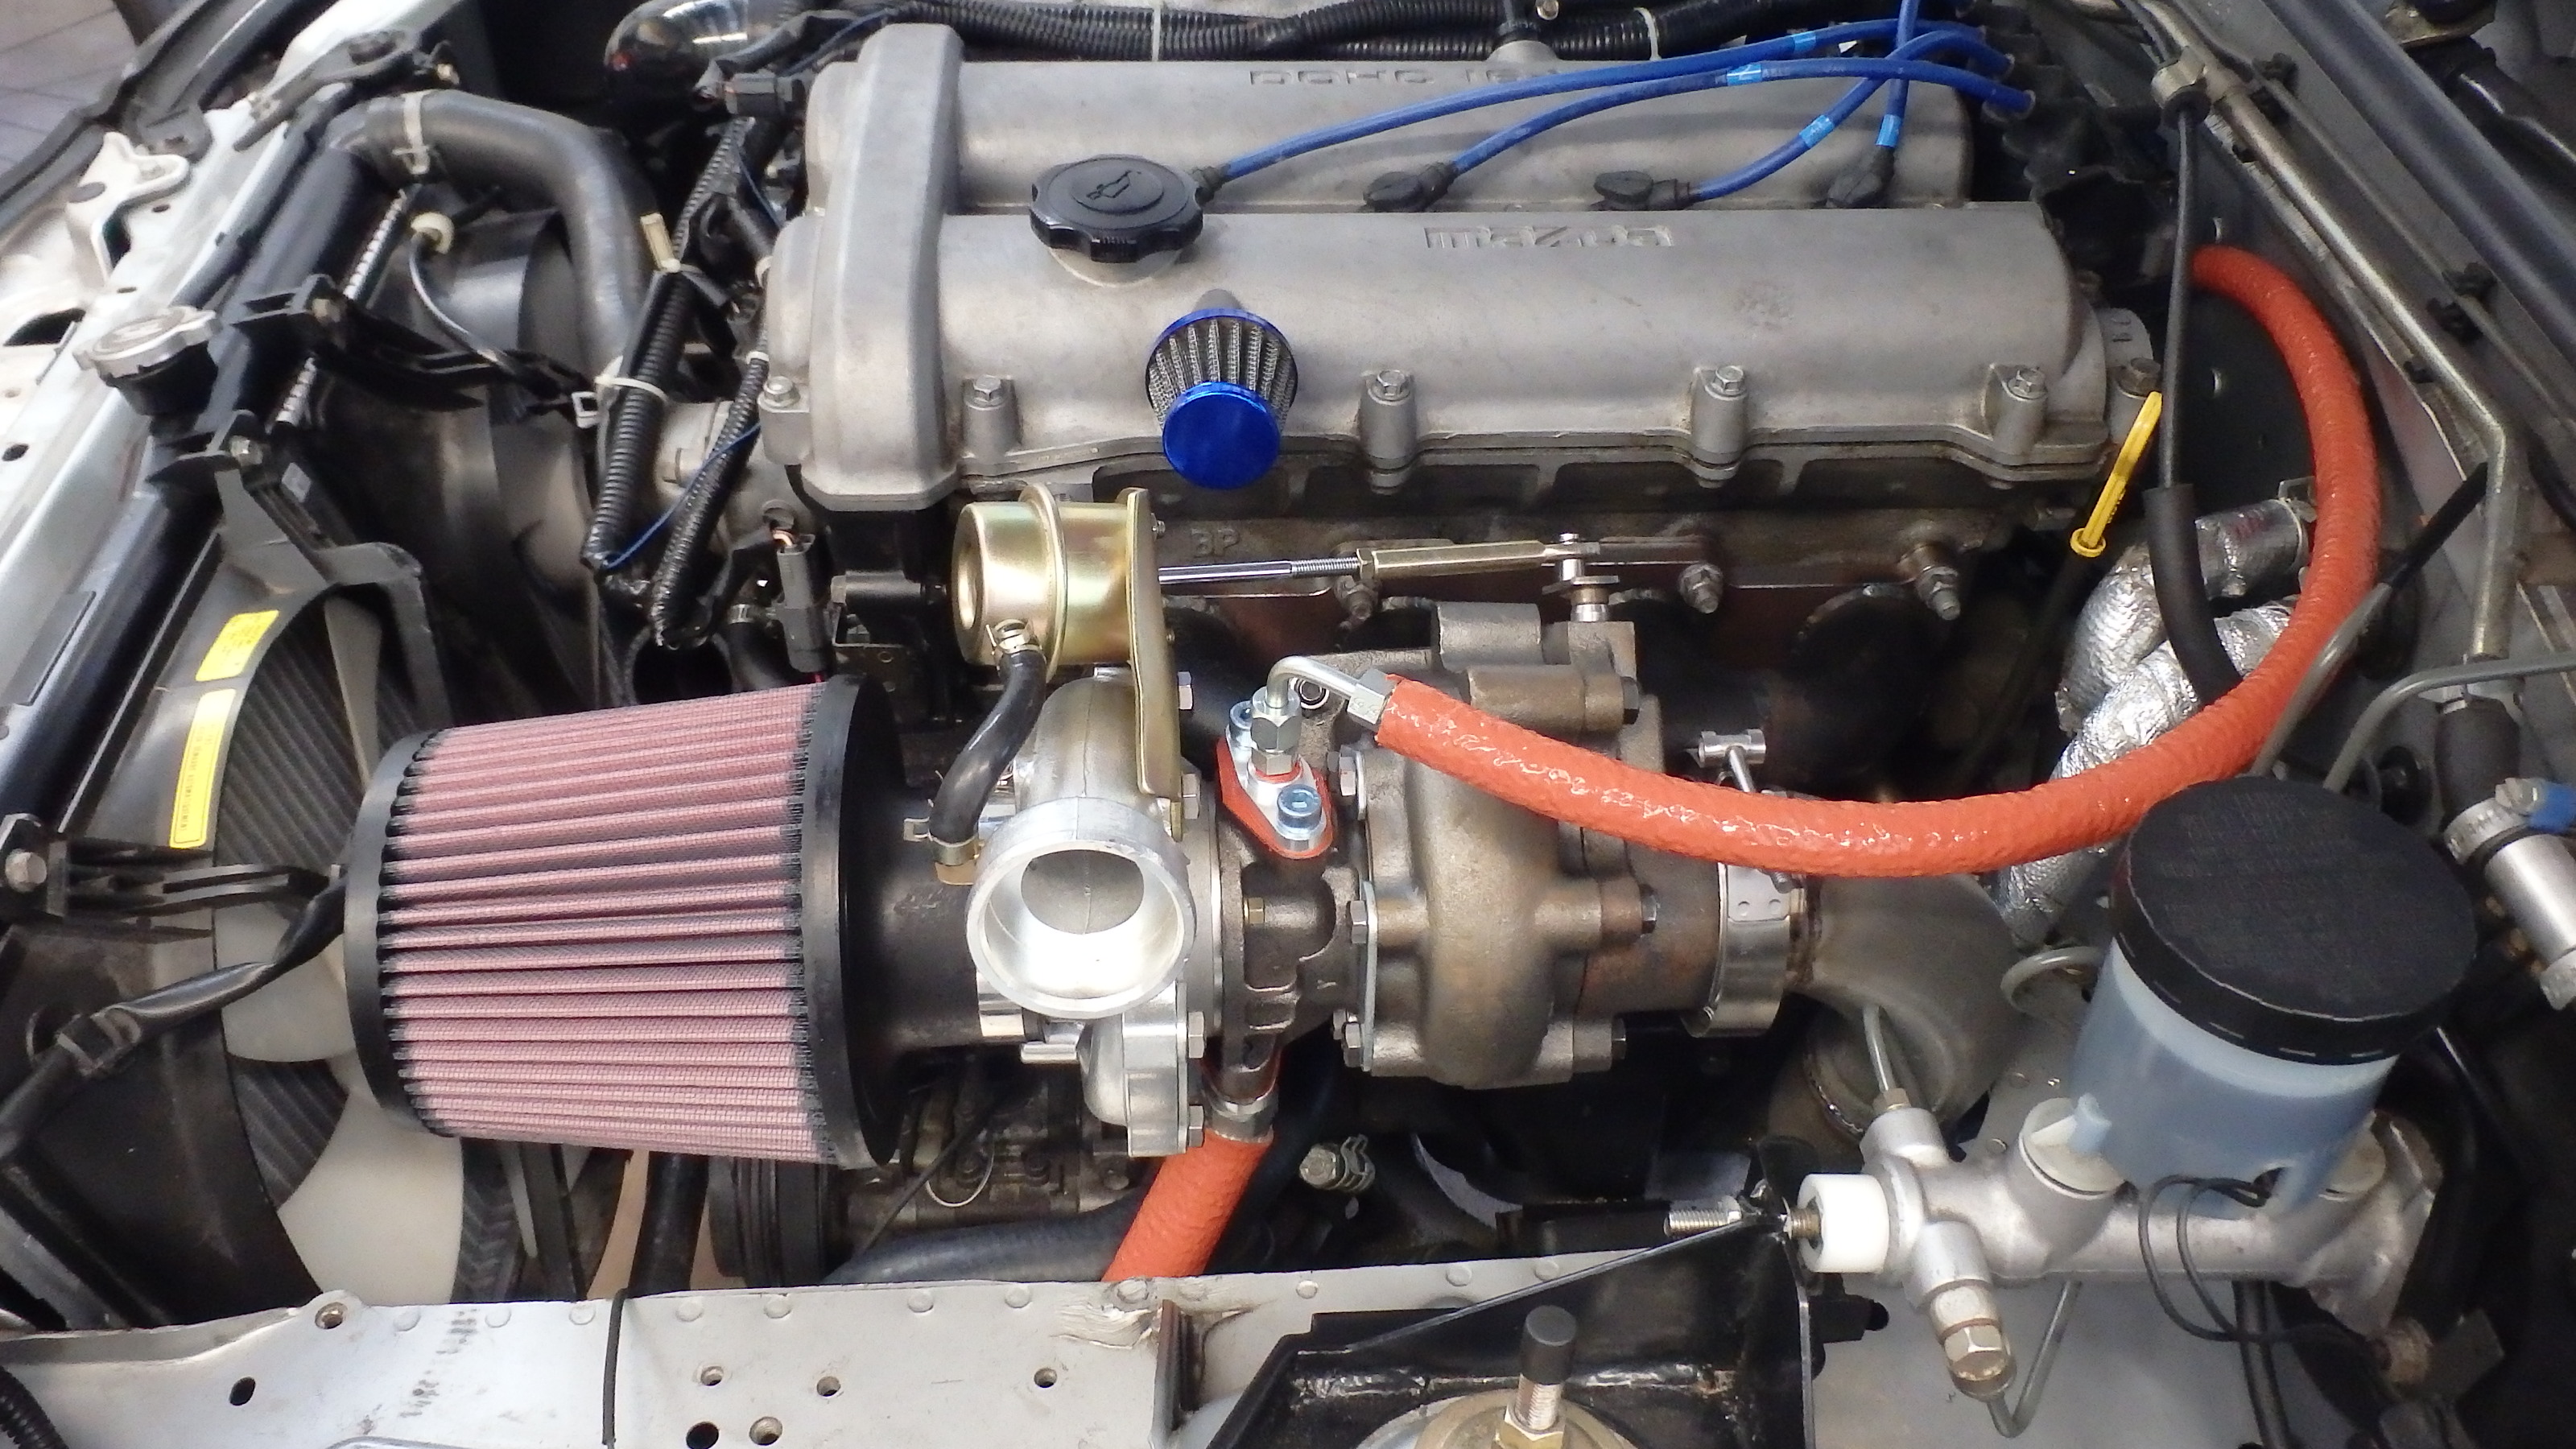
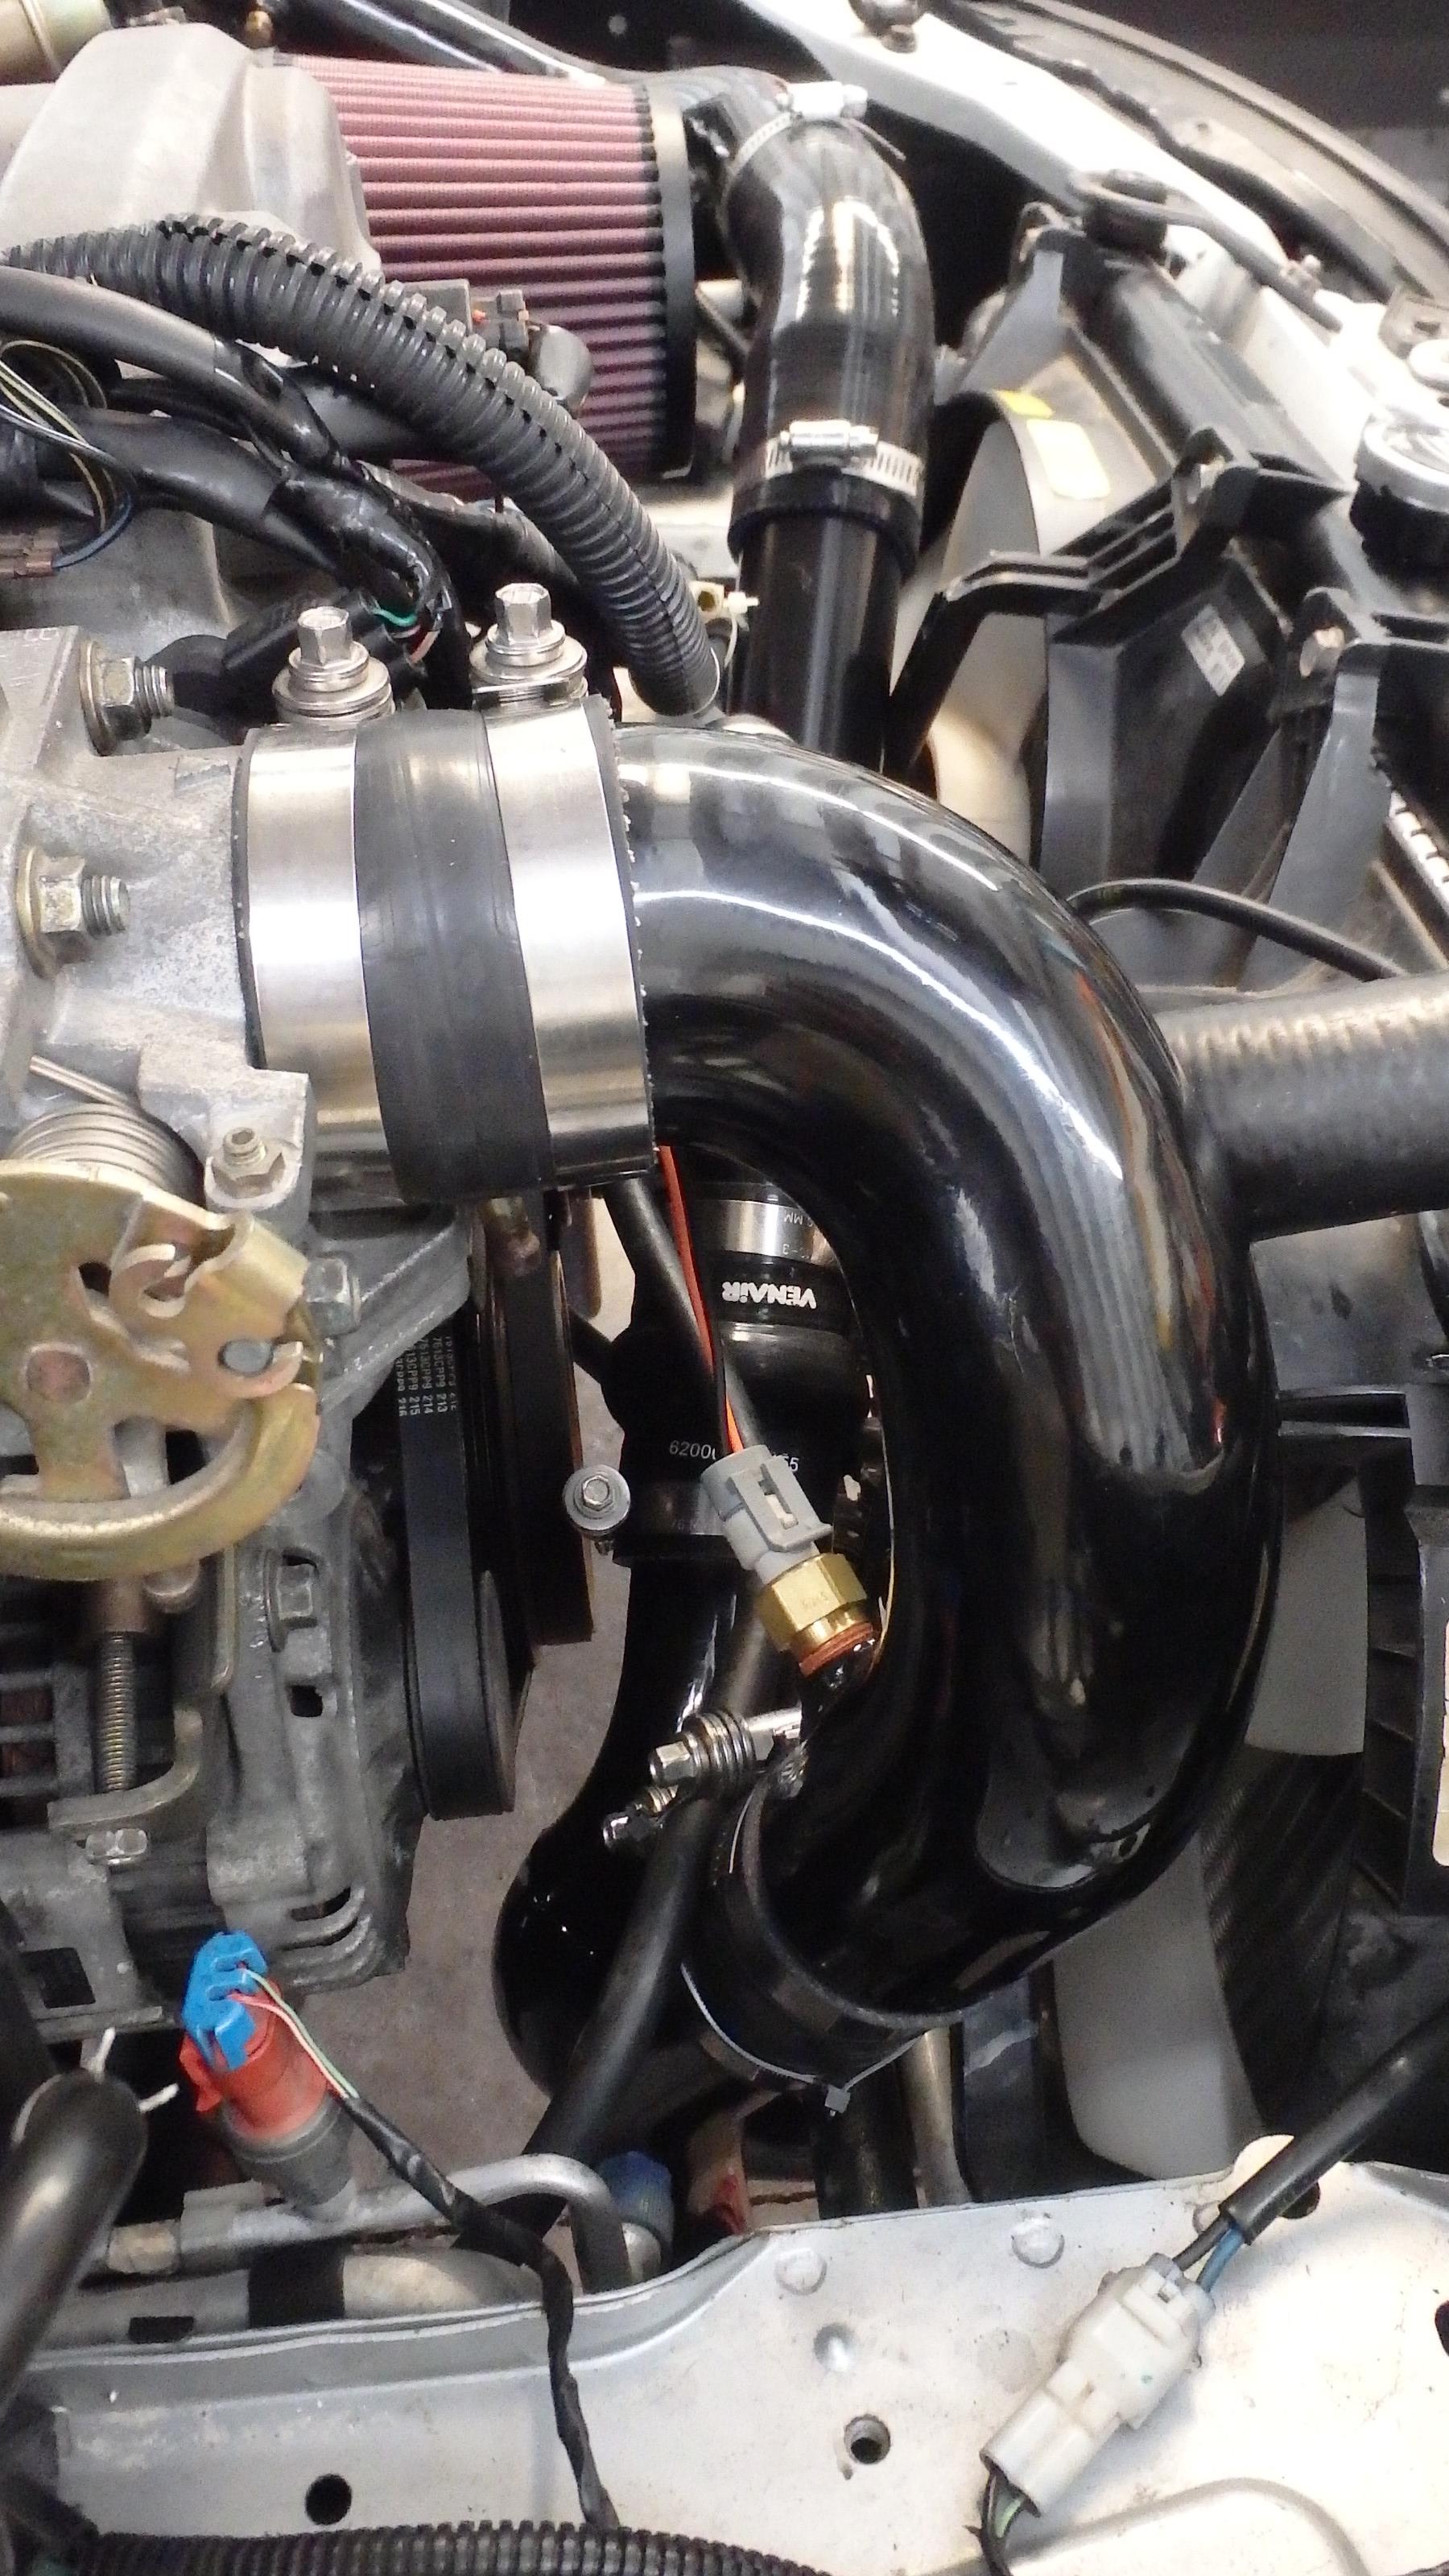
Feed line fit well.
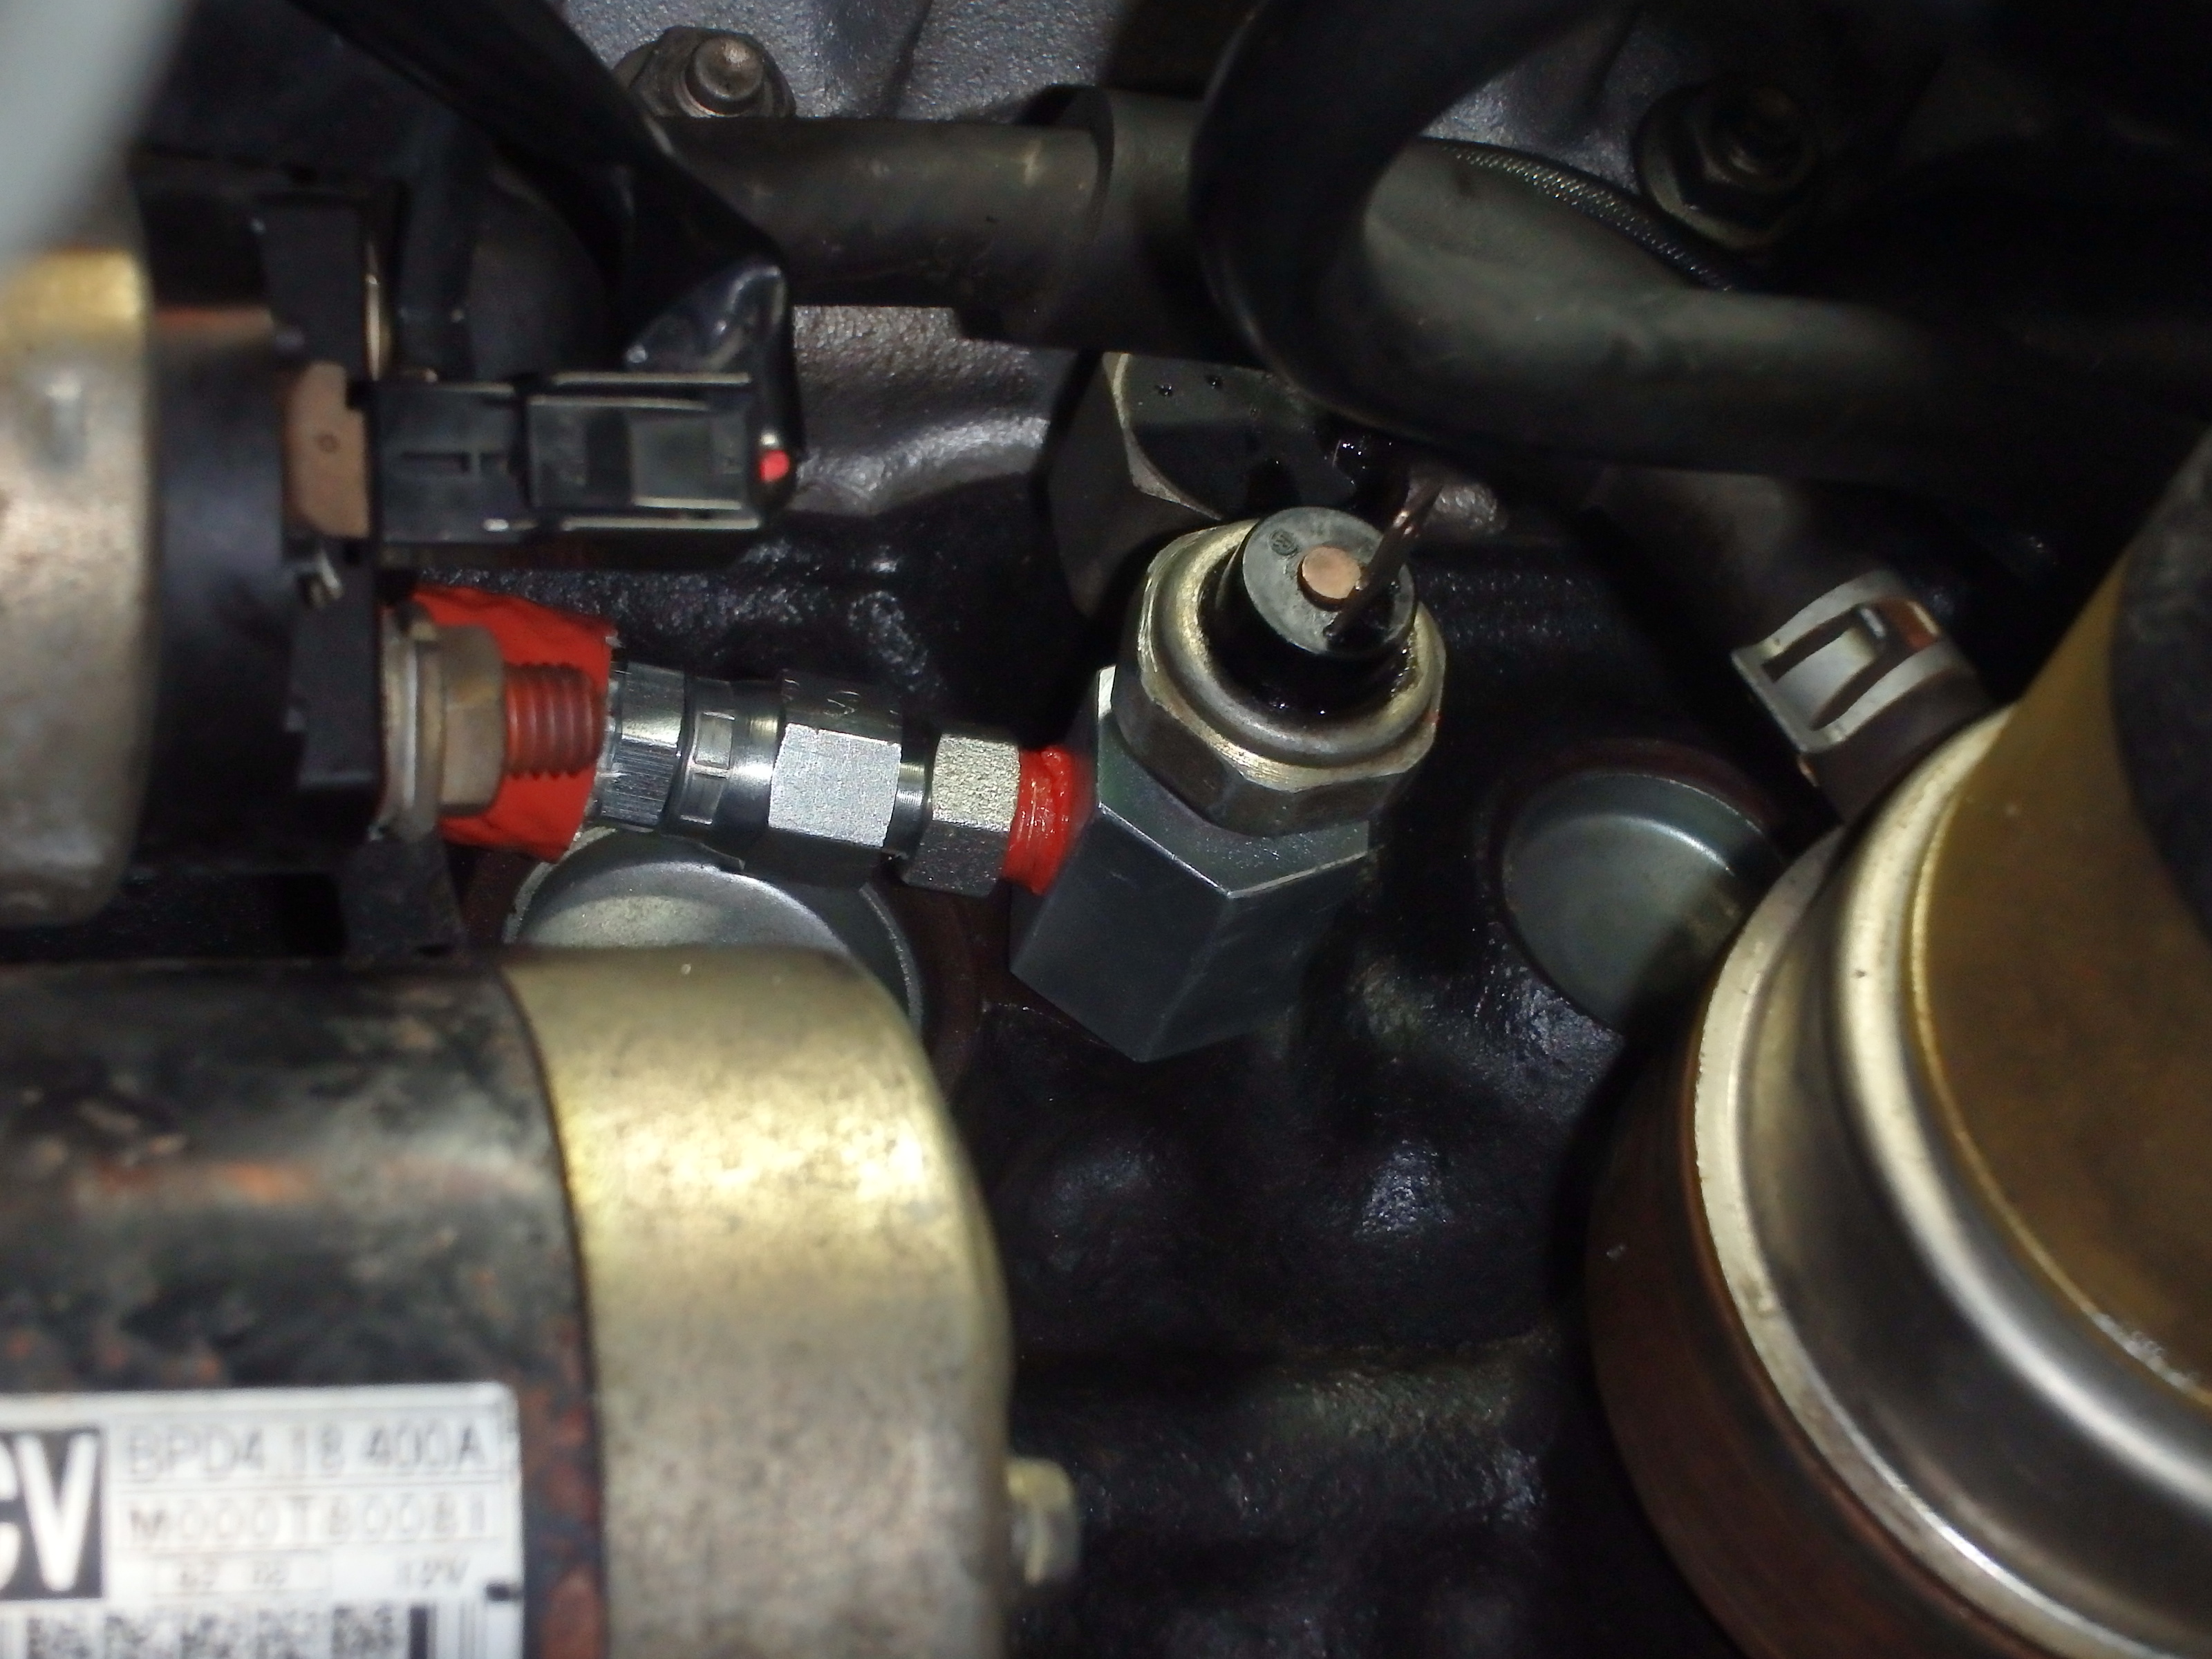
Drain a little long but fits okay with the angled fitting at the turbo and re-routing around the lower radiator hose
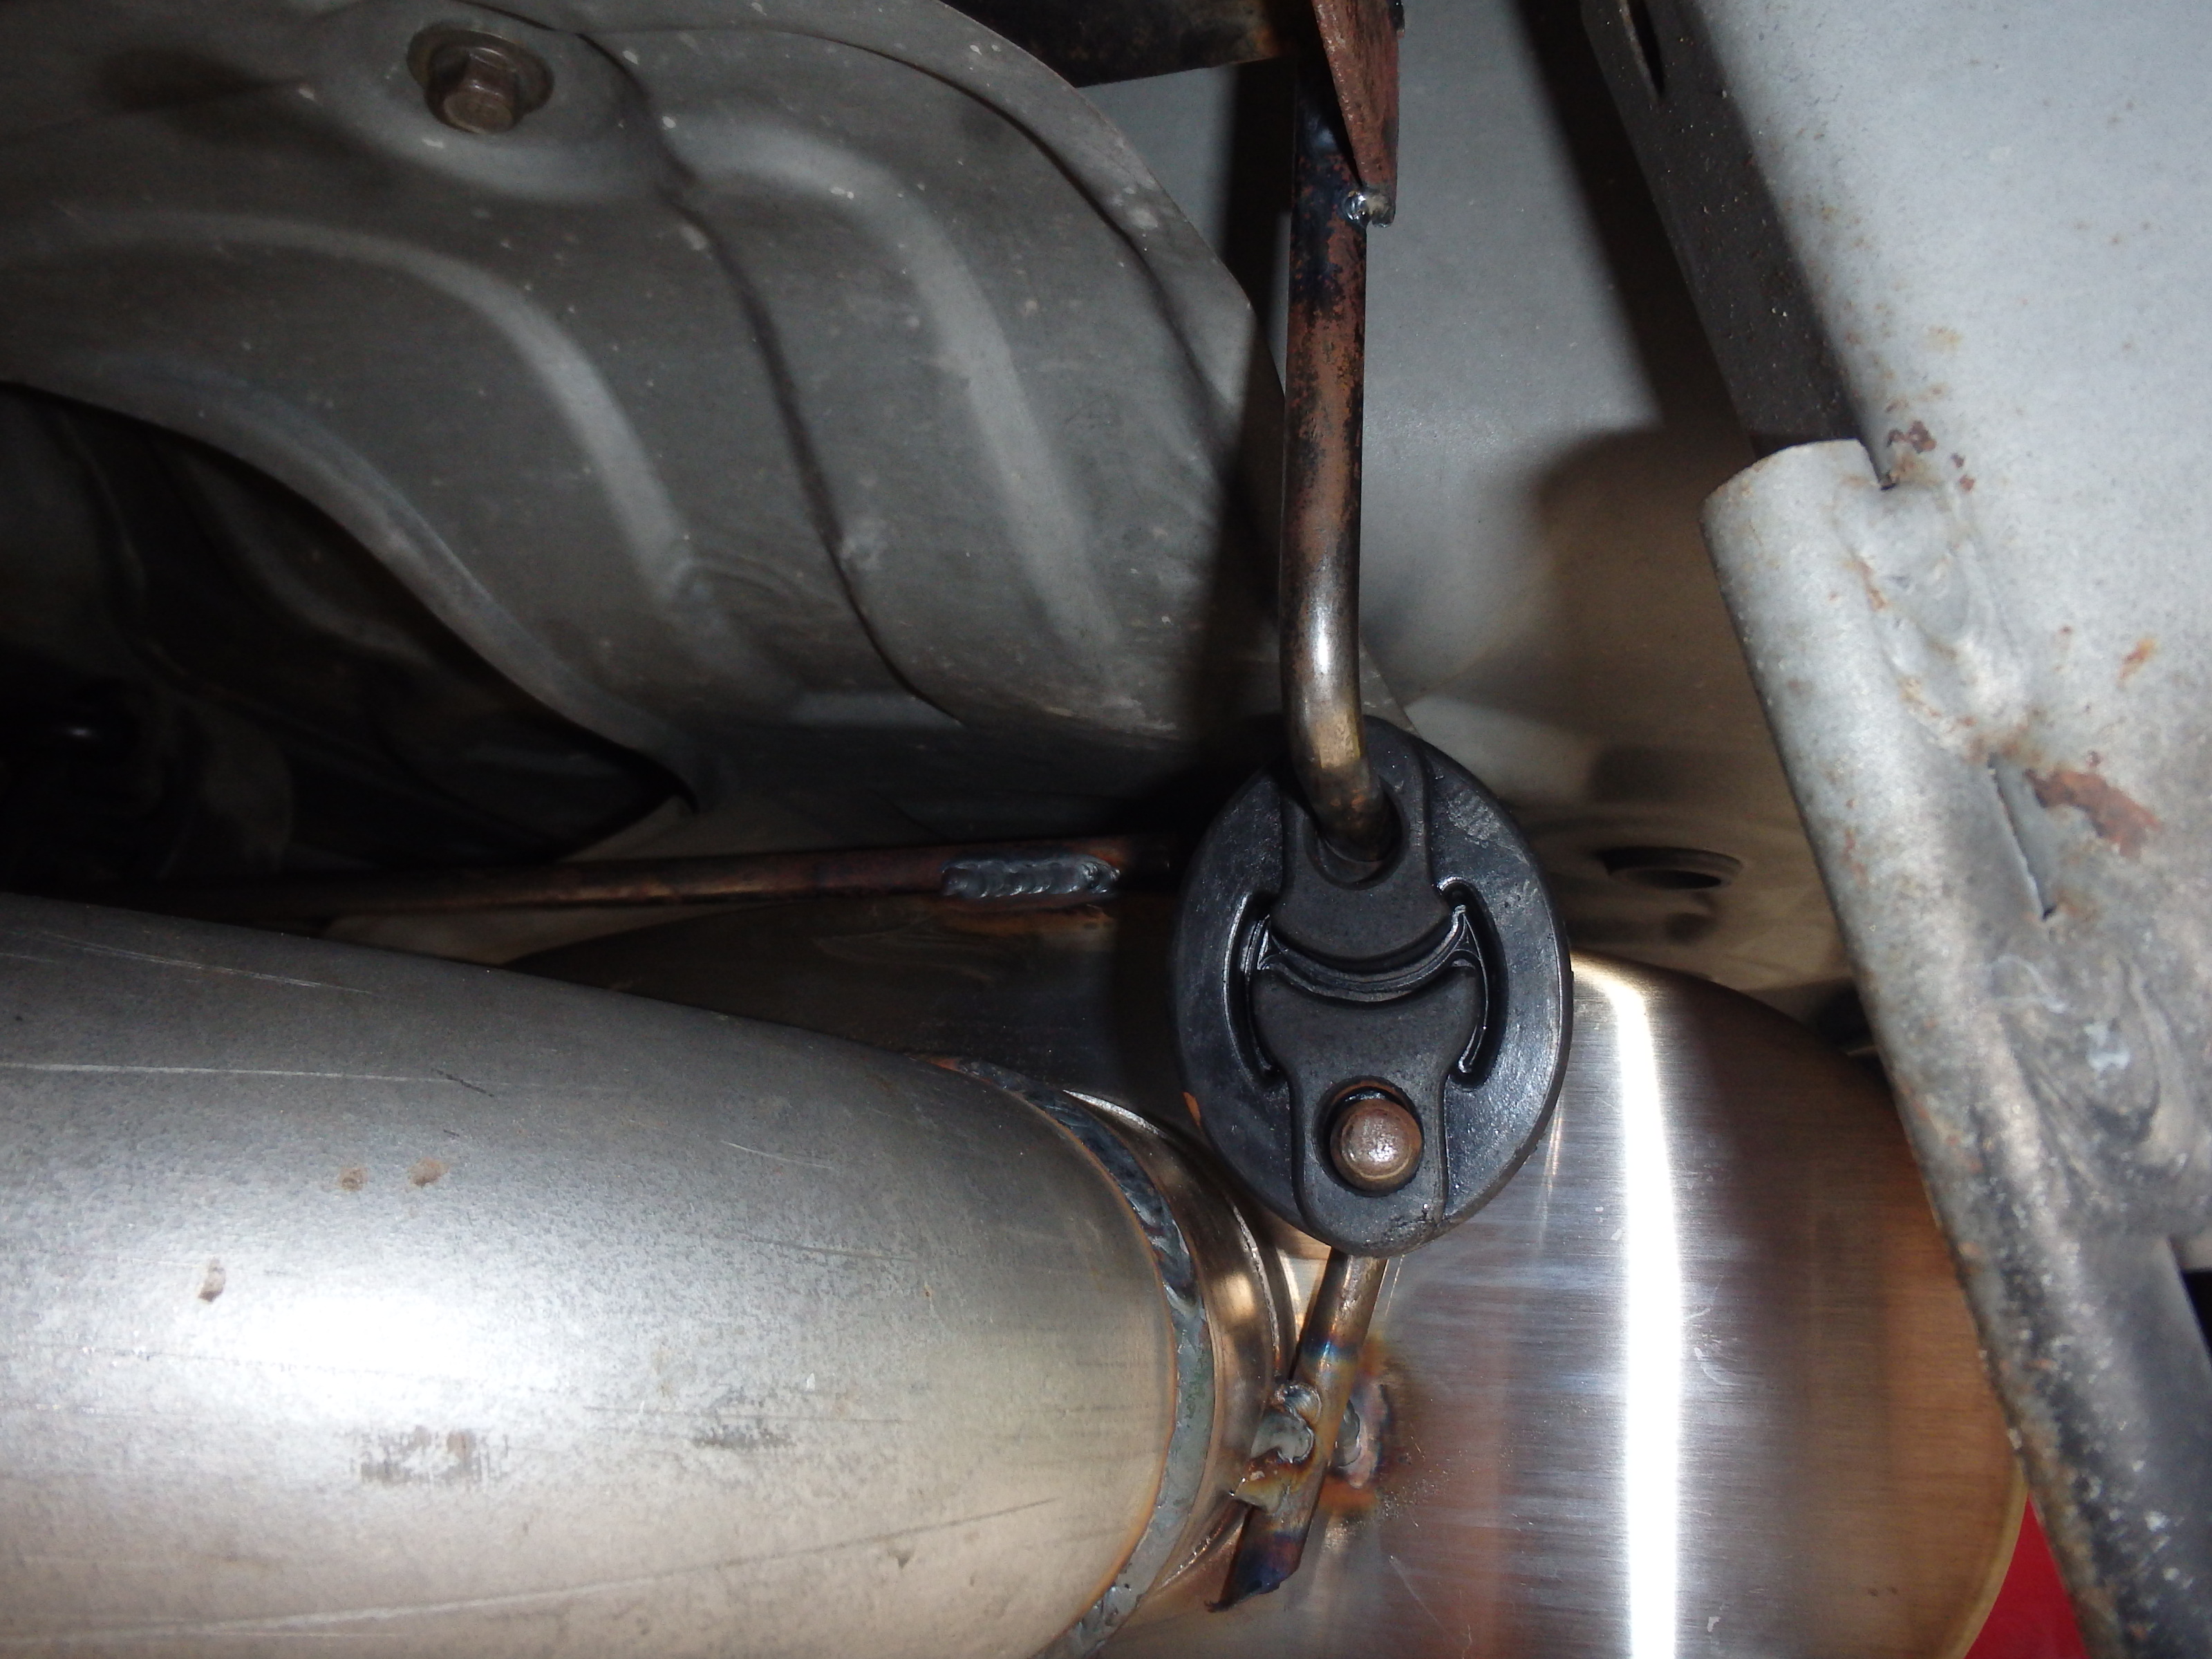
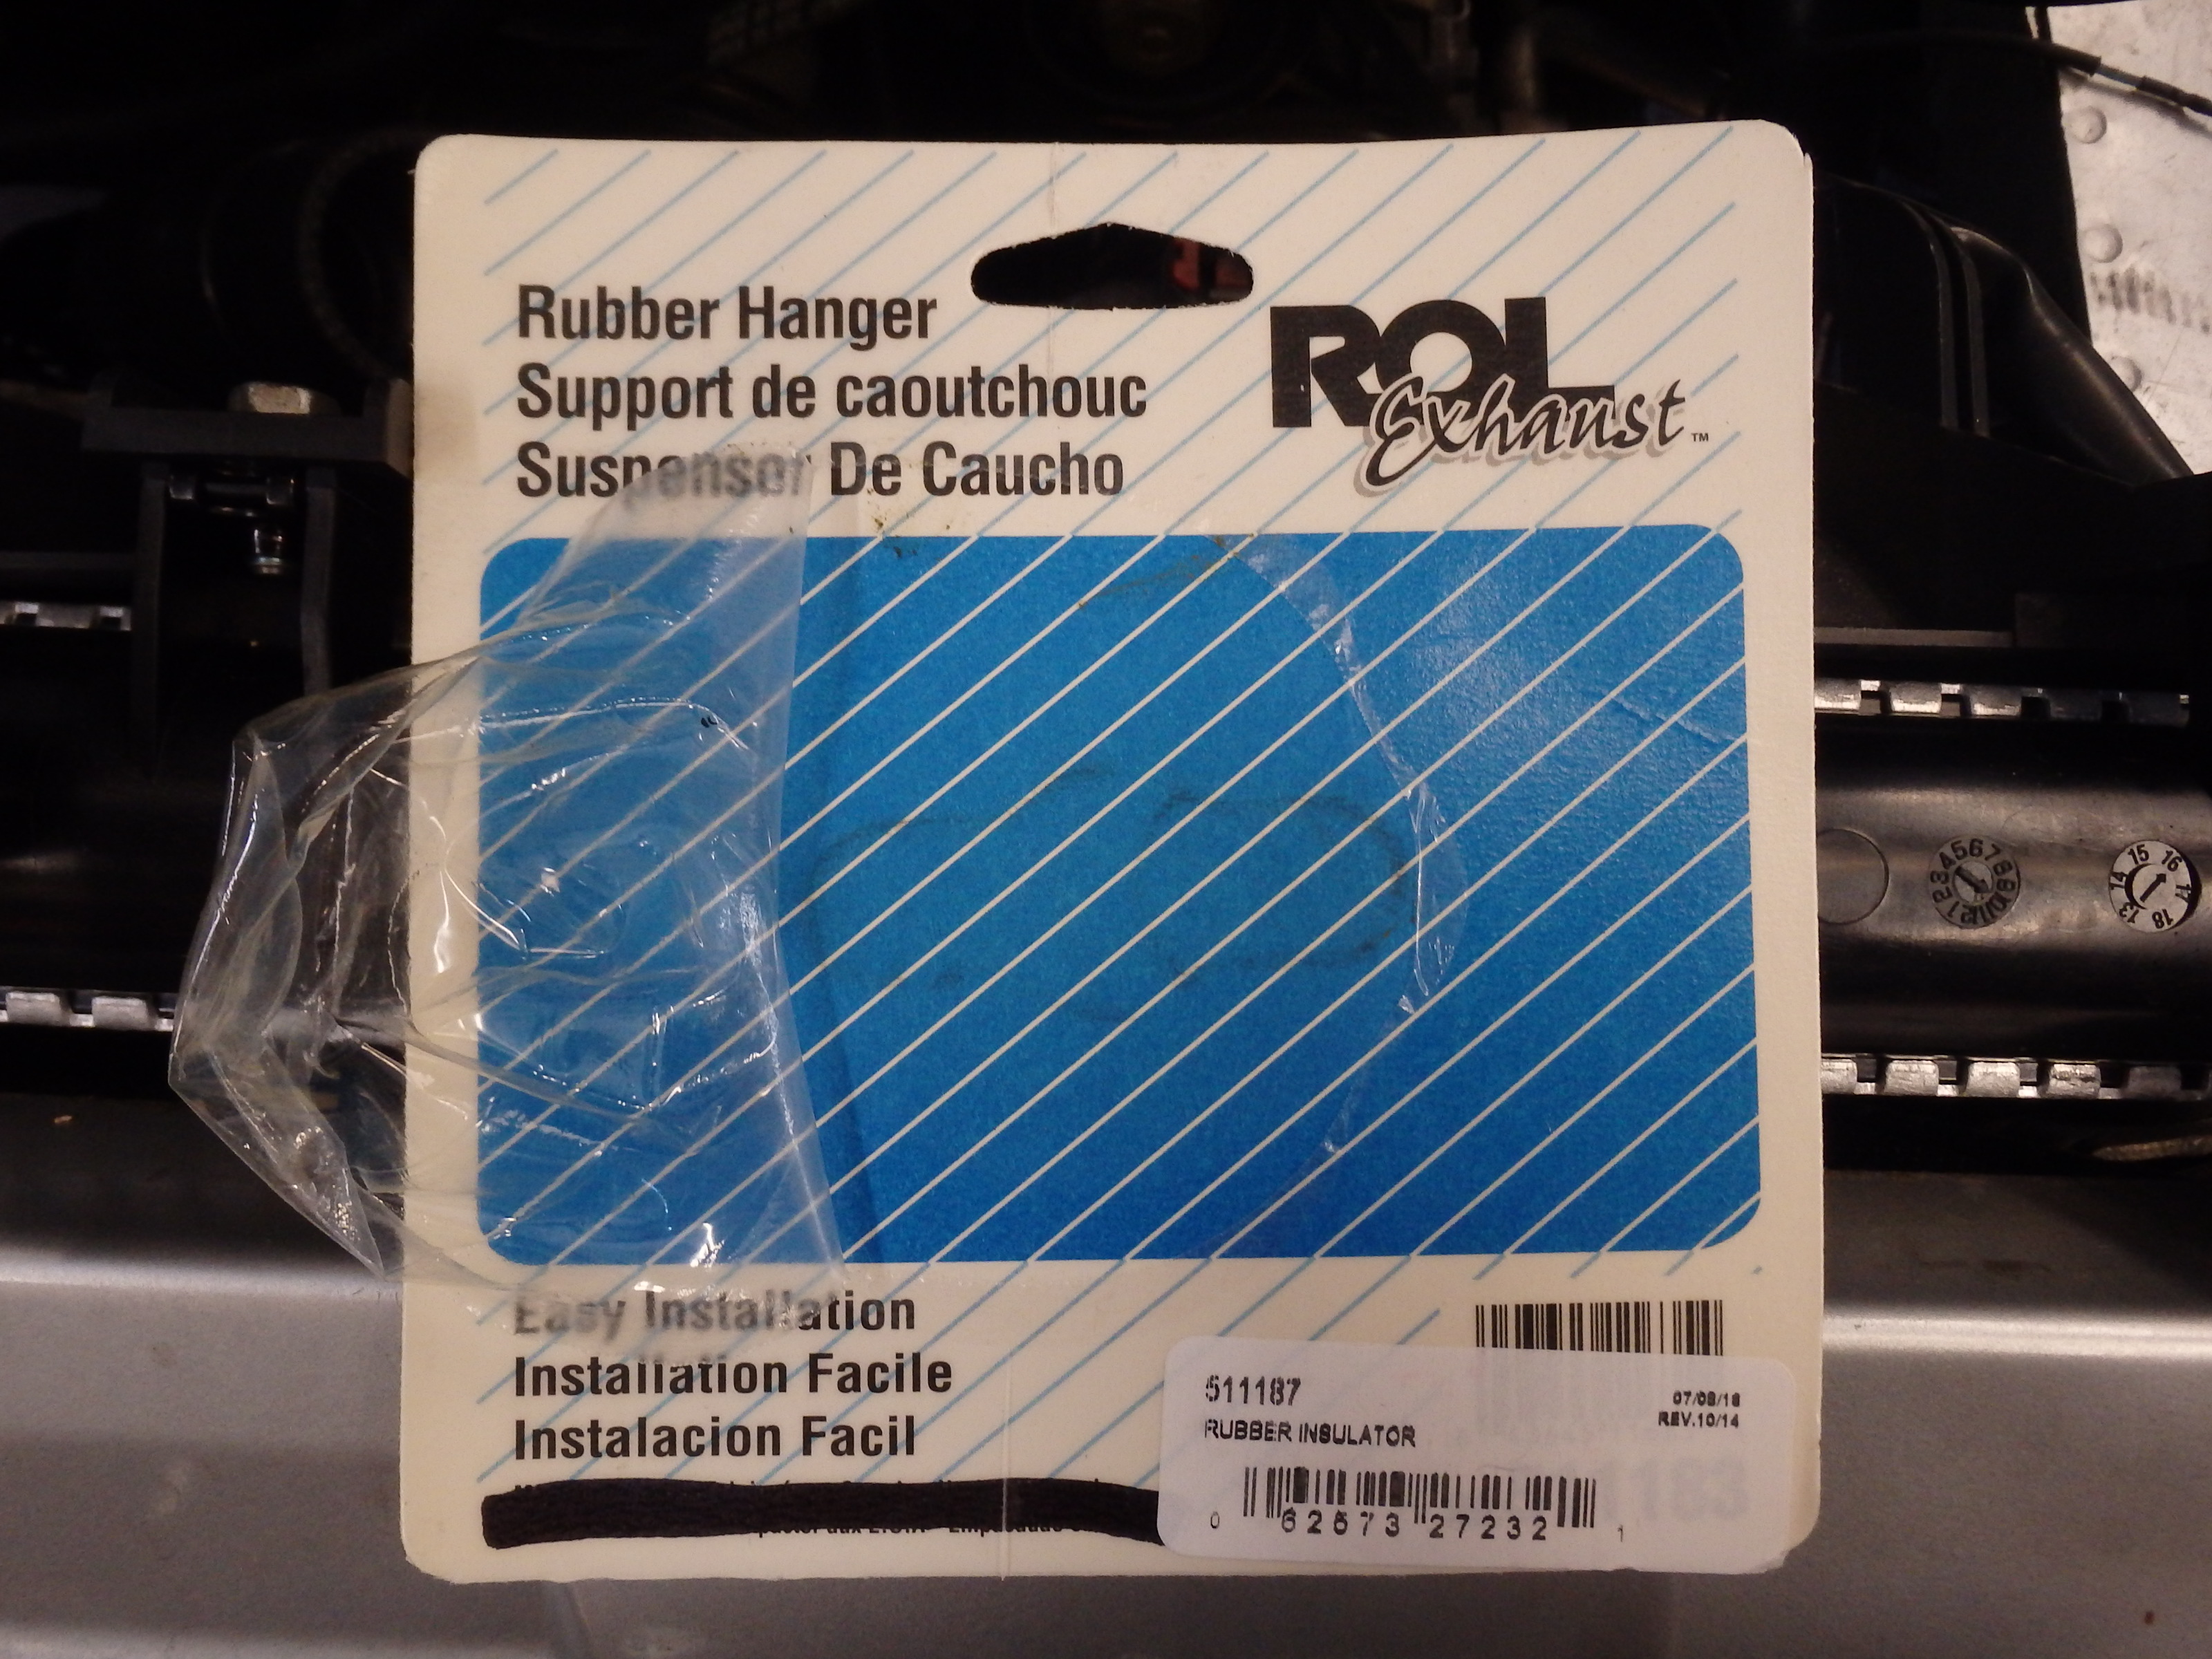
Exhaust hanger from O'Reily's was a good fit for the 4th hanger.
Only needing some piece parts for the intercooler hot-side to finish up.
Drain a little long but fits okay with the angled fitting at the turbo and re-routing around the lower radiator hose
Exhaust hanger from O'Reily's was a good fit for the 4th hanger.
Only needing some piece parts for the intercooler hot-side to finish up.
Reply
0
0

Thanks Ken. Installation was a breeze and it looks to me.
@yossi - see post #8 above. I/C and piping is from a old FM/Begi set-up. Would probably need some low profile fans if a bigger radiator were used.
FB BOV is in. I believe I'm done with the h/w install.
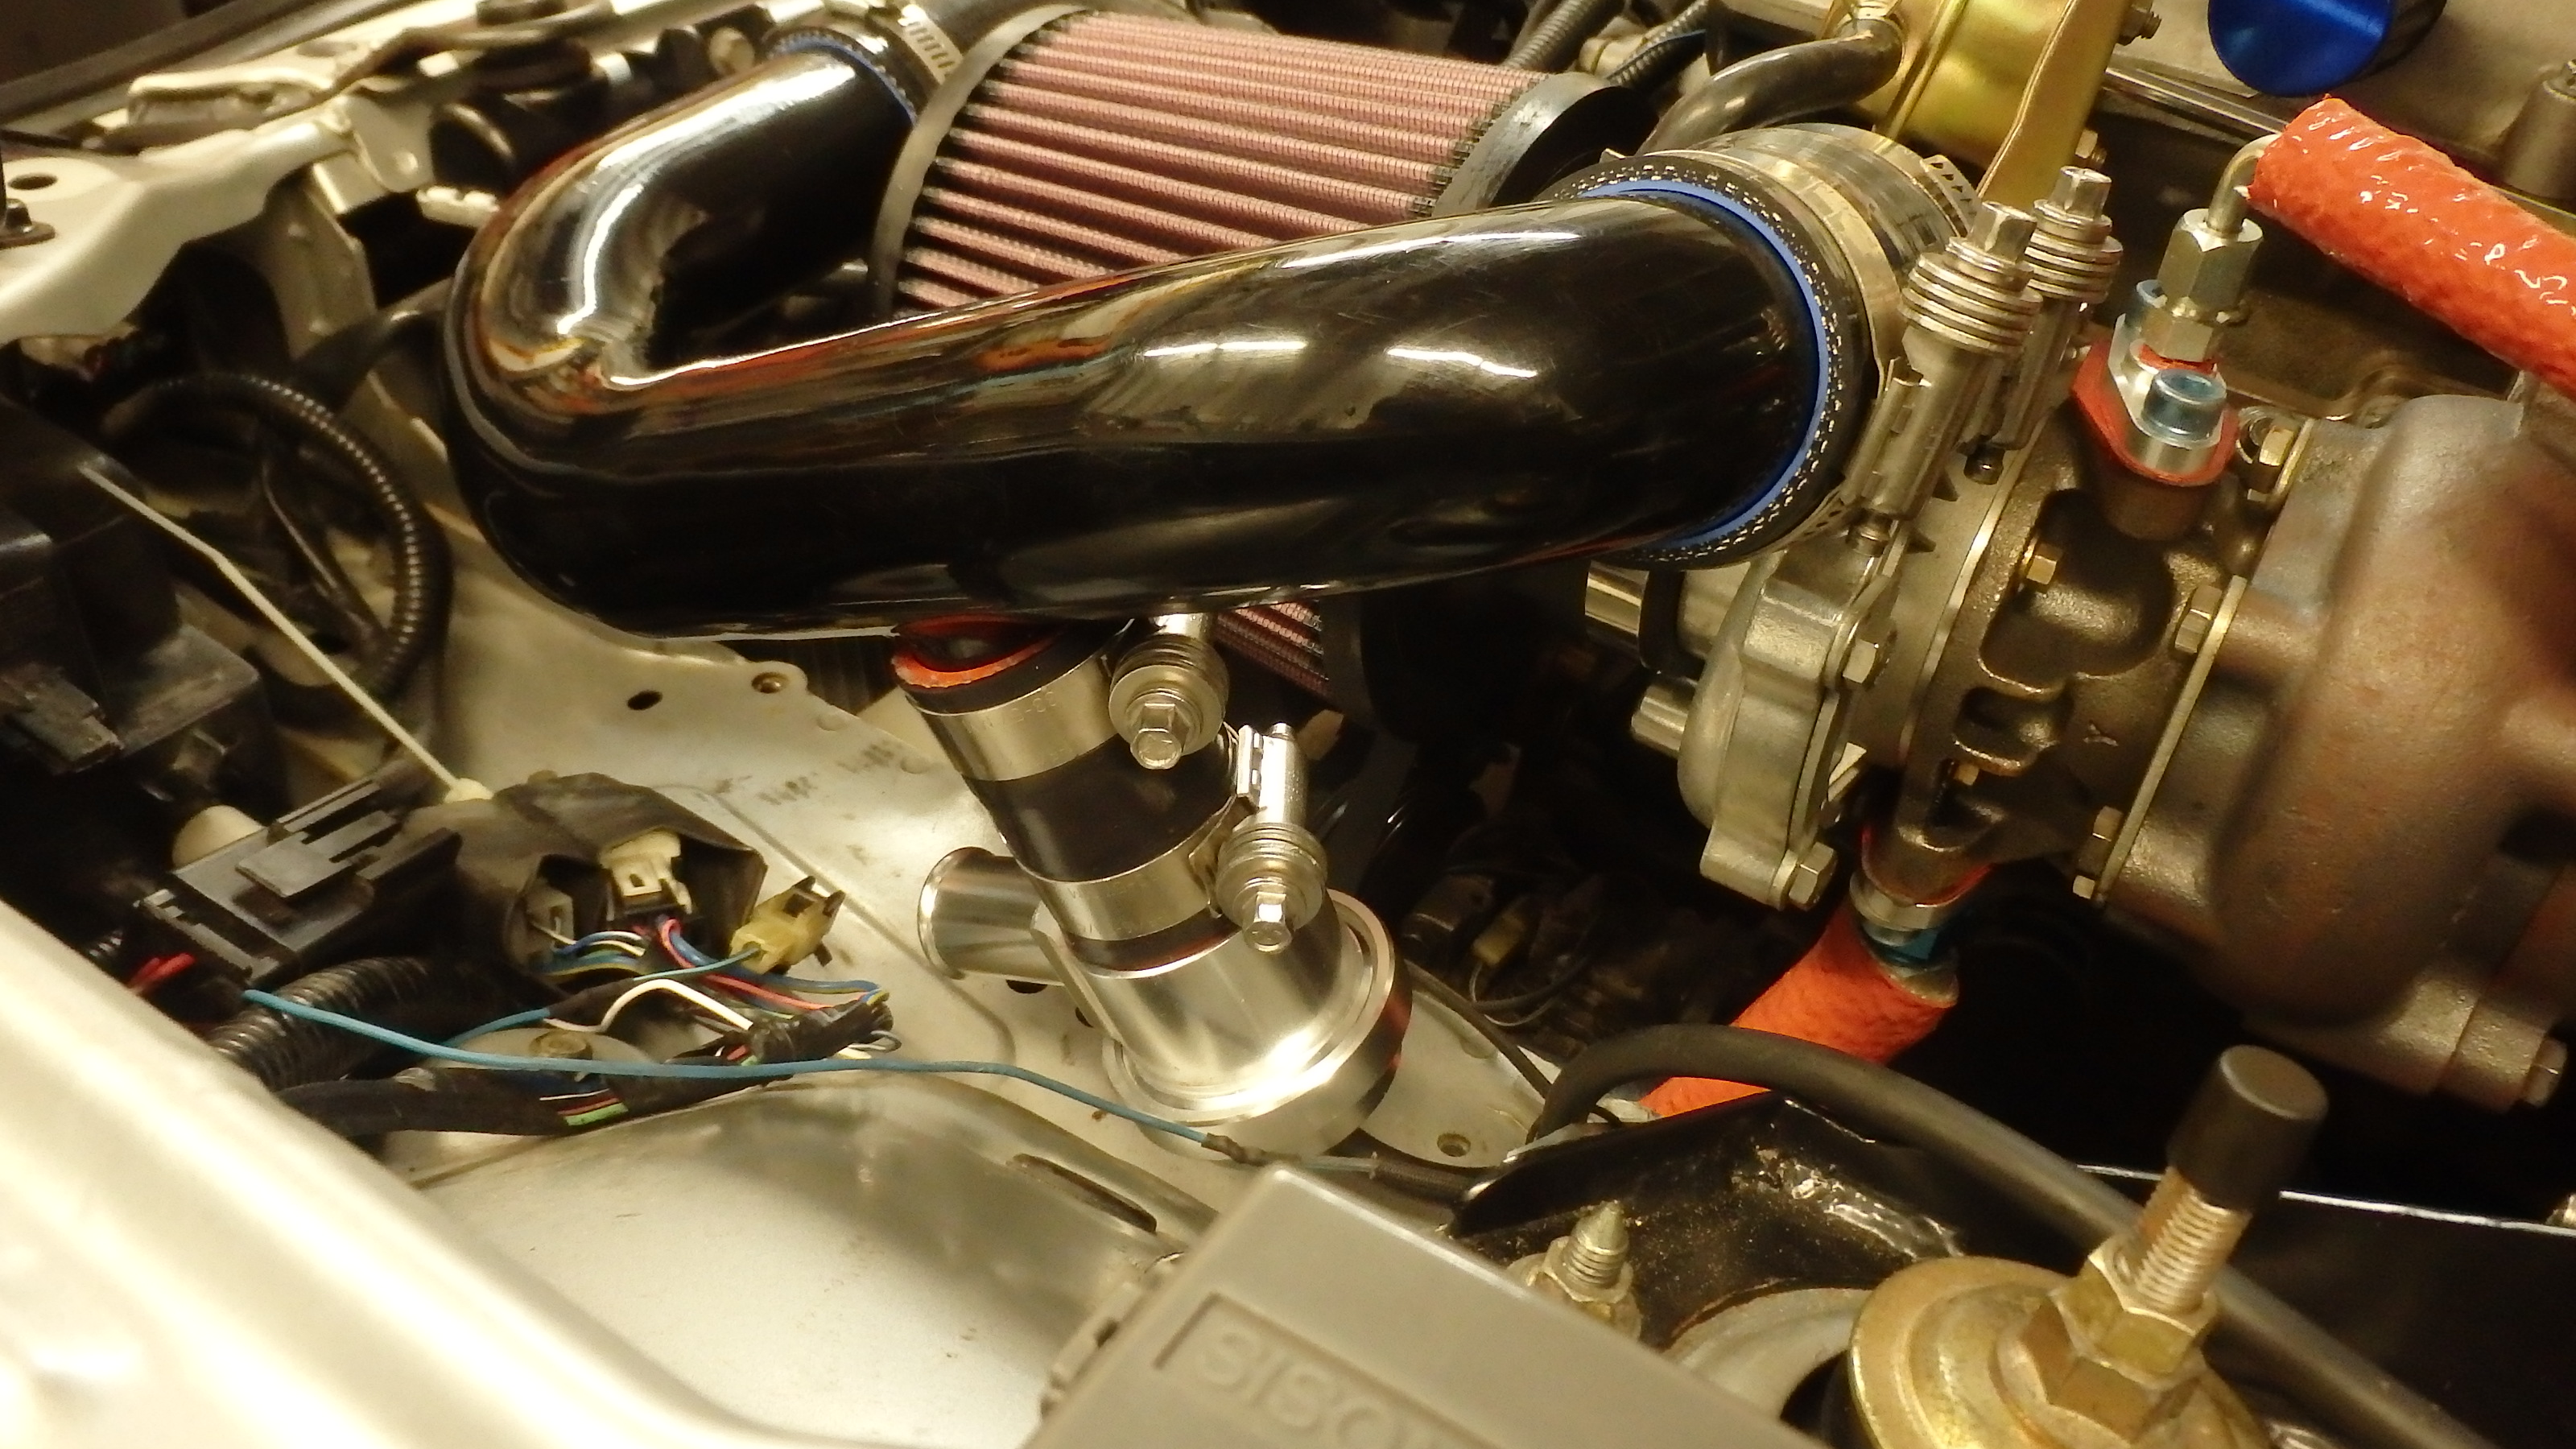
FB BOV is in. I believe I'm done with the h/w install.
Reply
0
0


I am very glad you are enjoying it. When you ported the turbo did you just do the valley part, or did you also enlarge the wastegate hole? Enlarging the wastegate hole is the best way to get rid of the creep. Wackbards build thread has good pictures and some measurements. I believe you want to enlarge the hole to about 23mm.
Reply
0
0


