When you click on links to various merchants on this site and make a purchase, this can result in this site earning a commission. Affiliate programs and affiliations include, but are not limited to, the eBay Partner Network.
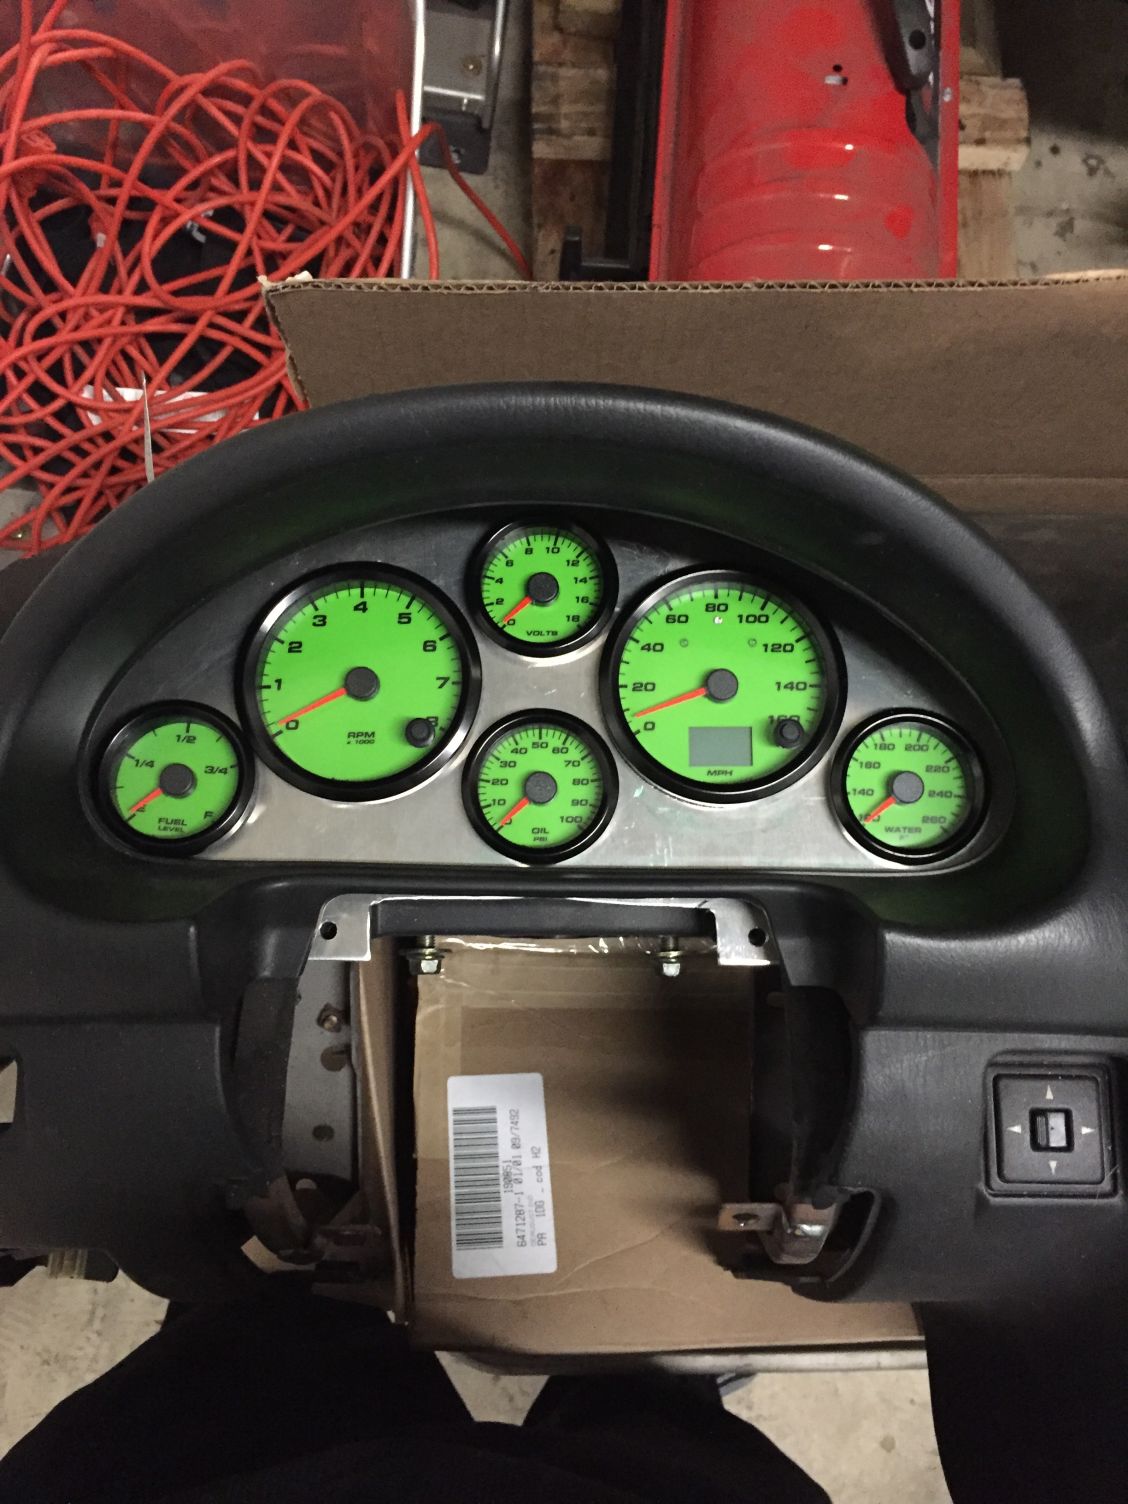
The pictures of the gauges don't do it justice. The color pops in real life. Hopefully the radiator will get here soon so we can take it out for a drive. Need to get some experience driving this car before the season starts.
If you dont mind can you do a write up on your cluster and let us know what part numbers were used for your gauges. Things like what sending units were used and where each gauge gets its signal from. I think many will be interested given the challenges of converting rpm signal when using a v6 and the NA folks also have a manual speedo to deal with. We can go to a NB cluster once gooflophaze works his magic down the road but it wold be nice to have a few options documented.
Also...what did you end up doing for your hood?
I want to find a hood scoop that will clear the intake and flow with the lines on the hood without too much cat hair being used.
I must have watched your video a dozen times last night just wishing I had mine running. Nice work....
The Hood Clears on an NB by trimming the reinforcements on the under side and shaving the top of the plastic intake manifold. This car is going to be a beast to drive. I cant wait to take it for a spin.
The Hood Clears on an NB by trimming the reinforcements on the under side and shaving the top of the plastic intake manifold. This car is going to be a beast to drive. I cant wait to take it for a spin.
Sorry I forgot the NBs clear the intake. Lucky dogs!!!
The Hood Clears on an NB by trimming the reinforcements on the under side and shaving the top of the plastic intake manifold. This car is going to be a beast to drive. I cant wait to take it for a spin.
The LFX is a blast to drive in the Miata. Sold my LS Miata to bull one after driving a LFX miata.
On the gauges, I picked up the "speedhut" series for $575 for the compete six gauge kit. I ordered each gauge indivually customized, no so kit part number, but they have an infinite number of combos on their site. They also have standard configuration gauges available for Amazon Prime shipping if you want just the black face and silver bezel gauges. I ordered mine back in December so was fine with the wait time.
I don't have pictures of each step, but here goes.
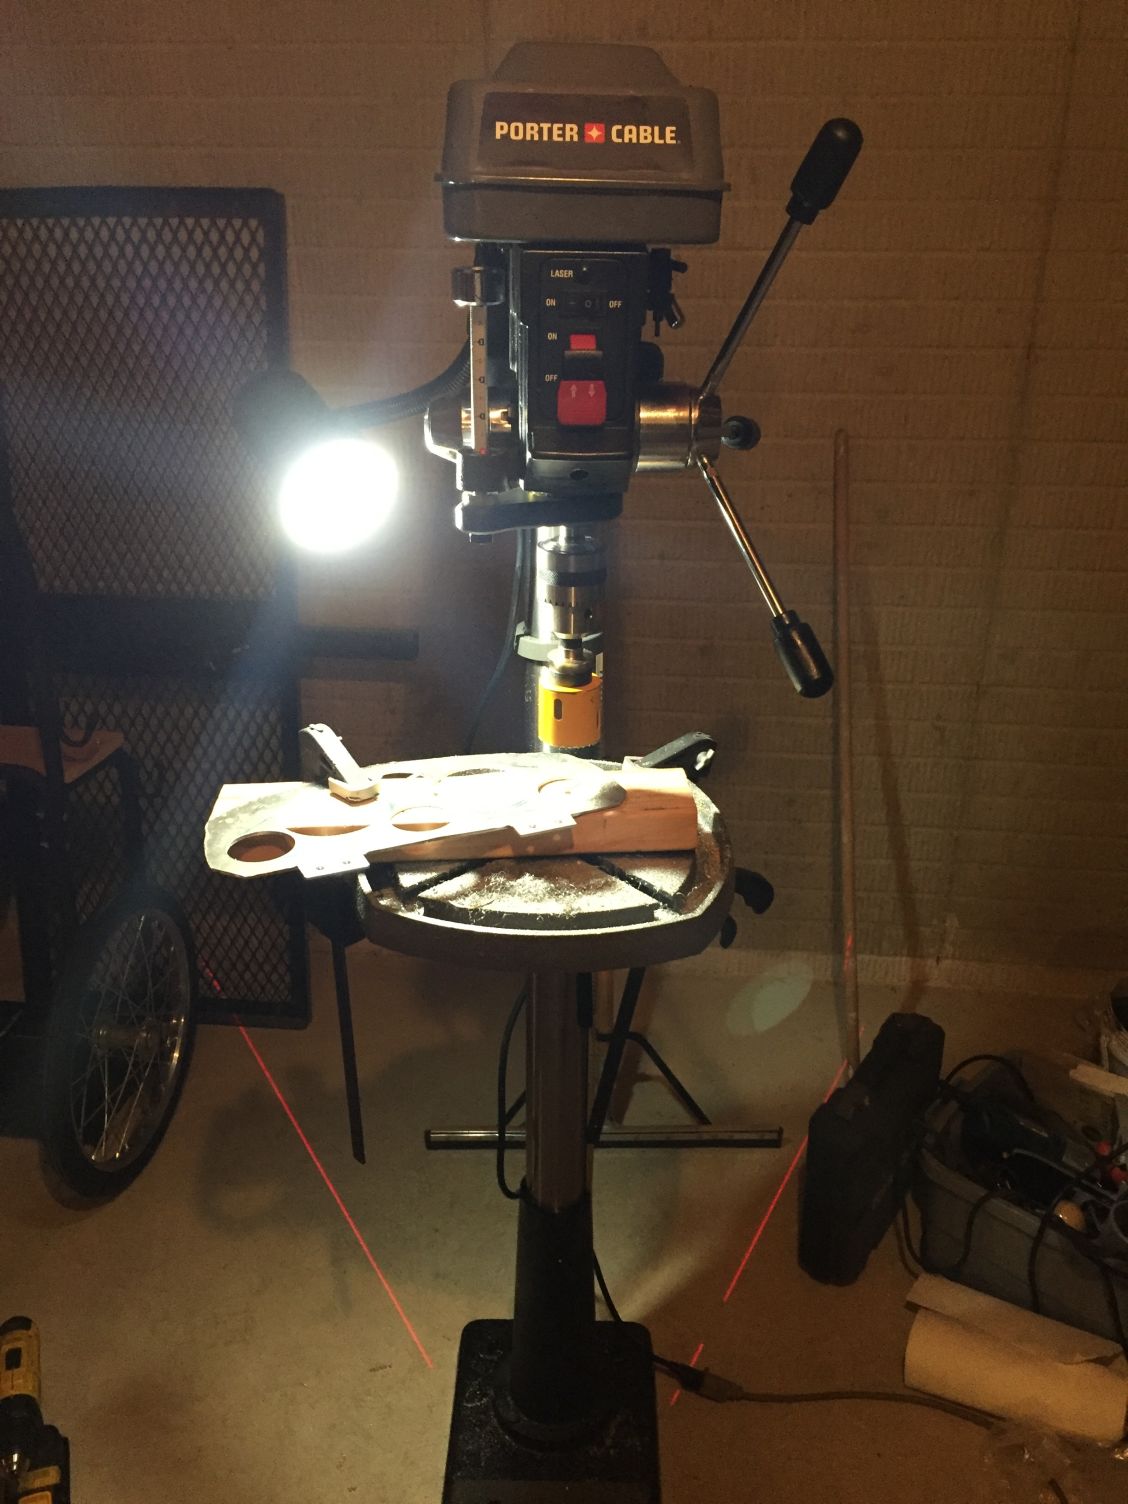
but it was out of stock, so picked up some 1/8 aluminum from my metal supplier and made my own.
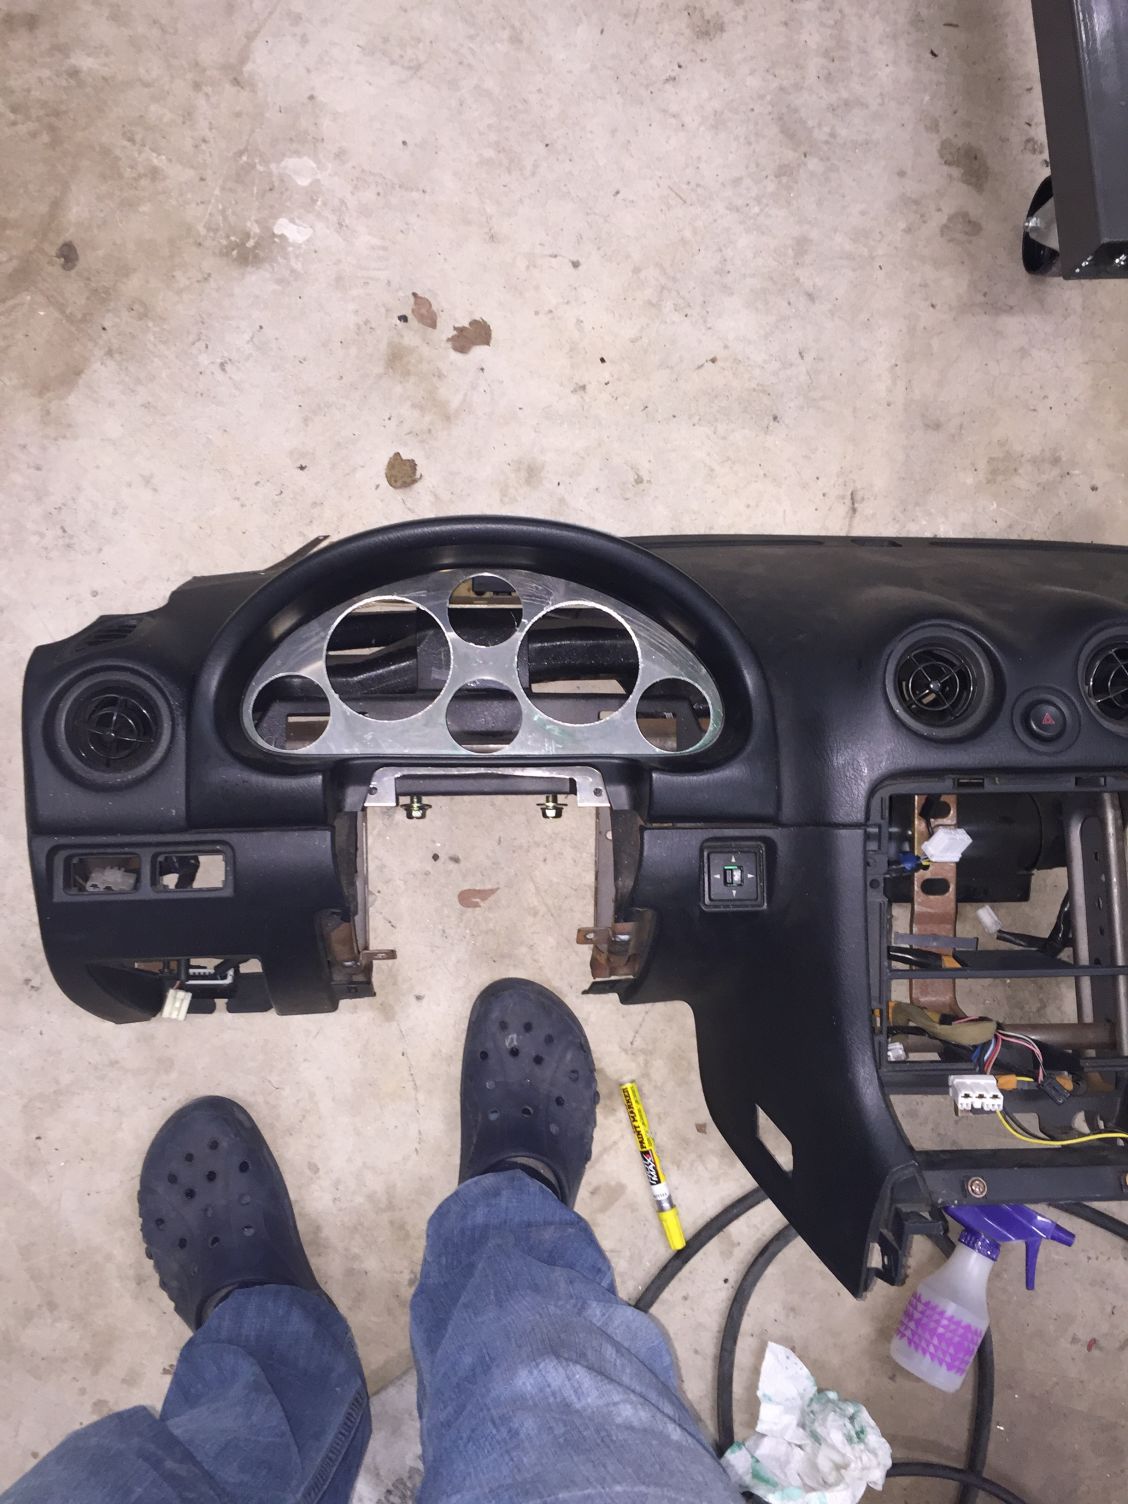
Use some thin but sturdy cardboard for the template for the blank panel, and then placed traceouts of the gauge holes on the cardboard to mock up where you will use the hole saws. There really is very little room for error if you are planning on running a full set of speedo, tach, coolant, oil, volt and fuel.
If you've located your hole saw placement just right, you'll have minimal clearance issues. By that, I mean you'll only need to dremel the retainer lock rings on the back side of the gauges just a little to be able to spin each individually to toghten them. This sounds worse than reality, unless your hole saw placement was way off.
On to gauge hook up.
For the tach,you need to tap into an ignition control wire on one of the coils. I use an Alldata DIY subscription for $30 per year, which has all the wiring diagrams and connector views. You want to pick up wire "C" on the coil plug. It's the wire that changes color from coil to coil.
The tach programming instructions are pretty self intuitive for calibration.
On the speedo, I haven't driven the car yet, so can't completely confirm this works, but you need to pick up the speed output and ground off the vehicle speed sensor. This is wires 1 and 3, respectively on the connector. Once you can drive the car, you will drive to the preset speed and set the speedometer to that speed, so you will need a gps unit or phone app or friend. One option is to just upgrade to the GPS speedo unit - not a bad idea and something I wished I had done. The speedhut gauges are compatible with other gps sending units, so still an option.
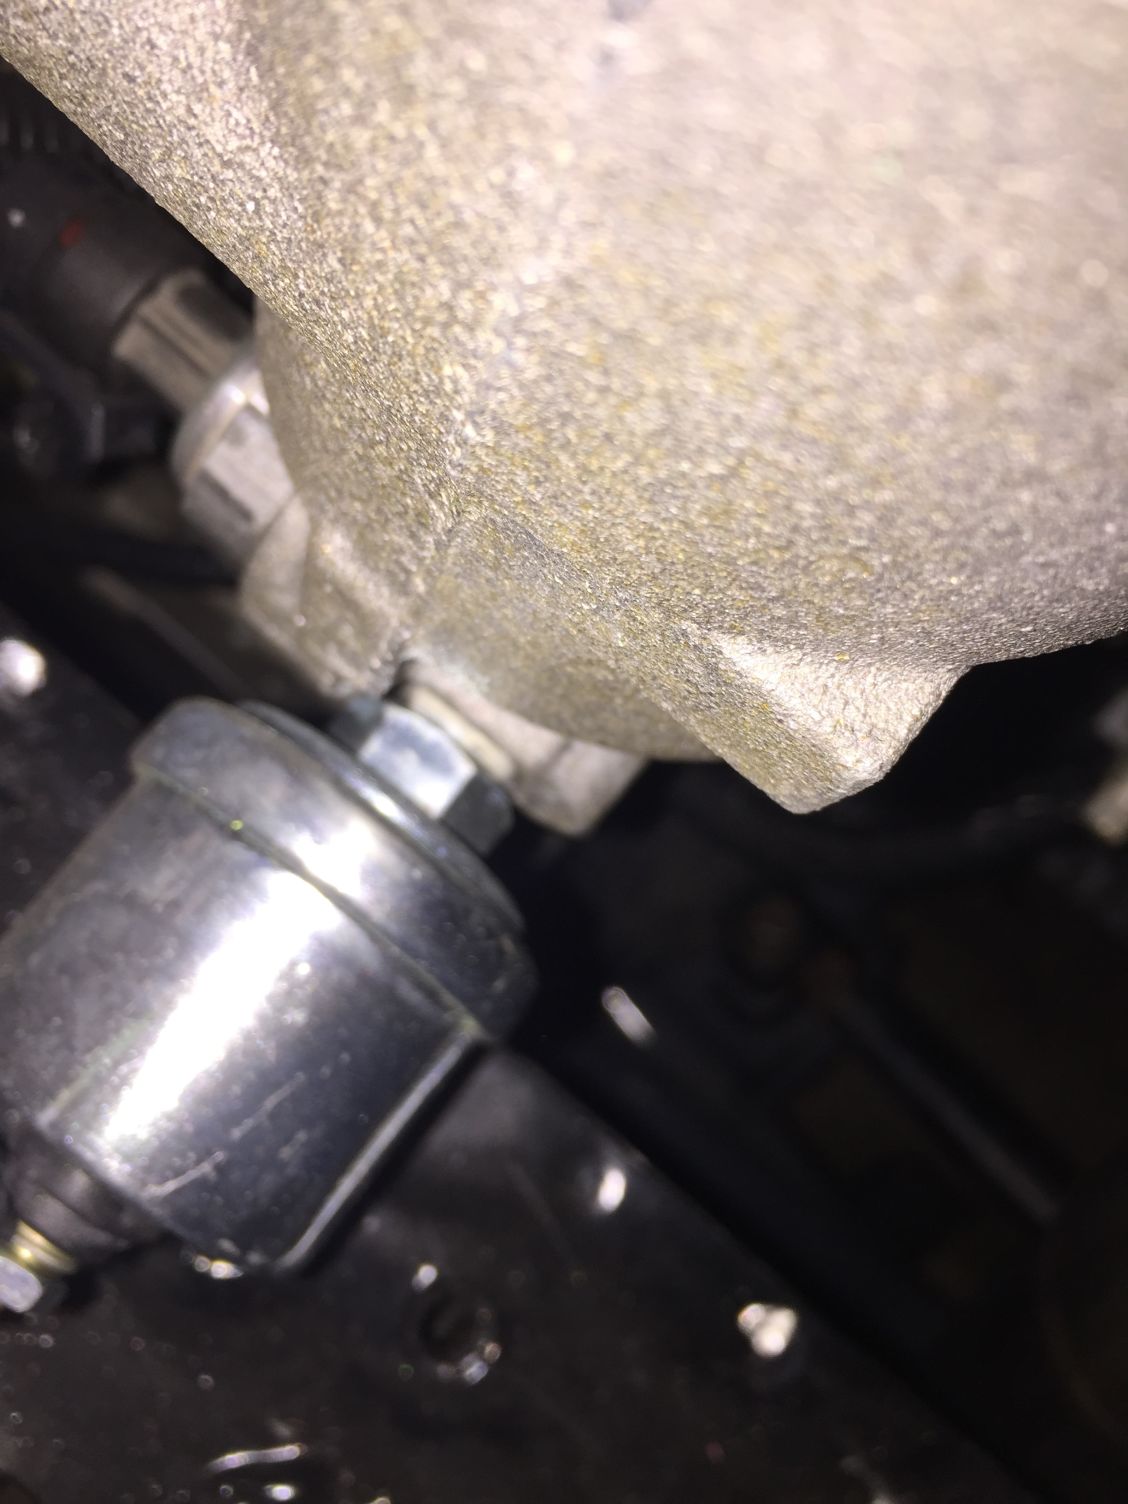
Oil gauge: this one is lots of fun. You need to remove the filter housing in order to drill and tap into the same oil galley thay the stock gauge sending unit taps into. Hard to find anywhere else, and this is where V8r told me to tap into. I would say that a drill press is mandatory. There's not a lot of room for error here.
on the side of the filter housing:
Just a reminder, you'll be using a NPT tap. Do not run the tap all the way in. You'll likely bottom out the sending unit before you fully tighten up the treads. 2/3rds of the tap run in is probably fine. Once done, clean the filter housing, then clean it agian, and then clean it again for good luck. No upside in metal shavings finding their way into the engine.
water temp: this one is a little easier. Under the water neck, there is a flat boss area that is easy to drill and tap for the sending unti. I was able to do this without removing the water neck by blocking the passage way into the engine from inside the water neck and hitting the opening with the shop vac to make sure any metal shavings were not left behind.
Volt gauge: pick up an ignition hot wire.
Fuel gauge, pickip the factory sender output and follow the speedhut programjng instructions for setting full and empty settings. Pretty nice compared to set Ohm ranges on other gauges.
on your check engine light, I put mine (painless wiring led) in the center ofnthe gauges. It should glow lightly when normal and bright when it's tripped a code. The ecu provides the ground, and you provide the 12v.
For headlight high beem indicators, you need to tap into the miata solid red wire from the instrument cluster. Left turn is the green w/black wire, right turn is green w/ white wire. These little led indicators are built into the speedo.
Speedhut provides a convenient daisy chain to power the gauges along with a dimmer, so that is nice.
I've probably missed a few things here and there, but please feel free to let me lnow of any questions.
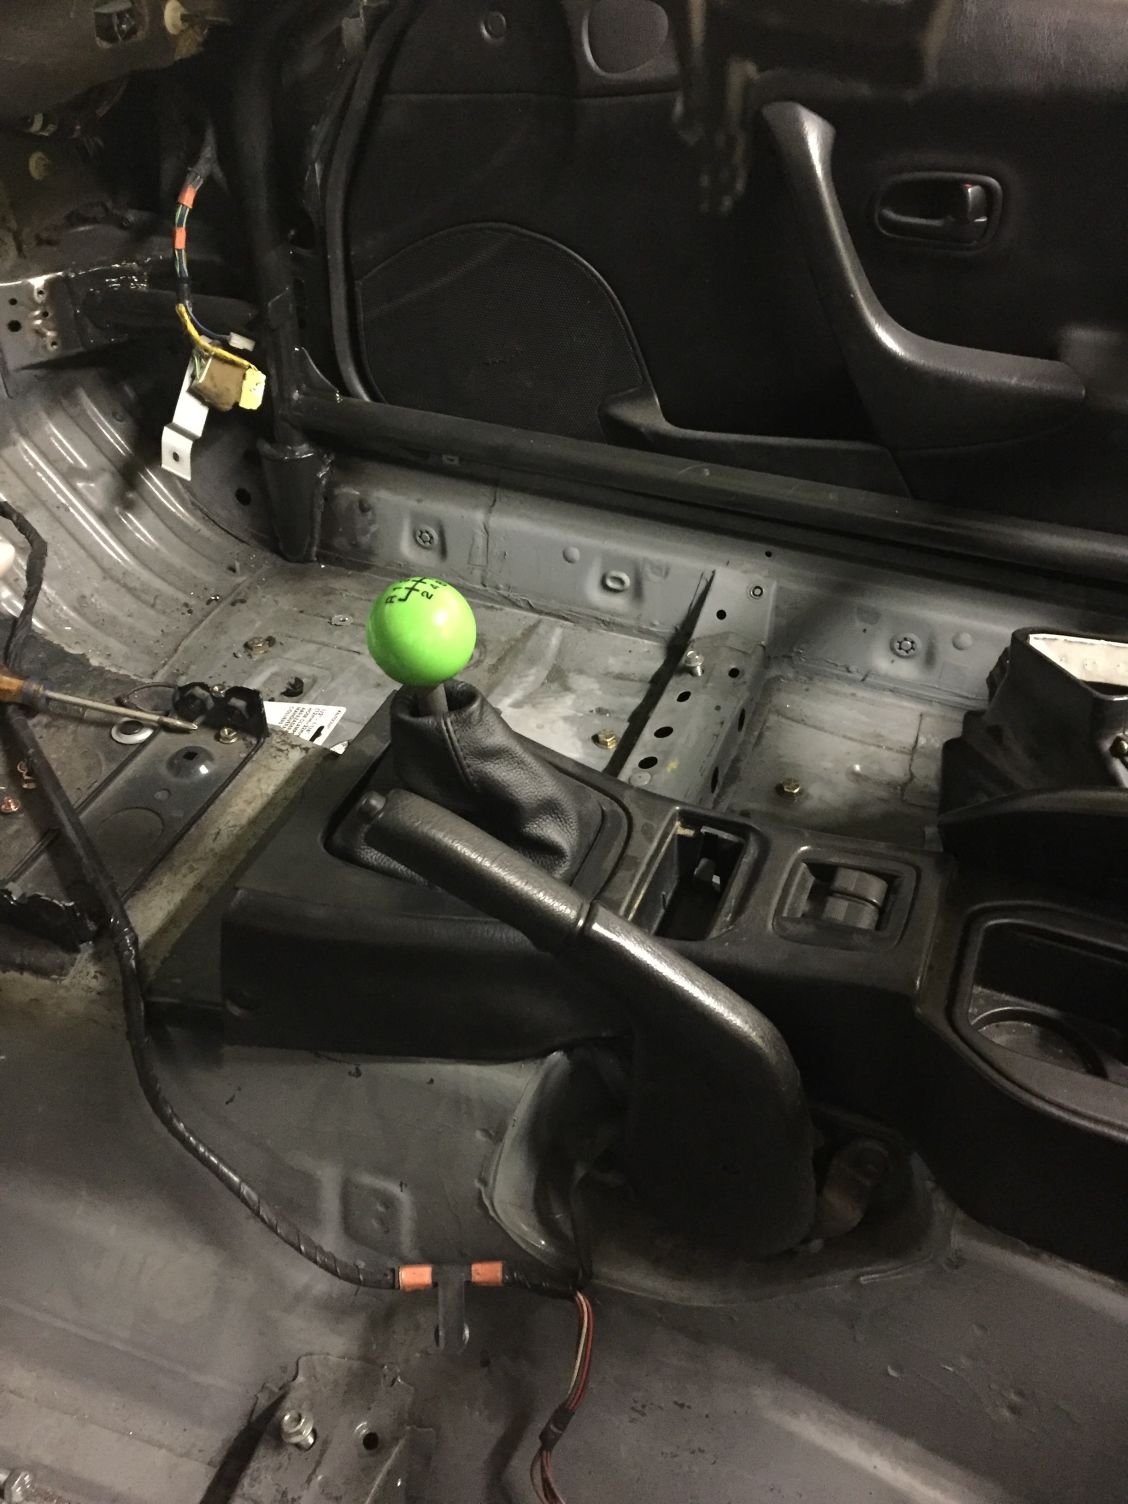
And just in case you're really crazy, speed dawg can send you a custom shift **** to match your gauges with the proper shift pattern.
Also, speedhut offers a set of Can Bus gauges that I wanted to try but decided against it. These would have been basically plug and play, with no drilling and tapping. After seeing one of the guys on the Atlanta forum wasn't able to run Can Bus gauges on his LFX, and reading (correctly or incorrectly) that the ecu could only run one device via can bus at a time, I decided to go this route since I will probably be running a obdii port dongle at some point and would want my gauges still working. Again, I could be off in those assumptions, but felt running traditional gauges was a sure way of knowing everything would work.
I think you've parsed that incorrectly on the canbus - carnut169 used a racepak (93 Miata LFX build - Page 4) that could read canbus. And the ECU can certainly support more than one device - heck, we've gotten rid of the transmission, body, and dash (camaro gauge cluster is largely canbus driven) controllers.
I think you've parsed that incorrectly on the canbus - carnut169 used a racepak (93 Miata LFX build - Page 4) that could read canbus. And the ECU can certainly support more than one device - heck, we've gotten rid of the transmission, body, and dash (camaro gauge cluster is largely canbus driven) controllers.
Thanks, pretty big day after plenty of (smallish, annoying) problems.
Short summary:
HPTuners application key incorrect (shipping snafu, wrong SN).
Tuning laptop would reboot if you breathed on it (Battery is dead, a/c port is iffy. It takes ~8 minutes to flash the ECU, didn't want to chance a brick).
Alternative laptop - loaded the software, forgot the FTDI drivers (in an area with 0 cell reception/internet).
And if you can't tell by the test leads hanging around the ECM, I've still gotta make some more changes to the wiring. Radiator fans are functional, fuel pump relay is not. Similar to tunerstudio there are test outputs that you can turn on and off, but most of the HPTuners settings refer to the high pressure pump and I didn't want to chance doing something bad (hydrolocking a cylinder with fuel). Since we have an automatic ECU I need to do a segment flash to a manual transmission to get the VSS working.
I'm debating increasing the wiring integration with the miata fusebox vs a "3 wire" standalone harness that all the cool kids do. Better integration will free up more spots in the auxiliary box that may come in handy when I get around to A/C and overall "cleaner". With standalone, you disconnect 3 wires (and 2 harnesses) at the cost of more spaghetti in the aux box and having to lay ring terminals over top of each other in the miata fusebox.
Called Jason at Enthuza - business is good and he's too busy filling orders to fab an exhaust. But he did recommend a local shop that has a mandrel bender in house. Because (not) racecar, catted, resonated, good tone > flow (within reason). We do want to get the precats ceramic coated.
But now that we know the engine runs and the magic smoke didn't come out of the wires, we can start throwing fluids in and torquing stuff.
"Bolts - hey, this is kinda important. Three times we got the wrong flywheel bolts - kept giving us flex plate bolts. The proper bolts are allen head, not hex head. Oh - and the flywheel bolts aren't evenly spaced. That was a few minutes of confusion and cursing while holding a 30lb flywheel."
Crank to Flywheel - 11569956, 8x req"
Did the bolts for the flywheel work out? The part number you listed is for the v-8 and an 11mm x 1.5 thread. I found Part #11518862 M10X1X15.5)
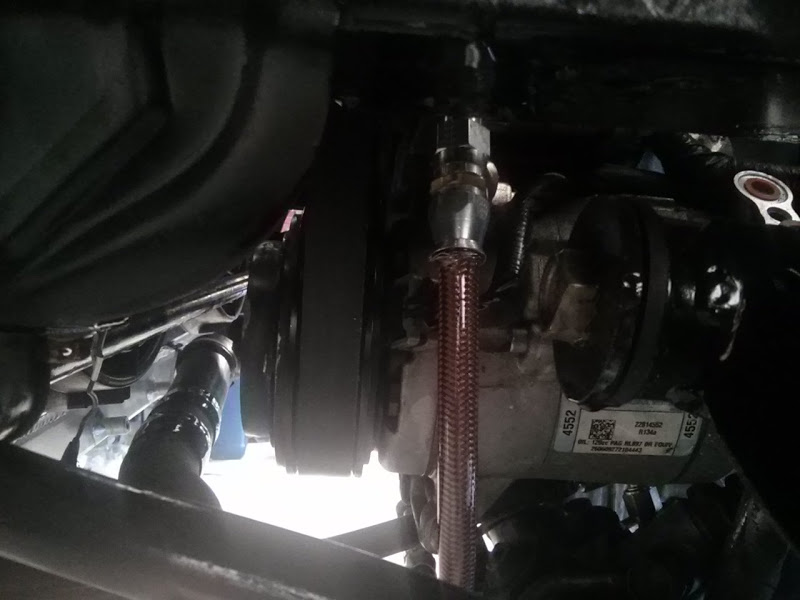
We've been very busy the last couple of days. Had a pinhole leak in the coolant pipe - drained, removed, filled, fixed. Also managed to blow out a power steering hose (my fault.. had a stainless braid get caught in the olive.. good news is you can buy a premade length for $30).
Shoved some 2.25 flex pipe over the exhaust stubs yesterday to redirect the flames away from the body and ran the engine all the way up to 210 degrees. No more leaks to report. And once again I'm re-re-rewiring the fuse box(es).
Right now I'm playing with ideas on how to better run the fuel pump. Turns out the e39 ECM provides a square wave to the fuel pump controller that in turn runs PWM to the pump itself. This signal wire won't work for a relay-switched pump. If it was racecar, the pump would be switchpaneled anyway. But just having the fuelpump turned on with ignition just seems.. hackish, even with the C6 FPR.
"Right now I'm playing with ideas on how to better run the fuel pump. Turns out the e39 ECM provides a square wave to the fuel pump controller that in turn runs PWM to the pump itself. This signal wire won't work for a relay-switched pump. If it was racecar, the pump would be switchpaneled anyway. But just having the fuelpump turned on with ignition just seems.. hackish, even with the C6 FPR."
PWM? Pulse width modulator? Hmmm... a square wave that's odd. Is the engine supposed to vary the fuel pressure?


 0
0