
Project Kimiko


Thread Starter
Junior Member
iTrader: (3)
Joined: Mar 2014
Posts: 77
Total Cats: 0
From: North Houston
So I went ahead and changed my screen name. The ibange/iBang SN I've used forever is older than dirt and I've really moved on from that, so yeah, before anyone gets confused... same guy.
Still no more work done but I did get one of these on order:
I needed one for my BMW and I have a sponsorship for that car from nonstoptuning. Mike, the owner of NST, was kind enough to let me toss in another one for the miata at the same time so cool. The long hub I have on there presently puts a deep corn wheel a long way from the blinker and wiper stalks which I always found a little annoying plus I don't like the look of the cheap one I have on there right now. This nice solid aluminum piece should take care of both issues at the same time.
I STILL haven't have the combination of time and good weather to get my SV650 back to my house, fix it up, sell it, and put the money into the remainder of the bodywork for the car but just be patient with me for a bit. Everything will come together eventually.
Reply
 0
0

0
Thread Starter
Junior Member
iTrader: (3)
Joined: Mar 2014
Posts: 77
Total Cats: 0
From: North Houston
More parts in. I ran across these on craigslist the other day and couldn't say no. I'm tapped for the next couple months but I have the matched pair of Elise probax leather seats that I wanted.
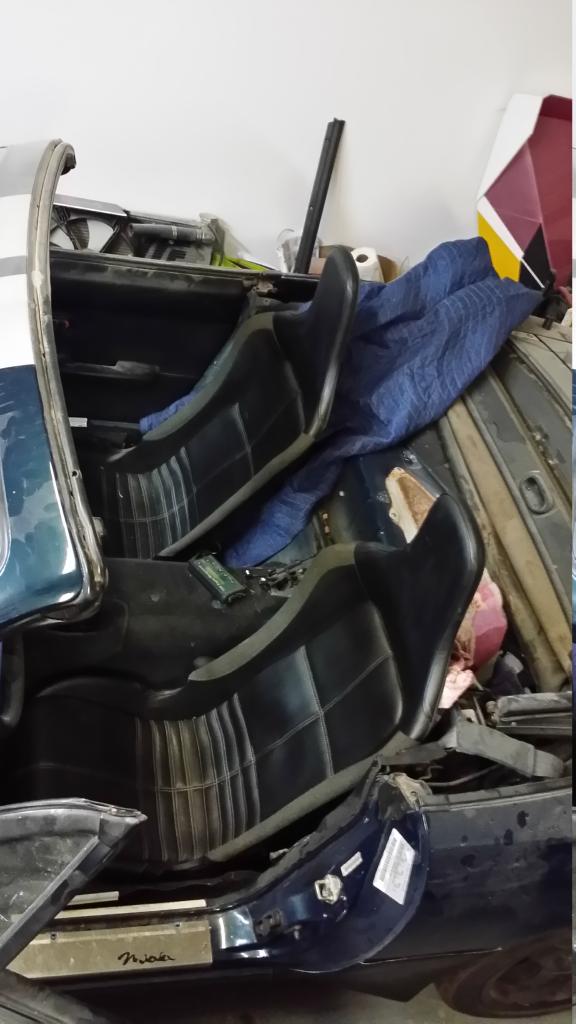
This is actually kind of fun since until I get my bike sold I don't have the cash for the bodywork so in the mean time I can play around with the interior and actually get some work done while I'm waiting.

This is actually kind of fun since until I get my bike sold I don't have the cash for the bodywork so in the mean time I can play around with the interior and actually get some work done while I'm waiting.
Reply
0
0
Thread Starter
Junior Member
iTrader: (3)
Joined: Mar 2014
Posts: 77
Total Cats: 0
From: North Houston
I took a little time off from the miata to do an SR20DET swap into a friend's 240SX in my garage. That turned into a three week(end) job but I'm very happy with the end result and so is the owner so that's good.
With that car finally out of my garage last week I decided to build a new bench and cabinet set and get to work on some interior pieces. I've always liked the look and comfort of a shorty console. My miata formerly did not run any center console garnish and as such looked like crap. I decided to fix that.
My main issue with all of the shorty consoles is that they eliminate the cupholders and as a fat American I want somewhere to put my red bull dammit! The solution of course is to make something of my own.
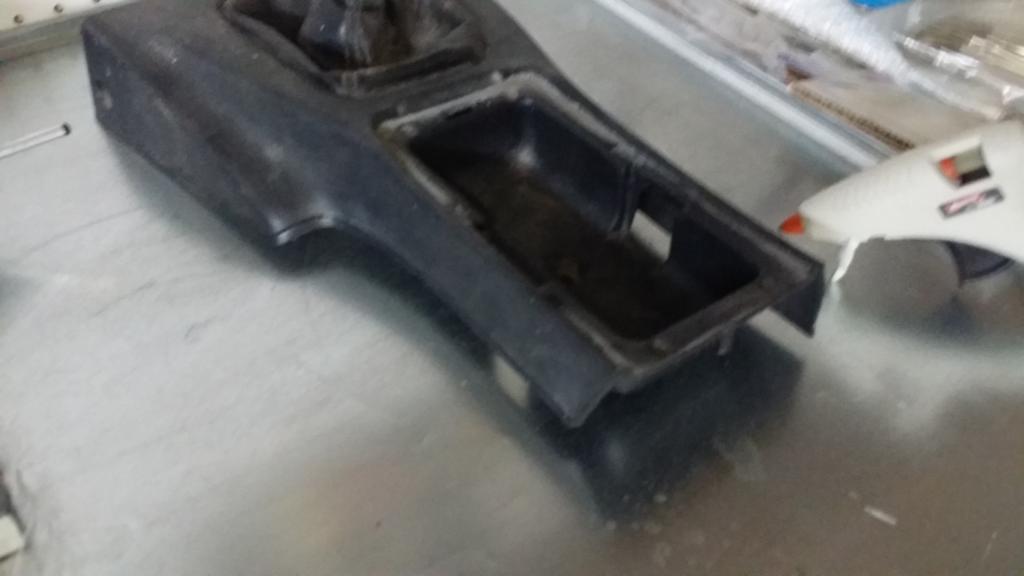
I started with a spare center console and cut it down on my bandsaw:
Then I took some depron foam and used hot glue to mock it up into the shape I wanted.
Not shown is that I actually did the mockup on the back of the console and then broke the hot glue loose.
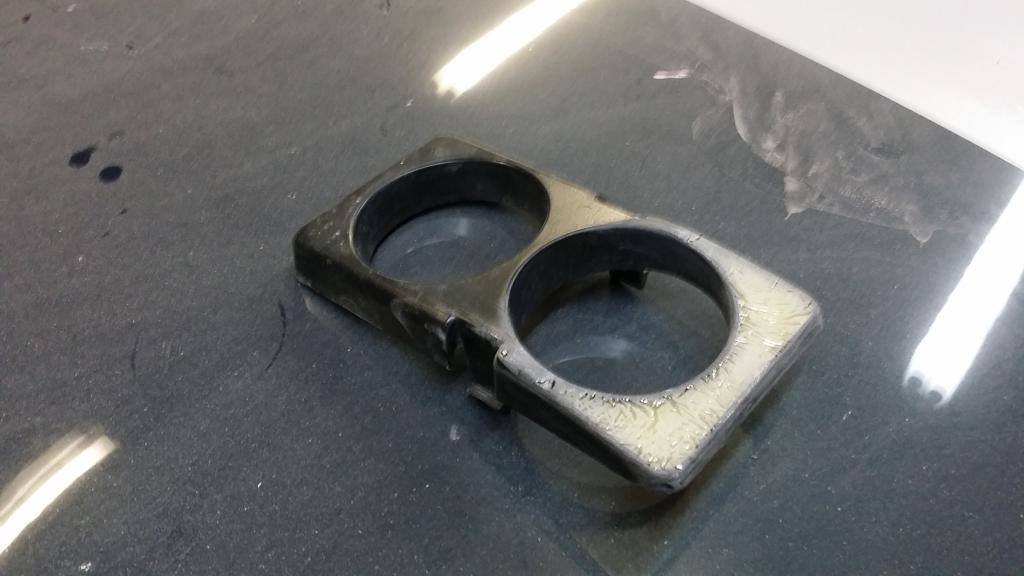
Skipping a few steps here, I realized that the cupholder insert would be very tall on the back side and rub against my arm so I cut it down and used some fiberglass to re-angle it.
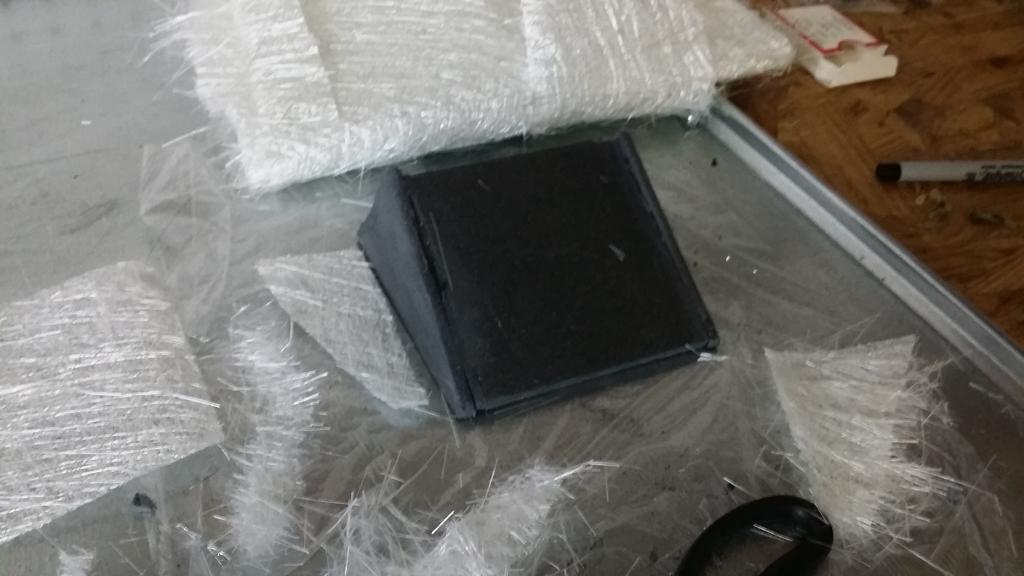
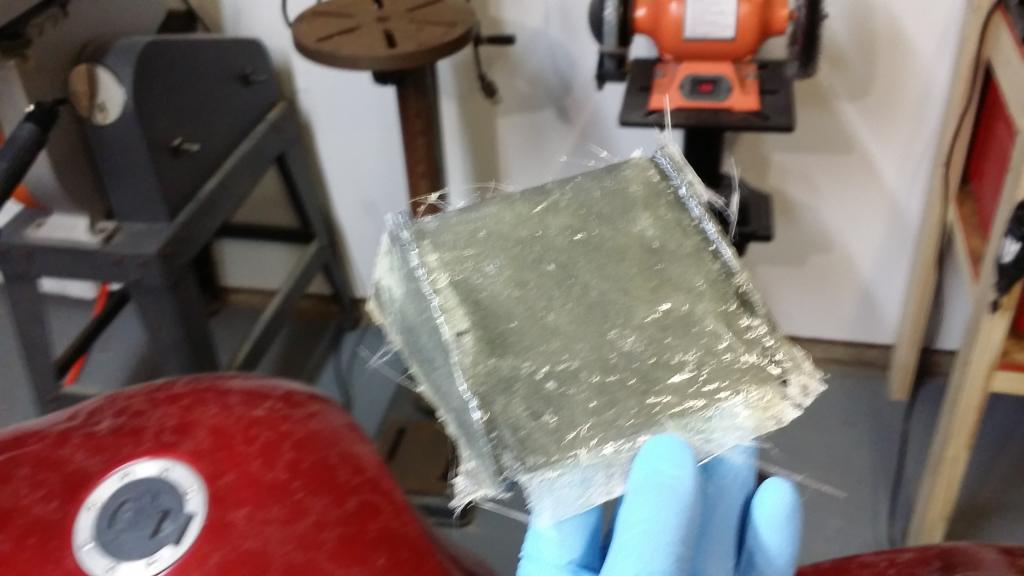
Here a horrible picture of the depron foam mold being covered with a layer of fiberglass mat.
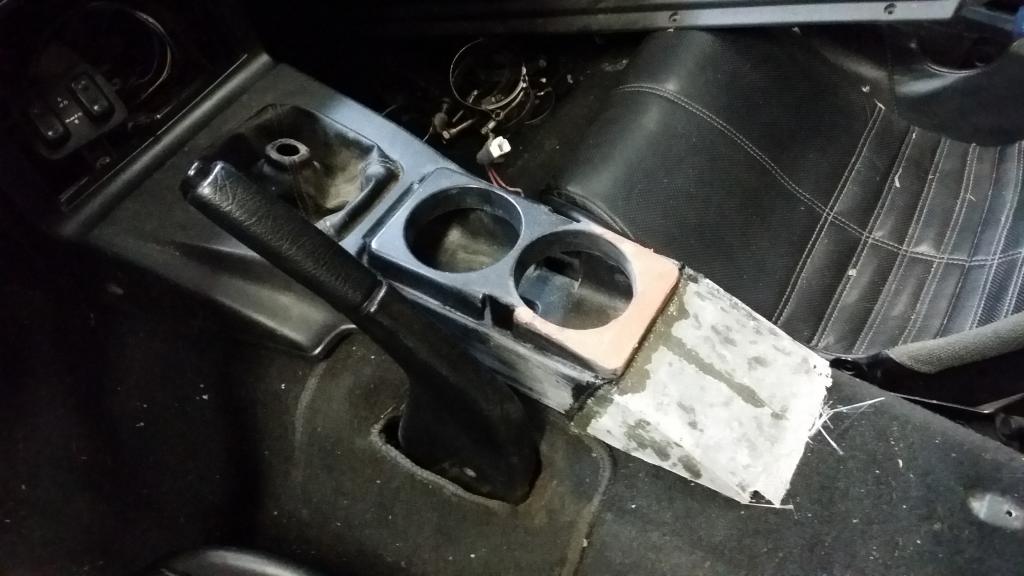
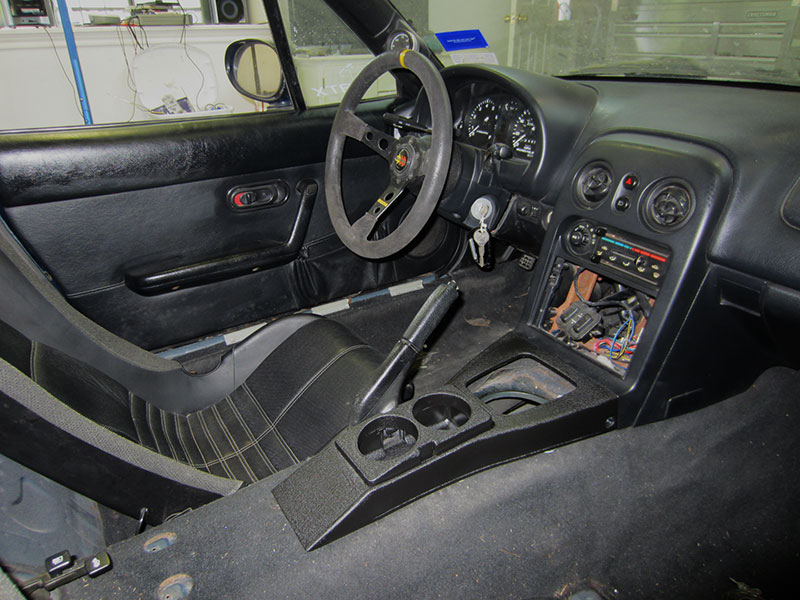
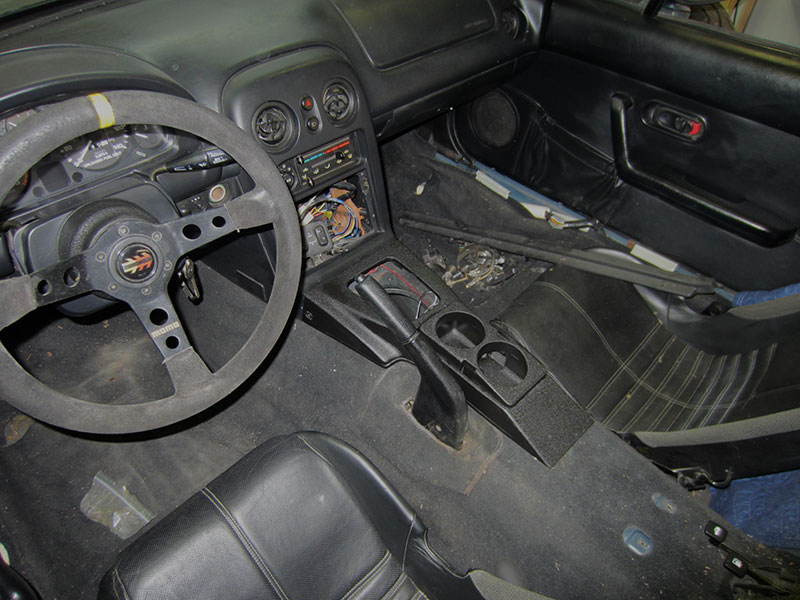
First trial fit in the car, the cupholder has some body filler on it and the console has been sanded a bit.
More epoxy and more sanding later and the shape is starting to emerge.
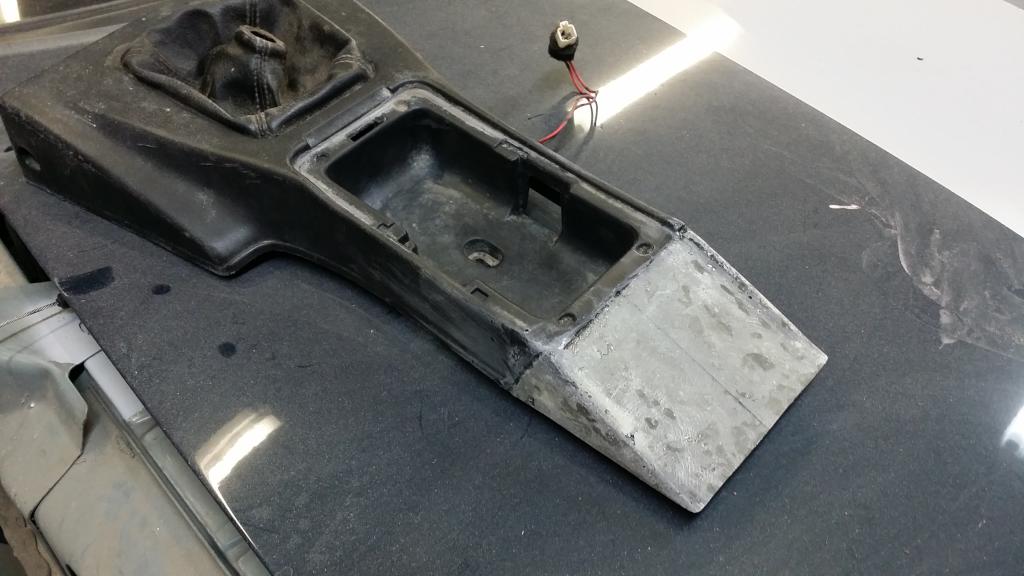
There's actually not a lot of filler that went into this. Most of the work was with spot putty filling pinholes since obviously I didn't go to a lot of trouble to get the glass cloth spot on.
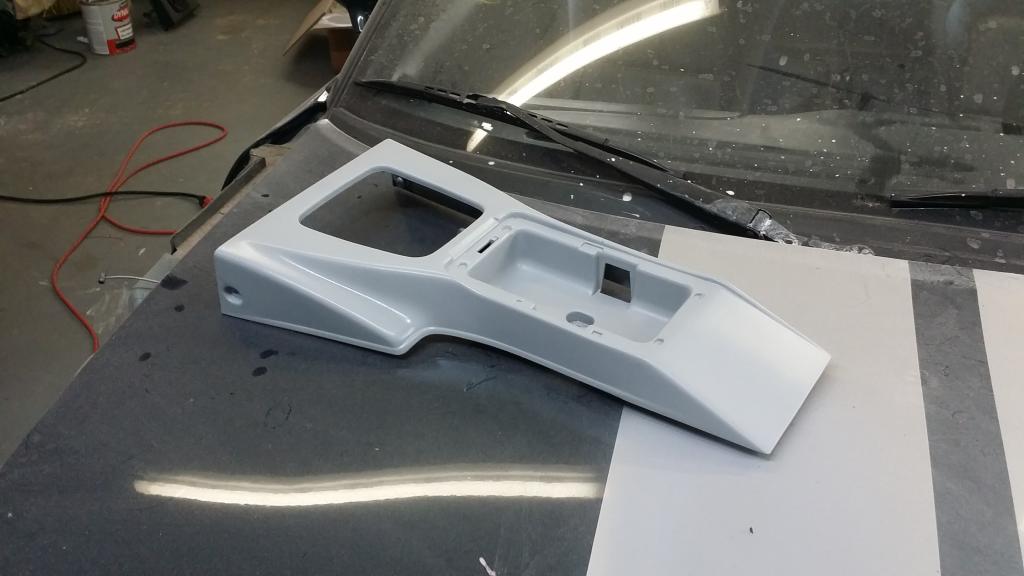
Both parts with a layer of wrinkle paint in place
I'm very happy with how the finished product came out. There's still a few things left to do: The window switches are going to be relocated to the area behind the cupholders, the tombstone needs to be finished in the same wrinkle paint as the console, and then I have to decide if I even like the finish. Its a bit shinier and texture-ier than I would really like but I haven't found a good way to replicate a stock "grain" in paint. I've considered sanding to a smooth finish and covering everything in a 3M carbon fiber wrap or even a hydrodip but again I'm not sure if that's the finish I want to go for. The modern "dry carbon" wrap material looks incredible but I just don't know if it would be too much.
With that car finally out of my garage last week I decided to build a new bench and cabinet set and get to work on some interior pieces. I've always liked the look and comfort of a shorty console. My miata formerly did not run any center console garnish and as such looked like crap. I decided to fix that.
My main issue with all of the shorty consoles is that they eliminate the cupholders and as a fat American I want somewhere to put my red bull dammit! The solution of course is to make something of my own.
I started with a spare center console and cut it down on my bandsaw:

Then I took some depron foam and used hot glue to mock it up into the shape I wanted.

Not shown is that I actually did the mockup on the back of the console and then broke the hot glue loose.
Skipping a few steps here, I realized that the cupholder insert would be very tall on the back side and rub against my arm so I cut it down and used some fiberglass to re-angle it.

Here a horrible picture of the depron foam mold being covered with a layer of fiberglass mat.

First trial fit in the car, the cupholder has some body filler on it and the console has been sanded a bit.

More epoxy and more sanding later and the shape is starting to emerge.

There's actually not a lot of filler that went into this. Most of the work was with spot putty filling pinholes since obviously I didn't go to a lot of trouble to get the glass cloth spot on.

Both parts with a layer of wrinkle paint in place


I'm very happy with how the finished product came out. There's still a few things left to do: The window switches are going to be relocated to the area behind the cupholders, the tombstone needs to be finished in the same wrinkle paint as the console, and then I have to decide if I even like the finish. Its a bit shinier and texture-ier than I would really like but I haven't found a good way to replicate a stock "grain" in paint. I've considered sanding to a smooth finish and covering everything in a 3M carbon fiber wrap or even a hydrodip but again I'm not sure if that's the finish I want to go for. The modern "dry carbon" wrap material looks incredible but I just don't know if it would be too much.
Reply
0
0
Thread Starter
Junior Member
iTrader: (3)
Joined: Mar 2014
Posts: 77
Total Cats: 0
From: North Houston
I'm still on an interior kick and have a lot left to do there. I need to make some sort of upholstered cover for the transmission tunnel. The trunk and fuel door levers need some sort of cover over the mechanism. The carpet cut for a roll cage needs to be removed, the roll cage mounting points need to be welded on a bit and then all sanded in smooth, and then I can mount my spare carpet and decide if its good enough or if the car is going to get a new carpet kit. I need to locate two sets of stock sliders and buy a mounting kit for the lotus seats to mount them onto the sliders. I need to track down all of the stock rear trim pieces that have been hacked to bits over the years for various roll bars and roll cages. I want to do a better job trimming them for the roll bar that will be installed. I also need to track down some NOS OEM seatbelts in black.
There's a lot to do...
There's a lot to do...
Reply
0
0

Thread
Thread Starter
Forum
Replies
Last Post


