Project "Midnite Runner" Miata - Build Thread
#57
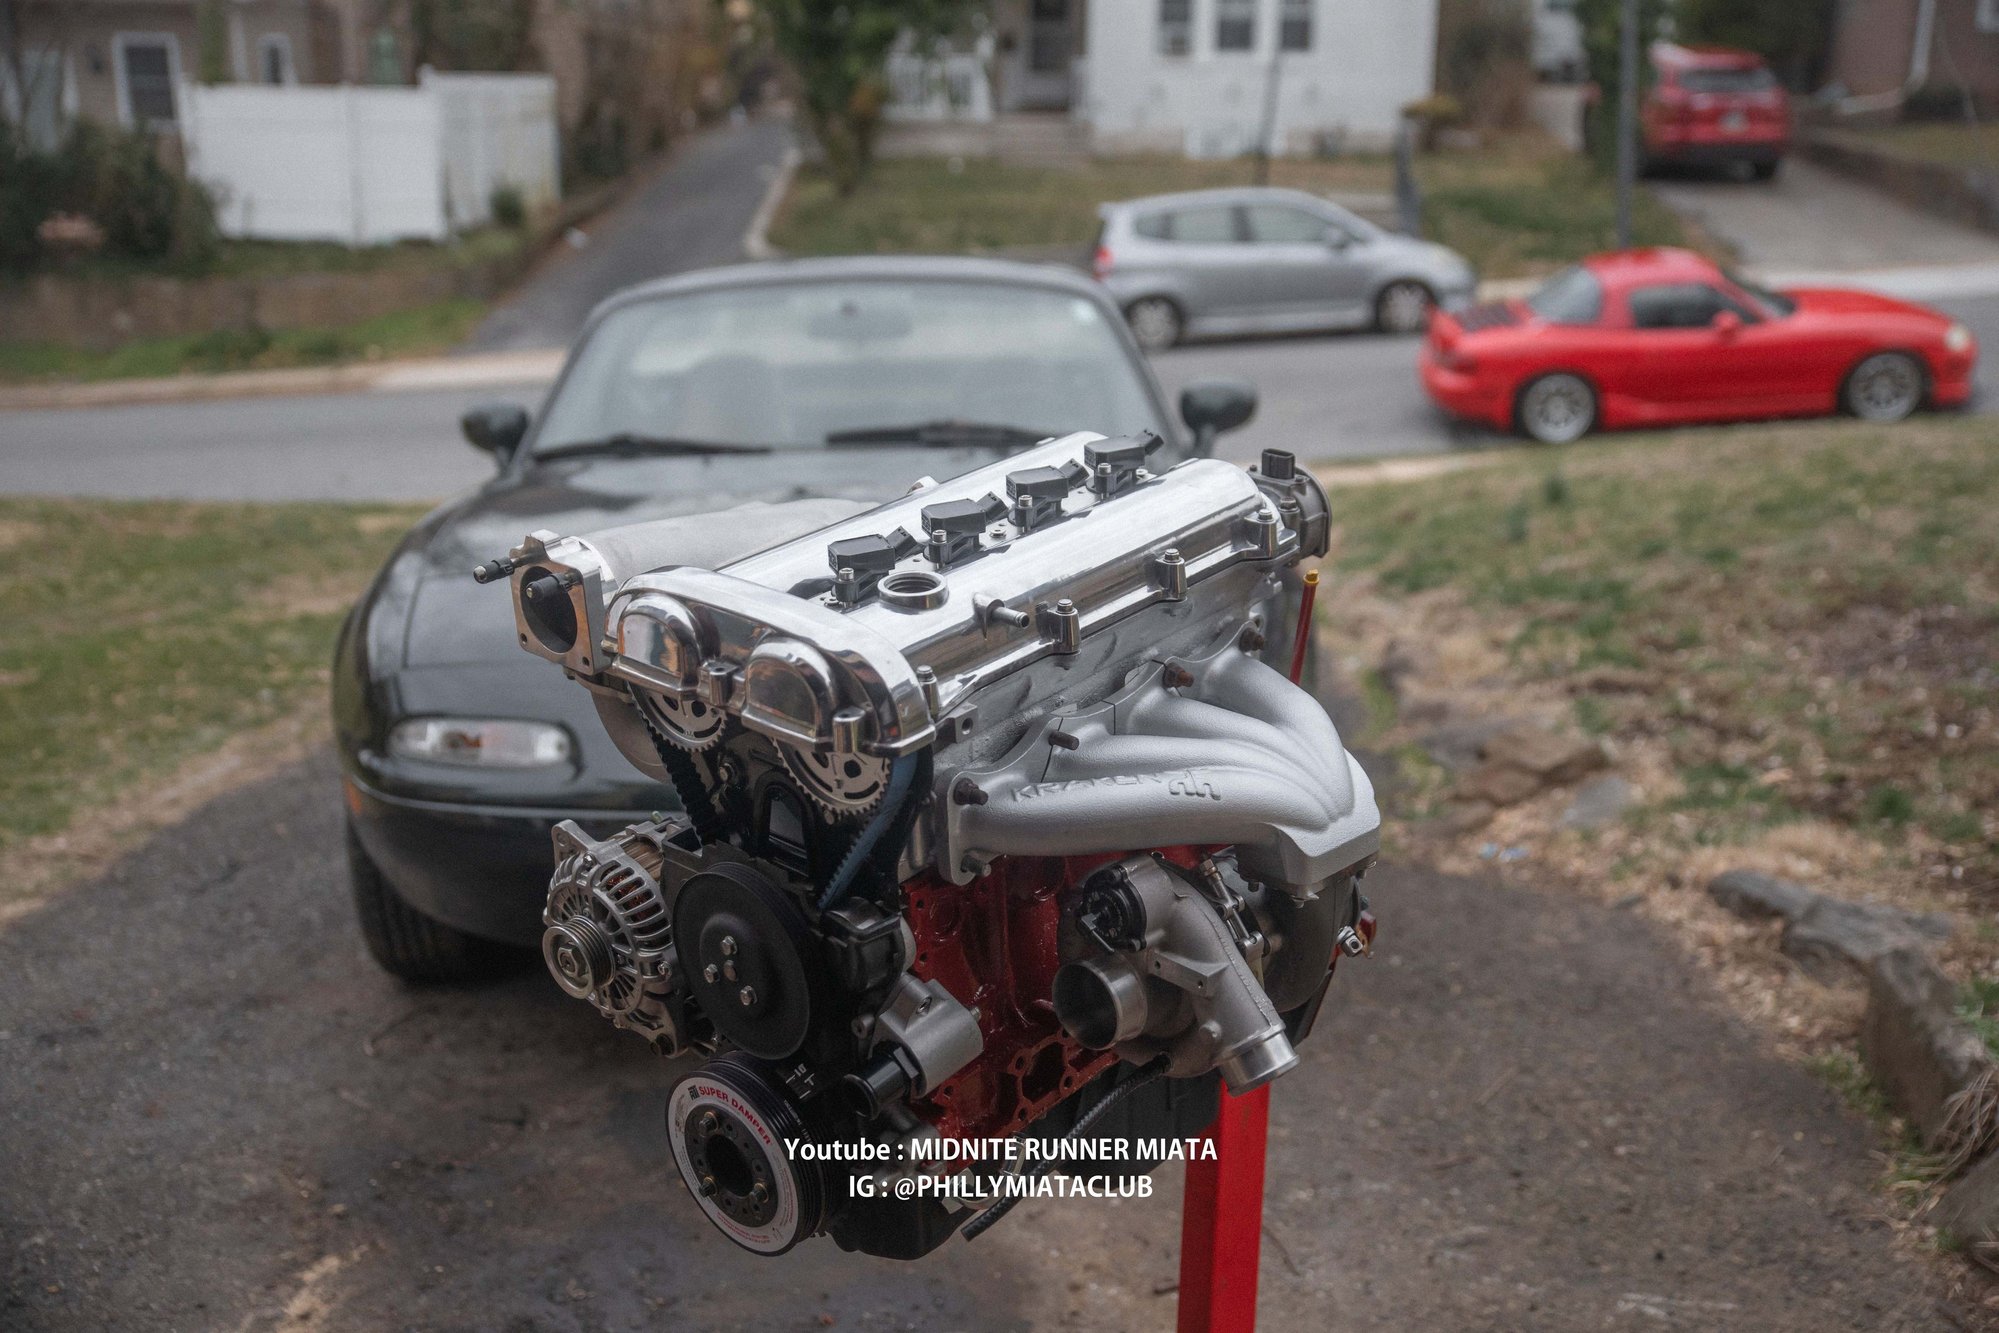
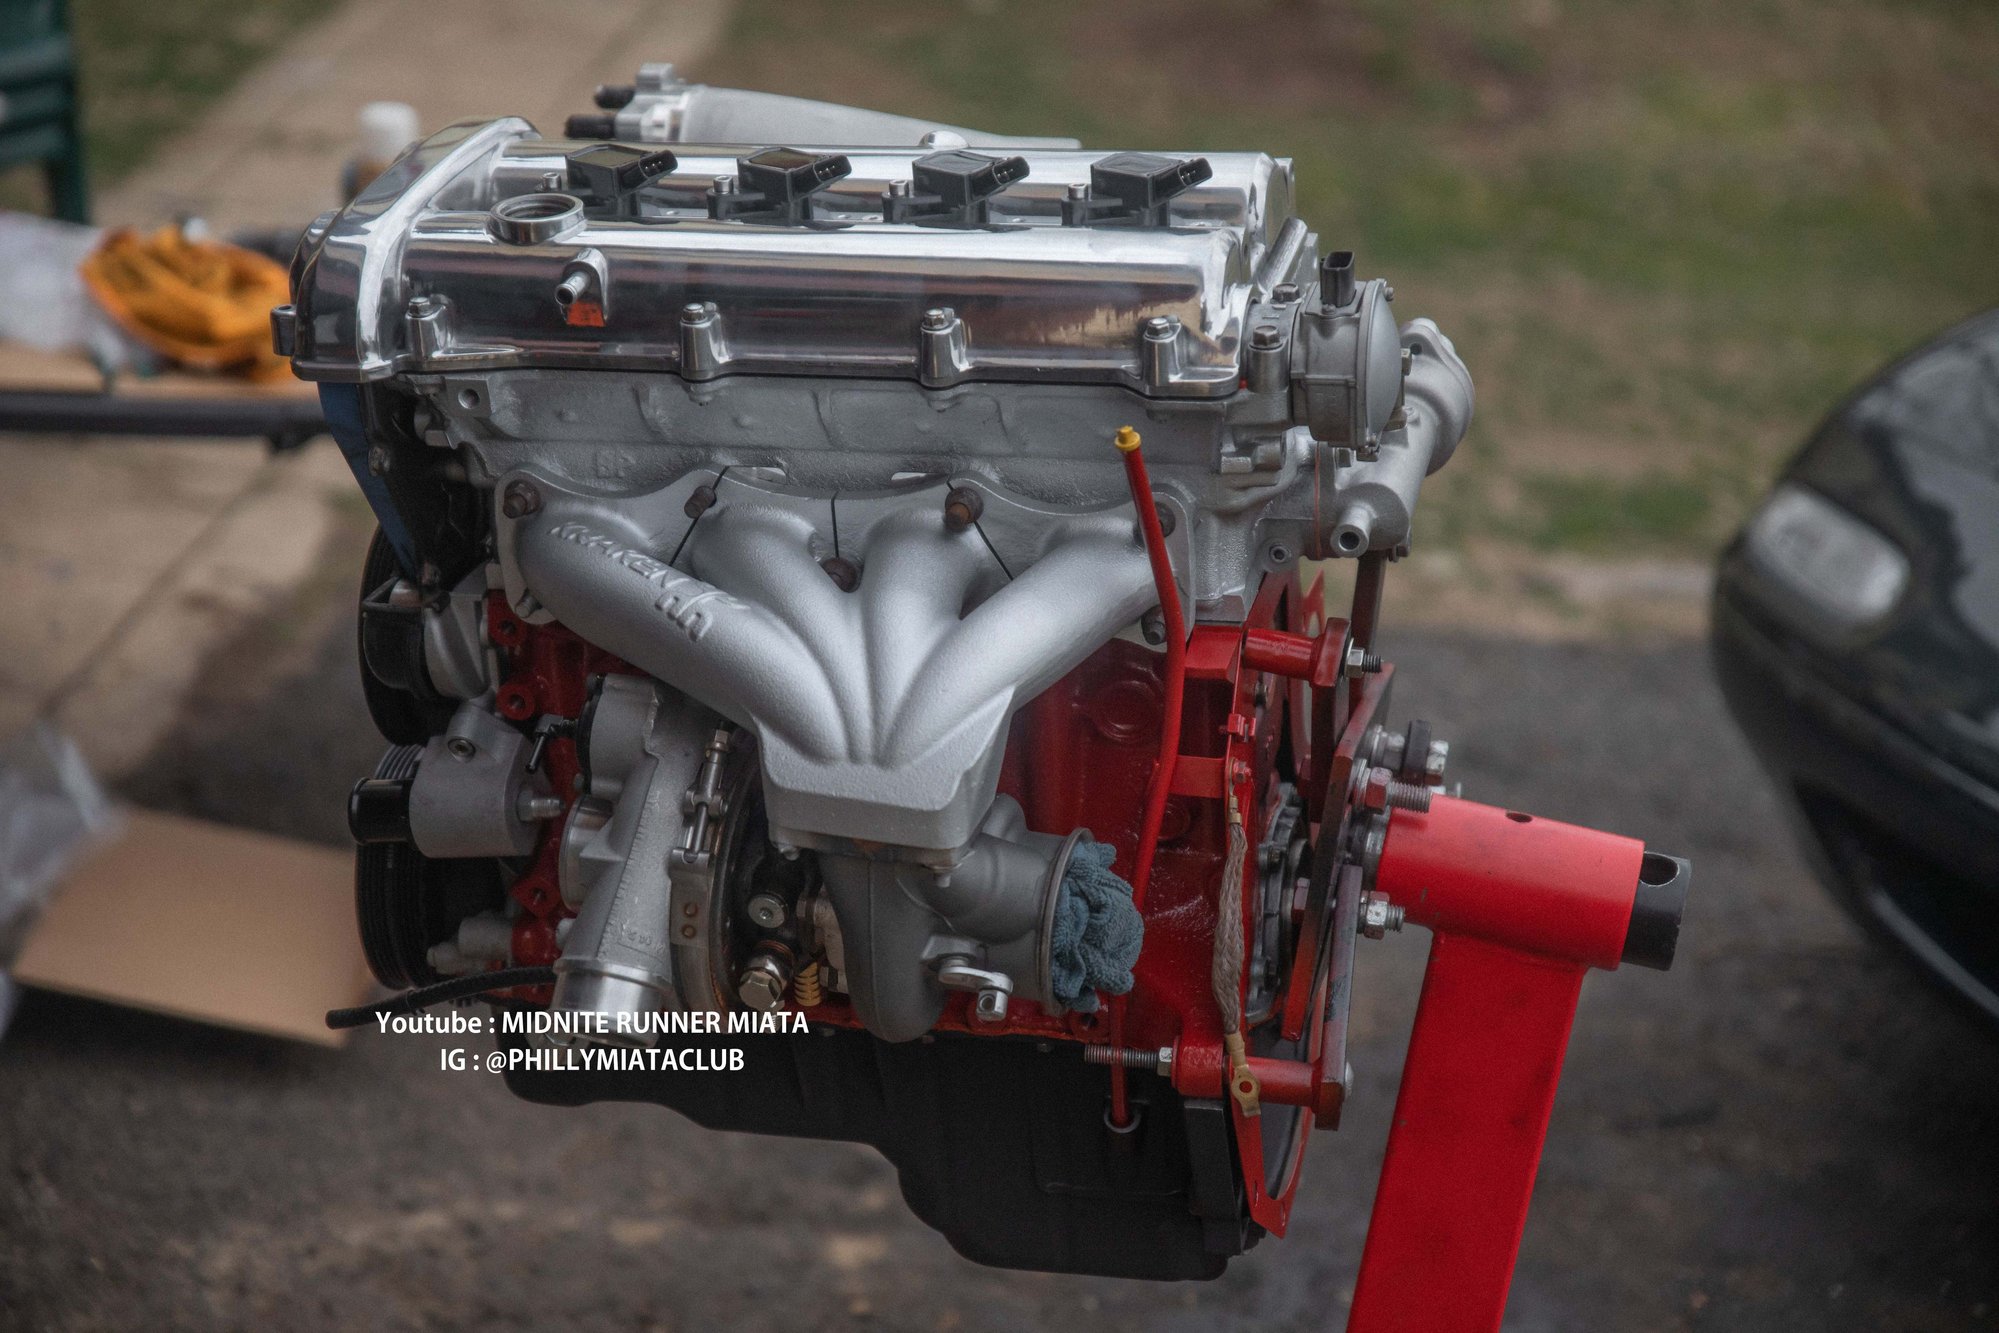
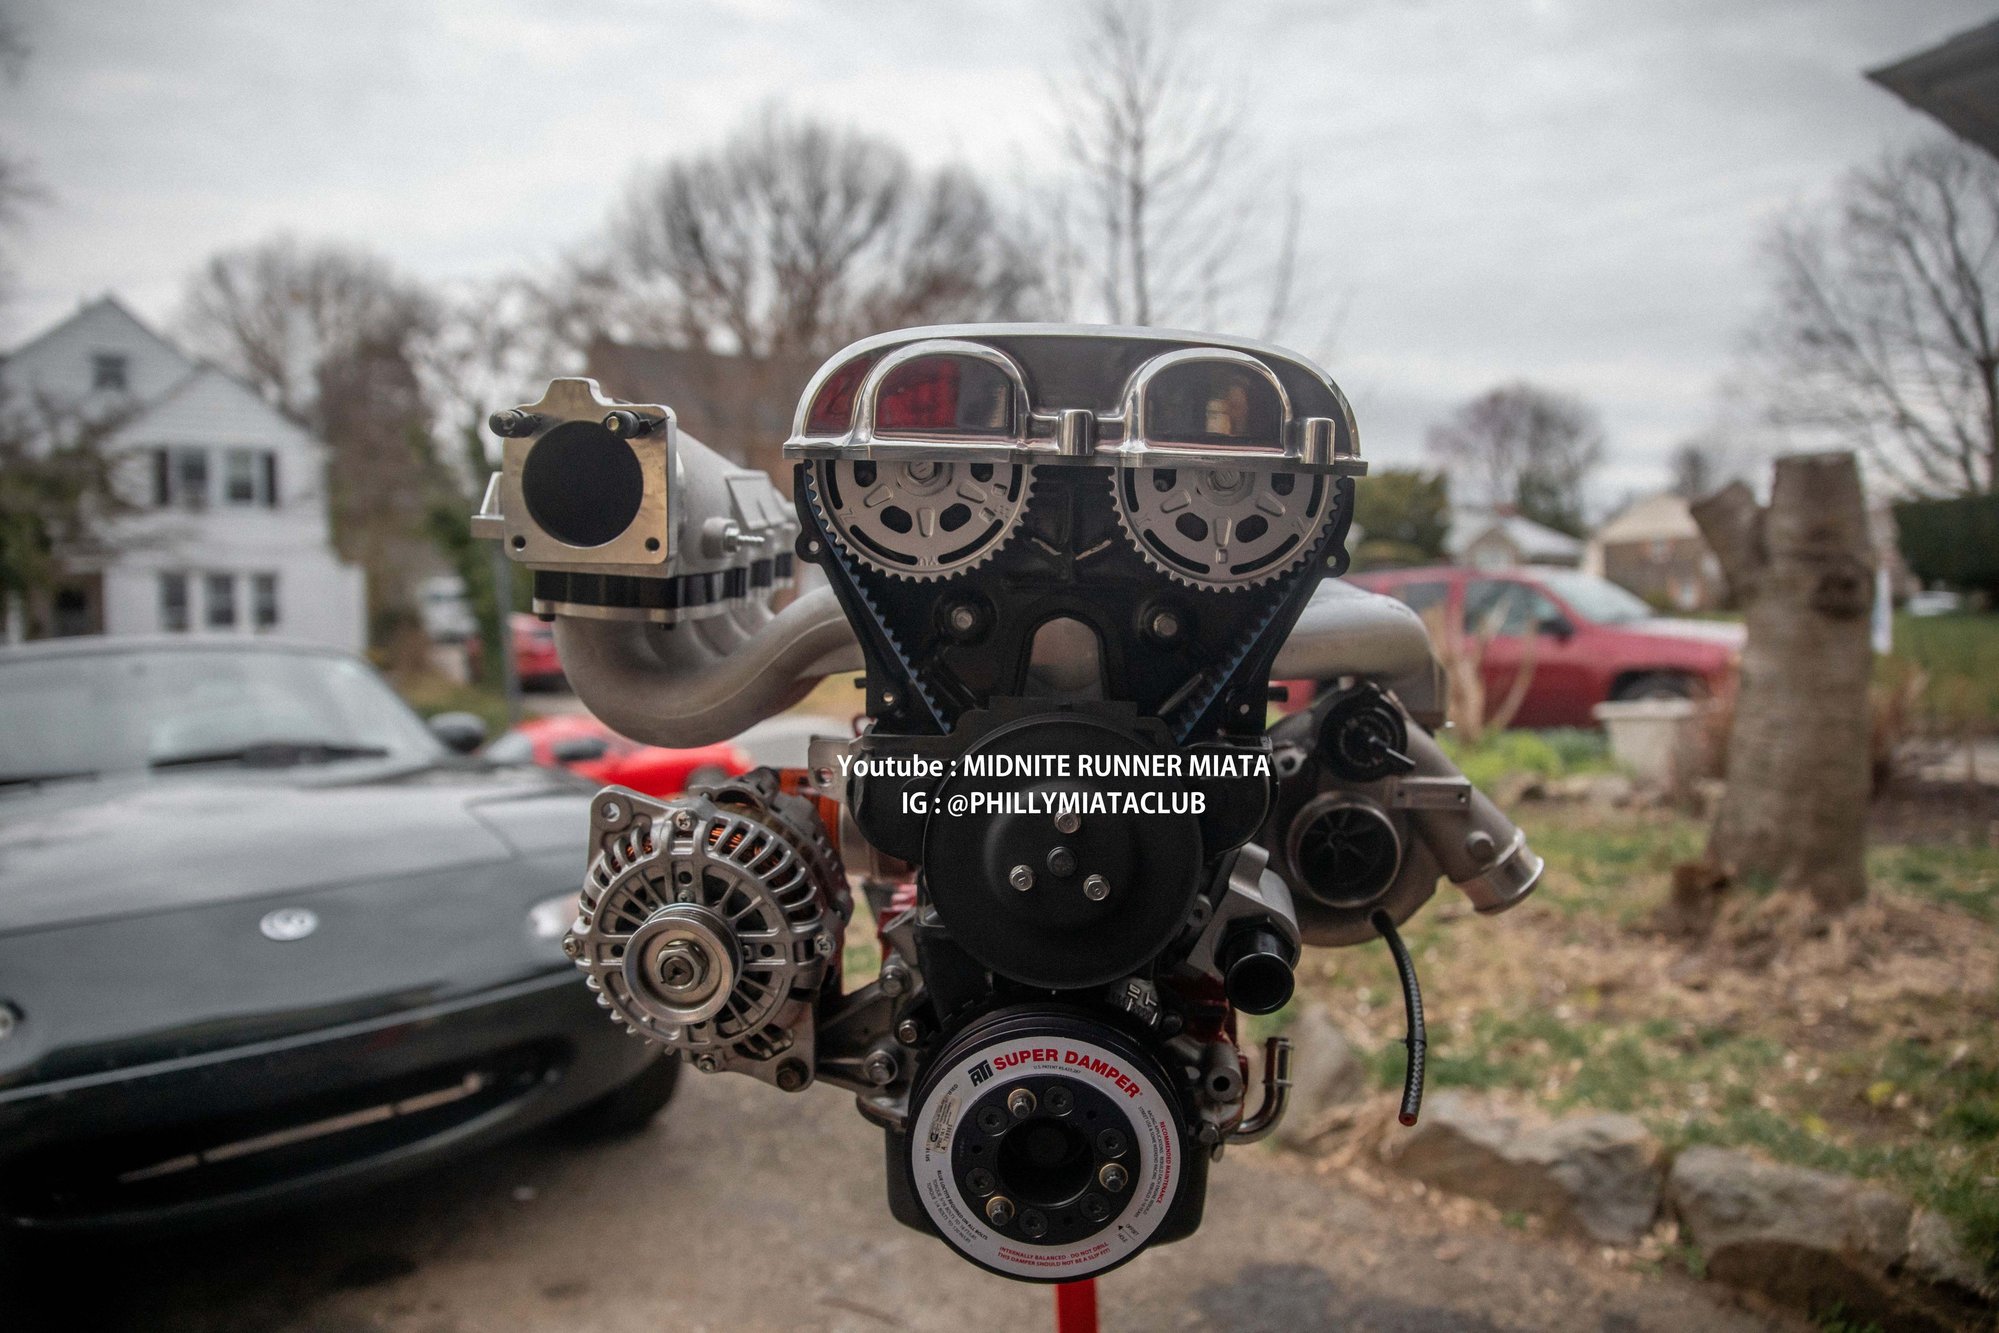
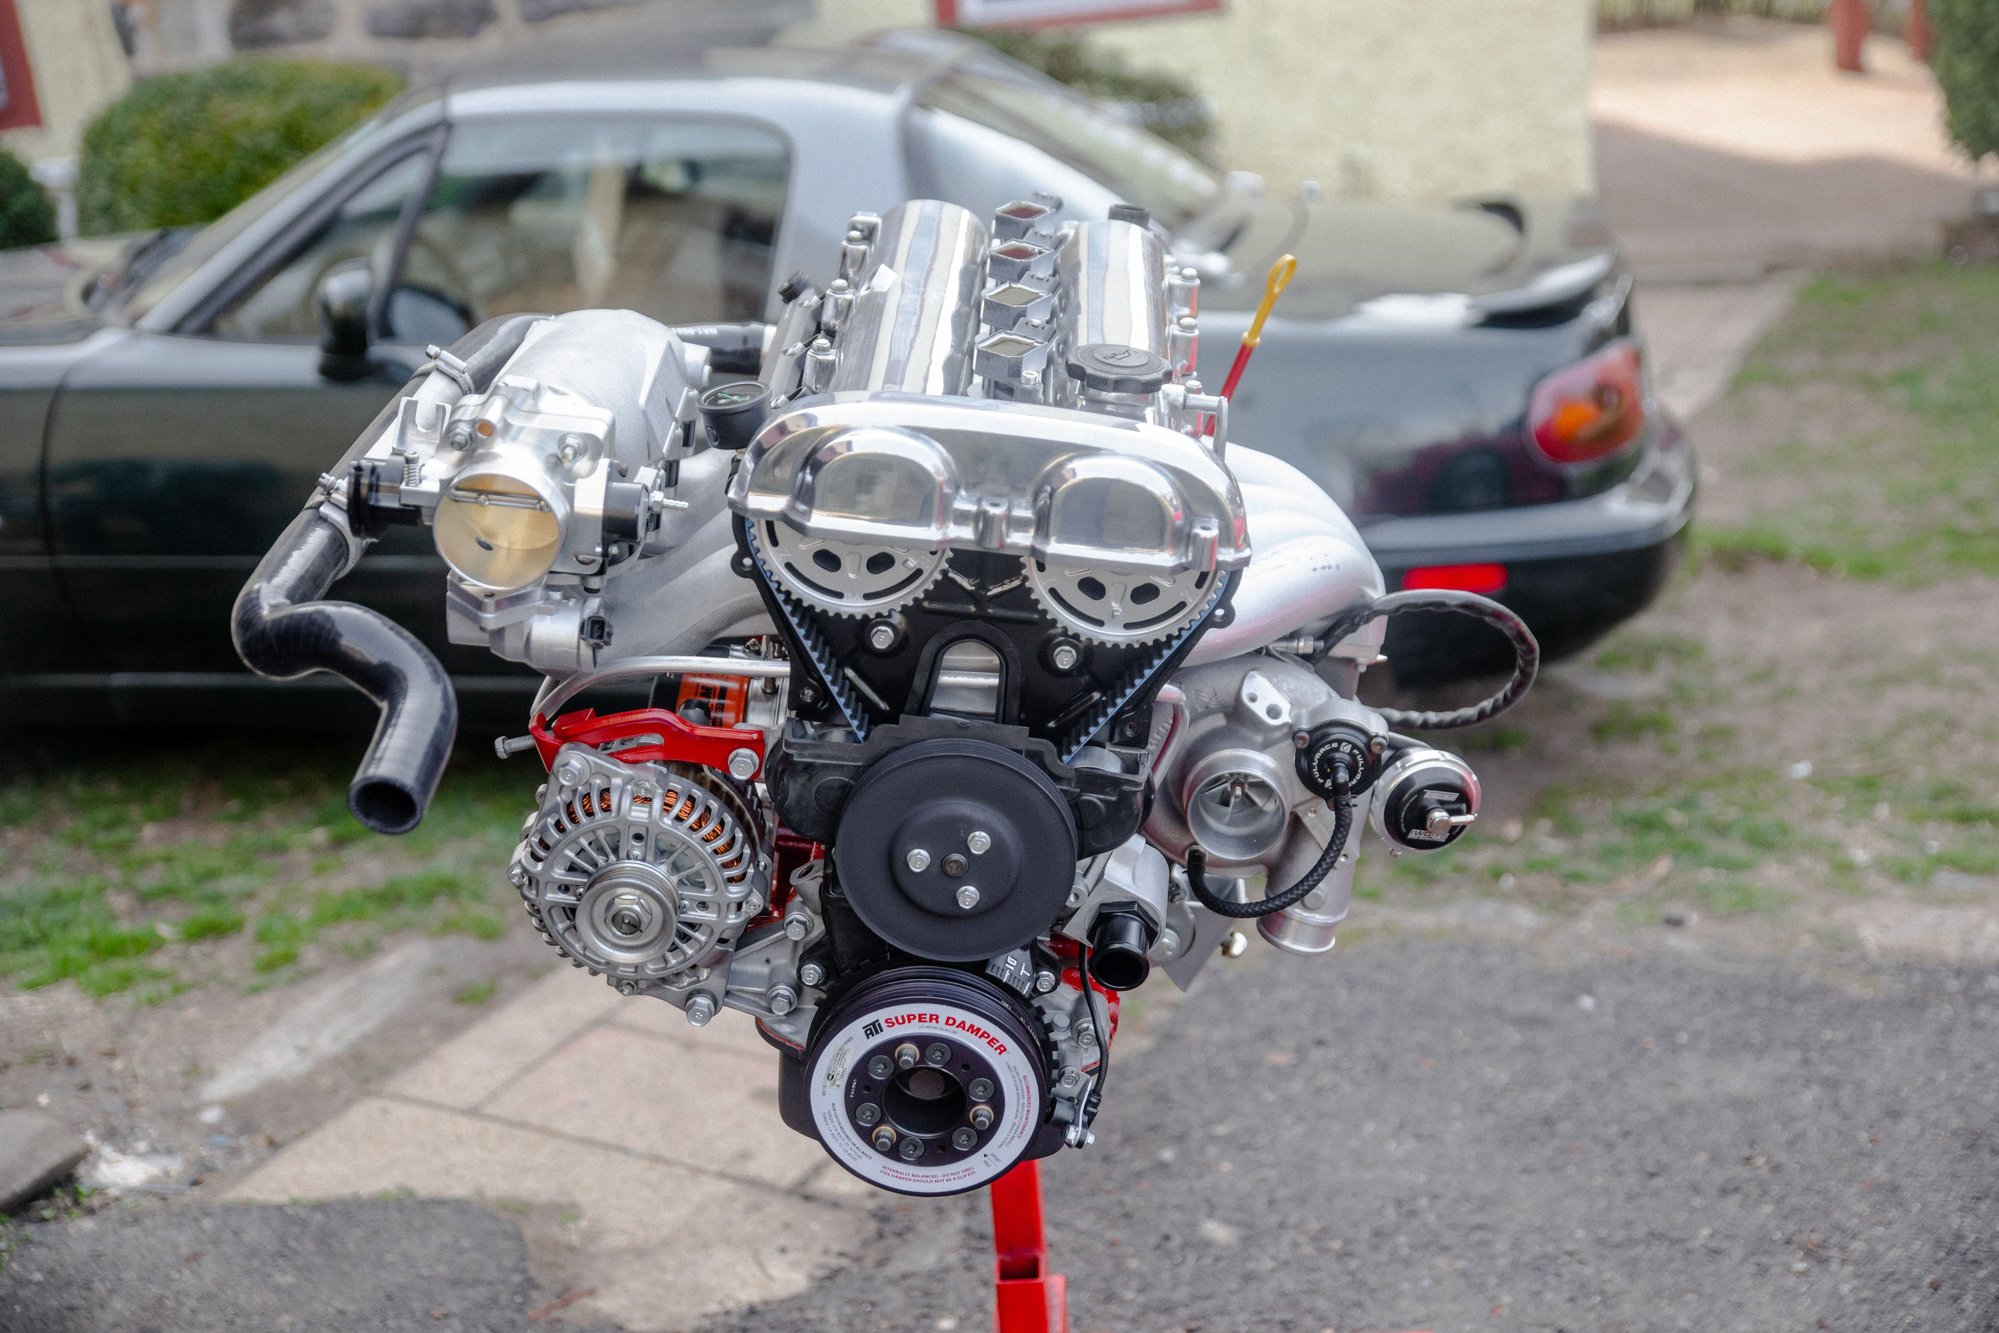
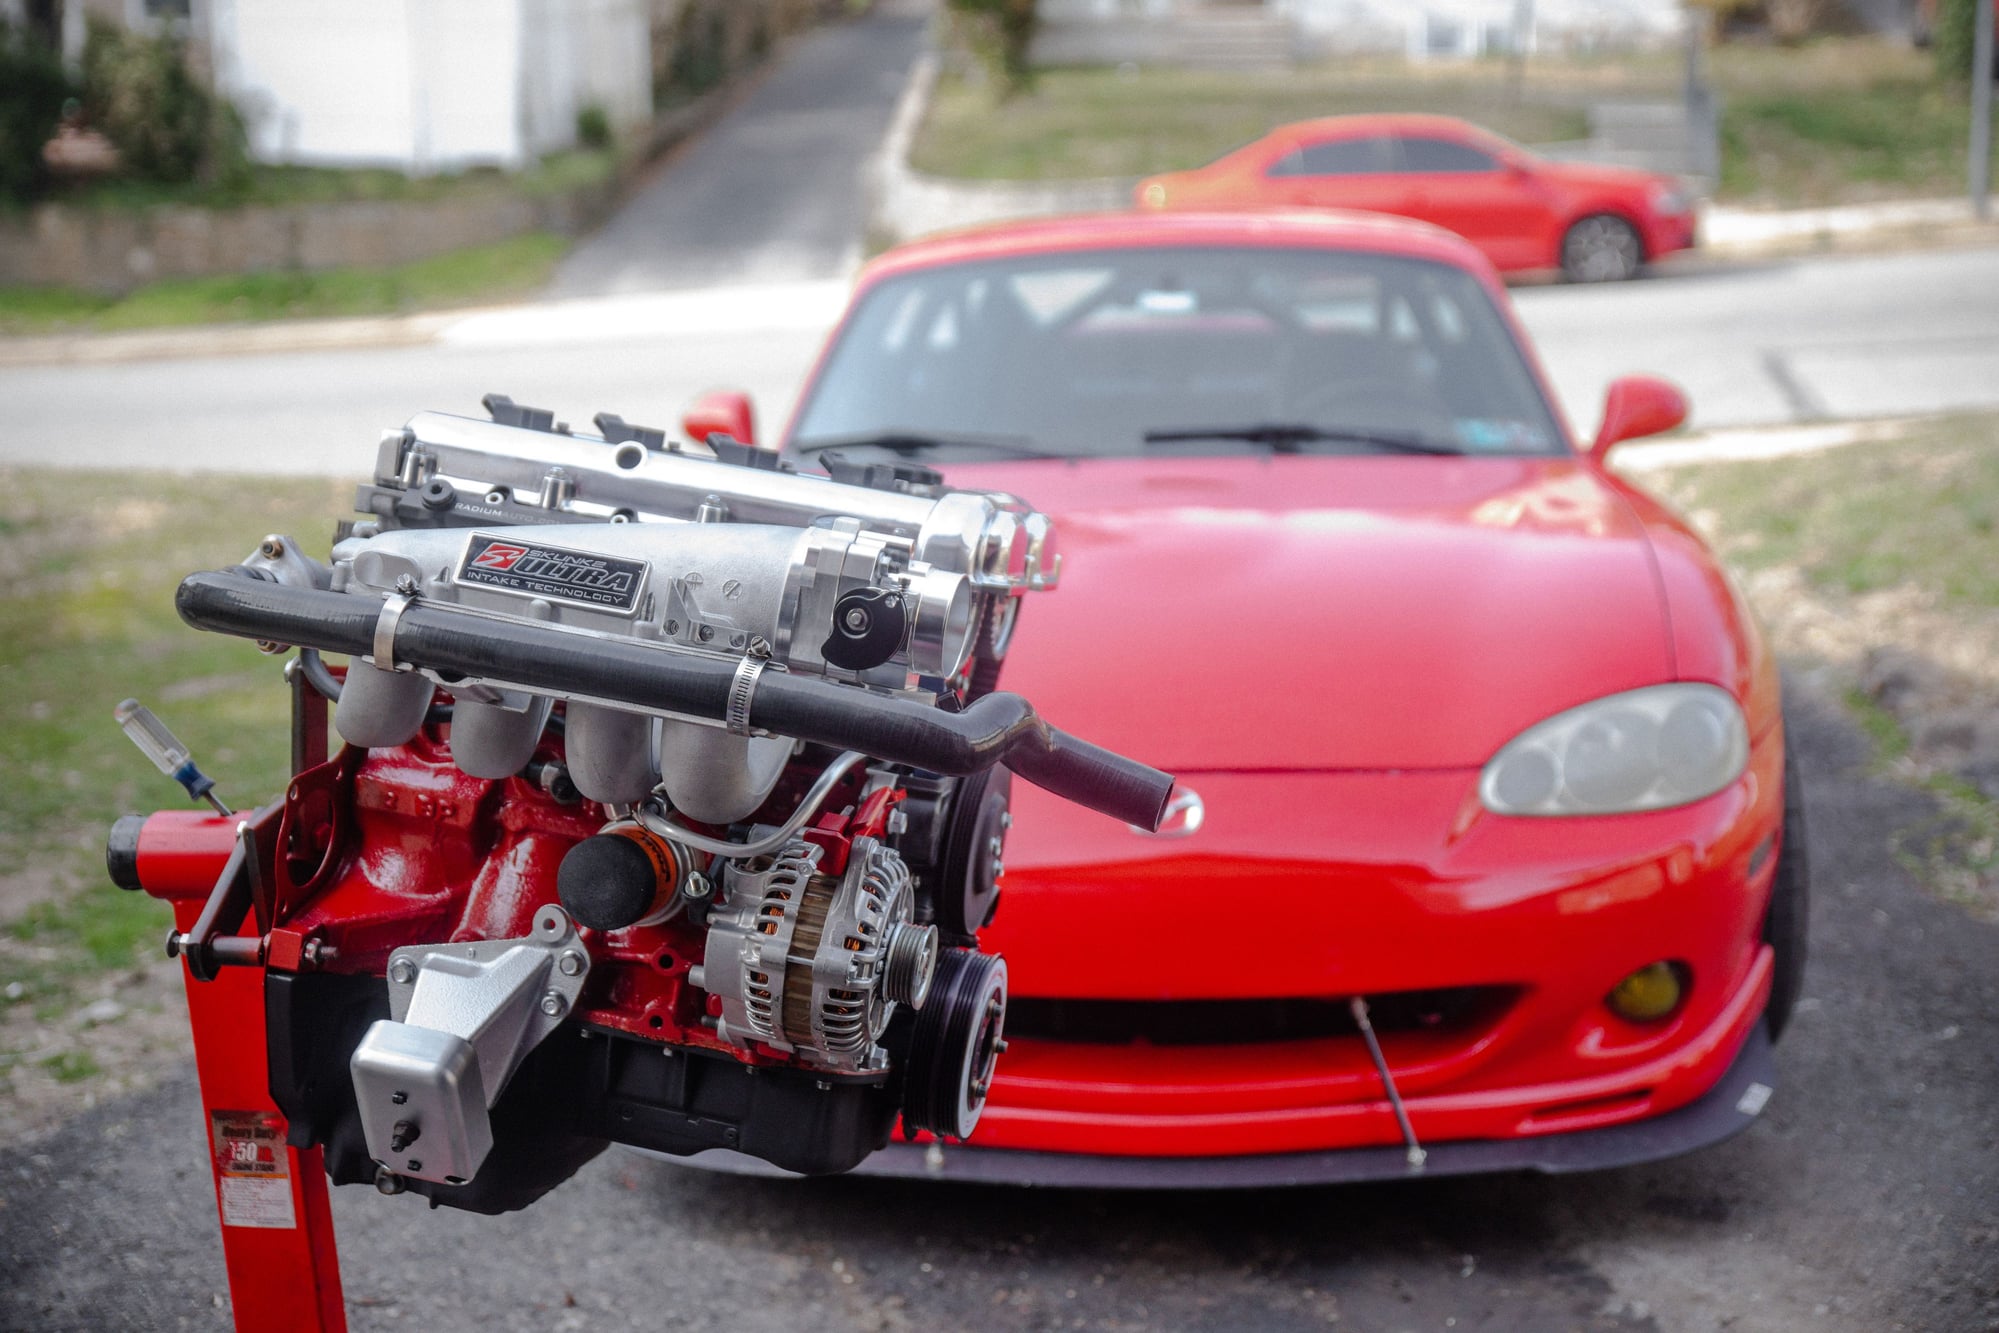
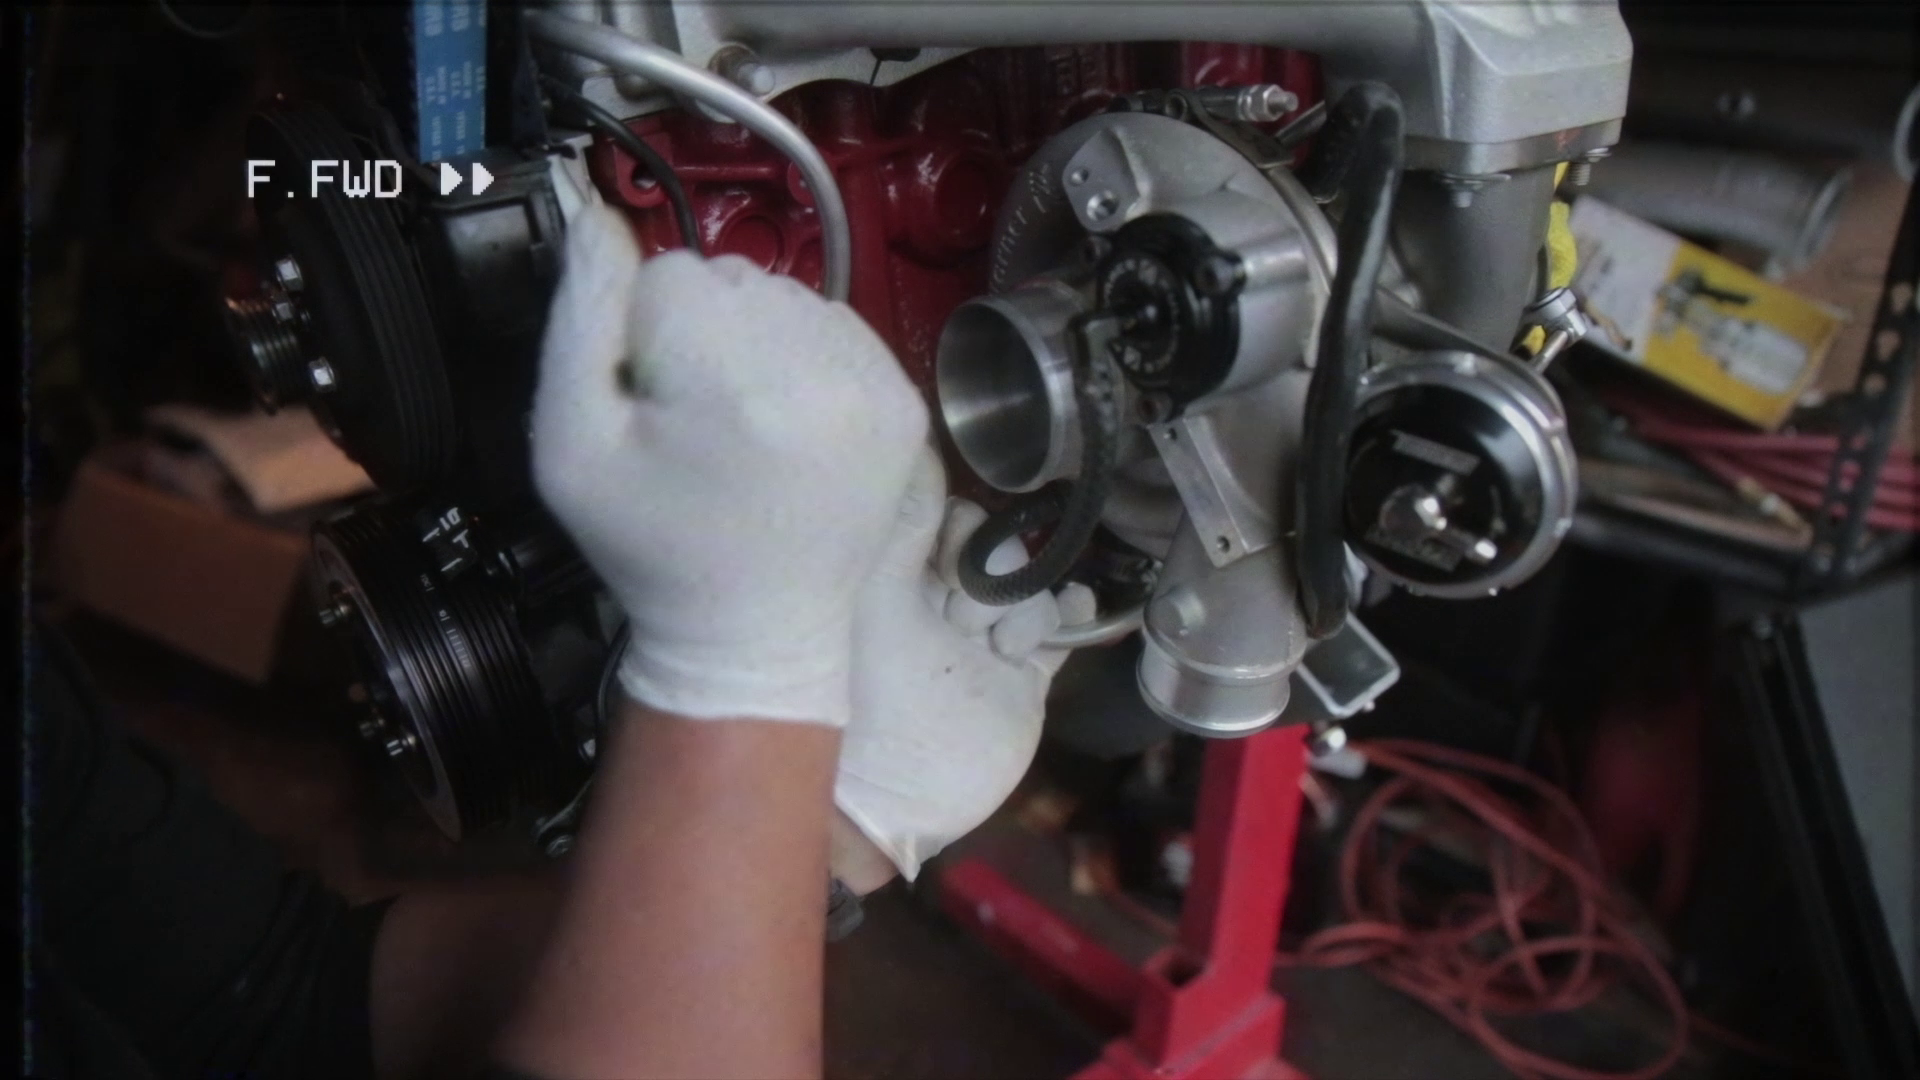
I question whether the wastegate actuator will fit/work in the engine bay with that orientation, it's hanging out quite a bit to the right.
One of the BIG problems with the EFR series is that the wastegate actuator's shaft only tolerates a couple of degrees of offset before it binds.
You really need to install the engine with mounted turbo in the engine bay first, then figure out how to orient the outlet to ensure that the wastegate actuator fits and functions properly (there's a video on the forums from Savington showing that the wastegate flapper valve shuts easily if you don't install the last nut on the shaft holding it. If you can't achieve this then you'll need to re-orient the turbo outlet or wastegate actuator bracket until you can - there aren't as many valid combinations as you'd like).
With an EFR turbo and integrated wastegate, you're really "Building around the wastegate actuator", if that doesn't function correctly, your turbo won't either.
- Learned the hard way :(
PS: If it DOES fit and work properly, WooHoo, let the people know!!!
#58
Hi Lokie
Thanks for the input. For now, it just for the video and pictures, Everything will be finalized when everything goes into the engine bay. Where can I find that video you are talking about?
-Sitha
Thanks for the input. For now, it just for the video and pictures, Everything will be finalized when everything goes into the engine bay. Where can I find that video you are talking about?
-Sitha
I question whether the wastegate actuator will fit/work in the engine bay with that orientation, it's hanging out quite a bit to the right.
One of the BIG problems with the EFR series is that the wastegate actuator's shaft only tolerates a couple of degrees of offset before it binds.
You really need to install the engine with mounted turbo in the engine bay first, then figure out how to orient the outlet to ensure that the wastegate actuator fits and functions properly (there's a video on the forums from Savington showing that the wastegate flapper valve shuts easily if you don't install the last nut on the shaft holding it. If you can't achieve this then you'll need to re-orient the turbo outlet or wastegate actuator bracket until you can - there aren't as many valid combinations as you'd like).
With an EFR turbo and integrated wastegate, you're really "Building around the wastegate actuator", if that doesn't function correctly, your turbo won't either.
- Learned the hard way :(
PS: If it DOES fit and work properly, WooHoo, let the people know!!!
One of the BIG problems with the EFR series is that the wastegate actuator's shaft only tolerates a couple of degrees of offset before it binds.
You really need to install the engine with mounted turbo in the engine bay first, then figure out how to orient the outlet to ensure that the wastegate actuator fits and functions properly (there's a video on the forums from Savington showing that the wastegate flapper valve shuts easily if you don't install the last nut on the shaft holding it. If you can't achieve this then you'll need to re-orient the turbo outlet or wastegate actuator bracket until you can - there aren't as many valid combinations as you'd like).
With an EFR turbo and integrated wastegate, you're really "Building around the wastegate actuator", if that doesn't function correctly, your turbo won't either.
- Learned the hard way :(
PS: If it DOES fit and work properly, WooHoo, let the people know!!!
#59
Savington's EFR actuator alignment how-to
DO take the time to ensure yours functions similarly before finalising your build.
You may be OK, KevlinK121's looks like it SHOULD work (not an EFR but should be similarfit): 2002 SE Kraken/2860 build in progress... perpetually in progress (see Post #42 for pics)
DO take the time to ensure yours functions similarly before finalising your build.
You may be OK, KevlinK121's looks like it SHOULD work (not an EFR but should be similarfit): 2002 SE Kraken/2860 build in progress... perpetually in progress (see Post #42 for pics)
#60
Thanks for heads up, Lokiel
I will look into that.
I will look into that.
Savington's EFR actuator alignment how-to
DO take the time to ensure yours functions similarly before finalising your build.
You may be OK, KevlinK121's looks like it SHOULD work (not an EFR but should be similarfit): 2002 SE Kraken/2860 build in progress... perpetually in progress (see Post #42 for pics)
DO take the time to ensure yours functions similarly before finalising your build.
You may be OK, KevlinK121's looks like it SHOULD work (not an EFR but should be similarfit): 2002 SE Kraken/2860 build in progress... perpetually in progress (see Post #42 for pics)


