
the REbuild thread


Thread Starter
Senior Member
Joined: Jun 2015
Posts: 817
Total Cats: 20
From: TAMPA, FL
edit- ok yeah, I found what are I think a bunch of factory manuals.
So far it looks like I did everything the way the manual likes, except for when wiseco or ARP specified otherwise.
Thanks for the suggestion btw, it's useful to know that every bolt in the engine has a correct torque value. Who would have guessed.
So far it looks like I did everything the way the manual likes, except for when wiseco or ARP specified otherwise.
Thanks for the suggestion btw, it's useful to know that every bolt in the engine has a correct torque value. Who would have guessed.
Last edited by AlwaysBroken; Feb 13, 2016 at 03:04 AM.
Reply
 0
0

0
Thread Starter
Senior Member
Joined: Jun 2015
Posts: 817
Total Cats: 20
From: TAMPA, FL
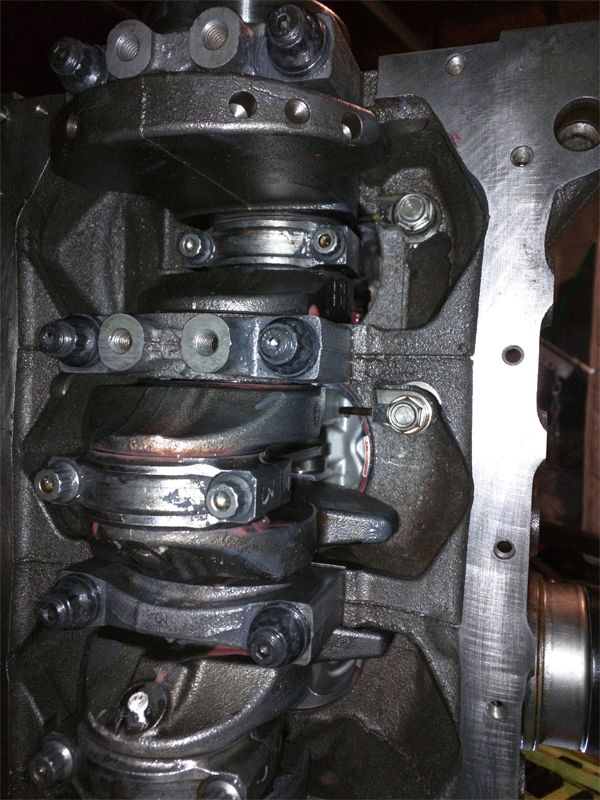
Did the oil jets. Red loctite and 200 in lbs. Hopefully that should hold. In retrospect, I should have done these before I put the bottom end together.
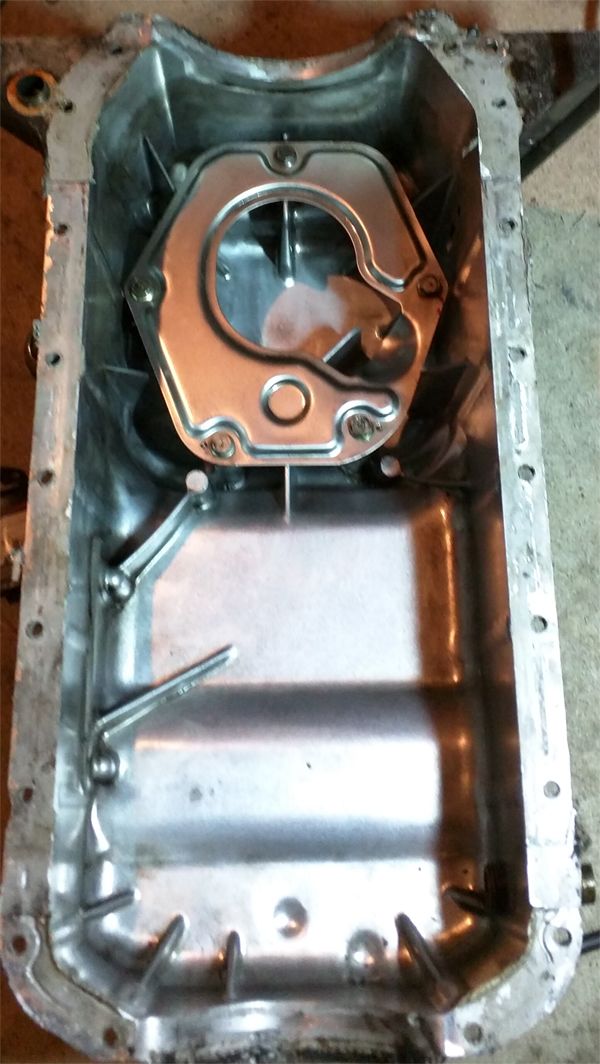
Using lots of CLP and paper towels, got the oil pan clean, did all the gasket surfaces, got every bolt cleaned and ready to go in and then I cracked open the Right Stuff. Already planning ahead in my mind to doing the head tomorrow. Stupid. Pic below is from before the gasket surface cleaning.
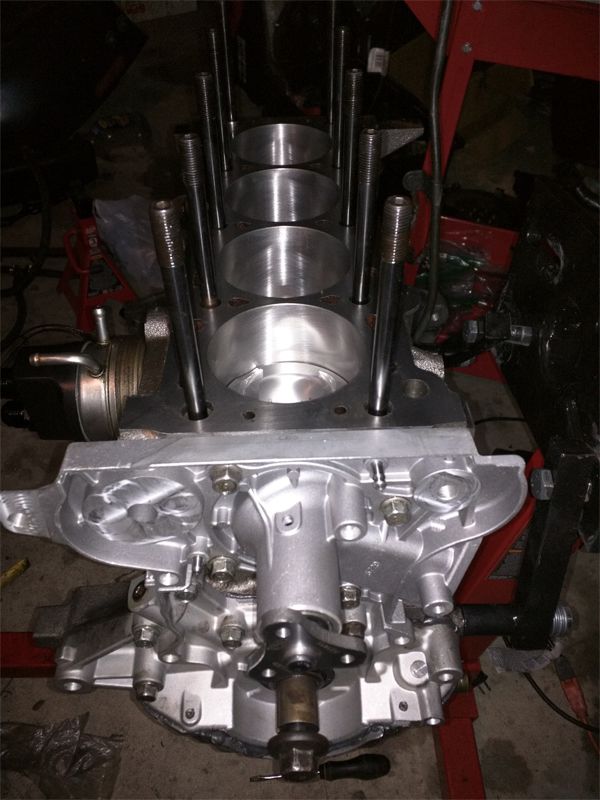
Everything going smooth, tightening down the rear main seal bolts to 70-95 in-lbs. First, second, third all fine. Fourth goes to 50, turn, still 50, turn, still 50... hmmm ****. Remove it, see bolt is has a shiny stretch area, fatigued as ****. Same thing happened with one of the bolts holding the plate to the bottom of the oil pan as well. All the auto parts stores are closed so I put on the oil pump and called it a night. Annoying. This experience makes me super glad I got that third torque wrench for doing all the small bolts. I would have snapped off the head of those bolts for sure if I hadn't noticed the torque holding at 50 in-lbs for several rotations.
That's it for tonight. Will be getting severely drunk tomorrow, so maybe further updates on Sunday.
Using lots of CLP and paper towels, got the oil pan clean, did all the gasket surfaces, got every bolt cleaned and ready to go in and then I cracked open the Right Stuff. Already planning ahead in my mind to doing the head tomorrow. Stupid. Pic below is from before the gasket surface cleaning.
Everything going smooth, tightening down the rear main seal bolts to 70-95 in-lbs. First, second, third all fine. Fourth goes to 50, turn, still 50, turn, still 50... hmmm ****. Remove it, see bolt is has a shiny stretch area, fatigued as ****. Same thing happened with one of the bolts holding the plate to the bottom of the oil pan as well. All the auto parts stores are closed so I put on the oil pump and called it a night. Annoying. This experience makes me super glad I got that third torque wrench for doing all the small bolts. I would have snapped off the head of those bolts for sure if I hadn't noticed the torque holding at 50 in-lbs for several rotations.
That's it for tonight. Will be getting severely drunk tomorrow, so maybe further updates on Sunday.
Reply
0
0
Thread Starter
Senior Member
Joined: Jun 2015
Posts: 817
Total Cats: 20
From: TAMPA, FL
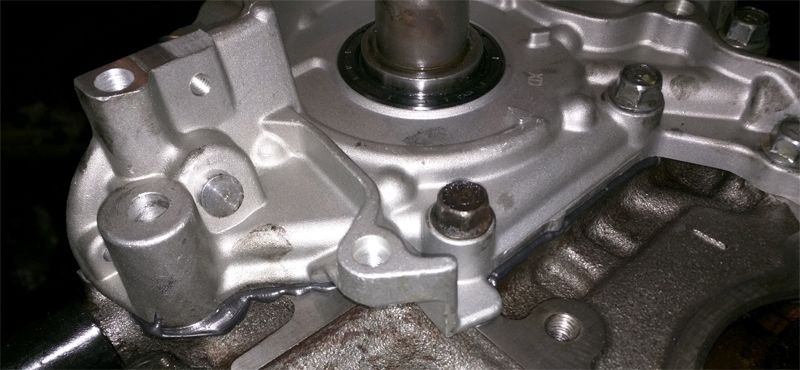
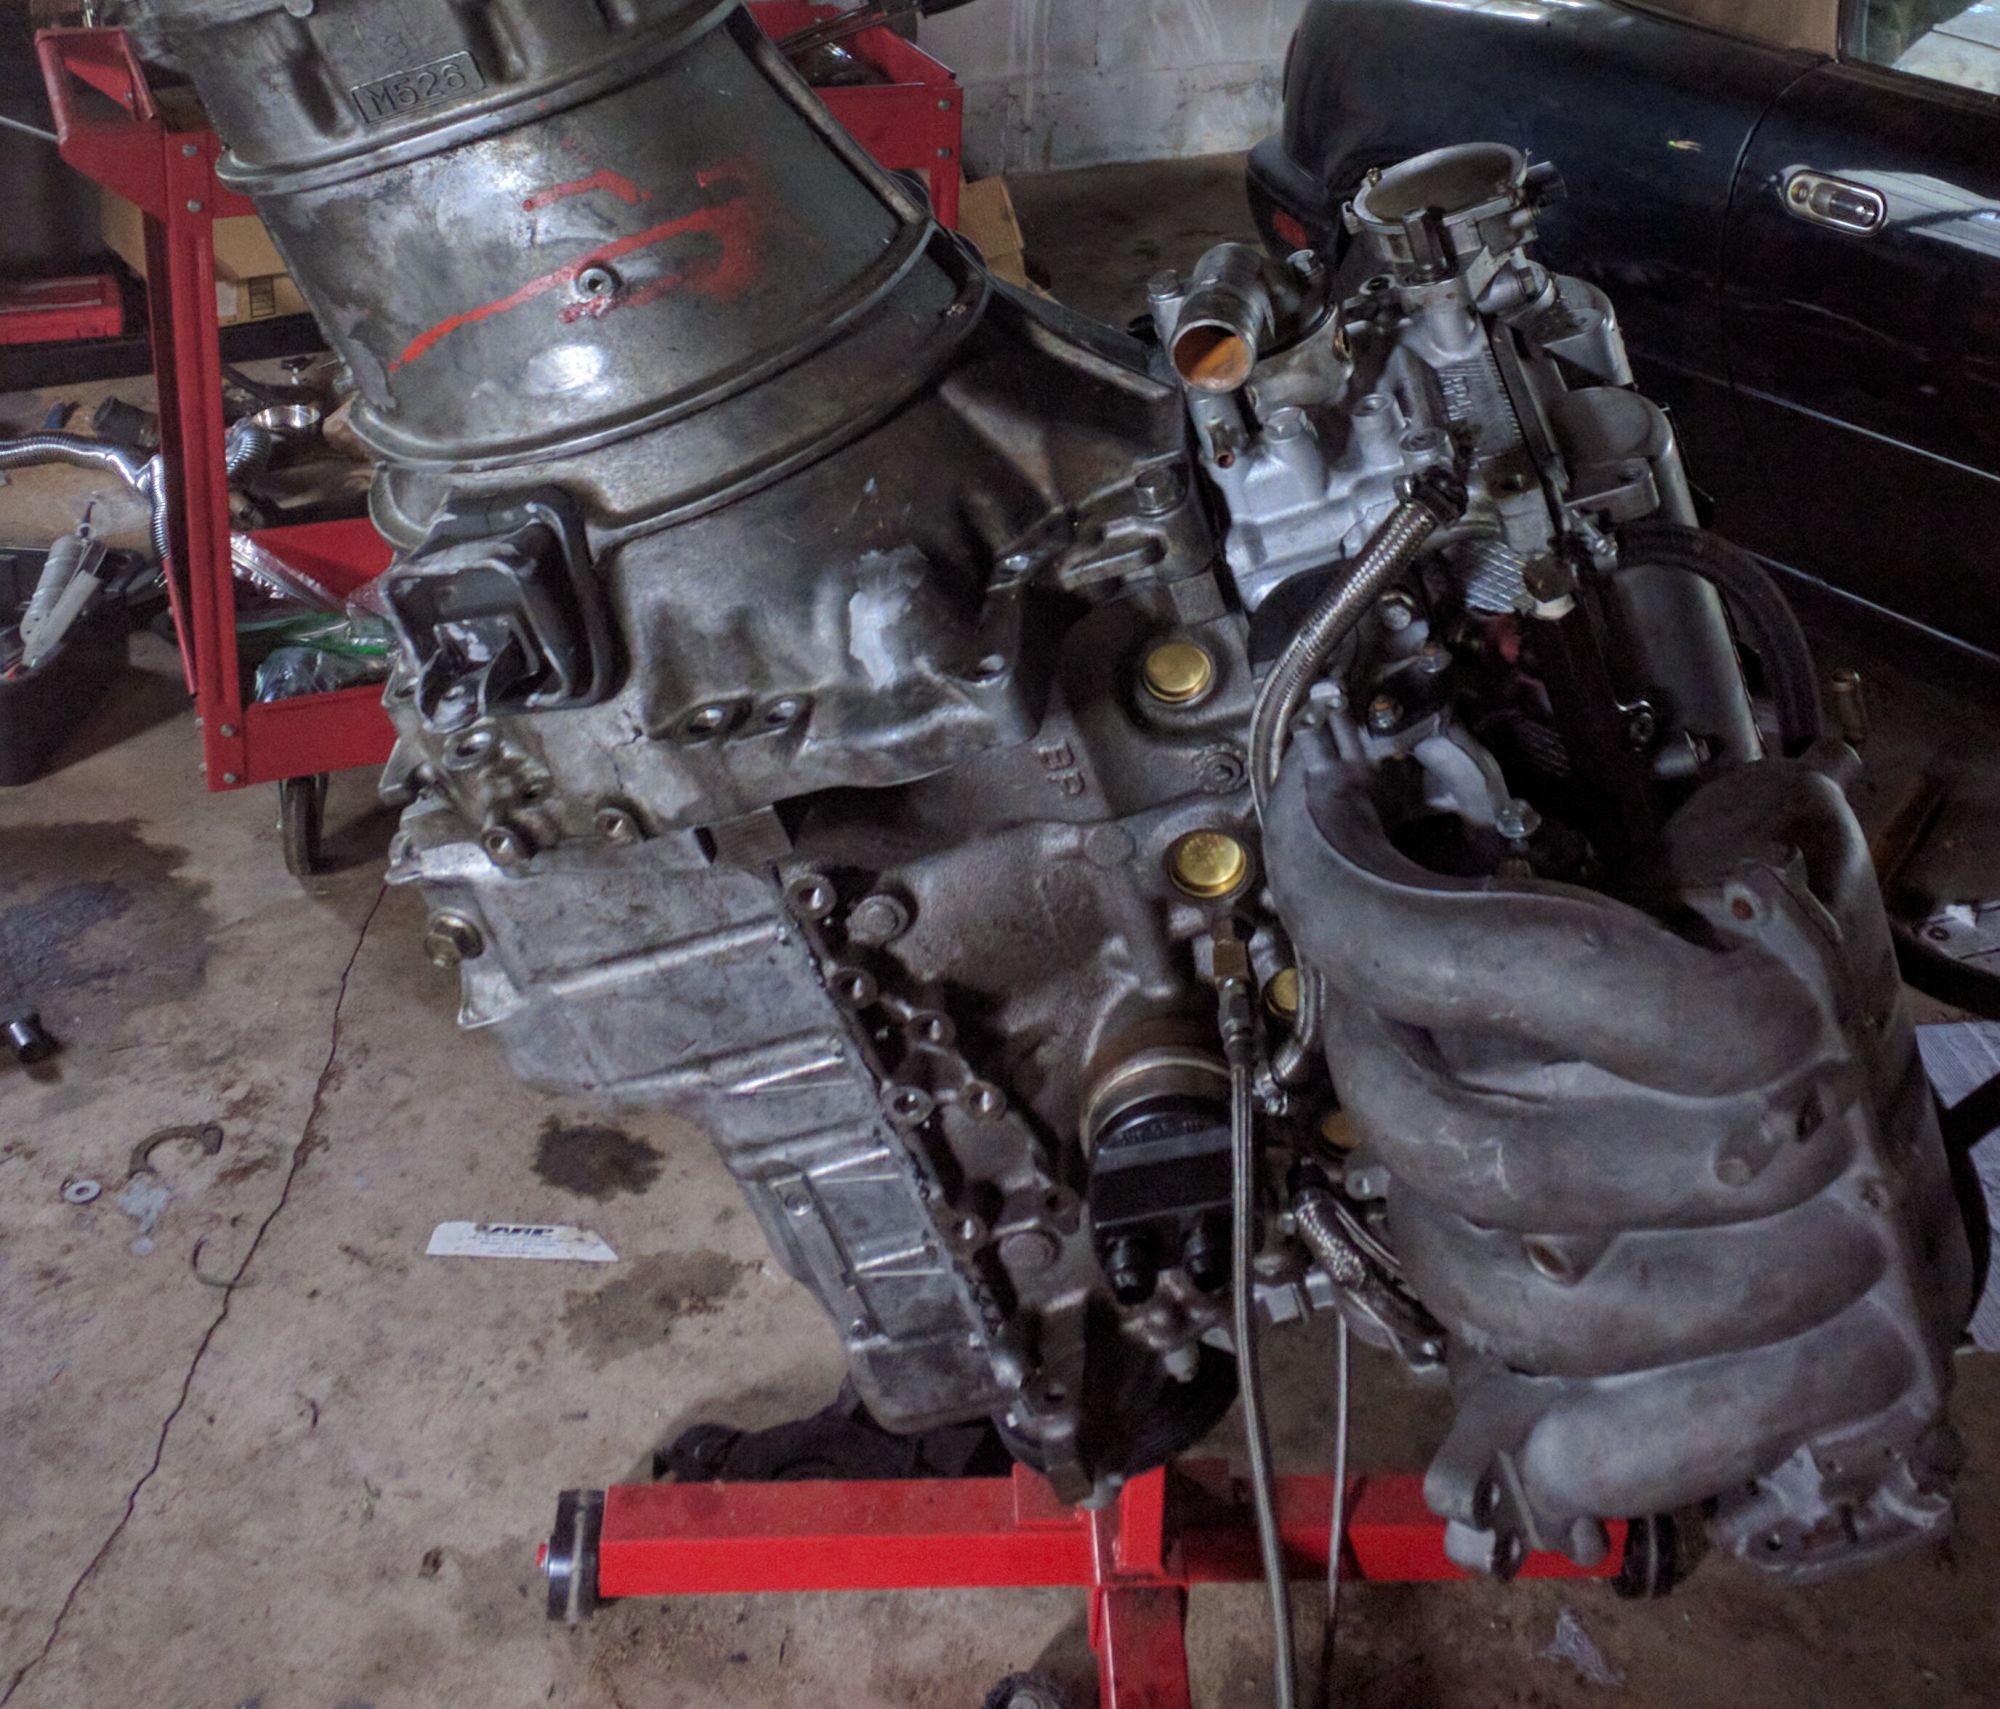
Oil pan is on. Praying that it doesn't leak. I used a solid bead of Right Stuff all the way around including under the half moon gaskets. Everything is all torqued down to about 90 in*lbs and there seems to be plenty of gasket everywhere. Also, installed the water pump. Right stuff everywhere. The little in-lbs torque wrench I got off amazon is getting tons of use.
It's getting late so I'll do the head tomorrow. All the parts are lined up on the cart.
It's getting late so I'll do the head tomorrow. All the parts are lined up on the cart.
Reply
1
1
Thread Starter
Senior Member
Joined: Jun 2015
Posts: 817
Total Cats: 20
From: TAMPA, FL
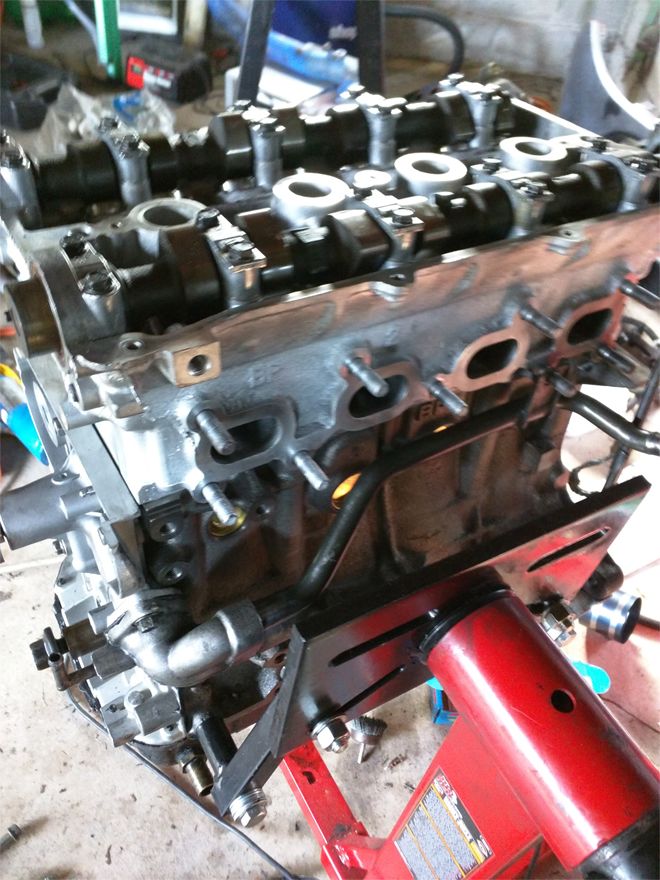
Head's on, was drama free. Will probably untorque and retorque it just to be sure. I'm reattaching hoses and manifolds while I wait for emilio to sell me a harmonic damper. Also finished all the seals today. Getting the heater tube out of the manifold to replace the o-ring took a blow torch. Was fun.
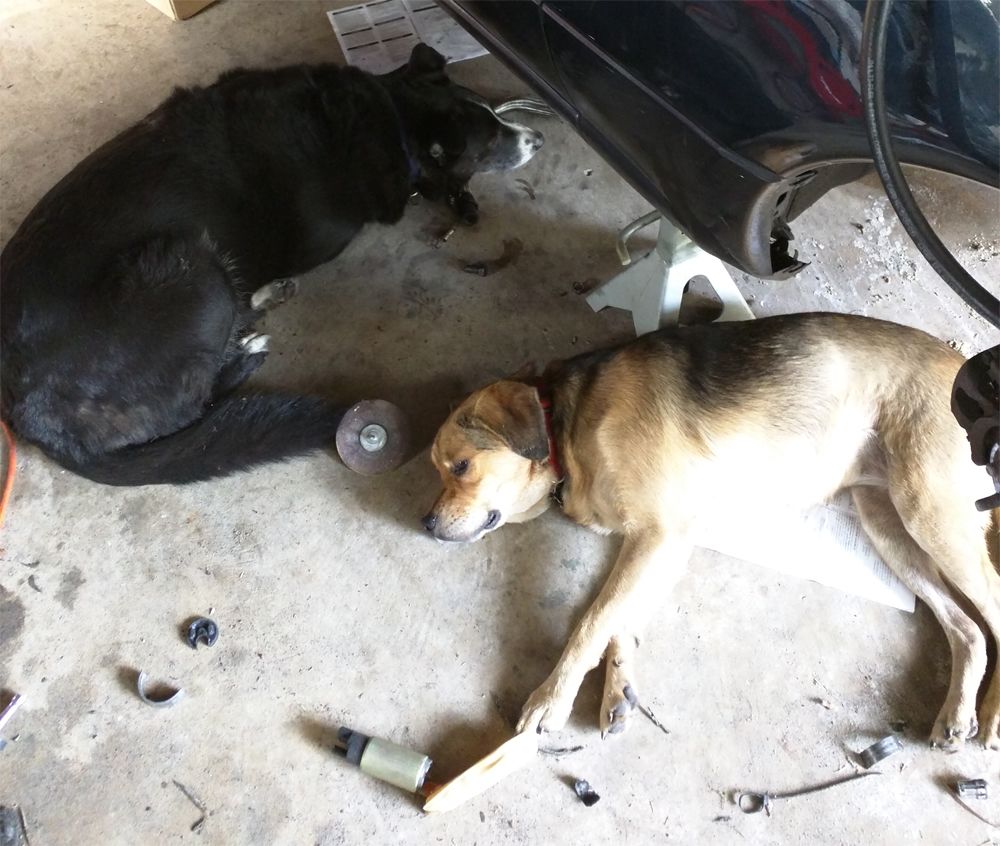
Garage comes with free cats.
Garage comes with free cats.
Reply
0
0
Thread Starter
Senior Member
Joined: Jun 2015
Posts: 817
Total Cats: 20
From: TAMPA, FL
Been horribly sick the past week, FML.
Got tired of waiting for the supermiata damper to become available so I ordered the ATI one. Can't believe how close to running this piece of **** is.
Got tired of waiting for the supermiata damper to become available so I ordered the ATI one. Can't believe how close to running this piece of **** is.
Reply
0
0
Thread Starter
Senior Member
Joined: Jun 2015
Posts: 817
Total Cats: 20
From: TAMPA, FL
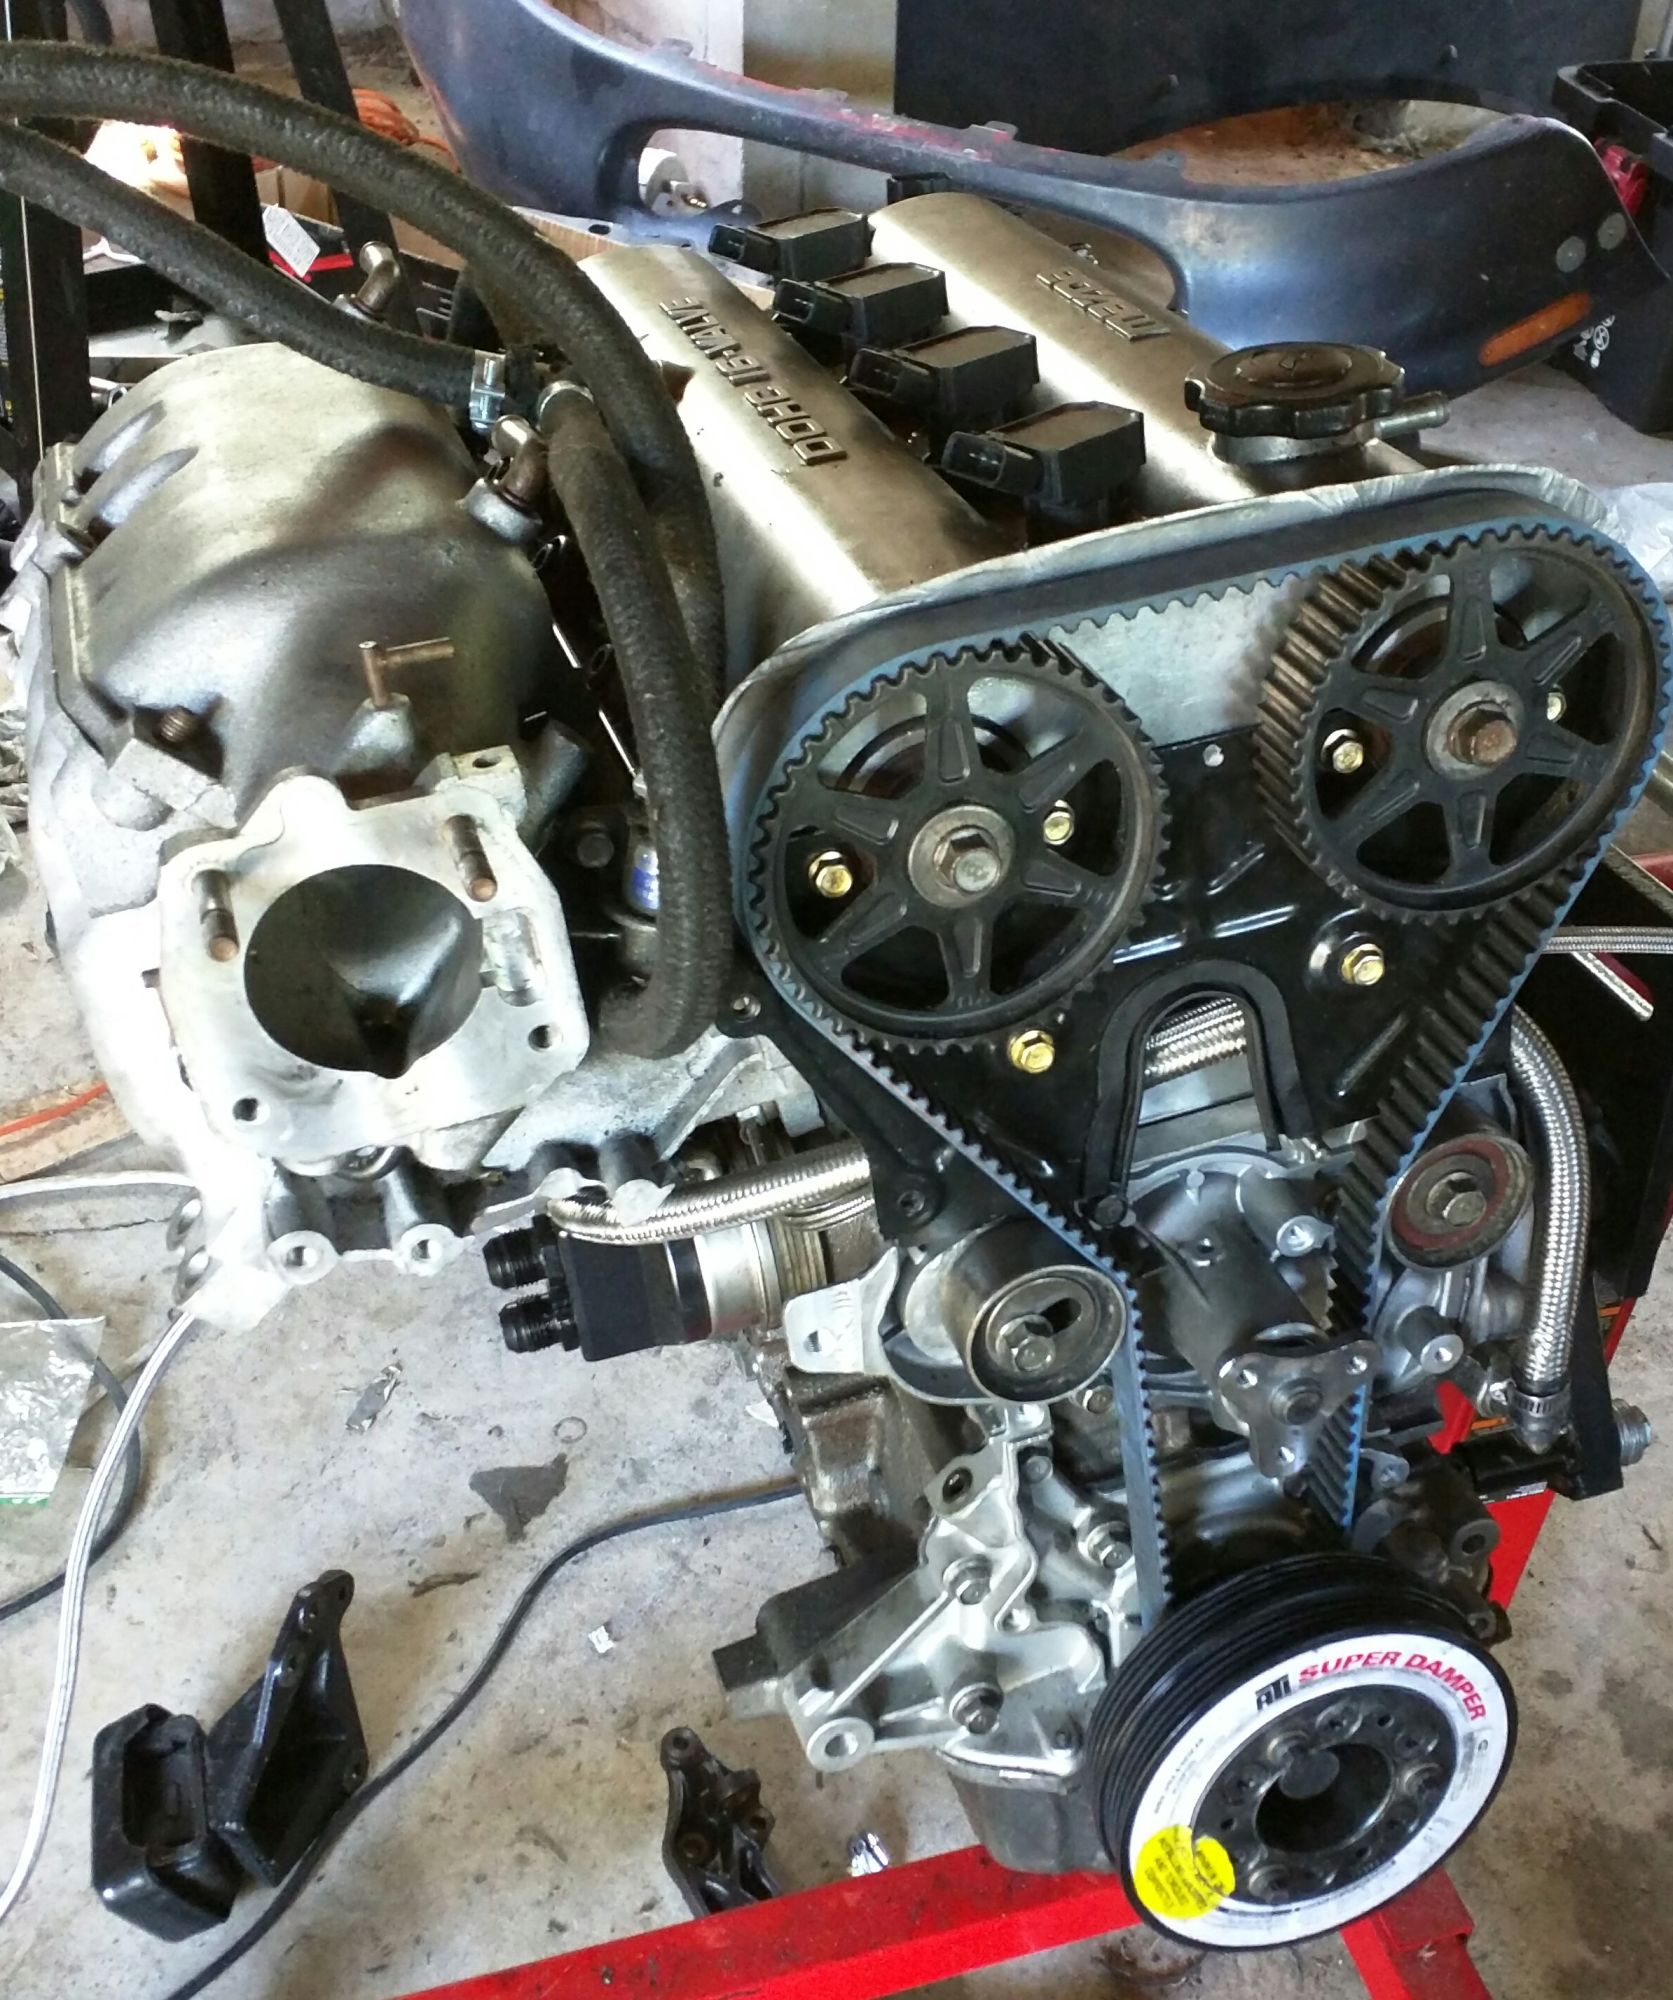
Holy ****, I had no idea the ATI damper was a big one piece unit (the timing belt bit combines with the damper/pulley thing) with a straightforward install. The ATI damper I got seems massively improved over the ones I saw on the internet. This is almost looking to be a pleasant experience with no special tools or even sledge hammers involved.
And since Emilio still hasn't gotten in the SM dampers 2-3 months after telling me it would be 2-3 weeks, it looks like I made the right call.
And since Emilio still hasn't gotten in the SM dampers 2-3 months after telling me it would be 2-3 weeks, it looks like I made the right call.
Last edited by AlwaysBroken; Mar 22, 2016 at 05:14 PM.
Reply
1
1


You must have missed the last batch, sorry. They sold out in about two days. Haven't been out of stock for more than 4-5 weeks usually less. Never anything like 12 weeks. Another batch arrived yesterday. They'll last a few days. Doubled our production run size so hopefully we'll be able to keep them on the shelf.
__________________


Reply
0
0
Thread Starter
Senior Member
Joined: Jun 2015
Posts: 817
Total Cats: 20
From: TAMPA, FL
Alrighty, time for an update. Finally got my FM Stage 2 clutch in the mail. I also got my flywheel resurfaced and my intercooler pipes beaded.
Someone mentioned that the evo guys were holding together their pipes with worm gears under like 60 psi of boost because they use beaded pipes. I now use beaded pipes. Yay progress.
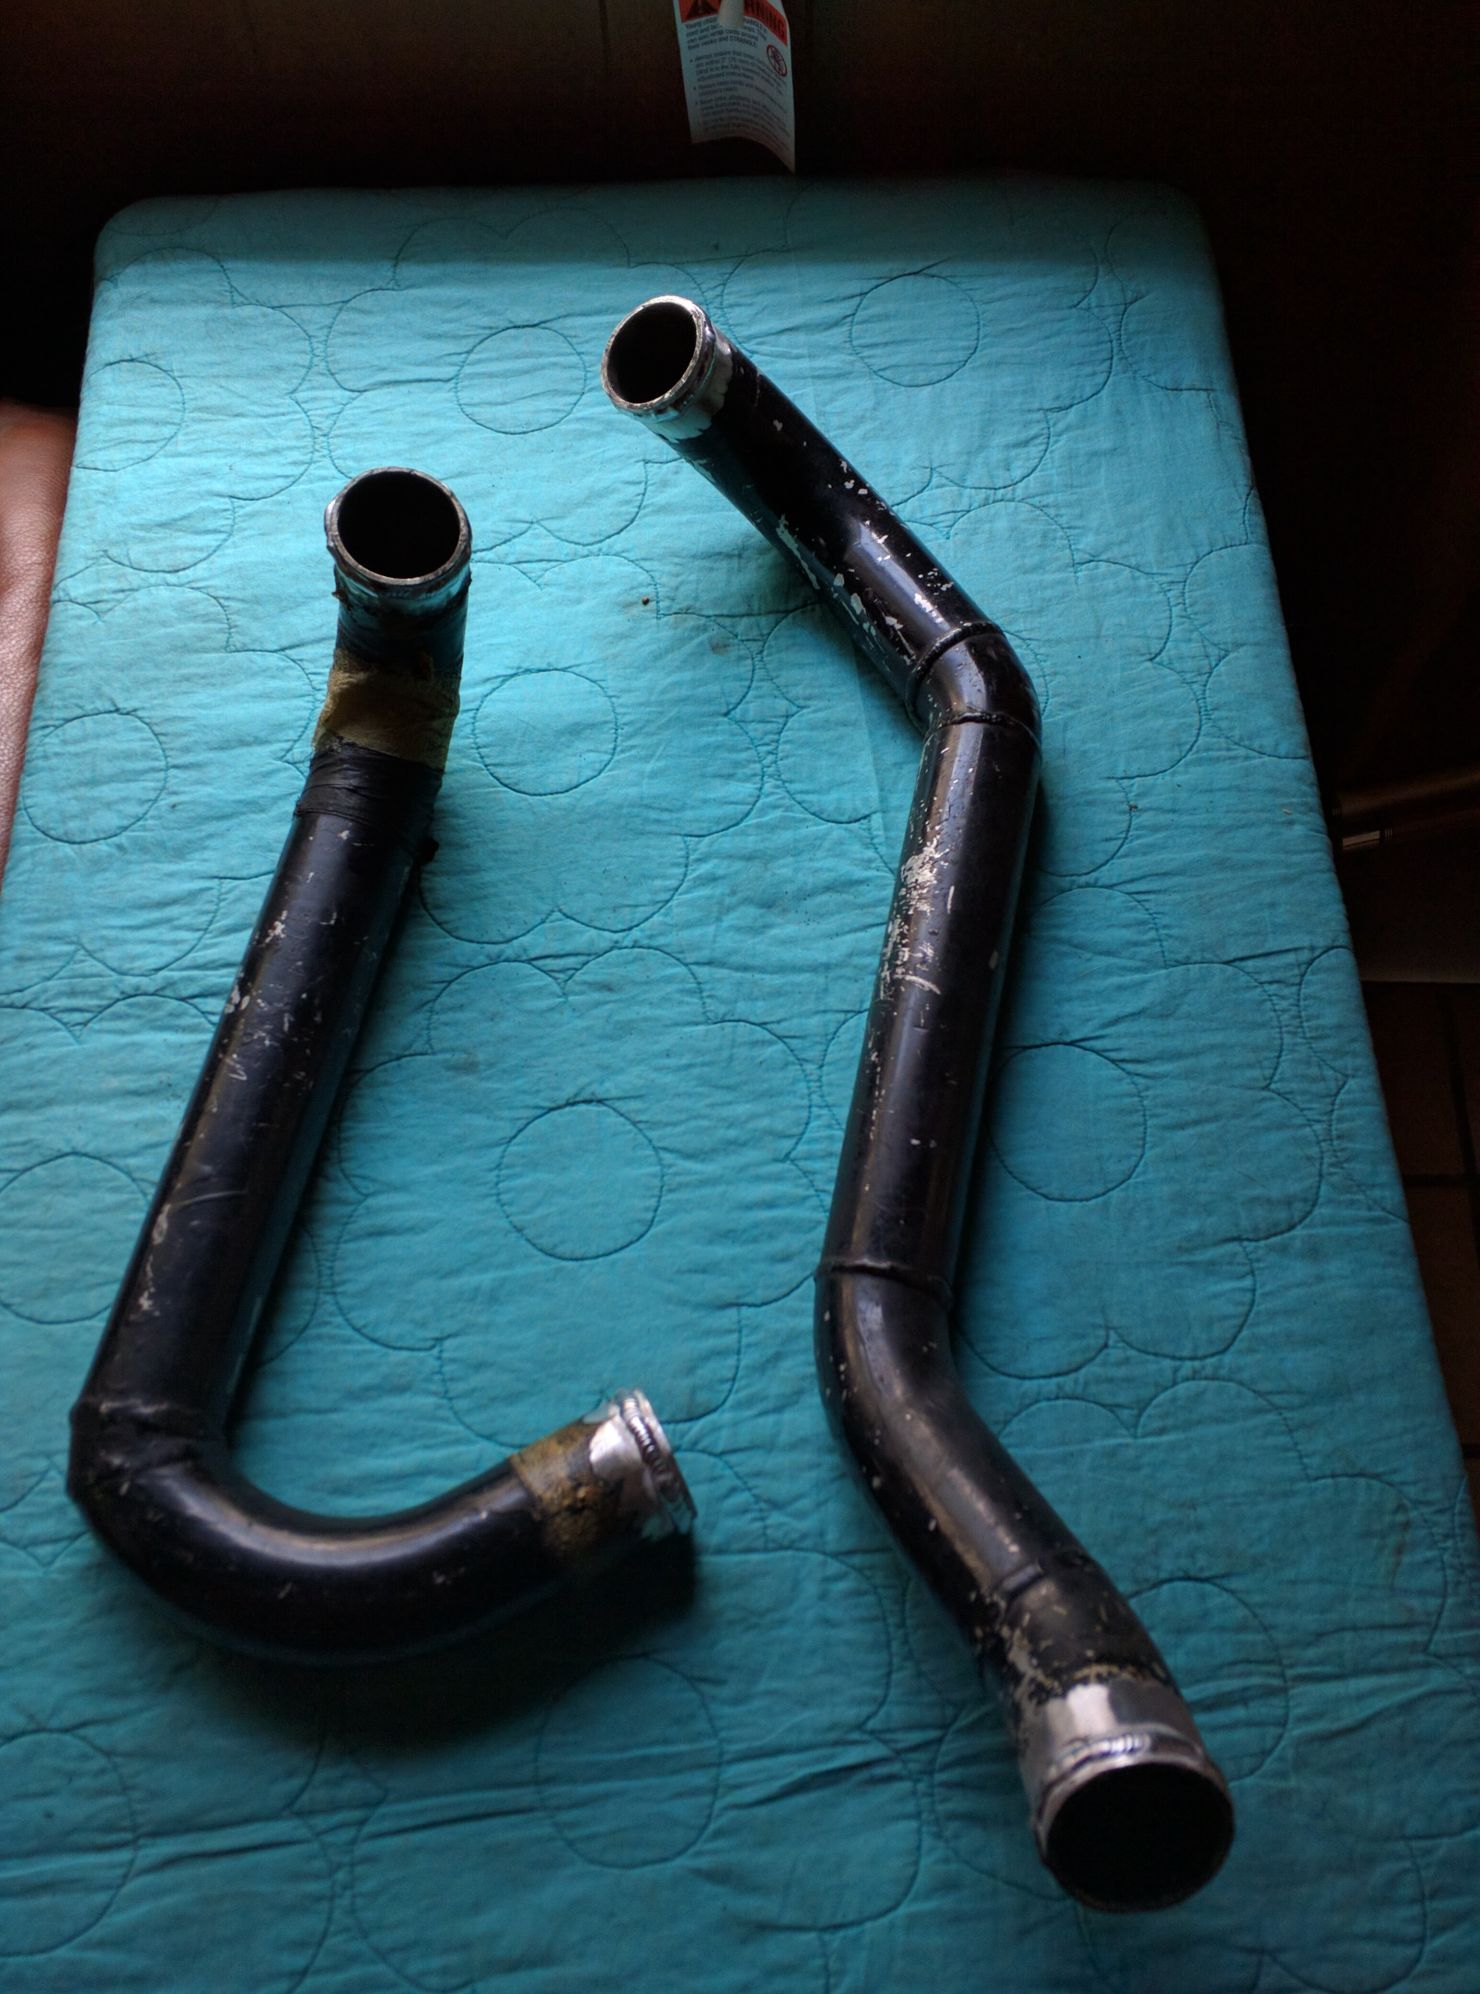

Someone mentioned that the evo guys were holding together their pipes with worm gears under like 60 psi of boost because they use beaded pipes. I now use beaded pipes. Yay progress.
Reply
0
0
T-bolts work, but on my car they wanted to leak unless you tightened the ever living crap out of them at high boost pressures. With good hose clamps it doesn't leak and they hold.
Reply
0
0
Thread Starter
Senior Member
Joined: Jun 2015
Posts: 817
Total Cats: 20
From: TAMPA, FL
Soon.
Tilted the engine forward and put the transmission on top of the clutch. Then I put in a few bolts and tightened them down a bit... easy peasy. Now to return this shitpile to the engine bay and hopefully get a running car out of the bargain.
Tilted the engine forward and put the transmission on top of the clutch. Then I put in a few bolts and tightened them down a bit... easy peasy. Now to return this shitpile to the engine bay and hopefully get a running car out of the bargain.
Reply
0
0
Thread Starter
Senior Member
Joined: Jun 2015
Posts: 817
Total Cats: 20
From: TAMPA, FL
Finally had some free time this week, put the engine back in the car, tomorrow hopefully finished with everything.
I learned a lot recently:
Protip 1: do not refill the tranny with oil before installing it. The speedo cable and the driveshaft are important parts of a completely sealed tranny. When you tilt the whole package back to put it in the car, the oil will spill out on you and the floor.,
Protip 2: install the intake manifold last, after you've hooked up the alternator and routed the oil cooling lines, etc. Better to just put the block + head + trans in bare. Same goes for the fuel rail. Just put it all in once the engine is in the car.
Protip 3: don't take clothing covered in tranny fluid and wash them with other clothes, especially not anything belonging to the wife
Reply
0
0
Thread Starter
Senior Member
Joined: Jun 2015
Posts: 817
Total Cats: 20
From: TAMPA, FL
Well, it started and runs and makes oil pressure. It was literally the third try- first time I forgot to hook up the starter solenoid wire, second time I forgot to hook up the vaccuum line that goes to the map sensor, third time it started and ran.
I let it idle for like 10-15 seconds of sheer terror before the oil pressure gauge started to come to life and finally inched up to 40-45 psi of pressure at idle. Yay!
It sounds rough as **** (dumping the exhuast from the downpipe probably doesn't help that), my boost gauge is reading like 10 inches of mercury and it won't rev yet so I still have some fiddling about to do under the hood, but it looks like we're most of the way there.
Nothing leaking that I could see except the oil drain pan (misplaced the washer).
Reply
0
0
Thread Starter
Senior Member
Joined: Jun 2015
Posts: 817
Total Cats: 20
From: TAMPA, FL
Well, the car is completely assembled but it won't start. It turns over, you can hear it trying to start but it just sort of stumbles and never fully gets there. I haven't changed anything except the gas since the time it ran (kind of shitty, but it ran and would idle, but not rev) a few months ago.
Thought it might have been the shitty five year old gas, so I emptied the gas tank and changed the fuel filter and put half a tank of new gas already. But it didn't help.
Guess I'll just go start going over the car and checking everything. Annoying. It's probably something completely retarded.
Thought it might have been the shitty five year old gas, so I emptied the gas tank and changed the fuel filter and put half a tank of new gas already. But it didn't help.
Guess I'll just go start going over the car and checking everything. Annoying. It's probably something completely retarded.
Reply
0
0


