When you click on links to various merchants on this site and make a purchase, this can result in this site earning a commission. Affiliate programs and affiliations include, but are not limited to, the eBay Partner Network.
I should've searched for this video beforehand haha.
I'm currently running a first-gen Insta360 cam, and the automatic exposure it selects is entirely up to positioning rather than orientation since it's recording everything around it at once. I'll have to see if I can manually dial in the settings a bit better. I also have a GoPro Hero 5 session (the tiny one), that I've used a handful of times with varying success. I remember having to dial down the exposure to avoid blowing out the exterior view, and could usually get the interior pretty visible unless it was a cloudless midday session in the desert and was super bright out.
I'll mess around a bit and report back. At any rate, the footage is gonna come out awesome with the new angle once the camera is dialed in!
Haha no worries. I like how your camera shows your feet in that angle; my GoPro doesn�t catch the feet well in that angle. Maybe I should ****** one of these Insta360s. I guess they use the same mounts as the go pro then? That�s cool.
Since the junkyard motor was seized, I started looking for alternatives. After quotes from local machine shops, it seemed that swapping to an used VVT motor would be more cost effective for now.
I also ordered a Fluidampr harmonic balancer and a 36-2 trigger wheel from Supermiata, hoping that it would help with some of the harmonics at high RPM for the "new" engine build, which I want to rev to 8k eventually. Buuuut I couldn't let it sit around until then, so it got installed right away. This was a straighforward process, remove old balancer, install new balancer with new trigger wheel. Set the Link to use the MX5 36-2 , and set base timing. I did have to fiddle with the sensor air gap a bit.
The 36-2 trigger gives the ECU a lot more resolution which caused the idle ignition control to react faster. In the Link G4X, idle ignition is done by a closed-loop PID algorithm that looks at idle speed (instead of a correction table). With the new resolution, the engine sounded a bit "different" at idle, so I decided to reduce the Proportional. I first made it 0.5, but later found that 1.5 was fine and much quicker reacting.
The engine had less vibrations at higher revs with the Fluidampr, but meh, splitting hairs. Scooter runs Mazdaspeed (or Mazda Motorsports?) harder rubber mounts, so vibrations are present at idle no matter what. In the Stealth a Fluidampr balancer made a huge difference in reducing vibrations at all RPMs.
The next trackday went without a hitch. The Jongbloeds went on with Accelera 651 Sports. Scooter made the drive there and back with no issues, and we set a new personal best of 1:37:752! I'm horrible at remembering to take pictures, so my apologies for not having much else to share other than this video.
I wouldn't be able to participate in the next two Rounds of ABQ Superlap, but the next big milestone was to go to Flyin' Miata Summer Camp 2024 and do a trackday there!
Love the rigged spark plug wire for the timing light hookup haha.
I noticed a large decrease in vibrations on my stock engine after throwing the fluidampr on. Wonder how much of it was just the stock damper being out of balance though lol.
That lap looked clean man! Seems you were getting more and more confident as well!
Haha, yep it's a good trick to make sure you get good base timing accuracy with COPs.
That's good to know. But true, one has to wonder how much of the improvement is a borked OEM damper. Both of the ones I replaced had a chip somewhere in the radius .
Thanks! Confidence building was the name of the 2023 year for me. I'm glad it shows in the video a bit. It doesn't come across well, but every time I pass by turn 14 (the last corner) I take a deep breath and send it. The later videos will have telemetry though. Stay tuned for that!
With sights on Flyin Miata Summer Camp it was time to do some wiring. I had wanted to get oil temperature and pressure sensors for a while to play with more data. Bosch makes a combined pressure and temperature sensor that seemed awesome so I bought something like this:
I decided to install it in the stock oil pressure sender port, which is 1/8 BPT thread. There are quite a few 1/8 BPT to M10x1 adapters on Ebay, so I snatched a brass one.
For the sensor you end up using 4 wires; 5v, sensor ground, pressure and temperature signals. The Link G4X Xtreme (what the NB1 PnP is based on) has 4 dedicated temperature inputs (IAT, ECT + 2 spares), so I ran the temp signal to one of the spares, and the pressure signal to a spare analog input.
Oil Temp now in the CANChecked gauge. Pressure is there too, just not selected
Now with more data, I went ahead and setup the RPM Limit to use oil temperature, and setup an oil pressure safety too.
With that setup, went for a drive through the Jemeze to try it out!
To celebrate, I took Scooter on a mountain drive.
Not long after it was time for Flyin' Miata Summer Camp, and a trackday at Grand Junction Motor Speedway. WOOOOOOOT!
This is fuel
The drive was epic, but in proper fasion, I didn't take many pictures. There was an exciting moment when the car started running super rich and smelling of raw fuel. Turns out the fuel tank had gotten very hot, pressurized itself and started doing weird things to the fuel pressure. As a result fuel started spraying out of the EVAP tube I had to stop every so often to release the pressure out of the tank after big elevation changes. I bought a corc plug at a hardware store and capped the EVAP line for the time being. My friend Tim was having a similar issue with his EVAP, so I didn't slow us down too much.
The trackday was the highlight of this trip. There were many cool cars and fast drivers in attendance, and NDs are really quick. My favorites were the Targa Miata and this LS3 powered NB. I got to ride in both V8 powered cars, which really messed me up for a few days. Check out those 275 wide hoosiers.
This trackday was awesome. Grand Junction Motor Speedway is a blast to drive and it felt like a turning point for my confidence with Scooter. We finished 10th out of 35 with some really fast cars and good drivers around. Very happy with that.
The next day was the meet and greet at FM Headquarters. It's always awesome chatting with fellow enthusiasts, and the FM staff. Christopher had an issue with his alternator and needed a ride to get his trailer, so Scooter and I did a small roadtrip to help him.
Take 2 of one of my favorite pictures of 2022
Remember how I said this was one of my favorite pictures of 2022? Well, had to do a retake. Now with a completely new ECU, running well, and nice suspension, Scooter was feeling dialed (but still burning 1QT of oil every 250 miles or so).
The drive back home was epic and with no mechanicals. We stopped after huge elevation changes for a break and depressurize the fuel tanks. Sights were set on the next round of ABQ Super Lap, and I had a few setup changes to try...
You Midwest guys are really making me bummed about missing FM Summer camp. Looks like a ton of fun! Cool to see you continuing to get more confident behind the wheel as well.
Did you end up removing the check valve(s) for your fuel tank vent that reside next to your fuel pump? I was having the same issue with fuel tank pressure buildup at high elevation on my car and found my evap check valves clogged. Supposedly you can clean them out but I just removed them and never had any further issue.
You really should make an effort to go, plus we�ll get to meet in person! This year it seems they have 2 track days planned and I�m super stocked.
I haven�t looked into that, but I should now that you mention it. The NBs have a few more EVAP components than the NAs. Specifically an ECU controlled solenoid (CDCV) that closes a filtered (intake?) vent, and a pressure valve also ECU controlled.
Do you happen to know how it all interacts in an NB? I was able to find a diagram in the service manual, but no detailed explanation of each components function. From my reading, it seems the CDCV is just to check for EVAP leaks by pulling a vacuum on the tank. The Link is able to drive the CDCV and purge valve, so I did a bit of experimentation that I�ll detail in the next post.
Just checked the FM Summer camp dates this year. Was hoping it was in early July as a buddy and I are currently talking about going out to PPIR for the GTA race there on July 4-6. Would have been cool to race there then catch a day with FM on the way back, though maybe a bit ambitious as far as the timeframe goes haha. I'll let you know if anything changes and I end up making it out! Would be great to match a face to the name and it's been too long since I visited CO in the Summer!
Ahh, yes, I didn't even consider your NB is an OBDII car. Yes - I haven't dealt with an NB evap system firsthand before, but all OBDII equipped cars have a monitoring system to check for leaks in the fuel tank/vent system. Your car should have a solenoid that opens and closes the vapor vent on your car's charcoal canister, as well as the purge valve that's PWM'd by the ECU to suck fuel vapors into the intake manfold. Then there's a fuel tank pressure sensor as well. Again, I haven't ever looked at an NB evap system firsthand but this is standard for all CA smog legal OBDII vehicles (which most vehicles are), as it eliminates the need to pressure test the system with a separate machine during a smog test.
When the car is shut off after a drive cycle, the ECU closes the canister vent and monitors the amount of time it takes for the fuel tank pressure to bleed back up to atmospheric pressure. If it bleeds up too quickly, the ECU will set a code and check engine light depending on the inferred size of the leak. None of this matters if you have a standalone, obviously. None of the ECUs I know of have controls for the canister vent or purge solenoids unless an additional output is installed by the user to control them. What Curly suggested in that forum would be worthwhile on your car, none of the evap emissions stuff is doing anything since the standalone ECU's been installed. I pulled the evap canister on my car as well and now have nothing but a line attached to my front subframe venting to the atmosphere.
Apologies for diving in on the topic. I deal with this stuff at work a bunch and love regurgitating the information lol.
FWIW I've had an issue filling up my NB for the past couple years. I have to trickle the gas in super slowly. It's on my list of things to fix.
This happens even when it's freezing outside and I've just warmed the car up enough to drive down ~1 mile to the gas station. I'm guessing one of my valves is clogged.
I was looking into the CDCV recently but didn't find much info on it. Once it warms up and I get the hard top off I plan to get back there and see if I can fix it.
The canister vent valve may be sticking shut or the check valve may be clogged. IIRC now, the NB actually has two vapor canisters, one under the vehicle near the RR wheel well and one in the engine bay. If you disconnect the inlet line to the canister near the RR wheel well and your refueling issue goes away, it's the canister vent that's plugged. If you disconnect the line and still have issues refueling, it's more likely the check valve. Also possible but low probability is a pinched or collapsed line, but I'd put my money on the check valve first, then the canister.
Ahh, yes, I didn't even consider your NB is an OBDII car. Yes - I haven't dealt with an NB evap system firsthand before, but all OBDII equipped cars have a monitoring system to check for leaks in the fuel tank/vent system. Your car should have a solenoid that opens and closes the vapor vent on your car's charcoal canister, as well as the purge valve that's PWM'd by the ECU to suck fuel vapors into the intake manfold. Then there's a fuel tank pressure sensor as well. Again, I haven't ever looked at an NB evap system firsthand but this is standard for all CA smog legal OBDII vehicles (which most vehicles are), as it eliminates the need to pressure test the system with a separate machine during a smog test.
When the car is shut off after a drive cycle, the ECU closes the canister vent and monitors the amount of time it takes for the fuel tank pressure to bleed back up to atmospheric pressure. If it bleeds up too quickly, the ECU will set a code and check engine light depending on the inferred size of the leak. None of this matters if you have a standalone, obviously. None of the ECUs I know of have controls for the canister vent or purge solenoids unless an additional output is installed by the user to control them. What Curly suggested in that forum would be worthwhile on your car, none of the evap emissions stuff is doing anything since the standalone ECU's been installed. I pulled the evap canister on my car as well and now have nothing but a line attached to my front subframe venting to the atmosphere.
Thanks for all the info. This is aligns with what I had gathered and taken educated guesses on, so I'm glad for that. In my case it seems the main issue was an exhaust leak at the 2-bolt muffler flange that points straight at the fuel tank. Fixing that removed the majority of the pressurization, but not all. I'll take a look at those valves this weekend, and also check if the exhaust leak returned.
A really cool aspect of the Link ECU is that it can control emission devices, and the plugin ECU is already wired to these solenoids. There is a caveat in the NB1 ECU where the purge valve is pinned to a On/Off Aux output instead of a PWM output, but I made a math channel that flips it On/Off to do a pseudo-PWM. I'll show all that in the next post!
@SimBa, I haven't had any issues refueling, but follow Z_WAAAAAZ's advice and you're likely to find the issues in one of those! Let us know what you find.
Man, time flies. I'll condense the rest of the season in this post to get the thread up to date and share what's been happening lately!
After the FM 2023 happenings with the fuel tank getting pressurized I wanted to experiment with the purge valve. Curly pointed out that the Link ECU has connections to the NB fuel tank pressure sensor and that the likely cause was an exhaust leak at the 2 bolt flange right below the tank.
I went looking through the forum and the service manual for any information about how Purge control is done and for information on the sensor calibrations. I found sensor calibration in the Mazda service manual and configured it all in the ECU.
The hardware setup consisted of the OEM purge overflow tank and valve plumbed to the vacuum manifold shared by the ITBs for a source of vacuum. The Link ECU uses the OEM purge wiring in an On/Off output instead of PWM, but KORacing suggested that I could use a Math channel to mimic a PWM output. A beer with a friend later and we decided to try a sine function with a counter.
The idea is to wait for the car to be in "cruise state" for half a second, then actuate the purge valve in pseudo-PWM using Math block 6. Once the purge is active, the ECU removes a bit of fuel per the 4D fuel table. And this setup worked! I didn't expect it to cause the car to go so flipping rich (10-20%) depending on load, but that explains why OEMs do PWM to control the richness on MAF setups? I played with doing On/Off control as well, and kept the 4D fuel correction to account for the rich condition. I used this setup in the car for months with decent success. The only issue was that the VE table was really broken at the low TPS mid-high RPM areas as a result of bad injector data, which made the corrections inaccurate in those spots. At the end of the day, the cause and permanent fix of the pressurization was to eliminate the exhaust leak that Curly mentioned.
ABQ Super Lap Round 4
Up next was ABQ Super Lap Round 4 and some suspension and alignment changes. I wanted to try more front negative camber and less caster. Purchased a set of ELBJs from FM and got to wrenching a few days before the trackday. Found out one of the parts was defective and wouldn't bolt on . FM Support sent a replacement and I was able to get the car aligned the day before the event!
Hard to tell, but the hole is not centered enough to fit
Alignment I went with
Below is the time attack session from that day. The car did well, but it was different than what I was used to. Mainly, it was easier to oversteer and kept locking the front wheels under braking. It took a while to get used to the new dynamics. I had played with the rear damper stiffness which made the oversteer worse. It was also a warm day and the Accelera tires were at the end of their life.
At the end of the day, my 1:38.xx times were good enough for my first podium! Usually I end up in 4th, but the 3rd place didn't participate that day.
While I was in the mood to experiment, I enabled flat-shifting in the G4X (called gear shift control in the software). With a combination of ignition retard and fuel cut I got it to work smoothly with no bangs. This setup also uses a gear/speed calculation to match the RPMs of the next gear to make the exit of the cuts smooth as well. That function is more useful for sequential type boxes, but doesn't hurt in an H pattern. It's an odd feeling keeping your foot planted while shifting...
I don't use the GSC or launch control often, but it's a fun party trick and I intend to use it in the 2024 season.
I spent the next months working on other things (Stealth, house, family, business) and Scooter didn't get much love. But then ABQ Super Lap Round 7 was coming up. I changed the alignment once again, got new tires (Kumho ECSTA VQ730s), and brought friends along!
Accelera tires were done after a few trackdays, a couple thousand road miles, and more camber
New alignment. Less front camber, more caster
It was Balloon Fiesta weekend!
We ended in 4th again, but with a much better PB of 1:36.605! That's roughly spec Miata mid/rear in this track. Scooter did great, and the Kumho tires are awesome. This was one of my favorite days on track so far and I was happy with the new alignment.
ABQ Super Lap Round 8
Next was Super Lap Round 8 and there were no changes from the previous round. This time I wanted to focus on improving confidence and being more consistent. One aspect I was trying to focus on was not closing the throttle abruptly (or at all) in some corners. I added telemetry to the videos for easier analysis too
First practice we did 1:36.770 and 1:37.010. Not bad.
Second practice (with @Fireindc as passenger!), 1:36.714, 1:37.042, 1:36.949.
In time attack I was hitting the limiter between corner 2 and 3, so went to 4th gear instead of staying in 3rd, and got a bit braver in corner 13 and 14. The times were 1:35.895, 1:35.684, 1:35.531 !!!! WOOOOOT !!!!. I was ecstatic. Video or it didn't happen.
This new PB put us in 4th place again, but the competition was very close (0.2 or 0.3s apart) between 2nd, 3rd and 4th. RX8, Integra GSR, Scooter respectively. First place is strongly taken by our friend Brian and his NC3.
This concluded the events for 2023. Scooter felt dialed in the suspension, brakes and alignment department. I realized that I only let the car "dance" in 2 or 3 corners, so I need to work on trusting the grip more. I have things to try in 2024, but I was (and am) very proud and happy with 2023.
Winter was a busy time with family, so I didn't look at the car for a month or two. The break was much needed.
But with spring 2024 fast approaching, it was time to start prepping...
Loving the updates bud! Didn't realize that 1:35 you ran last event was after a pass on the straight, nice job setting it up for t1 after that! Also love those clips of you throwing scooter into t1, really gives a good feeling for the speed you feel hucking into that corner.
Seing as how Ricardo re-tuned most of my map (everything but the timing map), he's my go to guy for tuning now days. We have fun.
Ricardo thinking "just a few more KPA" with his evil grin as he smashes the page up botton:
Shucks, I just saw your post from 3/8! Great job outlining the parameters and fix on your issue. I forgot you had a Link and had no idea they had provisions for the factory emissions stuff.
Congrats on the podium and continuous improvements on your times as well. Great pics and videos as well. Doesn't matter if the usual third place member didn't show up, I'd tell all my buddies it was a podium finish still
Good work on the evap stuff! You're making me realize I still need to dig into that on my car.
Congrats on the podium as well! Seems like it should be the first of many.
Thanks! I hope I can get a couple more podiums this year.
The purge control was one of my classic overthinking projects, but fun to figure out. I don't know if you've one of the Mazda service manuals downloaded but the diagram I posted above has all the various parts of the NB EVAP that you may need to check on yours.
Originally Posted by Fireindc
Loving the updates bud! Didn't realize that 1:35 you ran last event was after a pass on the straight, nice job setting it up for t1 after that! Also love those clips of you throwing scooter into t1, really gives a good feeling for the speed you feel hucking into that corner.
Thanks, Nate! Malcom was having a misfire and luckily let me by with no major loss of time. The little slide into T11 was very costly. I'm glad you enjoyed those clips. They're some of my favorites and get me really stoked to drive again.
Originally Posted by Fireindc
Seing as how Ricardo re-tuned most of my map (everything but the timing map), he's my go to guy for tuning now days. We have fun.
Ricardo thinking "just a few more KPA" with his evil grin as he smashes the page up botton:
Big thanks for the shoutout! Glad you're happy with my work; It has been a lot of fun.
Haha I hadn't noticed my face in that picture, but I do remember that day fondly. Flex fuel high boost Miata was a new world for me and made me realize how much I miss boost . Soon.....
Originally Posted by Z_WAAAAAZ
Shucks, I just saw your post from 3/8! Great job outlining the parameters and fix on your issue. I forgot you had a Link and had no idea they had provisions for the factory emissions stuff.
Congrats on the podium and continuous improvements on your times as well. Great pics and videos as well. Doesn't matter if the usual third place member didn't show up, I'd tell all my buddies it was a podium finish still
No worries dude. Life gets busy and you have been crushing it with non-stop projects! Doing my best to share info and hope someone finds it useful or at least interesting.
Thanks. I've been fortunate that my friends took pictures and videos while spectating. It adds a new level to trackdays having people helping and hanging around. I definitely bragged to a few friends about the podium . Scooter already has rotary syndrome (burning a quart of oil every 100-200 miles now), so maybe it'll gain some HP from that RX8?
I'm excited to soon share what's been happening in the past few weeks. ABQ Super Lap Round 1 is this weekend. Let's see how it goes!
This past Saturday was the first round of ABQ Super Lap. I wish I had recorded more and taken pictures but as you will see, I had no time.
Let's start with the leadup to the weekend:
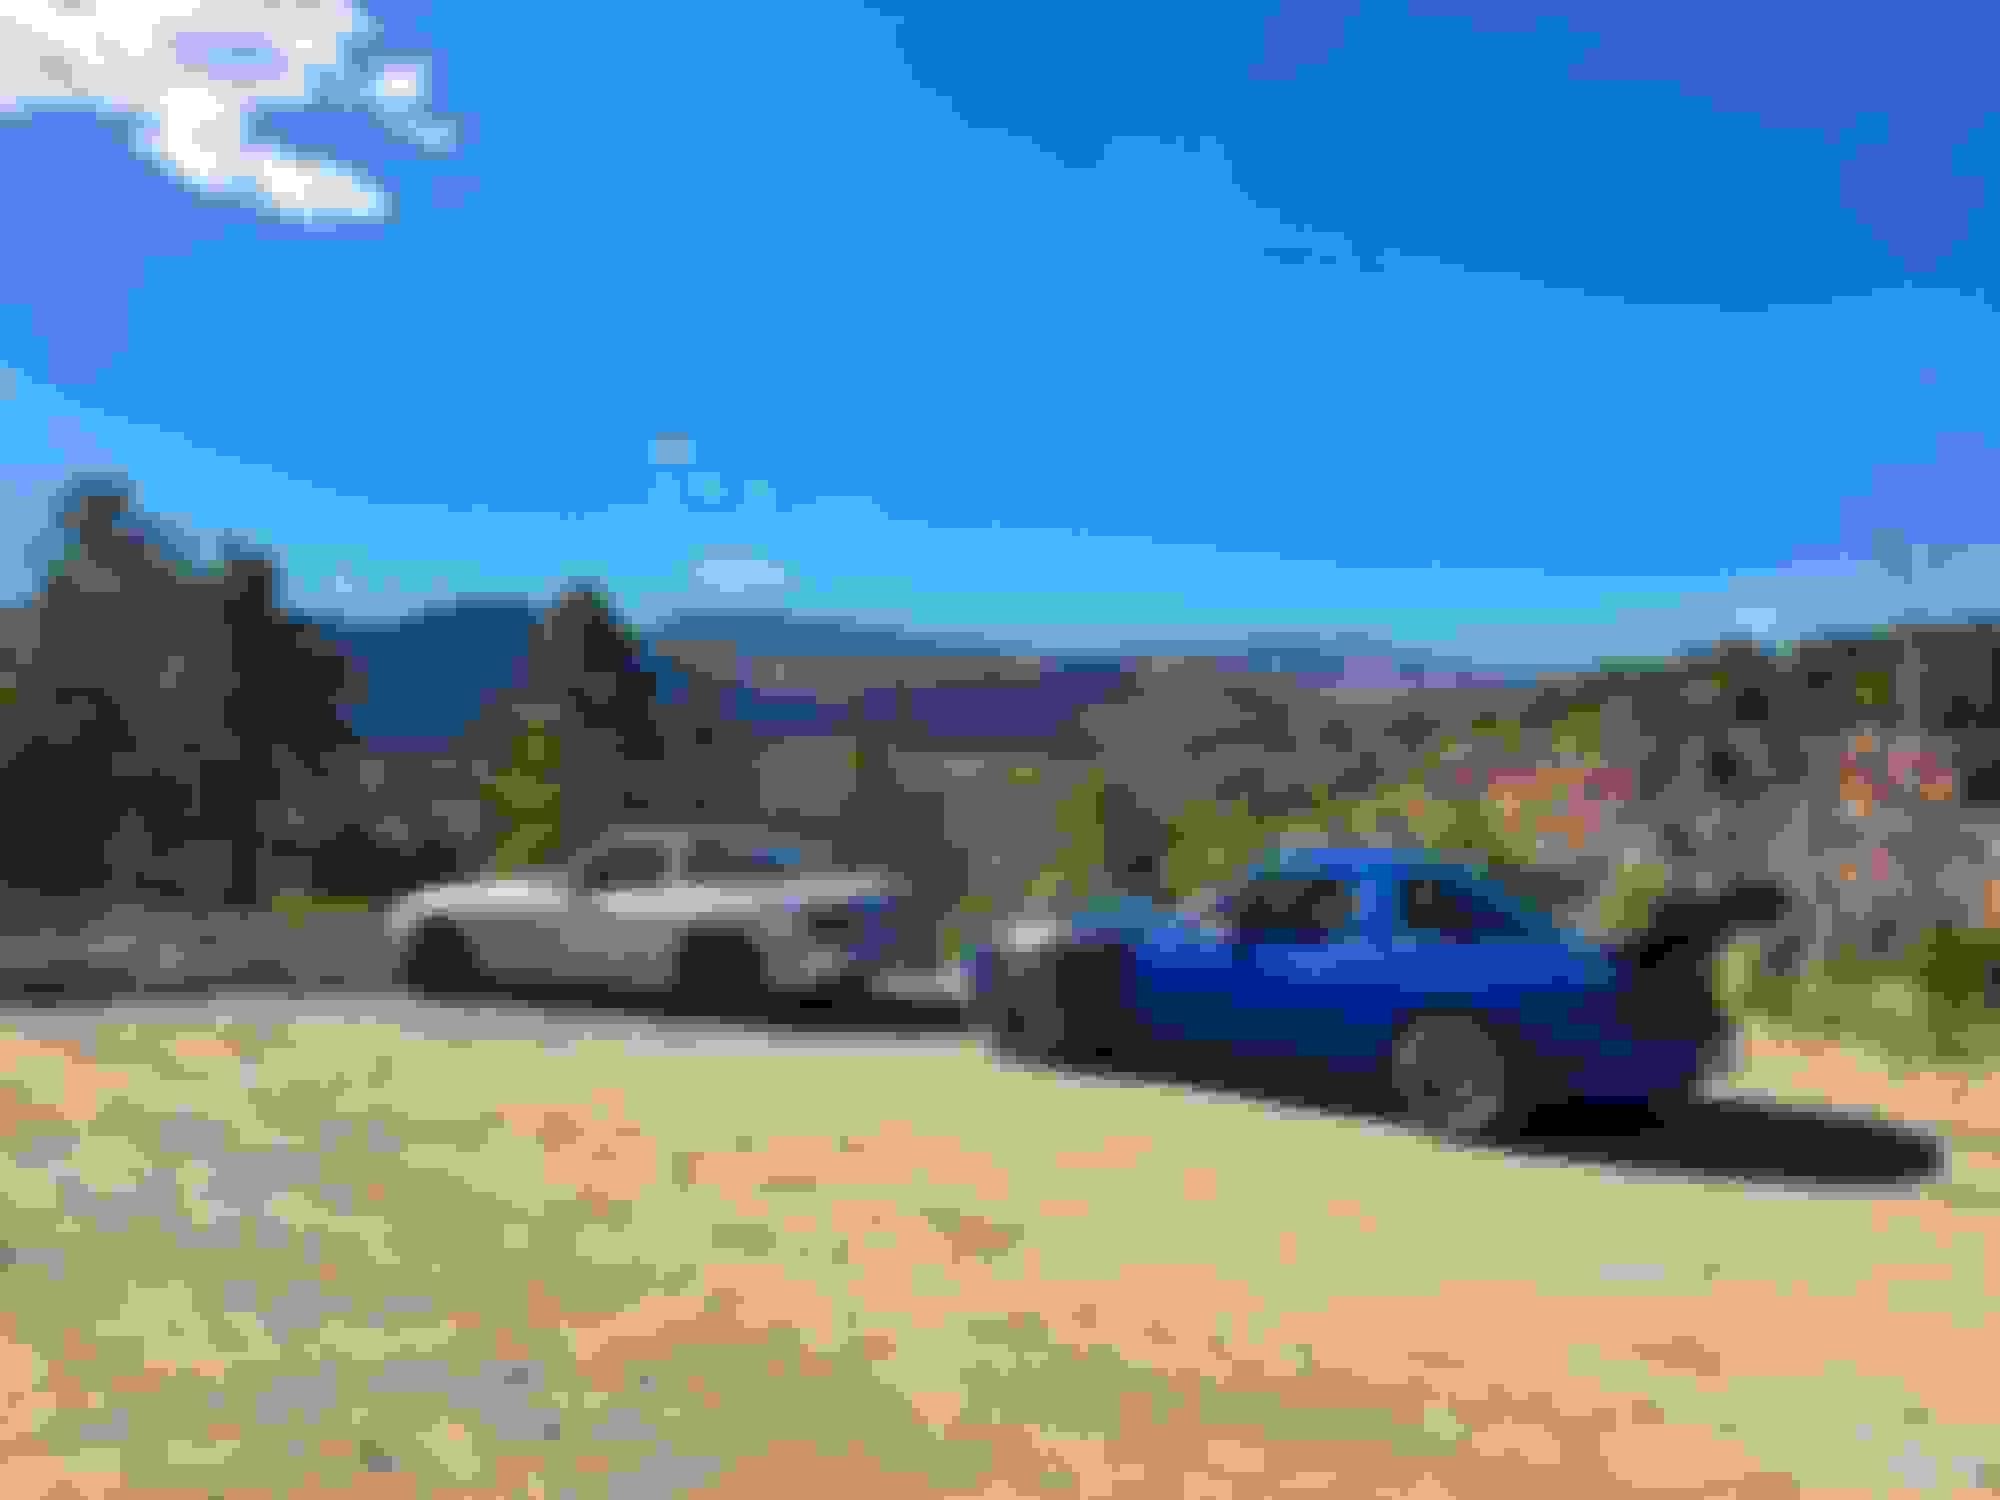
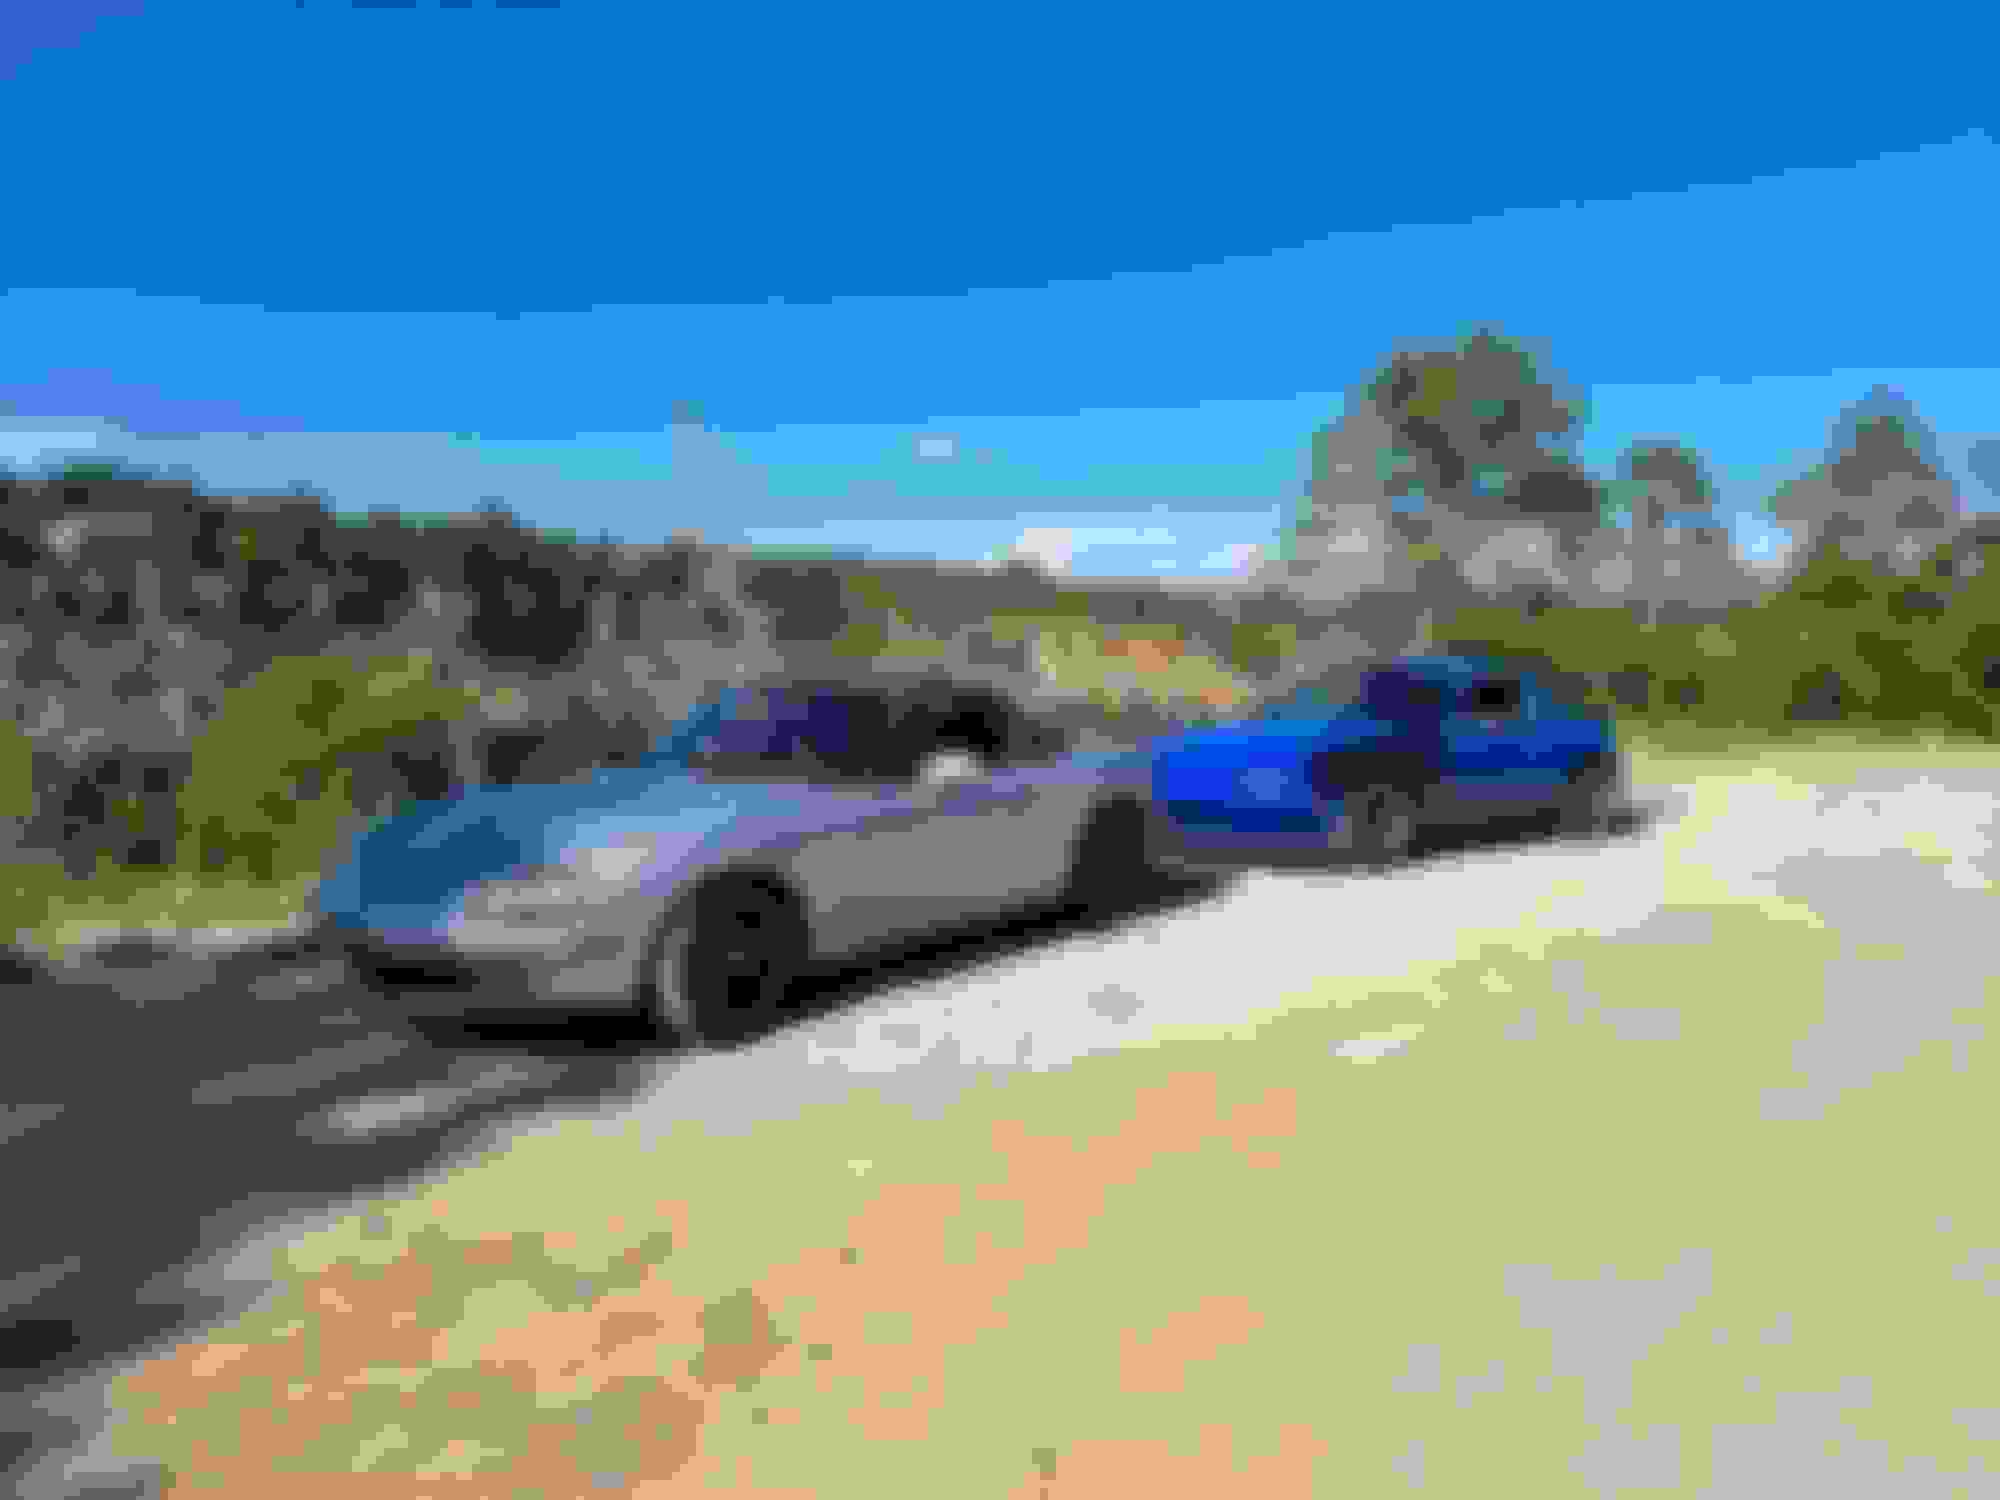
A couple of months ago I was able to purchase a towing vehicular. 2007 Tundra SR5 with towing package. With 136k miles, it needed some TLC but seemed like a good start. I've never towed a car before, so learning experience. This is also my first truck and V8...fun.
No pics of the TLC done, but spark plugs, serpentine belt, some hoses here and there, an attempted alignment (camber bolts need replacing) and the Tundra was good to go. Oil was still fresh so left it be.
On the Miata side, it was time to tackle the IATs. On a cool day in early Spring, IATs in Scooter would get upwards of 40C (104F) on the street, and even more on track. They never come down while I drive. Actually, even in winter they'll get to the 40s with enough driving. Crazy. Enter the Reverie carbon airbox!
I've wanted this airbox for ever. Hard to swallow the price, but it is a beautiful piece. The filter above goes within the airbox. I like the idea of no filter on the piping for a cleaner install.
A few issues came up while test fitting:
1. Fuel line in the way
2. New air filter isn't tall enough to clear the 60mm trumpets
3. Unable to install with strut bar mount in place
4. Once installed, clearance to strut bar was tight
Fixing the fuel line was easy. Loosen the AN fitting and use a longer hose. I broke one of the quick disconnect inserts but they're available at the local store.
Switched to the 35mm Borla trumpets to fit the filter. A bit bummed about that, but I'll likely print a set of 45 or 50mm trumpets later.
I tried trimming and cutting the mount some but at the end just had to delete the strut bar all together. Not a huge difference in driving dynamics with it gone, but turn in response isn't the same.
Installing it was annoying because of this bottom holder. I was planning to cut it, but was recommended to space it out instead, which worked really well. Had to use longer bolts here.
And the last bit was routing some intake piping somewhere colder than the engine bay. Feeling a bit tired and out of time, I just put it behind the headlight for now. This spot seemed to be about 10C hotter than ambient after driving around. Eventually I would like to have it somewhere with a ram effect, or at least straight to ambient air.
It was time to add a bit of flair to Scooter, and these APR mirrors got to my door. They are from R Theory because of the ready made adapters. Pretty easy install overall.
For a while I had been using tie-wraps to hold the Dual external GPS I use for laptiming. Figured it was time for an upgrade and designed and printed this holder for it. It has an adapter to fit the GoPro mounts I made for the rollbar , but I also made it compatible with RAM mount adapters.
Now for the actual track prep! Scooter was in dire need of an oil change (somehow it keeps getting diluted within a few hundred miles), a brake bleed and it was also time to grease the bronze bearings in the suspension. It was Thursday, trackday was Saturday. Plenty of time.
While greasing the suspension, I see this:
Well hell. Alignment added to the TODO. The local mechanic squeezed me in on Friday and I quickly marked the camber bolts after.
The alignment had moved some (little numbers above the new ones), but it surprisingly wasn't as bad as it could have been. At this point the car was ready to rock.
I wanted to learn how to trailer the car so I can start traveling to other tracks. I don't have a place to store a trailer at the moment, so I picked up a U-Hawl. It's a bit annoying (and costly on fuel/time) having to drive off town to get the trailer, but it'll do for now. Didn't take pics, but had the car loaded Friday night and all the gear together.
ABQ Super Lap Round 1
Woke up early and started the drive to the track 2 hours away. Took it slow, going around 60-65mph on the interstate and everything went great. As I'm pulling into the pits it dawned on me that I forgot something...
Keys were at home.
For ***** sake.
Fianc�e pulled an MVP move and met me half way in Santa Fe, and I got back to the track as the last group was lapping before lunch. The organizers let me do my practice sessions during lunch while everyone else watched my stupid *** be stupid. You see, I also wanted to play with Gear Shift Control. In the second practice session I was out banging gears and stuff was working well...until I lost track of what gear I was in...and instead of slowing down and regrouping I stayed in it...brapapapaap. I have no idea what I did, but 404, gear not found. With that fiasco I aborted the session and pulled into the pits to calm down because I was over my head. Haven't looked at the datalogs yet, but the Max Engine Speed in the ECU only shows 7406RPM, so I didn't overrev at least.
The car felt well, however. Suspension was doing its job, and alignment felt good too. It was extremely windy and a bit cold, and the tires took longer than usual to come alive. I was struggling keeping oil temp high enough for full RPM duty (limiter works with oil temp in Scooter). It took about a warmup and a hotlap to come up to temp. But I made due, and ended up doing a 1:37.236 which put us in 5th. Far from last year's PB, but between the set backs, being exhausted and rushed, that's really the best I could muster. For perspective, I drove 250 miles that morning before my laps started, between going to the track, round trip to get the keys, then rushing to get the car ready for time attack (I couldn't unload it because I had locked the doors!). That added up. Total truck milage for the day was 360 after the return trip home. I could barely function Saturday night.
Thanks to @Fireindc for the only track pic of the day
Almost forgot to take pics of Scooter on the trailer. Taken at the entrance of town
It wasn't all doom and gloom though. A lot of things went well and I have a better idea of what sort of trailer I want, and with what features. The Tundra did fantastic, and towing went without a hitch. The external GPS rollbar mount worked a treat, and it's always great to hangout with cool peeps. Last but not least, the airbox did it's job keeping the IATs lower. Temps climbed to 42C (107F) while staging (idling 10+ minutes), and dropped to 30-32C (86F) while driving. It may have been better if I didn't have to let the engine idle for so long to keep the oil temp up. I'll eventually build a box around the headlight to keep temps lower still, and maybe use gold foil in strategic places. The car is much quieter with the airbox, but I can swap to the filter at will for loud ITB noises
Needless to say, I'm not proud of how things went at the track, and mainly feel I let Scooter down. Next Super Lap is May 19th and I'm not sure if I'll make it; Redemption is needed. Might have to sign up for an SCCA or SWMS HPDE event. "Keys" are now bold, ALL CAPS and highlighted red in the track prep checklist.


 0
0


 .
.


 I had to stop every so often to release the pressure out of the tank after big elevation changes. I bought a corc plug at a hardware store and capped the EVAP line for the time being. My friend Tim was having a similar issue with his EVAP, so I didn't slow us down too much.


 . Soon.....


 , but I also made it compatible with RAM mount adapters.


