When you click on links to various merchants on this site and make a purchase, this can result in this site earning a commission. Affiliate programs and affiliations include, but are not limited to, the eBay Partner Network.
Eventually I got around to making a little bracket for my boost controller. I've had some fun tuning that. Still undecided on open vs closed loop control. Currently running closed loop.
After ~1.5 autocross seasons including Evo schools, Prosolo's and regional events, a track day, and a year sitting in storage, the RT660s are being retired. At the last events of the season I was trying to figure out why I couldn't seem to get the car to turn. I rode along in other people's cars with way narrower tires who just seemed to have so much grip compared to me. On the last day of the season I borrowed the RT660 summer tires from my roommates Mini, and even going down in size it was a huge improvement. Can't wait to see how the car handles on fresh rubber this year. Still a good amount of meat, but no grip. Not sure about the ridge on the outside. Maybe someone who knows tires better than me can comment.
Naturally, with the turbo on the car and the EBC being able to turn up the boost, the idea of replacing my engine was present. My engine was going through a decent amount of oil with ~175K miles on the car and an unknown/questionable service history. My roommate was egging me on, as he had rebuilt his engine a couple times. I started researching parts and perusing some ads, still unsure about exactly what I'd do.
Someone listed some pistons, an oil pump, ARP head & mains, Cometic head gasket and ACL race bearings, all NIB. They weren't described at all, but I recognized the pistons and did some sleuthing on the part numbers shown on the boxes in the post. As I expected, the pistons were from Flyin Miata, and the oil pump was a Boundary "stage 3", also from Flyin Miata. The pistons and oil pump would run over $1500 new. I messaged the guy immediately and took the whole lot for $800 shipped. I guess we're building an engine. Happy Day!
Started pulling the engine shortly after. Not sure exactly how, but I sheared the PS banjo bolt. Later I realized I probably didn't need to take it off in the first place.
I ended up 3d printing some parts to assist with the pull/build. A transmission cork was the first one.
She's a dirty girl. Probably should have spent some time cleaning this thing up when I got the car. Well lubricated.
Can't say it was a perfect job, but for a first time pulling an engine I think it went pretty smooth. Along with the PS bolt, I crushed one of the heater core pipes pretty well.
Now the fun begins.
Solid update man! 1.5 years out of a set of RT660s is pretty dang good. I've noticed the same thing, though. They get hard and slippery with age real quick. I've had new-ish tires worn down almost bald that gripped better than older tires with more tread. At any rate, swapping em out is awesome because you get to feel like Superman for a short while after being used to less grip lol. Heat cycling makes a difference as well. I've noticed mine start almost turning a shade of blue around the edges after enough track days/canyon runs. I've had mountain bike tires do this as well, although not sure why because they don't see near as much heat.
Massive score on the engine build parts. Finding deals and opportunities to grab the parts you want/need as you go along makes the process of building the engine a lot more exciting haha.
Thanks for the info Curly. I've never worn a tire down like that before. Certainly seen cords on my tires when I was in college and didn't know better, but never seen the sidewall protrude like that. I'll have to talk to my tire guy soon. I'm hoping they'll go on sale before our first event of the season.
Very sorry to hear about the tragedy you witnessed. I know it's normally a lot safer than tracking, but I've seen a few too many auto-x courses both online and in person where someone going wide or spinning would put them right into a fire hydrant, concrete lamp post, or corner worker station. One time I was working the first session at such a station, on the outside of a corner at the first major braking zone, before my run and feeling a bit uneasy about it. Sure enough, on my first run with cold tires and cold brakes I was that guy. I had no brakes at the first push of the pedal, then got lockup as I added pressure and they came up to temp. I slid right off into the grass and some people had to scramble.
After a 4 hour track day in which I treated sprint focused RT660s like they were endurance ready RS4s, mine were completely toast as well. The massive slide I had that took the left rear down to the cords is what sealed the deal, but even the other side had a dramatic drop in grip after that event.
Regardless of how safe the course is setup something unpredictable is always possible. I'm not sure how much prep work/safety planning can be done to combat someone going unconscious on course.
I'm really excited to see how the new 660's feel. Hoping to find a sale before the season starts, but they're *relatively* cheap as is, so I'll bite the bullet and pay full price if needed.
Alrighty, time for some engine gore. If you have a weak stomach when it comes to varnish then I'd suggest skipping this post.
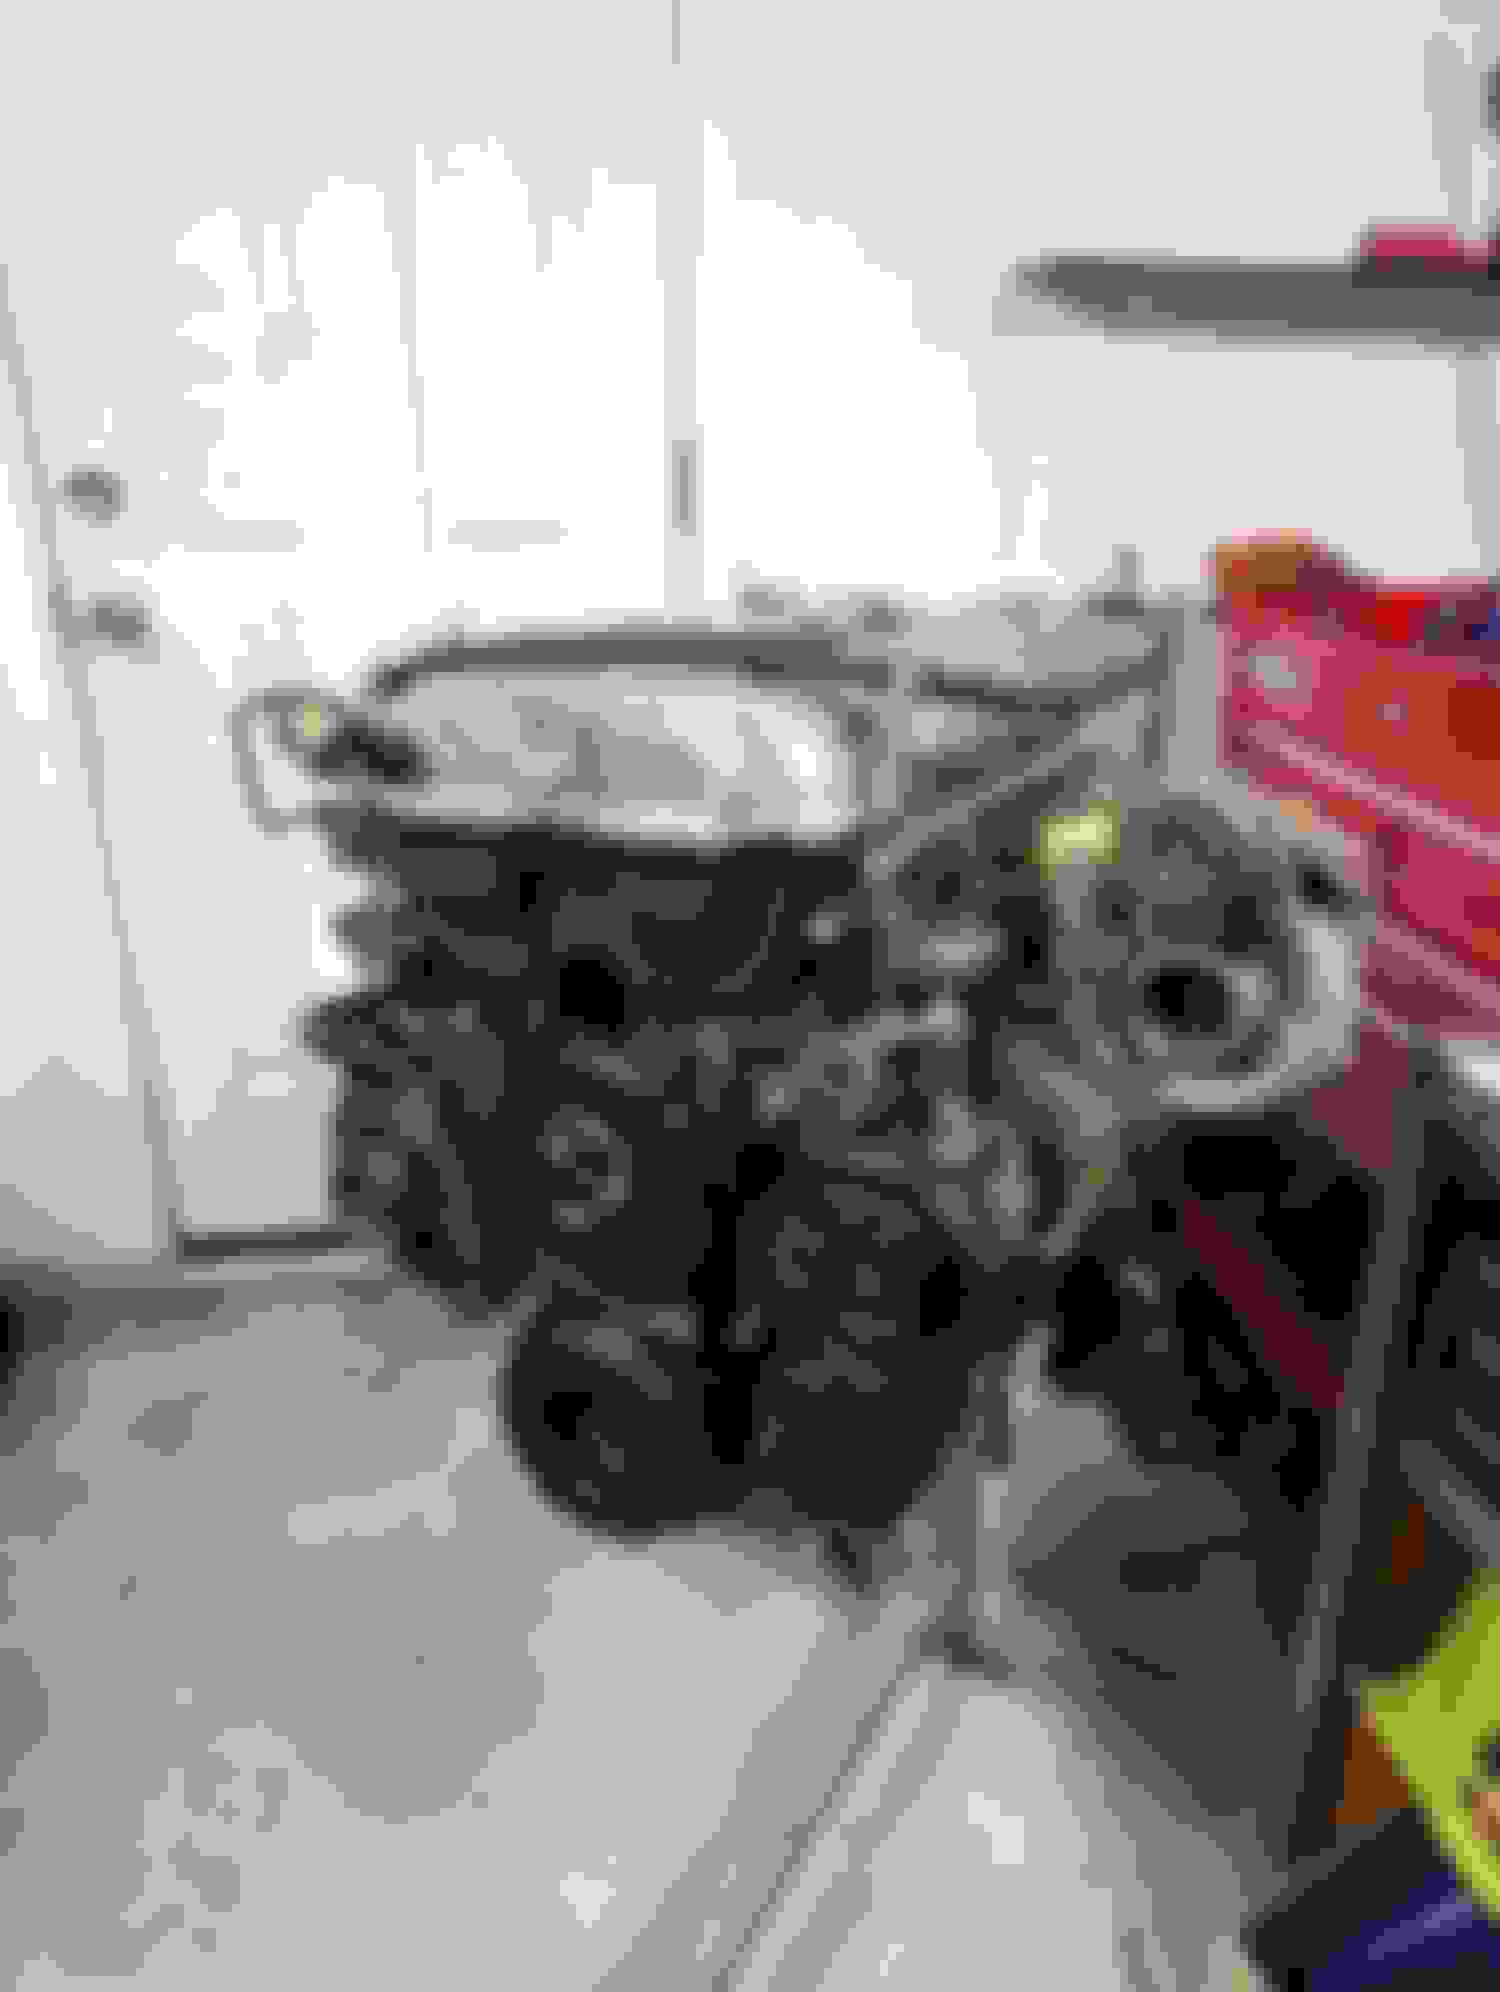
Engine out, Simple Green armed. Let's dig in.
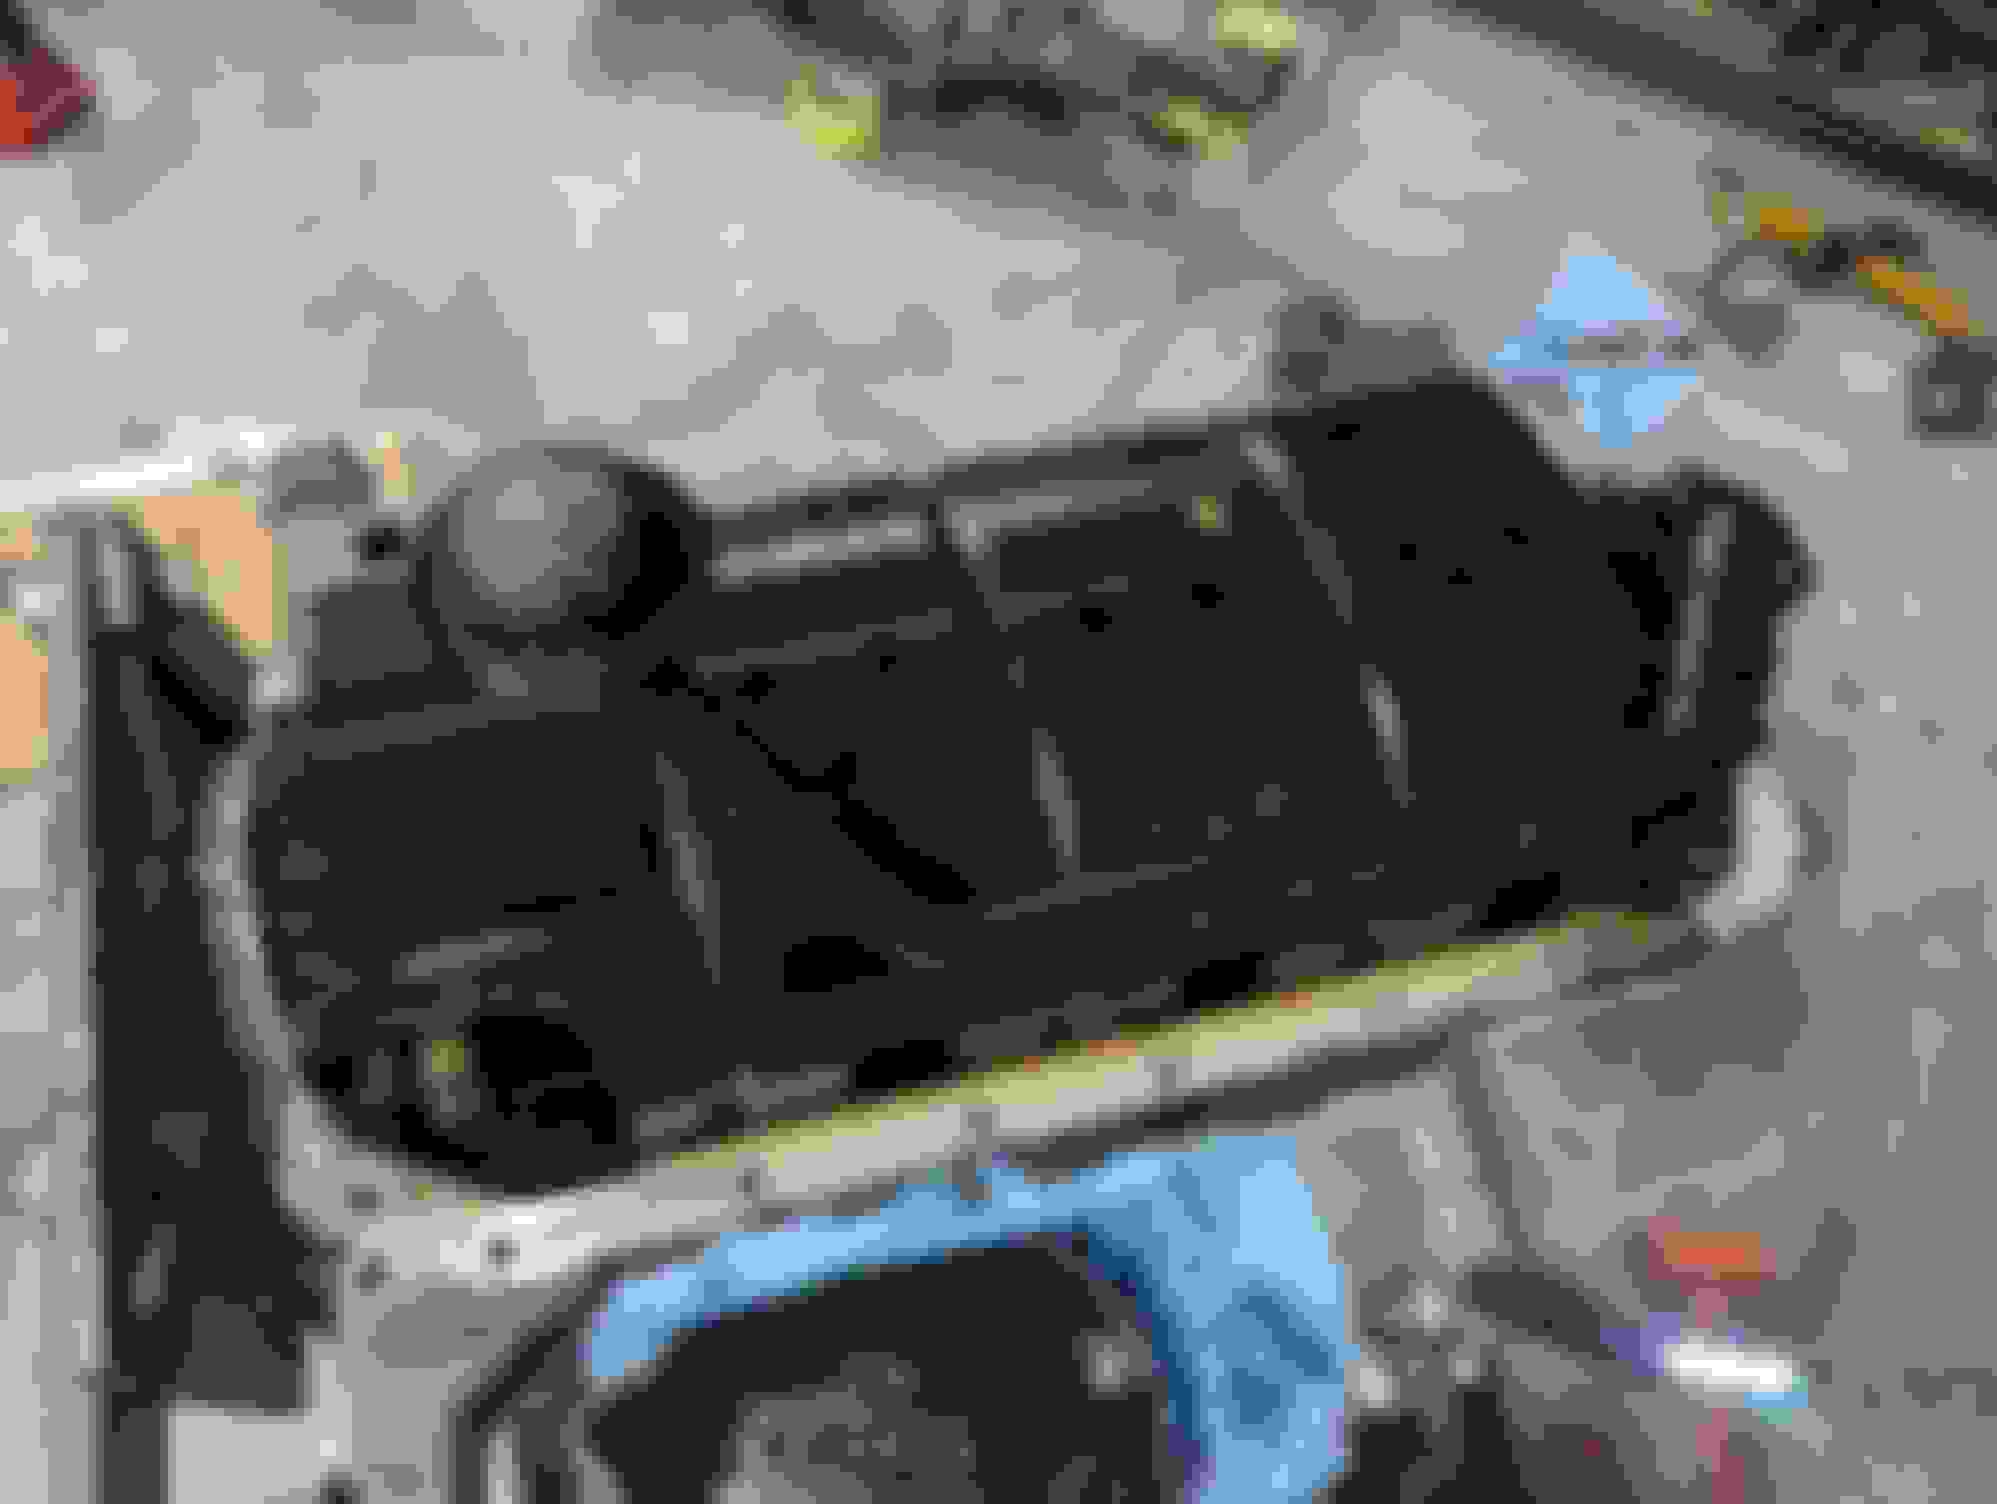
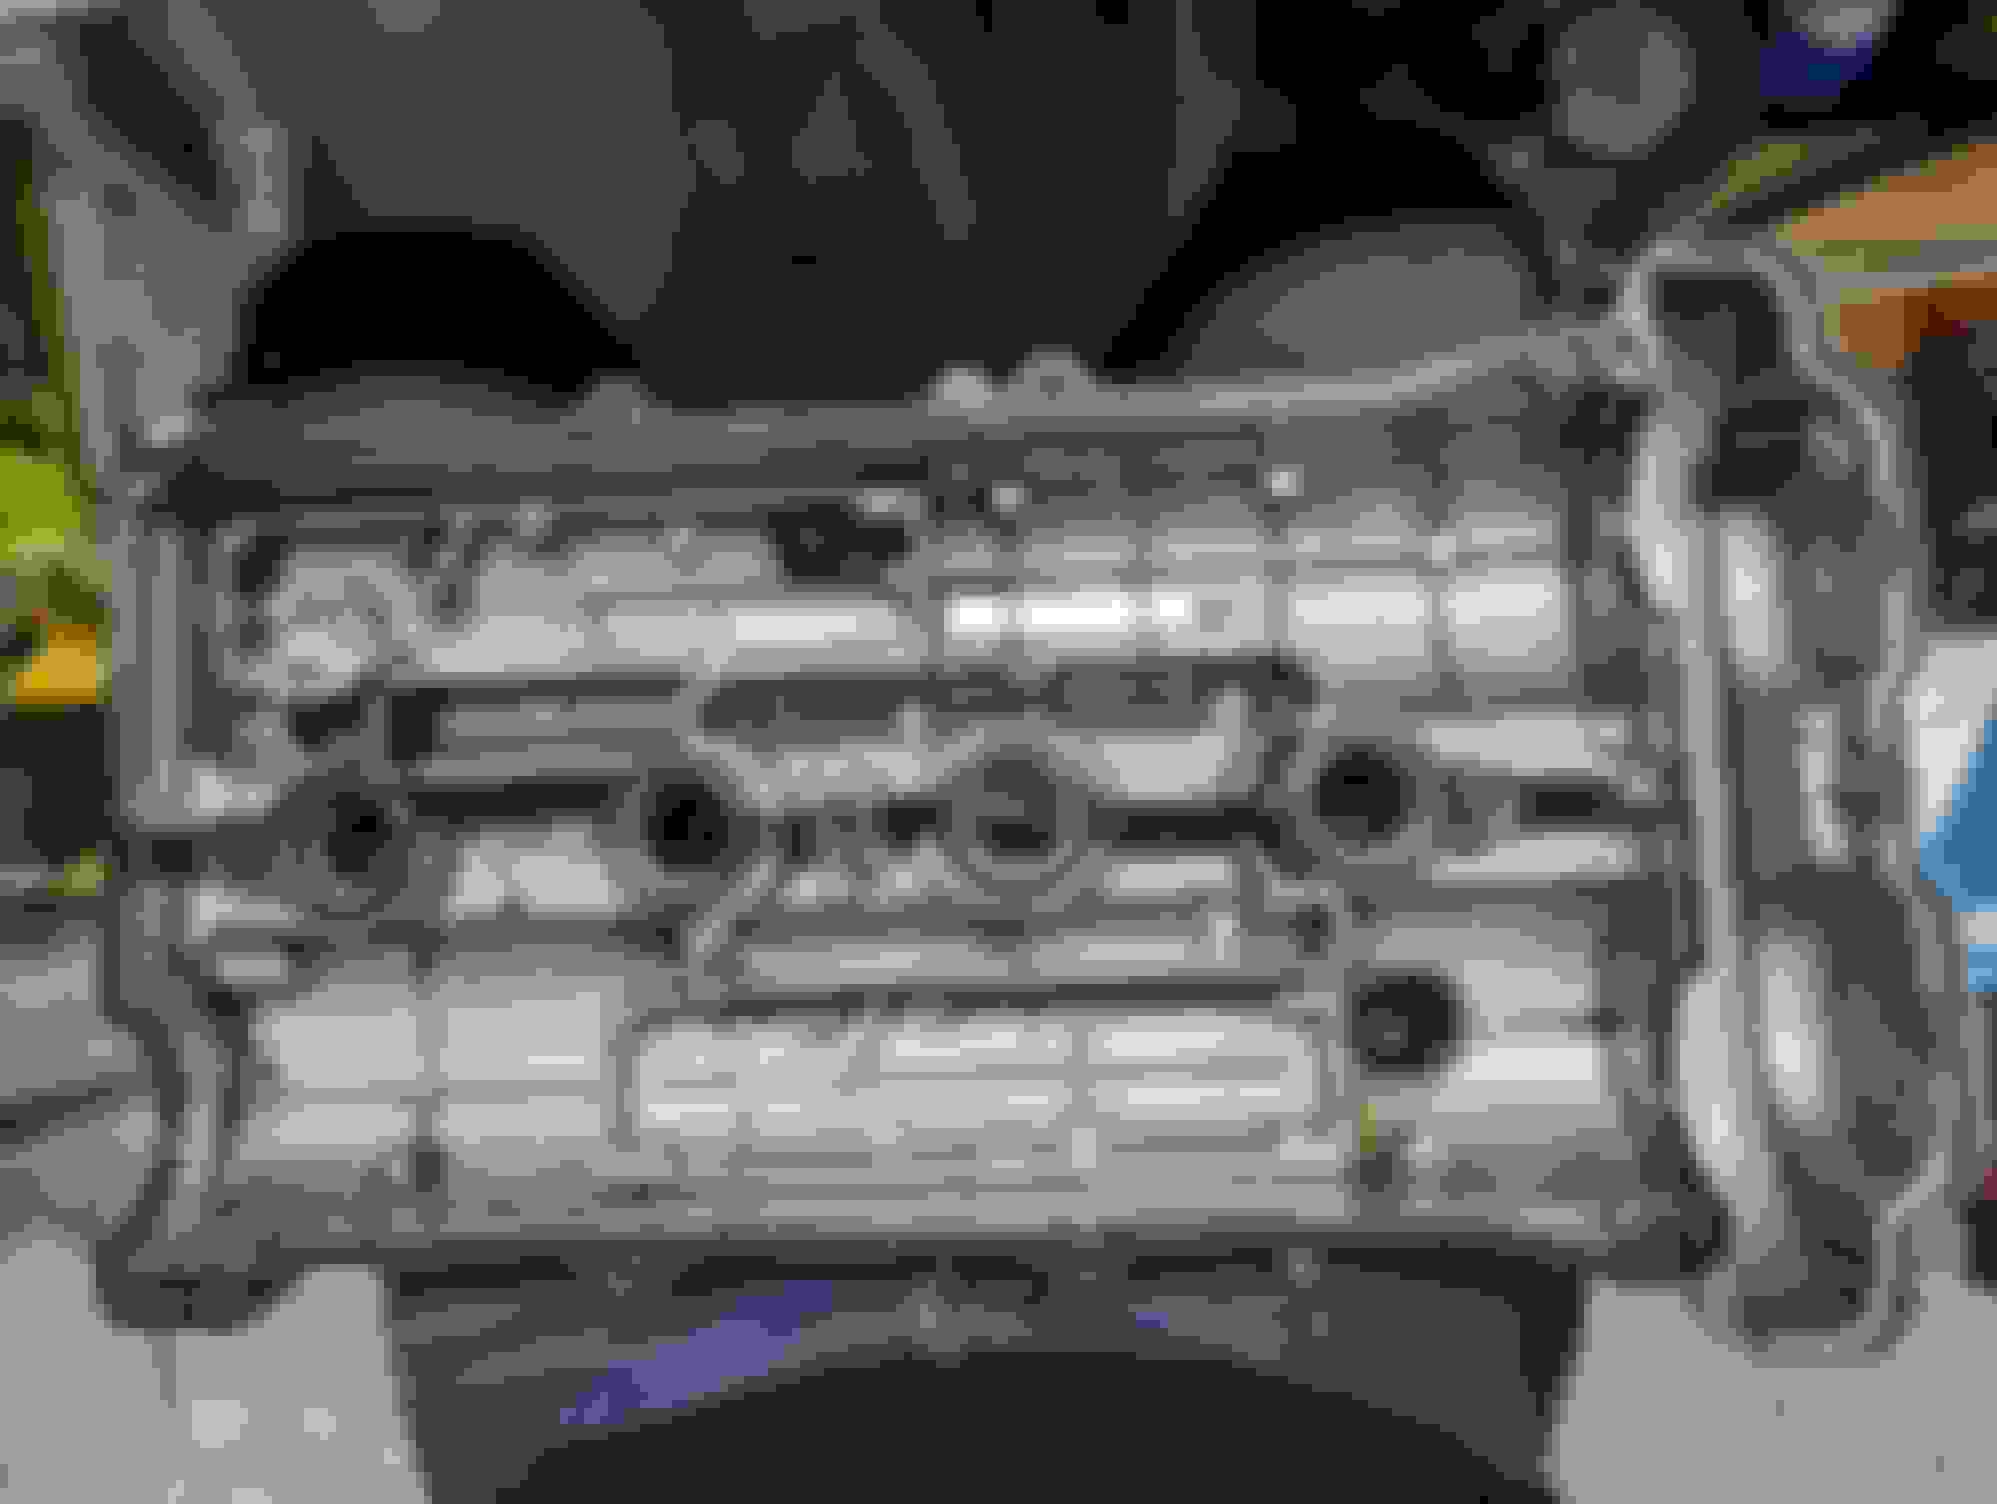
I was pretty aware of what the head looked liked from the times I'd replaced the valve cover. It might've gotten worse towards the end of this engines life though.
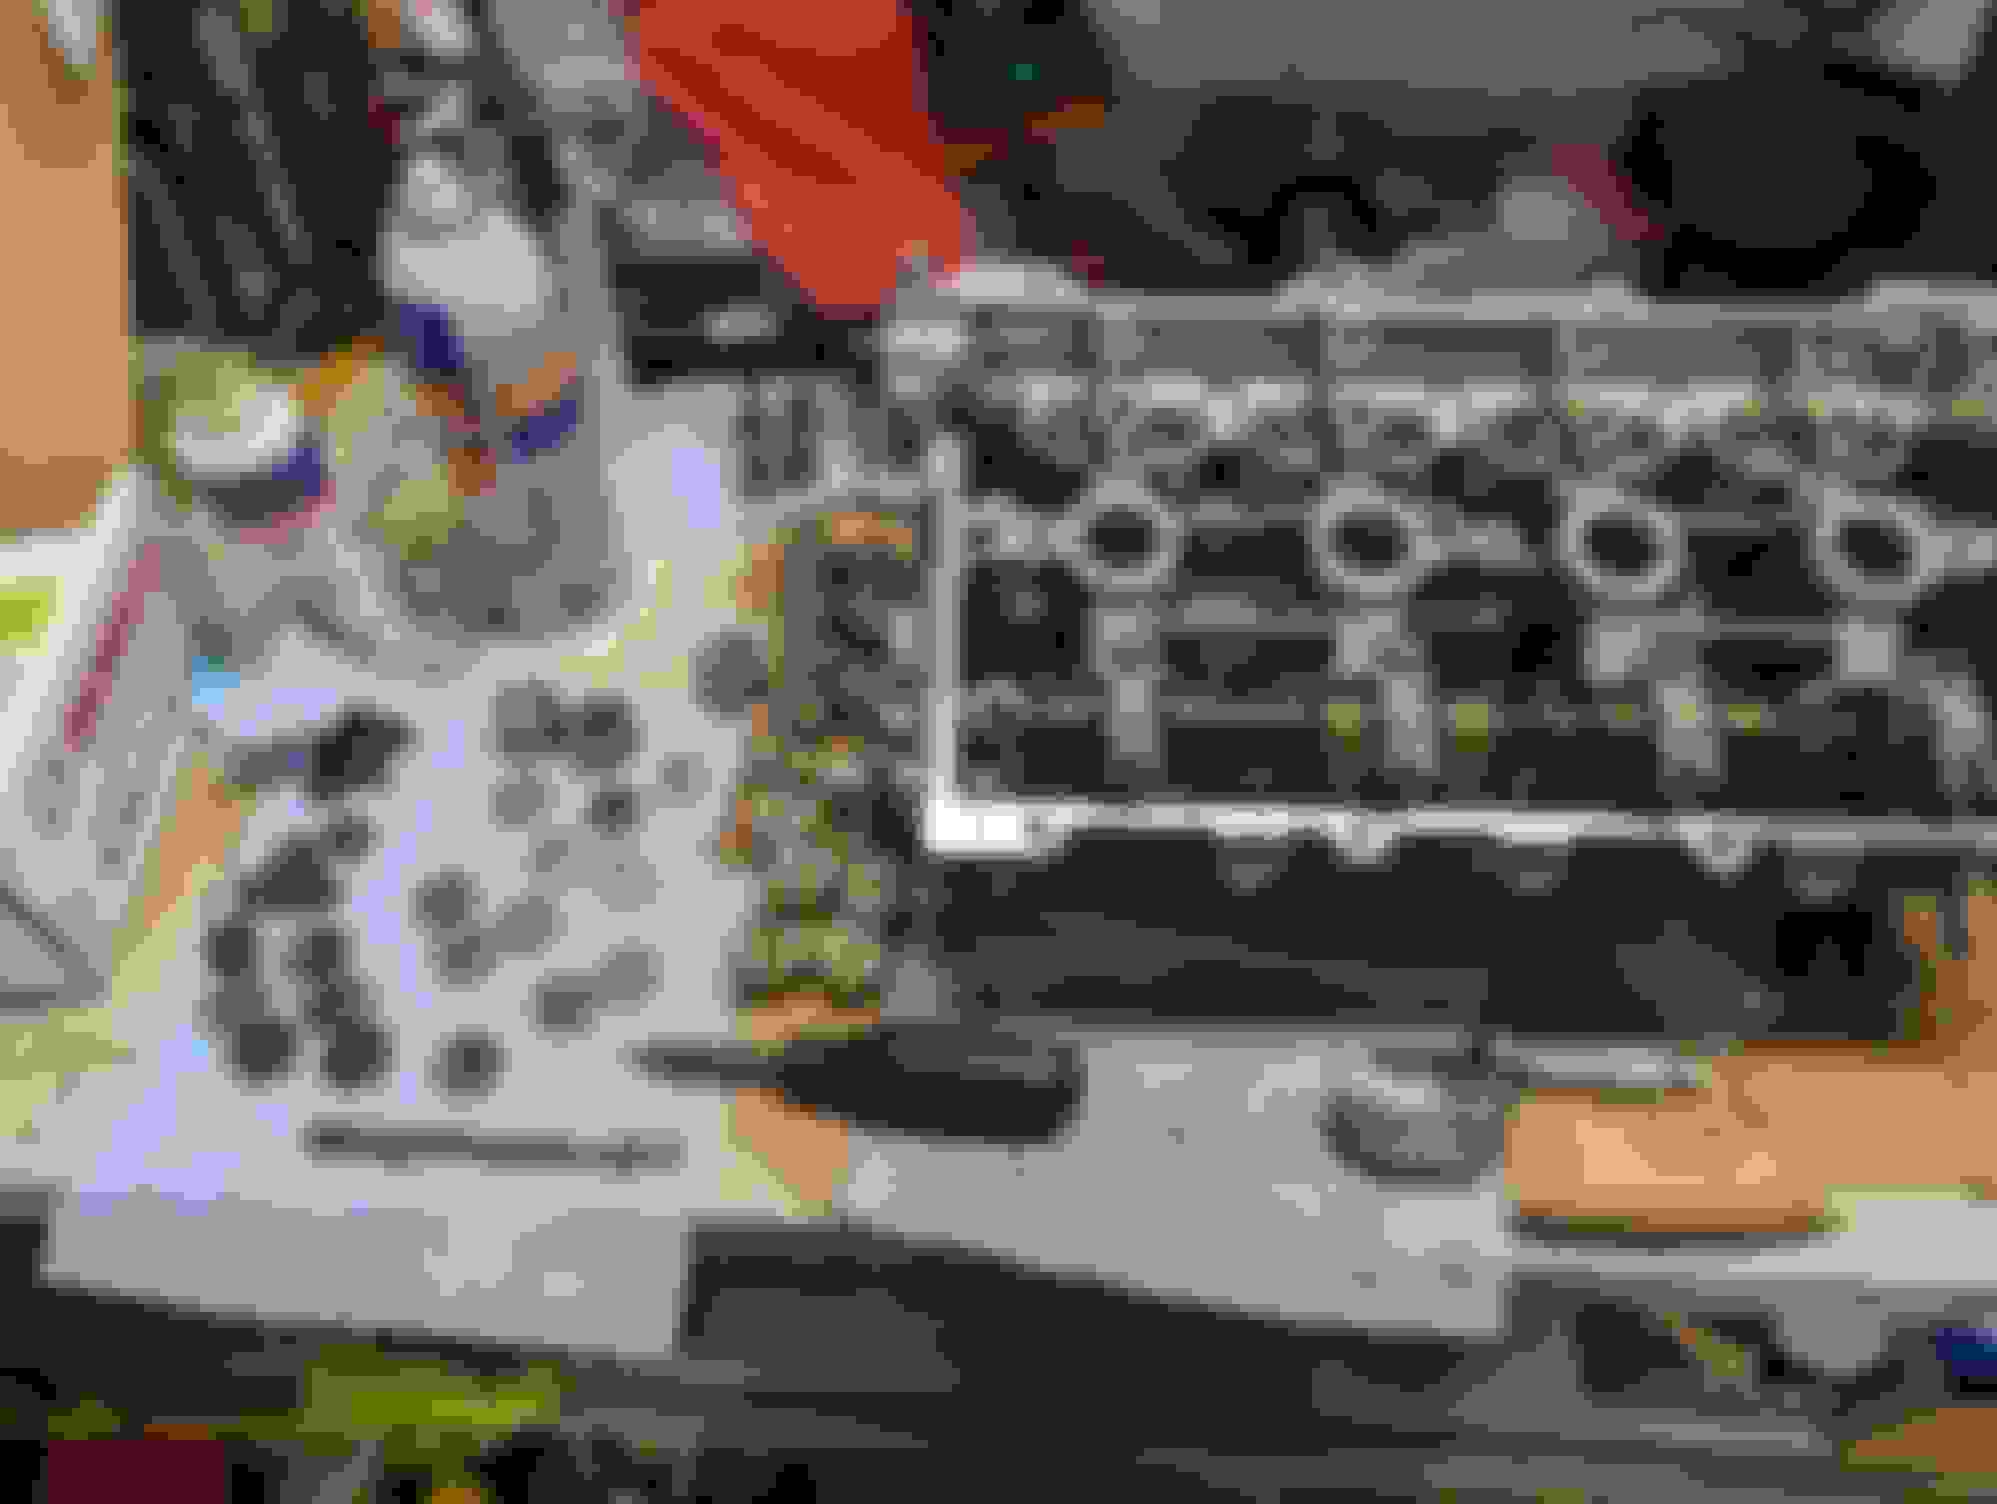
Moving onto the bottom end.
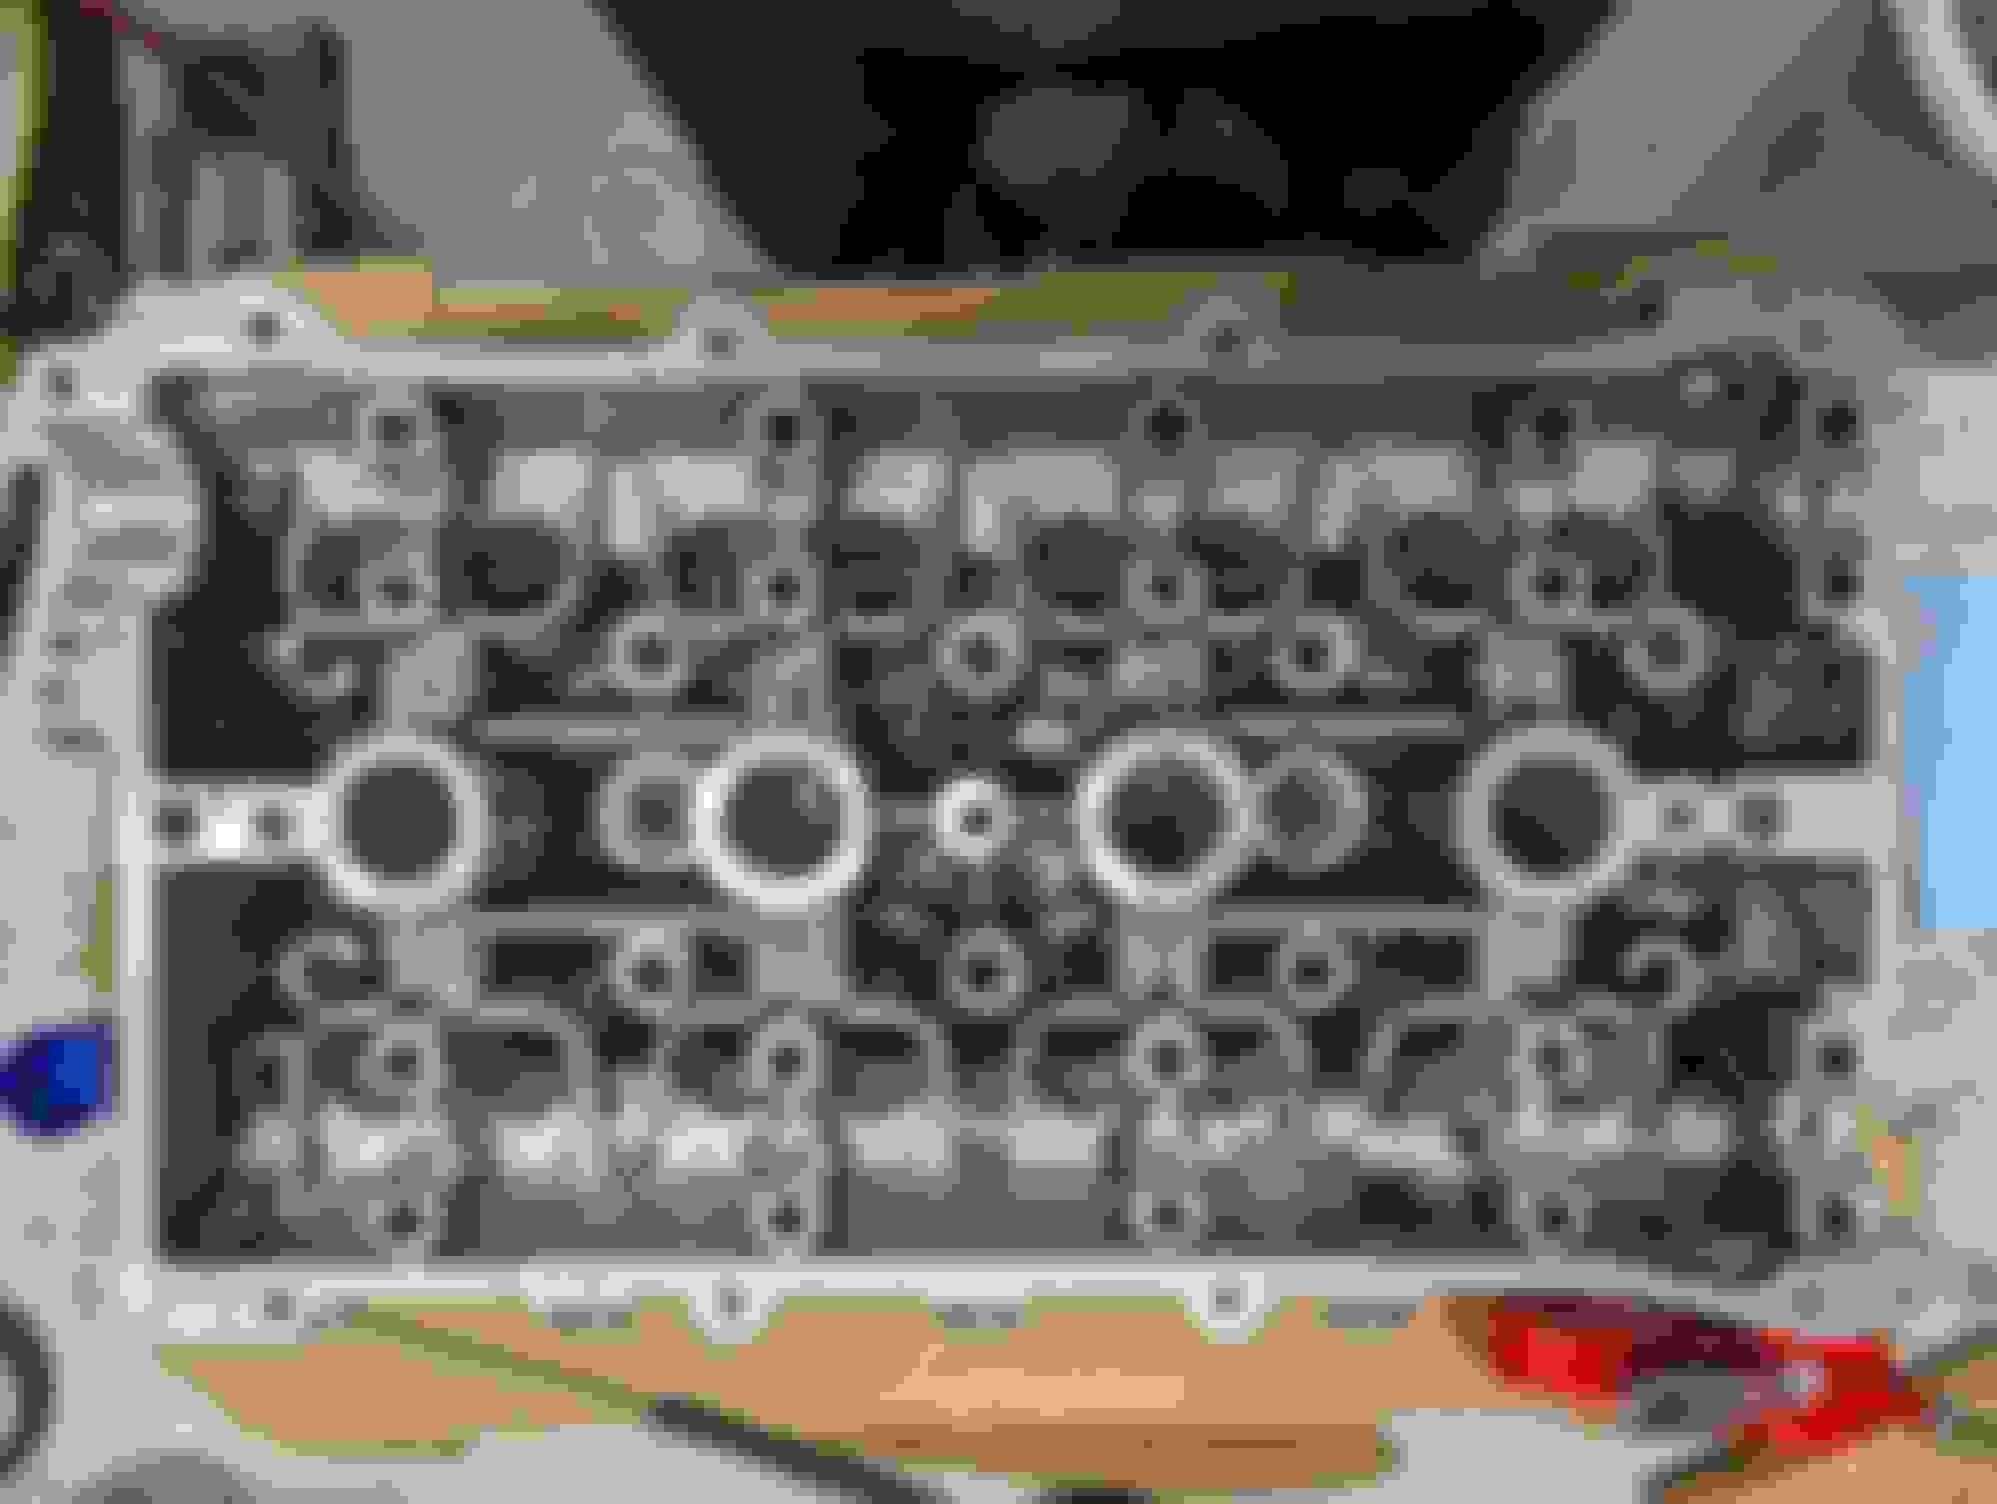
The bearings and crankshaft looked surprisingly good to me. Very little as as far as wear goes. For context this was the original engine AFAIK and was at 175K miles.
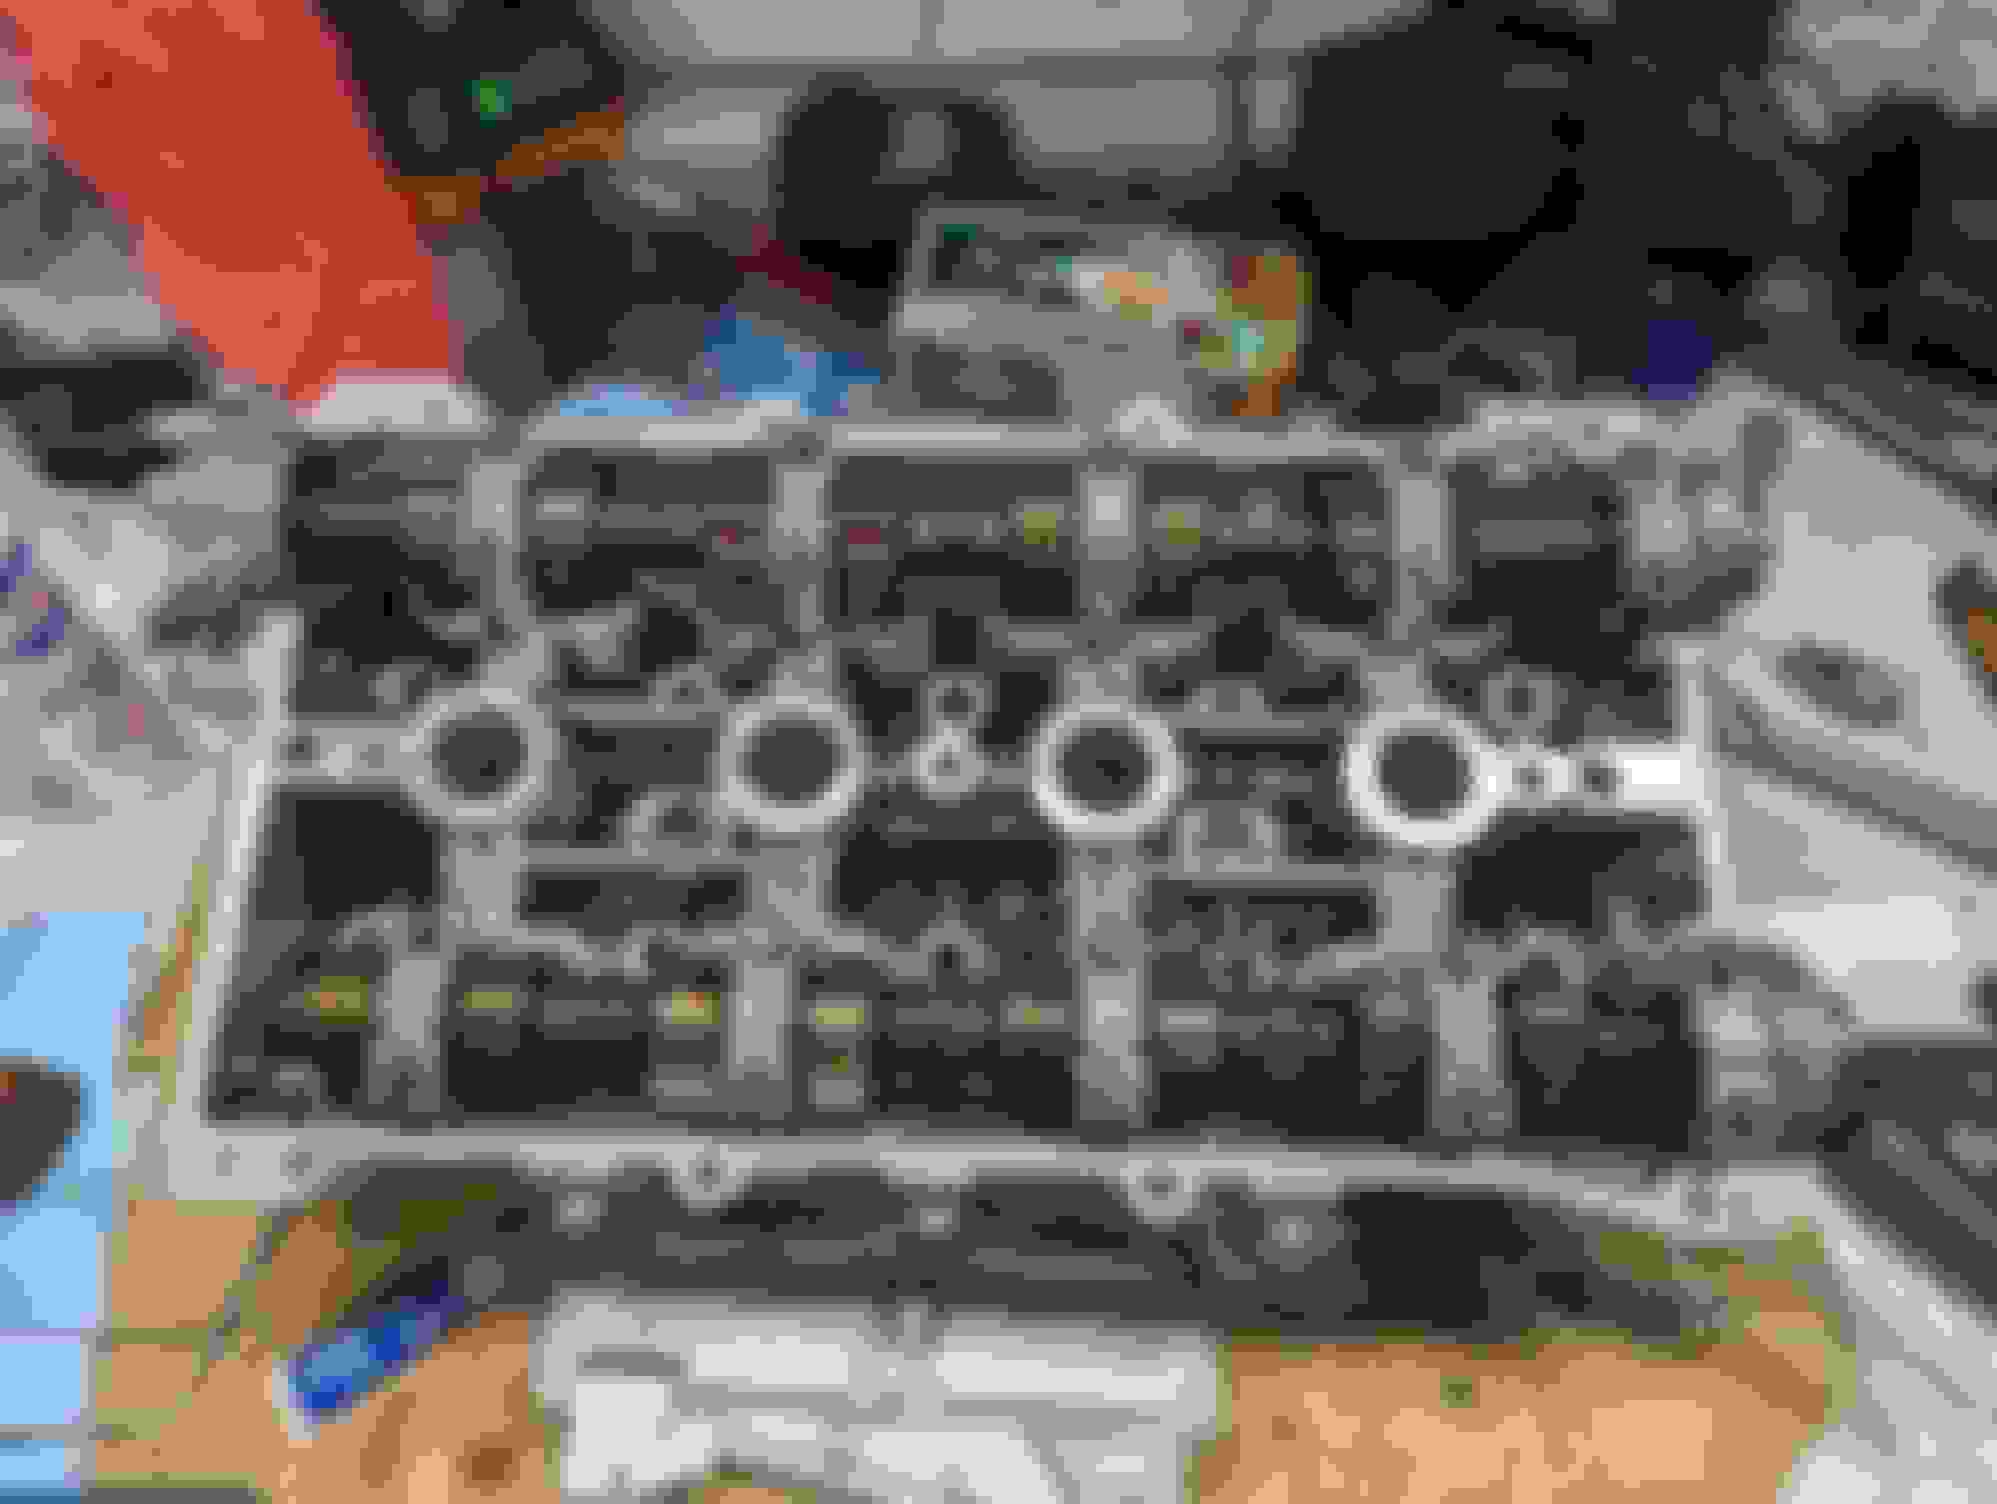
I don't remember the cylinder walls looking bad, but didn't pay a ton of attention to them as they were going to be bored out regardless. There were signs of what I can only assume is detonation and possibly wear caused by my piston rings going out. My car did smoke pretty good on downshifts from what I've been told.
This is my first foray into engine internals, so if anyone sees something of note in any of these pictures please feel free to educate me.
I quickly learned that scraping was going to be the best method to clean off a lot of the crud from parts that were going to be reused (opposed to using a wire brush). A plastic razor kit (~$10) was indispensable throughout the cleaning process. Coupled with that I had a wire wheel drill attachment and a crock pot filled with Simple Green. A sort of homemade hot tank for smaller parts. The crock pot turned up to high with a good concentration of Simple Green cuts through a lot of buildup and makes the garage smell like simple green, which I suppose is a pro or con depending on the person.
I'm going to try to bear all as far as "less than ideal" engine teardown/rebuild methodology so hopefully others can benefit from it.
When I tore down the head, there was a lot of buildup on the valves, keepers... well everything. When it was time to pull the valves out of the head, they wouldn't slide through the guides. I didn't realize this wasn't normal, and proceeded to force the valves through the guides. I learned later that I should have cleaned the ends of the valve stems where the keepers sit. I had to tap some of them through with a hammer/rod. Looking back, this should've been obviously wrong, as I had watched videos on tearing down a head and never saw anyone have issues with this. Eventually I did get everything out.
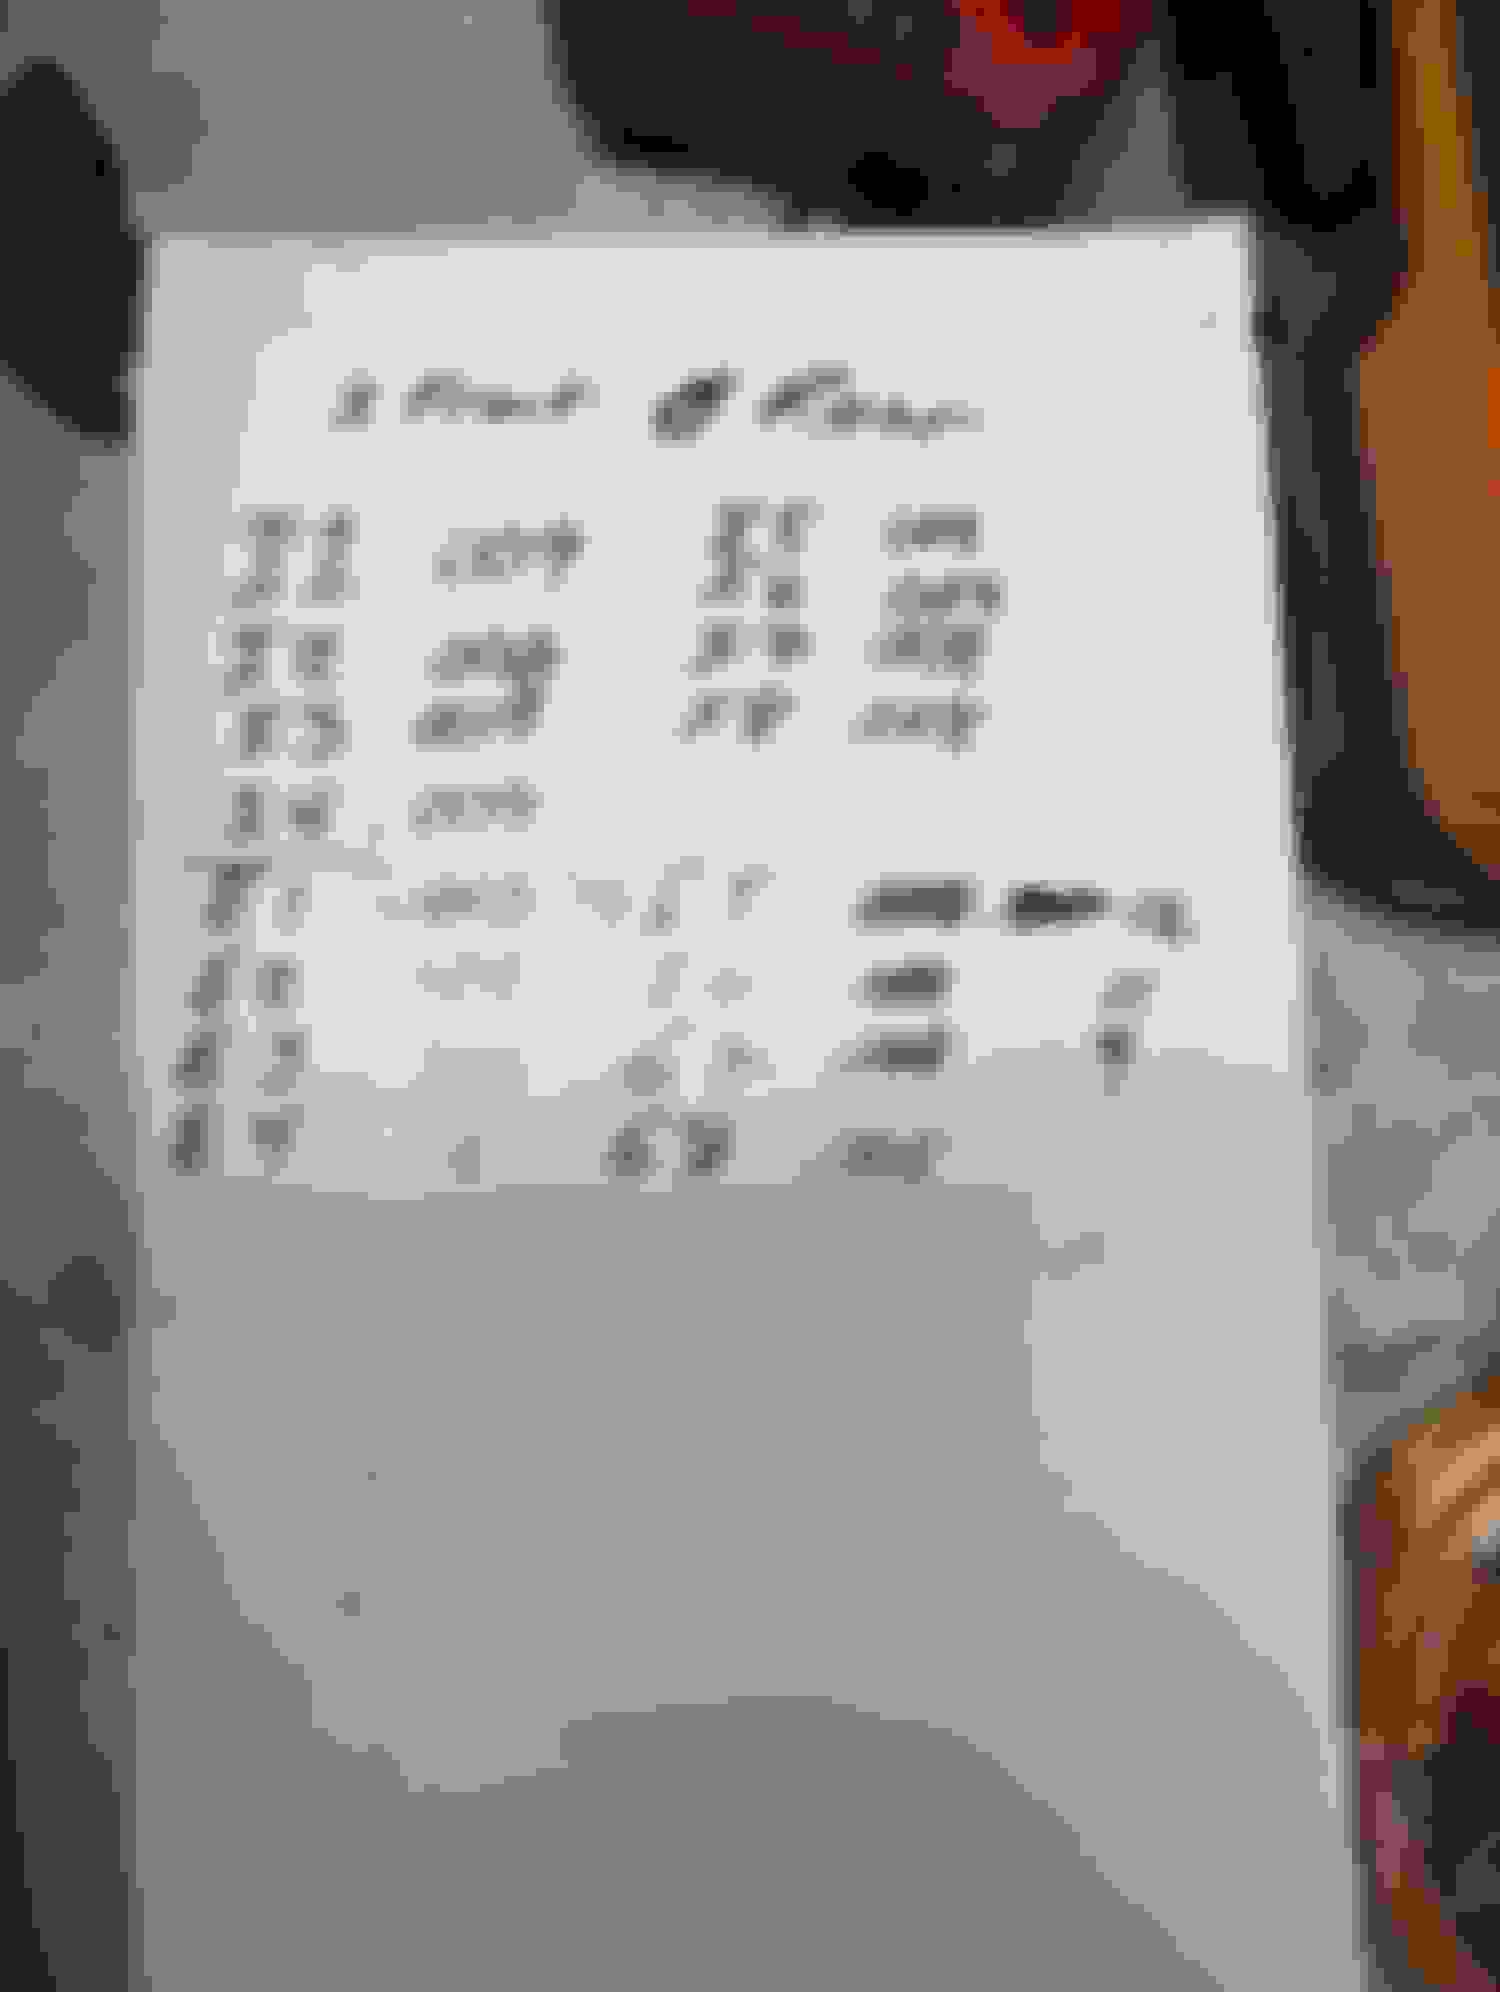
My roommate also told me I had to measure my valve lashes before I tore the head down, or I was going to get kicked out of the house. That was also a new process for me, but it didn't take too long and I'm glad I did. I didn't have any issues that I attributed to valve clearances, but I feel better knowing that they're correct now.
These were the measurements when I pulled the head.
I got the block and head off to the machine shop along with the pistons just before heading to Mexico for a buddies wedding. I'd been stressing a bit over the engine so that was a nice vacation, knowing that progress was being made at home still.
The head was just getting cleaned and leveled, while the block was getting cleaned, bored to 84 and decked.
Finding those parts for sale was a huge win. Nice job snagging those. I wish I could provide some input on seeing any issues with the current state of the motor, but as you're aware - I'm in the same position at the moment haha.
That piston skirt you posted a picture of definitely looks beat up though. Could be totally normal though, I have no idea. How were the cylinder walls?
Enjoy the little vacation! Looking forward to seeing this build progress.
IIRC the cylinder walls were pretty clean all around, but I can't remember. I've been trying to get things up to date, but the engine disassembly took place about 3 months ago at this point.
I'm usually on the lookout for a good deal. Most of the car is cobbled together with used, but reputable parts. I have splurged on some goodies lately, but it's usually parts that are harder to come by in the used market. Either that, or something I can justify the cost of because it saves me money somewhere else.
Well, one wedding and way too many margarita's later and I was back at it. Got home from that wedding and got my head/block back not too long after.
While the head looked magnitudes better than when I dropped it off, it was still a bit dirtier than I expected from a professional cleaning.
The block looked good to my untrained eyes and was certainly cleaner than the head. I had dropped it off with the ARP main studs installed and left it up to the machine shop to line (align?) hone or not. They told me they measured it out and it was not necessary. If this is of interest to you I'd recommend finishing this post, as there's more relevant info below. This was something I found really mixed reviews about in my research.
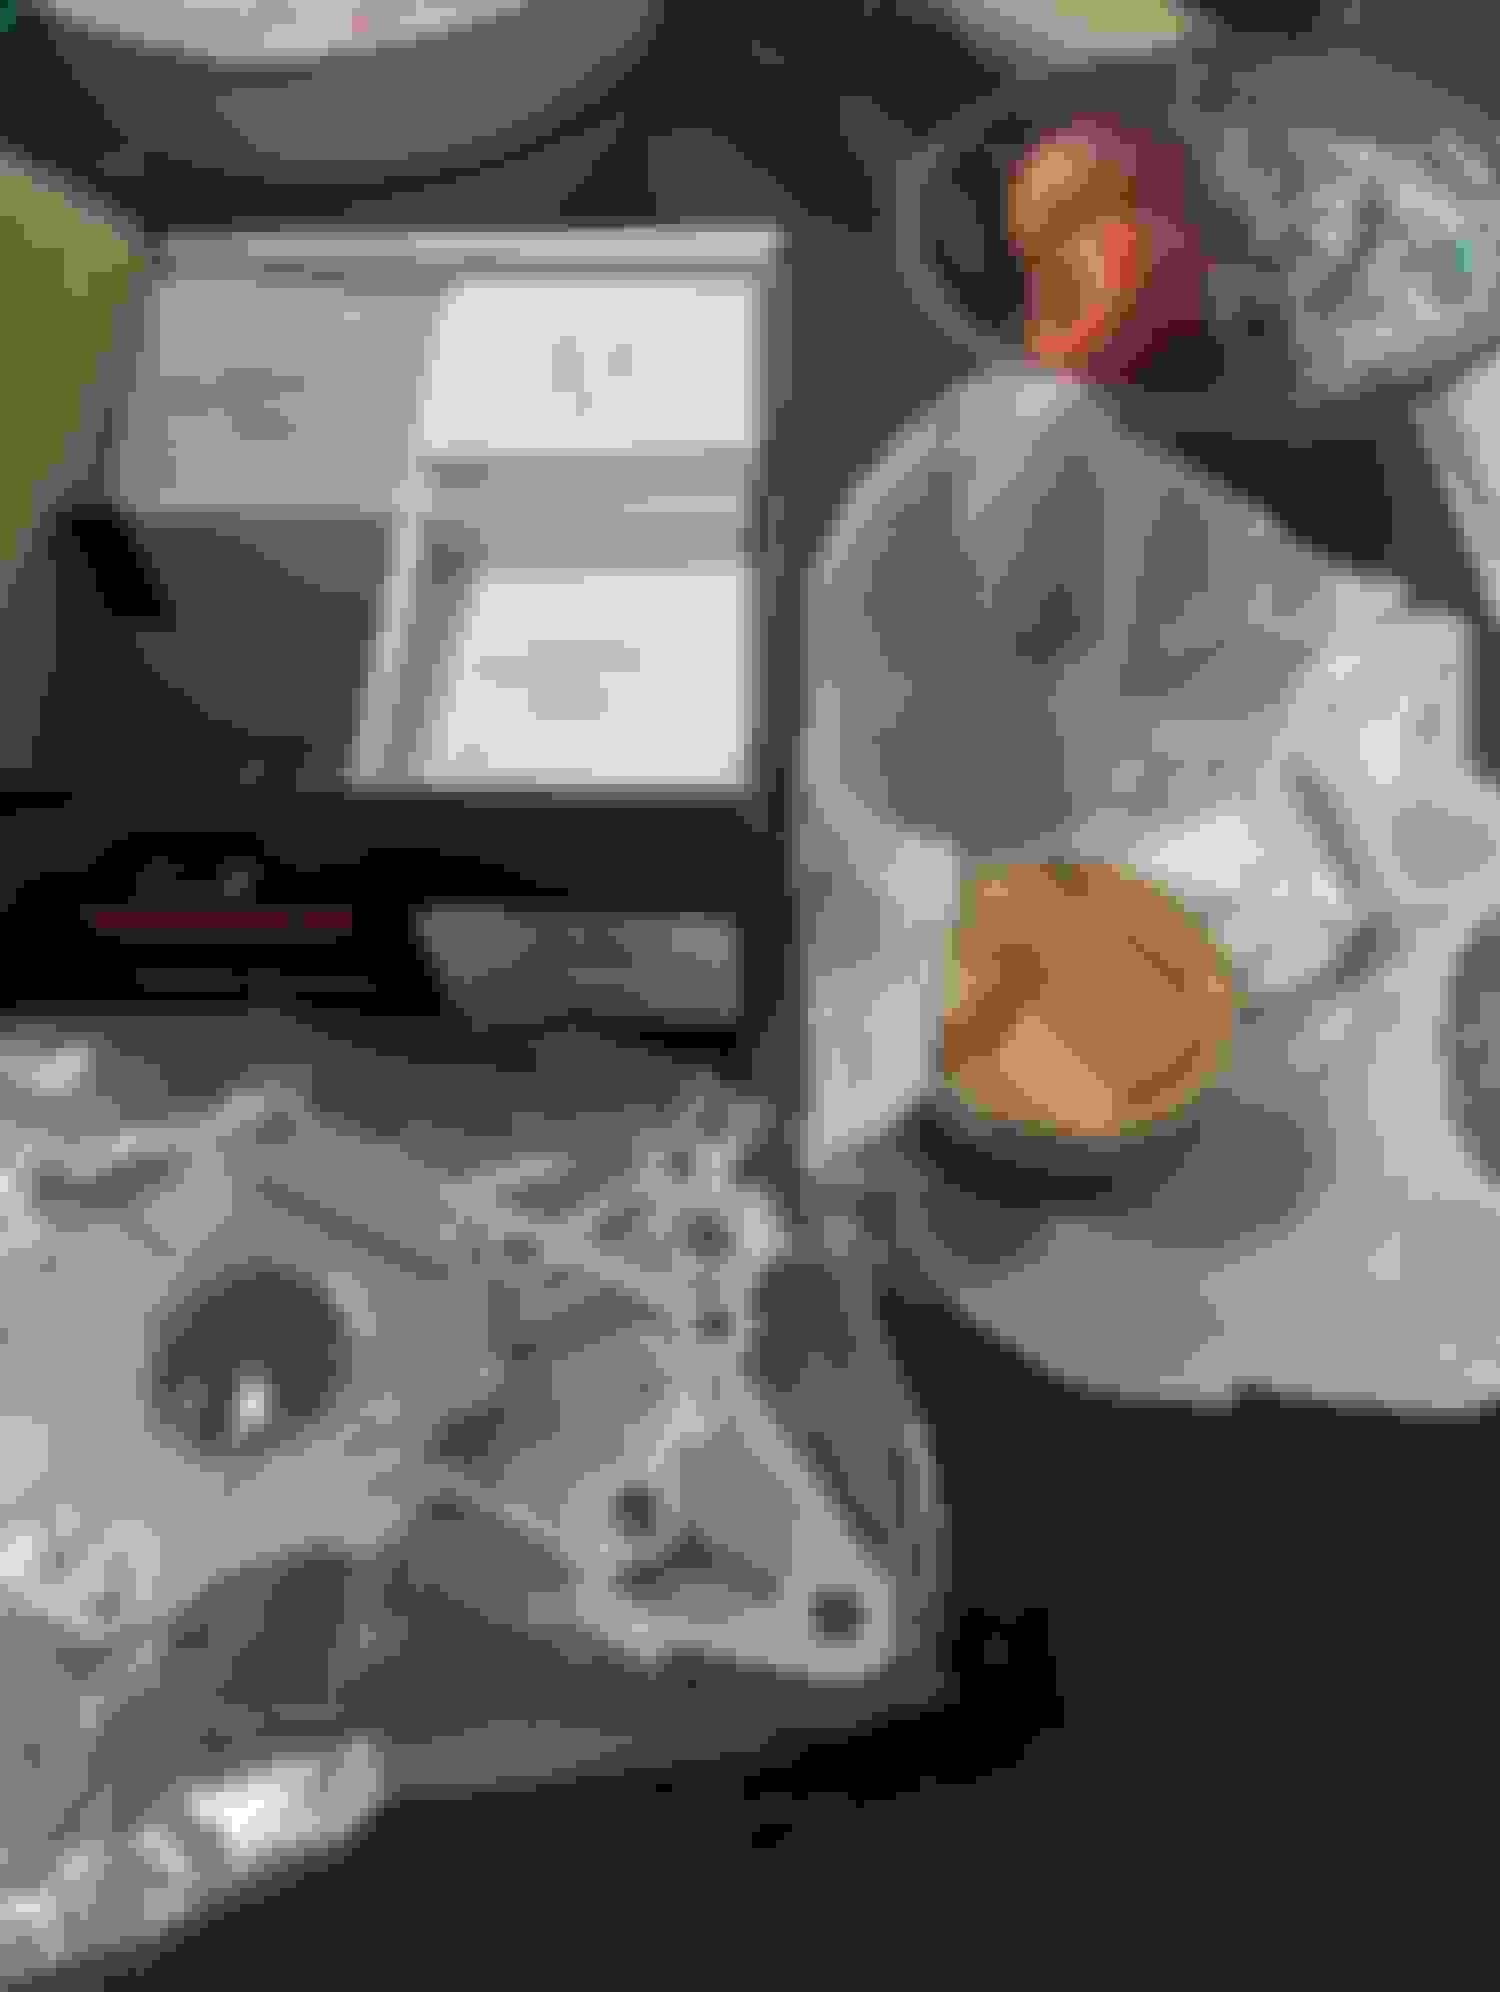
This was right around Christmas time, so my dad's present was wrapped in some packaging that came with my recently purchased rod bearings.
For my family, this kind of wrapping job is appreciated.
At this point I believe I was waiting to purchase or receive my rods. I ended up going with Eagle rods after missing out on a good deal on some K1s. The Eagles were on sale for ~$380 so I snagged them. I figured I wasn't going to get them much cheaper new.
In the meantime I figured I'd make whatever progress that I could. My company shuts down for ~2 weeks at the end of the year, so I had plenty of time to get some stuff done.
Filing the rings was an option now, so I started on that. In the cylinder, level with the piston, measure, file, repeat. Over and over, with a bit of oil to help things move around easier. That's a simple enough task, right?
Clunk!
My heart sank at this point. I was picking the piston up to level the ring in the cylinder and I hit it on the engine stand which knocked it out of my hand onto the concrete, which resulted in a dented piston.
I called it quits for the night. Going back and reading this still makes me feel crummy. I called up my boys and we rolled out in our 3 black EJ Civics with green underglow. Flyin Miata is only a couple days away and a heist was due.
After waking up from my dream of robbing flying miata, I decided that there were probably better options. I did a lot of research and most of what I found was that this wasn't necessarily a deal breaker. I made sure the piston wasn't protruding towards the cylinder wall and decided to run it.
After getting the rings filed down I moved over to the head. Luckily my roommate went to SUBs on his latest build, so he let me pick through his shims to get my valves in spec. A bit of measuring and math and I was able to get numbers I was happy with. I didn't have to order any new shims either. The valve cover plates seen in the bottom of this photo were cleaned using the Simple Green + Crockpot method
Got the head reassembled. This felt so good, especially having gone through and gotten all of the clearances in spec.
I cleaned all of the valves by soaking them in vinegar and running them against a wire drill brush. I've heard various opinions on lapping valves, but mine were fairly pitted so I did lap them to try to clean that up.
I got the stems cleaned up as well with some scotchbrite so they passed through the guides easily. I used FelPro seals as I'd heard mixed reviews on the Supertechs.
I realize there are probably more "proper" ways to do a lot of this, and maybe my engine's going to explode, but at the end of the day I figure it's all metal and as long as some attention is paid then things will likely come out OK. To some extent I also like to try to go based on experience more than the echo chamber of forums, reddit and the internet in general. Obviously certain conclusions are met because they are majorly true, but sometimes I like to find out for myself. This is also something I'm interested to see with that piston. While there's no desire in my mind to pull and rebuild the engine again, I'm interested to see how big of a difference, if any, is noticed from that dent.
The valve cover didn't fit in the crockpot, so I soaked it in a large plastic tub. Between that and a lot of scrubbing, scraping and brass dremel brushes it came out looking pretty good.
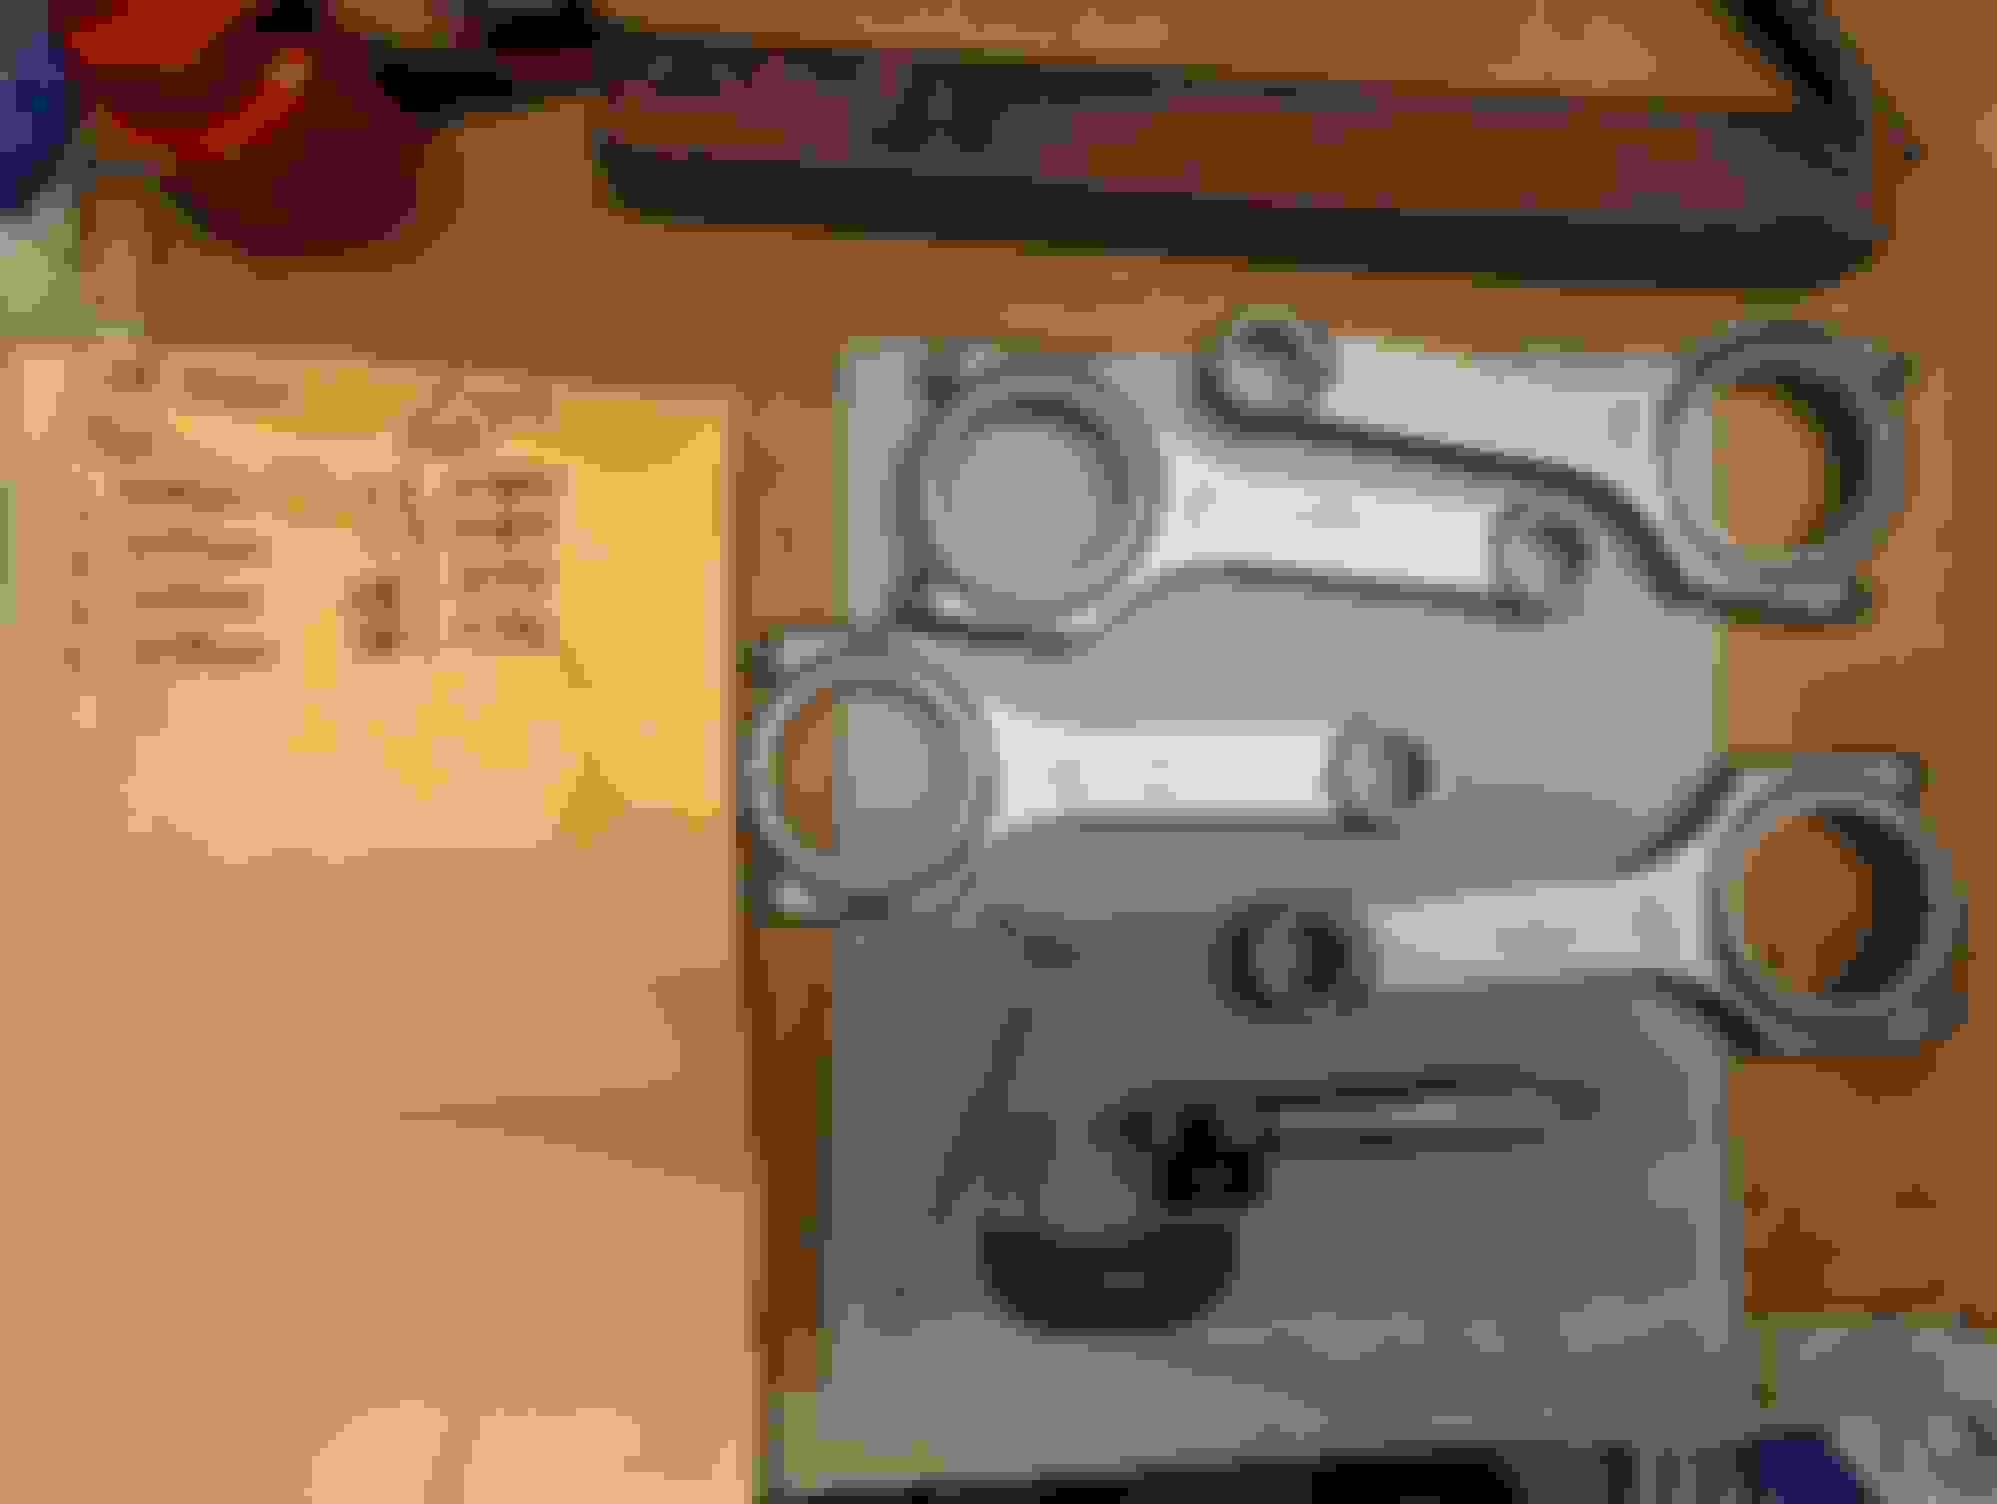
My rods showed up in the mail not too long after. Time to assemble the bottom end!
Note that I got the labels wrong in the photo above. They should be swapped.
Nope!
The wrist pins that came with the pistons didn't fit through the bushing on the Rods. I'd never heard of this personally, neither had my roommate. I was confused as these were specifically sold as Miata rods. Research ensued and I started a thread here to see what people's thoughts/experiences were. https://www.miataturbo.net/engine-pe...nt-fit-108914/
I ended up going back to the machine shop with the rods to have them honed out. $60 extra, so it kinda defeated the purpose of getting them on sale. Oh well I guess.
I should mention that Enjuku's customer service was great to work with. They reached out to Eagle and helped me figure out what was going on. The rep had even built an engine with Eagle rods and his wrist pins fit in fine, so we both learned something there.
Another speedbump came when I went to measure my main bearings. I used the standard bearings that I bought with the oil pump and rods. For some reason, my plastigauge measurements were way tight.
I checked again with plastigauge and with the set of T gauges and mics that my friend had let me borrow. I'm not the most confident with those tools, but I didn't feel comfortable with the numbers I was seeing.
My guess is that the main studs caused the vertical clearance on the bearings to close up a bit. Align honing likely would have alleviated this.
I debated for a bit and decided to order some ACL HX bearings which have a bit more oil clearance than standard.
I'm not totally sold on this being an appropriate fix, as if there was squish on the bearings I assume they would look a bit like an eye now, and looser bearings would add space to the vertical and horizontal clearances. Although, I was way more comfortable with that solution than running with the clearances I was seeing with the standard bearings. Again, this could be an experience vs research thing.
At this point it was back to waiting, both for the machine shop and shipping.
Enjoyable update. Stinks you had to get the small end of the con rod honed out. I know we're in the past so I hope things are going well with the build.
I was annoyed by it at the time. It didn't end up being that big of a deal, and at least I know the tolerances are correct now. Having said that I probably would have rather spent the money getting nicer rods and not honing them.
+1 on filing the piston ding and running it still. I had a piece of bearing material embed itself in my #2 piston after I spun a bearing the first time around. Ended up making a post on here, filing down the piece of material and running it anyways based on the feedback I got. Compression's still within 2psi on all cylinders after 3,900 miles. Have you borescoped the cylinder at all since the motor was built? I was going to have a look at mine but decided not to after looking at my compression test results.
No, I haven't scoped it or taken compression numbers yet. I didn't actually file down the piston either. I'm wondering if I should have, but I suppose at this point only time will tell.
I'm pretty sure we have a compression tester in the garage, so maybe I'll get around to that in the next couple weeks and see what we're working with.
Hey, look at that! The HX Bearings came in and that extra 0.001" put me right at the clearance I was looking for.
Got the rods back from the machine shop the next day.
Well, you know what that means! Time to get the bottom end slapped together.
I promptly learned that when Flyin Miata says they designed their pistons to work without the oil squirters, they mean that the pistons ONLY work without oil squirters.
Unfortunately I learned this after getting a couple of the pistons installed. Not a huge deal but it would've been way easier to delete the squirters before the crank was in.
Ran down and grabbed some bolts/crush washers from the parts store and got those sealed up.
Here's a photo showing the interference of the oil squirter and bottom of the piston.
I don't remember anything particularly exciting about the rest of the assembly. I did delete the water neck and made EGR delete plates for the intake. I actually used a mangled 9 Lives splitter mount to fab up the block off plates. An oil drain plug from a BWM plugged the exhaust manifold EGR bung.
I found a junkyard to grab the power steering banjo bolt from. They let me take it for free which was awesome because apparently a new replacement is $40. I did my best to round out the heater core pipe I crushed as well. I used some pliers, wooden dowels and other implements. I was sure it was going to leak. Surprisingly it's been holding up so far.
Another mistake was not covering the injector ports when reinstalling the engine. Our engine leveler wasn't working very smoothly and ended up grinding up some fine metal flakes to drop on my engine as I maneuvered it back into the bay. I vacuumed this up and blocked them off, but definitely should've covered them up sooner.
Reinstalled it solo. When we pulled the engine it was more stressful having people around. I figured I'd take my time with the reinstall so I could focus and take my time.
It took longer than I expected, but wasn't too bad, maybe 3 hours or so? The engine mounts gave me some grief, but again, I just took it slow.
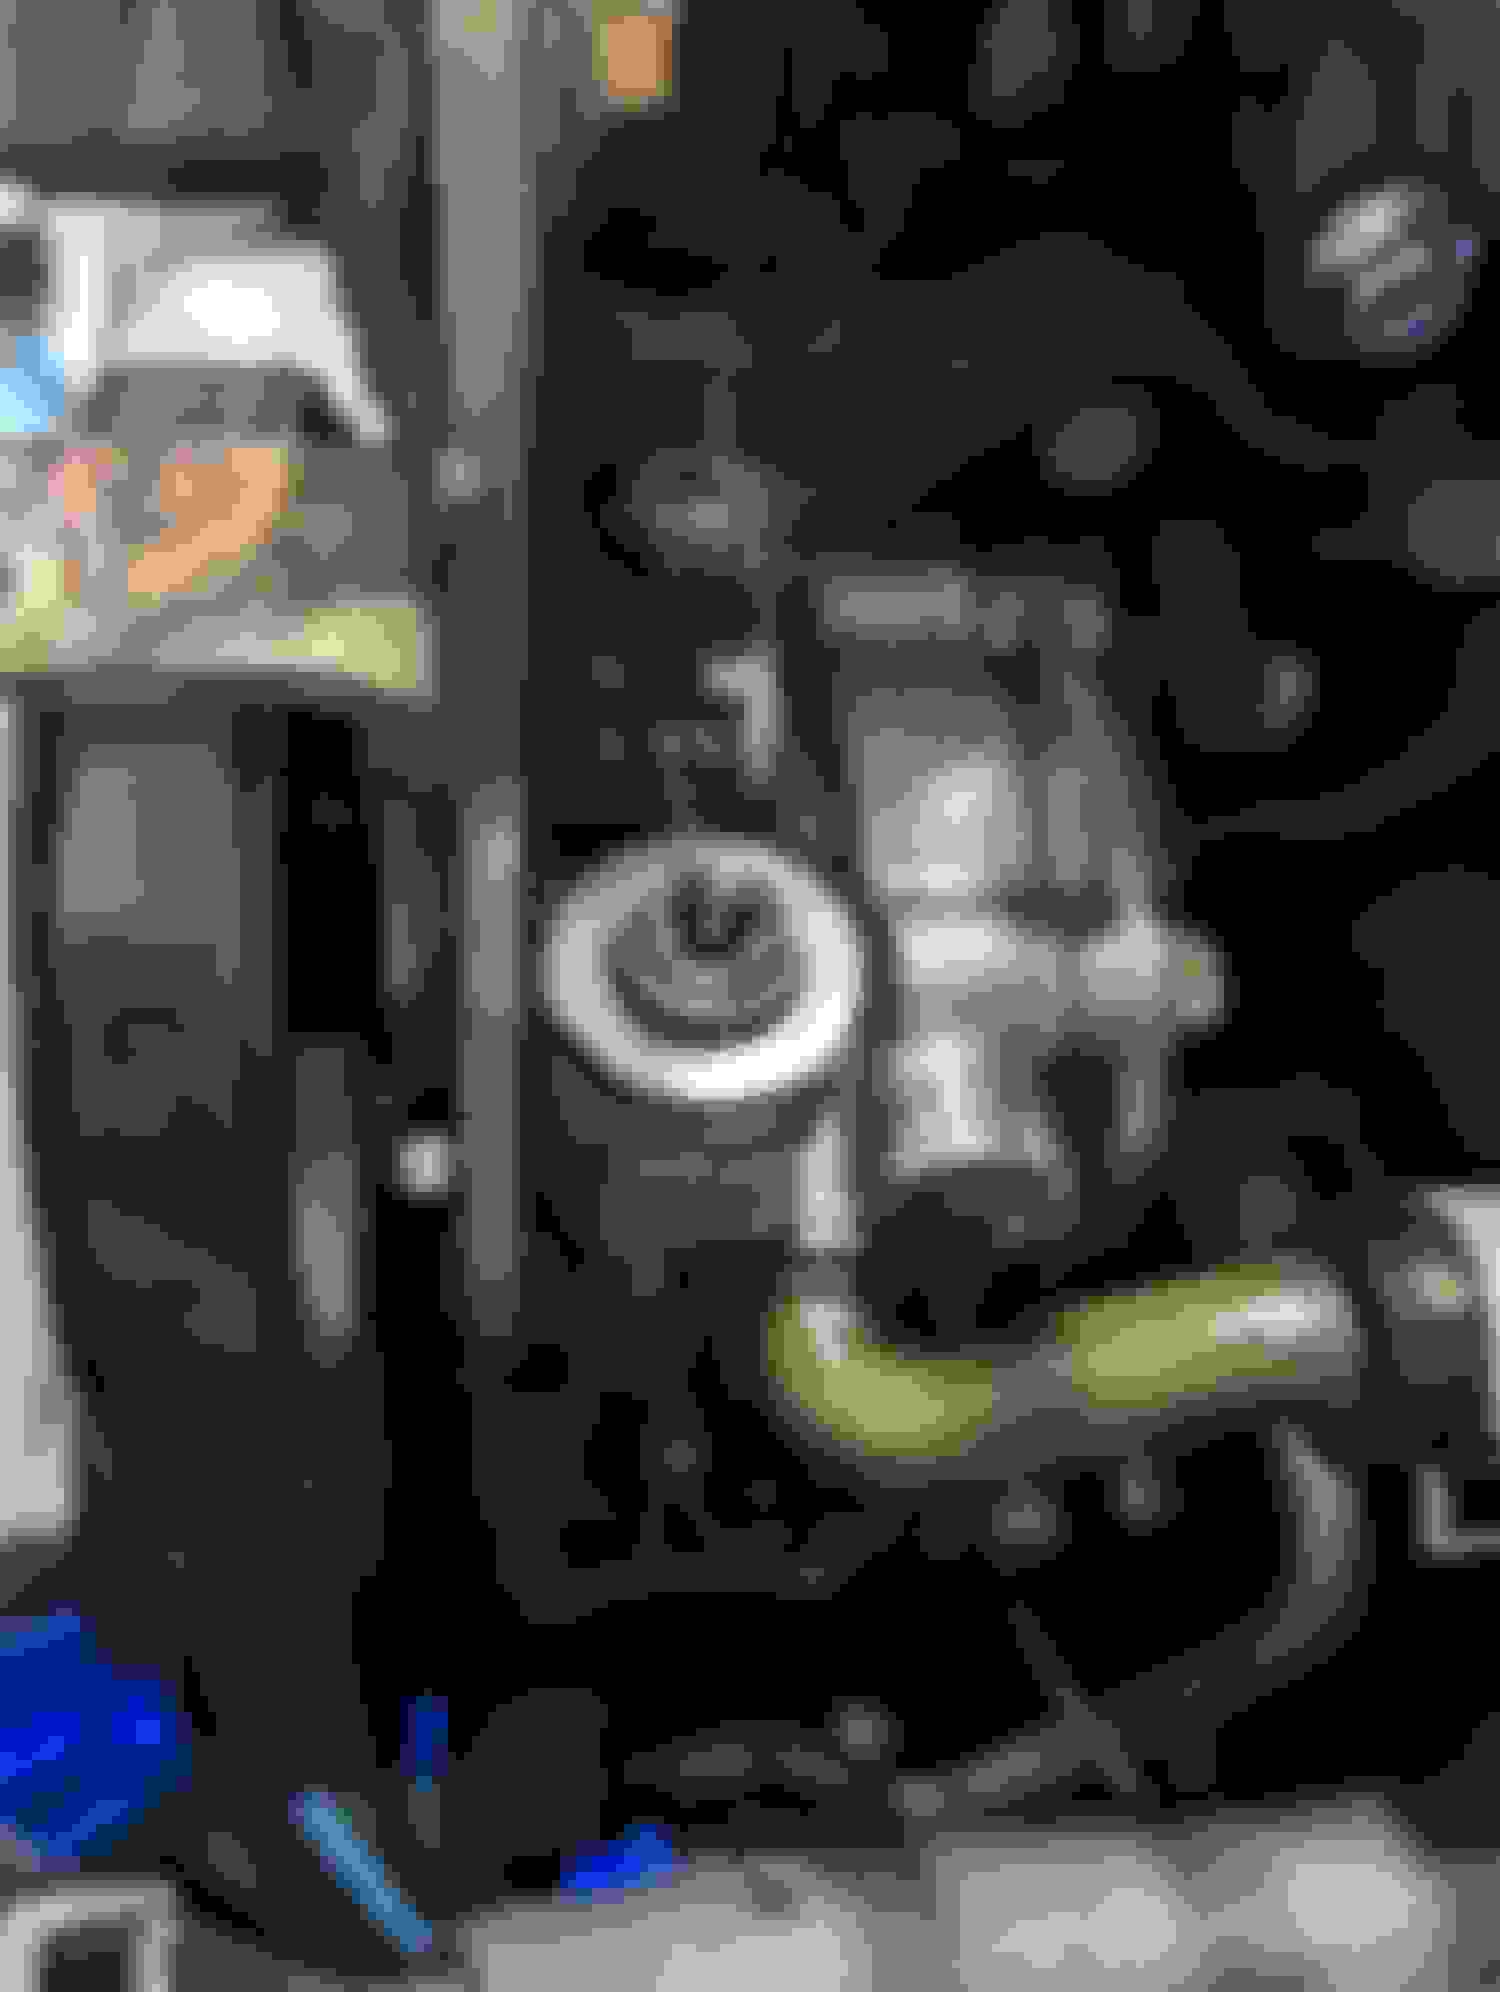
I decided to add oil pressure as well. I found a gauge with no sensor for ~80 on marketplace and got it up and running with a sensor from Amazon. I wish I would've had installed a knock sensor while the engine was out because, spoiler alert, installing one after the fact is a pain.
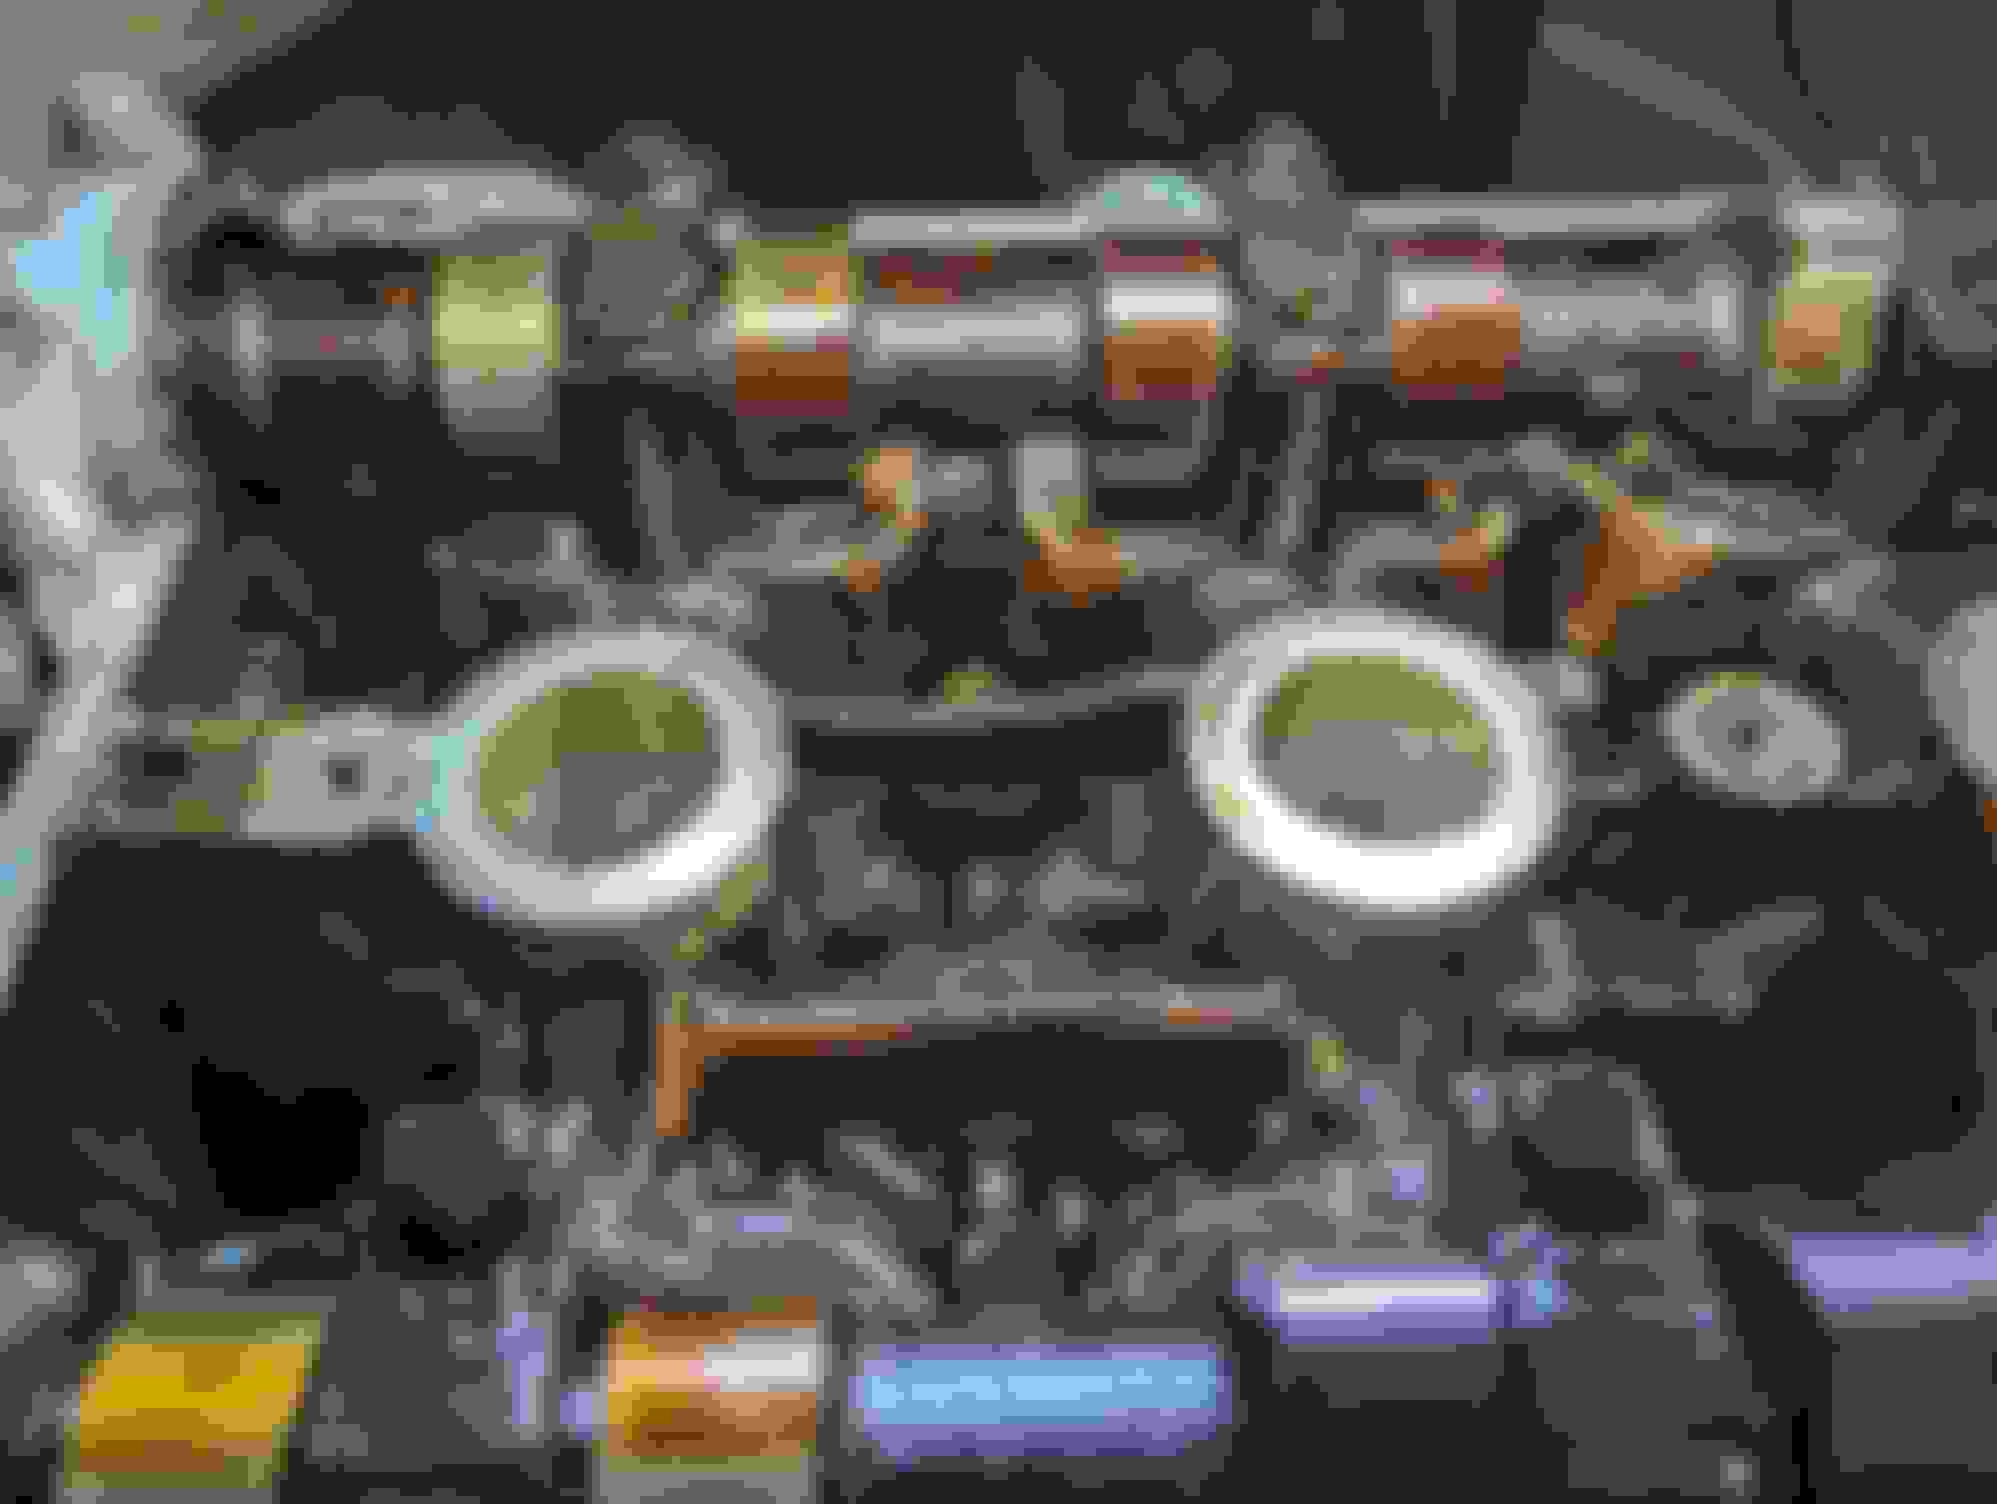
AFR, Oil Pressure, Boost and a volume ****. My kinda stereo panel.
Also, if I haven't given props to Napp Motorsport then I need to. His engine rebuild video was on repeat the whole time the engine was out. Greg Peters (CarPassionChannel) was also on repeat. Those two essentially coached me through this whole thing.
Beavis gets a shout out as well, as he designed a lot of 3d printable seal installers which I used throughout the project. These included Rear Main, Front Main, Cam seals and a cam locking tool.
I got these printed out by our local library and I'm pretty confident I paid less than $10 for all of them combined.
Also, just for completeness, other relevant build details/parts.
Reused the FM Stage 1 clutch that I had installed about a year previously. I'm interested to see how this holds up.
My old clutch slave line was cracking, so a braided piece from FM went in.
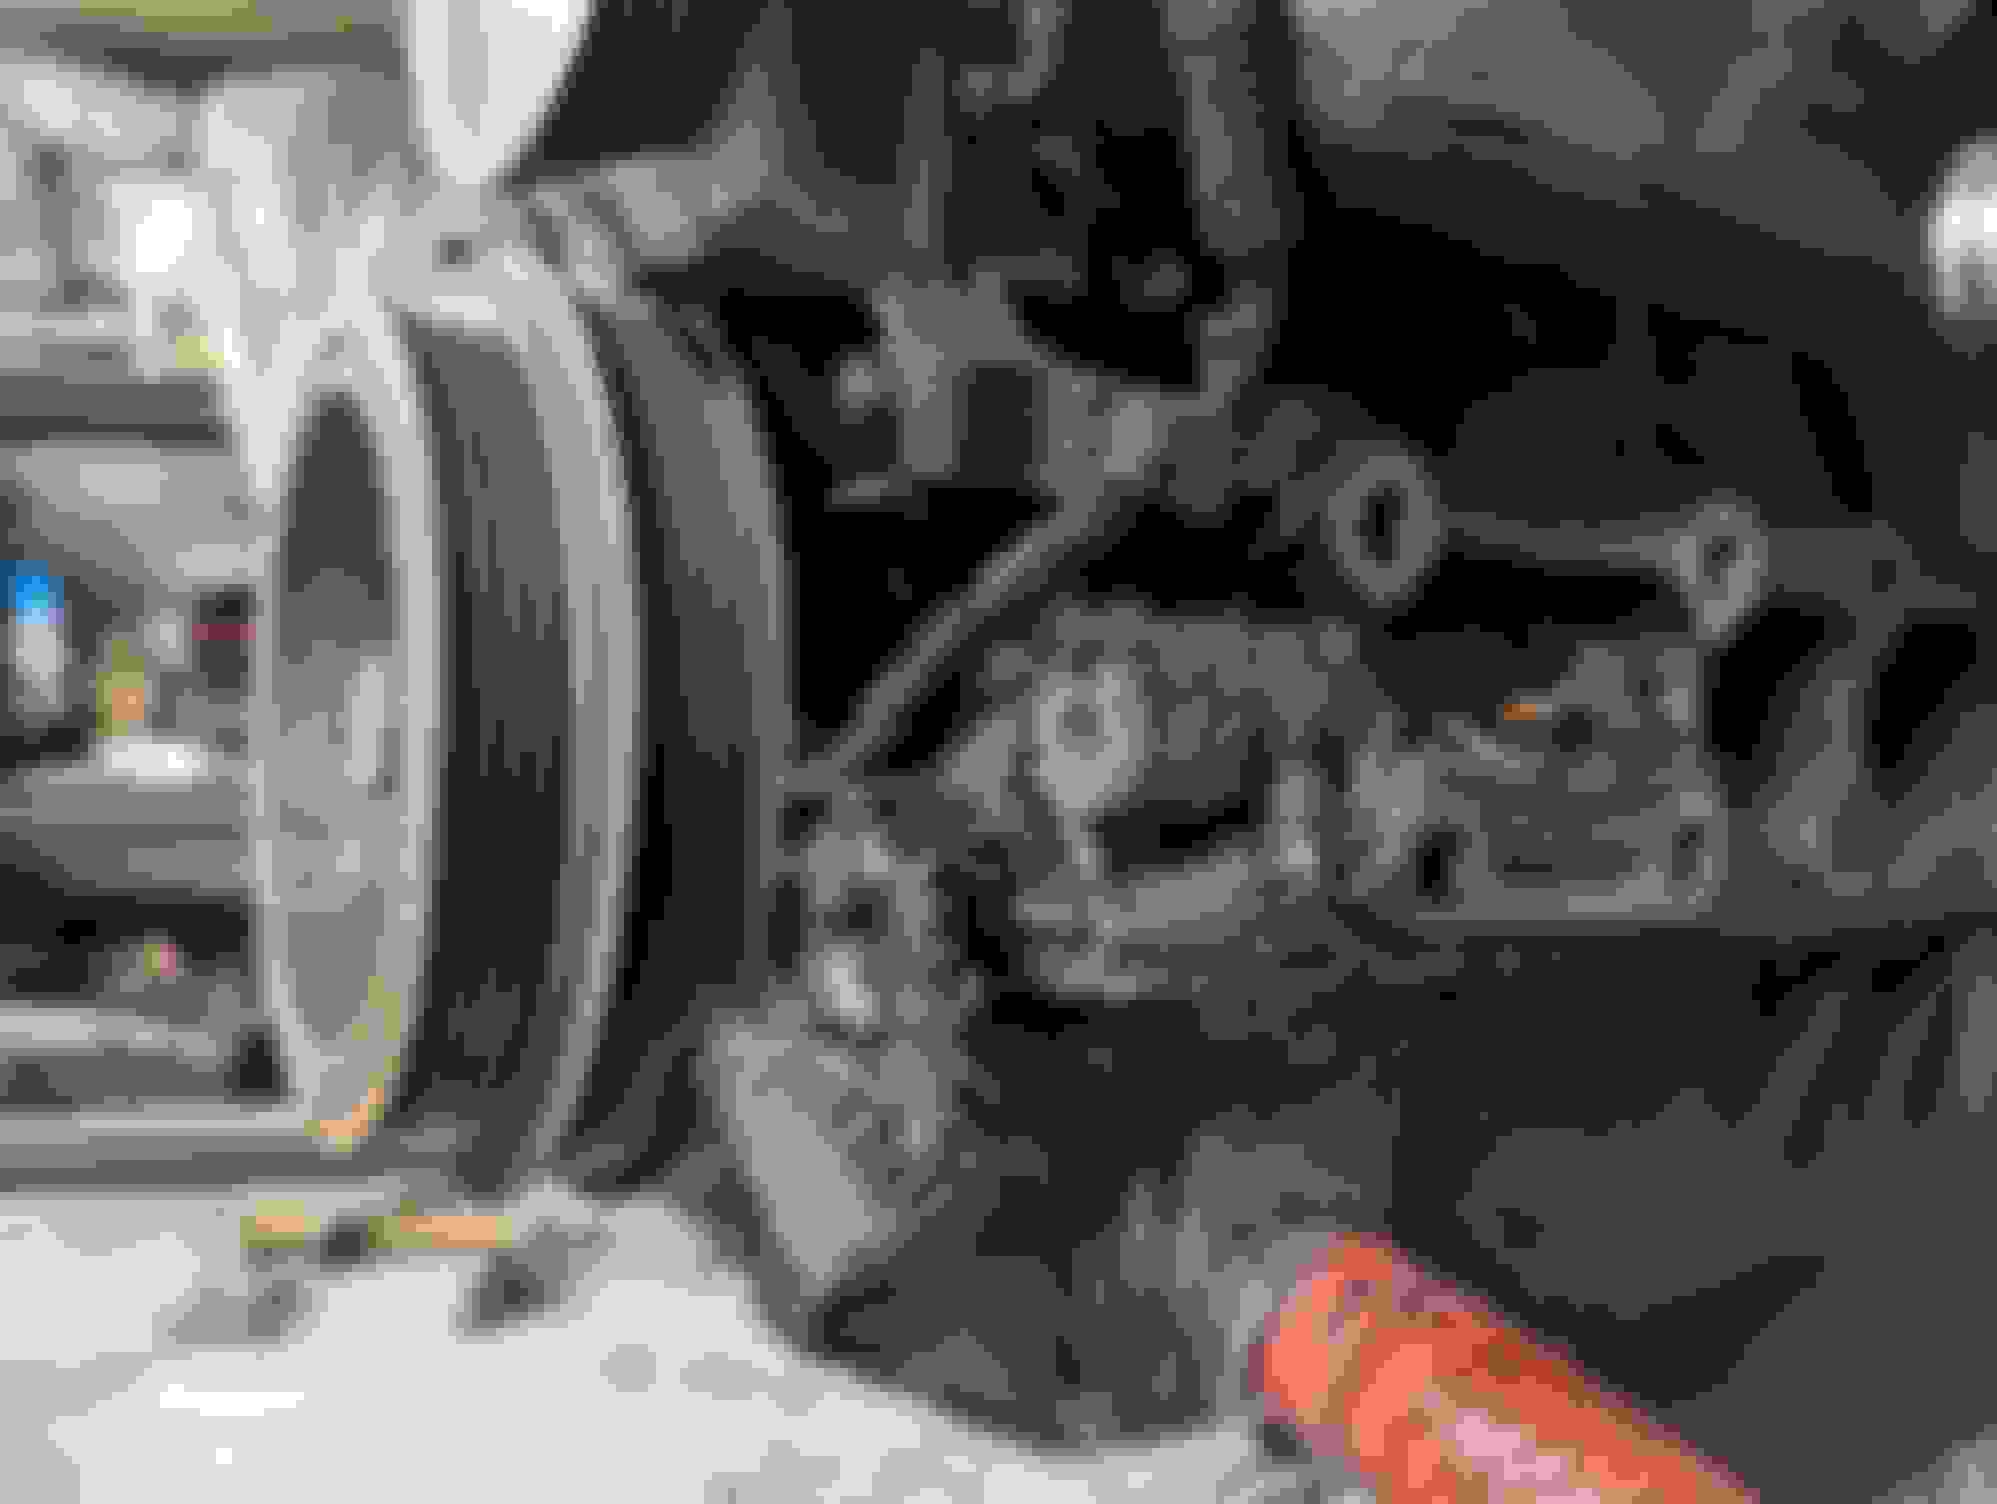
A used Fluidampr and 36-2 trigger wheel from fb marketplace were installed (~$420).
All of my sensors that I can think of were reused.
NGK BKR7E (? Whatever plug everyone on here recommends) were installed with stock coils, reused my wires. Green tape was marking connectors that I confirmed weren't needed. I did this so I could easily see if something was supposed to be unplugged or not.
Added some break in oil, poured in some coolant, time for the first start!


 1
1