When you click on links to various merchants on this site and make a purchase, this can result in this site earning a commission. Affiliate programs and affiliations include, but are not limited to, the eBay Partner Network.
Yeah, when its as easy as downloading the file, uploading it to the libraries website, choosing printing options and then picking it up it's easy to get carried away.
Again, shout out to Beavis for the designs. Should be able to find most/all of them here https://www.thingiverse.com/bbeavis/designs
I believe the gold coating is to help protect from detonation, but I can't remember. It serves some purpose outside of just looking cool.
If only I could run a transparent head so they could be appreciated more.
I cranked the engine for longer than I probably should have over the course of a couple attempts. Long enough that I had to get the jumper pack out to keep the battery alive.
I was getting sputtering from the exhaust and intake at various point like the cranking air/fuel was wrong.
Tried again the next day, still nothing.
I was more confused than worried at this point, although in the back of my mind I was wondering how much cranking would be considered excessive for a new build.
I used plenty of assembly lube, so I wasn't too worried, but I've also read that you don't want to crank the engine for too long.
I don't remember when, but at some point it dawned on me to check the trigger setup in the ECU. I had swapped to a 36-2 tooth wheel from Flyin Miata.
The hydra must use a different method for calculating trigger angle, because I realized that the value in the instructions ( 80 degrees ) was very wrong for my setup.
I did a little calculation based on some pictures and punched in 210 for the trigger angle. Boom, fired up immediately.
PS, I did a writeup on that here, which spawned some other discoveries - https://www.miataturbo.net/speeduino...-setup-109011/
The car was running well enough to seat the rings. Got that done and changed the oil.
My new injectors were crazy loud. Loud enough to make me think something had failed in the engine. If you're interested, this thread will catch you up with the troubleshooting and progress of the engine for the past month or so. https://www.miataturbo.net/engine-pe...c-help-109020/
Eventually I got comfortable that the engine was operating normally and started putting some miles on it. T4 Conventional is the oil of choice for the first ~1000 miles.
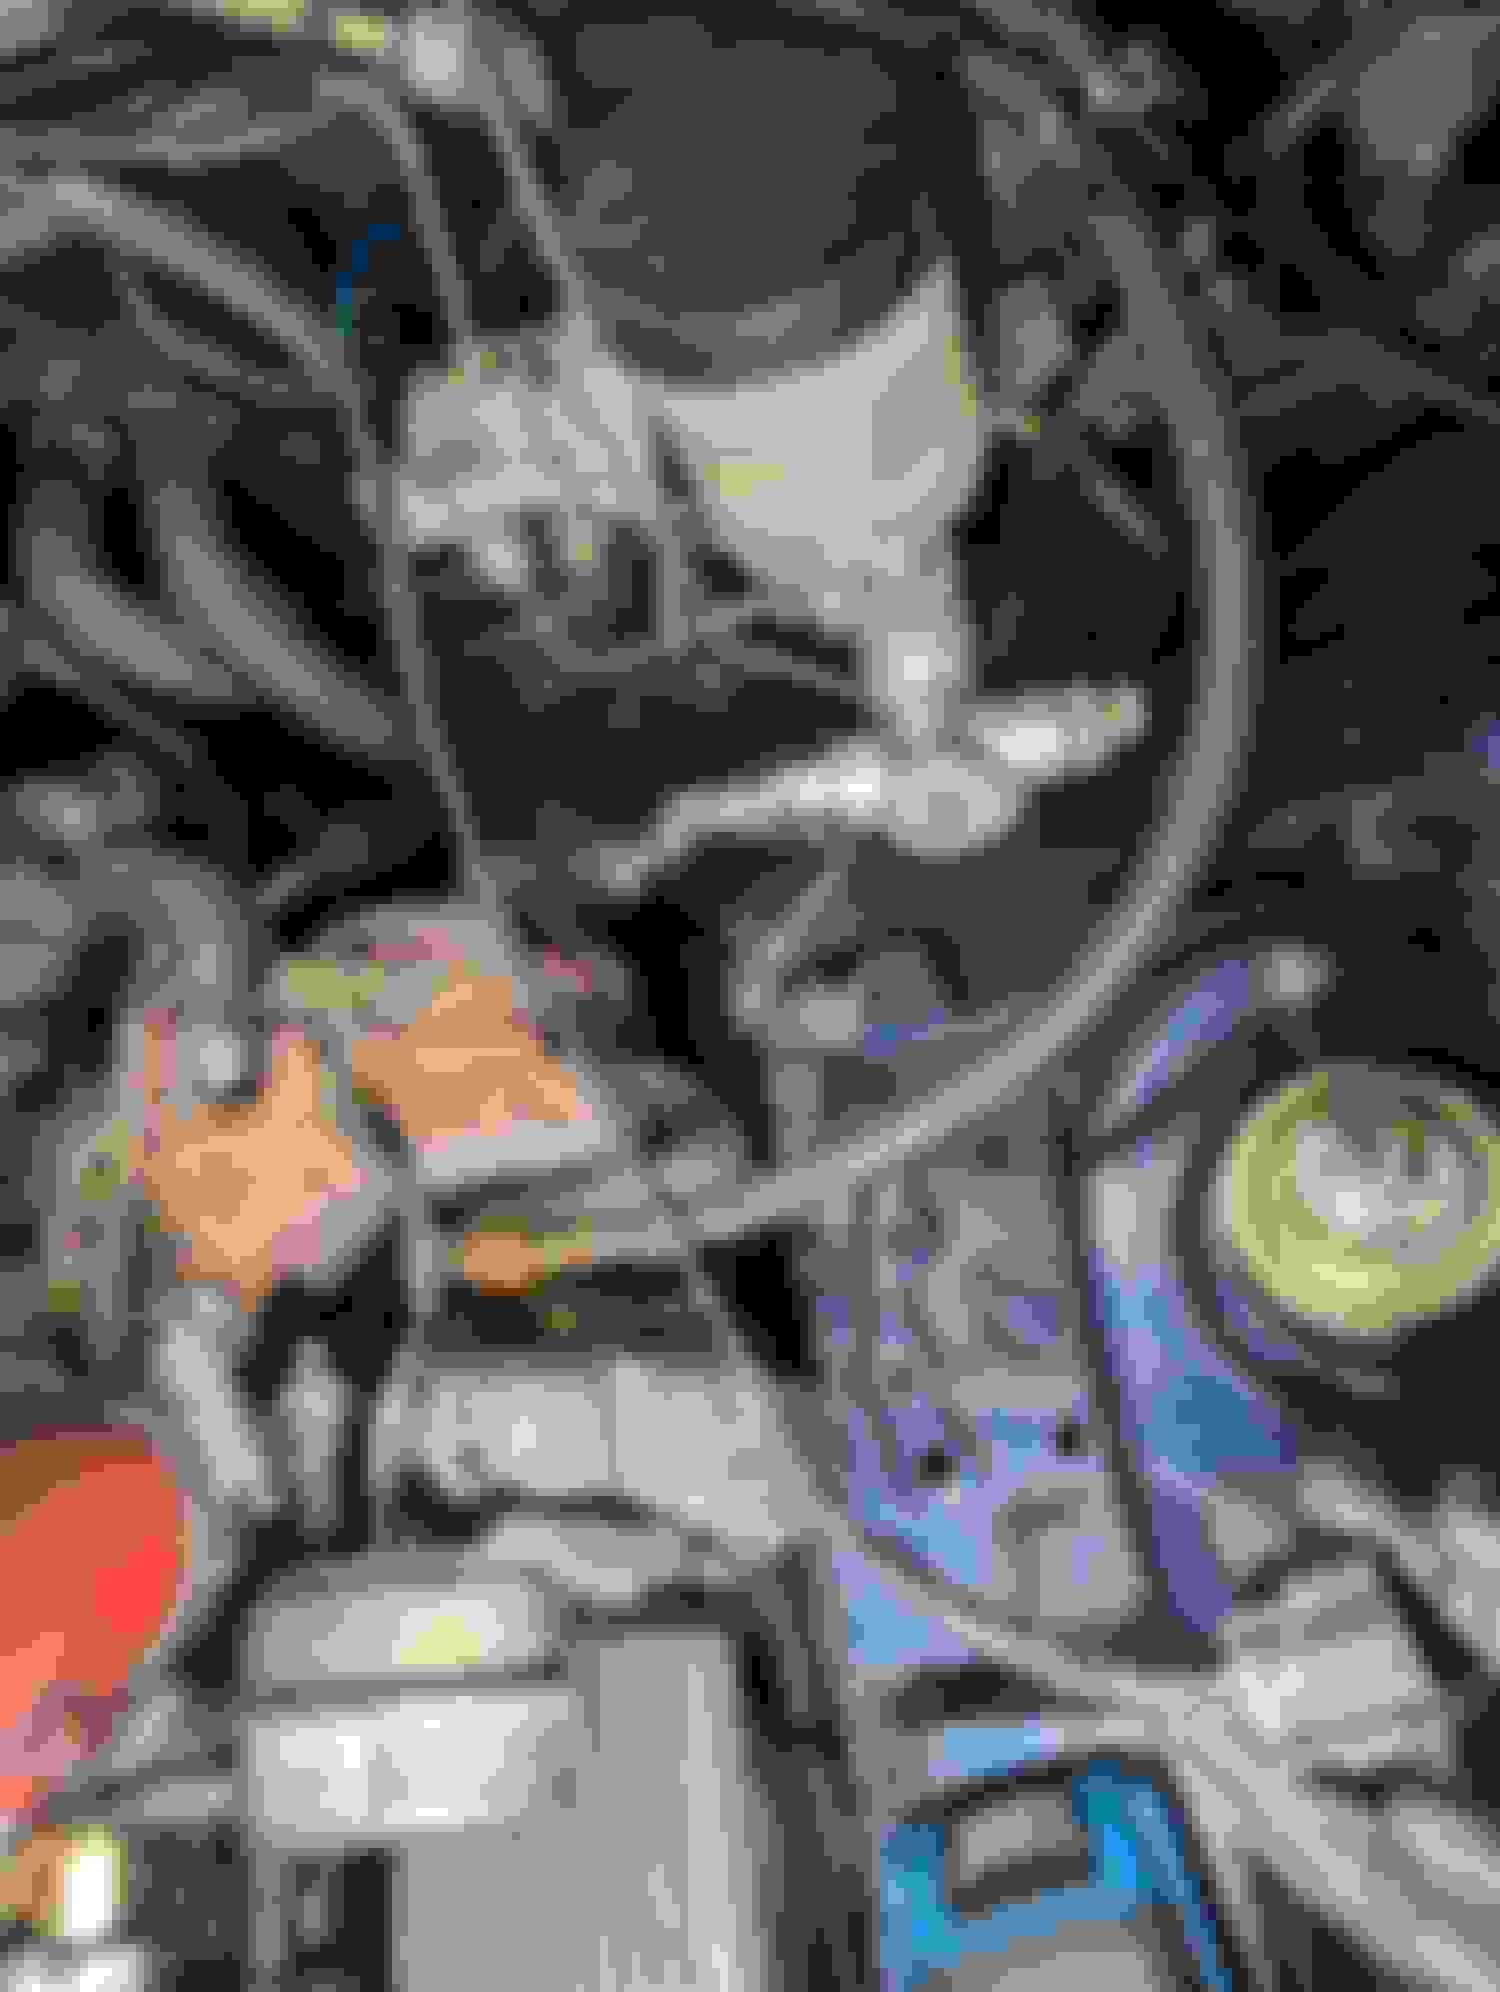
I came across Tesa Tape at some point in my research and decided to give it a shot. I'm not trying to shave and tuck the entire bay, but I appreciate some organization. A lot of this loom was dry and cracking. Many of the connectors weren't being used anymore. Loose wires from when I'd wired in my wideband.
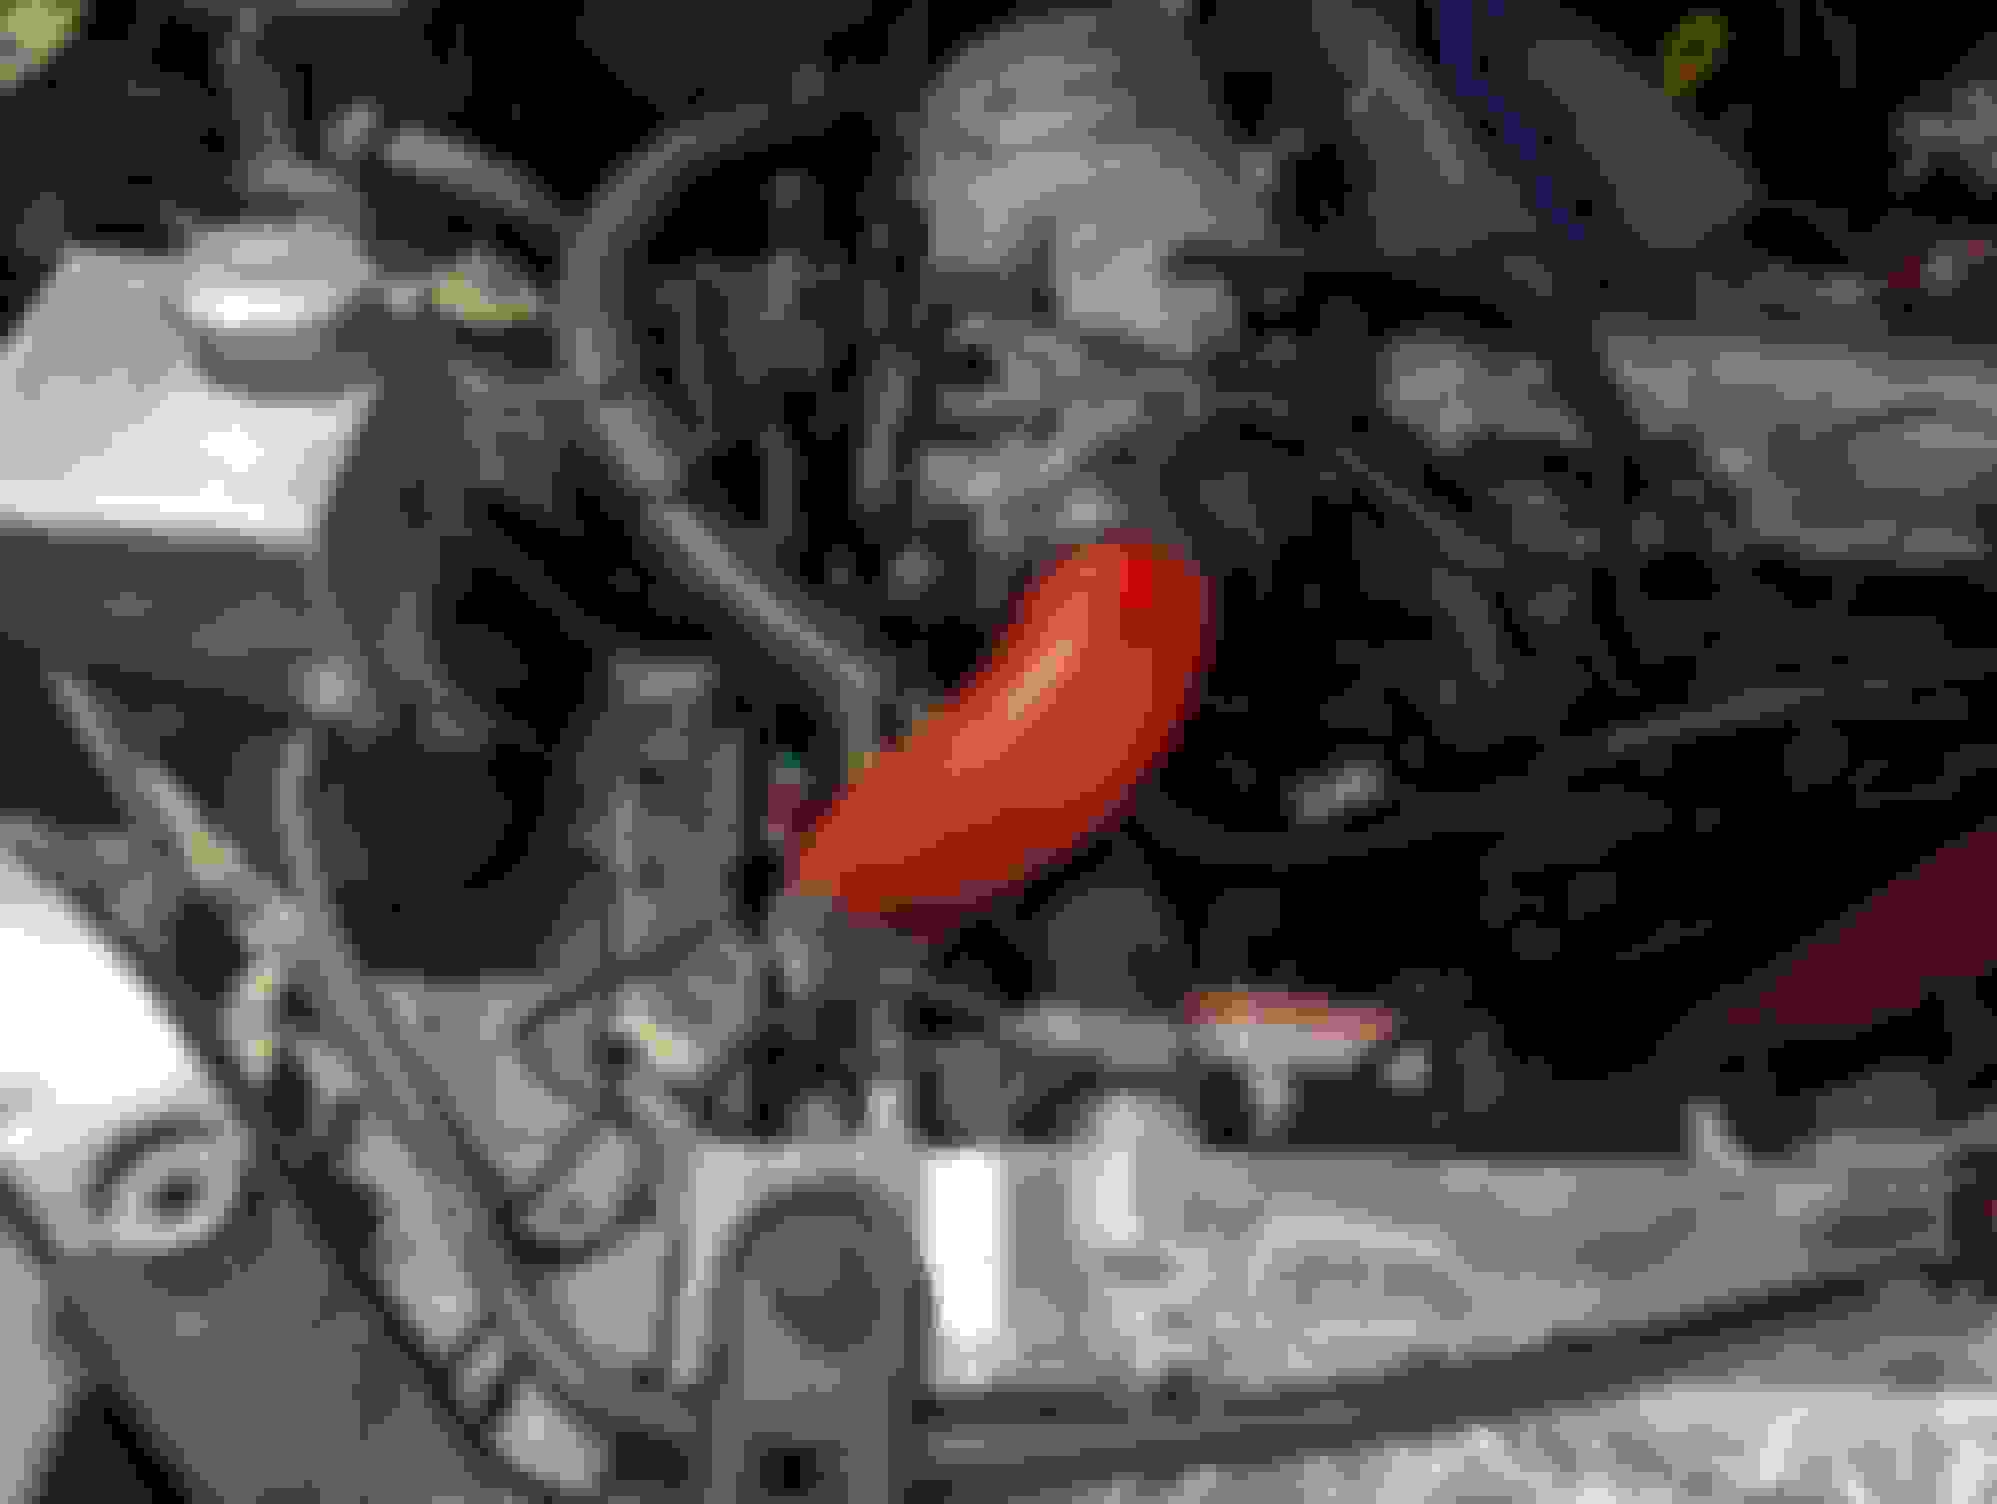
Most of this had been secured in some way or another, but I figured it wouldn't be a bad time to make it better. When the engine was out I'd also enlarged a firewall hole to allow more sensors to be passed through. Got those wires tied together. Should've done the whole thing but could only get to the firewall. Not the best photo, but I'm way happier with this.
Again, not going for show quality, but I'm pretty happy with where it ended up. Finished product
And largely that gets everything caught up to today.
I've been tuning the car for the past month, getting things dialed in and increasing the boost. Realistically the car should have been running fine from day 1, but I was hampered by the fact that Speeduino doesn't support the Miata's cam pattern, which is needed for the 36-2 wheel, and a bug which caused a misfire at 914 RPM. I've found ways to fix each of those, and the car is running well.
I'm almost 700 miles into the engine now. Currently running around 12 pounds of boost, although that'll be going up today or tomorrow.
I'll be taking the car to a local elementary for a STEM night tonight. I'm planning to take one of the old pistons to show the kids.
Cleaned it up at lunch with a wire wheel and realized I'd done a bit more damage to this one than I realized. Couldn't have had to do with trying to dial in ignition cut launch control at 6-8 PSI with no knock detection.
Definitely also wasn't caused by running out of injector at 10 PSI and leaning out for a handful of pulls without realizing it.
The autocross season starts in about a month. I think the cars pretty ready, aside from needing to get new tires. I'll be running XB this year and we should have 3 other turbo Miata's and a DP spec NC, among others.
I also need to get bushings into the car pretty badly. That was planned for the winter but the engine took precedence.
Woohoo, finally caught up! I feel like I've been reading a novel with multiple timelines between this thread and your other recent ones. Stoked with where you're at currently.
Keep us posted with how the AutoX season goes as well. That's sick you guys have multiple turbo Miatas in your association. We have a couple turbo Miatas that track around here, but I've only ever run with one of them once haha.
It's going to be a fun season for sure. I'm going to my buddies to help him with his freshly turbo'd BRZ later today, which will be racing in XA this year.
Popped my turbo cherry yesterday. I was just about home from downtown and put my foot down to see what the increased boost level felt like. Heard a loud boom and the turbo wouldn't spool anymore.
I figured the beer can IC patch had given up. Somehow that survived, but I blew a coupler off my intercooler. Not conducive to making boost.
I've been wanting/planning to change the IC routing basically since I installed the kit, but I figured I'd get it on there and figure things out as I go. I'd like to go to an over the rad setup at some point.
This one puts an IC pipe a couple mm away from some of my pulleys/belts and is pretty heavy.
I'm also hoping to figure out different routing for my coolant hose. I went to change the routing a while back but the hose is stiff enough to push up against the fuel lines which didn't make me feel great. My roommate routed his setup that way but it seems like his hose is less stiff than mine, possibly from being on the car longer.
Ideally I'd like to route this to the right of the fuel lines, closer to the intake.
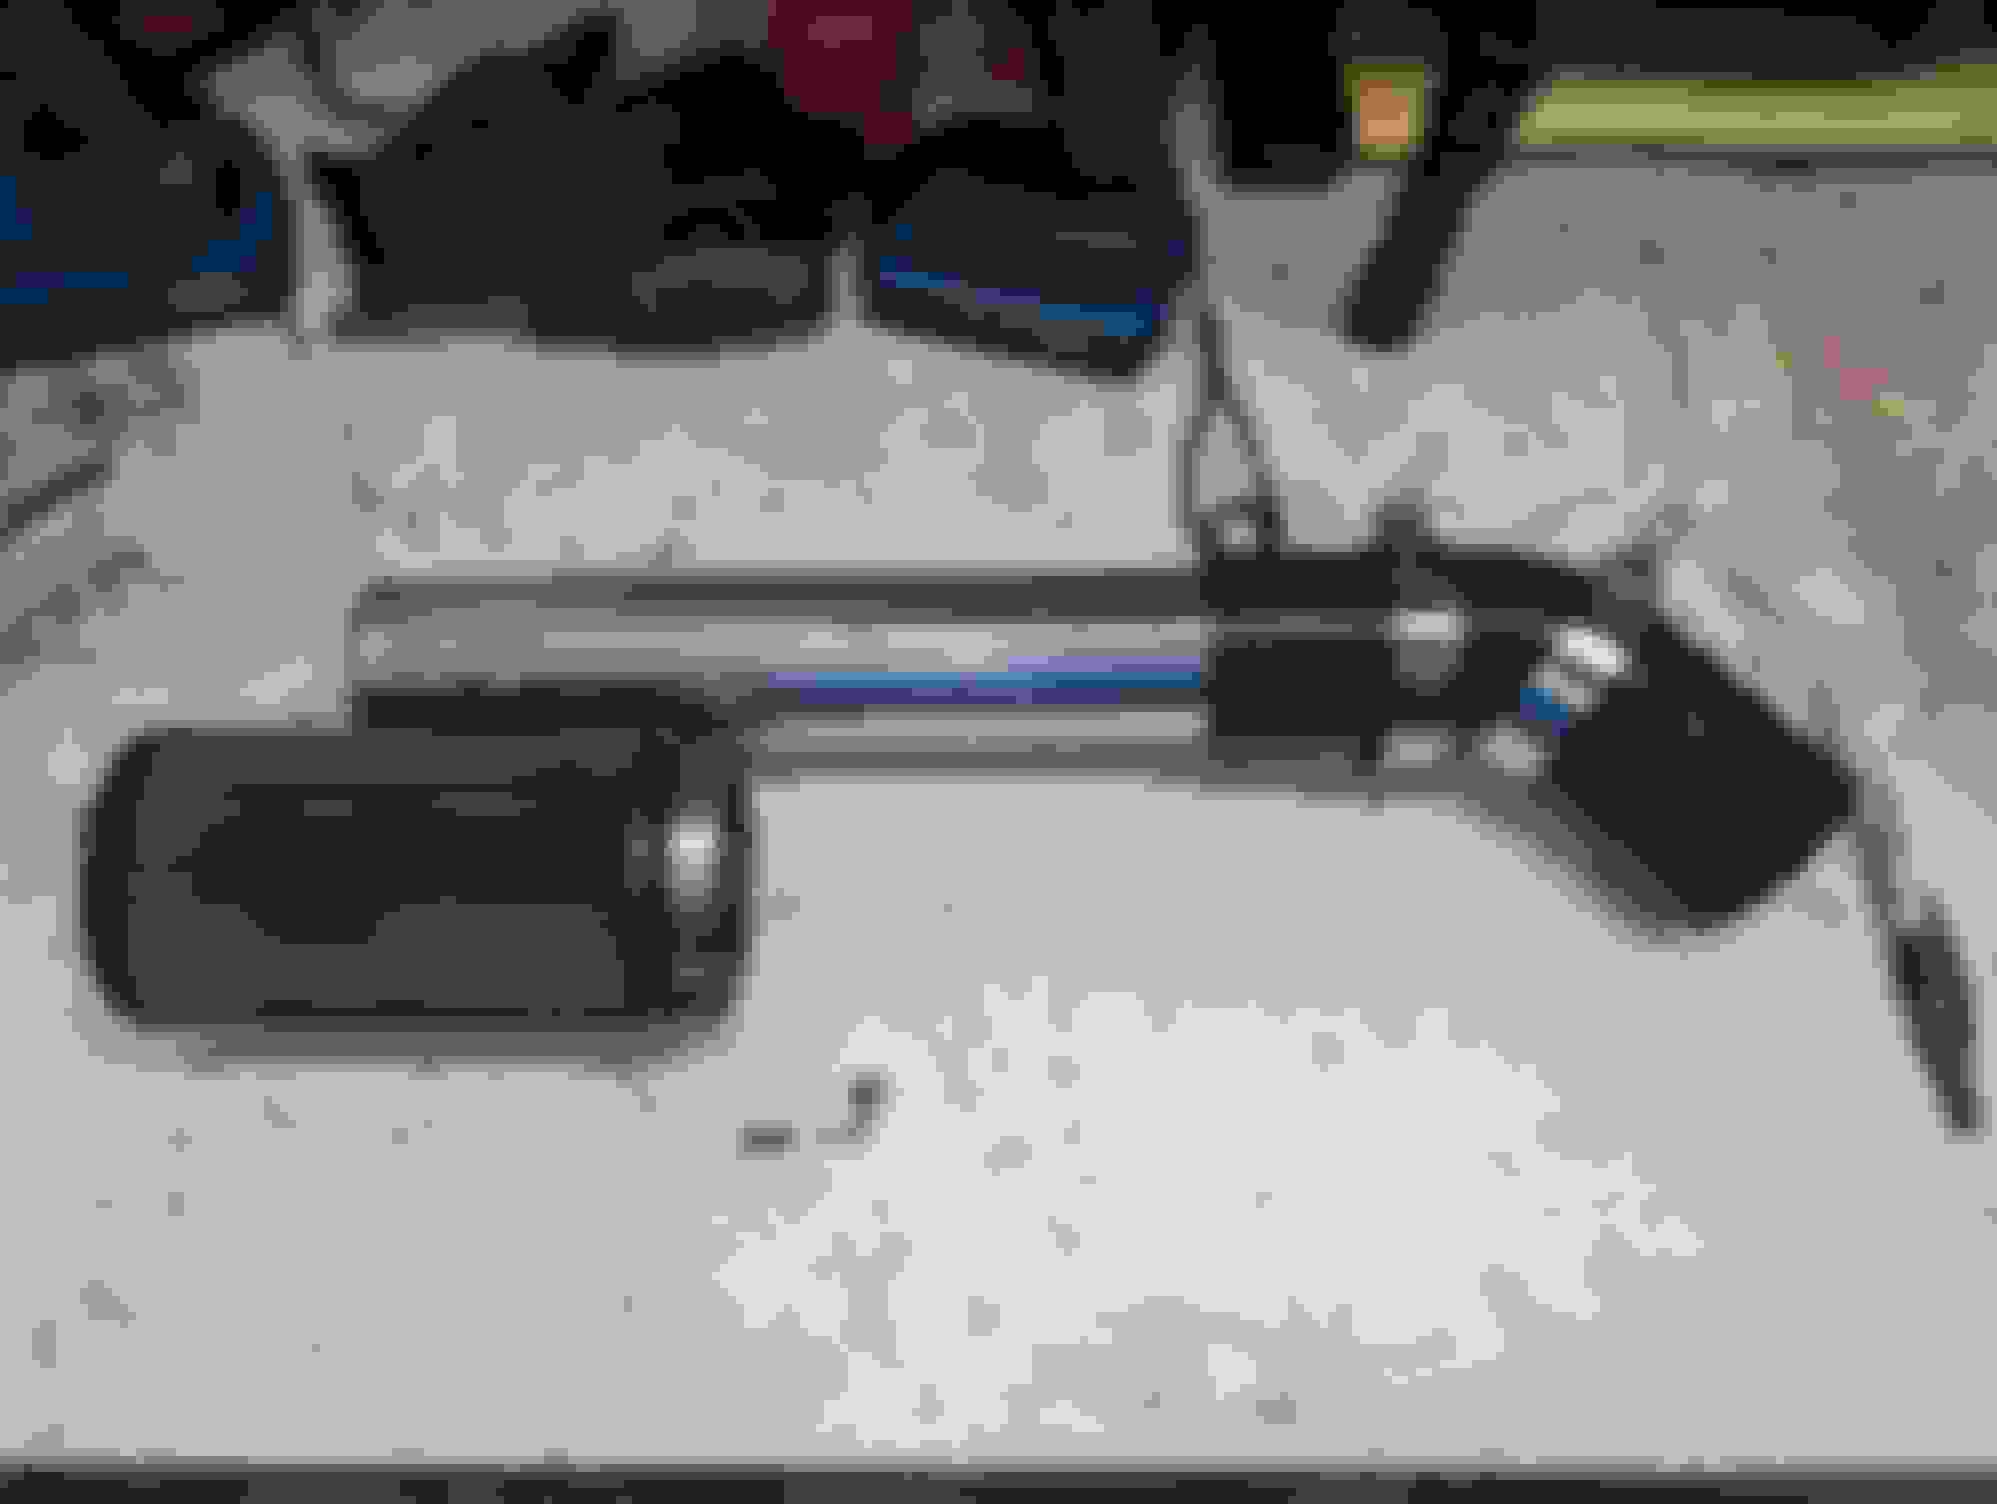
I plan to do a separate post/writeup on this, but a couple weeks ago I also installed a FWLRTuning Knock Detective. I figured I could spend ~$200 on this and tune myself vs spending more money on a professional tune. Not completely apples to apples, but it helped me justify the purchase.
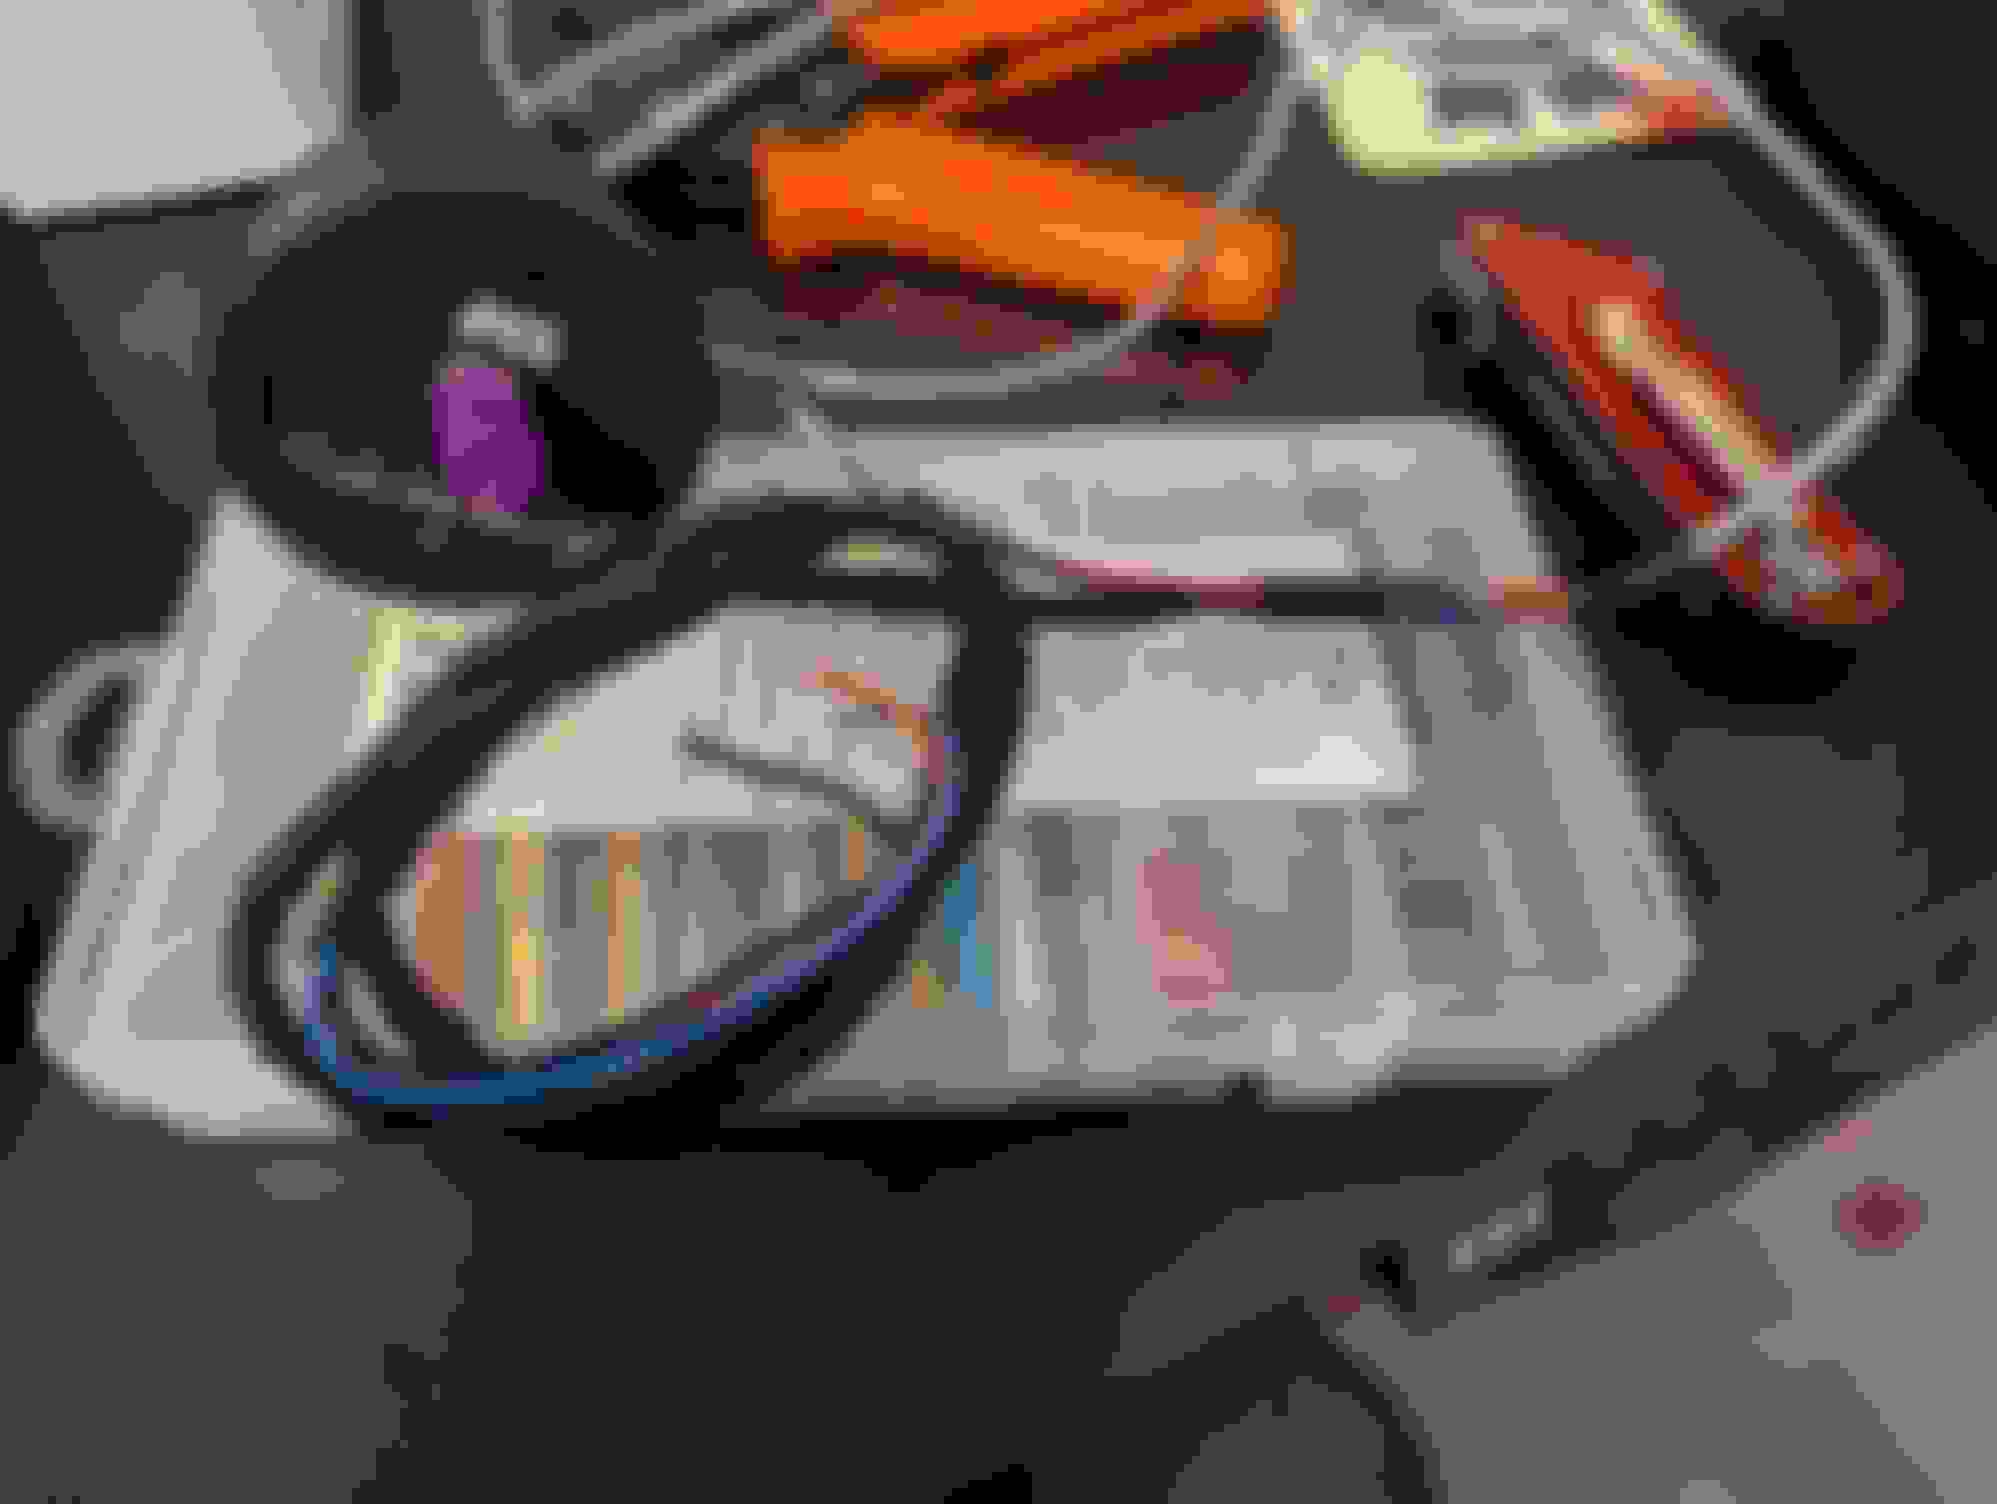
Nick (Fowler) ships it with a loose pigtail. I wanted to be able to easily disconnect the wires in the case that I ever need to swap to a new sensor or decide to cleanup the rats nest behind my radio panel.
I bought some Dupont connectors and did a bit of crimping. Like anything, I should have practiced a bit first, and am confident I would do a much better job if I went back and did this again. The connectors I added, coupled with the harness extension I built for the power, ground and ECU signal
The Bosch knock sensors are setup for an M8 bolt, while our cars use an M10. Some people have made stepped studs to convert for this, but I went with the option of drilling out the sensor, as that was free.
A helicoil is another option. Nails held the sensor in place while I drilled it out.
I used a step bit and some regular bits to get the hole enlarged. It was pretty easy. The downside to this is that I'd have to do it again if I ever need to replace the sensor.
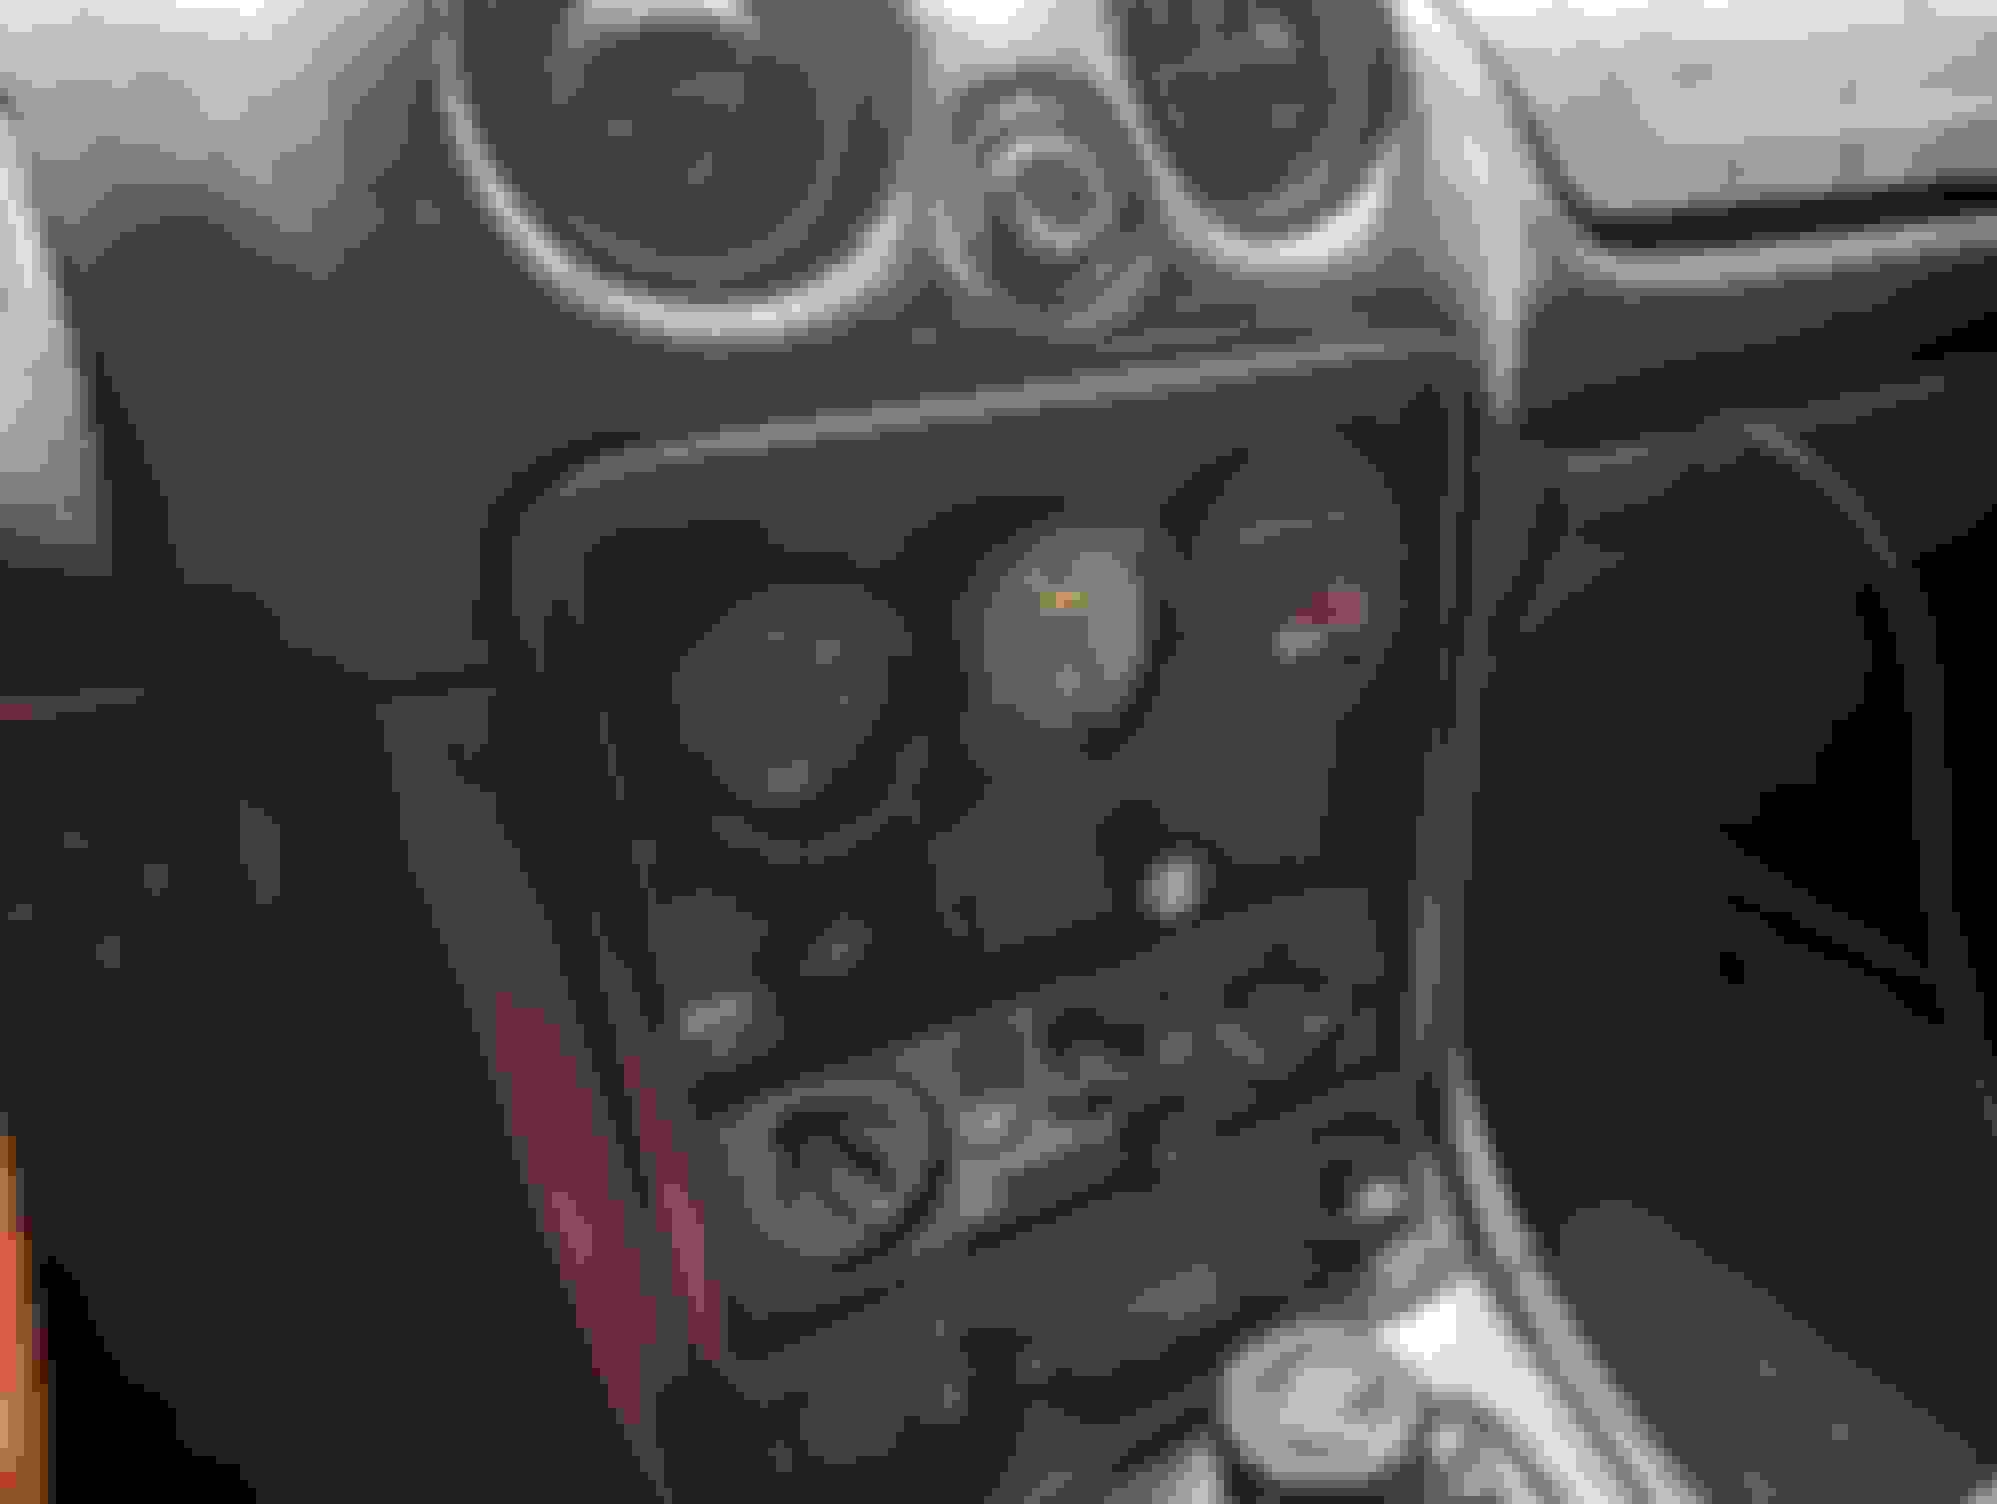
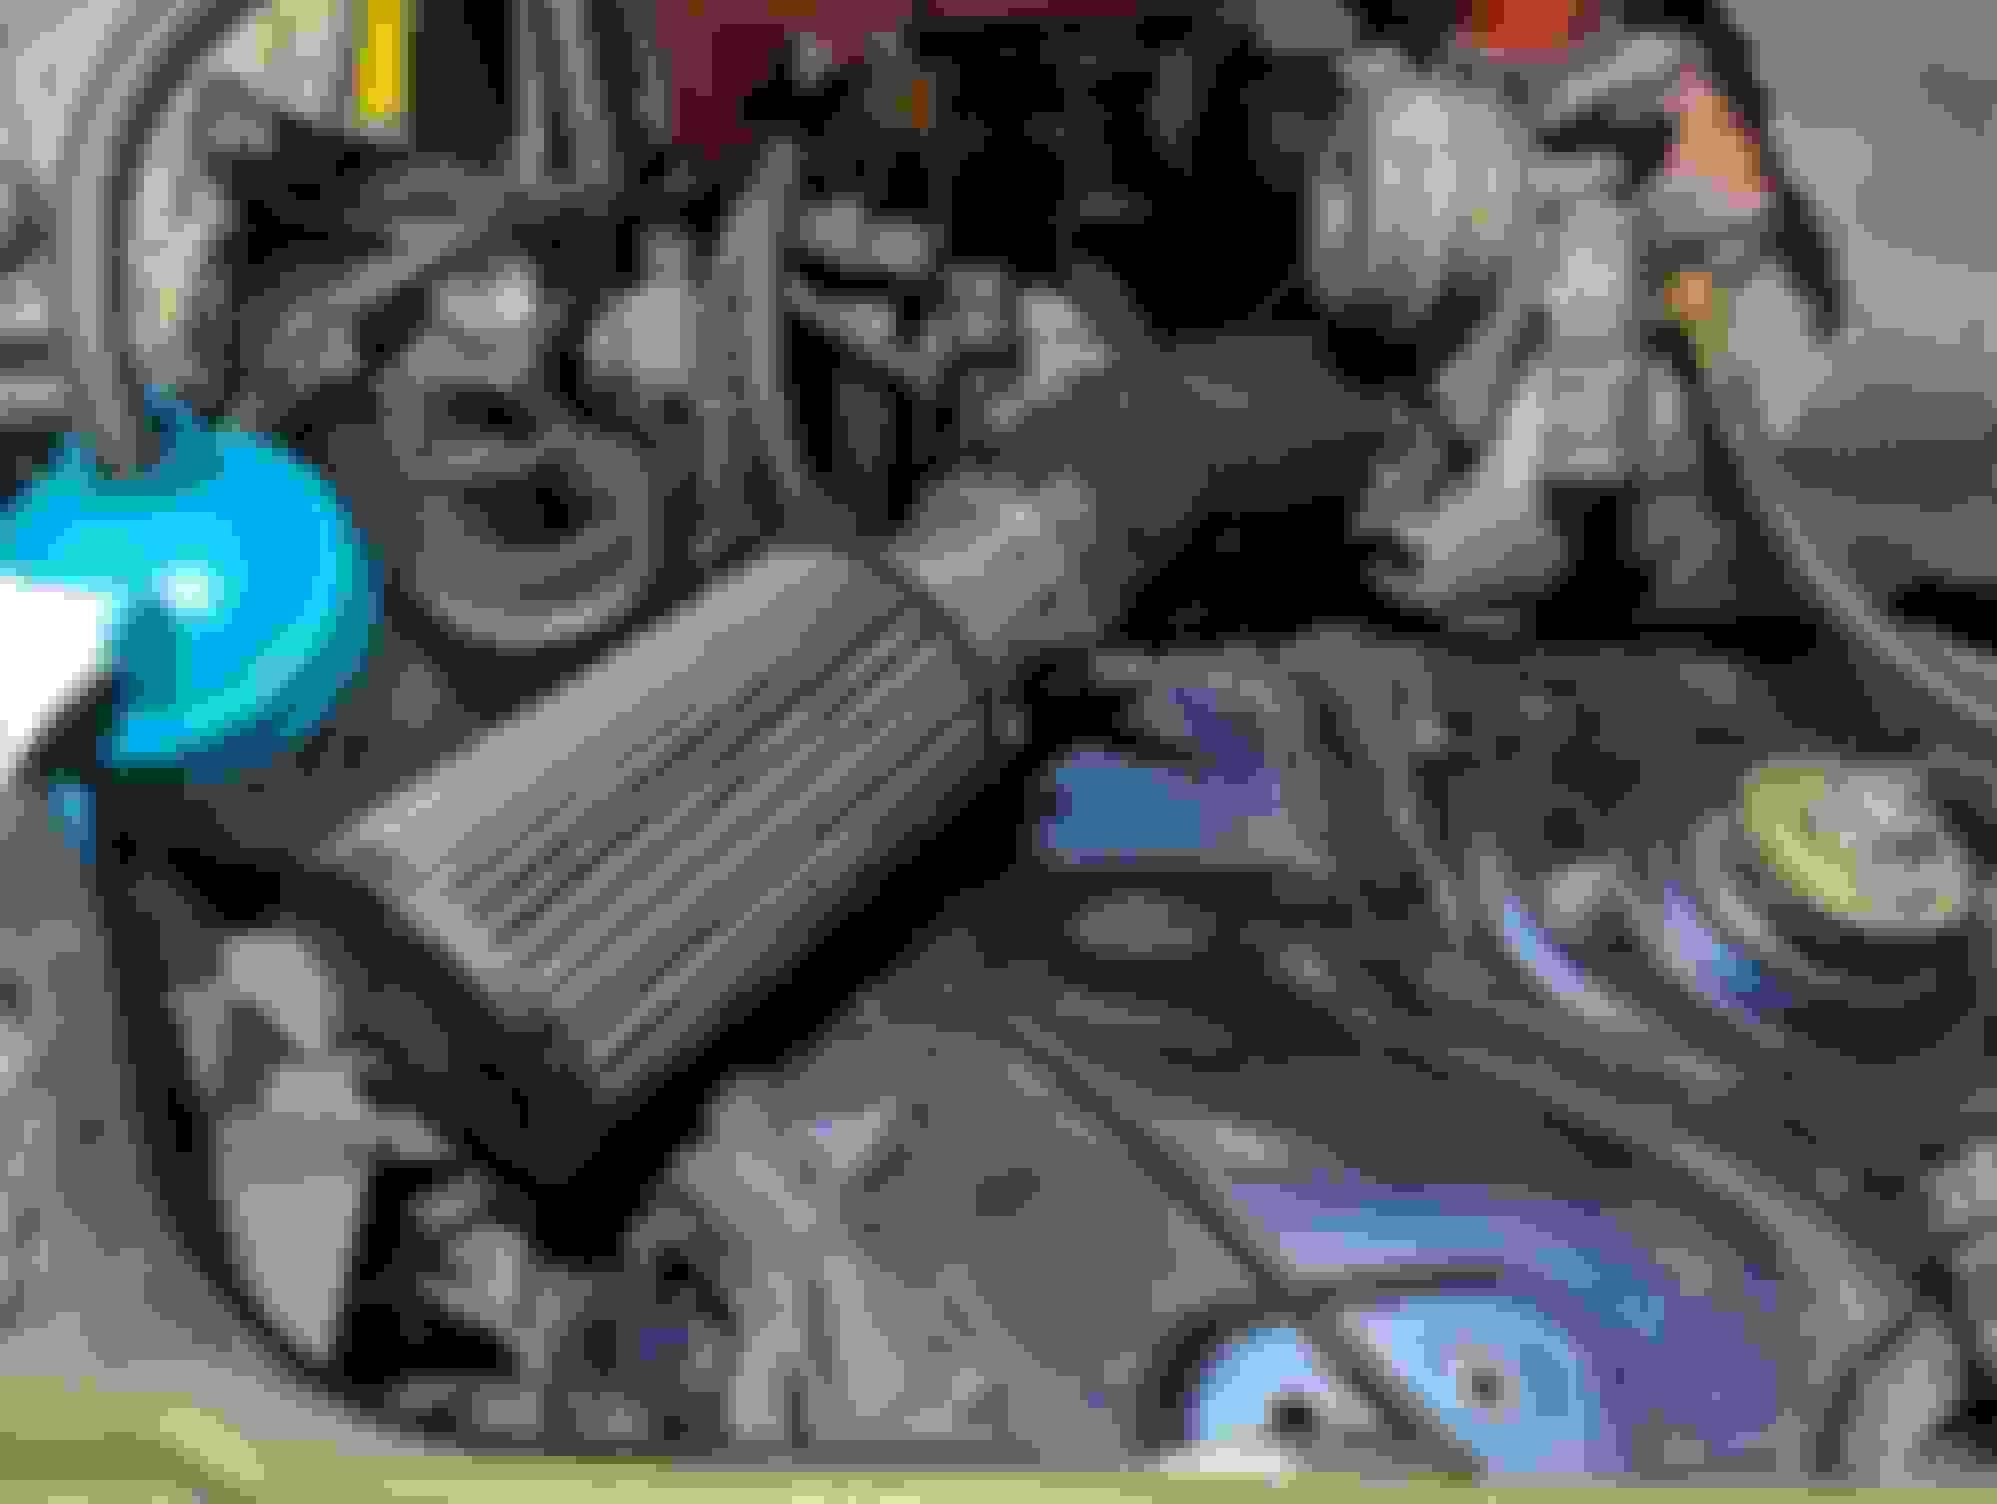
Installed, replacing the boost gauge that was in there before.
I haven't done the full calibration/setup process yet, but I've got the LEDs set at what seems like an appropriate level based on the instructions. I'm planning to drive around with my headphones plugged in for a while longer to get used to the engine's sound.
It's not what I expected an engine to sound like, but is really similar to what you'd hear with a mechanics stethoscope on the block (I only know this from when I thought my engine was destroyed).
After that I'll turn the boost down, probably around 8 PSI and do some tuning of the spark map. Once I'm comfortable with that, then I'll probably extrapolate out into higher boost levels and use the heaphones to monitor through some pulls.
I don't currently have the signal routed into the ECU. I have an input I could use for it, but Speeduino doesn't have any knock detection/protection at this point, although I've heard there is some hidden, that just hasn't been fully tested.
I believe I could log the data, but would need to figure that out.
The audio seems a bit noisy. Having said that, I've never used anything like this, so I have no reference point.
I could likely clean it up with a better power/ground setup and/or routing of the cables to protect the sensor wires from interference. Not sure how much of an issue that is with modern shielding, but people always seem to mention it.
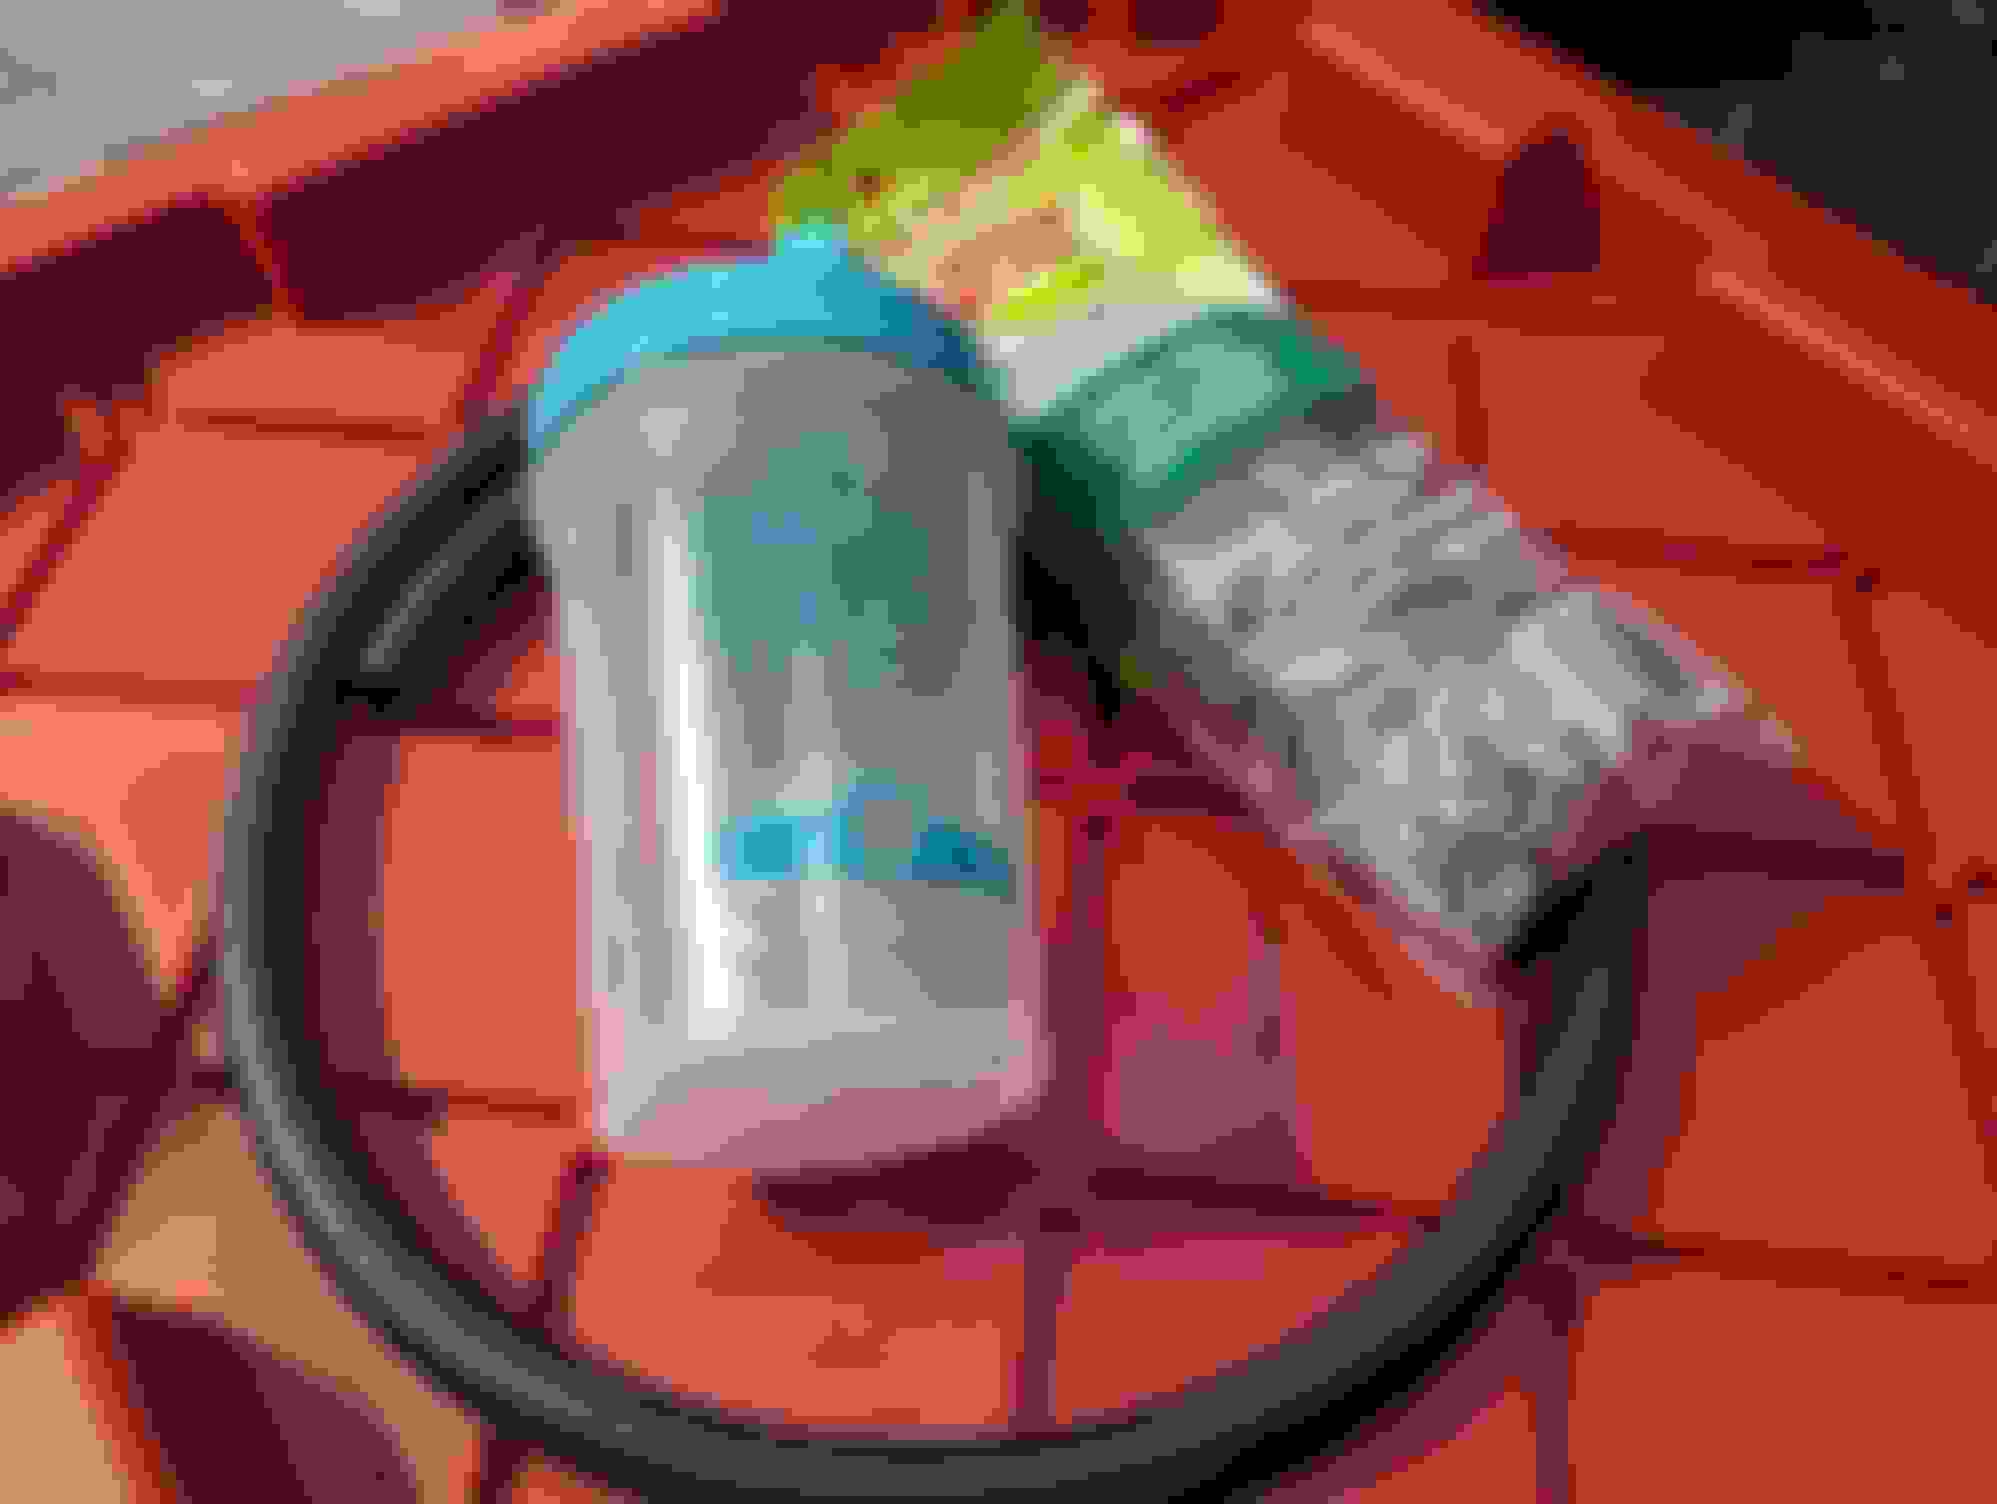
Probably more out of boredom and curiosity than necessity, I decided to add a breather bottle/catch can for the exhaust side valve cover vent. I have been using a little air filter without issue, but I assume that at some point that will start collecting oil and drip onto my exhaust manifold.
I ran by the local thrift shop and picked up a small blender bottle for a buck. A bit of fuel hose from the parts store ran me about $10 and some kitchen scrubbers were $4. I could've saved about $5 on the fuel hose if I'd gone with a 2 ft precut section, but I wasn't sure of the bottle placement and wanted some extra.
I mostly got this bottle due to the positive words on the side. I'm hoping they bring me confidence when I'm pulling to redline. "Be Quench" is the one that I like the best. What's your favorite?
I'm not expecting much to blow out of the hose. Originally I had planned to add a couple of barbed fittings for the breather filter and the hose, but after looking at it, I decided to throw a hose clamp on the hose to prevent it from pulling out of the bottle's lid. This will keep the hose pointed down into the bottle, where a kitchen scrubber is sitting to help catch anything that blows out. I don't expect anything will be blowing back out of the top. This also leaves enough room for air to escape back out of the drinking spout. That's not going anywhere.
For mounting, I found that this bottle fits perfectly between the PS reservoir and the headlight. I'm pretty confident it would be fine without anything securing it in place. The cap for the bottle conveniently swings over to a threaded hole that used to house the hood prop receiver (I think). A heat gun helped get a bend into the plastic to better fit where it would be bolted.
Finished product below.
The biggest question here is how it will hold up to the heat, especially in the summer. I do plan to add some heat shielding around the turbo/manifold soon. At this point I'm not too worried about it. If anything I think the arm/cap might warp a bit.
Realistically, this won't be a permanent item on the car (unless it works, because I think stuff like this is funny). I'm mostly interested to see if I'm blowing oil out, and if so, how much it is. I might go back to the filter if I don't see much in the next couple thousand miles. If nothing else its a fun experiment.
I only used about 2 feet of the fuel hose. I'm confident I could do the setup above for under $10.
That bottle is pretty frugal and slick. Almost as much so as my buddy�s redbull can with a hole drilled in the lid.
In all seriousness, good work all around. As much as I love the look of a dialed in engine bay with lots of shiny things, I feel like mods such as your bottle give our little cars character. I ran a Gatorade bottle all summer for my exhaust side breather and it got as much attention as the turbo itself haha.
Thanks! I remember watching old Mighty Car Mods and Roadkill videos where they fabbed up all kinds of stuff and I always thought that was so much cooler than buying something premade and dropping it in.
I can appreciate both approaches now. I just can't take my car too seriously.
There's a good clip of Moog from MCM pointing and laughing at one of their builds, which is how I want to feel about my car. Just ridiculous, but with enough performance to back it up. Calculated dumbassery, if you will.
Yeah, I'm dragging my feet on doing a proper writeup on the sensor. I'm pretty sure I can record the output using my phone to give a better idea of what it sounds like. I'm still unconfident in my ability to discern knock from some other engine sounds, but it's pretty easy to keep some headphones in the center console and listen when I want to. I think I've heard some pinging if I lug the engine, but it's very consistent both in repeatability and tempo, so I'm not sure that it is knock.
Regardless, it's a cool tool to have. Gives me a bit more confidence. I think I've figured out how to get it into my datalogs too, which I think will be really helpful.
I got the oil changed to synthetic over the weekend. Somehow I've already got ~950 miles on the engine. I plan to run everyone's favorite Rotella T6 from here on out.
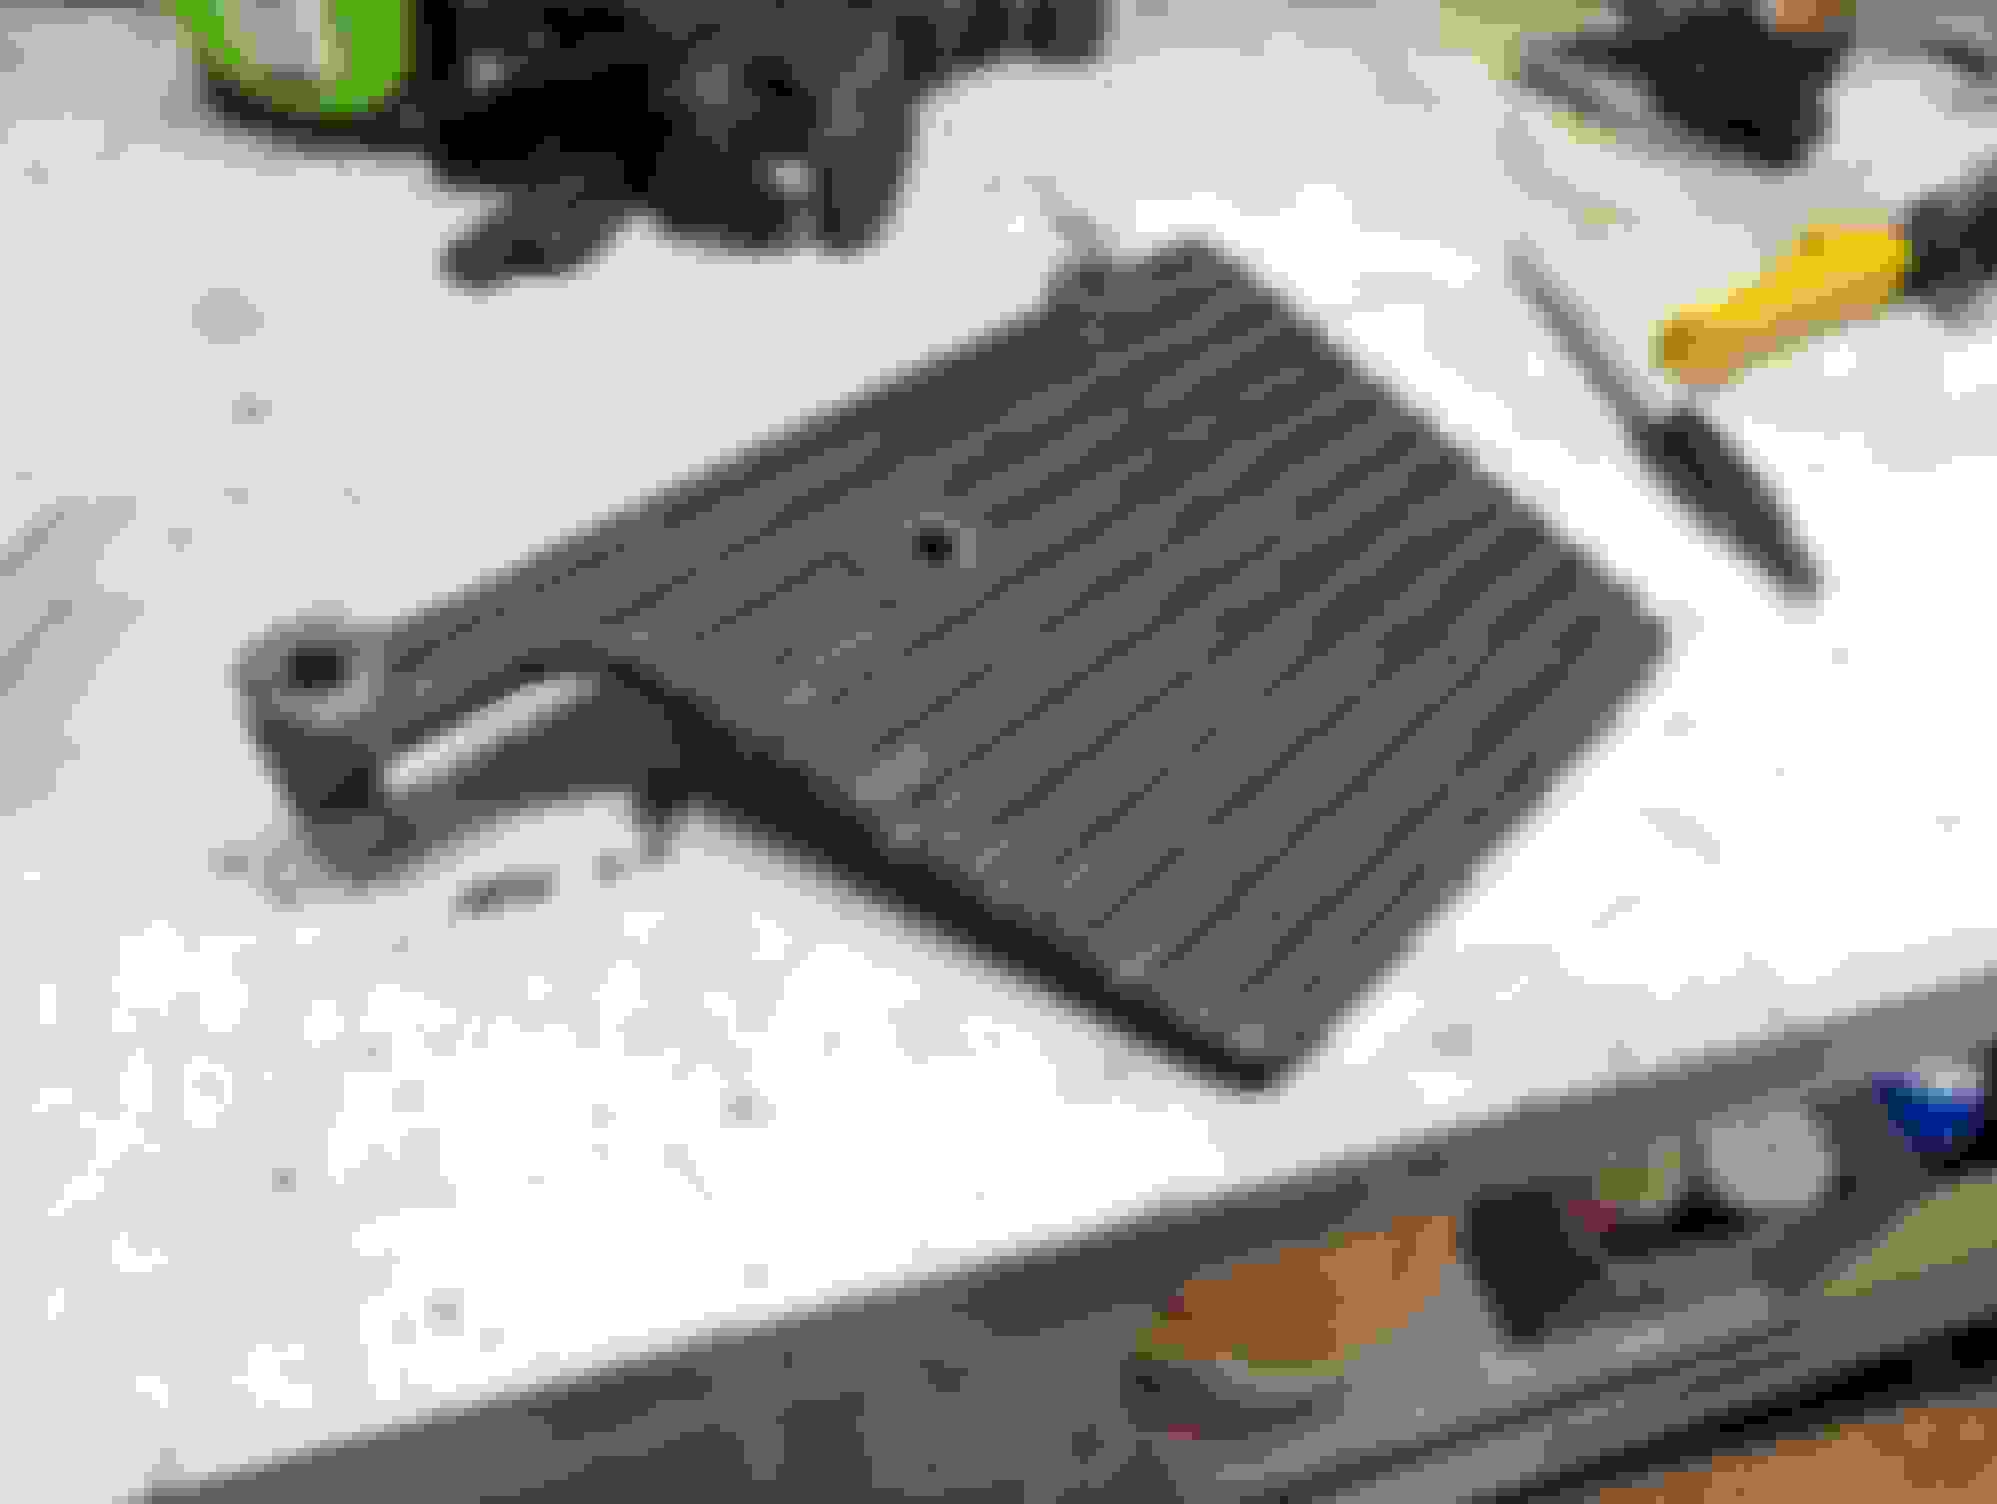
I started playing with heat shielding for the turbo as well. I haven't had any issue related to this yet, but I'd rather be a bit preemptive here. The turbo kit did come with a steel plate that doesn't seem like it would do much, if anything. It weighs a bit over 1.5 pounds as well. Honestly I want to install this just to see if I could cook some hotdogs on it after doing some pulls.
This "embossed aluminum" material is really light and easy to work with. I previously made a heatshield out of steel sheet and it was a pain to work with. I reused the hardware I got for that project and have something mocked up. I haven't fired up the car with this installed, but it seems to fit well enough. My main concern is that the shield is pretty springy and I'd rather not add another rattle to my car. I still have a lot of material left, so likely this will serve as a rough draft and I'll improve it later.
Also shout out to this early FM manifold for having imperial threads for the heat shield mounting. That was a pain to figure out.
We've got our annual tech inspection for autocross this weekend, so I'll be taking the car out to that. I ordered some Nitto Neo Gens in 205/50/15 to replace my daily tires and a new set of RT660s in 245/40/15 for autocross. I doubt the car will see another track day for a while.
Tuning is ongoing but the car is pretty dialed at this point. Next up on the list is to dial in my spark table. I'm planning on working through it slowly and leaning heavily on virtual dyno. I'm also wanting to get the knock detective wired into the ECU. I love having the ability to plug in headphones whenever I want, but having the output in datalogs will be way more useful for autocross.
I've also got a few pieces on order to get the air filter away from the turbo. I didn't pay much attention to IATs before I rebuilt the engine, but when I went out the other day at 5* C ambient temps I was seeing a rise to ~25* C after pulling through a few gears. IIRC it took about 30 seconds of cruising to get the IATs to drop back close to ambient. Since the car came with the Duraflex front bumper I wasn't aware that there was more to the undertray than just the main part. I'm thinking through ways to get something together to help the airflow to the IC and radiator. Not an issue yet, but I expect it will be as summer approaches.
Challenge idea: toss hotdogs on the OG heatshield, see how fast you can run the AutoX course without sending them into the depths of your engine bay.
New shield looks good. I like how we both did the same thing to our MC reservoirs with the reflective tape. Who knows if it's doing anything but it sure does look cool!
Maybe I can get some metal zip ties to secure the hotdogs to the shield
The stuff on my MC is an adhesive fiberglass insulation. Amazon stuff that I'm not super confident in, although it's held up on my brake line since before the engine build.
I did try to experiment with a can of water to see how much it was doing, but I didn't come to much of a conclusion. The bottom of the thing is still exposed, so I doubt it's doing too much.
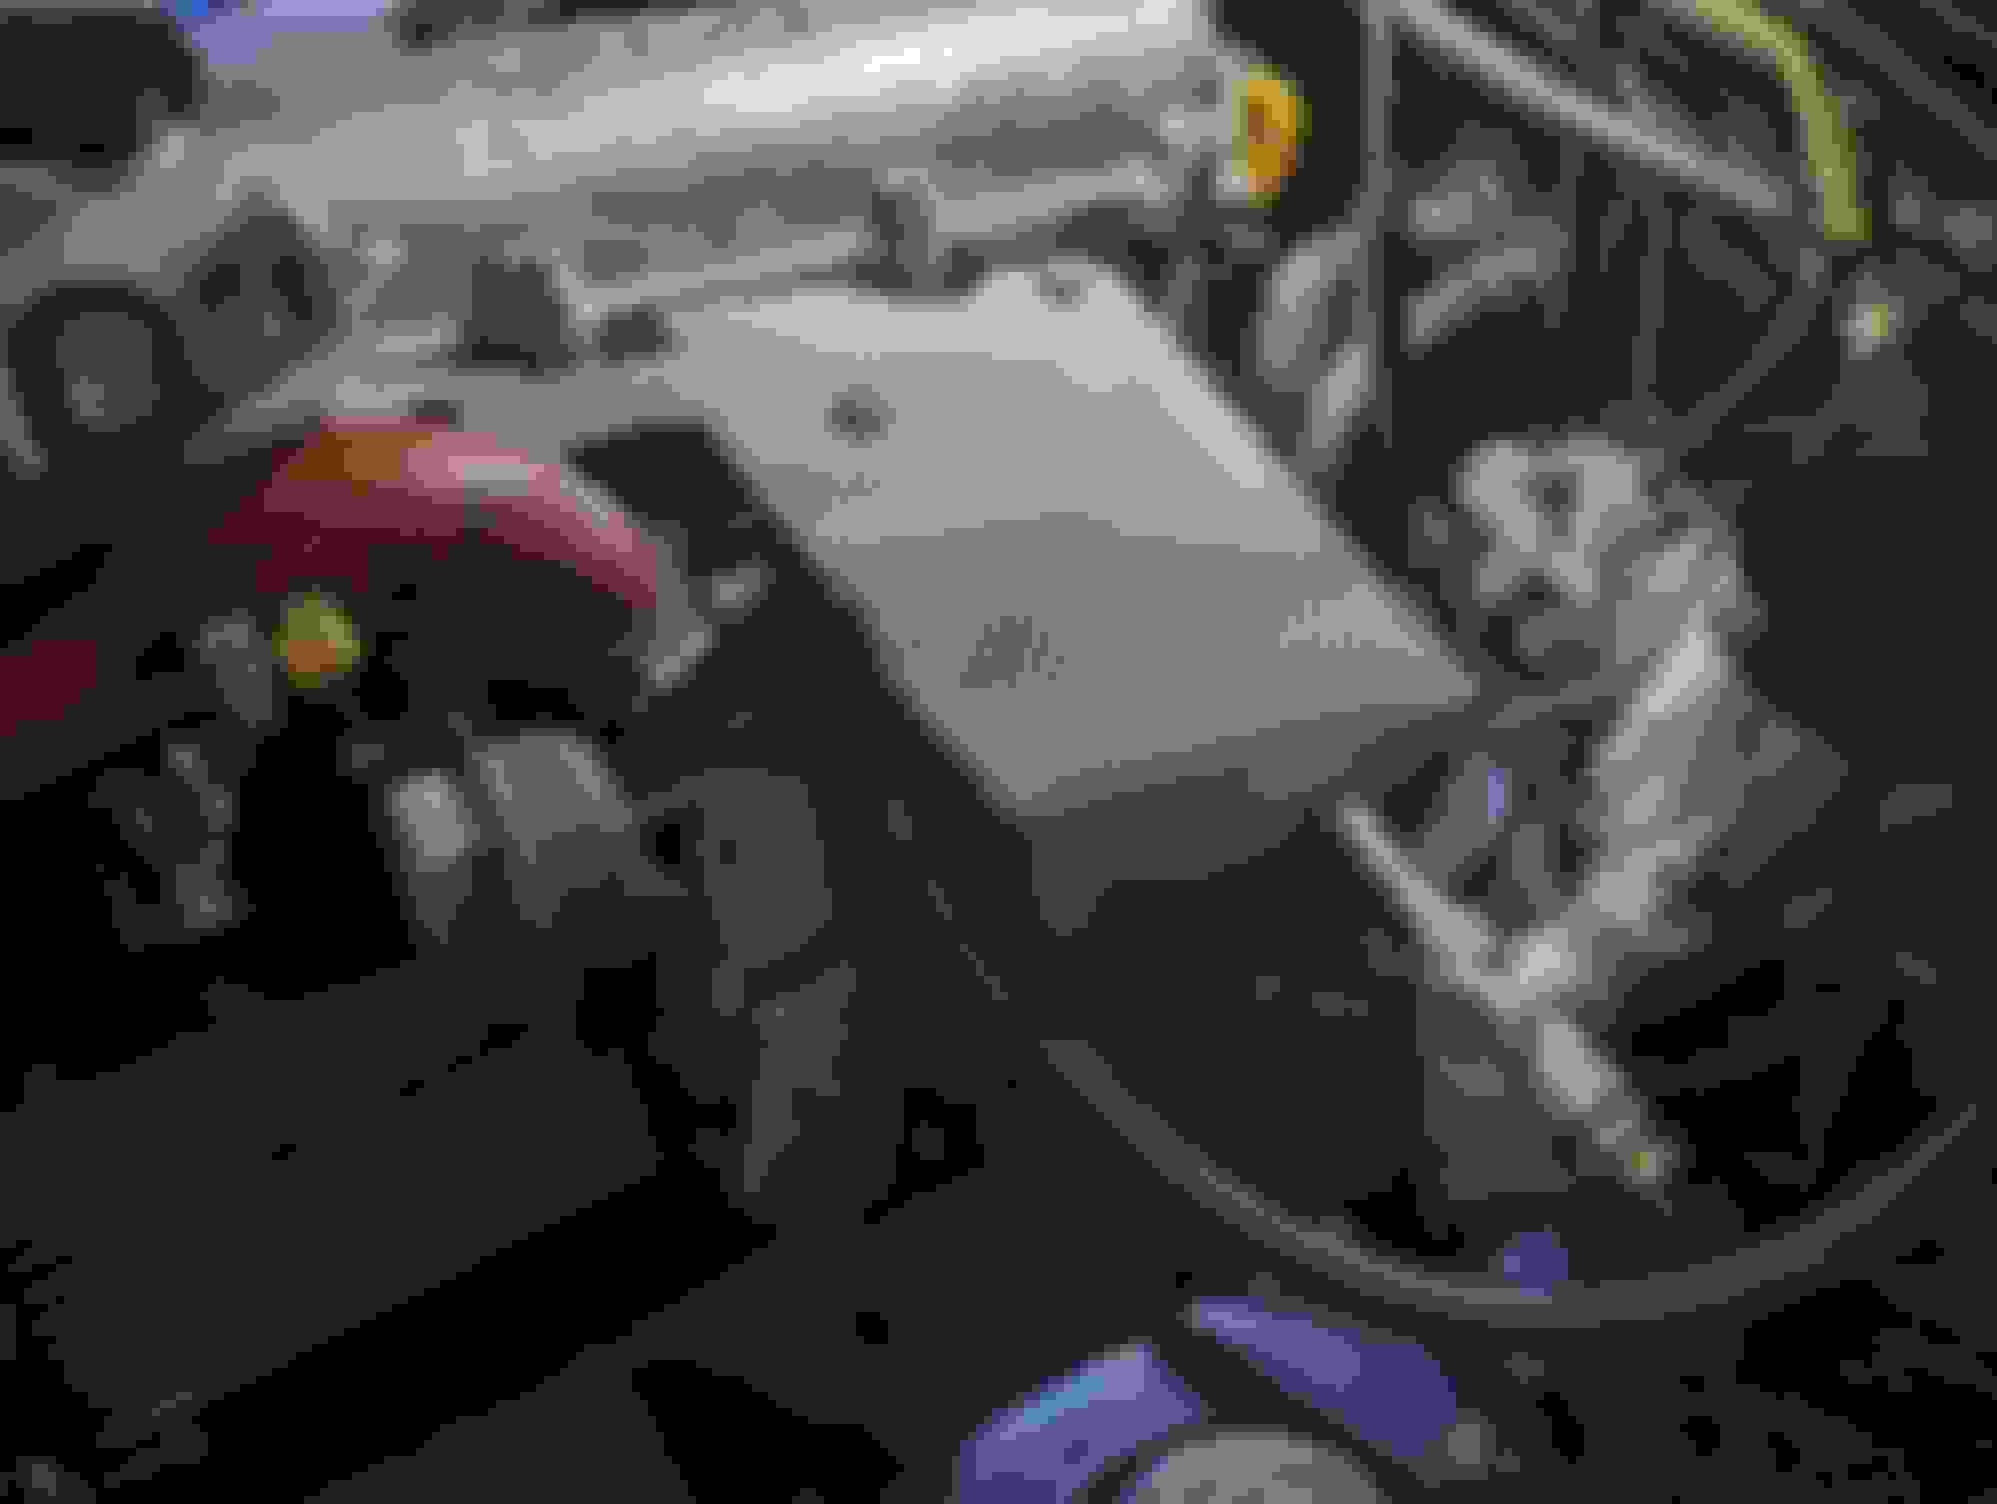
Got a couple bits in to get my air filter off of the compressor housing. Pretty easy job, I'm wondering why it took me so long.
The aluminum pipe was way longer than I ended up needing, so I trimmed that down with a hacksaw.
The pipe was trimmed down before installing.
I got the car out yesterday with the heatshield and intake on. Plugged in some headphones to listen to knock and did some pulls to start the process of refining my spark map.
The IATs seemed to rise just about as much (~8 degrees C) during a pull. Maybe slightly less, but I was also only running 6 PSI, so I'd attribute any real difference to that. Temps did seem to fall quicker after a pull.
If IATs become an issue this summer I'll look into adding a box around the filter, but for now I think it'll be fine as is. The intake pipe & silicone might get some insulation wrap on them.
Did a handful of pulls at 6 PSI to get a baseline for the timing table. I've listened to recordings of knock but it's still hard for me to tell if some of the noises I'm hearing are knock or not.
I pulled a bit of timing out at low RPM, high load after hearing what I believe was light knock there.
Virtual Dyno put the car around 155 HP at 6 PSI with what I believe is fairly conservative timing. I pulled a little bit in the low RPM high load areas and added 2 degrees in boost above 3K rpm.
I also realized when looking at the logs that I was running lean. The majority of my fuel table is tuned pretty well. My assumption is that the only time I was running wastegate pressure was the first 300 miles or so, when I wasn't doing much high RPM/load. Either that, or something to do with IATs (although the rest of my AFRs were on target, so I don't think it's IAT/MAT correction).
Regardless, corrected the fuel and it should be good to go. I'm planning on getting some more pulls in today to see what the timing did for me.
Annual tech for autocross is tomorrow, so that'll be pretty fun to see people after the offseason.


 0
0